
Watch Dogs 2 Guide Side Operations $911
3. Operation—OPD PCA (Part 2)
Objectives
Difficulty
RewardsDedSec Followers: +36,000 BriefThe police are working with the Bratva to smuggle drugs into San Francisco. Shut their operation down to bring the Police Chief out of hiding. Hostiles
Location
|
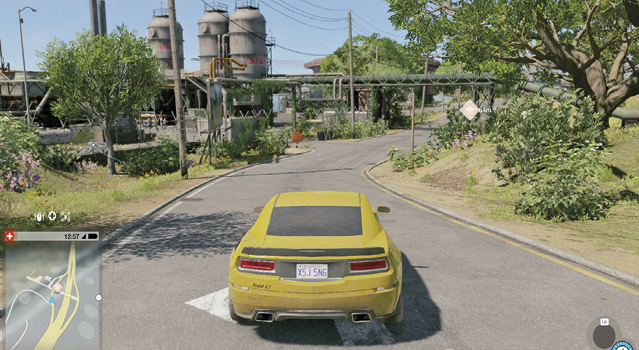
 Reach the refinery.

 Bratva Gang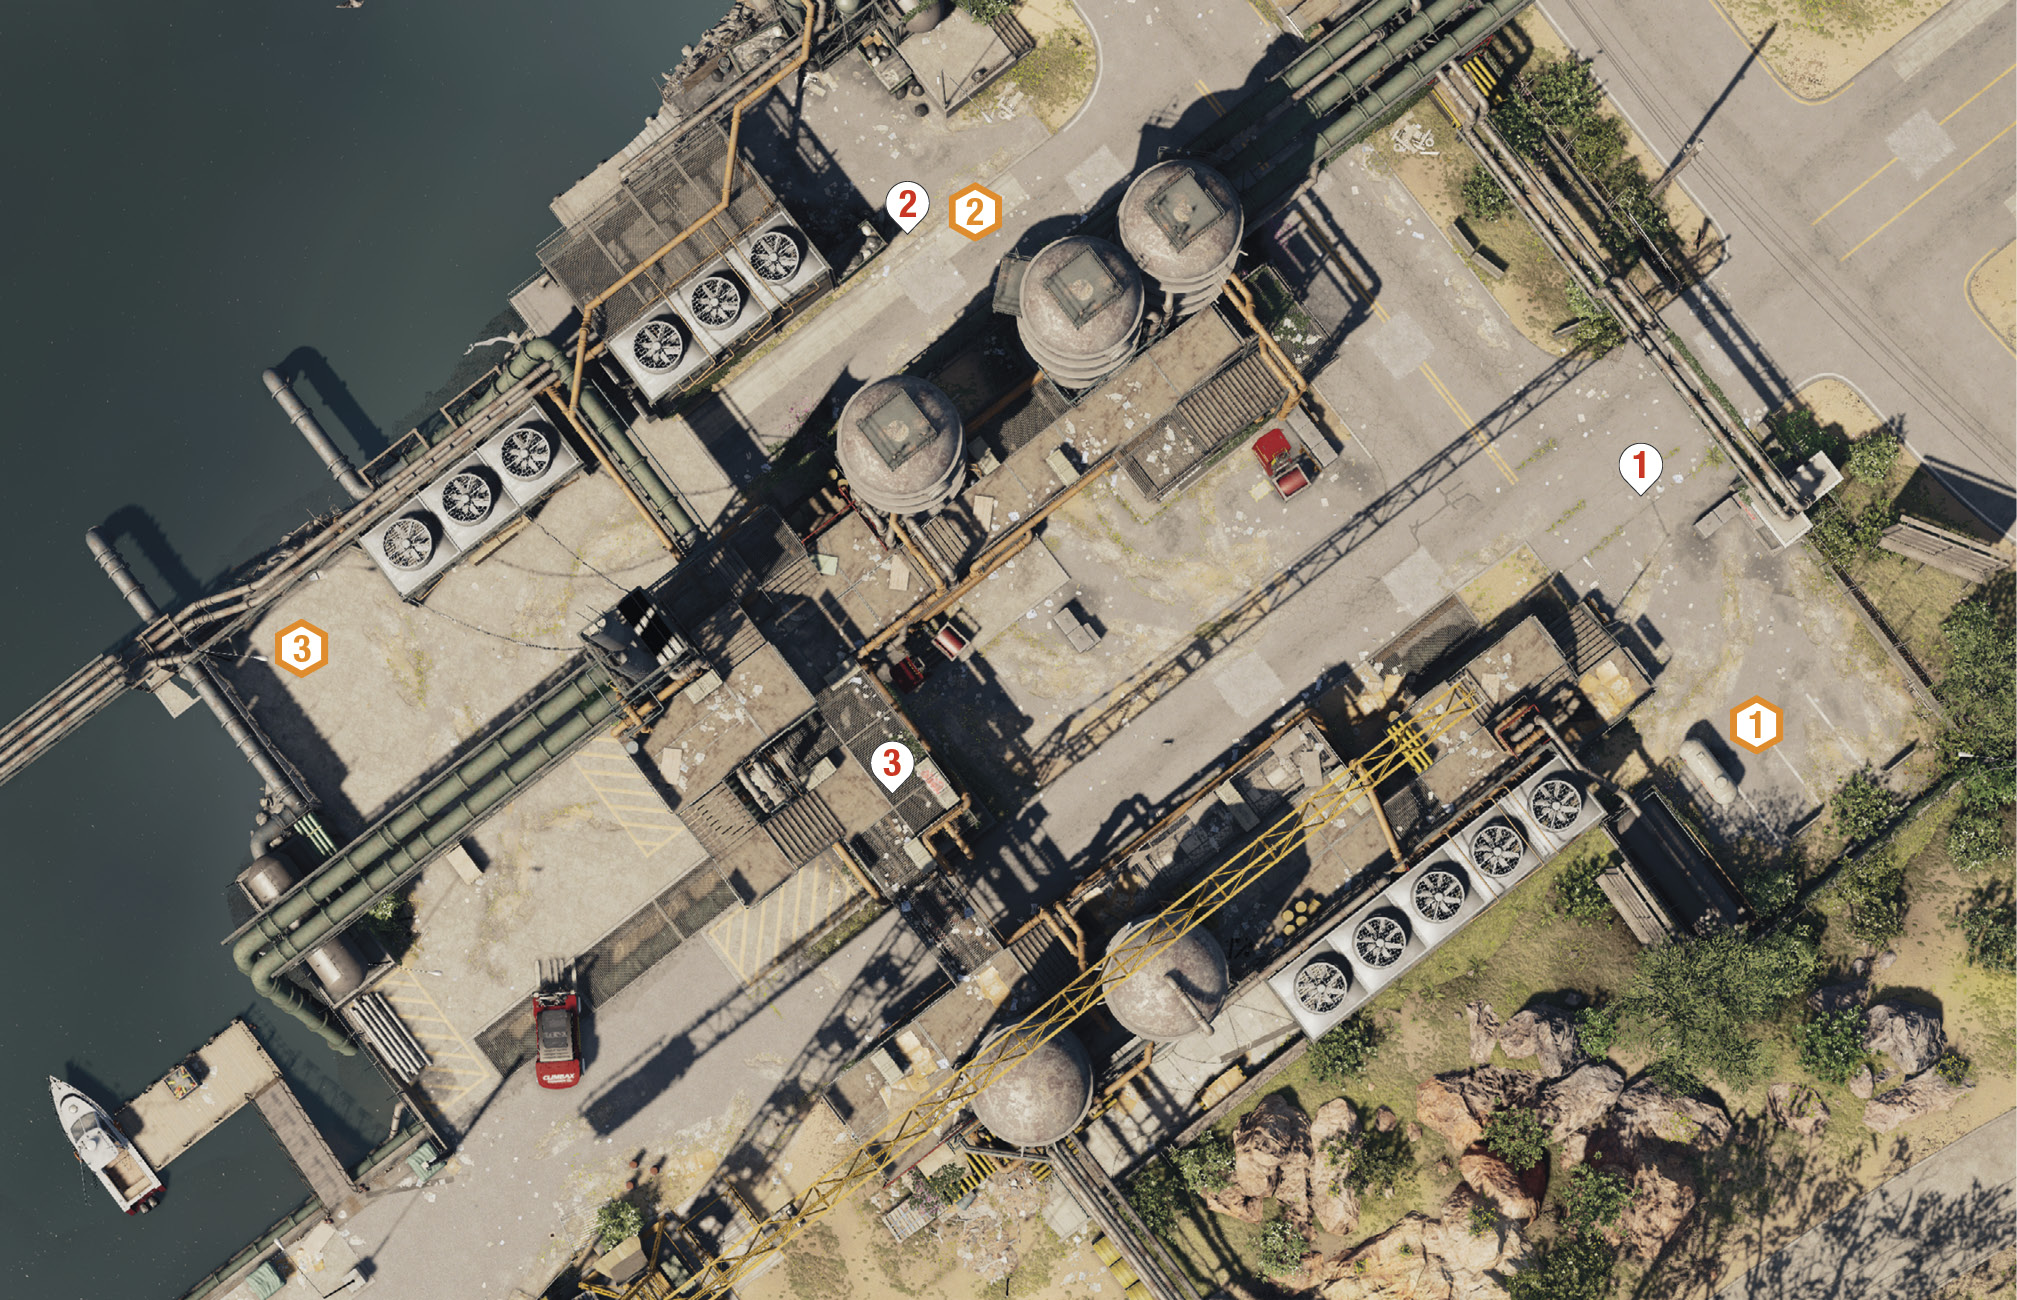
Once you reach the refinery, hack the ctOS box. After Josh constructs a mosaic with the camera footage, profile the six clues in the area. Then prepare the area for some forthcoming van destruction. Note that on this occasion, don’t expect the mosaic to be 100 percent accurate. Use a Quadcopter to get the best view.
|
 POIs and Objective Points
 Armed Escort
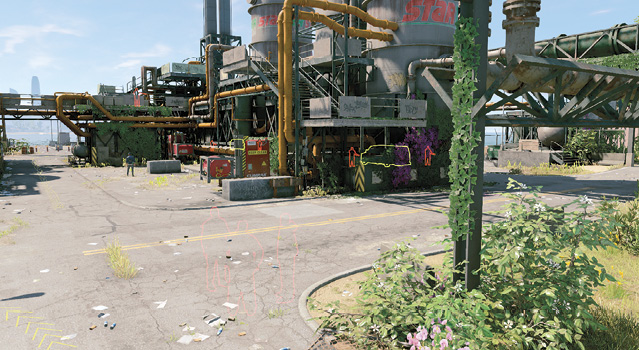
 Bratva Van 1
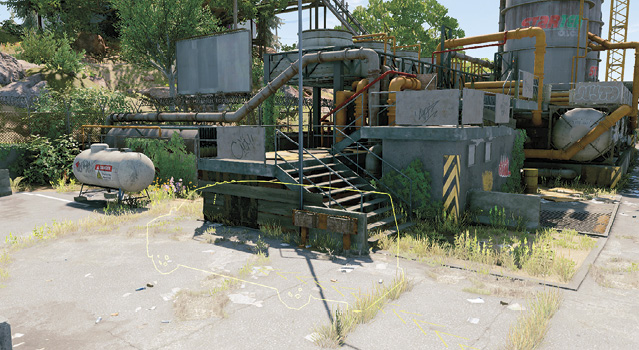
 Armored Guard
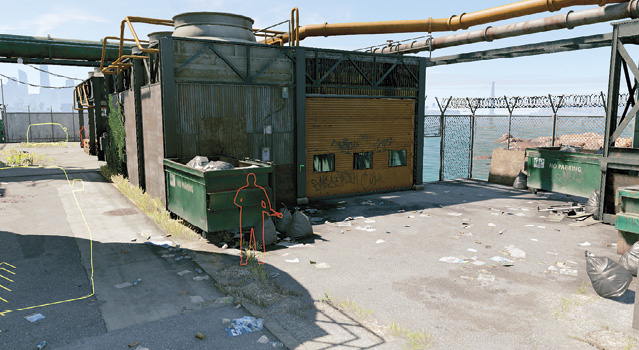
 Bratva Van 2
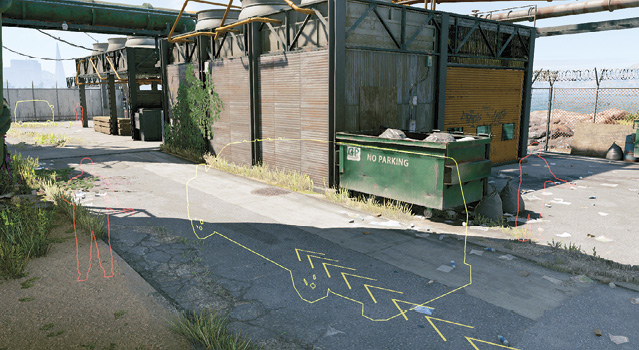
 Sniper
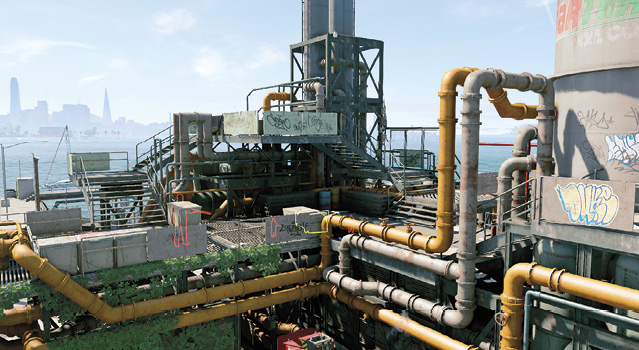
 Bratva Van 3
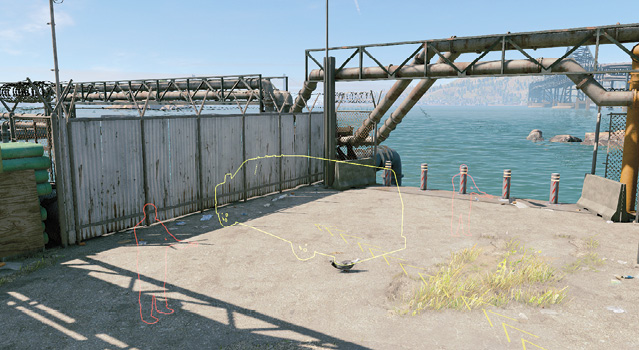
Paths to Completion
You have a trio of Bratva vans to destroy. Completing this task is as straightforward as you want it to be:
Removal Van

Climb the gantry steps (northeast), then look north, over the Bratva Van 2 parking area. This offers a view of the road the three vans drive in from, as well as two of the three van parking spots. Leap northwest to stand on a large green pipe with metal support beams across it. Either vantage point allows you to summon the vans and then punt grenades from distance. With accuracy and skill, you can destroy all three of them before they even reach the restricted area!
Need more destruction? Drop ten bombs (five explosive and five electroshock, alternating between the two) to cover the roads along the north and northeast and east entrances to this place. This can catch all the vans as you back up the explosions with grenade fire. Now back up, and leave by boat, or on one of the parked motorbikes in this restricted area.
Three Van Plan

The easiest plan is to simply prep all three propane tanks so Bratva Van 1 explodes as it parks and Bratva Van 3 explodes under the gantry where the sniper would stand. This leaves Bratva Van 2 to the north. Drop an explosive bomb here as a proximity trap. Or drive a forklift with the explosive pallet to this garage location and prep it as a proximity trap. Then flee once the third van detonates.
Before you call on the vans to arrive, increase the chances of a thorough defeat of the Bratvas by summoning the crane platform, stepping onto it, and raising it up high, away from possible enemy gunfire. Move the platform so you’re directly above the boat and water. Then use the Quadcopter to scan the ground as the vans arrive, optionally dropping more bombs to dissuade reinforcements. When you see you’re safe, drop into the water, swim to the boat, and flee.
A Stealth Fan

Lie in wait for these thugs (don’t prep anything) and call on the vans to arrive. Wait on the upper gantry (southwest side of the refinery, atop the stairs above where the sniper will stand). Once all the foes have walked to their position, vault over and strangle the sniper. Then vault to the ground below the gantry bridge, and work your way to Bratva Van 3. Distract and strangle the guard here. Do the same as you head north, removing the foe at Bratva Van 2. Then execute a mass electrocution using the stun gun, taser grenade launcher, or grenade. Finish up with grenades or suppressed fire if you don’t want anyone waking up.
You should now have no reinforcements or threats and three vans to blow up. Sure, you can use grenades, proximity traps, and the like. But what about parking all the vans next to each other and destroying them with one grenade? Or using the large forklift parked near the crane to push Bratva Van 3 into the water? Or shunting all three vans into the water after parking them all at Bratva Van 3’s location? This way you’re close to the boat and can quickly flee. Do this quickly, as reinforcements arrive fast!
Airborne Scan

Forget all this needless preparation! Stand on the getaway boat in the harbor. Launch your Quadcopter. Drop an explosive bomb on each van as it arrives. Then flee.
Operation Continues
Flee the area, using the usual faction-avoidance tactics to escape. Then, drive or take the boat close to the location DedSec indicates.