Watch Dogs 2 Guide Main Operations Motherload
1. Operation (Continued)—Marcus
Objectives
Difficulty
Hostiles
Location
|
 Enter Blume building.
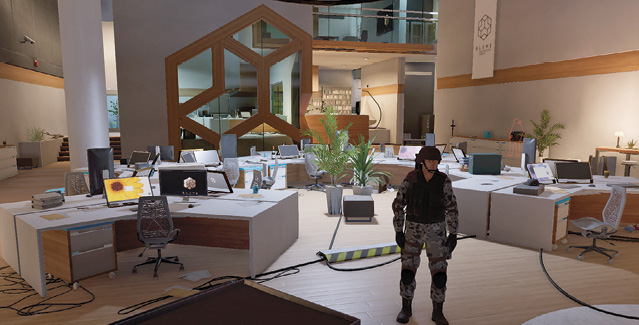
 Umeni Security Corps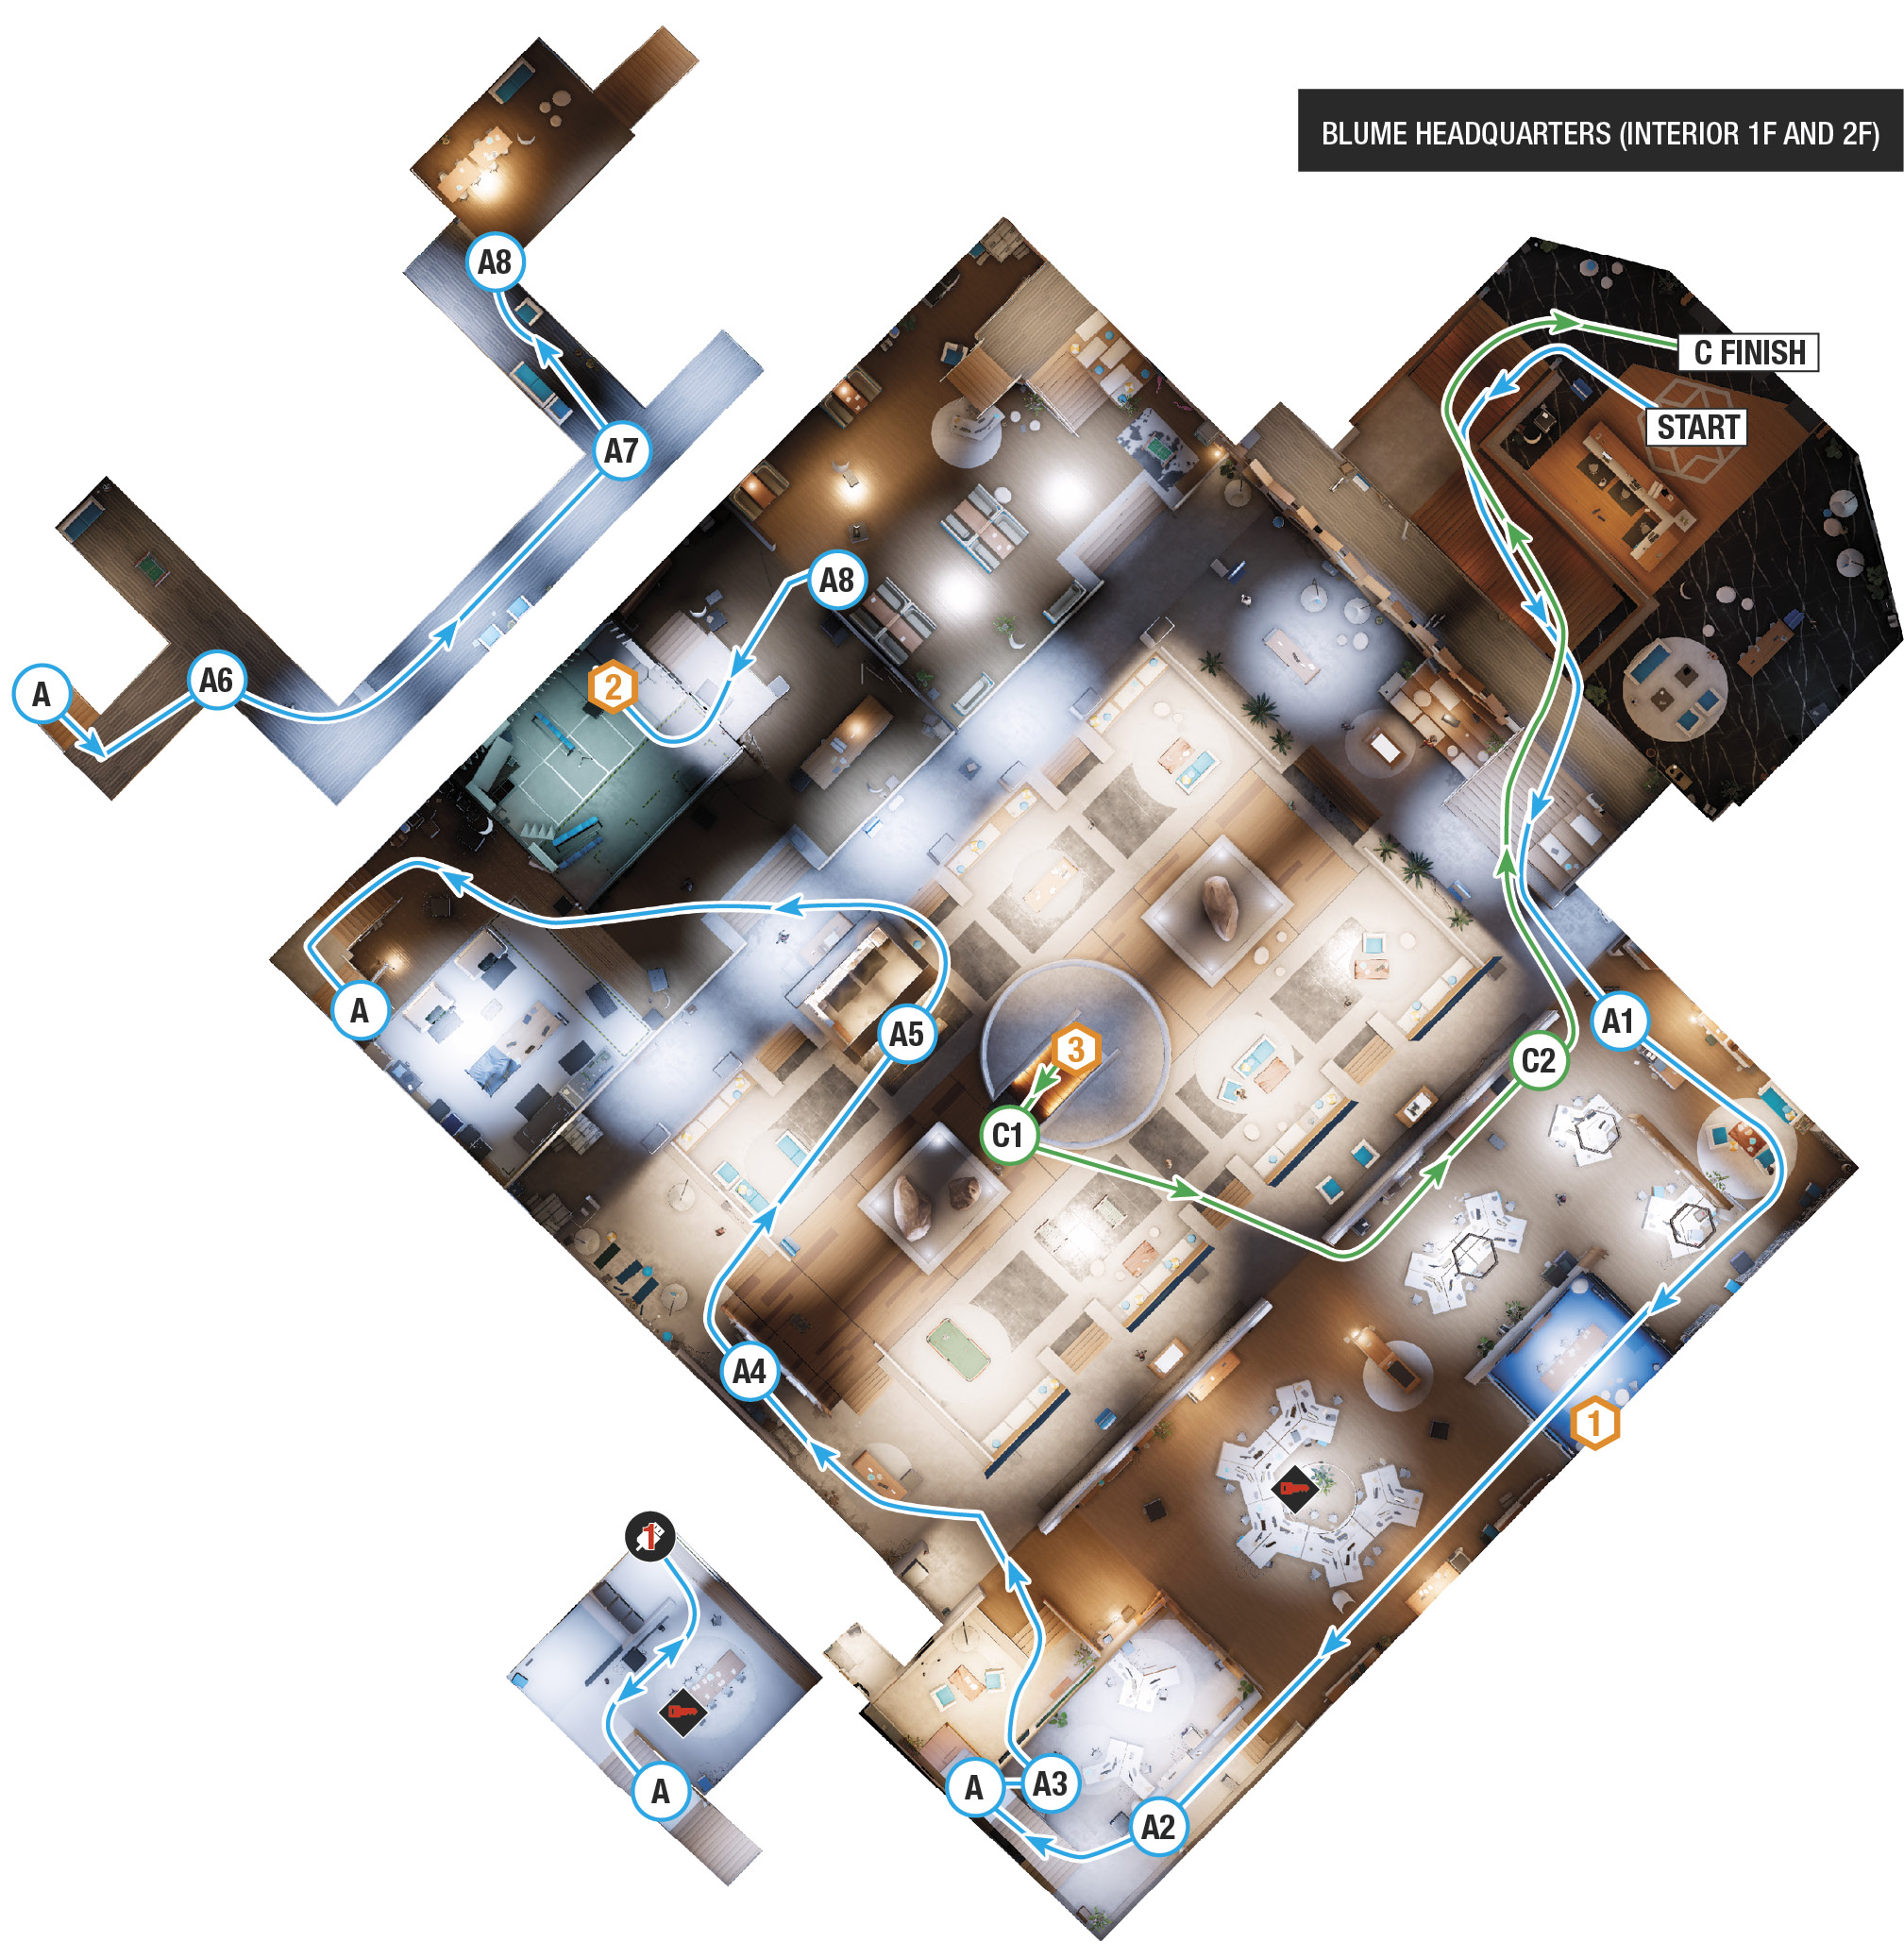
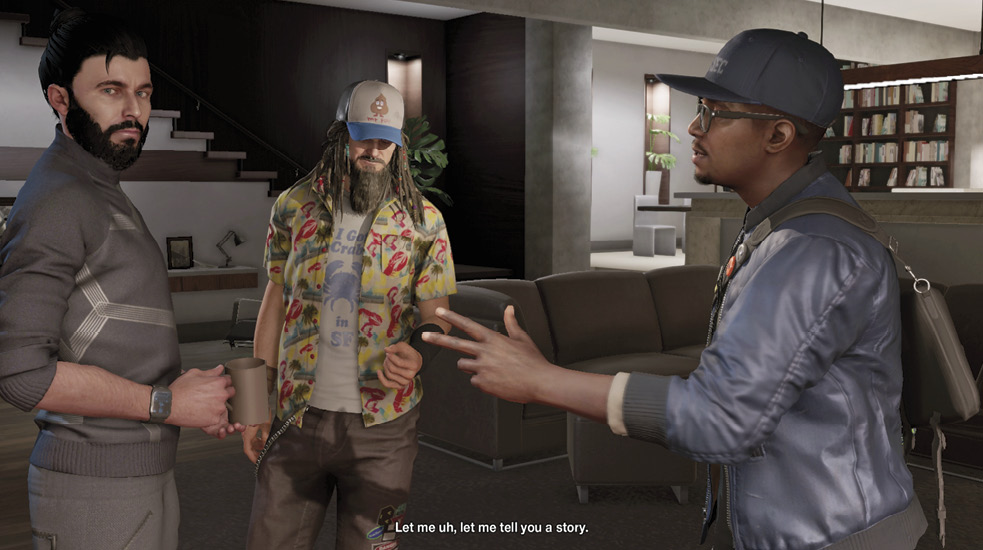
After speaking to Ray, head to the front doors of Blume and enter. Once at the reception desk, you have a few methods to complete the objectives:
|
 POIs and Objective Points
 Access Key (1 of 2)
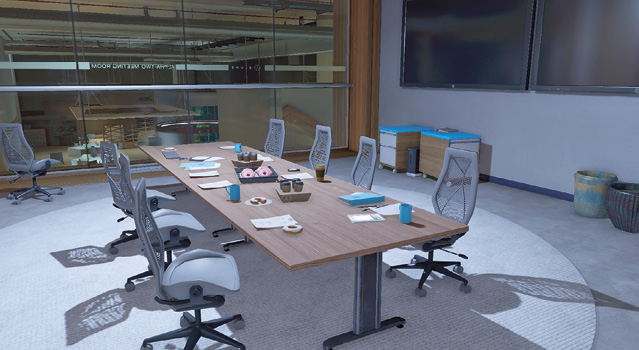
 Data Container (1 of 2)
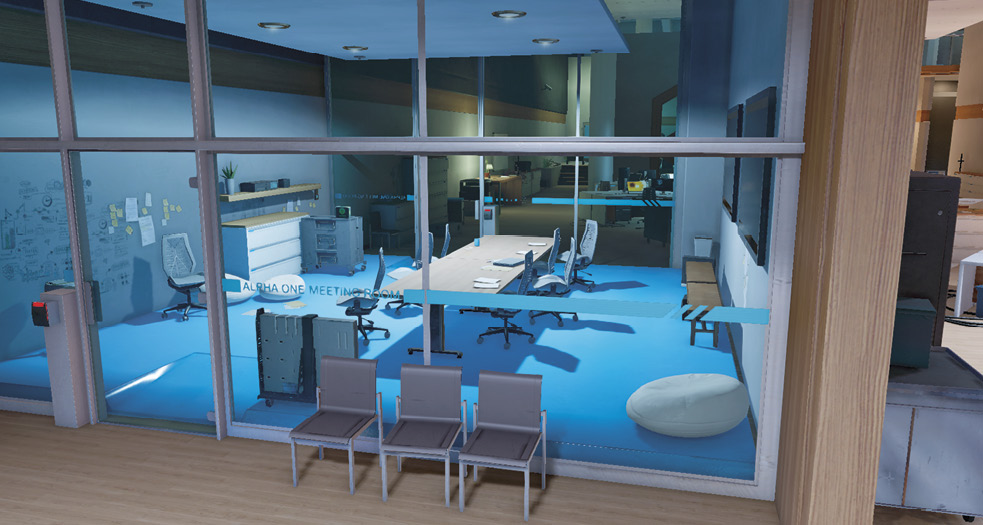
 Data Container (2 of 2)
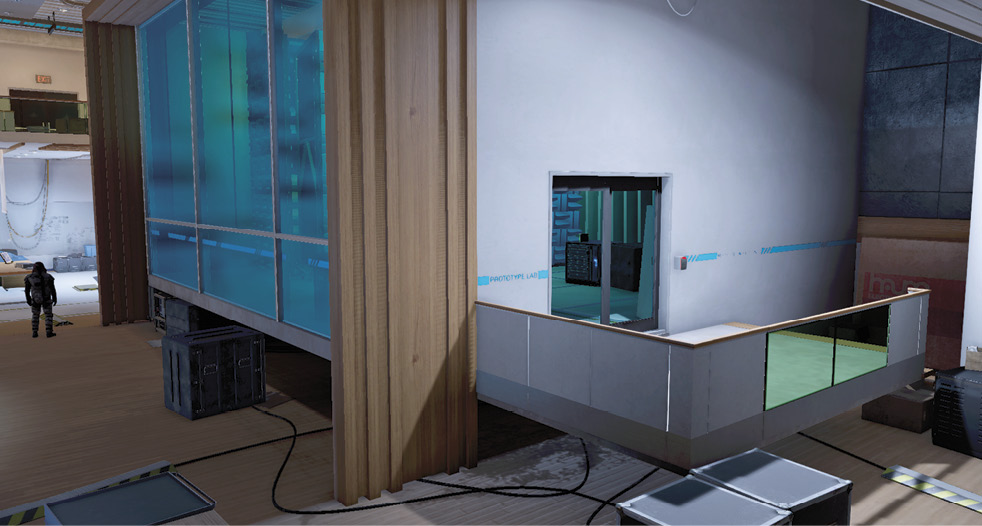
 Closed-Circuit Terminal
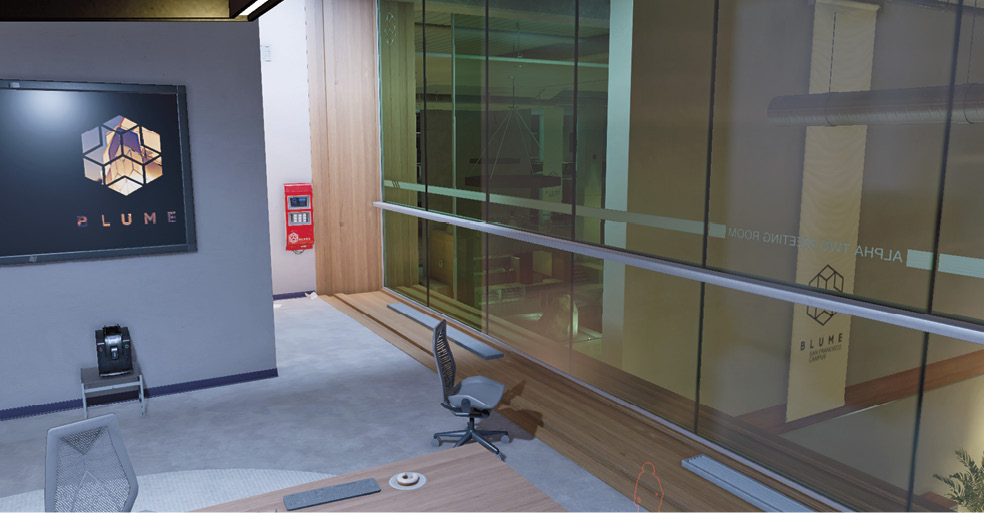
 Elevator to Air Gap Computer
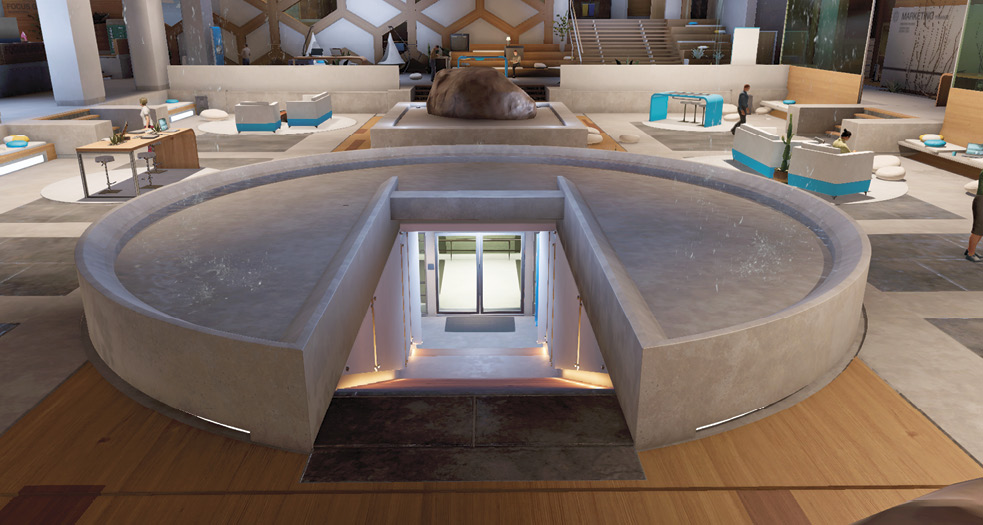
 Closed-Circuit Terminal (Basement)
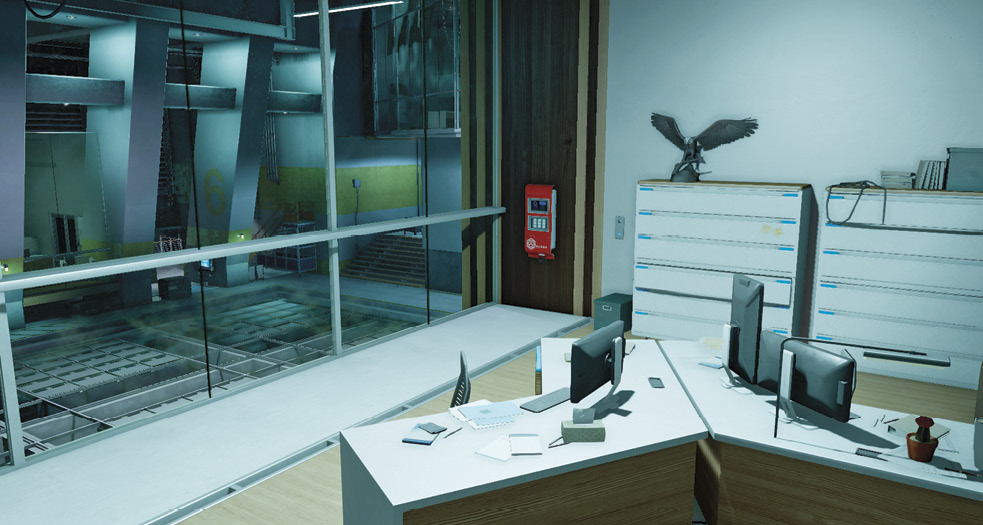
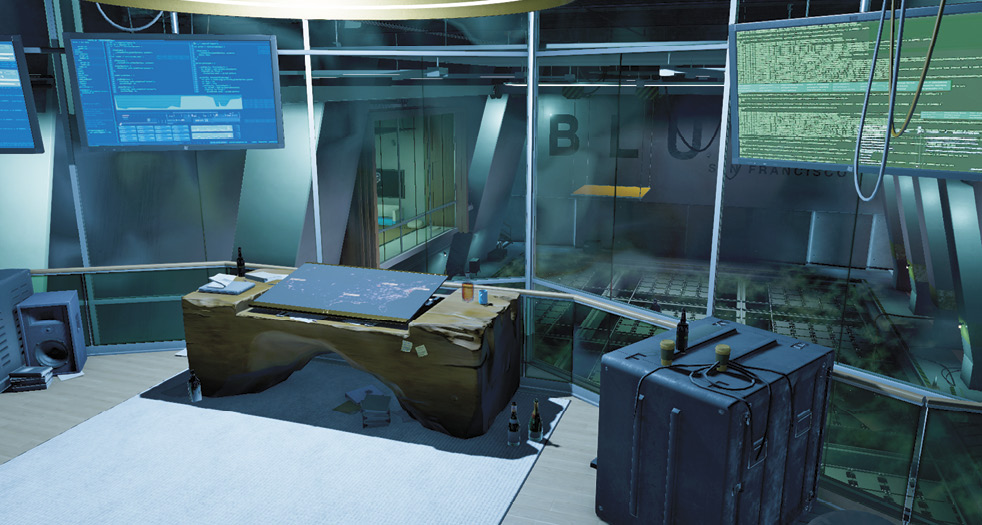
 Air Gap Computer
Paths To Completion
LOBBY TO ELEVATOR
As soon as you enter the lobby, plan on infiltrating using one of the following routes:
 In Full Blume

There are many ways to enter the elevator from the lobby reception desk, but the following is optimal, as it allows you to reach the elevator without alerting any guards. You can do this with or without guard interaction. Anything louder than strangling guards from behind alerts them, so throttling and phone distracts are the key to keeping every guard from being alerted throughout your time on this floor. Start by heading left (south) at the bottom of the stairs, into the side open-plan office (A.1). Distract the nearest guard while also distracting the guard in the distance who is carrying the access code.
Creep around the transparent wall and chairs, and strangle the first guard close to the glass conference room you can now enter. Then unlock the room, and creep to data container #1. Before you interact with it, distract the guard you just hacked the access code from with a phone call, so he doesn’t see you during the objective completion. Afterward, unlock the opposite door and strangle the guard. Or, distract the guard, strangle him, and then complete the objective.
Head straight out of the conference room, moving southwest to some steps and a locked door in the southern corner (A.2). Unlock the door, watching for the armored foe around the corner to the right. Step into the cover just to the door’s right, in the executive stairwell room. Distract the guard with a phone hack, then strangle him (be sure he’s near the crate you’re hiding behind, or you may be spotted). Then ascend the stairs, and unlock the CCT before returning to this same room (A.3). Leave via the doors to the left (heading northwest).
Stop! There are two guards nearby as you reach the main central area. Phone hack the nearest one first, behind the wall to your right (north); then hack the one patrolling under the giant Blume sign (near the pool table). Now step out and strangle the nearest guard (on the other side of the wall). Drop down into cover, hack the phone of the farther guard by the Blume sign again. Wait for him to reach the room’s south side, so the foes by the lab don’t see you, and strangle him. This only leaves the guards by the lab. Cross behind the giant wooden wall with the Blume sign (A.4).
Creep north, diagonally across to the cafe area (A.5) and around the corner to the left, using the concrete stair area with the blue cushion as cover. Ring the phone of the guard standing here, then strangle them at the top of the steps (A.6). Move west, up the stairs by the glass lab wall. Throttle the armored guard at the corner of the lab building. Then ascend the walkway stairs.
Hide behind the white covered sections of balcony glass, and throttle the two guards up here as you cross the balcony heading northeast toward the entrance. After you strangle the penultimate foe on the balcony above the offices (A.7), drop down into the office and creep up on the final guard (A.8). All these guards should be distracted with phone calls first. Then access data container #2 and head for the elevator.
In Full Blume (Alternate)

From the reception, head down the initial set of steps, stopping at the corner before entering the main chamber. Produce the RC Jumper and follow the same route as Path A. Simply pass foes after distracting them with the phone hack. After you unlock the CCT (you can use the vent in the main chamber’s south corner, though it isn’t as optimal as Path A), head for the two guards in the main area. One is by the wall; the other is by the huge Blume sign. Distract them both with phone calls and boost behind the Blume sign. Then steer the RC Jumper north, up the steps left of the café, up the wide shallow steps, and under the lab floor. Peek out under the lab entrance door, then leap onto the deck and open the door, accessing data container #2.
Leave your RC Jumper and simply jog from the entrance stairs, over the water feature, and drop down the sunken stairs to the elevator. It doesn’t matter if foes see you, as you can reach and activate the elevator before they arrive.
Everyone Goes Boom

If you aren’t feeling the need to keep Blume’s guards alive, try to reach one of the following locations:
- The lobby: retreat back to the top of the stairs after firing on one of the guards.
- The executive office area: this is where the first CCT is. Stand at the top of the stairwell.
- Mow down foes from either choke point, and employ explosive grenades if you like. However, you may wish to save these for later.
Paths To Completion
BASEMENT INFILTRATION
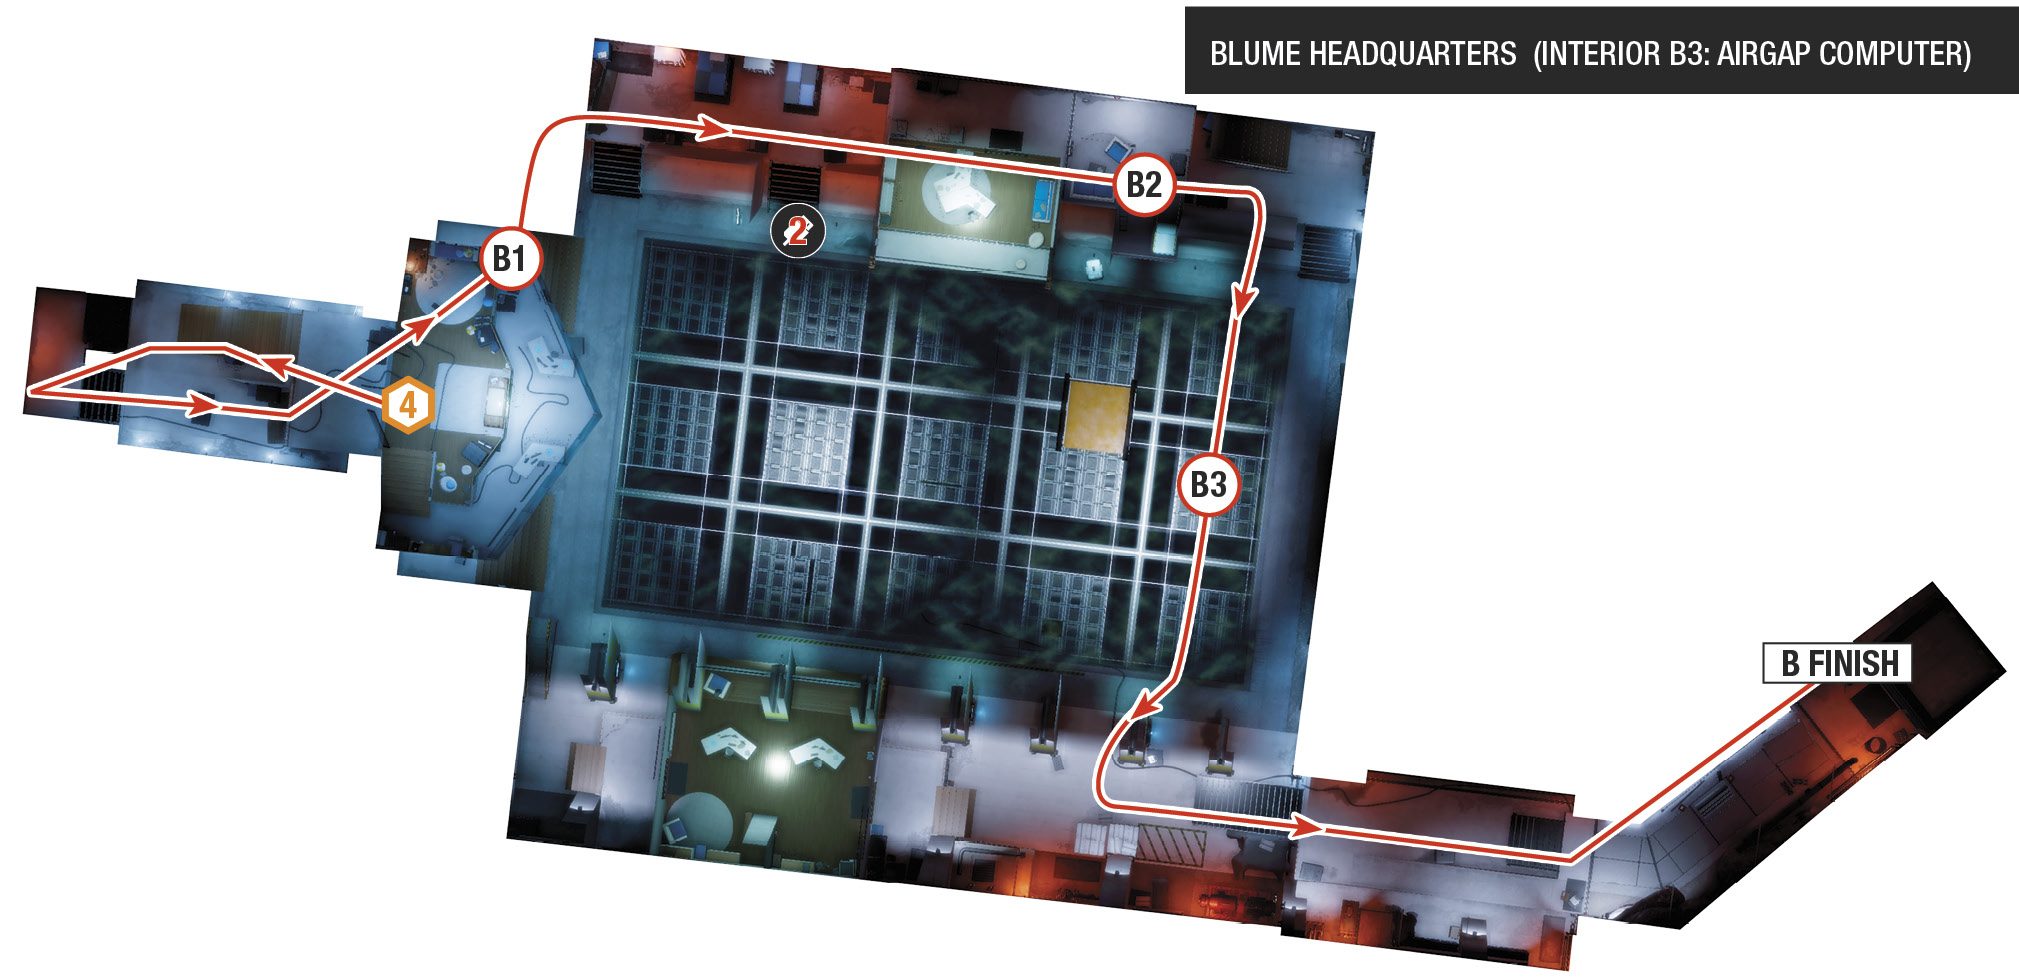
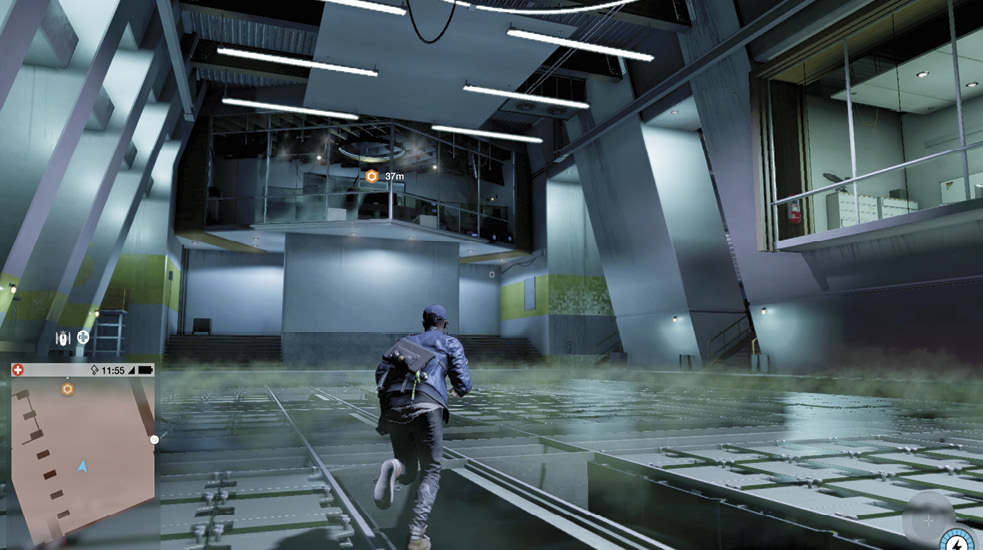
Now in the bowels of Blume, head into the giant server floor and use NetHack to seek out the CCT. There are no enemies at the moment, so you are free to explore and perhaps make a couple of dummy runs from the Air Cap computer to the elevator, prepping for an escape route. Then hack the Air Gap computer.
BASEMENT EXTRACTION
Heavily armed and armored enemies are entering the basement via the elevator you used. You are outgunned but certainly not outmatched, as the following plans demonstrate:
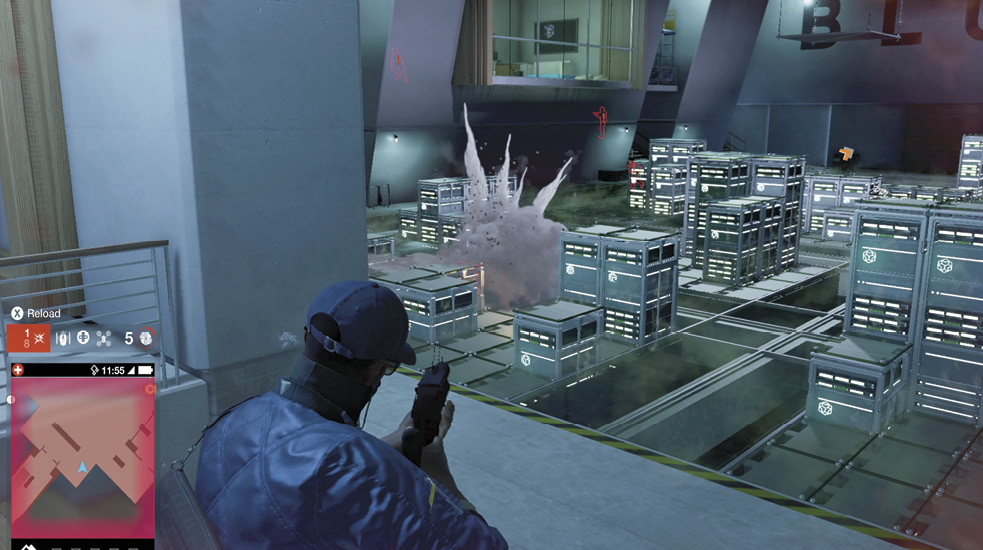
 Mind the Gap

Leave without encountering any foes by running down the stairs, then immediately left, passing the crate by the steps. Run northeast across the corner of the server floor (B.1) and up the steps to the corridor behind the room with the CCT. Continue to sprint west along this orange-hued corridor (B.2), past the Blume crates to the metal stairs at the northeast corner, and use cover. Then creep south along the perimeter of the server floor (B.3) before making a left turn (west) up the metal steps to the exit corridor and elevator.
In a Flap

An alternative to fleeing is to follow the same path, but when you reach the northeast corner, wait for the foes to spread out. Then head down the steps and use the raised server units in the main floor as cover. It’s easier than you’d think to tase or strangle foes one at a time while using the servers as cover. When you’ve subdued four or five foes in this manner, hunt down the rest before leaving.
Time for a Scrap

The enemies here are the toughest you’ll encounter, so an SGR-12 shotgun is a good weapon, as it blasts through the massive armor some foes are wearing. Otherwise, use the tried-and-true “tase, then execute” technique. Other plans include:
Remaining at the control center, waiting for foes to breach the stairwell, and lobbing grenades at them, or firing at them at this choke point.
Running to the server floor and using the servers as cover.
Running to the orange cargo corridor along the north wall of the area and using that to step out, execute, and step back in.
Though grenades are useful, it’s best to conserve them for the final part of your escape.
EXITING BLUME
There’s overwhelming force heading down the lobby stairs as you reach the recreation chamber on Blume’s main floor. How you deal with them depends on your tactical preferences:
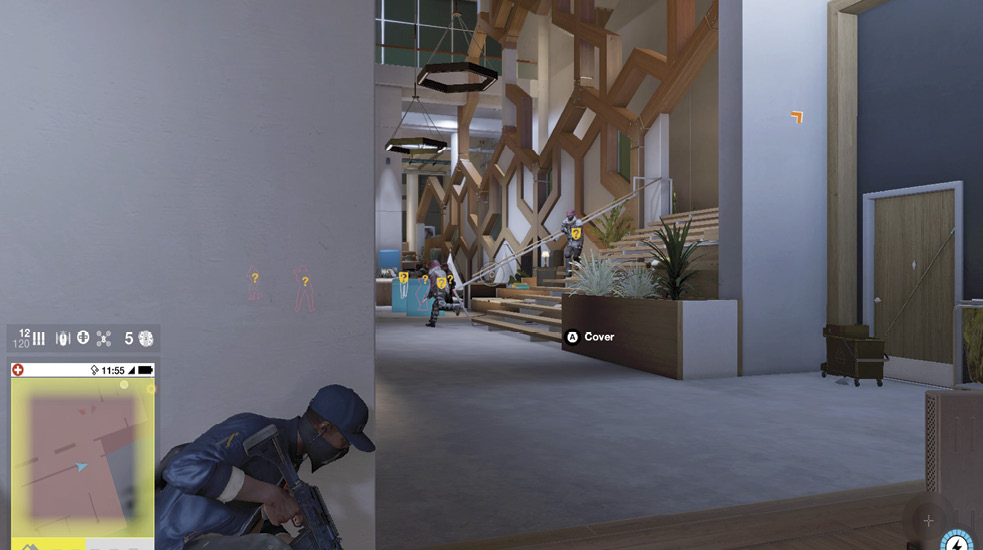
 Time to Flee

Head left (southeast) at the top of the sunken stairs (C.1), heading to the office area where you hacked data container #1. Hide by the large wall, looking up the exit stairs to the lobby—and your escape objective. Wait for the guard forces to descend the steps and start to fan out. Hide behind the small vertical server rack (C.2) and pull in the first foe that stands right next to you. Because he’s on the same side of the wall as you, no one sees the melee throttle. Two or more foes may head this way; do the same to them until there’s a clear path. Then sprint directly to the exit.
Trickiness Is the Key

Need to thoroughly embarrass the Umeni Security Forces? Then remain in this southeastern office area, hiding near the circular set of desks near the executive offices, and wait for more foes to visit you. Then hack their phones so they’re incapacitated and tase them, or run up and throttle, until no more enemies are available to subdue.
A Final Killing Spree

If you’ve been waiting to use your explosive grenades, now is a great time to set up some traps at the base of the stairs. Rig a grenade to try taking three foes at a time by lobbing it when the foes are milling about before they separate. You can even hide behind the small Blume information sign near the agave plants at the bottom of the stairs.
Then retreat into the southeast office area. Find a location with two corridors of movement (like the glass conference room), lay explosives at each side, and prime them. Then watch as foes are defeated attempting to reach you. Blast or tase others not playing ball with this plan. After you neutralize ten foes, you can escape with no further threats present.
You leave Blume but not until you meet Dusan and give him something to think about. Back at the Hackerspace, DedSec releases its final media blitz (for now), and the Main Operations conclude.