
Watch Dogs 2 Guide Main Operations HAUM Sweet HAUM
6. Operation—The Horizontal and the Vertical
Objectives
Difficulty
RewardsDedSec Followers: +87,000 Fidel Cap WKZ BriefHack into the launch of HAUM 2.0 and show the users the BS they’re really buying. Hostiles
Location
|
 Meet up with Wrench.

 Umeni Security Corps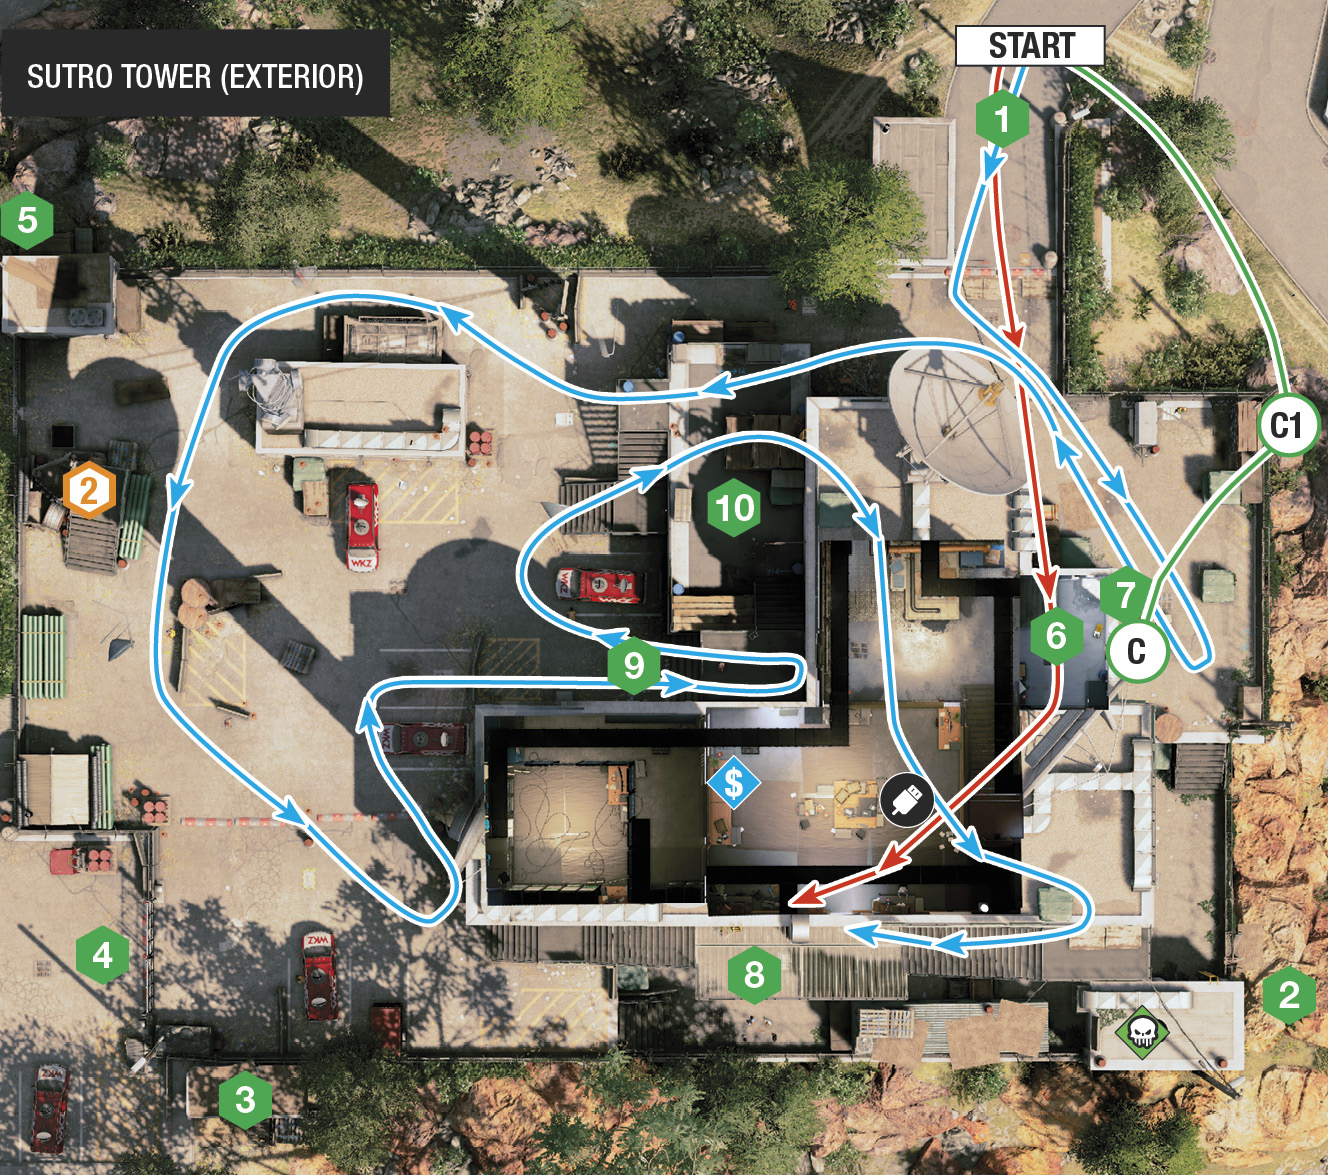
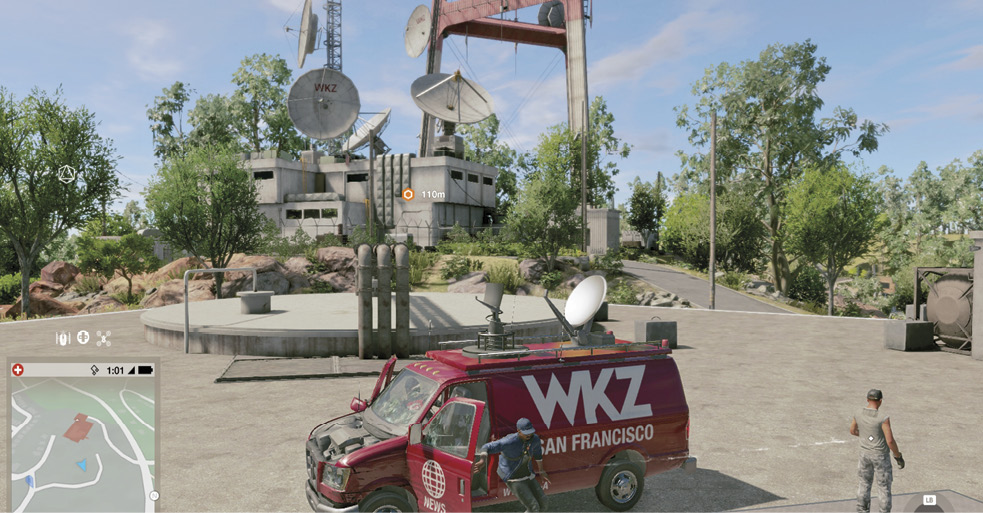
Drive back to Wrench’s garage. He’s acquired a WKZ van. After planning your vacation, drive up the twisty road to Sutro Tower. Get out and start to plan the following infiltration:
Infiltration PointsThis compound has a large number of outer and inner infiltration points to consider:
This is the nearest entrance to your mission start and is overseen by a guard who patrols the cabin and the pathway southwest of the cabin. It’s the “usual” insertion point to this facility. Note you can jump over the rocks outside the perimeter fence using the RC Jumper with the enhanced Jump skill. 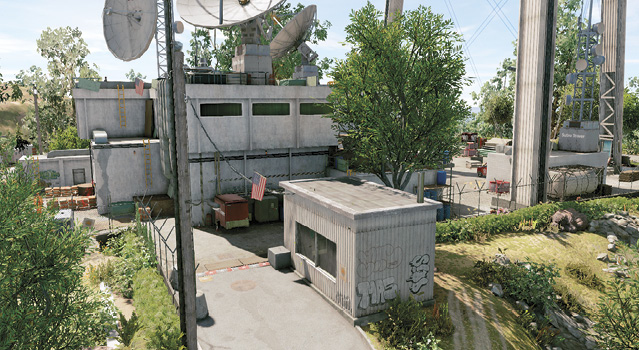
Use the rocky outcrop on the edge of the perimeter fence to easily scale the roof of the concrete shed in the southeast corner of the grounds. Note that the RC Jumper can leap the wire fence at this point (with an enhanced Jump skill).
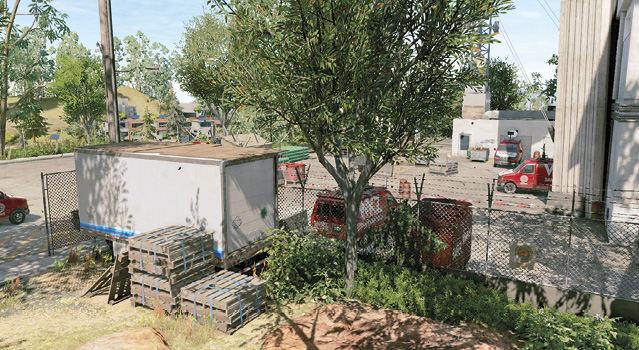
This area to the southwest allows easy access (or views) into the main parking lot. Because the truck isn’t technically inside the restricted area, the guards won’t become violent, though they can become aware of your presence. There’s also a gap in the fence just left of the container truck, allowing access to the parking lot. 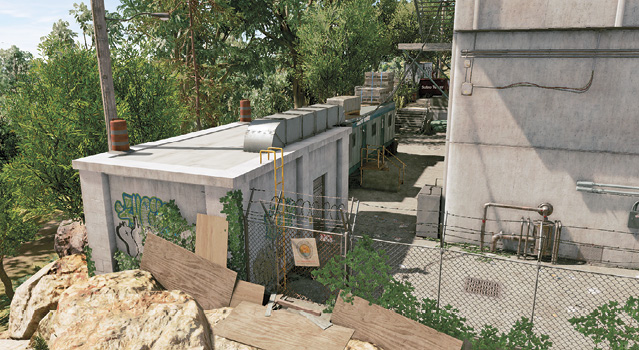
The driveway ends at this point, at a smaller parking lot and the building’s main loading docks and parking area. This area is open, making it tricky to navigate without being seen, but there are numerous hackable objects to divert attention, such as the forklift, transformer vault, junction boxes, and gates. 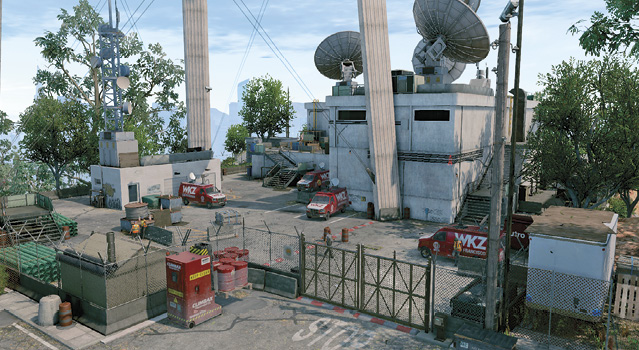
Follow the perimeter fence to the northwest corner of the facility. Climb on some low scaffolding to reach the roof of a small storage garage. This is a good spot from which to watch proceedings, snipe, or flee to and from, as you can enter and exit from this point. Take note of this as a possible escape route. 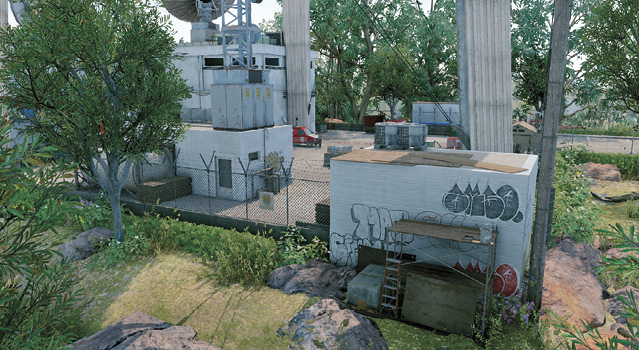
Once you’re inside the perimeter, learn the additional infiltration locations to utilize.
Two ladders leading onto the roof are accessible from IP 1 and provide immediate access to the roof. Consider them an excellent method of gaining height, though watch for two patrolling guards once you’re on the roof.
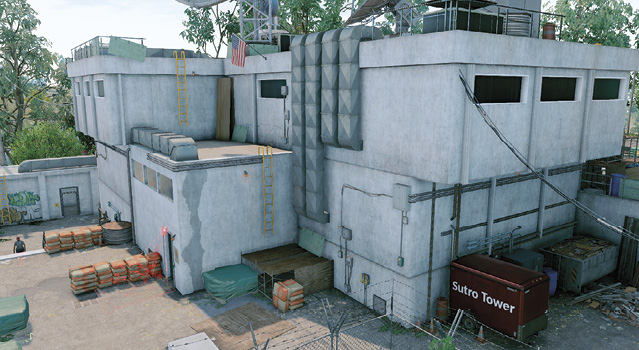
The northeast corner of the control building has a well-guarded door. A motion detector is above the door, and a guard patrols the side yard. Note the floor vent gate just left of the door. Simply hack this to gain easy access to the lower interior stairwell. 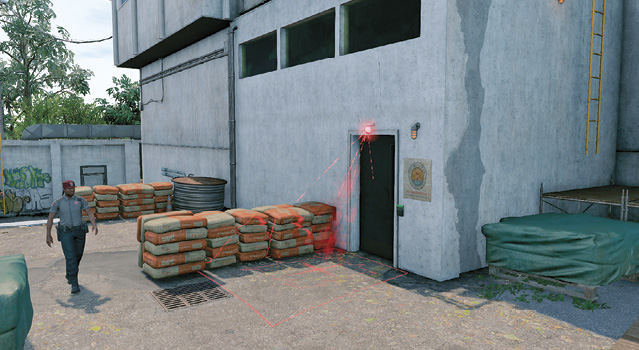
This is another method of entering the roof (from IP 2 via the low storage roof and pallets to the midway part of the gantry and IP 3). It is usually guarded by a foe near IP 3, and a roof guard periodically descends the stairs. This allows access into the upper interior control room—your objective location—though the door needs to be unlocked from the roof. 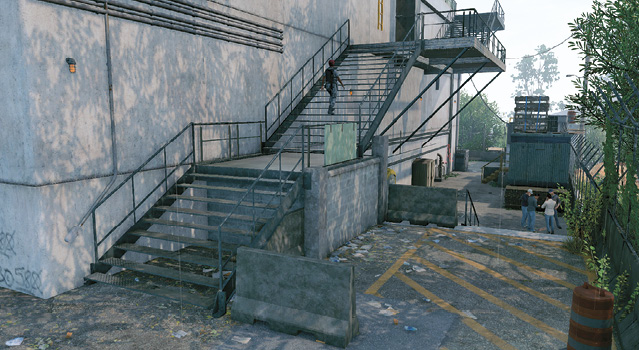
The steps lead to a door that is easily hacked and can be entered via this partly enclosed concrete steps from the parking lot. It takes you to the lower interior stairwell. 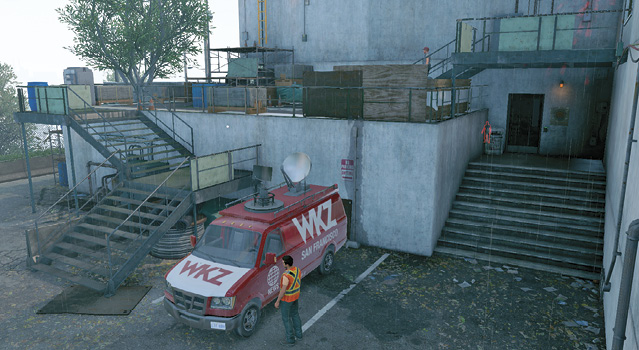
The low building roof overlooking the parking and unloading yard has two possible IPs—some wood planks and scaffold to a roof ladder, as well as gantry stairs leading up to a door with a motion detector above it. Watch for a guard on the low roof, another on the high roof, and more in the yard, making this a tricky IP. If you want to enter the control room without needing to unlock any closed circuit boxes, this is the door to take. 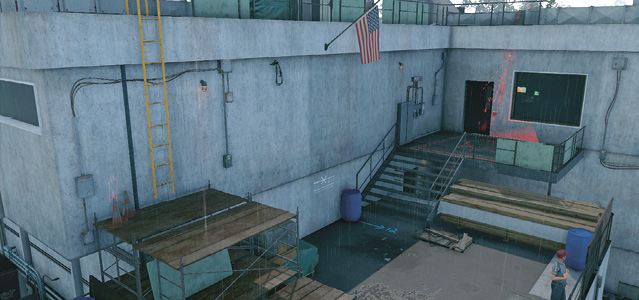
|
 Northeast Security Cabin:
 Rocks and Barrel Storage Shed:
 Pallets to Container Truck Roof:
 Main Vehicle Entrance:
 Storage Garage Scaffold:
 Roof Ladders:
 Motion Detector Door:
 South Gantry Stairs:
 Parking Lot Steps Entrance:
 Roof Ladder and Motion Detector Door:
|
 POIs and Objective Points
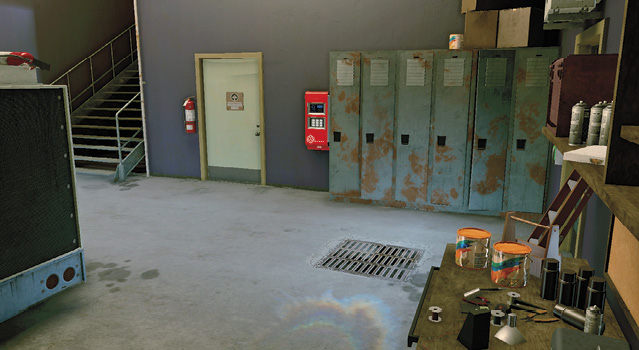
 Closed-Circuit Terminal (Lower Interior Stairwell)
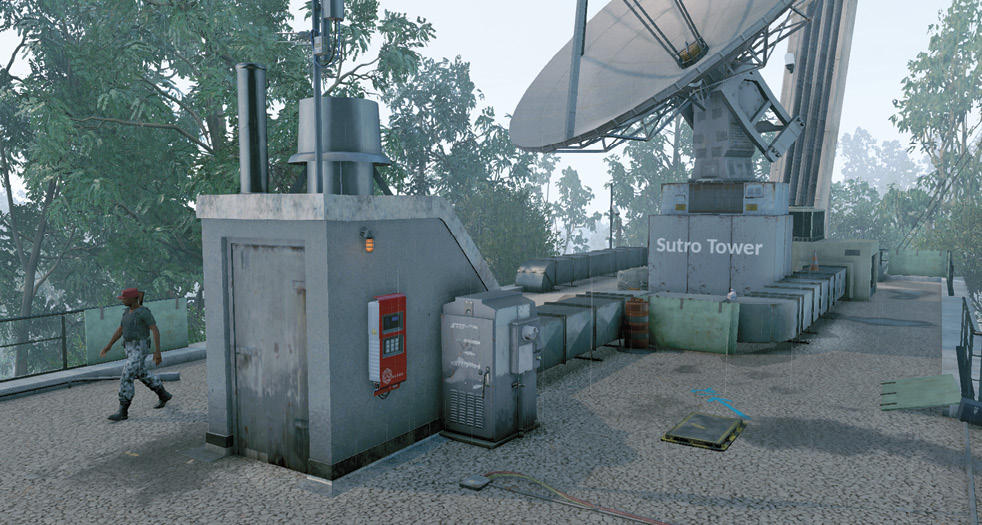
 Closed-Circuit Terminal (Upper Roof)
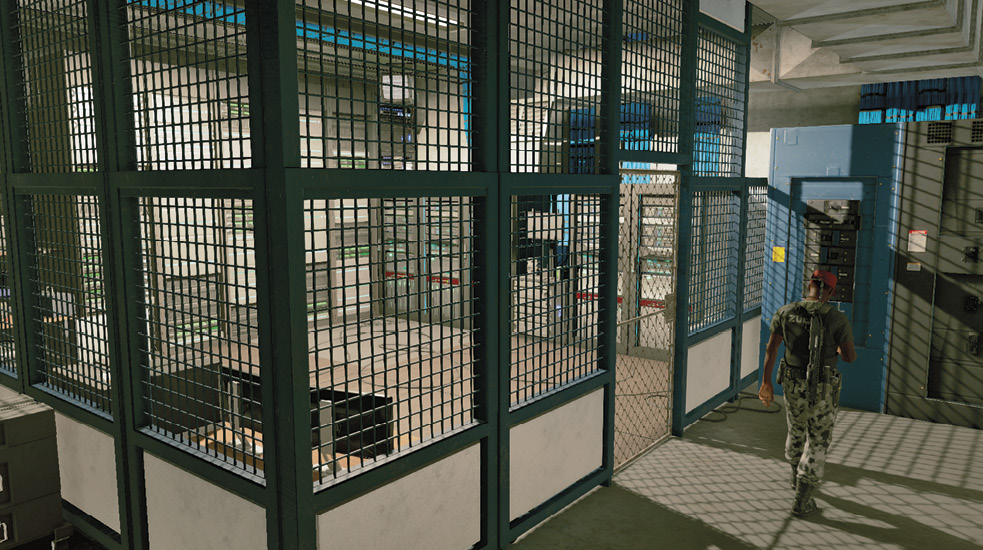
 Data Container (Interior Control Room)
Paths to Completion
There are many ways to secure Sutro Tower. Here are some of the finest:
 Pure Muscle

This path single-handedly allows you to neutralize all guards using strangulation and allows you to unlock both CCTs and obtain any collectibles. Begin by sprinting across to IP 1. Wait around the corner for the guard to enter the security hut (A.1) and strangle him.
Quickly move left, passing the two ladders to the roof. Strangle the guard when his back is turned. He is between the two sets of cement bag pallets (A.2). Do this before he reaches his stationary guard post below the motion detector and door in the grounds’ northeast corner.
Head back toward the security hut, and climb the ladder by the pile of rubble (A.3). To the left is a guard on the concrete deck overlooking the parking yard. Strangle this chump, then vault over the railing at the top of the metal stairs, right of the parked van. Your next victim is the guard standing at the far side of the parking yard. Head right, then straight (east), passing between the back of the garage (left) and perimeter fence (A.4). Turn left (directly under the Sutro Tower mast), and take cover behind the concrete barrier and wire spools. Use cover, sneak around the pallets, and throttle him!
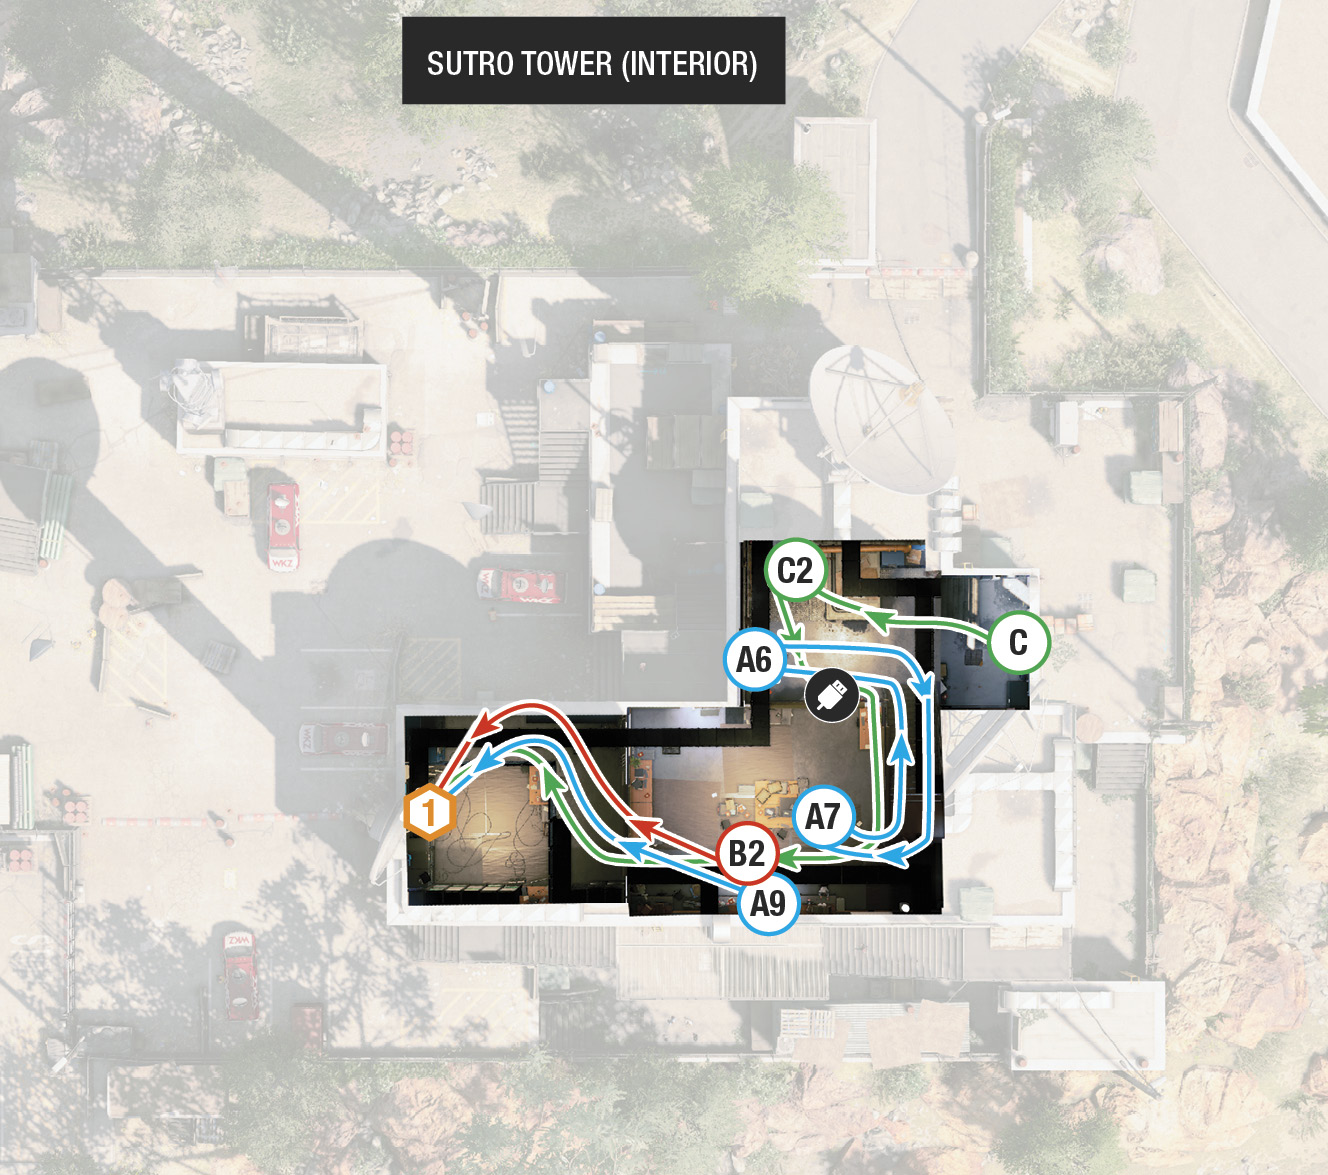
Head southeast across the yard between the vans to the metal stairs leading to the roof. There’s a guard patrolling here, so hug the main building corner to the left (A.5), dart out, and grab her. Backtrack around the building and head north to the hackable door (that doesn’t require a CCT to unlock) under the metal deck (A.6). Hack it from a distance. The guard inside is startled but tends to move away. When his back is turned, enter the stairwell, throttle him, and unlock the CCT.
This opens the door atop the stairs that leads into the control room. Hack it, use cover on your right as you head up the stairs, then sprint right and enter the control room (A.7).
You’re almost done: Backtrack out to the yard, head up the metal steps near the van to the concrete deck, and use the ladder above the scaffold and wood platform to reach the roof’s north end (A.8). This provides better cover so you can easily sneak up behind and strangle the last guard near the other CCT here. Now grab the key data and collectible, before unlocking the second CCT, hacking the other door (on south gantry stairs, A.9) to the control room, and completing the objective. Nice work!
 Pure Hustle

This minimizes casualties and maximizes stealth. Rush IP 1, sneak past (or tase) the guard at the security hut, then climb the two ladders (B.1). Either tase or subdue the roof guard. When the second guard heads up the south gantry stairs, step out and subdue him too. Gather the key data while you’re up here.
Optionally hack the CCT on the roof (especially if you wish to reach the objective on foot). Move to the roof’s southwestern end (under one of the giant footings of Sutro Tower) and produce the RC Jumper. Move it to the AC duct on the roof’s south edge (B.2). Drive into the duct and hack the grill so you drop into the control room.
Network Bypass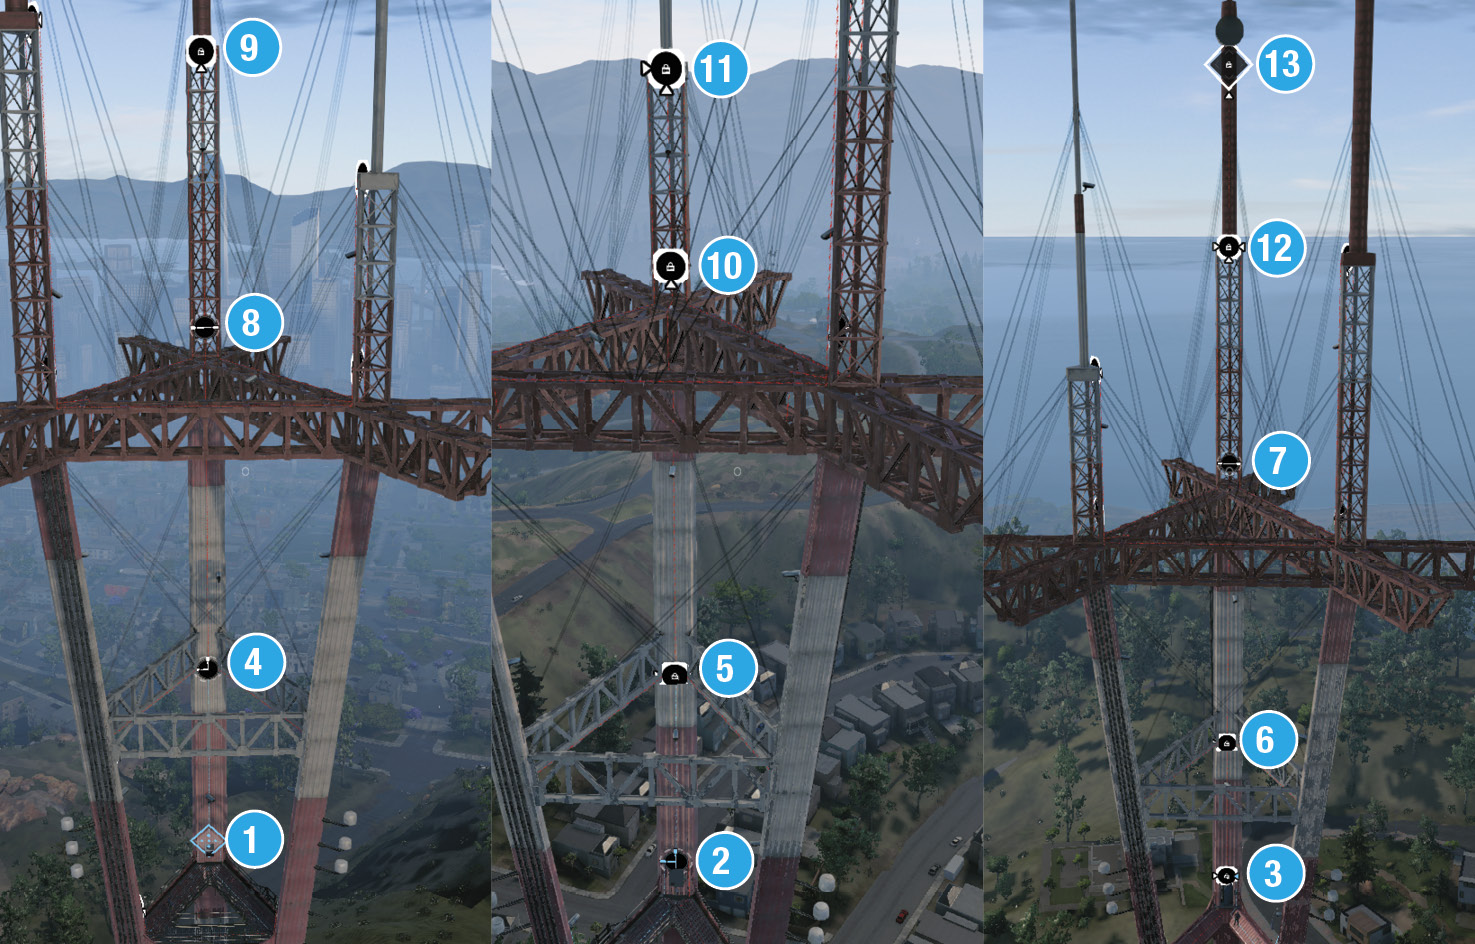
1: Unlock. 2: Turn x1. 3: Unlock. Turn x2. 4: Turn x2. 5: Unlock. 4: Turn x1. 6: Unlock. Turn x1. 7: Turn x1. 4: Turn x2. 8: Turn x1. 9: Unlock. Turn x3. 5: Turn x1. 10: Unlock. Turn x1. 11: Unlock. Turn x3. 12: Unlock. 13: Cycle to top camera. Unlock. Puzzle complete. |
If you see an additional guard in here, be very careful in your maneuvering: wait for him to patrol past the duct you’re hiding in, or dash out and hide under an office table. Then speed into the server room to hack the objective data container.
The same route can be attempted on foot, too. Expect the remaining foes to be alerted after the objective.
 Jumper Rustle

Need complete remote domination? Move on foot to the northeast area outside the perimeter so your RC Jumper is never out of range. Drive your RC Jumper onto the rocks and over the fence (C.1). You’ll need the enhanced jump for this. Or you can scoot by via the security hut. Then head to the ground vent between the two cement bags, by the door with the motion detector (northeast exterior). Open the vent and trundle inside and up the stairs. Jump on the mechanical equipment behind the guard in the stairwell area (C.2).
Distract her by hacking either exit door or with a phone call; then scoot in and hack the CCT. Drive up the stairs to the now-hackable door. Open it, dash into the control room, and head straight for the server room.
Avoiding the Bustle

Another option is to drive your RC Jumper directly onto the roof by either jumping onto the cabin along the south perimeter (to the south gantry steps) or driving up the steps from the southeast corner. Locate the AC vent on the railing side, looking north over the western parking yard. Open the grill and drop down the vent. You land in the duct work. To the south (inside the duct) is access to the interior stairwell and CCT. To the north, then west is access to the control room. Keep going to the second opening on your left; you can drop into the server cage room completely unnoticed and complete the objective.
A Bit of a Tussle

What happens when it all goes horribly, horribly wrong? There are two locations where you have decent cover and can manage enemies attempting to outflank you.
The first is the main roof’s western side, close to one of the tower pillars. You can manage enemies coming up all the ladders and the gantry stairs and still remain in cover. If you arrived here by bike, move to IP 1.4 and drive the bike up the south gantry stairs. Don’t forget to leave proximity traps for anyone brave enough to scale the ladders!
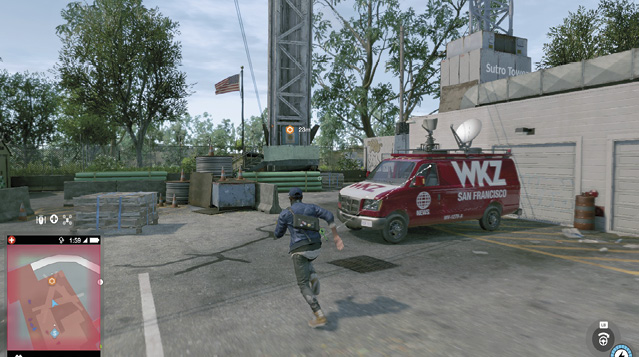
The second is IP 5. This storage garage in the northwest corner of Sutro Tower offers a view of the driveway where reinforcements may be arriving and views of the roof and most entrances. It is also a good place to flee to or advance from.
With the system rebooted, head to the elevator and ride it halfway up the massive communications tower. Note the elevator objective is in the northwest corner of the restricted area. The easiest way to reach it is to remain outside the perimeter fence, and access it via IP 5 (the storage garage scaffold).
Climb onto the elevator and ride it up. Any foes not subdued are still active, so be careful!
At the top of the elevator is a Network Bypass requiring some Quadcopter vertical flying. No drone? Then use the cameras (you must hack the camera at the highest point in the tower to complete the puzzle anyway). Solve it as follows:
Now move the dish to align it with the WKZ studio. With the rest of the crew at Sutro Tower, you watch a live TV demo of HAUM that goes slightly awry. This operation now concludes.