
Watch Dogs 2 Guide Main Operations False Profits
5. Operation—Blasphemer
Objectives
• Get into the temple’s basement. • Investigate the tablets.
Difficulty
RewardsDedSec Followers: +69,000 Newly Dawned Pinstripe Jacket BriefWhat kind of embarrassing secrets is the New Dawn Temple hiding? Time for you to find out with Jimmy Siska’s help. Hostiles
Location
|
 Meet Jimmy near the New Dawn Temple.
 Find the Sumerian tablets.
 Escape the temple grounds.

 Umeni Security Corps
 New Dawn Temple, southwest of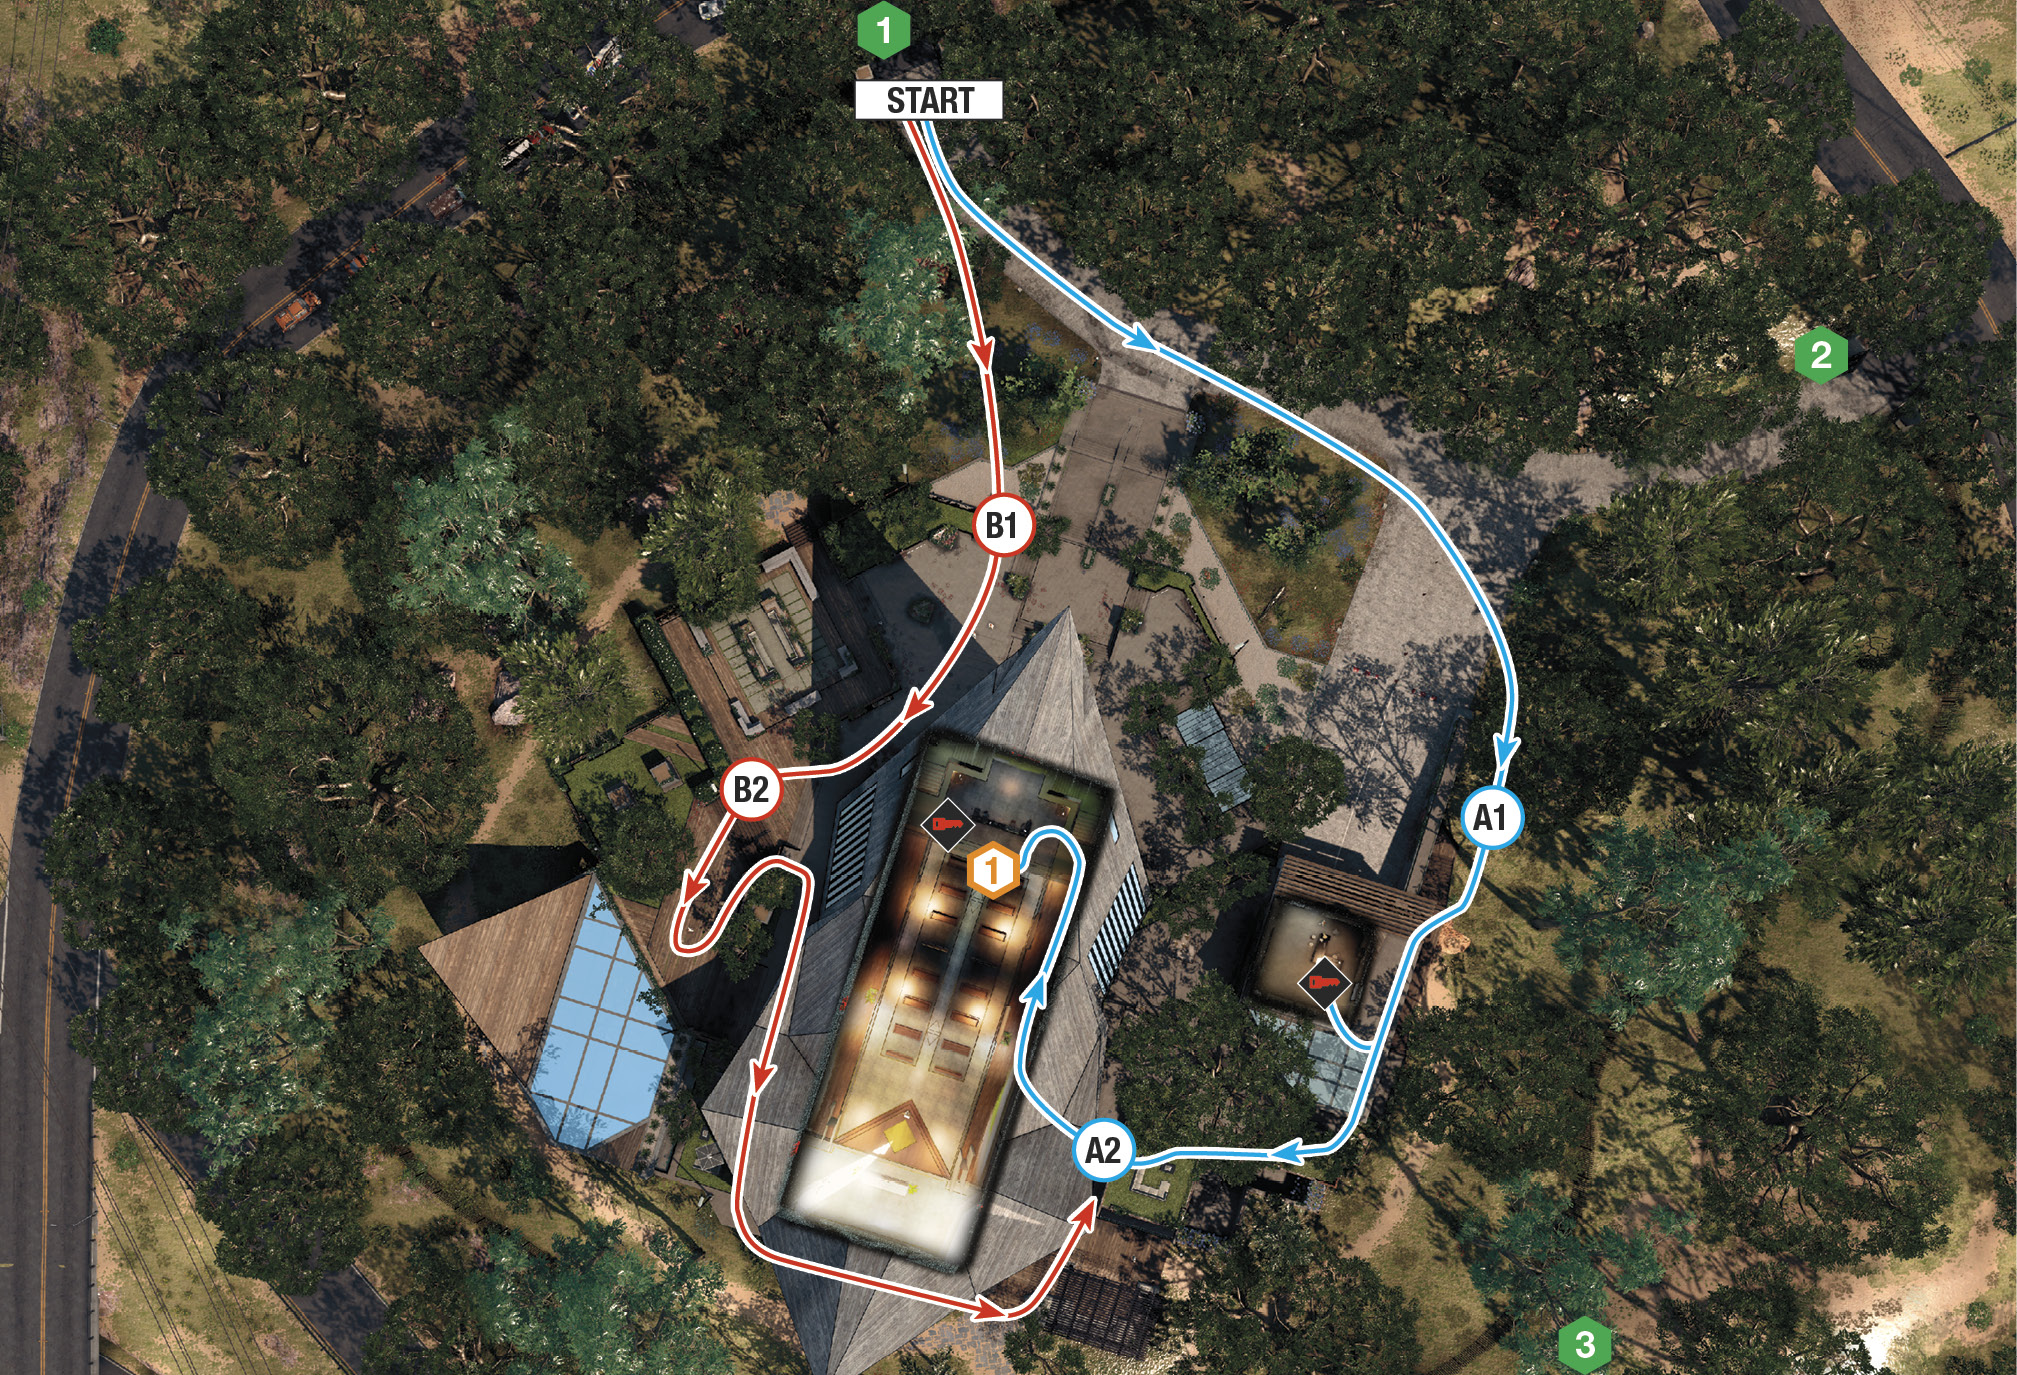
Proceed to the objective marker where Jimmy Siska is waiting; it’s a lookout on the edge of San Bruno Mountain, adjacent to where the motocross events are held. Start the mission and speak with Siska, who’s here incognito. He tells you the secrets of the New Dawn are hidden in a clandestine basement, accessed via a lift inside the building. Here you’ll find ancient Sumerian tablets, said to have been written by the visitor himself—or some polystyrene fakes. It’s up to you to find out.
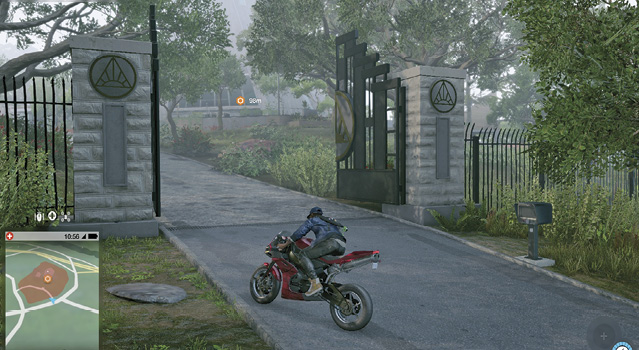
The road in front of the main Temple gates is the perfect place to appropriate a bike and drive it into the Temple. Use it as a quick getaway vehicle, or in other, more hilarious ways). Unlike the New Dawn’s spiritual compound, their Temple has a mostly sturdy fence around the perimeter. But there are still a couple of main infiltration points:
Infiltration Points
These gates are open. There are no guards in the immediate vicinity; simply drive through the gates on your bike and park out of sight. 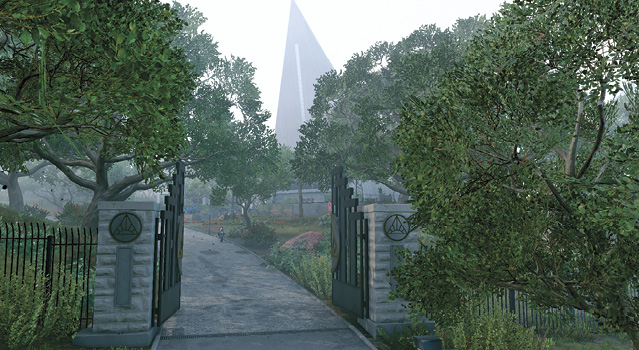
The map icon shows a good place to bring a vehicle, park it on the rocky terrain, jump on the roof, and hop over the fence, though this a little laborious. 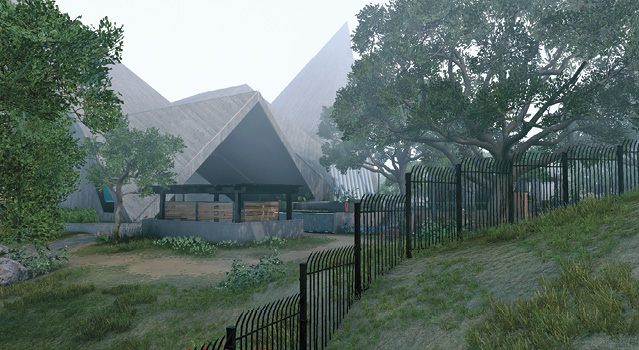 |

 Main Gates (North and Northeast):
 Metal Fencing (Perimeter)
|
 POIs and Objective Points
 Access Key (Guard Office)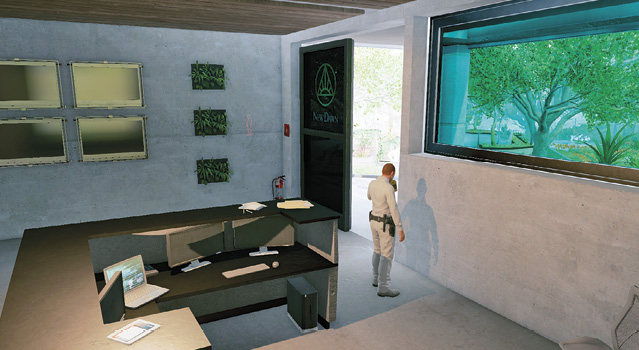
 Access Key (Temple Balcony)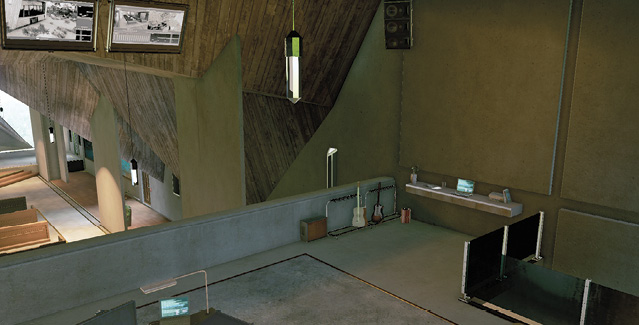
 Closed Circuit Terminal (Garage)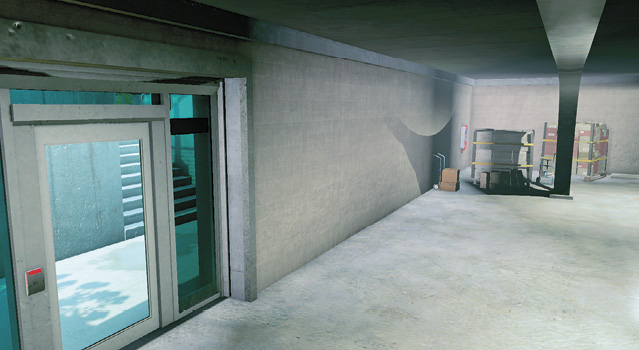
 Security Router (Temple Balcony)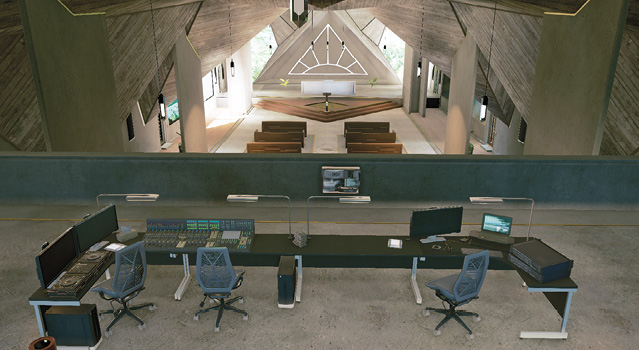
 Lectern (Temple Interior)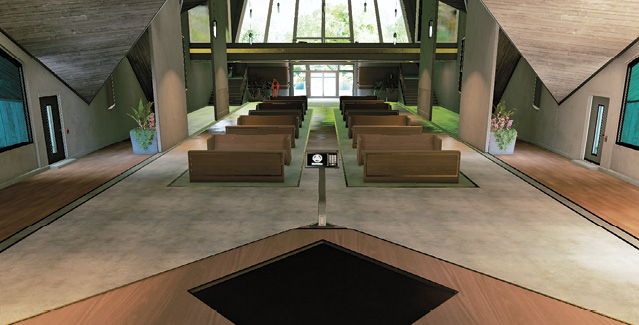
 Ancient Sumerian Tablets (Viewing Chamber)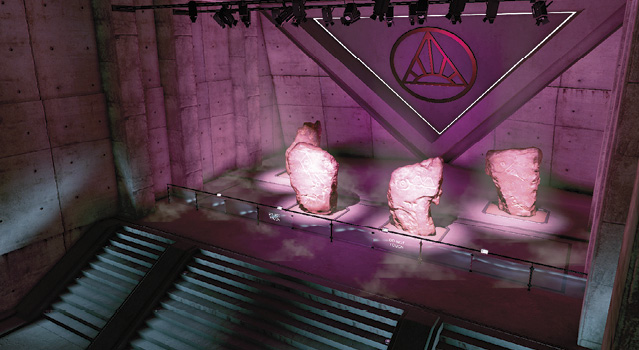
Paths to Completion
At this point, you can begin an insertion into the Temple. Naturally, there are multiple paths to take. Begin by using NetHack and tagging all guards using your Quadcopter or cameras. Note that the doors to the chapel are locked, requiring an access key. Then pick a plan:
 Across the Lawn

This plan allows you to use maximum stealth with minimal enemy interaction. Remain on the grass to the driveway’s left, moving around the perimeter of the grounds. Head south toward the sunken garage with the guard office atop it (A.1). Move up the steps to the left, use NetHack to pinpoint the guard inside, and enter via the open side door. Throttle or tase the guard, then hack the laptop on the desk to obtain the access key. Deal with the second guard outside before or after the first, depending on where he is. Or distract him.
Exit the parking garage office via the same door you came in from, and look to the southwest; there are two doors to hack on the side of the chapel (A.2) and two guards to worry about. Either wait for them to disperse, or tase the first, then creep up and throttle the second. Or use the vault transformer to zap them. Then pick either door and enter the chapel. Though there are still guards patrolling the chapel’s western side, they aren’t alerted to your presence once you’re inside the structure.
 Dead by Dawn

Wish to nullify all guards with the option of executing them? Then try this mixture of scenic and weapon-based electrocution.
Creep from the entrance gate to the wooden planter wall just right of the main steps (B.1). There’s a guard standing near an electrical grate. Explode the grate to zap him. A second guard moves to investigate. As he approaches, hide behind the small concrete step planter close to the grate, and tase him before he wakes up the zapped guard. Optionally silence them for good by shooting them with a suppressed weapon.
This leaves three guards along the western side of the chapel grounds—one on the upper concrete walkway and two on the lower wooden decked area. Hide behind a planter wall atop the steps (B.2), coax one of the guards to inspect the junction box, then explode it. Tase the other guard as he comes to investigate, or dash down the steps and throttle him. The third guard (on the upper walkway) may come to investigate, so hide behind steps or a planter; throttle him if he isn’t alerted or tase or rush and throttle when he inspects his fallen friends. Remember to execute all three if you want them to remain silent for the rest of this mission.
At this point, you can continue working your way counterclockwise around the chapel, or turn around and use the clockwise path to the garage as described in Path A, as this is the optimal way to remove the remaining guard threats. Use Path B to ensure there are no further guards when you try to escape.
Drones Are the Norm

Your Quadcopter offers some amazing shortcuts. Fly it from Infiltration Point 1, toward the window ahead, and hack both the access key and the security router (objective). This opens up the Network Bypass. Choose one of the four side doors, lock any or all of them (as you have the access key), fly the Quadcopter into the Temple, and solve the Network Bypass. Access the elevator, and then Marcus can finish the infiltration. It’s best to have Marcus close to the same door your Quadcopter flies through, hidden from guard patrols.
Your RC Jumper can perform the same function. Simply follow Path A, hacking the access key in the guard office by entering the office using one of the ground vents. Then scoot across to the door without any nearby guards and enter. Remember that Marcus needs to physically step onto the elevator, but all previous tasks can be done remotely.
Bike and Be Gone

Some other, more carnage-filled methods of entering the chapel include driving a bike into the chapel (hack an access key using the Quadcopter first, or drive near the garage office) and using the route detailed in Path A. With the bike inside the chapel, you have a vehicle to use immediately when exiting. You can even drive the bike down into the viewing chamber!
No Brains, Just Brawn

Drive a larger vehicle onto the exterior walkways and decks, and attempt to run over the guards. This usually ends badly, with reinforcements arriving, the vehicle getting peppered with gunfire, and you soaking up the bullets while being stuck between planters. Umeni Security vehicles also appear through the front gate, so consider blocking it with a large truck before starting the massacre.
Chapel Siege Is Born

Employ Path A, and then turn violent once you’re inside the chapel. Use the chapel as cover while you unlock the remaining doors and start dropping the guards (plus any reinforcements) on the structure’s western side. As you control the flow of who can enter the doors, these choke points can be where you hold off your foes.
Chapel Siege Is Born (II)

Alternatively, employ stealth once you’re inside the chapel, using creeping techniques and the explodable scenery to nullify the foes. With remote camera access, you may not even need to leave the chapel before all guards are neutralized.
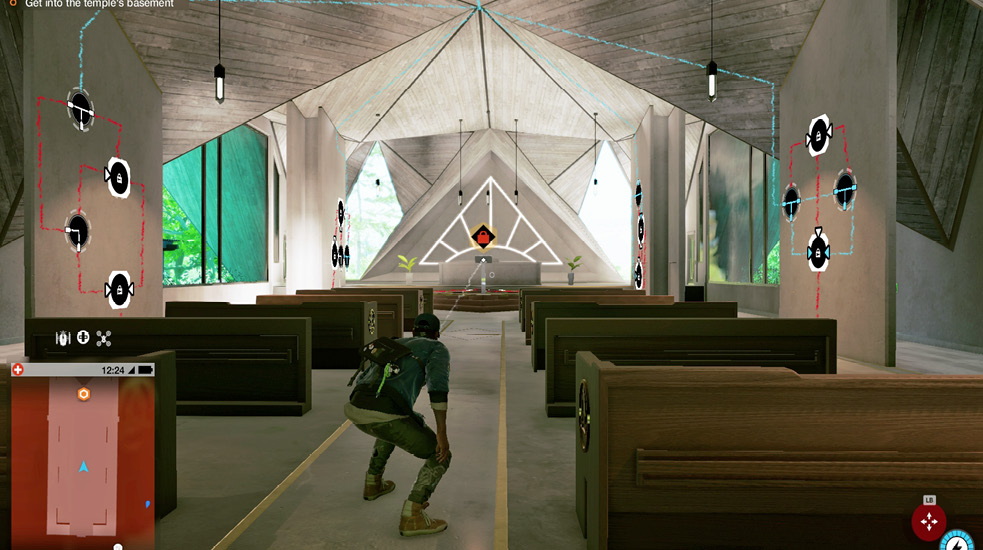
Inside the chapel, move to the rear of the structure and up the stairs. Hack the security router. A Network Bypass becomes visible. You must complete this before continuing. Think of it as being split into different sections:
Network Bypass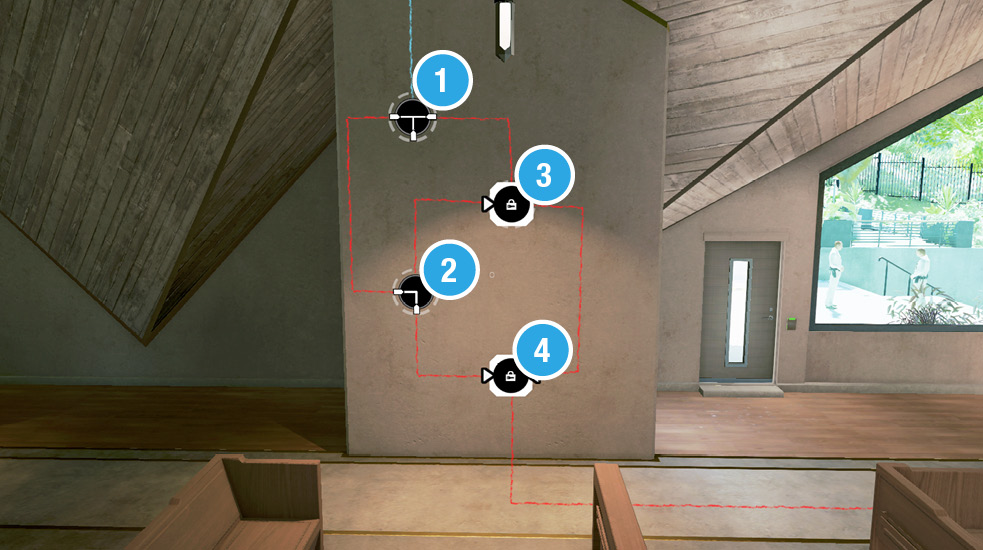 Puzzle A: Start and finish: 1: Turn x2. 2: Turn x1. 3: Unlock, turn x2. 2: Turn x3. 4: Unlock. Puzzle section complete. |
Network Bypass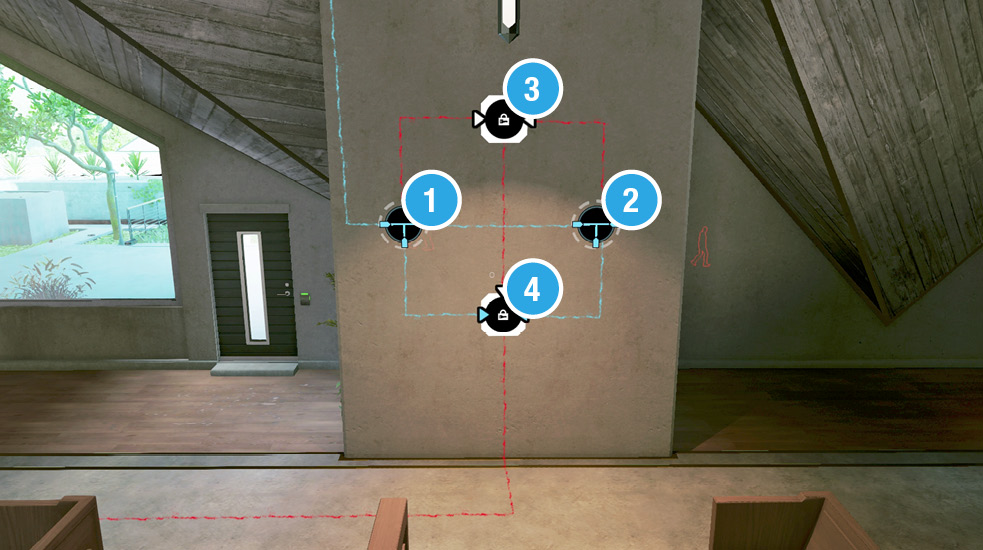 Puzzle B: Start and finish: 1: Turn x2. 2: Turn x1. 3: Unlock. 1: Turn x2. 4: Unlock. |
Network Bypass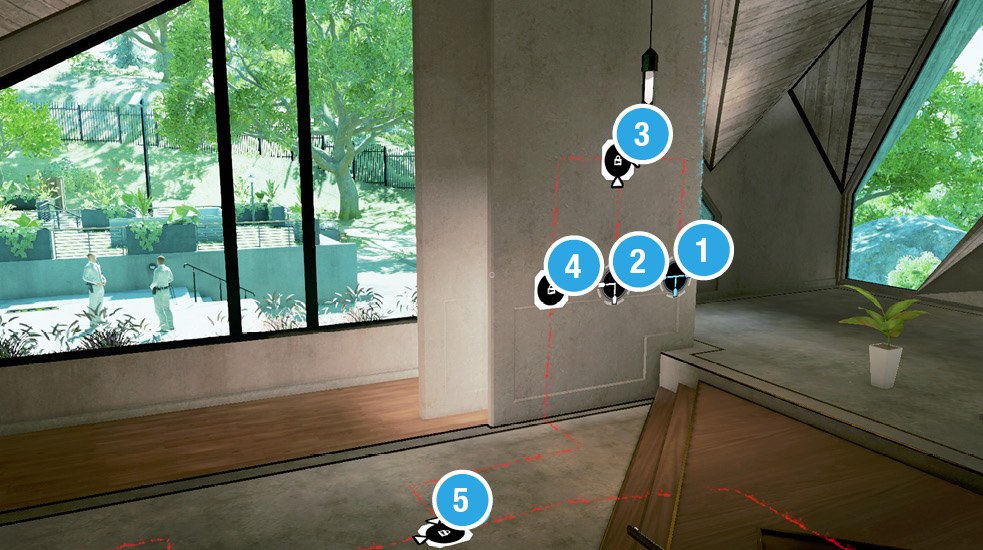 Puzzle C: Start and finish: 1: Turn x2. 2: Turn x2. 3: Unlock. 2: Turn x3. 4: Unlock. 5: Unlock. Puzzle section complete. |
Network Bypass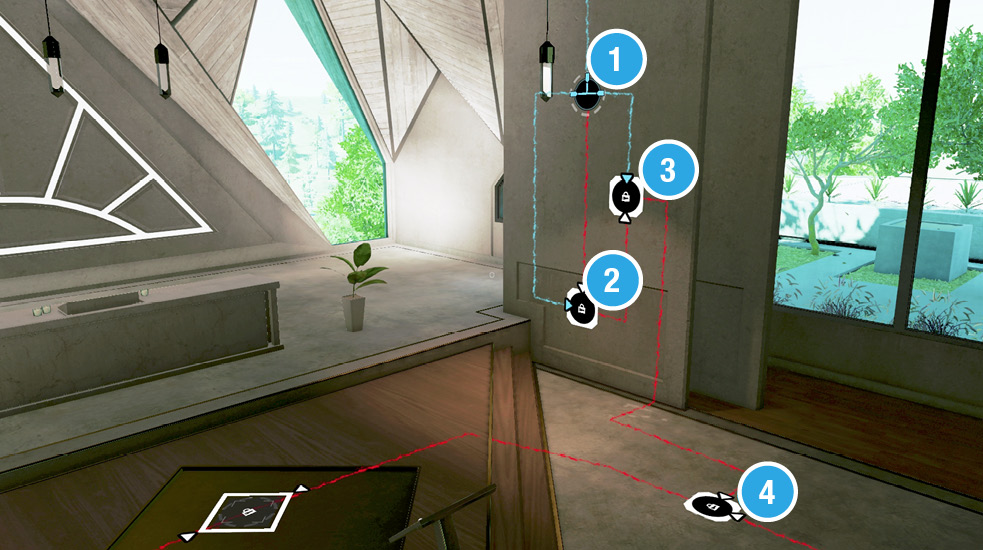 Puzzle D: Start and finish: 1: Turn x3. 2: Unlock, turn x2. 1: Turn x2. 3: Unlock. 4: Unlock. 5: (Once Puzzle B is complete) Unlock. Total puzzle complete: Internal Network unlocked. |
Access the lectern, which activates the hidden elevator, sending you down to the secret basement. Approach the strange monoliths and hack them to receive some optional audio logs, before approaching the railing. You start filming these ancient, hidden, suspiciously light, easily breakable…plastic…fake relics! As fake as everything else the church promises!
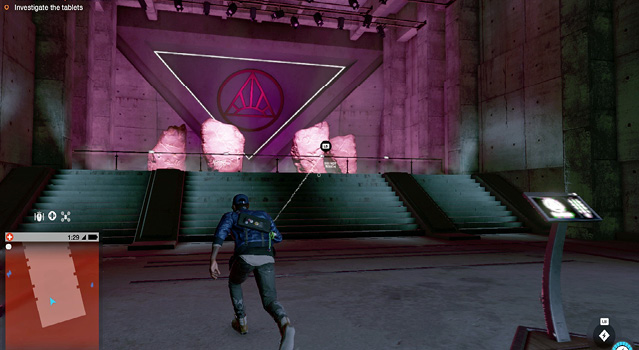
Time to leave. Step back on the platform, hack the lectern, and raise the lift. Exit the Temple grounds using the same path you came in on. Any foes you’ve ignored or put to sleep are awake again, so be aware of where they are and where your escape vehicle is parked (including some high-performance vehicles if you opened the underground parking garage, though you can also flee on foot). Check your minimap and escape out of the perimeter circle. A social media package is created exposing the church, with Jimmy Siska in a starring role. This operation concludes.