
Watch Dogs 2 Guide Main Operations Hacker War
3. Operation—Sabotage
Objectives
Difficulty
RewardsDedSec Followers: +30,000 BriefLet’s see if Prime_Eight and Sons of Ragnarok will be friends after we break their toys at Rhonda’s Restaurant. Hostiles
Location
|
 Sabotage the Prime_Eight Operation.

 Sons of Ragnarok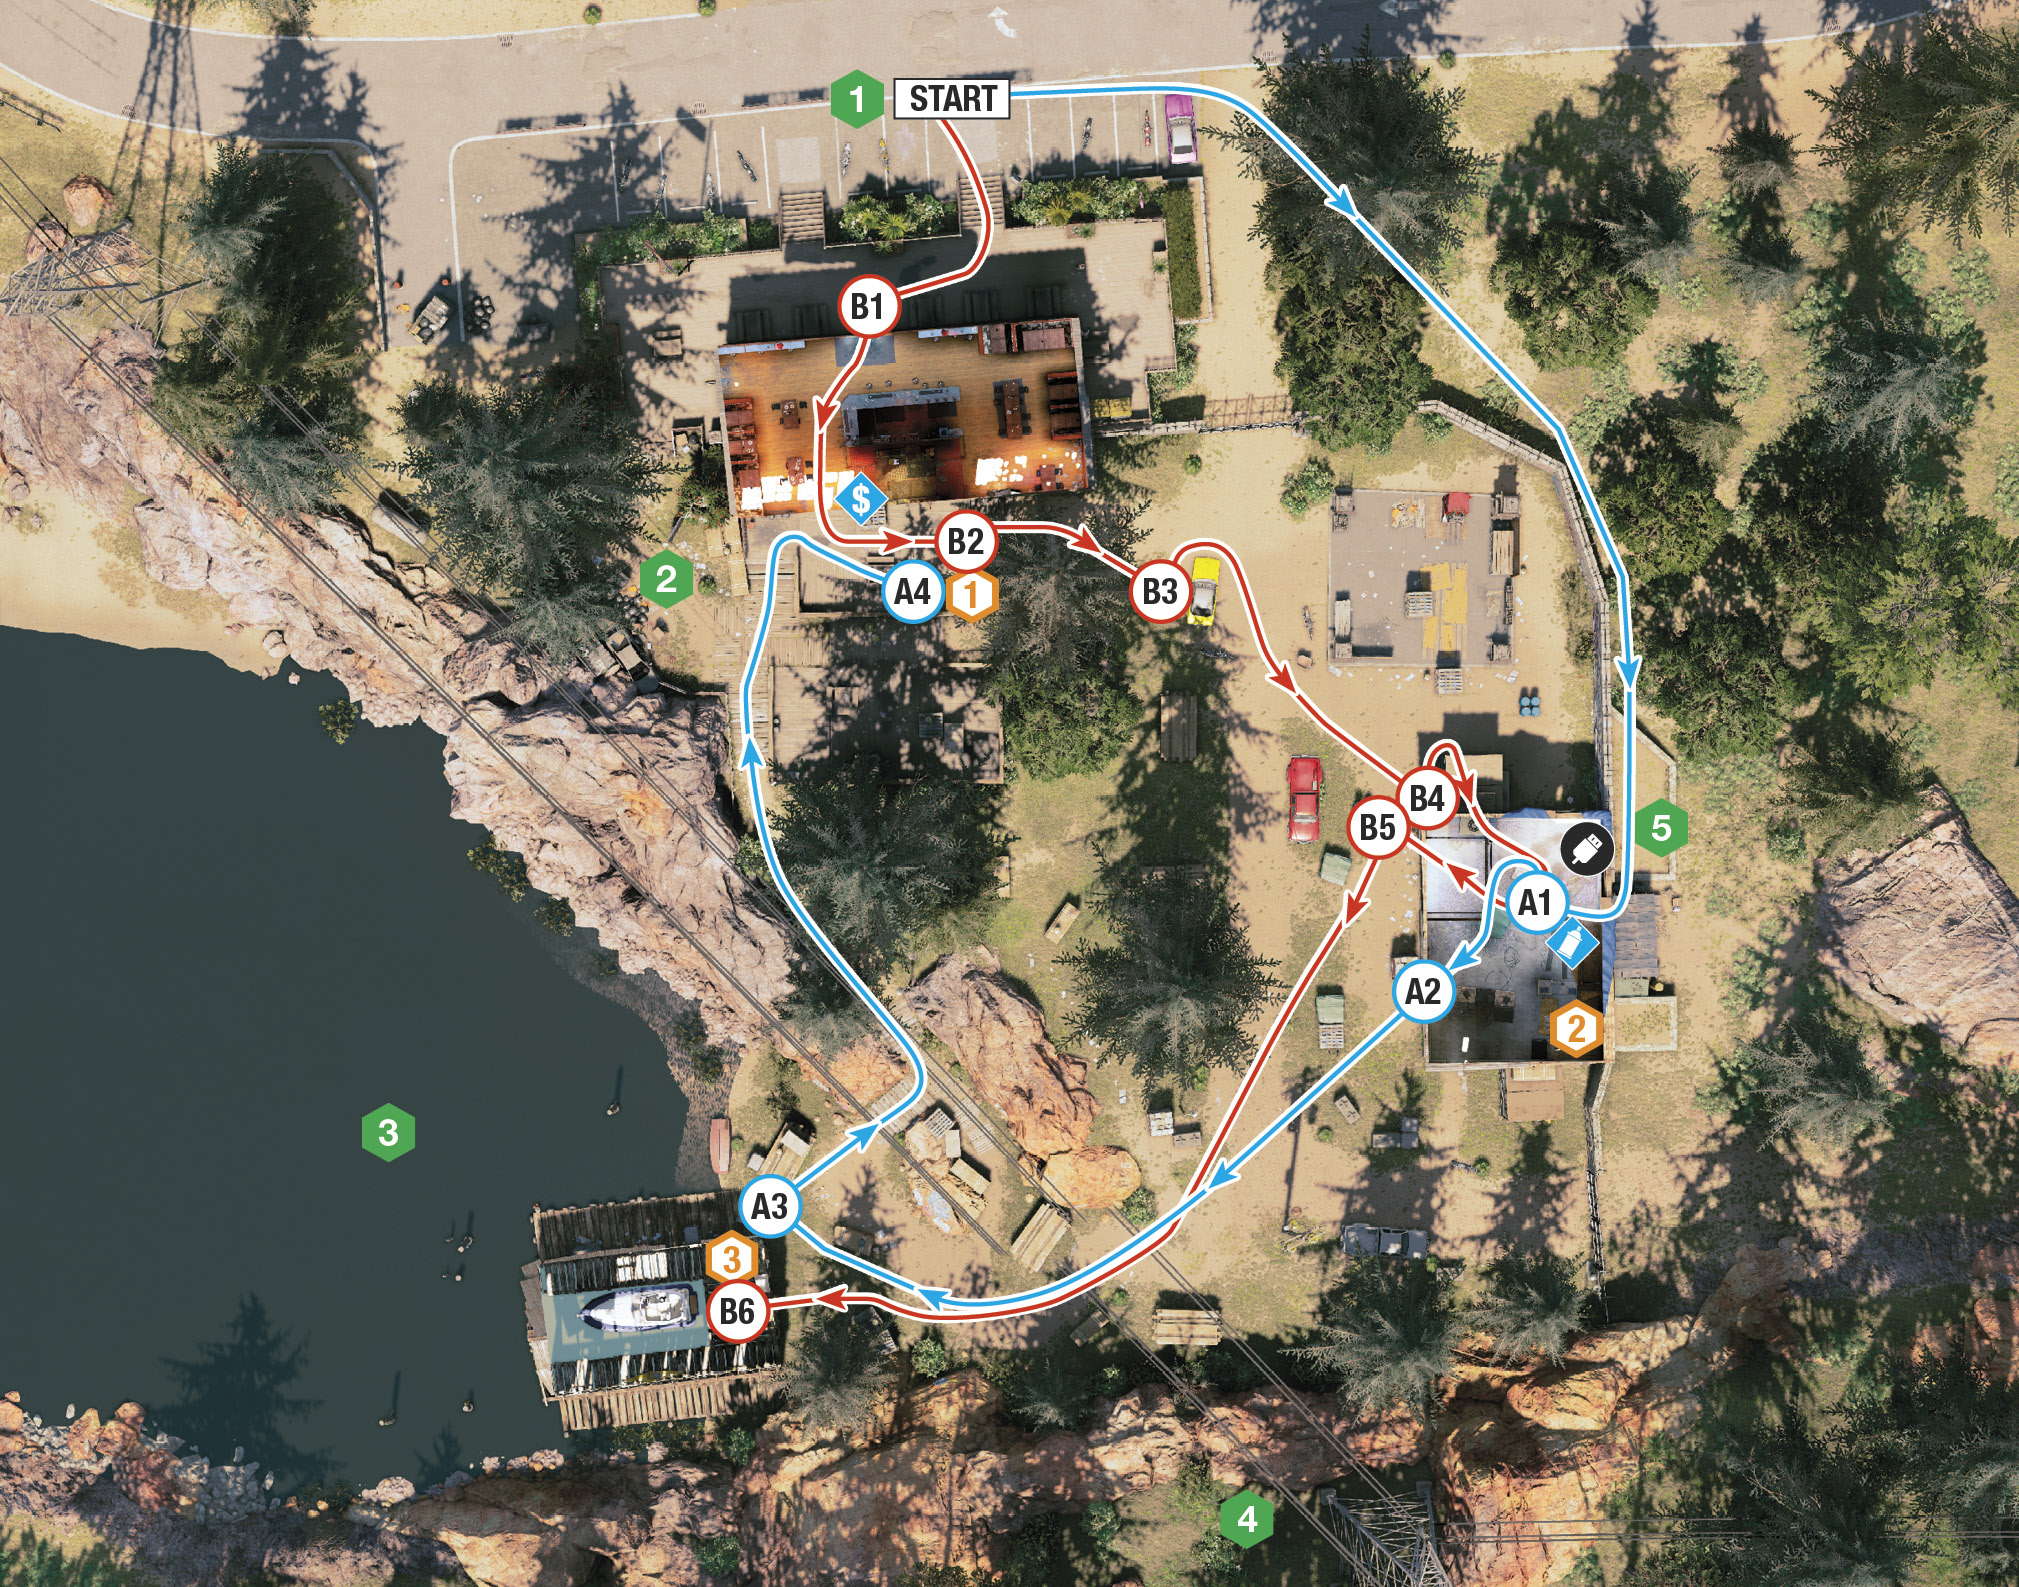
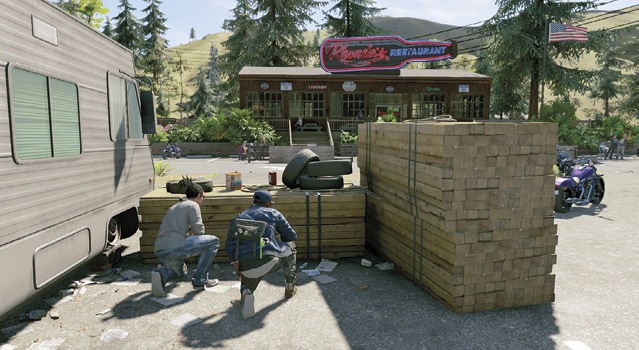
You meet with Gooly just outside the restricted area of the restaurant. Three ATMs are pointed out on your map. You must destroy them, in any order you like.
Infiltration Points
You’re facing south, and the northern perimeter (ahead of you) is comprised of the restaurant, with a locked gate to the left (northeast). This is hackable only after you unlock the CCT (east). There’s a guard on the entrance deck, which means stealth is wise. You can enter and exit the restaurant from the wraparound deck, too. 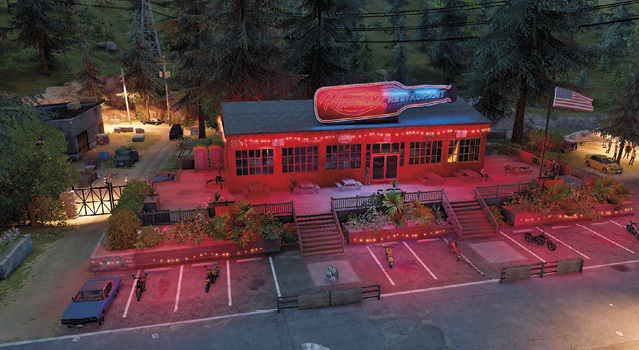
The northwest corner of the restricted area (right side of the restaurant) features some rocky outcrops and a dirt path and wood steps down to the boathouse. You can access the restaurant deck from here, too. 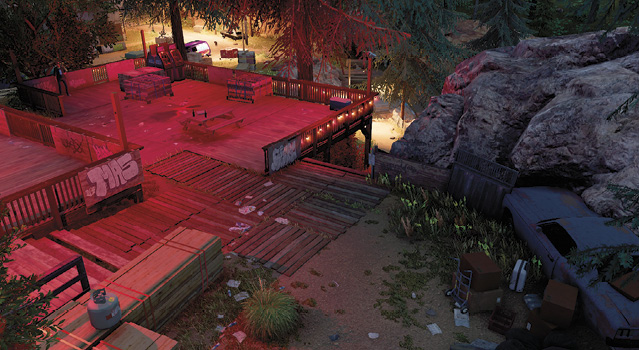
You can access the southwest area of this compound via boat, though this isn’t advisable, since the boathouse has two foes close together, monitored by a motion detector. Hack the motion detector and execute some rapid tasing from cover if you’re heading in from here. 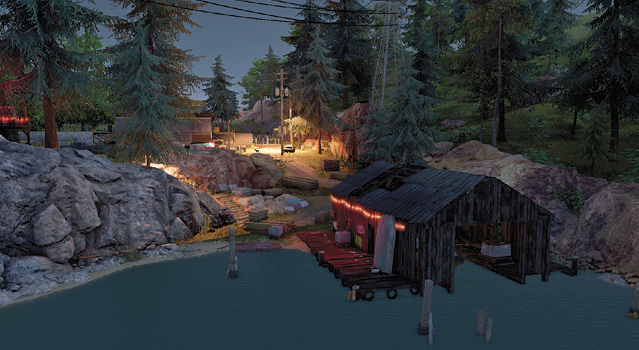
Almost the entire southern perimeter features huge boulders you can clamber down from, if you loop in from the southeast. Access the area from under the electrical tower (pylon), though you’re slap bang in the middle of everything, near a growling guard dog. This is an adequate spot to launch ranged attacks, though. 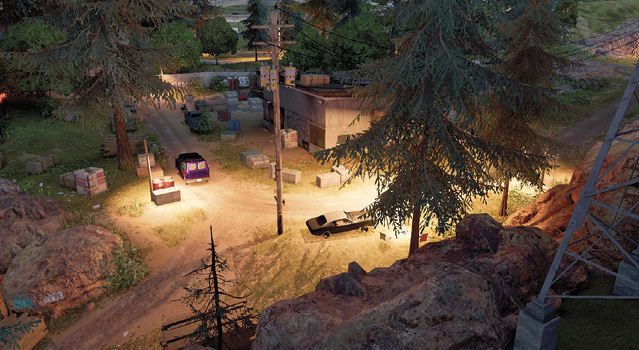
One of the locations where the ATMs are stored is inside a large warehouse with a garage area. Along the eastern perimeter are some wooden planks and scaffolding, allowing access onto the roof, which is a good defensive (camping) position. Plus, the roof has a hole allowing you or your RC Jumper to drop in. 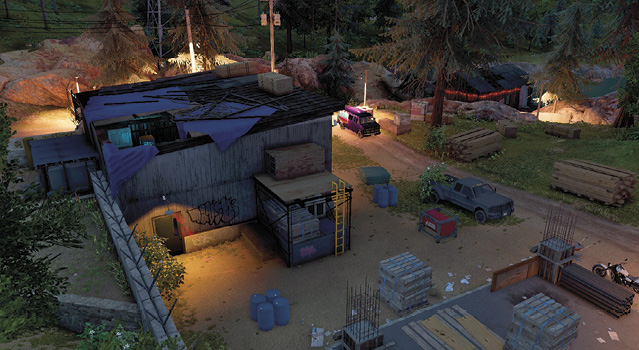
|
 Rhonda’s Restaurant and Parking Lot:
 Outcrop Pathway:
 Crystals Springs Dam (Lake):
 Electrical Tower and Rocks (South):
 Warehouse Garage Roof (East):
|
 POIs and Objective Points

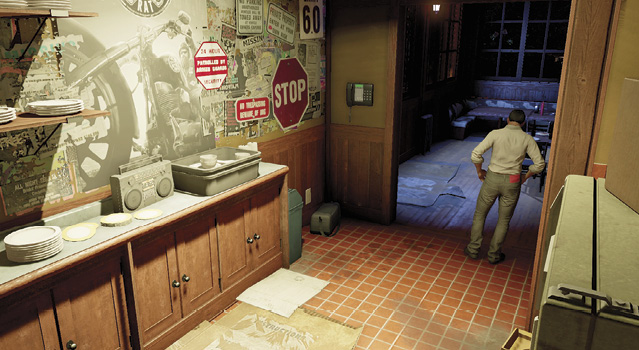
 Closed-Circuit Terminal (Warehouse Garage)
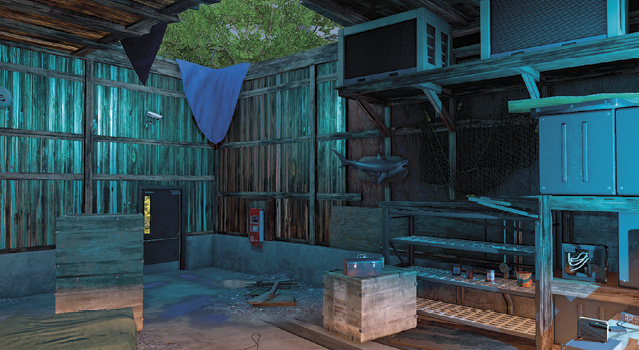
 ATM (Deck)
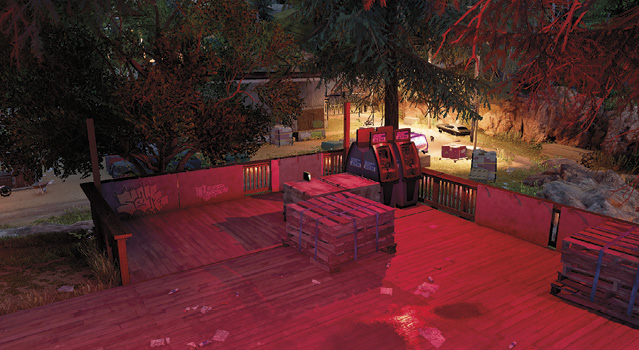
 ATM (Warehouse Garage)
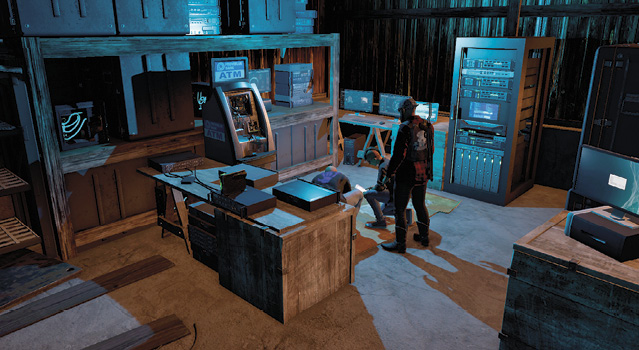
 ATM (Boathouse)
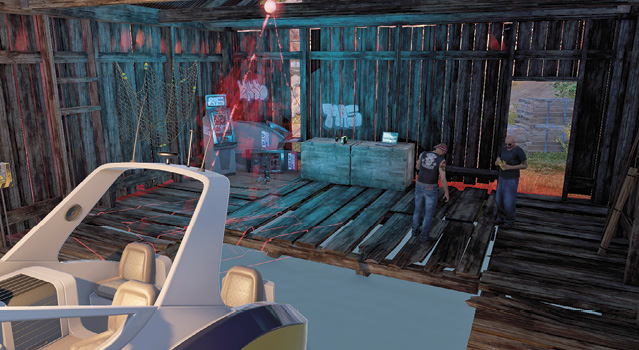
Paths to Completion
For a compact compound, there are numerous ways to destroy these ATMs. The following require the most cunning and involve stealth for maximum effectiveness.
Death from Above

If you’ve fitted your Quadcopter with explosive devices, you can remain just outside the restricted area, send the drone into the air, and drop a bomb in the vicinity of each ATM. Once you drop the bomb, hack it to create a proximity trap, then hack it again so it “sparks” and attracts a nearby enemy. When the enemy walks into the trap…boom. Do this for all three locations:
The deck bombing is straightforward; do this first.
The boathouse bombing requires you to drop the bomb on the jetty just north of the interior corner where the ATM is.
The warehouse bombing requires you to drop the bomb through the hole in the roof, as close to the ATM objective icon as you can manage.
 Death from Below

Remotely detonating bombs placed with the RC Jumper is another fine plan, though it’s more difficult and requires a bit more cunning. Head southeast, and crouch in cover at the corner of the restaurant, near the left gates, before releasing the Jumper (so you’re never out of its range). Release the Jumper, and drive it southeast and south, around the perimeter; then jump onto the warehouse roof (A.1). Next, drop through the hole in the warehouse roof. Be extremely careful not to attract attention of the three foes by the ATM in the warehouse. Drop the bomb, but don’t activate the proximity trap (because you need to prep the other areas). Yet!
Scoot out of the east warehouse by moving through the hole in the ground wall, toward the interior’s southwest corner (A.2). Then boost down to the boathouse, and plant and activate the proximity trap on the outside of the building (A.3), so the radius of the trap catches the explosive canisters nearby. Trundle up the wooden steps and sandy pathway to the deck behind the restaurant, and prime the last bomb (A.4).
Inside the warehouse, cycle through the cameras to the one above the CCT that points directly to the ATM. Activate the proximity trap and you should have an instant explosion. Cycle quickly to the deck camera, blow up the bomb on the deck, then explode the boathouse bomb. Now leave before you overstay your welcome.
Alternate tactics include sparking the bomb so a nearby inquisitive foe comes to investigate, triggering the bomb. There are also numerous pieces of scenery you can “daisy chain” together if you wish, such as the gas canisters near the boathouse.
 No Death, Just Strangulation

Need to prove yourself as the ultimate stealth assassin? Well, this tricky route allows you to dispatch each foe without killing them and gather collectibles along the way. The biggest problem is that some foes are clustered in pairs and trios, meaning tasing from range is the key; quick, consecutive shots may be needed before each cluster becomes fully alerted.
Begin by heading up the front steps of the restaurant and strangling the guard by the front doors (B.1). If you lack confidence, wait until he strolls to the right, and approach from behind. Enter the restaurant, gathering the collectible from the galley kitchen inside, and head out the adjacent back door, onto the deck.
Creep to the deck’s left (east) side, hopping the two railings and the steps right next to the guard near the first ATM (B.2). Strangle him, then hack the ATM to destroy it without alerting any foes. Next, move east, toward the two guards by the gate, and hide behind the old car (B.3). When the guards have finished their chat, they separate. Step behind the guard near the northeast gate, strangle him, then follow and throttle the guard near the explosive pallet, in the yard just north of the warehouse. Strangle these guards instead of tasing them so they don’t wake up.
Beware of the dog! Quickly scan the area to the south of the warehouse for the hound; he’s usually in this area or down the track to the boathouse. If he’s a threat now, deal with him. If not, leave him until after you neutralize the three foes in the warehouse. Crouch at the corner of the garage (B.4), open the garage door, sneak inside, and hide behind crates. Or drop down from the roof. Now you’re inside the warehouse garage; close and open the garage door again. This startles one of the three foes by the ATM, and he advances outside. Grab the collectible in the garage, then follow him out.
Once outside, the guard should spot the previous guard you strangled. As he runs over to the body, step up and strangle him (B.5). This leaves the two foes inside the warehouse. If you’re quick enough, you can tase one, then the other, without them raising the alarm. Then head to the ATM, hack the data container, and destroy it quietly.
This leaves the two jokers in the boathouse (B.6). Creep down, tasing the dog on the way if you haven’t already, and look at the doorway on the east wall. There’s a motion detector inside and two foes close together. Simply tase the first, then the second, and destroy the final ATM in any way you wish. Flee via the boat.
NO DEATH, JUST TRUNDLING
Need another path to success? Then employ the route from Path B, but use the RC Jumper for the role, instead of Marcus!

Mayhem and Death

Destroying each ATM cluster with a weapon is a feasible plan, though the situation becomes increasingly chaotic as reinforcements are called. Make the most of the situation by remaining out of the restricted area, do a clockwise loop around the parking lot (north), to the eastern perimeter wall, and scale the warehouse garage. Then produce your grenade launcher and hit the boathouse, deck, and finally the narrow angle through the hole in the warehouse roof; destroy all three ATMs from this vantage point. Incredibly simple and satisfying!
Then flee (ideally retreating if you’re still on the roof, or via either set of gates, as they open once the infiltration turns violent).
Another area to stand is outside the restricted area, taking up position on the lakeside rocky outcrop west of the back deck, with views of both the desk and boathouse ATM. Then shoot the explosive barrels or punt a grenade into each location. Mayhem ensues and the ATM inside the warehouse still needs destroying; back out and use the perimeter route to the warehouse roof.
Just Death

You can steal a bike from the parking lot, drive it onto the restaurant deck, and leap into the restricted area. Ram the central ATM cluster, then maneuver away from the chaotic firefight that erupts, switching to the parked truck or starting a massive firefight. However, the lack of maneuverability in this area means your death is almost assured.
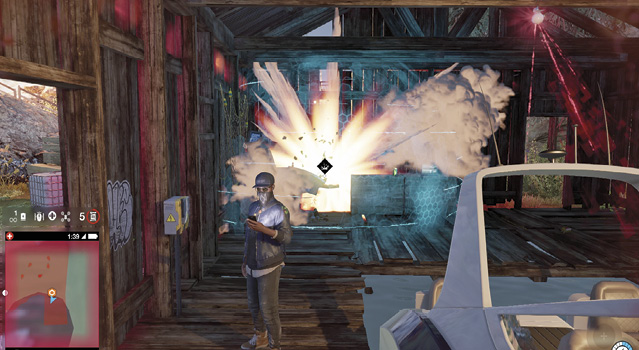
Once you destroy the three rigged ATMs, it’s time to leave. Feel free to:
- Steal the truck or van inside the restricted area.
- Steal the boat from the boathouse and leave via water.
- Steal a bike from the parking lot or wave down a vehicle at the nearby freeway.