
The Witcher 3: Wild Hunt The Complete Edition Guide Witcher Contracts Contract: The Tufo Monster
A Tufo-One Offer

|
Related Quests: Master Master Master Master! Locations: Flovive, Tufo Vineyard (Unmarked), Marcescent Forest (Unmarked) Characters: Monsieur de Bourbeau, Madame de Bourbeau, Jean-Luc Enemies: Kikimore Workers, Kikimore Warrior, Giant Centipedes, Monster of Tufo (Shaelmaar) Required Items: Sewant Mushrooms |
Objective:
|

A short distance north of the village of Flovive in Sansretour Marsh territory is the Tufo Vineyard, famed for its superb melon blanc. Visit the winery estate house, and speak to the owner, the haughty Monsieur de Bourbeau. Immediately his pomposity is obvious; feel free to call him out on his method of speaking to you, or endure it. Either way, he has a task for you. Something is infesting his vineyard, and the only signs are noises; scratching and shrieks. There are no corpses either; his workers are disappearing without a trace. Agree to help, bolster your fee if you wish, then ask about the noises (they come from the cellar) and the missing men (Bourbeau doesn’t remember such trivial matters as the name of his help, though his wife would know, when she returns back from visiting her mother). As your only lead is the cellar, and the noises are heard after dark, that’s your next plan.
|
Items: Key to the Tufo cellar |
OBJECTIVEs:
|
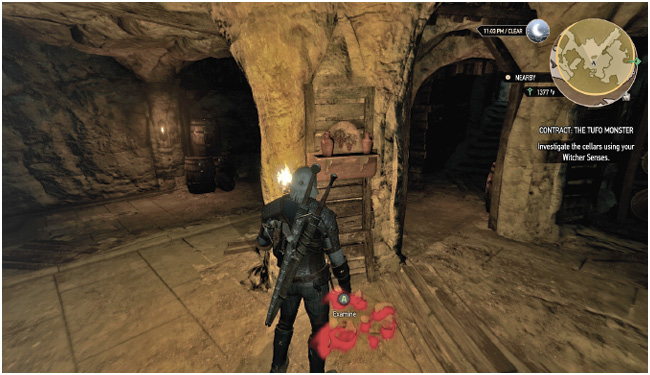
The locked cellars are by the road, on the west side of the manor house compound. Enter before dark, and the cellar is quiet. Meditate until after dark, or return after the sun has set, and you can begin to look around.
- There’s evidence of rats. Not known to kidnap farmhands.
- Some shattered dishes, probably shaken off a shelf.
- A pulse of sound, and a rumble under the foundations of the cellar!
Objective:
|
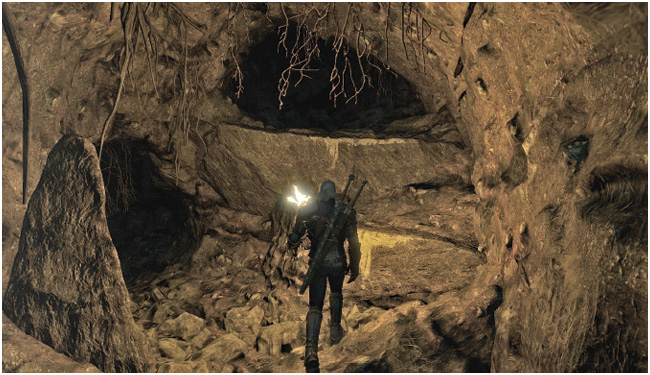
Head to the southeastern corner of the cellars to a highly suspect area of rock wall, and break through it with a breezy hammering, courtesy of Aard. This leads to some kind of labyrinthine burrow. Follow it as it curves around to the left. When you reach a shaft of light from above, stop. There are two paths to investigate: the tunnel continuation, and a lower tunnel passage to your right (drop off the ledge).
- Investigate the continuation of the tunnel first. It curves around and leads to a cavern where a trio of Kikimore Workers must be fought. Other than these creatures, the area is devoid of evidence, and is a dead-end. Head back up to the shaft of light.
- Drop down at the shaft of light to a lower tunnel. To the northwest is a dead-end and a Kikimore to slay so you aren’t savaged from behind. Then turn and follow the lower tunnel down and around to the left. Deliver death to two more Kikimore Workers before you spot a rock ledge on your right with some light lichen staining (as shown in the previous picture). Climb up there in a moment. For now, continue down the tight tunnel, dropping two further Kikimore workers, and looting some treasure from some bundles at the dead end.
Climb the rock ledges, and use Aard to blow open a pile of rocks blocking you from a cavern ledge. Whatever was making the seismic disturbances is quickly leaving this cavern, and you are too late to intercept it.
OBJECTIVEs:
|
The cavern widens out, but you are waylaid by four Kikimore Workers and a larger Warrior. Slaughter them all, before making some quick examinations using your Witcher Senses:
- The cavern walls show tunneling of something much bigger than a Kikimore; something with heavy, wide claws.
- A clutch of Kikimore eggs; something has been feeding on them.
- A ledge and tunnel to the northeast, leading to a nest of Kikimore eggs. Use Igni or Aard, and destroy every single last one of them. There are additional eggs to destroy in the northeast corner of the previous cavern where you fought the Warrior.
- Use your Witcher Senses and examine a large crack in the floor of the nest tunnel; it seems the monster you’re after lives underground, digs tunnels, feeds on Kikimores, and is very big.