
The Witcher 3: Wild Hunt The Complete Edition Guide Training
Shops, Merchants, and Economy
Merchants can be found in the various major settlements throughout White Orchard, Velen, Novigrad, Skellige, and Toussaint. They provide a number of different, and most necessary services. While Armorers and Blacksmiths sell you equipment, mend and craft your gear; and Herbalists and Alchemists sell crafting supplies (as discussed earlier in this chapter), there are other merchant types to talk to and barter with, as well.
 Vendors Of The Northern Realms

Some merchants provide general goods and food, others deal in alchemic formulae and ingredients, while still others may be simple booksellers or innkeeps. As described earlier, vendors are marked on your map with specialized icons as you discover them. Some wandering merchants are constantly traveling the roads between towns, which places them in danger from the local wildlife. If they come under attack, you must rescue them or risk losing their services. Other merchants can be found as prisoners, known as “Persons in Distress,” inside or close to Bandit Camps.
Prostitutes And Carnal Knowledge
A Witcher has certain needs, like any non-mutant, and these can be sated by ladies of the night or day, willing to spend time with the likes of him. If you’re flush with coin and want to spend it on someone not named Triss or Yennefer, there are opportunities in the city of Novigrad.
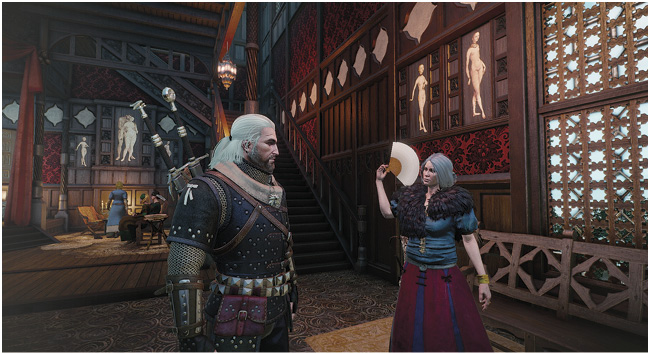
Some Secondary Quests end with opportunities for Geralt to gain or pass on some carnal knowledge without needing to pay crowns in advance. We have also highlighted these opportunities when they present themselves throughout the quest walkthroughs, as well as in the Carnal Knowledge Appendix.
 Barbers


Geralt’s beard grows over time, and time marches ever onward. Go unshaven long enough and Geralt starts to resemble a dangerous and murderous hobo. You can visit barbers in certain villages and cities for a shave and a new hair-style, if you choose.
The Living Economy: Geralt Sells, But Who’s Buying?
Like Geralt, every shopkeeper has a finite amount of money and Inventory items available for trade. The amount of funds is indicated in the Merchants Appendix, while the items for sale is listed in the eGuide Inventory, A Witcher’s Tools. If a Merchant’s funds are depleted, they are temporarily unable to purchase additional items from you. While their funds and inventory replenish over time, this limitation may prevent you from selling everything in a single visit. If you cannot wait, consider purchasing goods to help quickly generate income. A better plan is to purchase and sell goods at more favorable prices, due to the many emergent properties the world’s economy has.
Item Type
Not all items are created equally. Some are made of weaker components; some carry rare enchantments. Some are for dealing damage, others protect you from it. Some are consumable while others are used to craft and modify other items. Whatever it’s use, each item is valued differently based on the type of merchant you are dealing with, the region you are in, and a variety of other price modifications and quest-based bonuses.
The following Economy sub-sections explain the various factors that affect the purchase and sale of items around the world.
Type Of Merchant
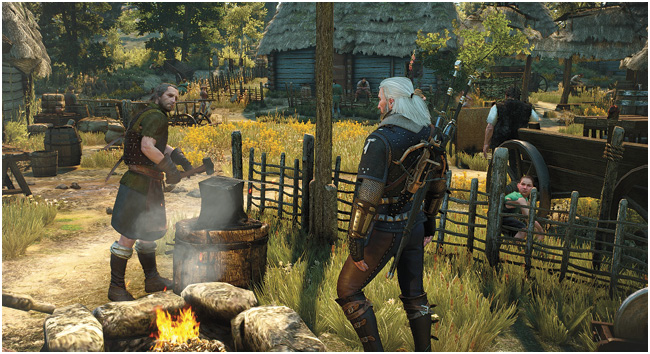
Every merchant has a specific type that determines their level of interest in a particular set of items. For instance, Innkeepers are only interested in acquiring foods and gear they to need to service their patrons while crafters like the Blacksmith and Armorer are focused on buying and selling weapons, armor and the materials used to craft them. Herbalists are focused on their connection to the land offering a variety of herbs, healing foods, and drink. The more scientific Alchemists are a fantastic source for books and upgrades you can use to enchant your equipment, learn new skills, and gain a deeper understanding of the living world. Both are a source of many natural herbs and alcohols you might need. Specialty merchants like the Barber and Book Dealer offer rare items you cannot find anywhere else.
Merchant Region
The world has been separated into distinct areas, each having a unique economy with its own rates and bonuses. Velen has been ravaged by war, meaning weapons and armor are common while food is a rare and expensive commodity. While travelling through Novigrad and Nilfgaard make sure to check out the many goods for sale. While more expensive, they offer a great selection of the items you’ll need to heal, prepare, and maintain your gear. Skellige, while remote, has the best assortment of weapons and armor, crafting items and upgrades. Scattered across a series of islands, their resources are plentiful and offer many opportunities for entrepreneurs that would purchase goods for trade.
Item Origin
Some items can be identified by the region in which they were designed and created. While merchants may be interested in trading for local goods, the exchange of rare items from distant lands can result in large profits based on your investment.
Region Bonus
Each Region, i.e. White Orchard, No Man’s Land, Novigrad, and Skellige, offers a quest that rewards you with a 10% discount toward all future purchases in that region. These are the Main Quests of your original adventure; finish these to secure this discount.
Merchant Bonus
Some of the merchants you will meet are in distress and have need of a hero. While their services and goods may be available immediately, successfully resolving their plight may result in a 10% discount for all future purchases. Additionally, this discount will stack with other bonuses. For example, if the Region Bonus has already been acquired, successfully completing this objective will result in a 20% discount on all purchases from this shop.
|
MERCHANT BONUS BY TYPE |
||||||||
|
CATEGORIES |
WANDERING |
ALCHEMIST |
ARMORER |
TAILOR |
BLACKSMITH |
BOOK DEALER |
HERBALIST |
INNKEEPER |
|
7% |
15% |
-5% |
0% |
-3% |
-6% |
15% |
-4% |
|
|
Alcohol |
3% |
5% |
-3% |
-2% |
-5% |
-3% |
4% |
12% |
|
11% |
-10% |
20% |
15% |
13% |
-10% |
-5% |
-10% | |
|
Book |
6% |
0% |
-5% |
-9% |
-3% |
20% |
-2% |
-6% |
|
Crafting |
10% |
-11% |
5% |
-10% |
8% |
-8% |
-5% |
-7% |
|
Food |
3% |
-2% |
-3% |
-6% |
-2% |
-1% |
3% |
7% |
|
15% |
-2% |
18% |
-7% |
20% |
-7% |
-2% |
6% | |
|
Upgrade |
10% |
10% |
20% |
-6% |
20% |
-8% |
-10% |
-10% |
|
Weapon |
12% |
-3% |
15% |
-2% |
20% |
-7% |
-6% |
-12% |
|
Secondary |
4% |
-5% |
20% |
-8% |
0% |
-5% |
-10% |
15% |
|
Junk |
1% |
-2% |
-5% |
-3% |
-4% |
-2% |
-4% |
5% |
|
MERCHANT BONUS BY RARITY |
||||||||
|
Valuable |
8% |
4% |
8% |
5% |
7% |
3% |
9% |
10% |
|
Precious |
0% |
20% |
5% |
8% |
10% |
1% |
5% |
20% |
|
Collectible |
0% |
100% |
0% |
0% |
0% |
0% |
100% |
0% |
|
Legendary |
100% |
100% |
100% |
100% |
100% |
100% |
100% |
100% |
|
PRICE MODIFICATION BY REGION |
||||||
|
CATEGORIES |
BEAUCLAIR |
NO MANS LAND |
NON-HUMAN |
NILFGAARD |
||
|
15% |
15% |
0% |
-15% |
15% |
0% |
|
|
Alcohol |
-10% |
-10% |
-5% |
20% |
15% |
20% |
|
-10% |
-10% |
-5% |
5% |
10% |
15% |
|
|
Book |
-15% |
-15% |
-30% |
-5% |
10% |
15% |
|
Crafting |
-5% |
-5% |
-10% |
2% |
5% |
10% |
|
Food |
100% |
100% |
50% |
-15% |
-10% |
5% |
|
-15% |
-15% |
-20% |
10% |
20% |
25% |
|
|
Upgrade |
-15% |
-15% |
-25% |
5% |
15% |
30% |
|
Weapon |
-20% |
-20% |
-10% |
-5% |
5% |
15% |
|
Secondary |
-20% |
-20% |
-10% |
-5% |
1% |
5% |
|
Junk |
15% |
15% |
-15% |
0% |
-15% |
-15% |
|
PRICE MODIFICATION BY ORIGIN |
||||||
|
BEAUCLAIR |
100% |
105% |
75% |
115% |
115% |
110% |
|
NO MANS LAND |
105% |
100% |
40% |
105% |
85% |
80% |
|
NONHUMAN |
130% |
110% |
100% |
115% |
120% |
110% |
|
108% |
105% |
80% |
100% |
120% |
105% |
|
|
110% |
95% |
50% |
110% |
100% |
95% |
|
|
NILFGAARD |
105% |
90% |
20% |
105% |
95% |
100% |
|
OFIER |
110% |
95% |
105% |
110% |
120% |
110% |
Get Rich Quick: Collecting Crowns
The previous information on the economy of the Northern Realms has all the statistical advantages you need for making the most of every trade you try. But what about other ways to gain crowns? Try some or all of the following:
Knowing A Merchant’s Worth
The Merchants Appendix lists a description of what to expect when you check the coffers of each merchant. This varies constantly, so only approximate values are stated. This is helpful so you can find merchants with more crowns and sell off more unwanted items at one time. The merchants with the deepest pockets are:
Master Armorer Yoana (Crow’s Perch), the Journeyman Blacksmith (Fish Market, Novigrad City), Madame Serenity (Passiflora, Novigrad City), Master Blacksmith Eibhear Hattori (Novigrad City), Olivier the Innkeep (Kingfisher Tavern, Novigrad City), and the Kaer Trolde Blacksmith (Ard Skellig).
Waiting A Week
Make a note of a merchant you’ve sold items to, and avoid revisiting them for one entire week (seven 24-hour periods). As there’s a wealth of areas (and other merchants) to investigate, this shouldn’t be a difficult proposition. If you wish to wile away a bit of time, you can always Meditate and then return to a merchant as they start to replenish their coinage. This may not be the coin they had when you first sold to them, but it’s a start.
The Bovine Offense Force
Time was, if you were west of Woesong Bridge at the entrance to White Orchard, you could butcher the two cows grazing there, strip their bones for hide, Meditate a spell until two more cows appeared, and continue amassing hide to sell for good profit. That was, till the terrible “Bovine Defense Force” came—a fearsome level 27 Chort that could tear a man’s gizzards from his goolies in the time it takes to sneeze! Now this is still a possible plan, but results in far less bounty, as well as a visit from the tax man.
Another option is to make a meager wage as a hunter, using your crossbow to drop deer or hares in the woods, and cut them open for meat or hides. You can also hit beehives with a shot of Igni to clear out the pesky bees, netting you a decent profit. Velen merchants pay good money for raw meat, but there are far better methods of gathering crowns.
Completing Your Contracts And Trophies
The variety of Contracts you can undertake are purely optional, but always end with a reasonable sum of coins if you’re successful, as well as a trophy you can sell. The first few contracts may not seem worth the trouble for the low payout, but as you continue into Velen, you start to see some that offer about 250 Crowns each. Most of these are in the level 10 range, so ensure that Geralt’s level is equal or better. Such Contracts include Jenny ‘o The Woods, Shrieker, Woodland Beast, The Merry Widow, and Swamp Thing. All of these should pay you a decent amount of Crowns, and each can be completed relatively quickly.
As well as selling the trophy, remember to affix the head of a vanquished Contract monster to Roach’s saddle, as four of them grant you extra funds: The Doppler (Contract: An Elusive Thief), Ekhidna (Contract: Here Comes the Groom), Foglet (Contract: Swamp Thing), and Succubus (Contract: Deadly Delights) Trophies all grant you 5% bonus gold. The recommended trophy to find first is the Foglet Trophy.
Exploring The Northern Realms
As legitimate as completing Contracts is, there is something natural about simply exploring the land and spending some time with the random events that pop up along the way. This is where the question marks on your map come into play, as they always indicate an item of interest, and in one way or another you will always find a way to put some Crowns in your pocket. Be careful of Points of Interest that are higher level than you are currently. If they are too dangerous, come back once you’ve gained more experience. Careful looting and ingredient-gathering is also a method of harvesting a great number of items, and with stops at your Stash to store materials for sale, before visiting a merchant you know will give you the best prices, is a good way to steadily accrue funds.
Gwent
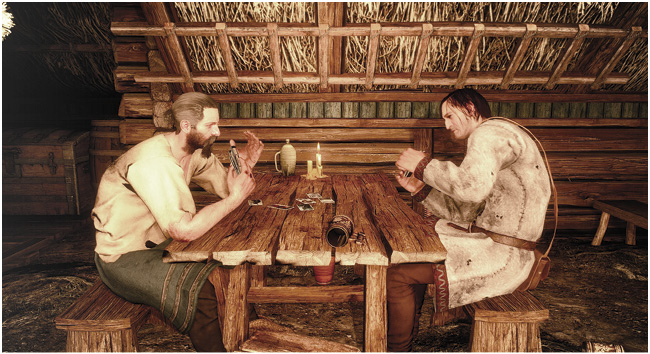
The Gwent chapter of this guide details some truly exceptional methods of ensuring you win almost every game of Gwent you attempt. With a moderately powerful Northern Realms deck, start playing the Gwent Players of White Orchard, before challenging no-name players (almost always vendors) throughout Velen. Every time you play against an opponent, bet the full 10 Crowns. When you win you’ll double that to 20 Crowns. While it may not seem like much, it adds up after awhile. It also helps you acquire better cards, too.
Fists Of Fury: Velen
This secondary quest pits Geralt against four opponents in a fistfight. Save your progress before each match, then wager the maximum amount. If you win, you’ll double that, which equates to several hundred Crowns once the quest is over. If you lose, reload and try again. You can bet up to 50 Crowns on the first fight, 70 on the second and third and 80 on the fourth. With a maximum bet you can earn 540 Crowns from this quest.
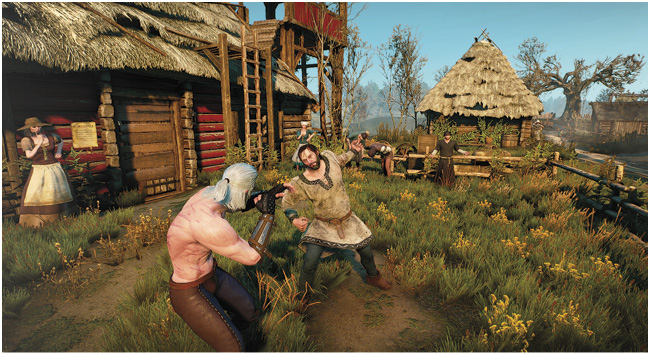
All you have to do to make sure you win every fight is back away from your opponent and let him attempt the first swing. As soon as he does, counter with a strong attack and then a flurry of quick attacks until the opponent starts to block again. Once this happens, back away and repeat the process. If your timing is good you shouldn’t take a single hit during these matches, giving you quick and easy cash.
Races: Crow’s Perch
This Secondary quest works in a similar manner to the Fists of Fury: Velen secondary quest. You race against three competitors, placing a bet on each race. If you win you double your wager, and when the quest is complete you’ll get an additional 70 Crowns on top of whatever you won through wagers. You can wager 50 Crowns on each of the three races, which doubles if you win, giving you 370 Crowns for the entire quest. It’s worth investing in a Racing Saddle so Roach doesn’t tire as quickly.
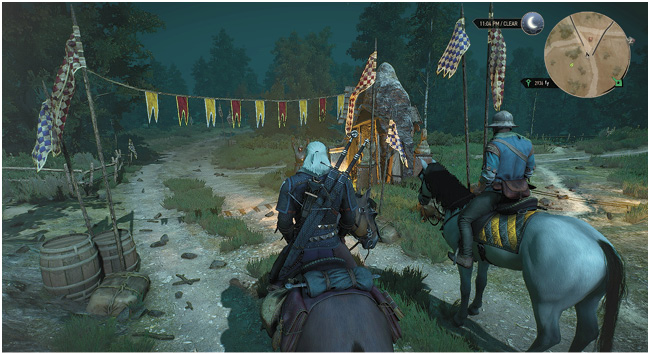
Once the race begins, follow the black line on your mini-map as it loops around in a circular pattern. Watch for explosive barrels, dips in the road that stop your horse from galloping, and even logs that may block your path. If one of these obstacles trips you up and your opponent takes the lead, don’t remain directly behind him when you try to pass.
Your horse will slow if you get too close while you’re directly behind an opponent. You need to move to the right or left to create plenty of space when you pass. Depending on the stamina level of your horse you can canter the entire race for an easy win.