
The Witcher 3: Wild Hunt The Complete Edition Guide Episode 1: Main Quests: Hearts Of Stone Whatever A Man Soweth…
Ending #2: Part 1: Some Other Time
Objectives
|
You intercede, and make a bargain with Master Mirror; offering a game or challenge in return for both your and Olgierd’s souls. This piques O’Dimm’s interest, but on his terms. You are thrust into an unknown realm. Master Mirror’s voice echoes in your ears. He tells you a riddle, and forces you to solve it before the sand runs from the timer. You can ask for the riddle to be repeated. Then you must push northward, along the path.
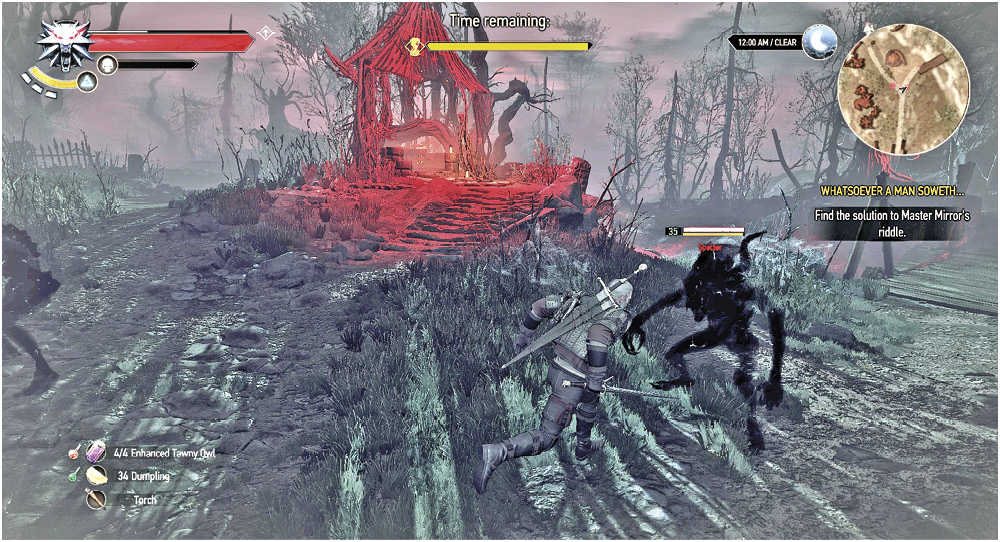
OBSTACLE: THE WEEPING WELL
Run past the three crooked trees to your right, heading roughly north. Ignore the small stone ruins to your left. At the fork in the pathway, with a trail left and right, watch for two specters. They are guarding a small well you can peer into, and attempt to solve the riddle; the answer isn’t “echoes.” The left path ends at a chasm you can’t maneuver across.
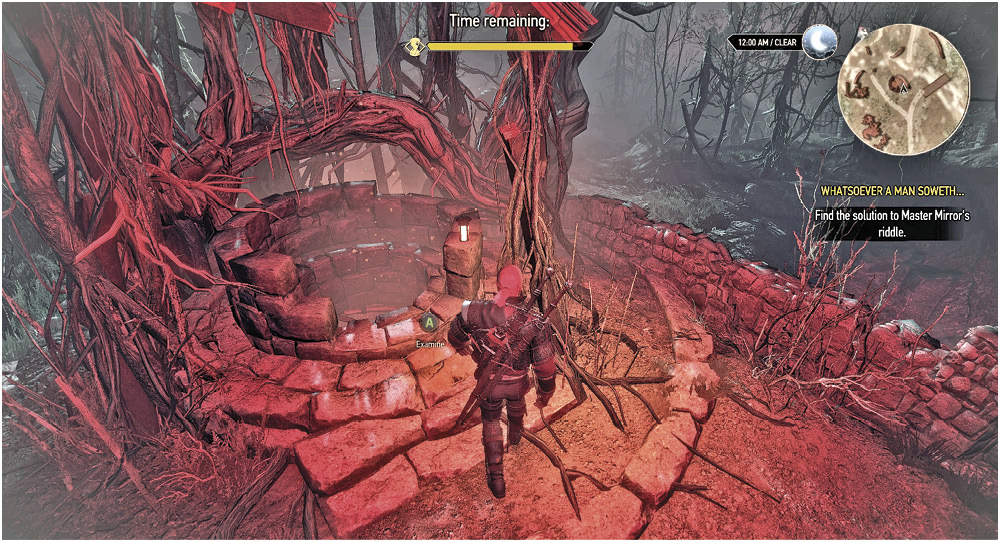
Recommended Plan: Ignore the well, ignore the left path, and ignore the specters. Head right at the fork in the road, across the wooden bridge.
OBSTACLE: SHANI IN TROUBLE
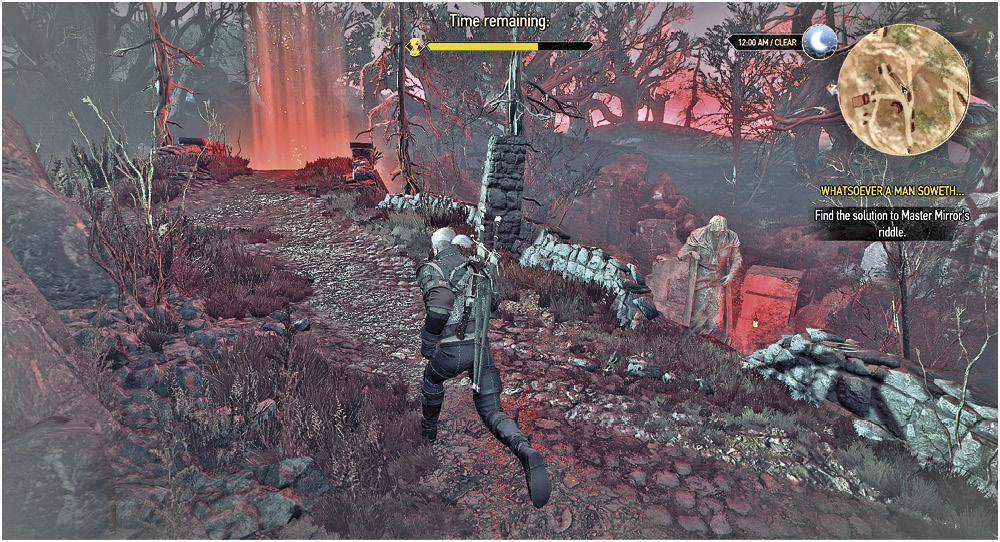
Once across the bridge; you should ideally take the left path at the next fork. However, heading right leads you to a fissure, and no way forward. Even worse, you hear the cries of Shani hanging from a broken stone bridge. Race up the side path to reach the bridge, and she disappears from view with an evil grin. Another of Master Mirror’s illusions!
Recommended Plan: Ignore the cries of Shani, and this area completely. Head left at the fork in the pathway instead.
OBSTACLE: SPECTER AND SWORD
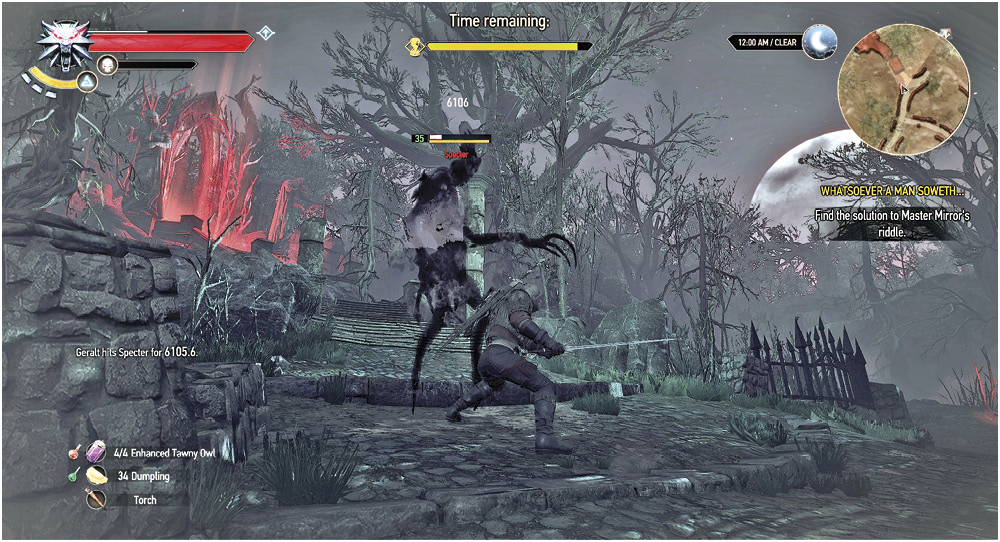
Cross the wooden bridge from the weeping well, and at the next path junction, head left. Head under the bridge and up the steps, following the path as it curves left (west) to a junction. Turn right, and face down a specter that takes the form of a Hym. Race northwestward, leap the gap in the stone steps, and locate the red-lit rock with a sword protruding from it.
Follow this pathway, ignoring the specter (run past it), and gather the sword; this is the only chance to retrieve it! Then retrace your steps back to where Shani was in trouble.
|
Items: Viper Venomous Silver Sword |
OBSTACLE: STONE BRIDGE
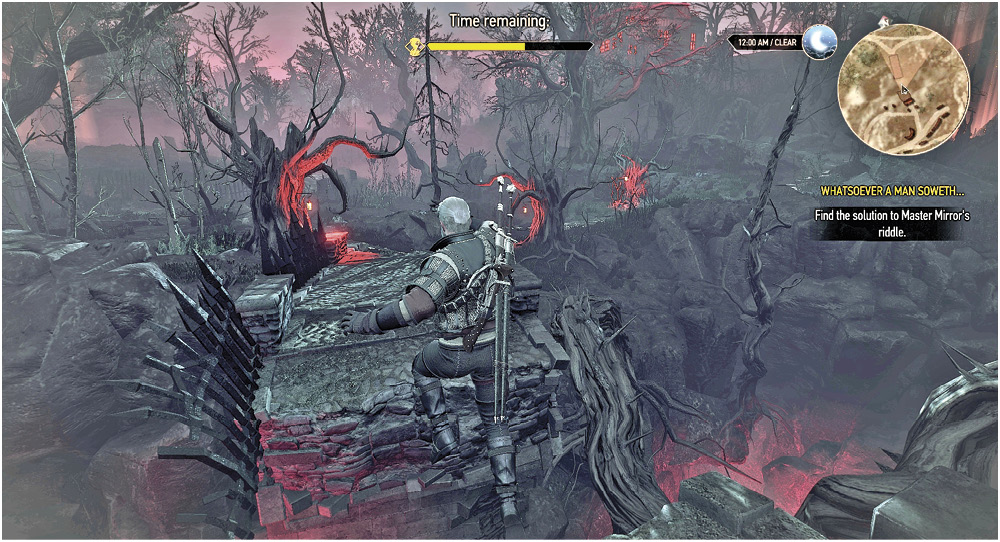
Look for a stone bridge with the central span missing (it must be leapt across) on the higher ground, just left of the bridge from which Shani was hanging. Leap the bridge to reach a T-shaped junction.
After taking the Viper Sword, return here and leap the bridge without delay.
OBSTACLE: THE SHIMMERING CAVE
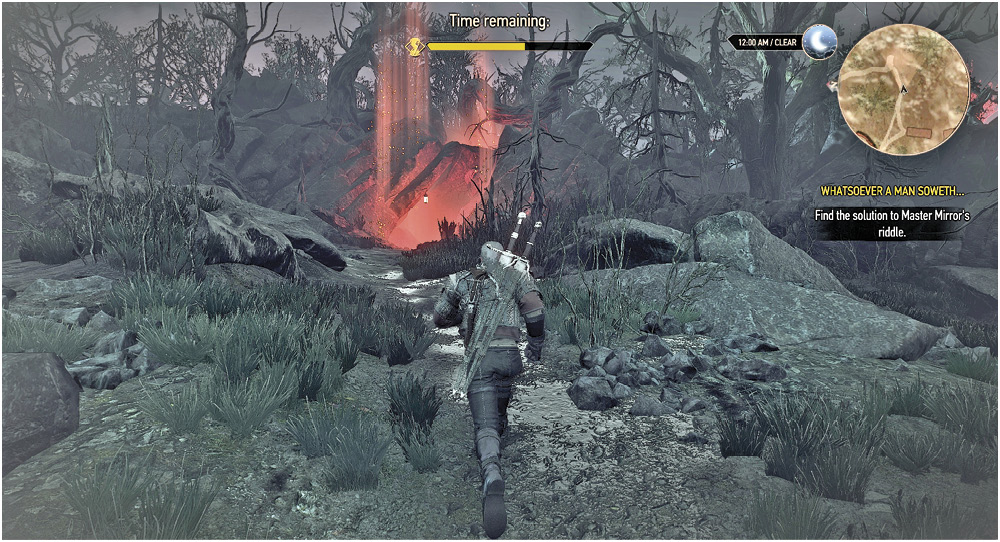
Just after the broken stone bridge, at the T-junction, take the right path, heading east to a cave entrance. Orens are scattered at the entrance. Inside the cave are various chests, loot, and coins to stuff into your pockets and trade or use later. None are unique to this area, however.
Ignore this if your “time remaining” bar is half-filled or less. Otherwise, take what you can without delay. Take a left as you emerge to reach the pair of statues leading to the red mansion.
OBSTACLE: THE SWINGING TREE
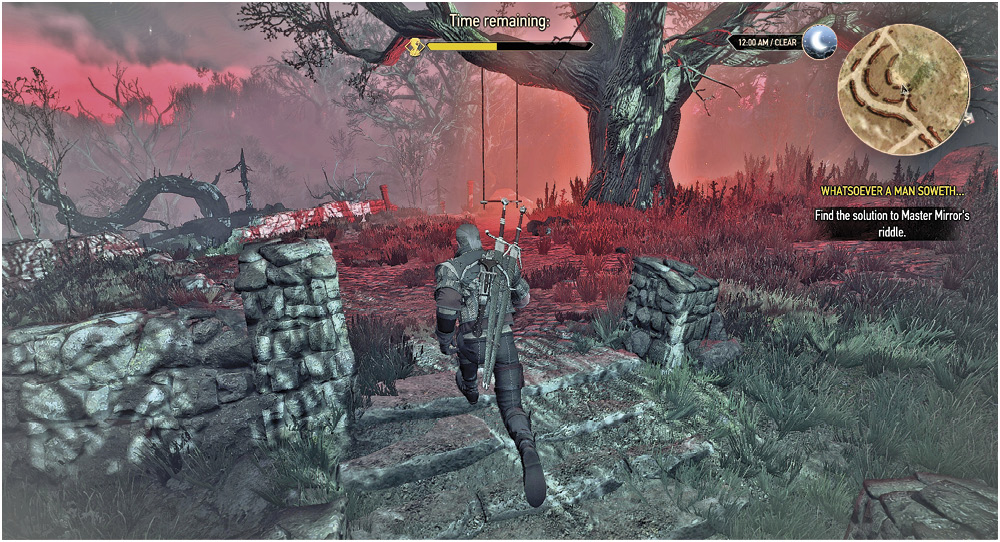
At the T-junction after the stone bridge, take a left (head roughly west), along a path toward a strange red mansion in the distance. Before you reach the pair of statues, there’s a tree with a swing attached to it. Examine the swing, and you make a guess to solve the riddle. “Swing” is the wrong guess. We recommend you ignore this area completely.
OBSTACLE: THE RED MANSION GROUNDS: A PAIR OF STATUES
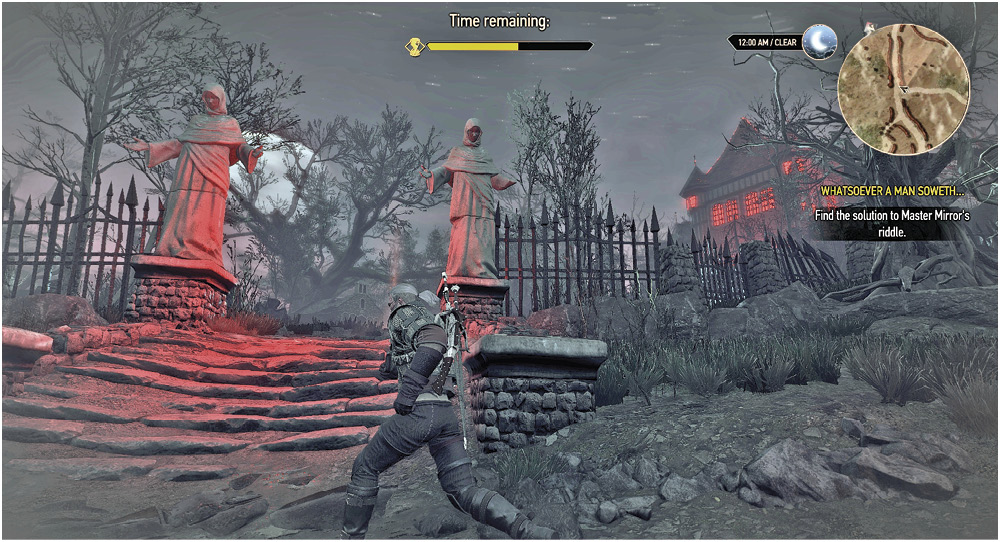
You’re on the correct path if you continue north and see two cowled statues bathed in red light. Head past them, into the mansion grounds, and beware of two specters that use gargoyle-like attacks against you. There’s a small chapel in the distance, left of the mansion.
Enter the grounds, bypass the chapel, and avoid combat with the specters entirely.
OBSTACLE: THE RED MANSION FAMILY TOMB
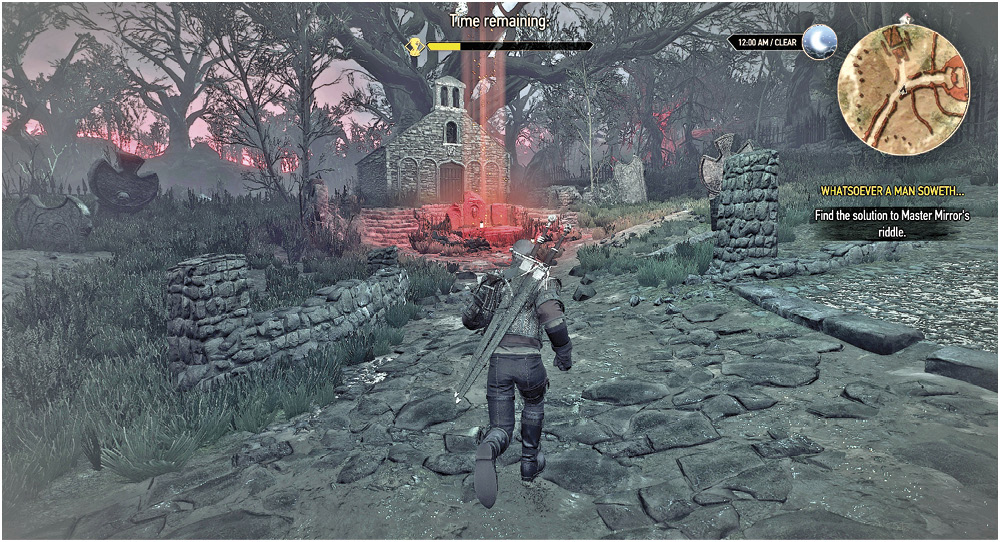
Within the red mansion grounds is a small chapel with a tomb in front of it. Examine the tomb and you make a guess at the riddle. “Family” is not the correct answer. We recommend you ignore this area completely.
OBSTACLE: THE RED MANSION AND LONG GALLERY
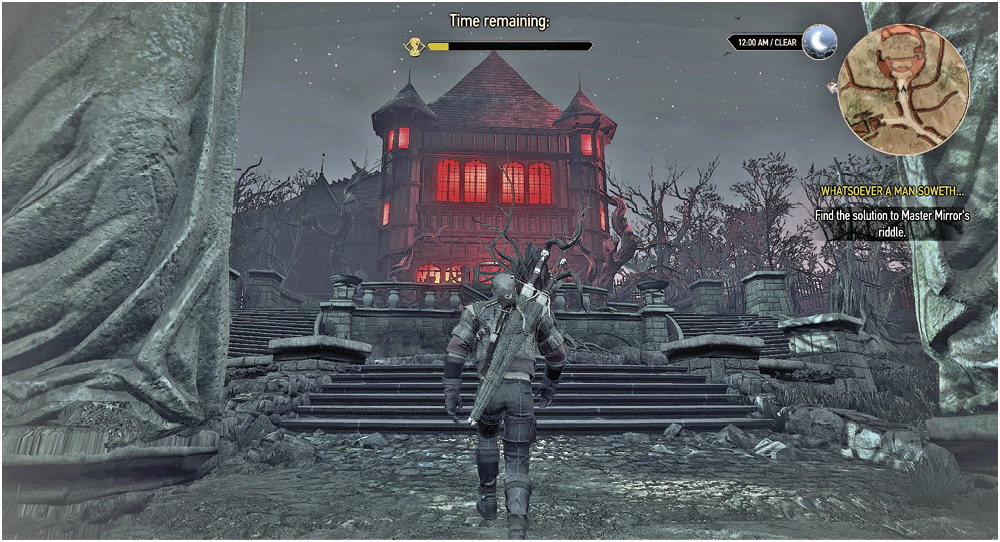
Locate a second pair of statues and climb the tiered gardens and stairs up to the entrance, and into the red mansion. There are rooms to either side to check, and stairs ahead of you leading down into a long gallery—an extra-long gallery!
Head here without delay. Once inside the mansion, ignore the side rooms, rush down the long gallery, and when the floor gives way, roll just before you land to decrease any falling damage you take.
OBSTACLE: THE MIRROR TEMPLE
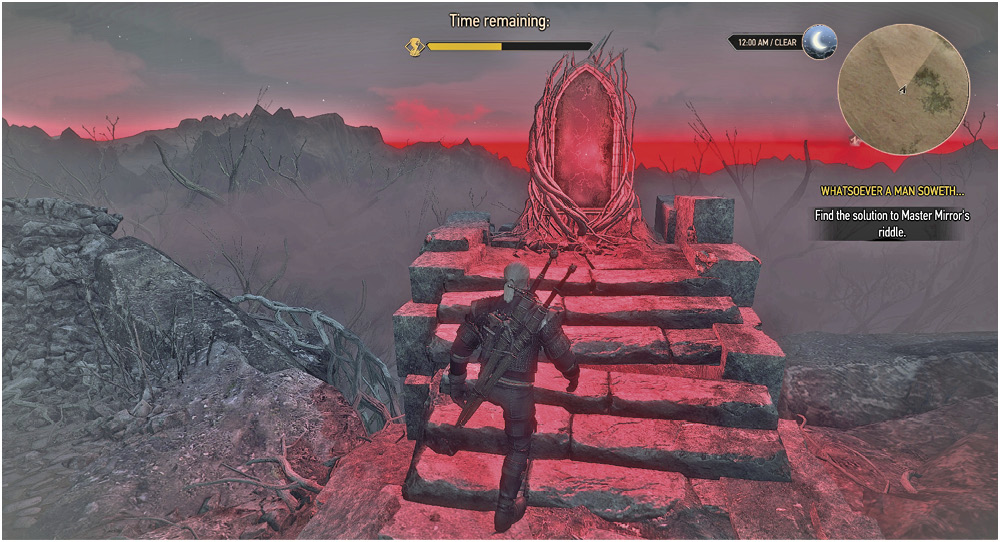
Run into the mirror temple. Around a central courtyard are various steps, staircases, and passageways leading to a total of five red mirrors. As you approach each one, the mirror shatters. If you’re not careful, this could bring you more than seven years of bad luck! We recommend you ignore all the mirrors.
OBSTACLE: FLOODING THE FOUNTAIN
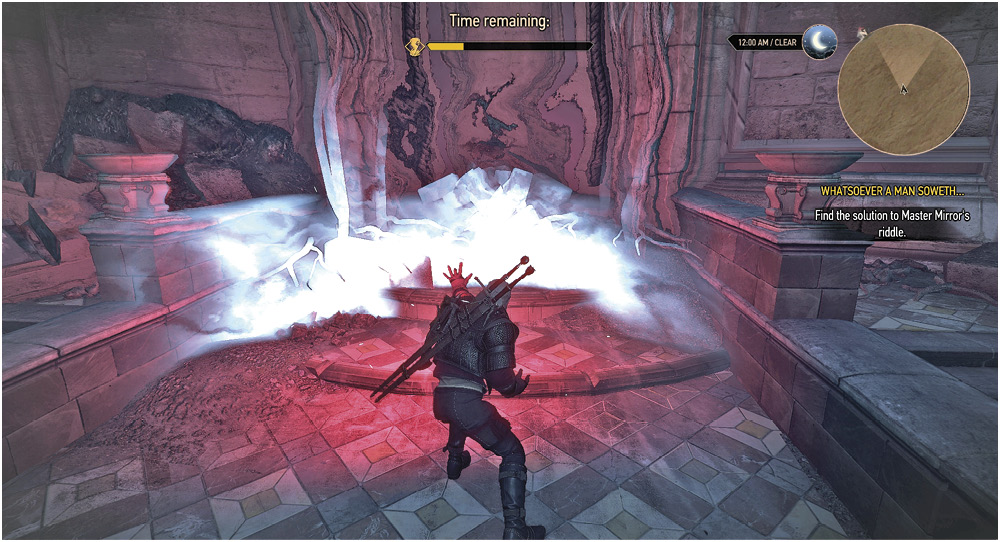
Instead of concentrating on all the mirrors, seek the second one you can see, around the gnarled tree in the main courtyard, and in front of a small ceremonial fountain pool. When the mirror smashes as you near it, use your Witcher Senses to uncover the following:
- Evidence of water here. Perhaps there’s a way to bring it back?
- Rushing water behind the wall to the northeast.
Stand in front of the wall, and use Aard to destroy it, sending a flood of water into the fountain. As the fountain fills, you are able to complete the riddle (the solution is “reflection”), and grab a spluttering Gaunter O’Dimm from the murk. He babbles in a strange tongue, and is banished.