
The Witcher 3: Wild Hunt The Complete Edition Guide Training
In-Game HUD
The HUD (Heads-Up Display) imparts critical information, particularly during combat, which help keep you alive if you pay attention. There are many elements that appear during special occasions, such as Boss Health meters, but the following items are both the most consistently displayed pieces of information, and also rank among the most important:
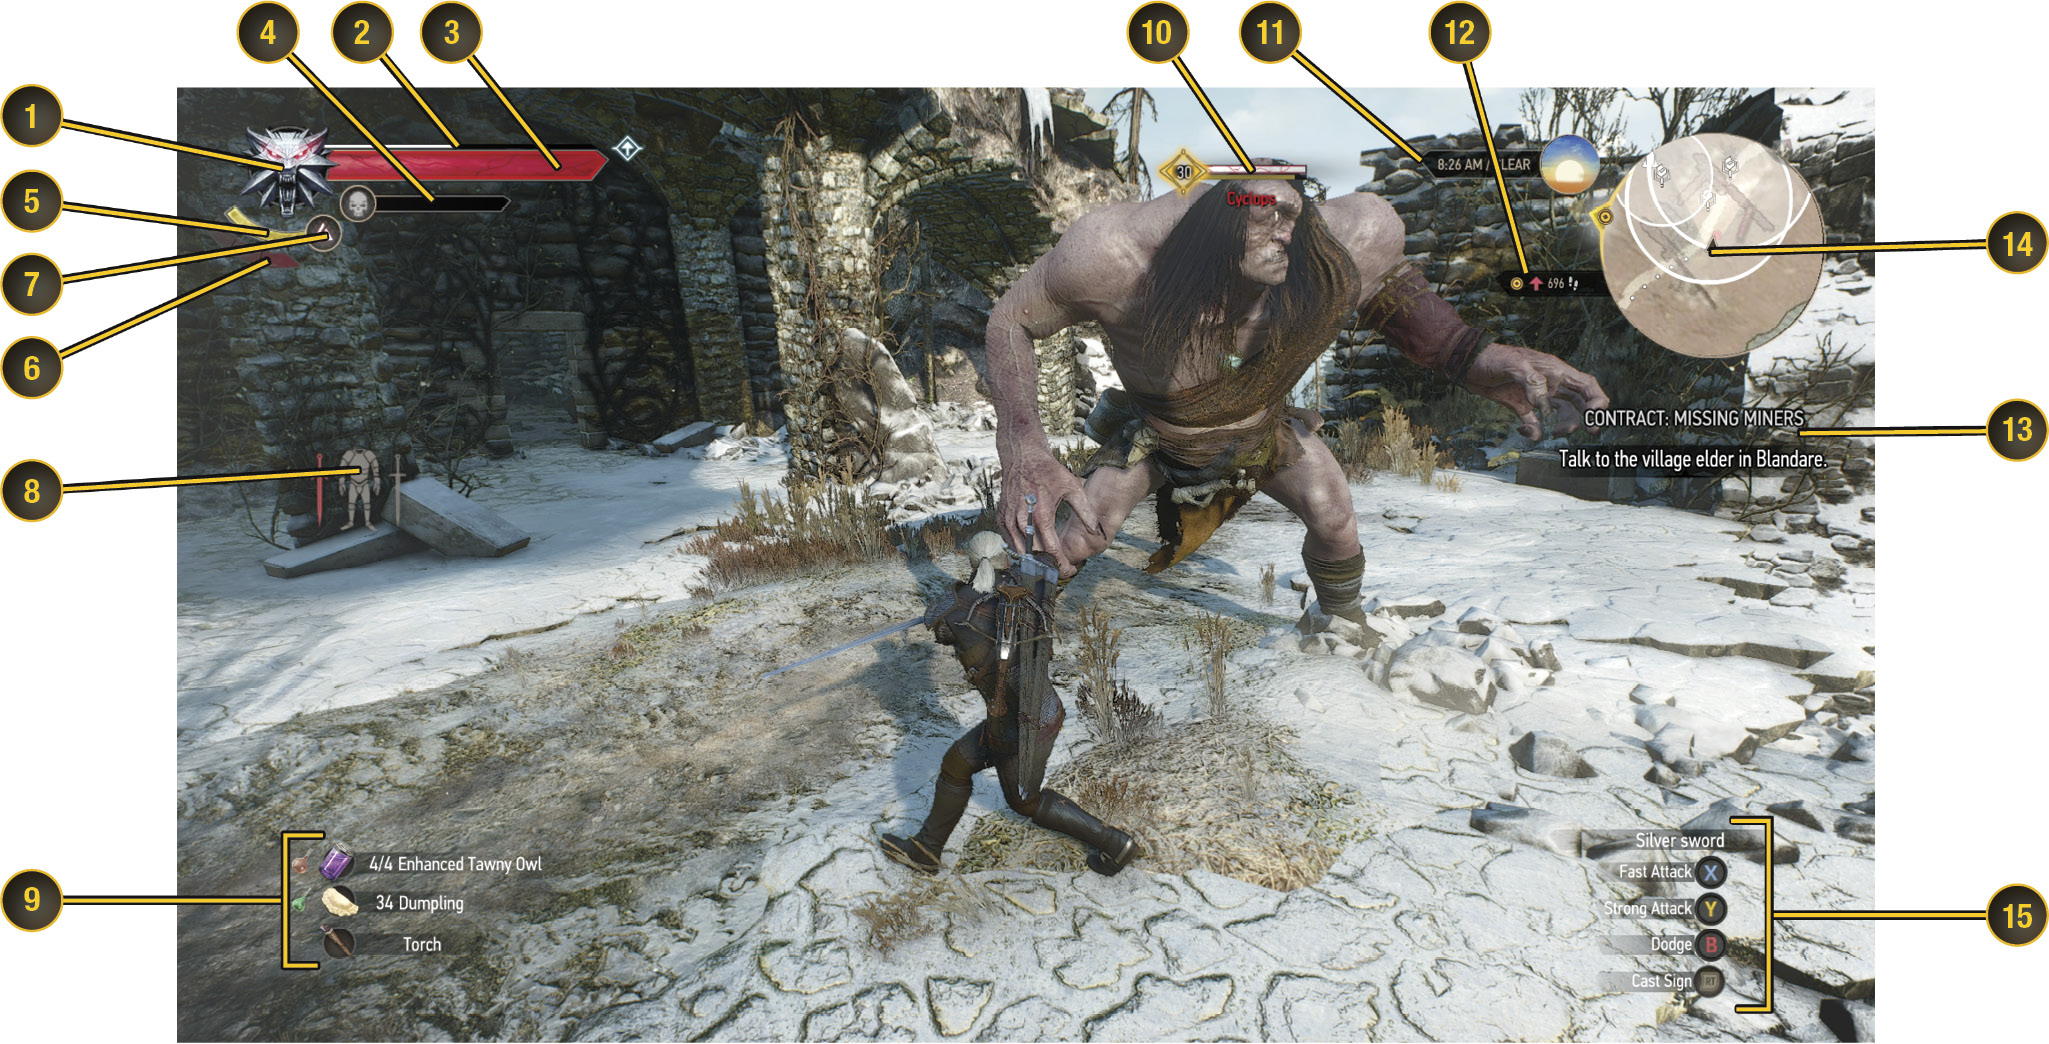
 Wolf Medallion: This medallion indicates when Geralt is in danger, or is near a powerful source of magic (usually a Place of Power). If you are playing with a force-feedback enabled controller, expect vibrations too!
 Experience Bar: As you kill monsters or men within a certain number of levels of Geralt’s current level, or complete quests, you gain experience indicated by this meter. If the meter has been filled, it resets and you gain a level. A small indicator appears next to the bar to show that you have an ability point that you can assign to your character trees.
 Vitality:This measure of Geralt’s health is possibly the single most important HUD element, other than the enemy’s health bar. If it empties, Geralt is a dead man. Fill up your health bar by employing Potions (such as Swallow), or Meditation after combat.
 Toxicity: Consuming certain potions before Meditation, or during combat, raises your Toxicity Bar level. Initially, this can be fairly harmless, even beneficial. However at excessively high levels of toxicity, you can start to suffer negative effects. If the borders of your screen are glowing green, you are being poisoned, and should Meditate or increase your maximum toxicity tolerance with a skill from the Alchemy Tree.
 Stamina: The Stamina Bar regulates your ability to sprint, evade and dodge roll, and use Signs in combat. Usually a single sign consumes the entirety of the Stamina Bar. This regenerates over time and can be boosted by potions, armor attributes, or character abilities.
 Adrenaline: Adrenaline builds during combat, indicated by the gray marks turning red. Having Adrenaline can lead to very beneficial effects during combat.
 Chosen Sign: Next to the Stamina Bar is a symbol that shows which Sign you have selected in your Quick Access Menu. Make sure you have the right Sign chosen for your situation!
 Item Condition: As Geralt uses his weapons, or sustains damage in combat, his equipment sustains damage. Should it become dangerously low on durability, an indicator appears on your HUD. Don’t let your gear fall into disrepair!
 Quick Access Items: Geralt can have one quickly accessed weapon or tool, such as the Crossbow, and two consumables, set up from the Quick Access Menu and your inventory screen. One helpful item is a torch to light your way in dark places, if you aren’t brewing the Cat’s Eye potion.
 Enemy Vitality Bar: Enemies that have engaged in combat with Geralt will have their current Vitality and Stamina displayed over their head, as well as their current level. If an enemy is vulnerable to Silver Swords, their Vitality is displayed in silver, otherwise it is red. Important to note is the color of the enemy’s level:
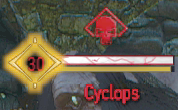
If it is red, or displayed as a skull, you are in for a very tough fight.
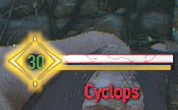
Green is an enemy closer to your level.
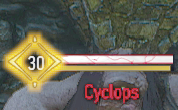
White levels indicate a near-inconsequential threat.
 Current Time: Displays the time of day, and where the sun or moon is in relation to the time, and even the current weather conditions. You may be asked to go to a location at a certain time of day, which requires you to Meditate to pass the time. Many merchants are not available at all hours, so if you need the services of a blacksmith or ingredients merchant, come back when (or Meditate until) they are actually open for business.
 Distance to Objective: Shows how far Geralt is from a waypoint, while indicating if the objective is above or below relative to his position.
 Mini-map: An invaluable tool for navigation, this shows you Geralt’s current position in relation to his surroundings. Hostile contacts are marked by red dots; red dots that are crossed out indicate a fallen foe that can be looted. Additionally, Signposts for fast travel, cave entrances, stairwells, herbs for alchemy, navigation paths leading to waypoints, and search zones indicated by Quests, are all indicated on this map. You can also set your Witcher Senses to show on the mini-map in the HUD Configuration menu. Finally, if a map icon has a small arrow pointing up, it is above you. If the arrow is pointing down, it is beneath you (and may not be accessible except via a tunnel that might not be immediately obvious or available to you).
 Current Quest and Objectives: Shows the name of the currently tracked quest, and a list of objectives. Change the tracked quest in your Quest Menu.
 Controls: Based on Geralt’s current state, whether on foot, on horseback, or in combat, a series of control prompts appears in this corner of the screen. If in combat, this display also shows you which sword is currently unsheathed. There may be situations where you’re forced to fight humans and monsters simultaneously, and this can help you keep track of what you’re using mid-fight.
Options Of Note
There is an abundance of options available to you. Almost all of them are easy to understand (and can be changed at your whim), and are accessible at any point in your adventure if you press Pause. However, a few options stand out as being particularly interesting:
Gameplay > Automatic Finishers (“On”)
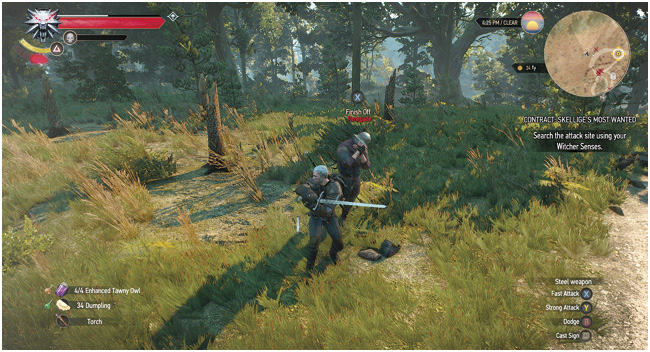
“Finishers” are executions you can undertake to complete combat with a human-sized foe. This always ends with a gruesome, and usually appendage-lopping, maneuver, and the copious spilling of enemy blood. Normally, Automatic Finishers is set to “on”.
Switch this option to “off”, and a button or key icon appears when a Finisher is available (usually when your foe’s health is close to empty), enabling you to manually execute this move. Geralt has a number of random (and supremely violent) finishers he can attempt. Having Finishers switched off allows you to more quickly turn on subsequent enemies instead of watching a flourish of bloody violence, too.
Gameplay > Color-Blind Friendly Witcher Senses (“Off”)
If you have color-blindness, then switch this mode from “off” to “on.” When you are using your Witcher Senses, you normally see areas of interest (such as footprints, partly-hidden corpses, or sounds) with a red outline. This changes the outline to blue. If you do not have color-blindness, you may find the color change makes it easier to spot areas of interest, easing your investigations. Note this option is accessible from the Main Menu > Gameplay option.
Gameplay > Turnoff Witcher Senses Fish-Eye Effect
If you suffer from motion sickness while playing games, you may feel queasy when Geralt quickly spins or changes direction. Switch this option to “on” and the background will stop warping during a turn, which can help alleviate this situation.
Video > Hud Configuration
If you are finding that the In-Game HUD to be a little intrusive, or wish to add another layer of difficulty to your adventure, scroll through this menu and switch a variety of (mainly visual) functions off and on. Everything from your mini-map to your boat durability can be toggled here. For the greatest challenge, turn every HUD option off (though not having a mini-map is perhaps a step too far into the unknown!).
New Game +: A Planning Primer
New Game + is a new mode that only unlocks after you finish the main Critical Path storyline of the base game. Choosing this mode, you can begin the game anew, but you keep your character progression, items, and all the aspects of the world around you are “scaled up” to provide you with new challenges. This is a great way to fully utilize the potential of items you may not have found until the end of the base game, or to try out new choices during the story. As you may know, the plot of your adventure unravels differently based on choices you make during quests (and this guide shows you each time one of these decisions must be made). Use this mode to try other options, such as romancing a different person, building up a different character archetype, or changing your difficulty settings.
New Game +: Character Progression
It is important to remember that when you transfer your character, all your skills, levels, and experience transfer with you. New Game + has a starting point at level 30, so if your character is below that level you are given enough experience points to raise to this level. However, if you are already above this level, no changes are made (you begin at the level above 30 you finished the previous game at).
Ability Points that you obtained via visiting Places of Power are kept on your character. Also visiting Places of Power in New Game + for the first time rewards you with an ability point, just like in the initial adventure. This essentially means you can visit Places of Power in your first adventure, and then visit them all again in New Game +, doubling your ability points!
In New Game + you gain more ability points, but you don’t receive additional ability slots. However, this enables you to buy some “support” abilities that you might not want to always employ, but might prove useful in specific circumstances. In the initial playthrough, you either had to resign from doing so due to lack of ability points, or had to redistribute all your points whenever you wanted a change. In New Game +, you can keep your build and use additional points to buy extra abilities and use them whenever you need without those restrictions. This proves especially helpful when playing on Death March difficulty, when enemies prove to be most dastardly in their prowess!
New Game +: Challenges And A Witcher’s Full Potential
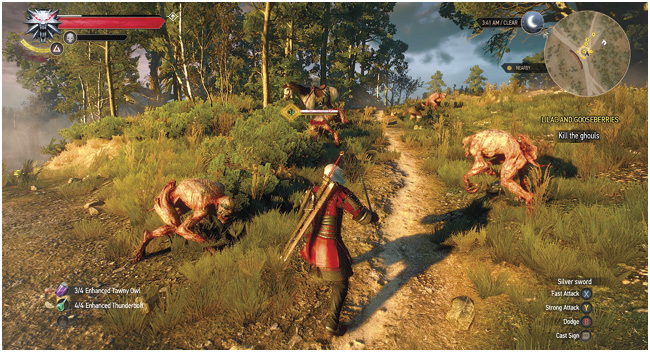
Though you have access to many more abilities, New Game + also increases the difficulty to present a real challenge! The levels of enemies and quests are scaled up by 30 levels. This means enemy statistics are raised and the combat becomes much more difficult. However, the game remains true to the Difficulty Settings; you can still reduce difficulty if you’re finding this mode hard going.
Conversely, if you consider yourself a master Witcher of some repute, the biggest challenge of all awaits you on Death March! Difficulty. Increased enemy statistics also mean greater resistances. You might find some of your previously-advantageous methods of foe disposal become far less potent, or they may no longer work at all! Prevent this from happening by using your full potential: Expert Alchemy, Crafting, Skill-swapping, and fine-quality gear you brought with you are all necessary to survive here!
As Quests also increase in levels, any opponents you face also provide you with challenges. Fortunately, experience rewards are also raised to reward you for your extra efforts. Defeating enemies and completing quests reward you with items that require higher Character levels to use, but that also have higher statistics.
New Game +: Gear Gathering
A good number of items you found during your initial playthrough are carried over to New Game +. However, there are exceptions:
- Quest Items: Such as rewards given or items found within a quest, as these could spoil your quests.
- Monster Trophies: As these are also quest-related items, your collection of previously-severed heads doesn’t make the trip to New Game + mode.
- Special Items: Equipment pieces like the Eye of Nehaleni are not accessible (until you locate them during a specific quest), as they are also quest related.
- Crafting Recipes: You keep basic schematics on your person, but the rest is ready to be found again (with increased levels and statistics).
- Gwent Cards: You will find your Gwent decks demolished; the epic quest to “Collect ‘em All” begins once again!
- Readable Items: Books, journals, and letters also relate to quests, so they are removed.
Fortunately, you get to keep everything else, so expect to begin your adventure back in White Orchard with your Witcher Sets, relic weapons, and an alchemy bag full of useful potions, bombs, and oils.