The Witcher 3: Wild Hunt The Complete Edition Guide Quest Walkthrough: Act I (Skellige) Main Quest: Nameless
Overcoming an Undying Lycanthrope
Objective:
|
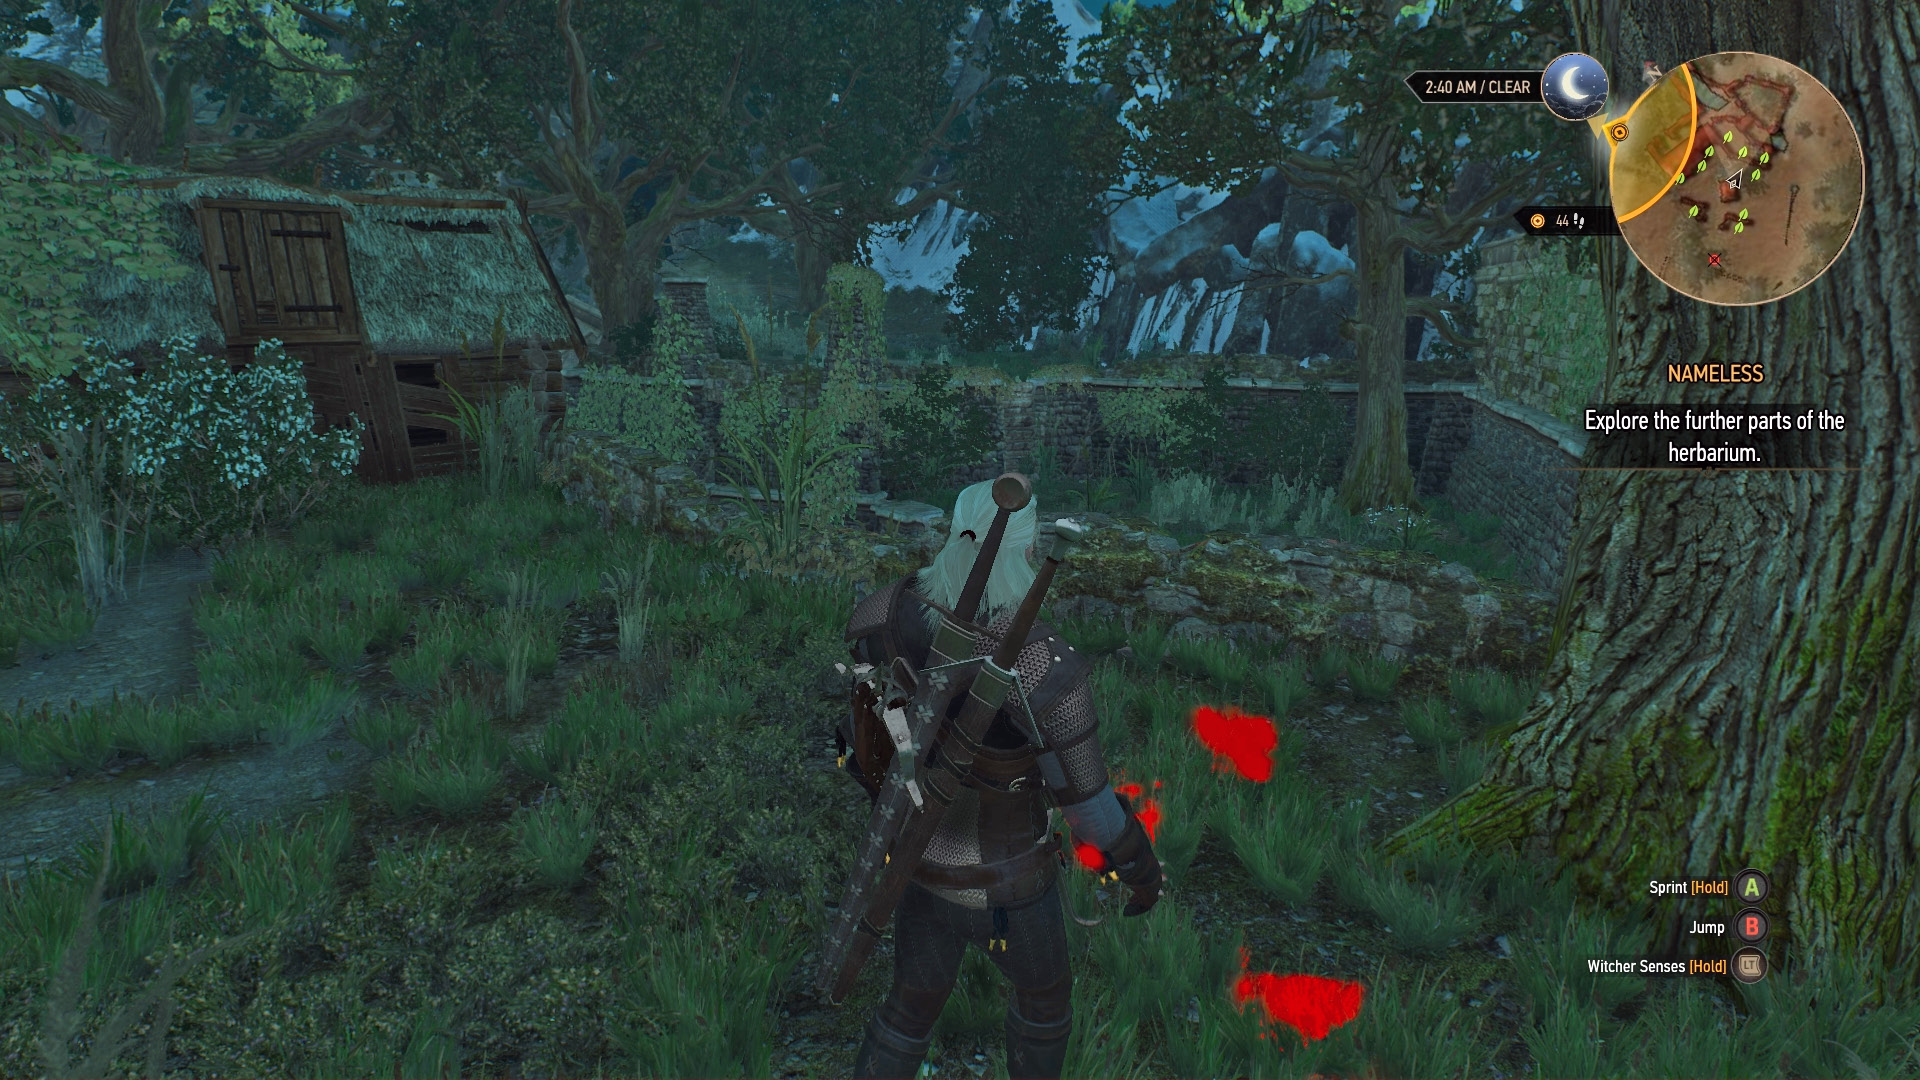
Climb the wall to the right and explore the structures further into the gardens, but make a mental note that your path eventually leads you to the arched door to the right of the wooden wall. To reach there, sprint past Yennefer at the sacred tree, drop down heading northeast, and travel up some stone steps and into an overgrown stepped courtyard where there’s a wolf to cut down. Move to the edge of the raised garden and look down onto a lean-to and small canal. Drop down from the lean-to and check the following with your Witcher Senses:
- There are many prints both old and new. Morkvarg’s lair is close.
Objective:
|
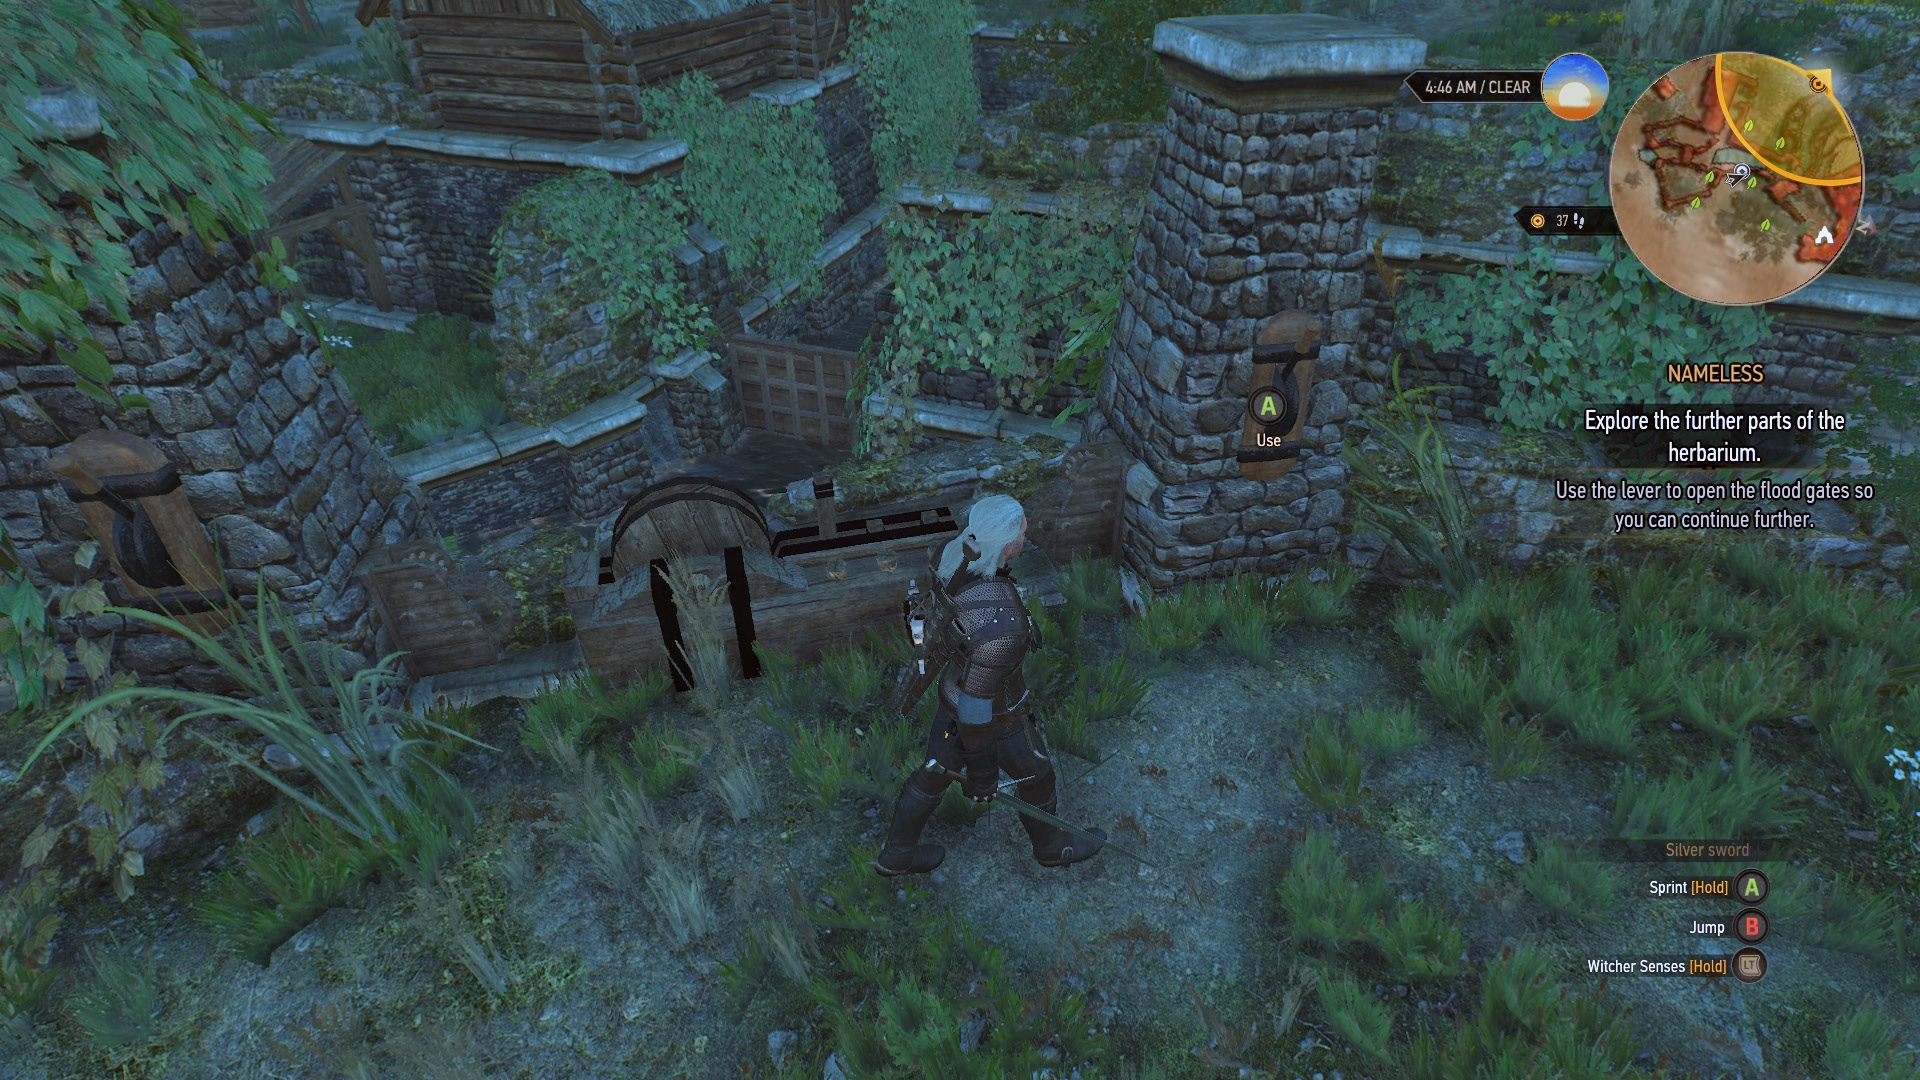
Climb the stone ladder embedded into the wall, and clamber onto the higher ground overlooking a sluice gate and two levers. There is a ruined bridge in this area with a locked gate on the other side. You can’t reach that to continue, so inspect this area closely. Utilizing both levers should allow you to open the flood gates. Save your progress, and start yanking those levers!
- The left lever changes the gears of the mechanism to lift up one of the three sluice gates. You can see which gate is able to be lifted by watching the three wooden mechanism dowels that move up and down between the two levers. Simply use the left lever until the sluice gate you want is ready to be moved.
- The right lever moves the actual sluice gate you have chosen. There are three gates.
- The left gate opens a watery exit outside, and out of Freya’s Garden, if you wish to leave easily.
- The middle gate allows access to the further part of the gardens, where both a well and a secondary structure are accessible; to further this quest.
- The right gate is under the waterfall, leading to an underwater cave where a key can be found. However, this is only useful during Secondary Quest: In Wolf’s Clothing.
Once the middle sluice gate is open, you can continue.
Dive into the canal, swimming through the open sluice gate, and climb the stone steps to the right, and up onto the higher garden ground you couldn’t access from the broken stone bridge earlier. Turn northwards and run up the stepped garden to a large hall structure. Use your Witcher Sense to uncover claw marks on the splintered door. Morkvarg smelled something beyond here.
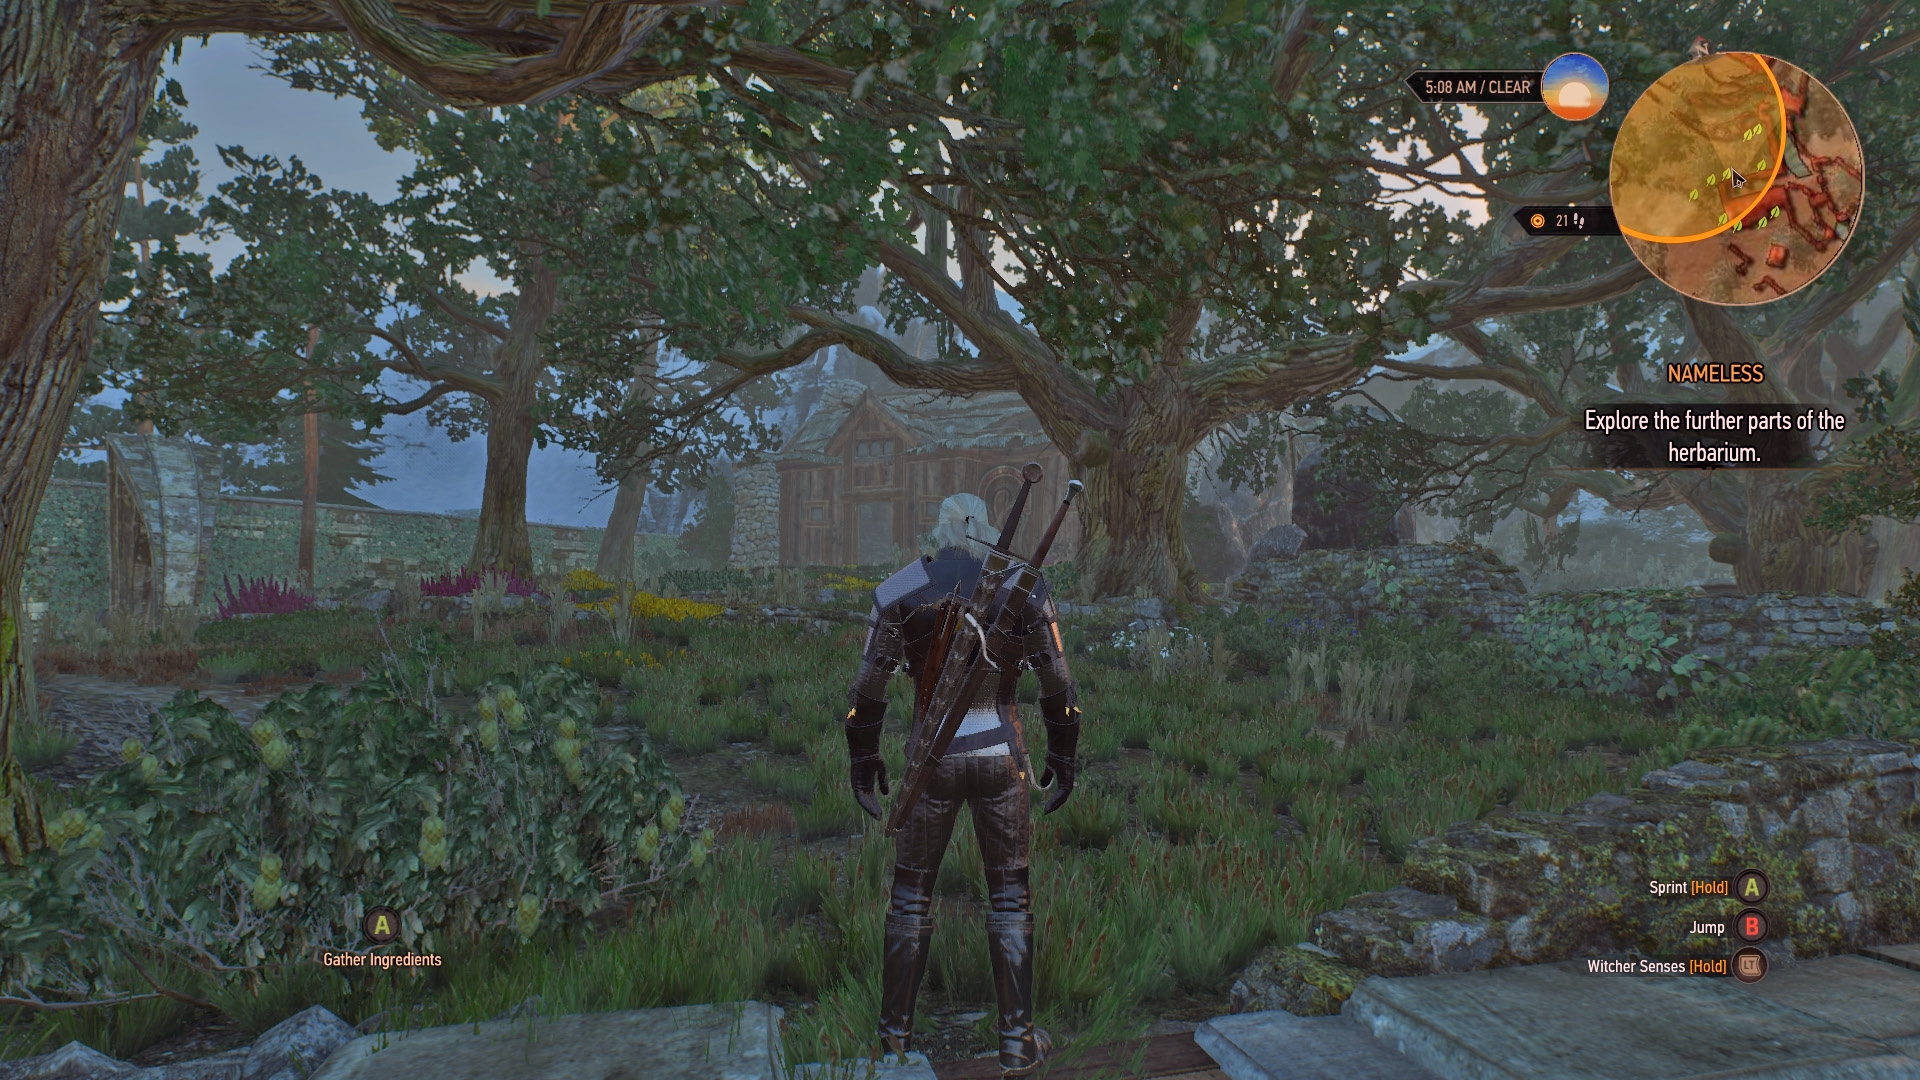
Inside the hall is a crudely constructed symbol of Freya on the ground, where the werewolf was lured. This structure isn’t relevant to Main Quest: Nameless, so only use your Witcher Senses to inspect it if you’re solving Secondary Quest: In Wolf’s Clothing.
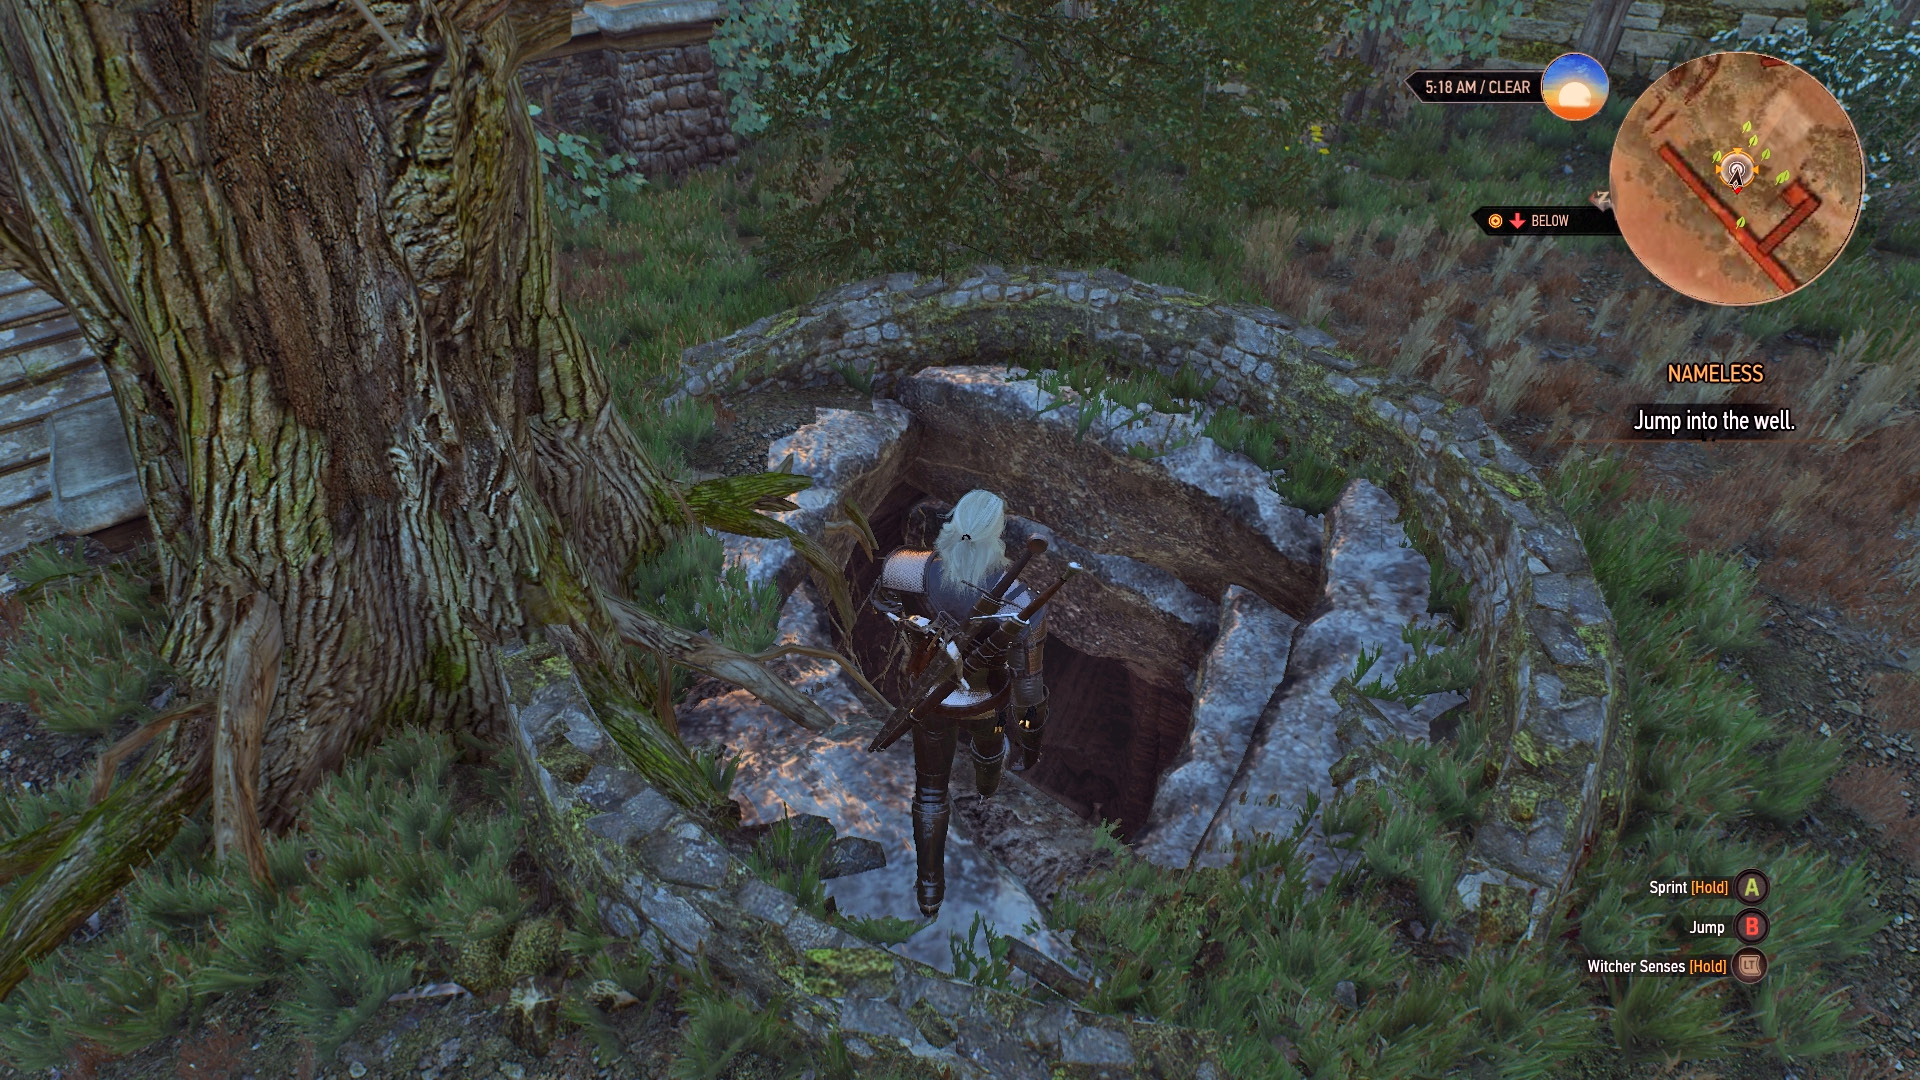
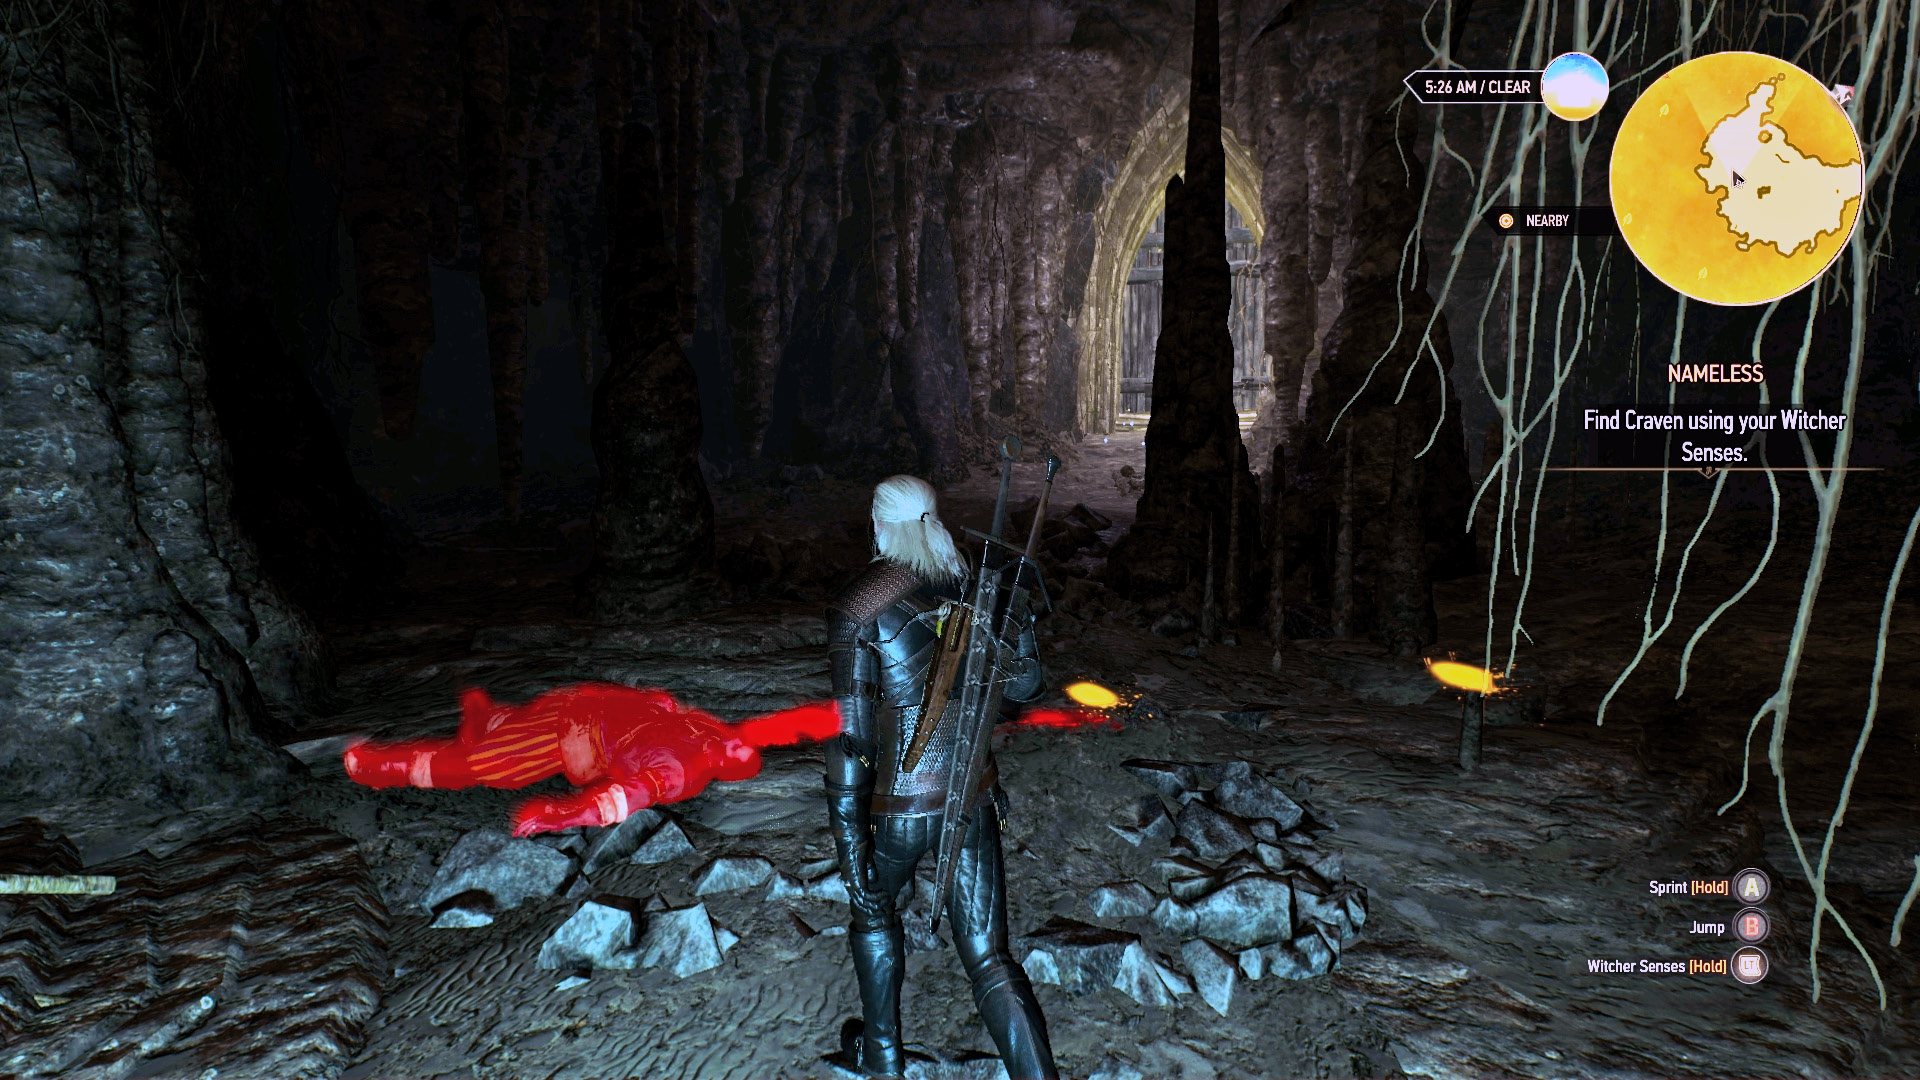
Return to the exterior gardens, and head down toward a well by a tree, on the other side of the door you couldn’t navigate through earlier. There are tracks here indicating Craven entered this well. Drop down yourself, and maneuver through the tunnels until you reach a small burrow, and immediately inspect the corpse lying here. You’ve found Craven, or at least, what’s left of him. There is a key that opens the archway exit back into the gardens, too.
|
ITEM: Quest Item: Key to the Burrow |
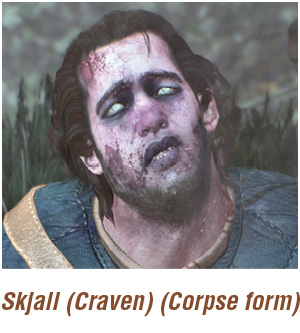
After an unpleasant task hauling of the corpse up to the sacred tree, Yennefer inspects the corpse. Although putrefaction has set in, Craven’s vocal chords are intact. After a spot of necromancy, the corpse wakens and begins to tell its tale. Main Quest: Nameless halts, and Main Quest: The Calm Before the Storm begins.