
The Witcher 3: Wild Hunt The Complete Edition Guide Appendices and Compendiums Bestiary
Beasts
Not every danger that stalks the land is an otherworldly nightmare. Beasts still prowl the Northern Realm; these are usually animals from a time when Fiends or Royal Griffins weren’t the apex predators. Beasts have carved out their own niche, and can still be a threat.
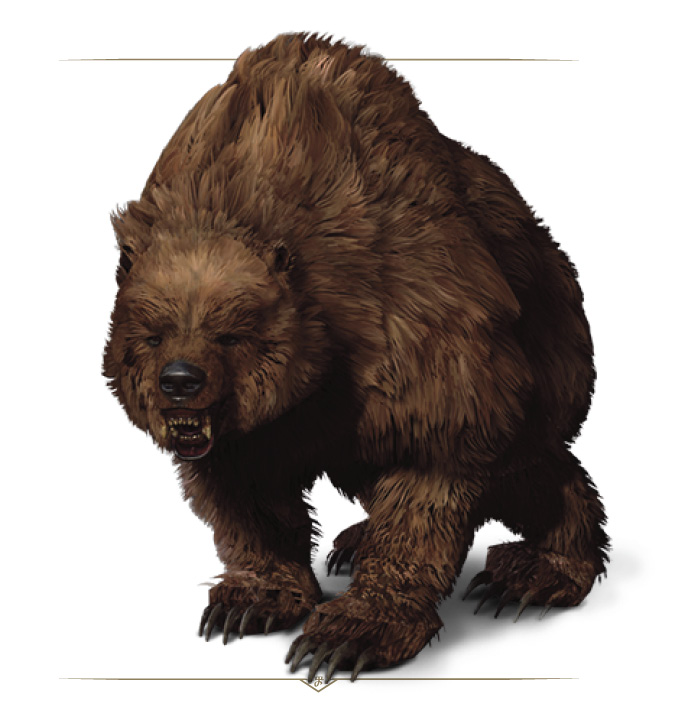
BEARS
Danger Alert

Frequency

Solitary and surprisingly fast when disturbed, facing a bear is suicide, but flanking a bear is effective.
|
Loot: Bear Fat, Bear Pelt, White Bear Pelt, Raw Meat |
|
Sub-Species or Named Variants: Bear, Brown Bear, Black Bear, Polar Bear, Cave Bear |
|
Environments: Found in every major wilderness region of the world, with some sub-species unique to certain regions. Polar Bears, for example, favor colder regions, and are found more commonly in Skellige. |
|
Specific Encounter:Hunter’s Cottage, in northern Gustfields (Novigrad). |
Vulnerable Against

Enemy Attacks
Charge: When a bear first sees you, or when you’re at far or medium distance, it may launch a charge directly at you, with both front paws swiping as it reaches you. Sidestep this or face a stun, a stagger, and possible knocking over.
Paw Swipes: These mauling swipes are attempted with either front paw, inflict some nasty damage, and are the bear’s main aggressive attacks. Though they can be parried (usually while you walk backwards), a better plan is to dodge or roll around them.
Snarling Gnash: The bear also likes to launch a biting attack along with its paw strikes, and this is heavily damaging. Roll or dodge it.
Ground Smash: When a bear stands on its hind legs, it is preparing to smash the ground with its forepaws. They can do this with such force that even a veteran Witcher can be knocked prone and savaged.
The Best Battle Tactics
Bears of any kind are sturdy foes possessing great Vitality, and terrible strength. Do not try to exchange blows with a bear, or face it head-to-head in combat.
Instead, dodge a bear’s claw swipes and try to cut at its flanks or rear. Perfecting your dodge (or roll) allows you to escape a mauling, nimbly maneuvering to the bear’s sides, where the majority of damage should be dealt. Mix in rolling if your dodges aren’t reaching the flank or rear of the bear in time. The plan is to circle the bear until its lack of dexterity exposes its flank or rear to you, then strike!
Igni and Yrden are not explicitly vulnerabilities for a bear, but both these Signs have their uses when employed against one: Igni can set a bear aflame, temporarily stunning it and allowing for flanking strikes. Use this to augment the flanking strikes mentioned previously, as part of the optimal method of culling this creature. Aard can push a bear back too, and Axii can cause it temporary confusion. Yrden slows these beasts down enough to make evading their paws much easier. Employ this technique if you’re having trouble reaching a bear’s flank to inflict damage on it.
When a bear’s flank is exposed, a strong attack (even a Rend) is preferred over lighter strikes; make the most of a stunned or confused foe. If your weapons have a good chance of inflicting critical hits, this helps remove the sizable vitality a bear possesses.
Due to the high strength of a bear’s attacks, another useful Sign to employ is Quen, to prevent you taking
sizable amounts of damage while you maneuver into position. Partner this with patience, as a well-timed retaliation is critical to striking this foe without being hit in return.
You can also elect to fight a bear from Roach, charging straight at the bear on your horse, swinging your blade into its hide, retreating to reduce the horse’s fear, then turning and repeating this tactic.
Bears are territorial. Stepping into their domain can incite aggression, but it can be surprisingly easy to avoid a bear if you spot one early enough and move around it.
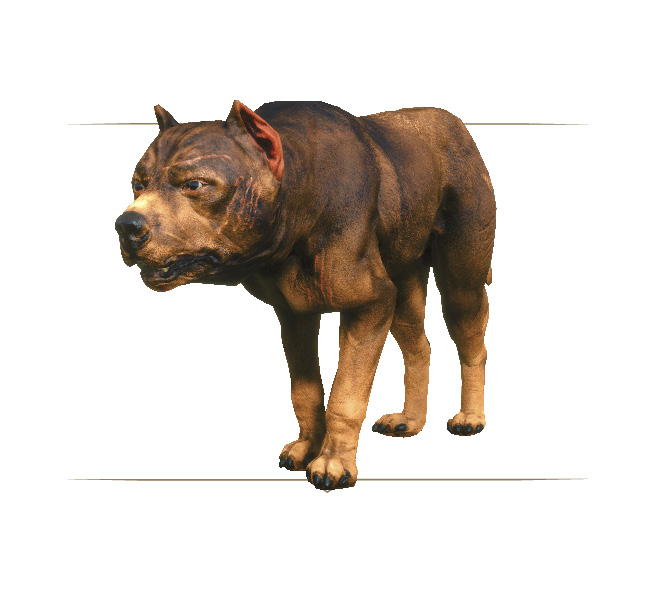
DOGS
Danger Alert

Danger Alert (groups)

Frequency

A wild dog is seldom alone. Packs of three or more are common.
|
Loot: Dog Tallow, Raw Meat |
|
Sub-Species or Named Variants: Dogs, Wild Dogs, Hanse Dogs |
|
Environments: Found across Velen, Novigrad, Skellige (both in abandoned villages and in wooded areas), and within Outlaw Hanses in Toussaint. |
|
Specific Encounter (Groups): The western side of Marauder’s Bridge (Velen). |
Vulnerable Against

Enemy Attacks
Bite and Leaping Bite: After emitting a snarl, a dog will make a short leap and bite at you, or less of a leap and a simple bite if very close to you. Listen for this snarl, and simply dodge or roll (usually backward) to avoid the attack. Or parry the bite.
Circling: While one dog attacks with a bite, others may tend to circle around you, before leaping in afterward. Simply keep an eye on all your foes, and block if you’re worried about being struck.
The Best Battle Tactics
Assuming you’re able to quickly repair your blade afterward, every one of a dog’s attacks can be blocked by holding the block button down. This allows you to pick and choose when to strike rather easily, at the expense of your blade’s quality.
Dogs like to circle you, readying for an attack. Play this game too, waiting for a hound to leap your way, before jumping to the side (dodging or rolling) and letting a light or heavy strike hit the dog before it recovers from its attack.
Aard is good for pushing back a pack of dogs, compared to other beasts of the world, the dog is lightweight. A well-timed Aard strike can knock a dog on its side, allowing a quick kill. All other Signs are also useful (Axii can bewilder a dog easily, for example); use them as you would in any other normal fight.
Do not underestimate the speed of dogs. While not particularly strong, they are fast, and packs of dogs can easily pick apart a careless Witcher through sheer numbers, and constant attacks.
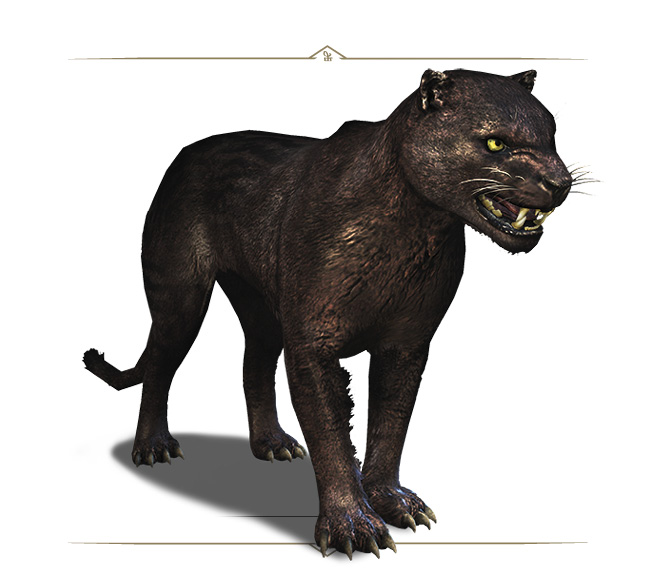
 PANTHERS

Danger Alert

Danger Alert (groups)

Frequency

Stealthy and vicious, panthers leap and claw their foes after surprising them.
|
Loot: Mutagens, Monster Claw, Monster Eye, Raw Meat |
|
Sub-Species or Named Variants: Panther, Guardian. |
|
Environments: Woods and scrubland across Toussaint. |
|
Specific Encounter (Groups): The woods southeast of Gelenser Farm (Caroberta Woods). |
Vulnerable Against

Enemy Attacks
Prowling: When engaged in combat, and usually in areas of undergrowth (woodland or scrubland), a panther may start to prowl, hiding itself and its vitality bar as well as becoming invisible on your mini-map. Counteract this stealthy approach by maintaining a visual on your foe or employing your Witcher Senses to “see” the sounds the panther is making and ascertain where she is.
Leaping Attack: After shortening the distance from prowling range, a panther will usually attempt a running leap which cannot be blocked and ends in an attack. Expect fast-moving running and aggressive mauling until one of you succumbs.
Leaping Claws: The leaping attack can end with claws, either a single swipe or a combination attack that has a change to apply bleeding damage. Dodging early enough stops the leap from connecting.
Bleeding Claw Combos: After a leaping attack, a panther will usually rake you with fast strikes using its claws (usually one or two swipes), which inflicts heavy damage and can cause bleeding. This can be parried, but it is better to counter.
Dodging: Panthers can swiftly dodge your more measured or slow attacks, so don’t expect them to simply sit there and take your blades. They also tend to retreat to set up for another leaping attack as combat progresses.
The Best Battle Tactics
Panthers are extremely nimble and quick. While on the prowl in their native habitat, they can be difficult to spot. When they attack, they become an incessant and furious flurry of leaps and clawing that can be difficult to block. This is a dangerous predator that is reckless in melee combat and won’t stop until it or its prey dies.
Unlike other beasts, panthers rarely retreat from melee combat, except to sprint away and try for another leap. After coating your blade in Beast Oil, your best bet is to tackle panthers in the same way as you would a particularly dangerous wolf, in terms of using bombs, projectiles, and ranged Signs before combat becomes up-close and personal. Then dodge any leaps and clawing, and when the panther is pawing at you, dodge and strike back or counter.
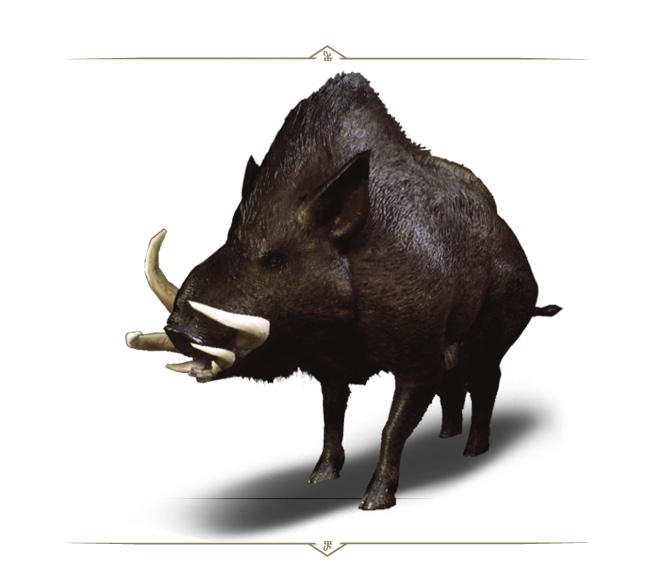
 WILD BOARS

Danger Alert

Frequency

Packs of tusked pigs act both erratically and aggressively, and prefer to harass and prod before devouring their meals.
|
Loot: Boar Pelt, Boar Tusk, Raw Meat |
|
Sub-Species or Named Variants: Boar, Wild Boar |
|
Environments:Environments: Found occasionally in Velen, across Novigrad (particularly Gustfields territory), and in wooded areas of Toussaint. |
|
Specific Encounter:The woods north of Brunwich (Gustfields). |
Vulnerable Against

Enemy Attacks
Boars are able to maintain their speed throughout an entire fight; can knock down, surround and harass lesser warriors; and act more erratically than other beasts.
Erratic Running: Boars won’t usually make a direct line when charging toward you, but instead circle or weave around before charging with their tusks. They also like to “wing” you as they pass with their tusks, and continue to charge about, making them difficult to react to. Quen is useful protection under these circumstances.
Charging Gore: Expect Boars to charge you from time to time, especially if you’re preoccupied with one of their pack and don’t notice another approaching swiftly. The subsequent strong tusk attack can knock you down. A swift dodge is necessary here.
Hind Leg Stomp: If you’re burning boars with Igni or projectiles, they tend to run in a circle in a highly-agitated manner, kicking their legs out. These hind-leg strikes also occur if you try and strike a boar from behind (after the beast usually rears up). Obviously, avoid bladed attacks to a boar’s behind, and watch a squealing boar as it careens chaotically; dodge to avoid additional damage.
The Best Battle Tactics
Though they sometimes live alone, boars usually appear in small groups of three to five. This means you should treat them as a pack and prepare accordingly (by scanning your mini-map and the area using your Witcher Senses to ascertain where all the foes are). As they maintain their speed throughout an entire fight, and are difficult to predict (they run to and from you constantly), you must be cautious so you’re not surprised by a charge and gore that knocks you down. Expect to be surrounded and harassed.
Boars are susceptible to all Signs, bombs, and bolts. For those lacking finesse, you can quite easily single out a boar and concentrate on killing it with hammering light attacks, before moving onto the next in the pack. But the best idea is to approach a boar pack defensively (blocking and with Quen active), locating and isolating one, and then stunning it (Aard or Axii is useful here) and/or attacking from the front or the side. If you’re surrounded, utilize crowd-control tactics (stunning or slowing boars with your preferred Signs or bombs) before resuming the “isolate and slay” plan.
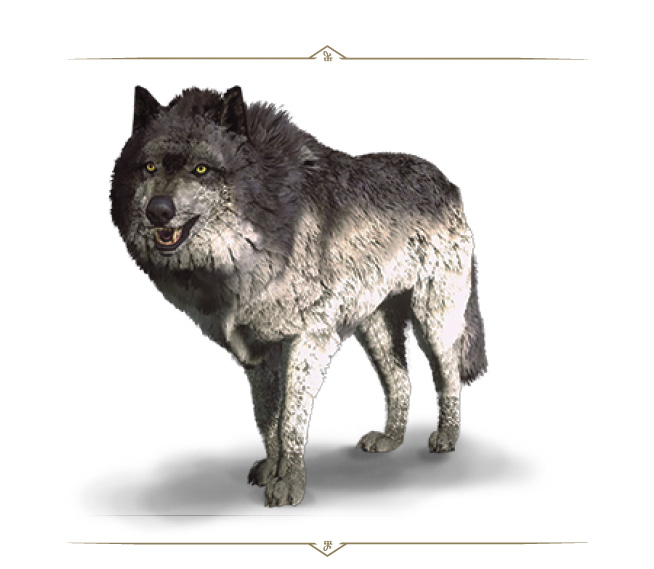
Wolves
Danger Alert

Danger Alert (groups)

Frequency

Snarling furry beasts that hunt in packs of up to eight, and are more cunning than Dogs, Wolves can be worrisome in groups.
|
Loot: Wolf Pelt, White Wolf Pelt, Wolf Liver, Dog Tallow, Raw Meat |
|
Sub-Species or Named Variants: Wargs, White Wolves, Wolves |
|
Specific Encounter (Groups): The hills northeast of Mill (White Orchard). |
Vulnerable Against

Enemy Attacks
Bite and Leaping Bite: After emitting a snarl, a wolf will make a short leap and bite at you, or less of a leap and a simple bite if very close to you, just like a dog, though wolves tend to attack more frequently. Listen for this snarl, and simply dodge or roll (usually backward or to the side) to avoid the attack. Or parry the bite.
Dodging: Wolves are more nimble than dogs, and can sometimes dodge one of your attacks, so don’t expect every strike to hit home (unlike offensive strikes against dogs, which usually hit home every time).
Circling: While one wolf launches biting attacks, others may tend to circle around you, before leaping in afterward. Simply keep an eye on all your foes, and block if you’re worried about being struck. You can block even if the wolf’s attack is to your side or rear.
A Pack Mentality: Packs of up to eight wolves have been known to tear lesser warriors apart, as they work much more as a team, one wolf biting before another, then another, keeping you on the defensive and attacking from all angles.
The Best Battle Tactics
Wolves are pack predators. They coordinate with each other to surround their chosen prey. Beyond the coordination, wolves are similar to dogs in how they attack. Search out wolves using your Witcher Senses and “see” their sounds. Then attack first, before the wolves start to act as a pack.
Pack leaders are typically the highest level wolf in a given pack, and are occasionally a warg as opposed to a regular wolf. It’s worth targeting this foe first, so you aren’t bitten by one while concentrating on other wolves, as the leader’s attacks are more damaging. Other than inflicting more pain, wargs are no different to normal pack members.
If surrounded, Igni and Aard can drive off a pack, if just for a moment, allowing a Witcher some time to recover Stamina or regain control of a fight. Igni is usually preferable, as although both Signs can stun multiple wolves, Igni damages them with fire as well.
Another trick is to purposefully dodge and roll without using offense against multiple wolves, until they cluster together. Then quickly strike with Igni, setting all of them ablaze and stunning them; now mop up and deliver killing blows before they recover.
The real trick to slaughtering wolves is to keep continuously moving; dodging and rolling in different directions before stepping in with a swift light strike or two, and moving again.
Leshens are able to command wolf packs to aid them. Wolves summoned by leshens must still be fought with silver swords.