
The Witcher 3: Wild Hunt The Complete Edition Guide Training
Reactions And Interactions
Geralt can interact with the world using more peaceful methods than putting fists into faces or swords to skulls. He must find the supplies he needs in the environment that surrounds him, pick up on clues or notes, or speak with individuals who know what he needs to know. For this type of interaction, learn the following techniques:
Examinations And Environmental Interactions
When you walk up to an item, object, or piece of scenery, and there’s something to interact with, a context-sensitive button appears on your screen, allowing you a variety of exploratory options. The following are most common:
Destroy
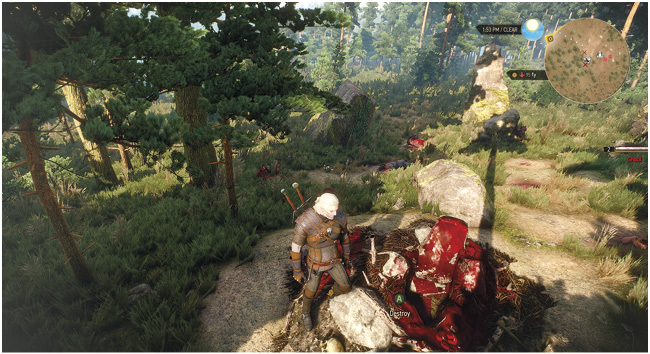
Kill! Rend! Dismember! Actually, as you use your swords and Signs to slay enemies, the only time you’re able destroy some scenery is when you approach a Monster Nest. “Destroy” automatically removes a bomb from your inventory, and you drop it into the nest. At this point, you are advised to move away from the ensuing explosion, which occurs a few seconds later. This destroys the nest, removing the local monster threat. Once the dust settles, you can loot any valuables from the nest.
Examine
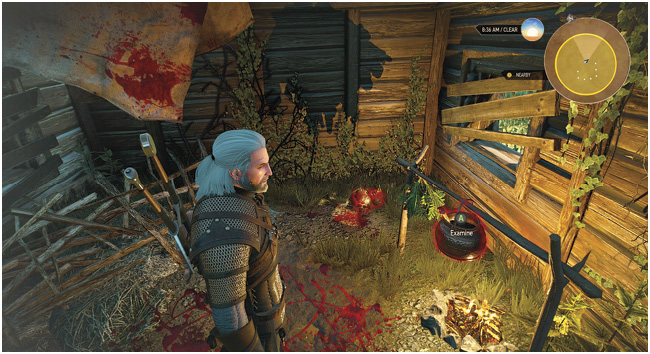
This occurs almost always when you’re using your Witcher Senses, and you discover a glowing area of interest (a mark, blood trail, footprints, or slumped corpse for example) that furthers an investigation during a quest. The mark is accompanied by a magnifying glass icon, which can appear on your mini-map if you switch “Witcher Senses on Mini-map” (in the Video > HUD Configuration Menu) to “on”.
Extinguish And Ignite
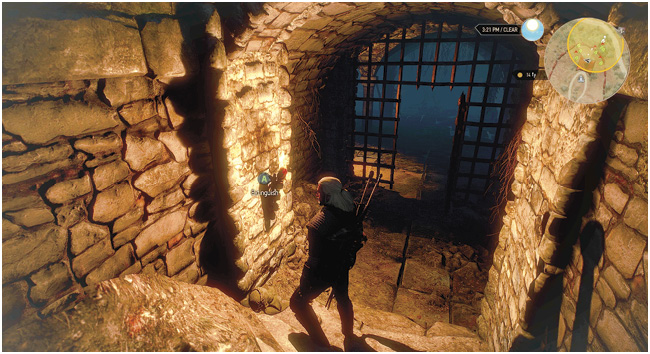
Many torches, candles, bonfires, and oil braziers across the land are either lit or unlit. Though you can use Igni to light these flammable targets, and Aard to extinguish them, you can also simply walk up to a flammable target and snuff the light out or quickly ignite it. This is useful if you’re wandering a maze-like dungeon and want to keep track of where you’ve been, or want to illuminate an area without announcing your presence with a blast of Igni or Aard.
Fast Travel
Whenever you uncover a new Signpost, which is close to an area of interest, landmark, settlement, or other location for the curious to investigate, you can interact with it, allowing you to Fast Travel to any other Signpost you’ve already discovered (either by manually locating each one, or occasionally by purchasing a map with Signposts indicated). This helps you cover ground more quickly than trekking everywhere! You can also use boats for fast travel, sailing to different ports on the map.
Gather Ingredients
When you’re wanting to find ingredients for your alchemic crafting, and don’t want to pay an Alchemist or Herbalist, search the fields for naturally occurring grasses, fungi, and other ingredients.
Hold To Draw
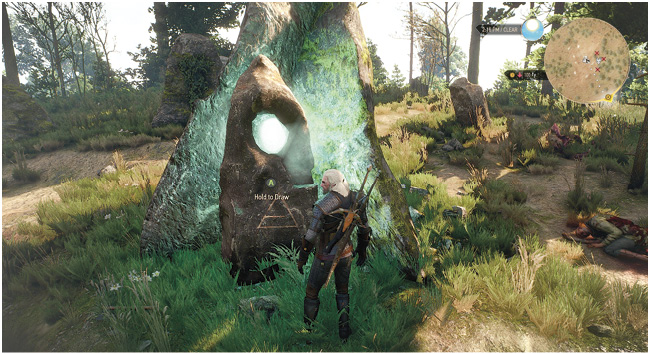
This only occurs when you discover a strange, glowing monument known as a Place of Power. Approach it, and hold the button (rather than tapping it) to draw the power from the monolith.
Interact
If you’re inspecting an object or piece of scenery that may change shape, such as an illusion requiring the Eye of Nehaleni to dismiss, you’re able to Interact with it, in a similar manner to “Use,” though this object usually doesn’t have a function.
Mount And Dismount
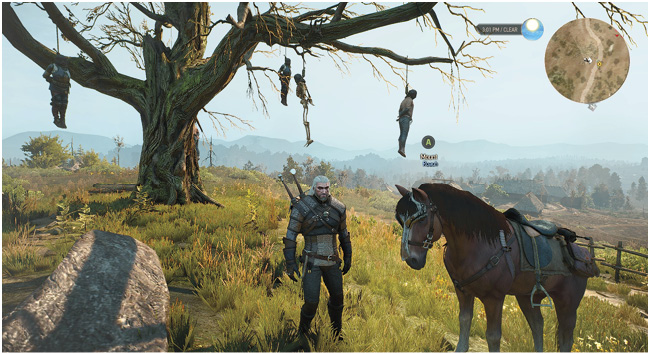
Whenever you whistle for Roach, or come across a horse (and perhaps even a unicorn) that you wish to ride, stepping closer to the beast enables you to mount it. Mount from behind to complete an impressive leapfrog onto the mount.
Read
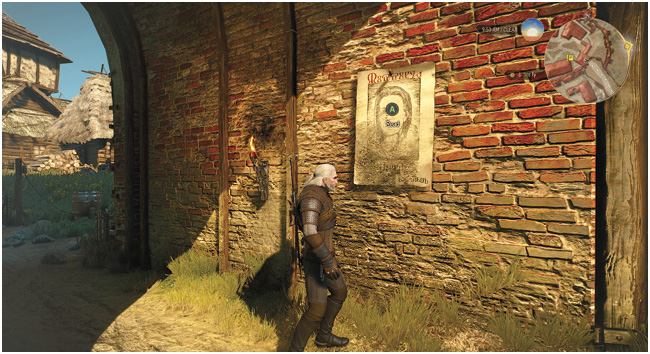
Dotted around settlements, usually plastered to walls, are posters with various information written on them. Feel free to read any of these; they give you pertinent information about the goings on in a settlement, and clues to quests you may wish to participate in. For example, over at Crow’s Perch, the Baron’s wife has gone missing. Have you seen her?
Stash
While adventuring, you may be a little too enthusiastic with your looting or purchases, and require additional storage space for your belongings. Fortunately, a large chest (green on your World Map, one per major territory) is available to store any items you don’t wish to wear, use, or sell at the moment. However, although roomy, there’s a limit to what this chest can hold, too!
Take Helm
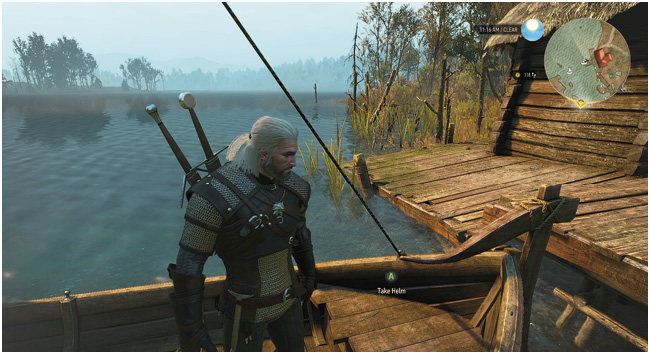
When you’re wanting to steer a boat, just standing on it isn’t going to get you anywhere; instead you must move to the helm (back) of the vessel, interacting with the rudder, and start to steer your boat.
Talk
Everyone with a speech bubble atop their heads has something to say to you, and those with an “!” have a task that turns into a Quest. If you want even a passing discussion, need information or items at a trader’s stall, or you’re seeking clues to the whereabouts of the women in your life, strike up a conversation with anyone and everyone.
Use
This interaction occurs when you’re at the base of any ladder and wish to climb it, or if there’s an object you are hoping to interact with that is likely to move, function, or grant you information (such as fitting a crystal to a strange mechanism, piecing together a contraption, or reading a Notice Board). This function is also seen when accessing an Armorer’s Table or Grindstone.
Looting And Theft
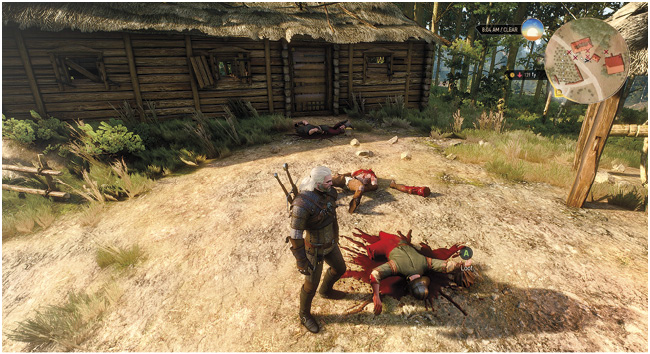
After combat, or while exploring a locale, Geralt can sift through containers, crates, leather bags, treasure chests, dead bodies, and just about anything that could possibly contain something of use. Plants of many varieties can be picked for use in potions and mutagen decoctions. Defeated enemies can be looted, or may leave behind bags that can be looted.
However, be careful about where you are when you’re “procuring” supplies. Breaking into someone’s home to “borrow” expensive plates and cutlery to fence to a merchant will be seen as theft by witnesses, and whatever counts as law enforcement in the area may be inclined to respond with violence, even if that means standing up to a Witcher.
Looting: How Equipment Loot Is Awarded
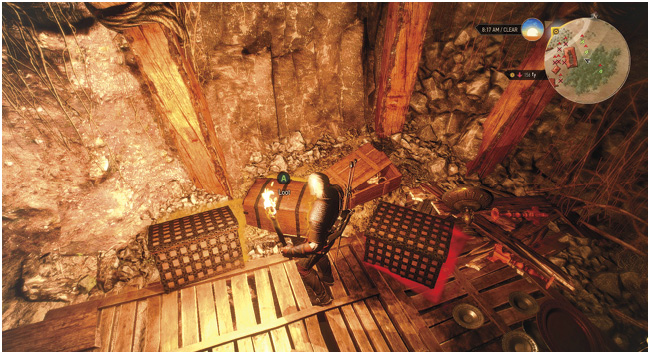
Outside of very specific items, almost all loot from any source (bags, chests, drawers, et al) is generated at random. However, the quality of the loot is usually dependent on the location you’re searching. For example, you’re much more likely to find Pig Hide or Dwarven Spirit in a farmer’s bucket, compared to a Relic silver sword.
All possible lootable objects have a hidden value, and if the loot container is of high value, the better the chances are that you will receive powerful items and high-quality crafting and alchemy materials. With this in mind, this guide has attempted to map as many of the highest quality loot containers, and detailed them as “Good,” “Better,” and “Relic” chests, and listed them throughout the Atlas.
The other factor affecting loot is Geralt’s level. If Geralt finds a weapon or piece of armor in a chest, it is usually set around his level (though can occasionally be lower or higher). The only exceptions to this are pieces of loot that have a fixed level regardless of Geralt’s. The level a piece of armor or a weapon can be equipped at greatly influences its stats, so always be on the look out for stronger pieces of equipment as you travel through the world.
Talking: Beginning Conversations
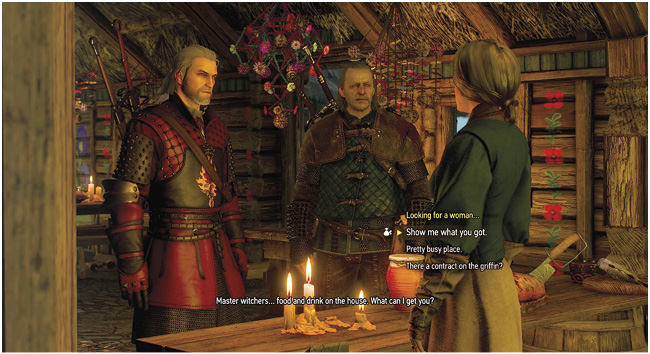
It’s worth at least talking to everyone you meet along your adventures, if only to find out what they have to say before you put the sword to them. Less blood-thirsty types also use conversations to gain additional knowledge, and even play games of Gwent. You can walk up to any individual who isn’t already spoiling for a fight and try to speak with them. If they have more to say, items to sell, or if the chat is with someone whom Geralt needs to discuss important business, you enter a full conversation, complete with various choices in the dialog that influence the direction of that conversation.
Talking: Dialogues And Choices
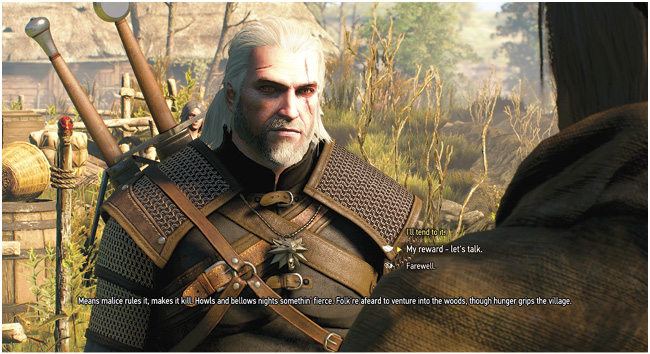
Oftentimes Geralt must use words, and the occasional Axii Delusion Sign, to coerce people to provide the information or items he needs.
When opening dialogue with someone who has more to say to the Witcher, beyond a noncommittal insult of his mutation, you are presented with dialogue choices. Read your options carefully to determine the tone of the response you’re about to choose before committing to it. Depending on what you say, you may end up starting a fight, forming a firm friendship, or inadvertently setting up a chain reaction of events that changes the fate of an entire region! Fortunately, the Quest chapter has special icons flagged throughout this guide that mark where minor and major conversation choices need to be made.
If you’re speaking to someone who provides you with a service, look for additional icons next to certain conversation choices, allowing you to access their shops, bet money, choose a crafting option, play Gwent, or leave the conversation with a firm farewell.
Any time a conversation contains critical information that can move the adventure forward, those choices are highlighted in yellow. Optional conversations are in grey, and they almost always provide further information, but occasionally allow additional options (check the Quest chapter for every single time this occurs). Choices that end a conversation are marked with a special icon that clearly denotes this. Be careful about choosing these as they can potentially lock you out of certain Secondary Quests, or cause you to miss extra information.
Talking: Axii Delusion
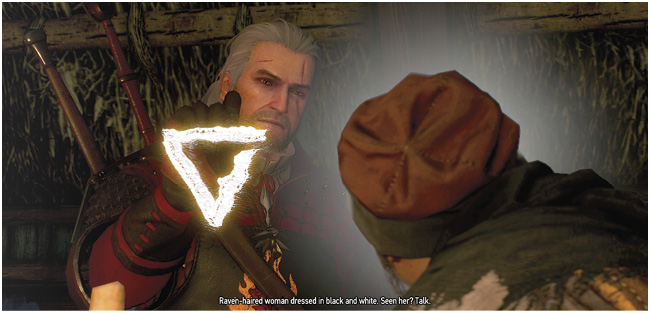
Occasionally, Geralt can choose to use the Axii Delusion ability to muddle the mind of the individual to whom he’s speaking. This can prevent fights from starting, or allow you to convince someone to do something they otherwise would refuse to do. This ability does require you to spend points in Delusion on the Signs Character Ability tree in order to “convince” people who possess resistance to suggestion. The Quest chapter shows each time a conversation choice has an option for the Axii Delusion, and the level needed, so be sure to check there.
Talking: A Witcher Works Hard For The Money
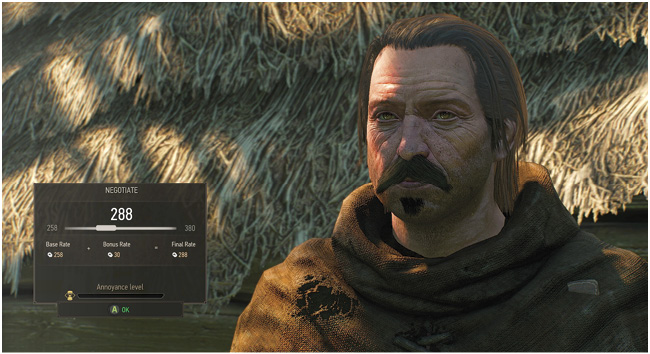
Witcher Contracts found on Notice Boards often start in earnest by finding the issuer of the request and speaking to them. Sometimes they offer a reward that Geralt may not feel the need to debate. Other times, you are given the opportunity to haggle, and squeeze more out of the deal. This takes a bit of finesse. Some people react poorly to demands for more money, while others will accept Geralt’s services at a much higher price. Everyone has their limits; it’s just a matter of careful prodding and poking to find out what those limits are.
When negotiating, a meter displays how annoyed the person paying for the Witcher is. Be careful not to annoy them too much, or it could cost you more money than it’s worth to press the issue. A good rule of thumb is to demand 20 percent more than what was offered, and negotiate from there.