The Witcher 3: Wild Hunt The Complete Edition Guide Scavenger Hunts Wolf School Gear (Basic)
Armor, Boots, Gauntlets, And Trousers: The Last Signal

|
Related Quests: Secondary Quest: The Bastion Locatiosns: Signal Tower (Kaer Morhen) Characters: Hieronymus Enemies: Harpies (Erynia), Wraiths |
Objectives
|
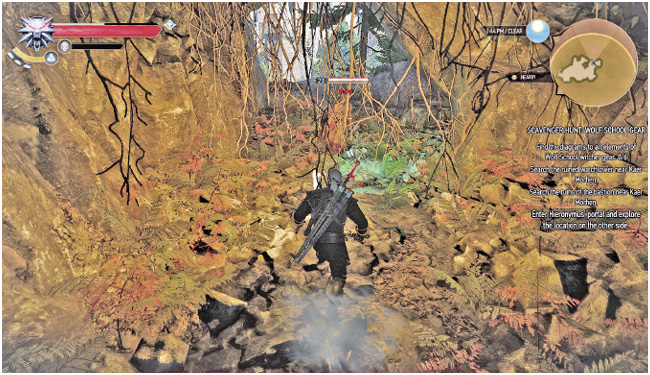
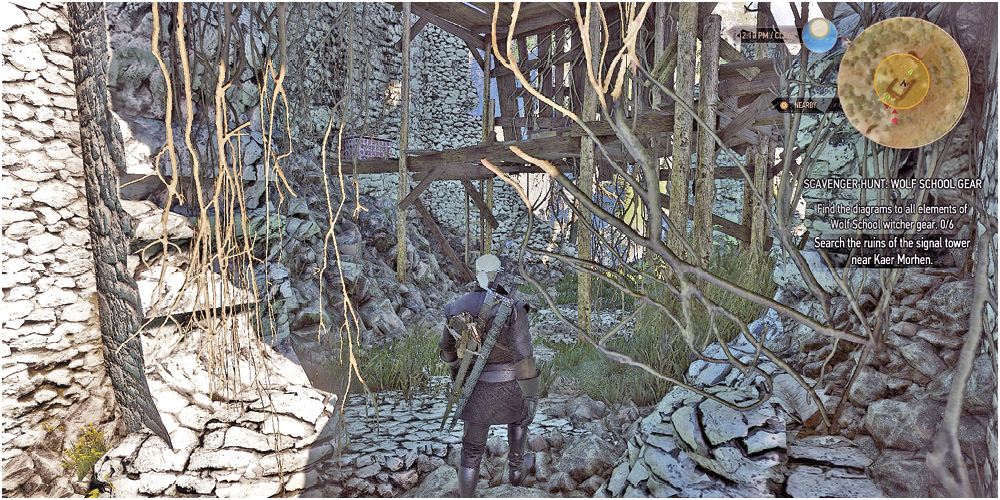
From the signpost at Kaer Morhen, make a looping path around the mountain just south of the fortress. Your destination is an unmarked signal tower atop the treacherous cliff pathway. Watch for Harpies (Erynia) as you reach this tumbledown tower. Head through the archway, and into the main floor of the structure with the wooden scaffolding above you.
Objectives
|
Climb the ladder up onto the scaffold, looking for any other chests to loot. As well as random items to take, you must also find the more ornate chest against the north wall, on the first scaffold level, which contains another of Hieronymus’ notes. Once you read the notes, three additional objective become available (for locating the armor, boots, gloves, and trousers in one location, the steel sword in a second location, and the silver sword in a third location).
|
Items: Hieronymus’ notes |
Objectives
|
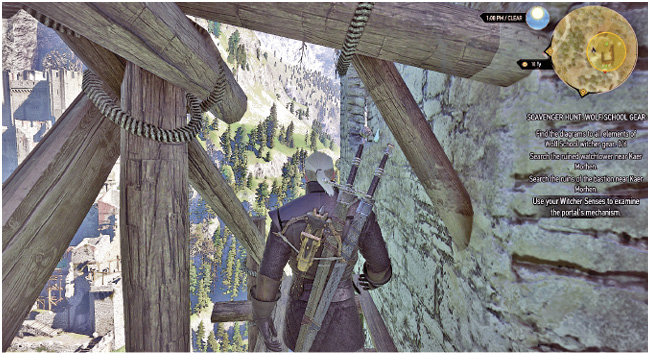
Just behind the ladder you used to reach the chest with Hieronymus’ notes, is a curved contraption leaning against the wall. Examine it and you discover a portal generator. Look to the right for a second portal; this one containing a crystal within it. Find the missing crystal (for the left generator) by backtracking to the broken outer wall, just inside the archway entrance, but before the interior of the tower. Head over the broken wall section, and around to the right. A precarious drop and Kaer Morhen fortress should be visible to your left. Climb on the small section of wooden scaffolding, and procure a crystal from a narrow wall indent up and right of you.
|
Items: Polished Crystal |
Objectives
|
Return to the portal generator and mount the crystal. Then utilize Aard to power up the crystal. A green maelstrom appears in the air just outside the signal tower. However, it isn’t fully formed; you must first look to the right, to the second portal generator (which already has a crystal mounted to it), and activate that with Aard. The portal now stabilitizes. Run off the edge of the wooden scaffold, landing in the portal to avoid an embarrassing death.
Objectives
|
You appear inside a small cave with a view of Kaer Morhen out of the exit. A pile of bones (those of Hieronymus himself), and the wraith associated with them, stands between you and completing this objective. Defeat the wraith, then search the body and gather four diagrams as well as a note written in a shaky hand. Read the note, then continue to find the remaining two diagrams. Then finish your exploration by carefully dropping down a series of rocky outcrops to the path below.