
The Witcher 3: Wild Hunt The Complete Edition Guide Gwent
Card Unit and Ability Types
Each unit type and ability is now detailed in more depth, so that you know what to expect from a rival who plays this type of card, how you should react to it, and how to play each type of card yourself.
Leader Cards (22 Cards)
Each Faction is led by a mighty leader. Though their cards never enter the battlefield itself, Leaders can play a pivotal role during a Gwent bout, as each one has a unique ability you can employ at any time, instead of playing a card from your hand. But this Leader is much more than a way to delay playing out cards (though you can use a Leader card like this if you’re desperate to keep your card count up, or cards in your hand). A good Gwent player recognizes the strengths of their Leader’s ability, and uses it when it is most beneficial to them.
Be sure to check your opponent’s Gwent battlefield (top left corner) to see and inspect their Leader’s ability, so you can proactively react to it instead of being surprised during a bout. Should you lose, rebuild or tweak your deck so your opponent’s Leader ability is minimized, if you can.
The following Leader cards are available to each faction. All are aspects of the same Leader (so there are four Leaders—one per faction—with five cards to choose from). Spend time playing bouts with each Leader type until you’re happy with the synergy between Leader and battlefield troops.
Monster Faction Leader: Eredin (5 Cards)
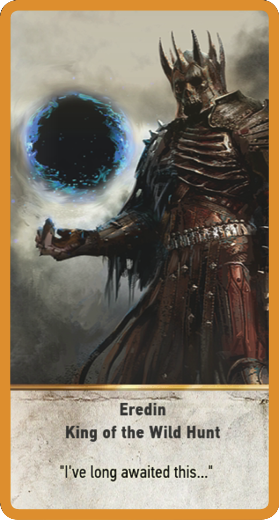
Eredin: King of the Wild Hunt
Ability: Pick any Weather card from your deck and play it instantly.
Benefits: This enables you to hamstring your opponent’s rows, so pick Weather cards depending on the type of rows your foe favors placing cards on. Remember you need the card in your deck, not your hand. This also works with Clear Weather cards, enabling you to remove the crippling effects of a foe’s Weather cards on your forces without worrying about getting a Clear Weather card or not. Think of it as insurance to keep a row you’re using at maximum strength, despite any Weather problems. Or, use it offensively to cripple a foe with rows you aren’t strong in (like Ranged or Siege). As Monster Decks favor Close Combat and Muster troops, Biting Frost isn’t usually a good idea if you use this ability.
Shortfalls: This ability may not even be played during a match, and is useless if you don’t have a Weather card to play. It forces you to reduce your deck size, which can be a critical mistake in later rounds. For full flexibility (choosing Clear Weather, Biting Frost, Impenetrable Fog, or Torrential Rain), you need four additional cards in your deck, reducing the chances of obtaining more powerful cards you need.
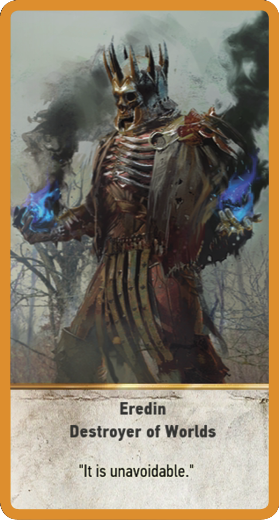
Eredin: Destroyer of Worlds
Ability: Discard 2 cards and draw 1 card of your choice from your deck.
Benefits: If you favor large decks, and find yourself looking at a couple of cards you can’t play (such as Weather Cards), then this is a good choice of ability. You can also employ more advanced plans of discarding cards you don’t need, but wish to Medic back into play in a subsequent round, giving you more flexibility. This is also helpful if you’re searching for a specific card to thoroughly demoralize your opponent. Need Toad to lay waste to your opponent’s Ranged Row? Don’t have Toad in your hand? Then discard two cards, find him in your deck, and demolish an opponent! This ability is key to finding and using a powerful card (Villentretenmerth, Kayran, Toad, Mysterious Elf, Yennefer, or a Hero) exactly when you want to. It isn’t advisable to use on Muster cards (as you’re likely to have one of that group in your hand anyway, and all of the group are played when you place one on the battlefield).
Shortfalls: If you’re exercising deck-building control, and are minimizing the “less important” cards you pick before a match, it becomes less necessary to employ this Leader ability (as you’re likely to want to keep all the cards in your hand no matter what you draw). This reduces your card count by one (usually not a good idea if you’re outdrawing an opponent). A better strategy is not to “bloat” your deck with cards you’ll be discarding without playing in the first place!
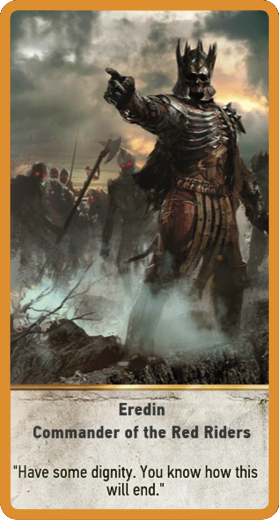
Eredin: Commander of the Red Riders
Ability: Double the strength of all your Close Combat units (unless a Commander’s Horn is also present on that row).
Benefits: This is essentially a “free” Commander’s Horn ability to use whenever you see fit. Need to win a round, but don’t want to expend any high-point cards in doing so? Want to ensure victory and bolster your Close Combat row? Then employ this ability. This also means you can remove one (or more) Commander’s Horn cards (and especially Dandelion, as this bonus doesn’t stack), freeing you up to pick more powerful cards.
Shortfalls: You can’t use this on Ranged or Siege rows (which isn’t usually a problem for Monster Decks as they are primarily focused on Close Combat). It also causes your front line to be even more susceptible to Weather or Scorch from your foe. Play this card late, having already totaled the bonus it grants you in your head, and pull out a win late in the round!
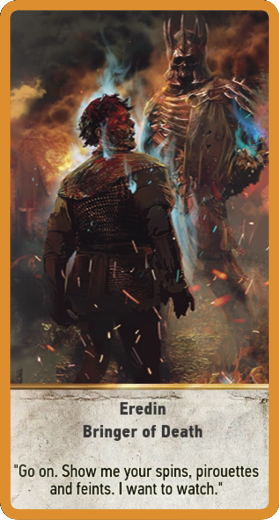
Eredin: Bringer of Death
Ability: Restore a card from your discard pile to your hand.
Benefits: If you have a high-value, non-Hero card you wish to reuse (like Villentretenmerth or Toad, for example), feel free to use this Ability. It also allows you to return an enemy Spy (if playing against the Nilfgaard or Northern Realms) back into play, against the foe that initially played it! This acts just like a Medic (but without a Medic card appearing on the battlefield), and as Monster Decks are devoid of Medics (except Yennefer), this enables you to utilize the many Medic strategies that are usually unavailable to you.
Shortfalls: This sounds initially excellent, but beware of some rules that lessen the impact of this ability: You can’t restore a Hero. Unlike a Medic, you don’t receive the Medic’s points cost added to your battlefield. You shouldn’t use it on Muster forces (as once discarded, Muster groups can’t be placed back on the battlefield as a group) either. As an ability, if you don’t have a discarded card you want, this ability is likely not to be utilized at all.
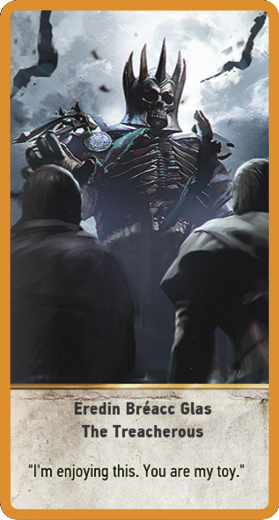
Eredin Bréacc Glas: The Treacherous
Ability: Passive. Doubles the strength of all spy cards (affects both players).
Benefits: This is beneficial to use against Northern Realms, and especially Nilfgaardian Empire decks, where Spy use is frequent. As the Spy’s biggest drawback is that its strength is added to the opponent’s total, and you don’t use Spies, you’re effectively doubling the strength of any enemy Spy placed on any of your rows. Did the Nilfgaard place Stefan Skellen on your Close Combat row? Well, with this Leader ability, his strength is now worth 18 to you, instead of 9!
Shortfalls: This is useless against Scoia’Tael and Monster decks, as they don’t have Spies (and the Neutral Spy available, Mysterious Elf, has a strength point total of 0). Spies are often Decoyed back into your opponent’s hand, so the bonus you receive from them is often fleeting. As even Spy-heavy enemy decks (such as the Nilfgaard and Northern Realms) only utilize three Spies with strength points, the bonuses you receive are usually very weak anyway (for example, Thaler only gives you 2 strength points instead of 1); not usually enough to turn the tide of battle!
Nilfgaardian Empire Faction Leader: Emhyr Var Emreis (5 Cards)
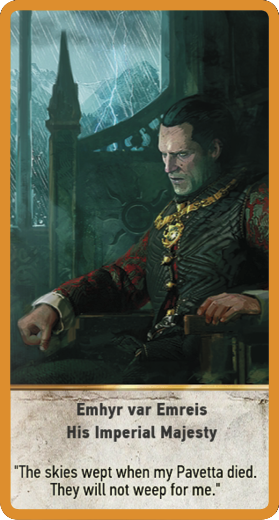
Emhyr var Emreis: His Imperial Majesty
Ability: Pick a Torrential Rain card from your deck and play it instantly.
Benefits: Having the ability (assuming a Torrential Rain card is in your deck) to cripple an opponent’s Siege row at any moment is a good power to have, at least during the initial bouts of Gwent. It’s great to use against Northern Realms opponents, as this faction primarily relies on Siege units, and to a lesser extent, the Nilfgaard. Be sure to plan your own decks and attacks around this ability (so don’t stack your own deck with Siege units if you hope to use it)!
Shortfalls: Firstly, this Ability only works if you have a Torrential Rain card in your deck (not your hand), meaning you must add one (or more) to your deck. Secondly, as Torrential Rain only affects Siege units, it is useless against any foe that only has a minimal Siege presence (such as Scoia’Tael and to a lesser extent, Monster Decks). Thirdly, there are more devastating Emhyr var Emreis abilities to pick. Fourthly, as your own forces are likely to be using Siege units, this can cripple your own Siege row too!
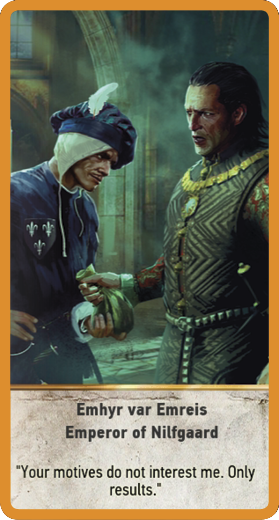
Emhyr var Emreis: Emperor of Nilfgaard
Ability: Look at 3 random cards from your opponent’s hand.
Benefits: Often used during the final stages of a bout, as this becomes more useful the fewer cards your opponent has left. As you’re likely to be trying to add high-value non-Heroes, or Tight Bond cards (such as the Impera Brigade Guards) to bolster your strength points, you want to be assured that your foe won’t negate this influx of strength by using a Weather Card or Scorch. This ensures you know whether the likelihood of this happening will occur. It’s also sometimes great to see what your foe has left, as well as Weather Cards and Scorch, so you can calculate whether you’re able to win the round or pass.
Shortfalls: This Ability is much less powerful the more cards your opponent has (as you won’t know, even after using it, exactly what your foe can attempt). The random nature of this ability is also suspect, as giving you some (but not all) information regarding your opponent is sometimes counter-productive. For example, if you’re hoping a foe won’t play a Weather Card, they still might if you didn’t see the card while using this Ability. It also isn’t helpful to use early on when your foe can still draw from his or her deck (as the deck can’t be looked at).
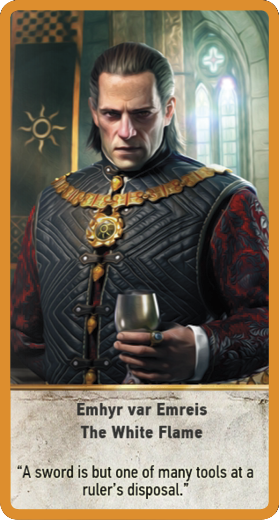
Emhyr var Emreis: The White Flame
Ability: Cancel your opponent’s Leader Ability.
Benefits: This is pretty self-explanatory; if you’re constantly cursing an opponent’s Leader (such as Foltest’s Lord Commander of the North ability to bring Clear Weather to an opponent’s rain-soaked Siege row) which contributes to your demise, then utilize this card. Is your enemy Leader’s ability always seeming to turn the tide of battle in their favor? Then stop this entirely by nullifying their Leader! Check your opponent’s Leader ability first, before adjusting your strategy accordingly.
Shortfalls: This doesn’t offer any offensive or other bonuses to your own side outside of removing both Leaders from play. It forces you to play a Leaderless game of Gwent, which is fine if you don’t enjoy using any of Emhyr var Emreis’ other Leader abilities, but sometimes general units benefit from having a Leader, or the chaos a more random Leader ability brings.
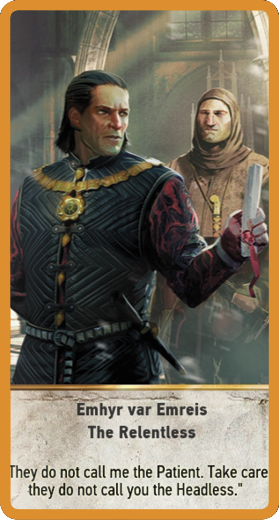
Emhyr var Emreis: The Relentless
Ability: Draw a card from your opponent’s discard pile.
Benefits: This essentially acts as a Medic ability, but brings back a (non-Hero) card from your foe which you can utilize yourself. Need two Villentretenmerths (one from your deck, and one from your opponent’s)? Then rummage around in your foe’s discard pile to find him! This allows you to take a vastly powerful card your opponent previously played, and “return the favor” back at them! Also use it to gather a card from your foe that might not be powerful, but is something that can really hamper your opponent’s progress (such as taking a Tight Bond card and stopping a foe using a Medic to bring that back into play). This Ability is also unique (that is, you can’t do this with any normal unit card), adding to your flexibility.
Shortfalls: This isn’t useful during the first round, when your opponent has a small discard pile of cards you might not wish to use. If you play this ability and there isn’t a suitable card to take, the ability is wasted.
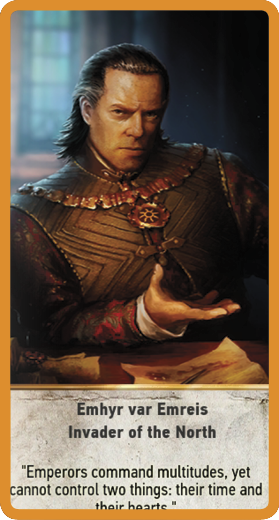
Emhyr var Emreis: Invader of the North
Ability: Abilities that restore a unit to the battlefield restore a randomly-chosen unit. Affects both players.
Benefits: This interferes with both players’ Medics and any Leader abilities that restore cards from the discard pile, back into play. It causes chaos, and can really hamper an opponent’s Medic strategies. Is your foe constantly returning Tight Bond or high-value non-Heroes back into play (such as Villentretenmerth)? Then minimize the chances of this happening using this ability; no one knows what cards are likely to return. As this affects you as well, you may wish to minimize Medics in your own hand, and play this Leader ability on a foe you know uses Medics all the time.
Shortfalls: If your foe only has a few discarded cards that can be restored, they still have a chance of getting the card they wanted, or at least something of use. This isn’t usually completely detrimental to your foe (they will always draw something, even if it’s not what they specifically wanted). This ability also affects you, so if you’re heavily involved in utilizing Medic tactics that require the return of specific cards, this may not be the Leader ability for you.
Northern Realms Faction Leader: Foltest (5 Cards)
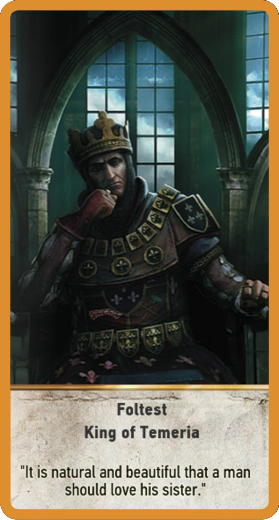
Foltest: King of Temeria
Ability: Pick an Impenetrable Fog card from your deck and play it instantly.
Benefits: Ideal for playing against opponents you know are likely to employ a large number of Ranged units (such as the Scoia’Tael), as this gives you a better chance at nullifying them (you can draw an Impenetrable Fog from your hand if you already have it, or use this Ability). Think of this as increasing the chances of hobbling a foe’s ranged row (and also your own); with this in mind, refrain from choosing a majority of ranged troops for your own battlefield.
Shortfalls: You must have an Impenetrable Fog card in your deck (not in your hand), otherwise this ability is useless. This means the ability may not be used as often as other abilities, and isn’t as flexible. It also means you must place at least one Impenetrable Fog in your deck, which can “bloat” your deck. Are opponents massing in their Close Combat or Siege rows? Then this ability isn’t helpful. Finally, if you find yourself using Ranged units yourself (such as the Crinfrid Reavers Dragon Hunters), this negates all their bonuses.
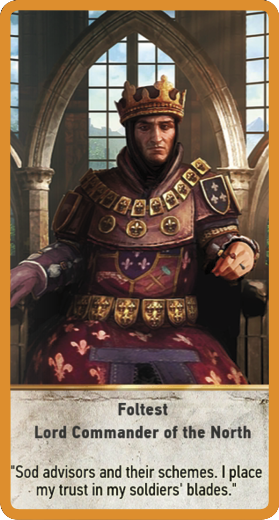
Foltest: Lord Commander of the North
Ability: Clear any Weather effects (resulting from Biting Frost, Torrential Rain, or Impenetrable Fog) in play.
Benefits: Incredibly useful both at the beginning of your Gwent career, and even during bouts with the land’s most professional players. This is essentially a “free” Clear Weather card to use whenever you like! Unlike some other Leader abilities, you don’t need a Clear Weather card in your deck, freeing you up to add a more potent offensive card instead while keeping your deck lean. It also favors players who aren’t interested in using Weather cards themselves. Finally, it completely removes an enemy’s biggest threat; so save this until late in a round you want to win; essentially ignoring the penalties your rows are suffering from. You can also “hide” your troop’s abilities (and strength point totals) by placing them in a row suffering from Weather effects, before removing the effects at the last minute.
Shortfalls: This affects both you and your opponent, so this shortfall of Clear Weather also applies here. It stops you from using Weather cards as often, and is useless if your foe doesn’t use Weather cards. But it’s great insurance, nevertheless.
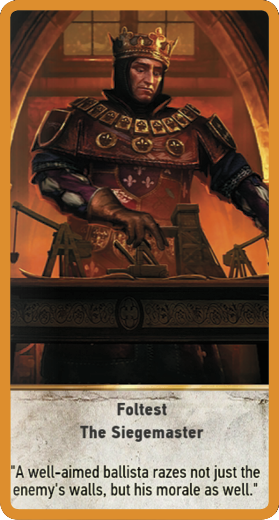
Foltest: The Siegemaster
Ability: Doubles the strength of all your Siege units (unless a Commander’s Horn is also present on that row).
Benefits: This is essentially a “free” Commander’s Horn ability to use whenever you see fit (but only on a Siege row). Need to win a round, but don’t want to expend any high-point cards in doing so? Want to ensure victory and bolster your Siege row? Then employ this ability. This also means you can remove one (or more) Commander’s Horns, freeing you up to pick more powerful cards.
Shortfalls: You can’t use this ability on Close Combat or Ranged rows (which is less of a problem for Northern Realms decks as they have a high proportion of units focused on the Siege row). It also causes your Siege row to be even more susceptible to Weather or Scorch cards from your foe; so play this card late, having already totaled the bonus it grants you in your head, and pull out a win late in the round!
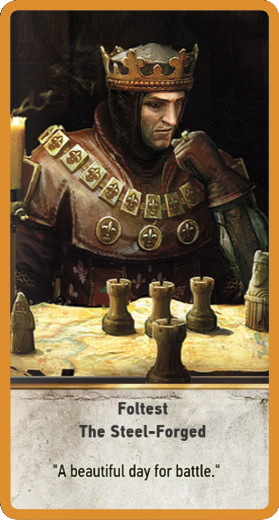
Foltest: The Steel-Forged
Ability: Destroy your enemy’s strongest Siege unit(s) if the combined strength of all his or her Siege units is 10 or more.
Benefits: Think of this as a Scorch card to play on a hapless opponent’s entire Siege line, wiping out one or more of their highest point units. This is particularly effective against Northern Realms, and (to a lesser extent) the Nilfgaardian Empire who employ a large proportion of Siege units. Remember that all “character Scorch” tactics (detailed in the “Scorch” section to come) work with this ability too. This has the same Scorch ability as the Scoia’Tael Schirru card; consult that for more tactical options (including the use of Torrential Rain to wipe out multiple cards at once).
Shortfalls: This doesn’t affect Heroes. This is far less effective at factions that don’t employ Siege units (Scoia’Tael only uses one, and Monster decks only have four possible units outside of Gaunter O’Dimm’s Neutral cards). It is also inflexible; it can’t help you lessen the strength of other rows at all.
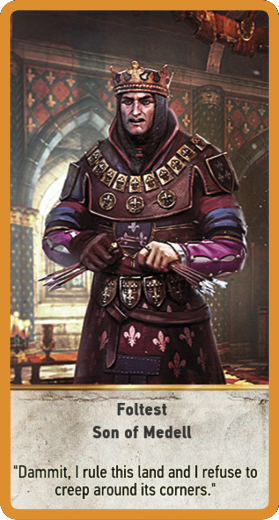
Foltest: Son of Medell
Ability: Destroy your enemy’s strongest Ranged Combat unit(s) if the combined strength of all his or her Ranged Combat units is 10 or more.
Benefits: Think of this as a Scorch card to employ on a foe’s entire Ranged row, removing one or more of their highest point units. Just like The Steel-Forged Leader Ability, this is particularly effective against opponents who primarily use Ranged units; particularly the Scoia’Tael, and to a lesser extent the other factions too. This offers a greater opportunity at carnage compared to The Steel-Forged (unless you’re playing against Northern Realms), as generally an opponent plays more Ranged cards than Siege ones. Remember that all “character Scorch” tactics (detailed in the “Scorch” section to come) work with this ability too. This has the same Scorch ability as the Monster Toad card; consult that for more tactical options (including the use of Impenetrable Fog to wipe out multiple cards at once).
Shortfalls: This doesn’t affect Heroes. This is less effective against Monster Decks, or opponents that spot this Ability and don’t employ Ranged units in battle. As many Scoia’Tael troops are Agile, a cunning opponent is likely to move them into the Close Combat line so this ability won’t get used. This ability is also inflexible; it can’t help you lessen the strength of other rows at all (unless the foe puts all their Agile troops in the Close Combat line, and you react by subsequently using Villentretenmerth or a Special Scorch).
Scoia’tael Faction Leader: Francesca Findabair (5 Cards)
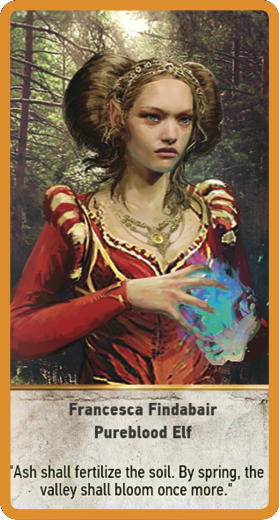
Francesca Findabair: Pureblood Elf
Ability: Pick a Biting Frost card from your deck and play it instantly.
Benefits: Exceptional for playing against opponents you know are likely to employ a large number of Close Combat units (such as Monster deck players), as this gives you a better chance at removing them as a threat (you can draw Biting Frost from your hand if you already have it, or use this Ability). Think of this as increasing the chances of crippling a foe’s Close Combat row (and also your own). As your Close Combat row is also affected, utilize your troops’ Agile abilities before using this Ability, so the majority of your army is in the Ranged Row. Finally, this ability is slightly more powerful than other similar Leader powers that allow Weather Cards from other rows to be played, as the highest proportion of unit cards are Close Combat-related.
Shortfalls: You must have a Biting Frost card in your deck (not in your hand), otherwise this ability is useless. This means the ability may not be used as often as other Leader abilities, as it isn’t as flexible. It also means you have to place at least one Biting Frost in your deck, causing deck “bloating”. Are opponents massing in their Ranged or Siege rows? Then this ability won’t help you. Finally, if you find yourself using Close Combat units yourself (such as the Muster group of Havekar Smugglers), this negates all their bonuses.
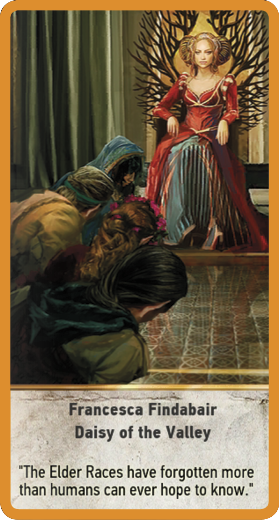
Francesca Findabair: Daisy of the Valley
Ability: Draw an extra card at the beginning of the battle.
Benefits: Unlike some other Leader abilities, this works in every battle (you won’t forget to use it, or not have the right combination of cards or effects to make this useful). Though the card you retrieve is random, it’s always helpful to have 11 cards in your hand at the start of a game compared to ten (as you obviously have more choice of what to play). This also helps to negate the shortfall of the Scoia’Tael deck in terms of not having any Spies (which offer a similar effect). But everyone loves having a bigger deck!
Shortfalls: This can’t be played at your leisure (such as during the end stages of a round where you might need an extra card). The card you receive may be random, so you could end up with two Clear Weather cards that are of limited use (but that is more to do with your deck-building skills than a shortfall of this Ability). It essentially leaves you “leaderless” for the rest of the bout (that is, you can’t rely on a Weather-related leader ability).
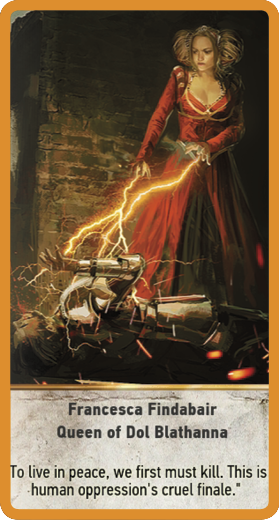
Francesca Findabair: Queen of Dol Blathanna
Ability: Destroy your enemy’s strongest Close Combat unit(s) if the combined strength of all his or her Close Combat units is 10 or more.
Benefits: Think of this as a Scorch card to use on an opponent’s entire Close Combat row, removing one or more of their highest point units. This is amazingly effective against opponents who primarily use Close Combat units; particularly Monster decks, and the other factions too. This offers a greater opportunity at mayhem as generally any opponent plays more Close Combat cards than those of other rows (though your tactics should change if you see an enemy with this Leader ability, and you have Agile troops). Remember that all “character Scorch” tactics (detailed in the “Scorch” section to come) work with this ability too. This has the same Scorch ability as the Villentretenmerth card; consult that for more tactical options (including the use of Biting Frost to wipe out multiple cards at once). Finally, partner this ability with Villentretenmerth (for Close Combat rows) and Schirru (for Siege rows), essentially giving you this ability three times!
Shortfalls: This doesn’t affect Heroes. This is less effective at decks that recognize the threat and adjust where they place their units (away from the Close Combat row). As many Scoia’Tael troops are Agile, an opponent using this deck may move these troop types into the Ranged row so your ability is less effective. This ability is also inflexible; it won’t lessen the strength of other rows at all (unless you employ Scirru at their Siege line).
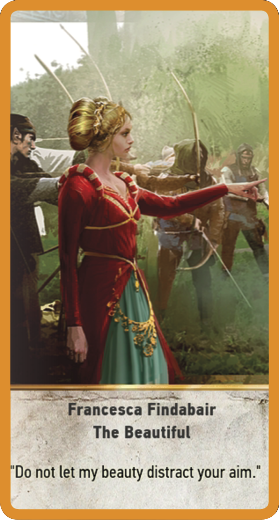
Francesca Findabair: The Beautiful
Ability: Doubles the strength of all your Ranged Combat units (unless a Commander’s Horn is also present on that row).
Benefits: This is essentially a “free” Commander’s Horn ability to use whenever you see fit (but only on a Ranged row). Do you crave the winning of a round, but don’t want to expend any high-point cards in doing so? What to ensure victory and bolster your Ranged row? Then employ this ability. This also means you can remove one (or more) Commander’s Horns, freeing you up to pick more powerful cards (or unit cards). Also look at the strengths of all your Scoia’Tael Ranged and Agile units; there’s a vast number worth between four and six points. With this ability, they are now worth between eight and 12!
Shortfalls: You can’t use this ability on Close Combat or Siege rows. The latter isn’t a problem at all (only one Scoia’Tael card is a Siege unit), but this does mean you might want to drop more Agile units into your Ranged rows to bolster this ability. All this bolstering of the Ranged Row makes it very susceptible to Weather or Scorch cards from your opponent; so play this card late, having already totaled the bonus it may bring, and pull it out for a late win!
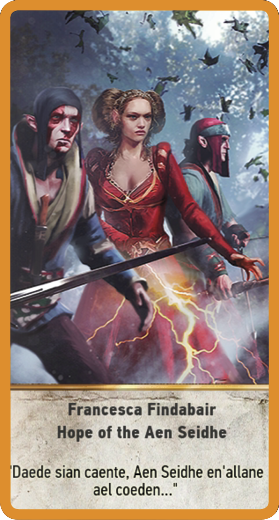
Francesca Findabair: Hope of the Aen Seidhe
Ability: Move Agile units to whichever valid row maximizes their strength (don’t move units already in optimal row).
Benefits: This gives you ultimate flexibility in combat! It also doesn’t affect the opponent, meaning you reap all of the benefits. It is great to use to feint a foe; drop all your Agile troops (you have nine to choose from) into Close Combat, and ignore any Weather effects. Then push them into the Ranged row late into the round to augment that row. Purposefully trick your foe. Keep the row you want to push Agile troops into low in strength. Don’t drop a Morale Boost or Commander’s Horn card in there, as that increases the row’s points; but use Morale Boost or the Horn afterwards! Just be sure to plan out this strategy beforehand; and calculate the strength point totals for both rows (plus other bonuses) to ensure the move goes without a hitch.
Shortfalls: This puts all of your eggs in one basket, meaning a cunning opponent may wait until you mass your Ranged Agile forces into Close Combat, and then unleash a Biting Frost or Scorch (or both!). So use this late in a round to negate such possible problems. It also negates any bonuses you might have placed in the row your troops are moving from (such as a Dandelion’s Commander’s Horn if you move Close Combat Agile units into the Ranged row). Finally, watch your row totals; you can’t move a load of Agile units into a row with an optimal strength point count.
Skellige Clans Faction Leaders: King Bran and Crach An Craite (2 Cards)
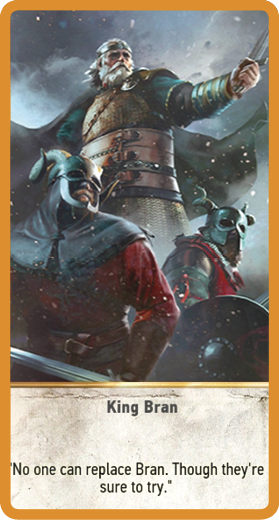
King Bran
Ability: Units only lose half their values in bad weather conditions.
Benefits: This is an ability that is constantly available, and doesn’t need to be played. It simply reduces any of your weather-effected units to half their value, instead of 1 (while your opponent’s weather-effected units are crippled to 1 as usual). It doesn’t take a tactical genius to figure out how helpful this is; it mitigates your opponent’s best attempts to lessen your prowess by playing Weather cards against you. This opens up tactical options such as stacking Skellige Storm and Biting Frost cards in your deck, and using them to blanket the entire battlefield, keeping your foe crippled due to weather while you benefit from King Bran’s bonuses. This also allows you to keep some of the bonuses certain units bring, such as the Tight Bond bonuses of your Clan An Craite Warriors, while lessening your foe’s points total severely. Also be sure to use King Bran, your Weather Cards, and Scorch (from the Clan Dimun Pirate) to level the battlefield!
Shortfalls: This is far less effective if you or your opponent isn’t using Weather cards or placing a number of Heroes that are unaffected by Weather. Playing against a foe with this Leader should be a clue to stack your deck with Clear Weather cards to nullify his bonus. Clear Weather is the bane of King Bran!
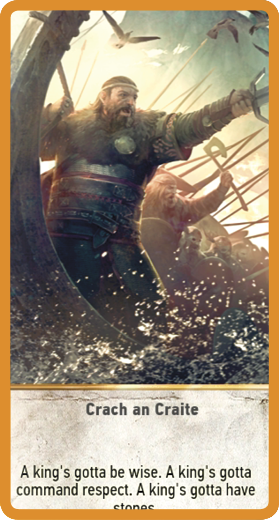
Crach an Craite
Ability: Shuffles all cards from each player’s graveyards back into their decks.
Benefits: This ability can be used once per match, and is obviously only available once you have a discard pile (or “graveyard”) to utilize. Essentially acting as a much more powerful Medic, but granting all previously-used cards back into play for both sides, you can maximize your favorite tactics by using them twice in a match instead of once. For example, employ Cerys and her Shield Maidens in the first round to ensure victory; then utilize Crach an Craite at the start of the second round, and retrieve Cerys and her Shield Maidens to battle once again! This can reduce the effectiveness for Medics (who draw from your discard pile) and Muster cards (that summon from your discard pile) as well. It’s also the only way to return Heroes back into battle (as well as Mardroemes to reuse with Berserkers), enables you to elongate any of the Ability plans contained in this chapter, and forces a much more aggressive style of game (for example; use a Scorch character card, use Crach an Craite, then Medic it back to use it three times in a game!).
Shortfalls: You reap all of the benefits, but so does your opponent, and he or she can employ exactly the same tactics (playing large-value cards early, and using them again). This almost forces you into a less-flexible tactical plan, as playing the waiting game isn’t as beneficial (why use Crach an Craite if you’ve only a few discarded cards you won’t use again?). The trick is to use this card to maximize the rewards you receive, while minimizing those of your opponent. It also forces you to remember what your foe has already played, and figure that any or all of those cards are likely to be played again.
Special Weather Cards (15 Cards)
The five Weather cards available to you cause a variety of Battlefield effects that severely reduce combat effectiveness in a particular row or rows, or restore the Battlefield back to normal. A total of 15 Weather cards are available to collect; three of each type. All of them can be played as part of your deck strategy, though it’s better to figure out strategies based on the likelihood of Weather being effective, rather than dumping every Weather card into your deck.
Weather cards are less potent when you’re using tactics that focus more on unit abilities, such as gathering up Tight Bond units. As Weather cards increase your deck size, you may receive a number of Weather cards at the start of a game when you really need strong units instead. So play a few games to balance out what you want to use Weather cards for.
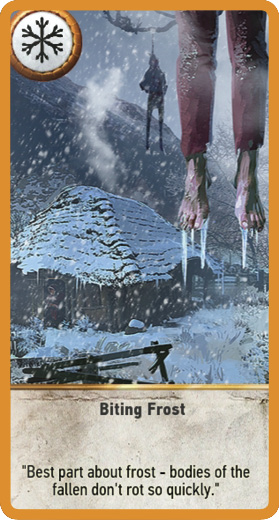
Also look to Leader Abilities that enable you to draw a Weather card from the deck, so you have more control over when you can obtain such a card. Also look at Leader Abilities such as Foltest: Lord Commander of the North, which causes Clear Weather without the need for a card. That way, you can reduce your deck size (usually recommended).
Weather Cards do not affect any Hero cards (from you or your opponent) on the battlefield, so if you see a foe using a majority of Heroes to bolster a row, your Weather Cards become far less effective. If however, you’re using Heroes yourself, and a minimal number of non-Hero cards to bolster a row, Weather Cards are great to play on a foe: Your Heroes shrug off the inclement Weather and your strength points remain high.
Weather Cards are also able to be placed at any time, enabling you to “burn” (or waste) a Weather card from your hand, instead of placing a more potent card you’re worried about being nullified by your opponent, or you’re biding your time and hoping a foe will pass. But usually, Weather cards serve to “bloat” your deck, stopping you from grabbing a high-point card you need.
Are you ending a game with one or more Weather cards? Then it appears you don’t need them! Invest in a smaller deck, and a greater chance of a card you need, or find better cards with points to use.
Fighting Through Frost, Fog, Or Rain
The Biting Frost, Impenetrable Fog, and Torrential Rain Weather cards each affect a separate row (Close Combat, Ranged, and Siege rows), while the Skellige Storm affects two rows (Ranged and Siege rows). They immediately reduce any non-Hero card’s strength to 1. Up to the entire Battlefield can be affected by weather (assuming either you or your foe plays Weather cards that cover all three rows). As both you and your opponent’s rows are affected, you must ascertain when a Weather card is better for you to play, to maximize the problems it will cause your foe, while minimizing the penalties to you.
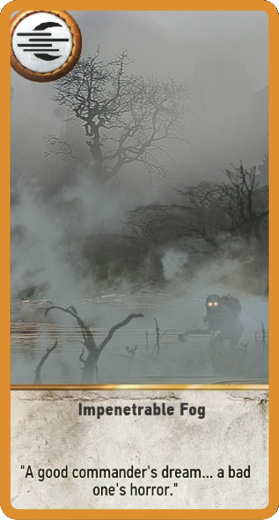
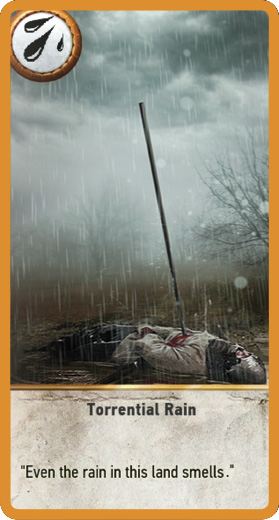
Such cards have an overriding function; to cripple an opponent’s row, which in turn forces them to pass the round, use up a Clear Weather card, or commit further forces (thus reducing future combat effectiveness in subsequent rounds).
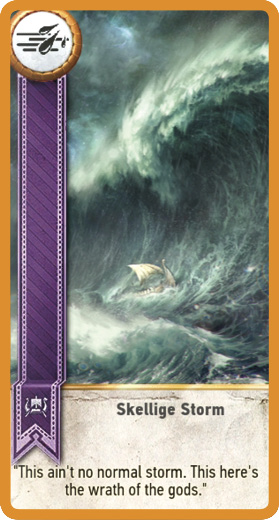
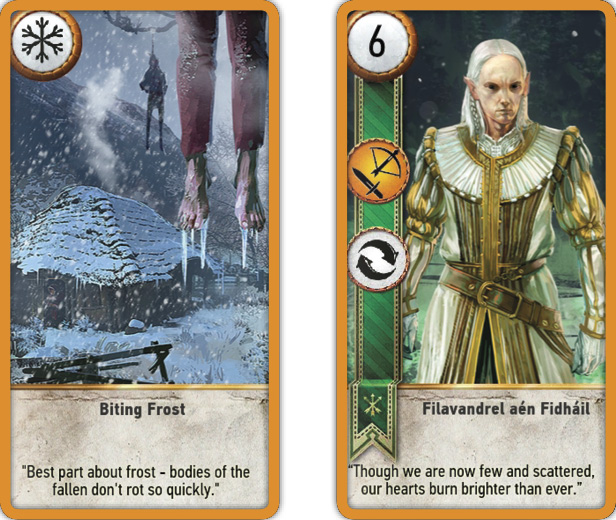
 Biting Frost (Close Combat) (3 Cards)

Biting Frost is usually utilized most often, as there are more Close Combat units in general, compared to all other unit types. Biting Frost is especially helpful in reducing the potency of players who use a majority of Close Combat cards, such as Monster Decks. They are less effective against Agile units (which can be played in either Close Combat or Ranged rows), and Northern Realms decks which can switch to Siege unit placement more easily.
 Impenetrable Fog (Ranged) (3 Cards)

Impenetrable Fog is utilized less than Biting Frost, but is still a possible card to employ when you need to reduce the strength of a Ranged row. The Scoia’Tael, and to a lesser extent the other three factions, all make use of Ranged units, though not as often as Close Combat. As with Biting Frost, Agile units not yet placed can avoid an Impenetrable Fog by being placed in the Close Combat row. With this in mind, you may wish to carry both Biting Frost and Impenetrable Fog to negate an Agile unit’s ability.
 Torrential Rain (Siege) (3 Cards)

Torrential Rain is the least-used Weather card in almost every Gwent game, with the exception of playing against a Northern Realm deck (as this Faction uses Siege units more often than Ranged). As there are no Agile Siege units, you know you don’t need to worry about cards with that ability. However, some decks (such as the Scoia’Tael) only have very few Siege cards—if any at all—making this card useless, and even counter-productive if you have Siege units yourself. Ditch this card first, if you’re carrying too many cards in your deck.
 Skellige Storm (Ranged and Siege) (3 Cards)

Skellige Storm offers the benefits and shortfalls of covering much more of the battlefield with a blanket of rain; reducing combat effectiveness in both Ranged and Siege rows. Remember that any Faction can utilize this card, so if you’re playing enemies that utilize Ranged and Siege rows frequently (such as the Nilfgaardian Empire or Northern Realms), while you concentrate on bolster your Close Combat rows, this can be hugely beneficial. It can take the place of both Impenetrable Fog and Torrential Rain cards, reducing deck bloat. But there are disadvantages too; it cripples two of your own rows as well!
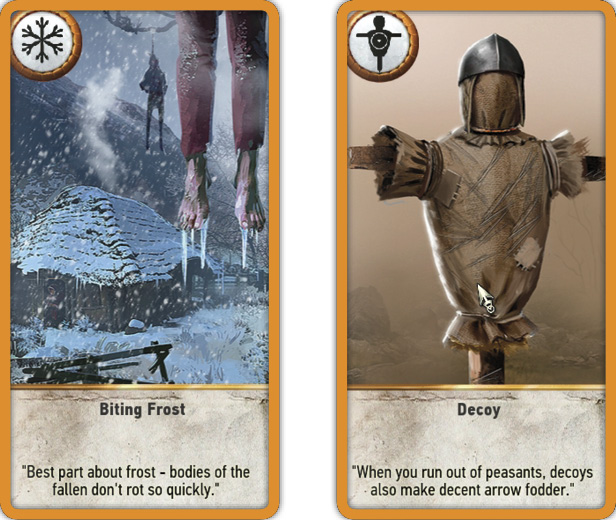
Frost, Fog, Or Rain and Decoys
Weather Cards themselves cannot be brought back into your hand after you use them, so Decoy cards aren’t used with Weather cards, but after Weather cards are played. If you or your foe has soaked the Siege row with Torrential Rain, and you have a Northern Realms Catapult sitting there (worth eight points usually, but now worth one), simply Decoy it back into your hand. Use this tactic to coax your opponent into playing a Weather card early.
Frost, Fog, Or Rain and Agile Cards
The Scoia’Tael (and to a lesser extent, the Monster) decks have troops with the Agile ability, allowing placement in either Close Combat or Ranged rows. This is helpful when a Weather card is used (by either player). If a foe puts down Biting Frost, place all your Agile forces in the Ranged row. Such flexibility makes Weather cards less effective against Agile forces. Similarly, placing a couple of lower point-value forces into a row you’re sure a foe will use Weather on (or one you’re about to use Weather on), to try and coax an opponent into matching or increasing their forces on this row, enables you to then use a Weather card they weren’t expecting.
Frost, Fog, Or Rain and Medics
Medics cannot return a Weather card back into play, so Medics are utilized if the prospect of a Weather card is likely to cause problems with a row you’re building. If a Catapult (non-Hero eight-point Siege card) was discarded previously, and your Close Combat or Ranged rows are both suffering from Weather effects, resurrect the Catapult so your Siege row is strong instead.
Frost, Fog, Or Rain and Commander’s Horn (and Morale Boost)
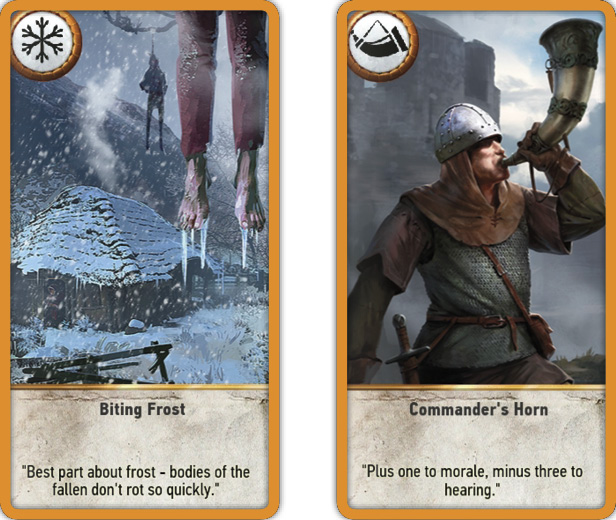
Commander’s Horn isn’t affected by Weather, but all the cards it affects certainly are! As doubling a card’s value can cause a huge influx in enemy points, dropping a Weather card on a row feeling the benefits of Commander’s Horn can impede that ability severely. The same can’t be said of Morale Boost; any row with +1 to each non-Hero card still has that same bonus, though the normal strength of the unit will have dropped to one as well, due to the Weather. This means you should think about playing a Morale Boost card if you have a load of non-Heroes feeling the effects of Weather. You still get the same bonus, which could be enough to take the round!
Frost, Fog, Or Rain and Berserker, Muster, Or Tight Bond Cards
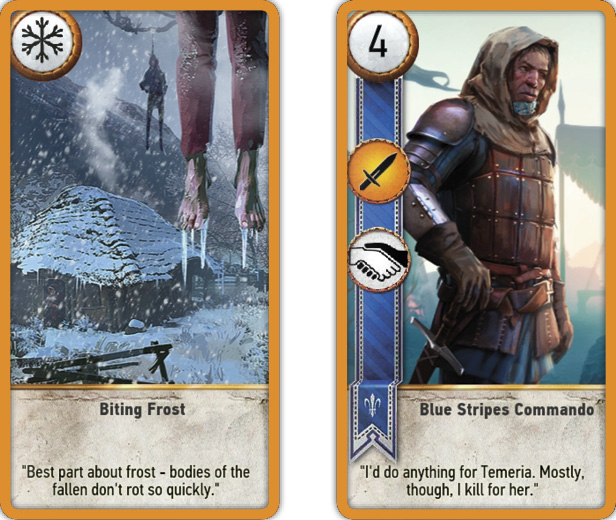
Though Berserker, Muster, and Tight Bond units have different abilities, they are all much more susceptible to Weather cards, which seriously impede a Berserker, Muster, or Tight Bond group’s main advantages (cards offering high strength values). Lie in wait as a foe puts down multiple Berserker, Muster, or Tight Bond cards, and just before the round is over, reduce that value dramatically.
For example, if an opponent places both Catapults in a row (each an eight-point, non-Hero, Siege card), the Tight Bond bonus enables them to be worth 16 points each (that’s 32 points for both of them!). Bring the Torrential Rain, and that point advantage is almost completely nullified!
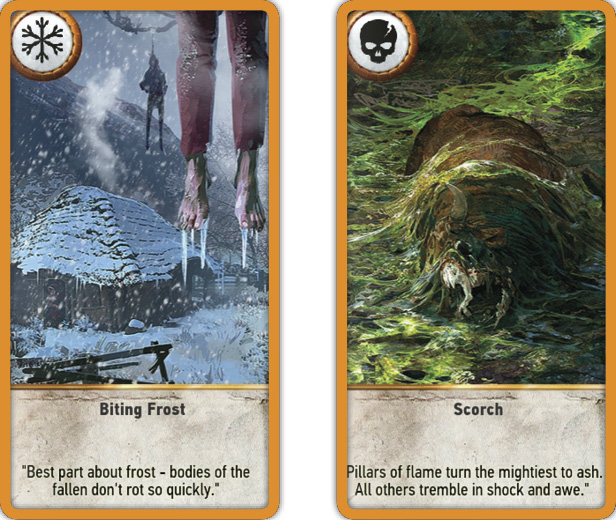
Frost, Fog, Or Rain and Scorch
Partnering a Scorch card with Weather can produce absolutely devastating outcomes for your opponent (and hopefully not you)! The usual “Special” Scorch torches the entire battlefield, so if a foe has all their non-Hero cards in one row, play a Weather card first, dropping all the non-Hero cards to a value of 1. Then use Scorch, and providing there are no non-Hero cards anywhere else on the board worth more than one, every one of the 1-point cards is Scorched! The character cards with Scorch ability (such as Villentretenmerth) offer focused Scorch on one of your opponent’s rows, and combining these two cards can cause mass casualties to a foe who has over-committed to a single row.
Finally, don’t forget the Clan Dimun Pirate of the Skellige Clans faction, who has a battlefield-wide Scorch (the only non-Special Card that does this). Though you need to blanket your entire battlefield in bad weather (use Skellige Storm and Biting Frost, along with King Bran’s Leader ability), it’s possible to decimate every non-hero on a foe’s battlefield using this swashbuckling maniac!
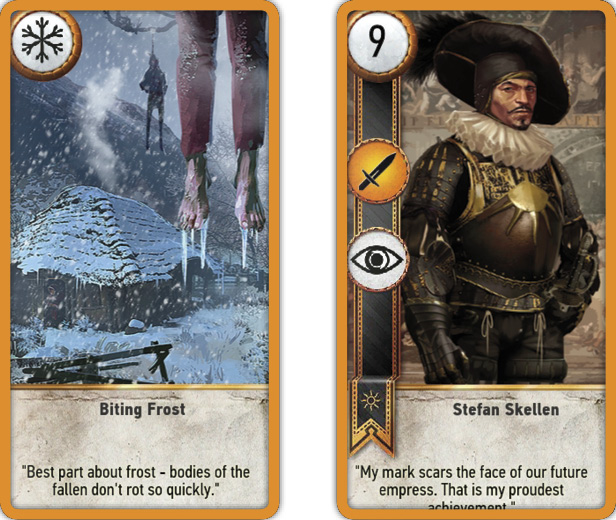
Frost, Rain, Or Fog and Spies
Are you using Spies in your deck? Then Biting Frost becomes much more helpful as you can use it, and your Spy’s strength points (which are applied to the opposition) drop down to 1. That way you can draw two cards and only lose one point to your opponent. Also note that Impenetrable Fog is useless as there are no Ranged Spies, and Torrential Rain is also useless as only Thaler is a Siege Spy, and his strength is one anyway.
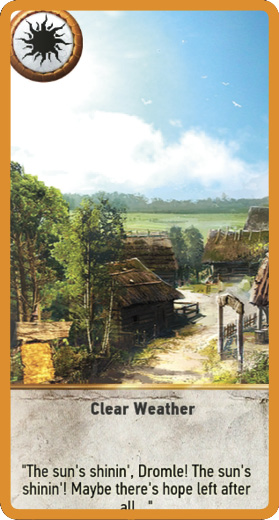
 Clear Weather

The fourth of the Weather cards serves a different function: Clear Weather removes the effect of any and all Biting Frost, Impenetrable Fog, and/or Torrential Rain cards in play. This is a powerful defensive card, and one to keep at least one of in any deck you play. It allows you to remove the otherwise-crippling effects of Weather on any rows (but also your enemy’s rows too). It can be “burned” if there are no other options (it is used up and wasted if no inclement Weather is on the board) in order to feint out your opponent, but its proper use is to turn the later stages of a round from calamity to triumph! The importance of Clear Weather cannot be underestimated!
Refrain from playing Clear Weather immediately; a card in your hand is worth more than on the battlefield, and you may see additional Weather effects occur. You can also disguise the true points value of your units if you place them in a row affected by Weather, before clearing that row at the end of a round for an instant increase in points. Either use Clear Weather at the end of a round to ensure victory, or keep a Clear Weather for later rounds to ensure complete victory.
Assuming you keep a Clear Weather card in your deck (which is recommended over Impenetrable Fog and Torrential Rain, and usually over Biting Frost and Skellige Storm too), you can build up any battlefield rows you wish, ignoring any inclement Weather (as you’ll be getting rid of it soon with Clear Weather).
Without a Clear Weather card, you want your foe to use a Weather card sooner rather than later, so you can keep your more potent cards with group Abilities to play after Weather cards are removed.
Unit and Special Cards

 Unit Type: Close Combat Units (115 Cards)


The mainstay of your card collection, it is important to remember that you and your opponent are mostly like to use (or draw) Close Combat units over any other card type. This means the front line is likely to be most crowded as cards are played, and therefore more susceptible to both Scorch and Biting Frost. Though there are other factors to consider, prepping your deck with a Biting Frost over other Weather cards is statistically better, as you’ll be reducing your opponent’s Close Combat effectiveness more often than other rows.
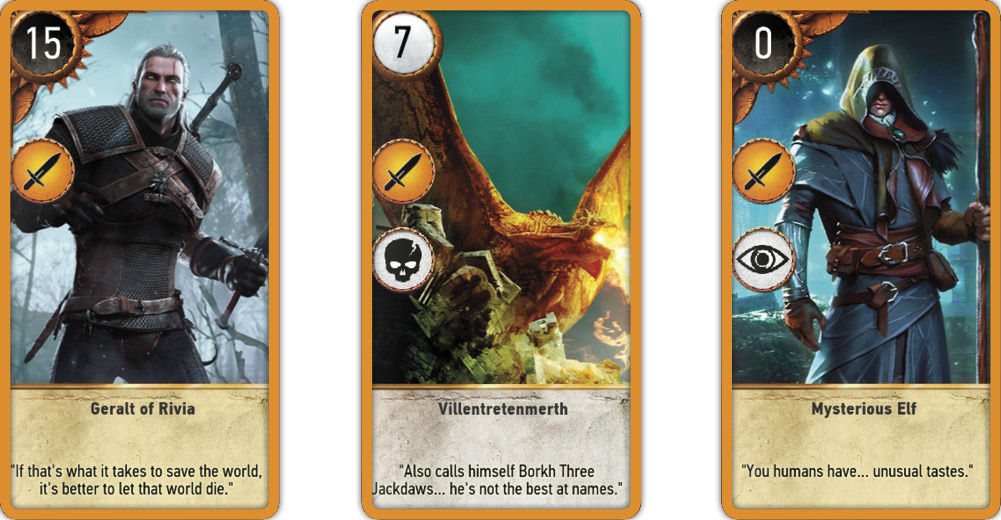
Neutral Cards (Close Combat Units) (10 Cards)
A mixture of high point value Hero cards (such as Geralt and Ciri) to use in every battle, some mid-point units (like Vesemir) to use before finding higher-point cards, and a couple of characters with additional abilities to keep in mind when playing (such as Villentretenmerth; the ultimate card to play against an enemy Close Combat row, and the Mysterious Elf, an amazing Spy who adds nothing to your opponent’s points total).
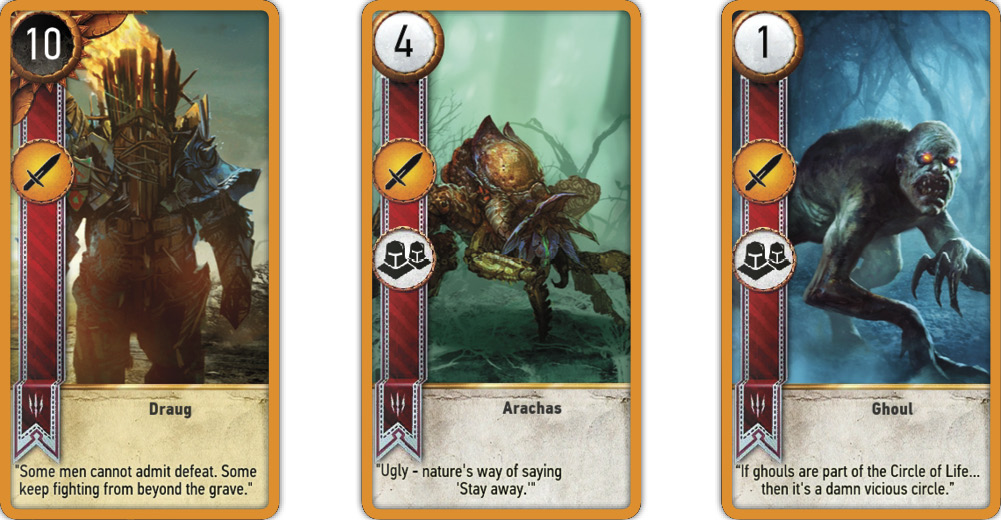
Monster Deck (Close Combat Units) (30 Cards)
With very few (3) Agile cards, Close Combat Units outnumber Ranged units around three-to-one. This means Monster players are always going to concentrate their attacks on their front line compared to other Factions. With a Monster Deck, bolster the effectiveness of these Units with Commander’s Horn, use cards with the Muster ability strategically and judiciously, and a Leader ability like “Commander of the Red Riders” (doubling the strength of Close Combat units), while minimizing the chances of them being Scorched (by playing them after a Scorch card has appeared) or frozen (use Clear Weather). The opposite plan is in effect when playing against a Monster Deck; stack your deck with more Biting Frosts, think about using Ranged and Siege troops, and combine that effect with Scorch, or Villentretenmerth.
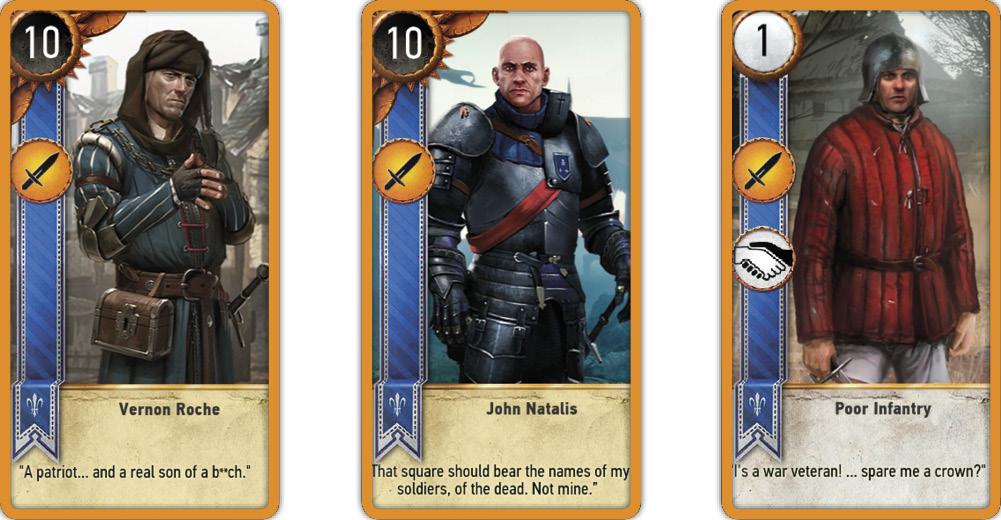
Northern Realms (Close Combat Units) (17 Cards)
Though similar in set-up to the Nilfgaardian Empire (featuring a few Heroes, Tight Bond units, and Spies), the Northern Realms isn’t quite as hard-hitting as their points value are lower. Naturally, you must bring your various Heroes (such as Vernon Roche, John Natalis, and Esterad Thyssen) into the fray. The fewer available cards doesn’t need to be a disadvantage though; utilize your lower point cards (especially the Poor F--king Infantry) to lure an opponent into utilizing their own (usually better) cards so those are removed from their decks. Or employ your Infantry to eke out a victory on a foe who has passed. Also think about using your Leader: Lord Commander of the North (which clears all Weather effects) to ensure your front line stays effective. Play against a Northern Realms front line by Scorching and focusing on Tight Bond units.
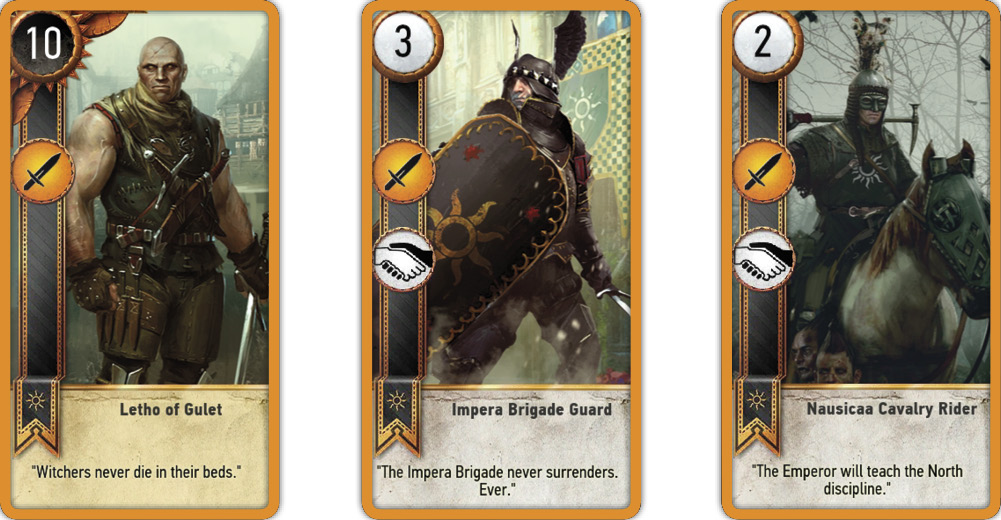
Nilfgaardian Empire (Close Combat Units) (18 Cards)
Though this faction doesn’t have the sheer number of Close Combat cards compared to the Monsters and Scoia’Tael, it makes up for this fact with a trio of Tight Bond units (Young Emissary, Impera Brigade Guard, and Nausicaa Cavalry Rider). Combine these with Medics to resurrect your Tight Bond units if they are Scorched. This more even balance also means the Empire doesn’t need to rely on its front line of Close Combat troops, allowing you to vary the rows where you place troops, forcing your foes into fewer opportunities to cripple you with Weather cards. Remember three of your Close Combat units are Spies too, so they technically move to your opponent’s side. If you’re playing against a Nilfgaardian Empire player, stack your deck with Scorch cards (especially Villentretenmerth) and concentrate on ridding yourself of any Tight Bond units.
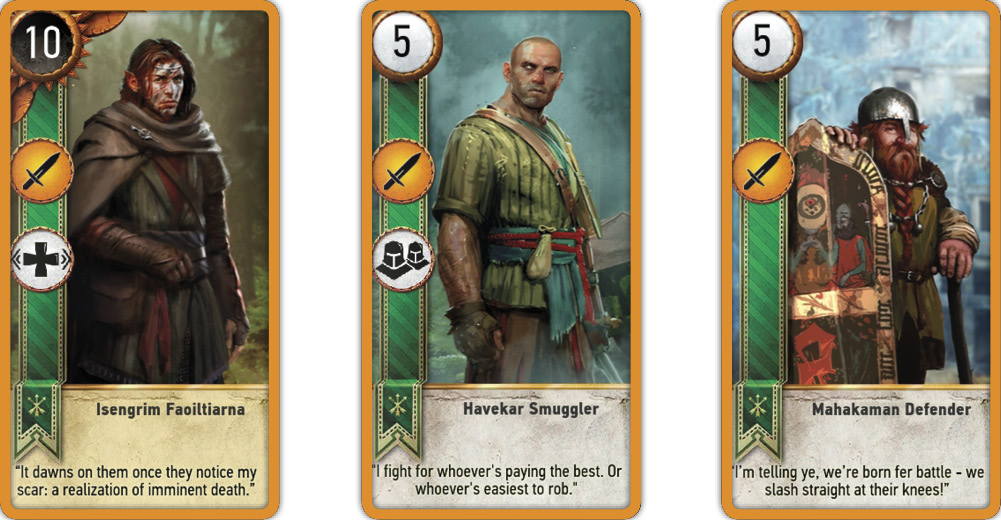
Scoia’tael (Close Combat Units) (22 Cards)
As this deck features the largest number of Agile cards (nine of your 22 Close Combat units can be placed in either Close Combat or Ranged rows), the Scoia’Tael have the most flexibility in bolstering either row. Use all your Close Combat and Agile cards, and this deck can be almost as strong as a Monster front-line. Add Isengrim Faoilitiama with his Morale Boost, the Havekar Smugglers and Dwarven Skirmishers (with Muster), and you can quickly divide your rows and conquer, or concentrate on one row and demolish your enemy! Also be aware of the high point value of even your general infantry units; up to eight Mahakaman Defenders can be played, and each is worth five points, so your Close Combat row can bulk up fast. With these point totals, it is even more critical you use Biting Frost to nullify and Villentretenmerth to scorch, while at the same time hedging your bets with more Impenetrable Fog cards to waylay Ranged Units.
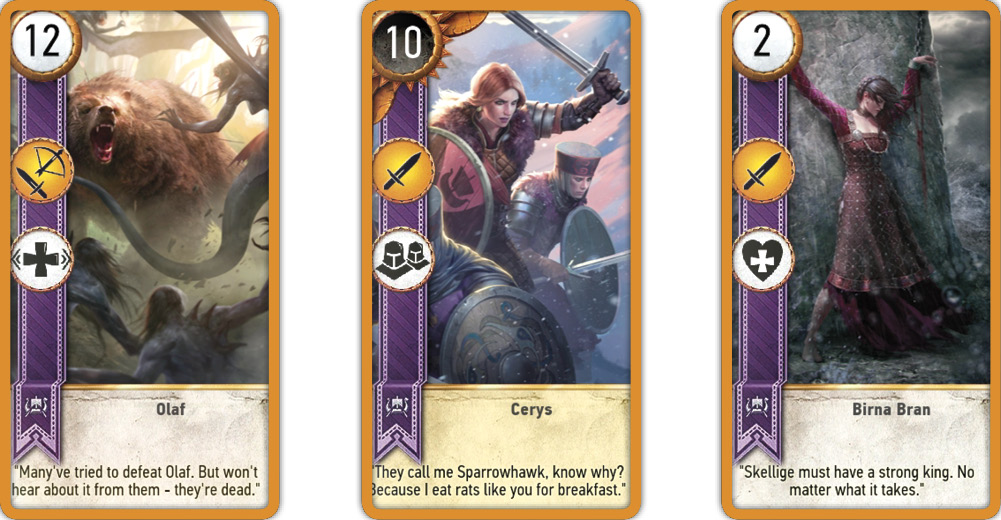
Skellige Clans (Close Combat Units) (18 Cards)
Those Skellige cards at the forefront of battle offer a great deal of variety, with Olaf being the only Agile card. However, he also offers a Morale Boost which can further influence a battle. Cerys is arguably your finest fighter, should you have collected her three Shield Maidens (which she instantly summons for a massive 46 point total to this row!). Clan an Craite Warriors, and the Shield Maidens each offer Tight Bond to bolster this row providing you have all three cards in your hand. Birna Bran offers a Medic ability, while the Kambi gives your opponent a nasty surprise (the Hero Hemdall) in a subsequent round. The Berserker, when powered by a Mardroeme, can quickly add 14 points to this row too: Flexibility with brute force is the advantage here.
 Unit Type: Ranged Units (75 Cards)

Featuring the second-highest number of available troops (unless you count Agile troops in the Scoia’Tael faction), ranged units play a secondary, and usually lesser role statistically. However, in practice, and depending on your Faction, troop build-ups on this row can be just as devastating, especially if you place any Agile troops (Monster and Scoia’Tael decks) to bolster this row. If you’re having trouble tackling Ranged enemies, be sure to bring an Impenetrable Fog card or three.
Neutral Cards (Ranged Units) (6 Cards)
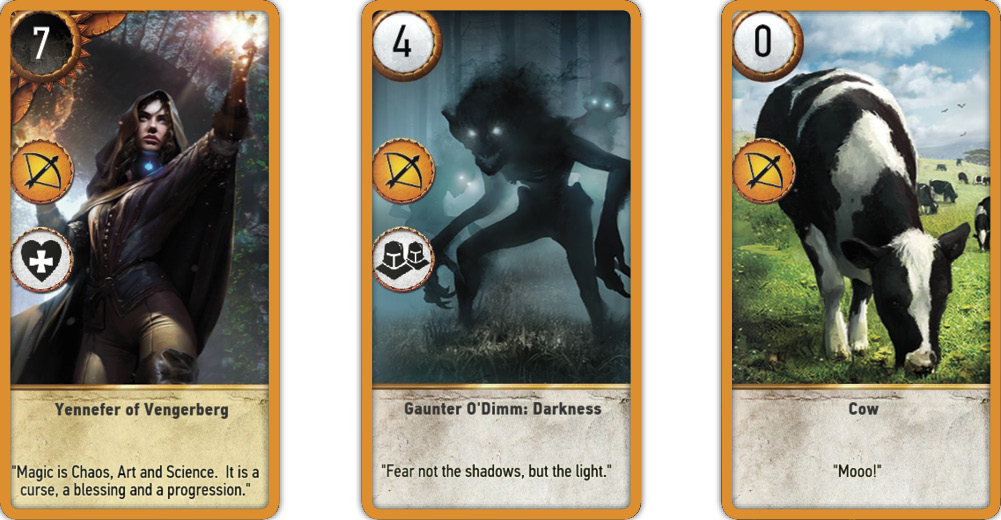
There are only six Neutral units, but all of them are great choices. Yennefer is a High Point Hero Medic and extremely useful. Olgierd is Agile and comes with a Morale Boost. The three Gaunter O’Dimm: Darkness cards (used with the Gaunter O’Dimm Siege card) have Muster, and can bolster your total in Factions without access to this ability. The Cow is seemingly useless, used sacrificially so that the “Bovine Defense Force” (an eight-point Close Combat Chort) is employed.
Monster Deck (Ranged Units) (10 Cards)
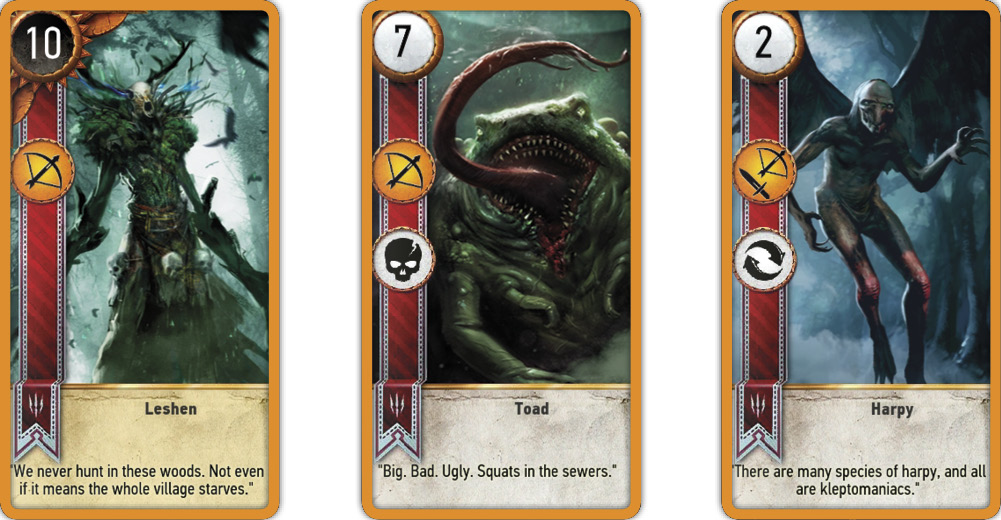
You only have around a third the number of Ranged cards compared to your Close Combat cards, so take more care and attention to picking the ones you must use. Both the Leshen (a 10 point Hero monster) and Kayran (a Hero, Agile, and Morale Boost card) are must-haves as they don’t get scorched. The Toad is exceptional, as it’s the only card in the game with a Ranged Scorch ability. Use it after Torrential Rain to decimate an opponent’s Ranged row! Otherwise, your ranged units are run-of-the-mill; mid to low point cards with only two (the Harpy and Celaeno Harpy) being Agile for flexibility. For those playing against a Monster Deck, play your better Ranged cards after the Toad is out, and bring the Torrential Rain and Scorching!
Nilfgaardian Empire (Ranged Units) (13 Cards)
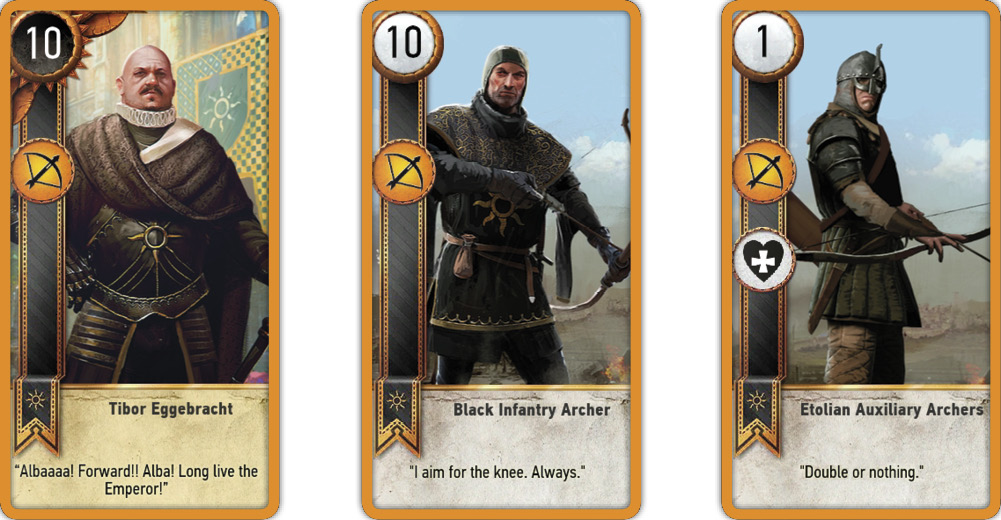
Outside of the Scoia’Tael, the Nilfgaardian Empire has the most flexible and highest percentage of Ranged cards compared to Close Combat ones (13 Ranged, and 18 Close Combat). This allows further flexibility in placement, and although your Black Infantry Archers are extremely susceptible to Scorch (a 10 point non-Hero), they can easily win a round if played after your foe’s already Scorched the landscape. Tibor Eggebracht is your only ranged Hero (and therefore a must-have). The rest of your motley crew are mid to low-point troops used in earlier games before your more powerful cards are gathered. The exception are the Etolian Auxiliary Archers; used for their Medic ability as well as eking out a win by a single point. As usual, Torrential Rain and Scorch are key to removing a Nilfgaardian ranged threat; especially as there’s only one Hero (Tibor) likely to be mooching around this row.
Northern Realms (Ranged Units) (9 Cards)
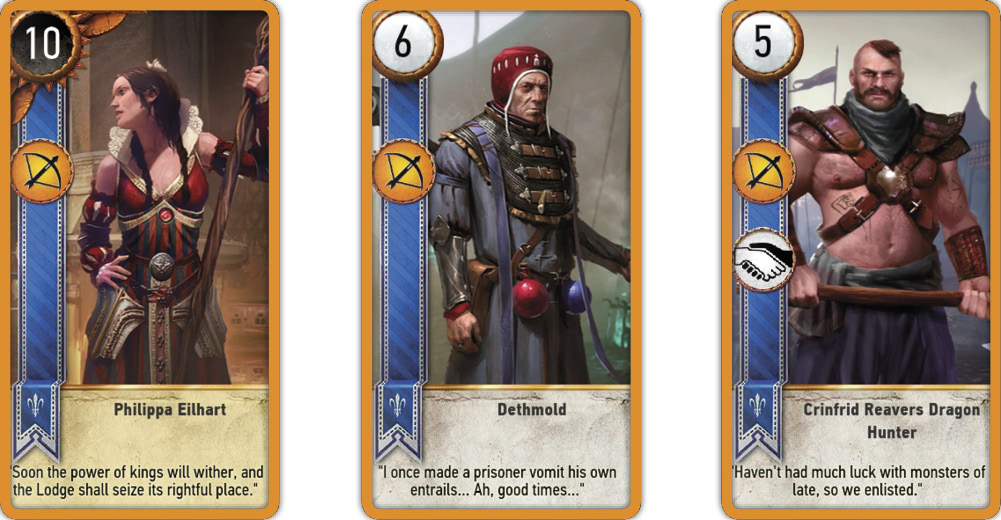
The Northern Realms have the least number of Ranged Units, both compared to other rows (nine compared to 16 Close Combat and 13 Siege) and other factions. There’s only one Hero too (the almost indomitable Philippa Eilhart; play her when you expect to win the round). Dethmold is a reasonable fellow to employ (6 points non-Hero), but only before you gather better cards. However, what this row lacks in numbers, it makes up for with the Cinfrid Reavers Dragon Hunters; three cards with a Tight Bond to thoroughly bolster your points total, and cause an almost instant Scorch by any competent foe. So play these Hunters later rather than sooner, or try to bait a foe into playing Scorch first. If you’re tackling a Northern Realms Ranged Row, be ever mindful of the Cinfred Reavers’ Tight Bond, and nullify it as a matter of importance.
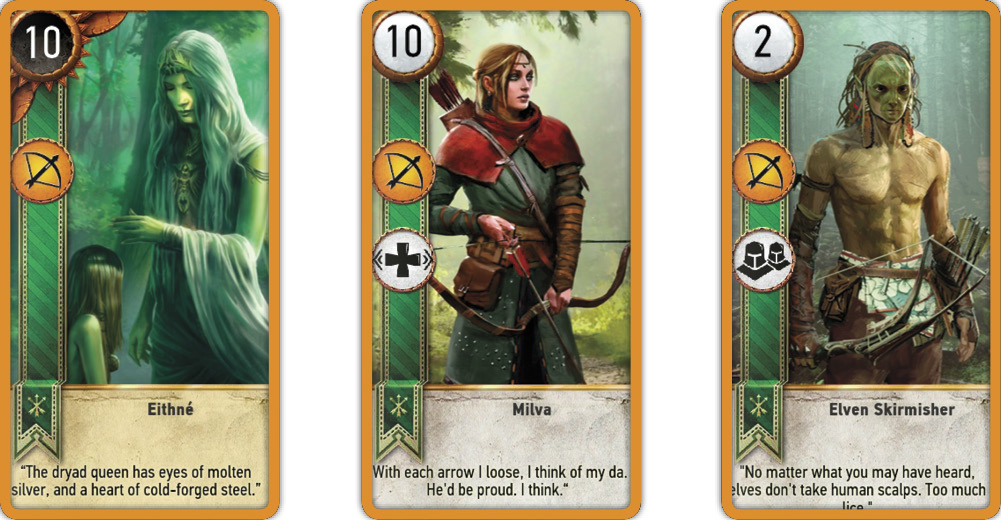
Scoia’tael (Ranged Units) (24 Cards)
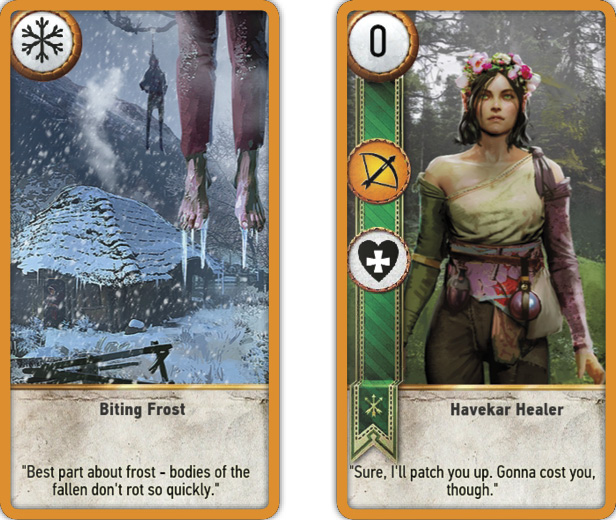
With a vast number of Agile units, the Scoia’tael can play even more total cards in this row compared to the Close Combat (22). However, 15 of this total are “true” Ranged cards that are only placed in this row. Aside from the flexibility this brings, you have three Heroes (Eithne, Saesenthessis, and Iorveth), and Milva with her Morale Boost (which can quickly add a huge bonus to this already-stacked row). Milva isn’t a Hero though, so she’s very susceptible to Scorch. Also present are three Elven Skirmishers (with Muster; useful to quickly sort out a win or add points immediately despite their low point value). Don’t count out the three Havekar Healers either; though they have zero Points, their Medic ability allows you to return much higher point cards back into play. Going against a Scoia’Tael ranged row? Bring more Scorch and Torrential Rain than for any other deck, and focus on your other rows if you see a buildup of enemy cards here.
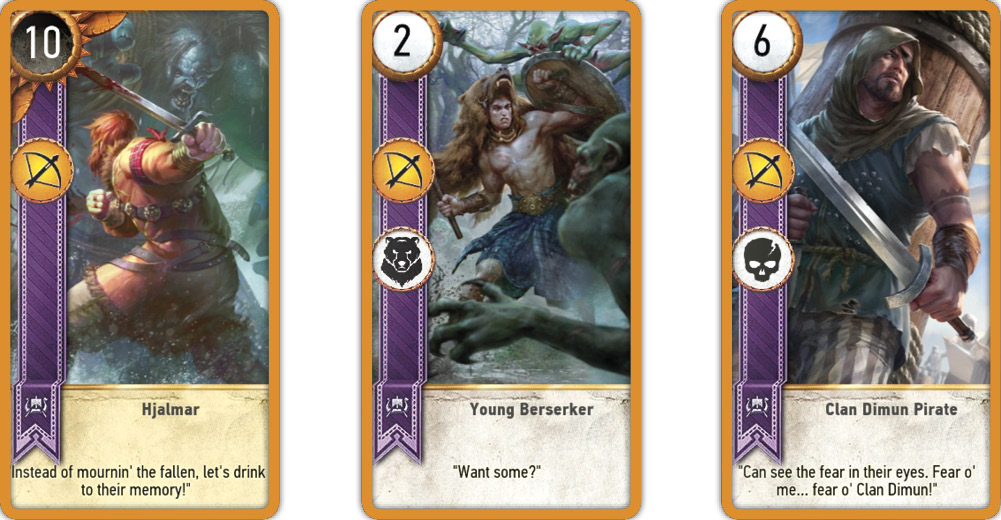
Skellige Clans (Ranged Units) (13 Cards)
Olaf offers his Agile ability to bolster this or the Close Combat row; and his Morale Boost can add further bonuses your opponent may not be expecting. Hjalmar is a good, old-fashioned mayhem machine; a Hero worth ten points. Ermion is more cunning; though his points value is good (eight), he should always be partnered with the three Young Berserkers, bolstering each of their attack strength from two to wight. Light Longships offer a great and quick 12-point addition due to their Muster, and the Clan Dimun Pirate is an incredible find; he has a Scorch ability that is applied to any row (including your own; he doesn’t discriminate between friend or foe, just like a Special Scorch card)! Partner him with a Medic to devastate your enemy.
 Unit Type: Siege Units (29 Cards)

Of the three unit types, Siege units are by far the least in number. Aside from the Northern Realms, there is a distinct lack of Siege cards in Neutral and Faction lists (29 Siege cards in total, compared to 75 Ranged and 115 Close Combat). This means Siege cards aren’t used as often. Tactically, this allows you to ignore Torrential Rain compared to other Weather cards, as the chances of these being effective are statistically less (unless you’re playing against Northern Realms). However, this tactic is just what the enemy might want you to think; so always keep a few Siege cards handy to trounce a foe who is focusing elsewhere. This allows you to win much more often than you think!
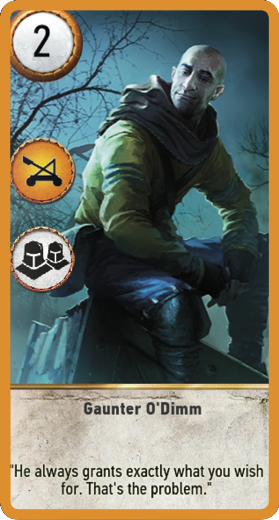
Neutral Cards (Siege Units) (1 Card)
The Gaunter O’Dimm card offers your only neutral Siege card, and despite his low points total (2), he more than makes up for it with the Muster ability. He’s very useful for bringing up to three Ranged cards (Gaunter O’Dimm: Darkness), adding totals to two rows at once and enabling players who don’t normally play Monster or Scoia’Tael decks the advantage of using a card with Muster ability.
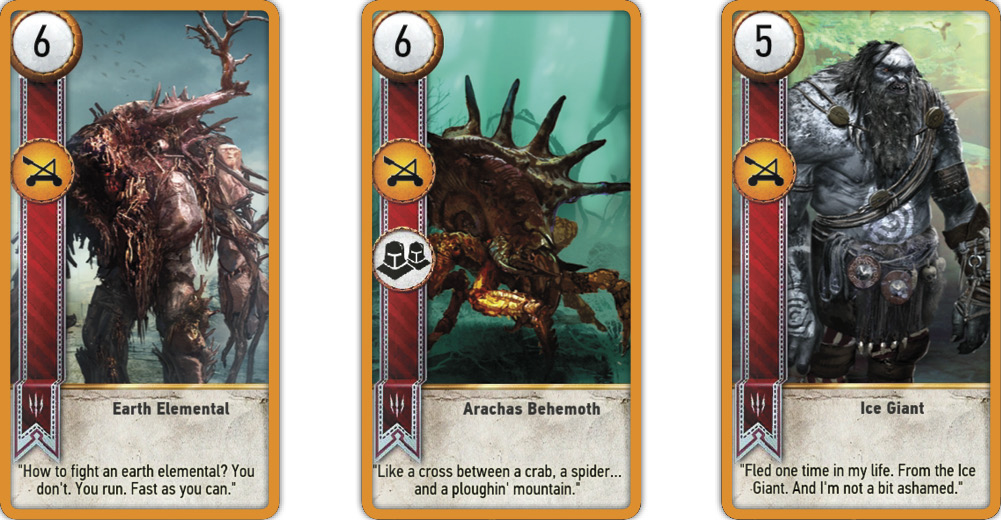
Monster Deck (Siege Units) (4 Cards)
The Monster deck features only four Siege units; the Earth Elemental, Fire Elemental, Arachas Behemoth, and Ice Giant. Three of these are simply mid-point, hard-hitting cards, but the Arachas Behemoth is something of a treat; similar to Gaunter O’Dimm, it is a Siege unit with a Muster to bring in three units in a different row, all at once! In this case, up to three Close Combat Arachas units can be placed (and even Scorch won’t strike the lower-point Arachas; the Behemoth takes the damage, leaving you with a good point total even after a Scorch). This also allows you to strength two rows at once, divide your opponent’s attention, and provides a huge points influx. Expect a foe to play this to win, or later into a match, and react with Scorch, Torrential Rain, or Biting Frost to rid yourself of all Arachas units.
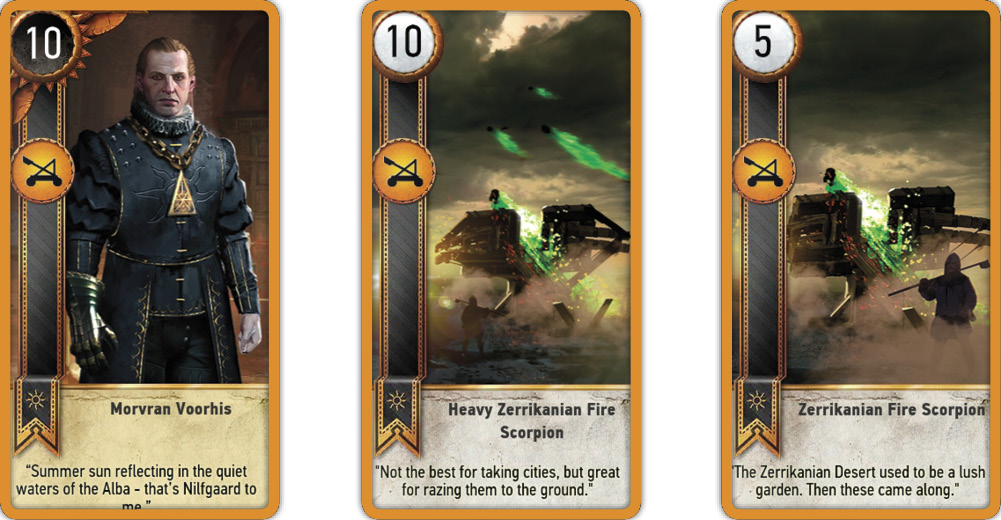
Nilfgaardian Empire (Siege Units) (6 Cards)
The Nilfgaard have a couple of interesting Siege units (and more than the Monster and Scoia’Tael decks combined). The first is Morvan Voorhis, who is the only Siege Hero in the game. The Heavy Zerrikanian Fire Scorpion offers tremendous points (10) but isn’t a Hero card, and usually the first one to be lost to Scorch; so play it late. Otherwise, your card lists are mid to low-level in points total, though the regular Zerrikanian Fire Scorpion is handy in earlier Gwent bouts. Playing against the Nilfgaard? Then place more Torrential Rain cards than normal, due to the higher chances of a Siege card being played. and torch those Fire Scorpions with Scorch!
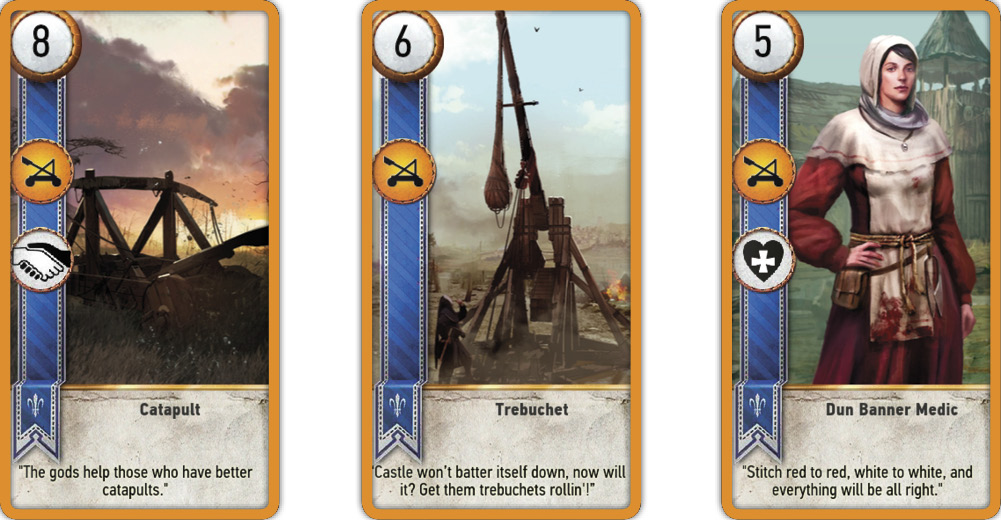
Northern Realms (Siege Units) (12 Cards)
By far the most effective at Siege-related tactics, the Northern Realms Faction has only four fewer Siege cards than Close Combat cards! Earlier into your Gwent matches (before higher-point cards become available), utilizing your mid-point level Trebuchets and Ballistas, with the Morale Boost of a Kaedweni Siege Expert (or three) is a great plan. The Dun Banner Medic is also a high-point Medic card useful to bolster and bring a card back. Both of the Catapults are vicious (8 Point), and feature Tight Bond, but they are susceptible to Torrential Rain, Scorch, and the tactics of using Spies offers slightly better results. When playing against Northern Realms, stack your deck with many more Torrential Rain cards, as you know your foe’s Siege rows are going to be more packed than with any other Faction (and refrain from using too many Siege units yourself).
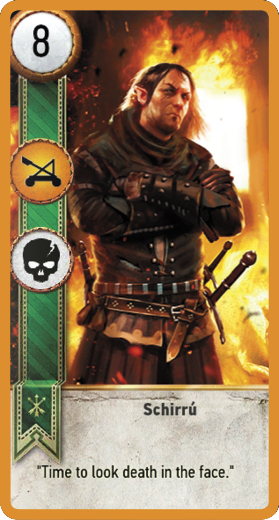
Scoia’tael (Siege Units) (1 Card)
A single, solitary card (Schirru) is the only available siege unit. This means it should be employed (in case your main Close Combat and Ranged rows are nullified by Weather, for example), especially against opponents who favor Siege weaponry. Aside from the high points (8), Schirru has a Scorch ability against Siege rows. Therefore, he’s very helpful to decimating the back row of a Northern Realms (and to a lesser extent a Nilfgaard) Faction player, especially if the attack occurs after a Torrential Rain! Opponents need to watch for this card, but after it is played, don’t expect much else on this row. Think about bolstering your Siege rows with Gaunter O’Dimm; it’s the only other option for a Scoia’Tael player!
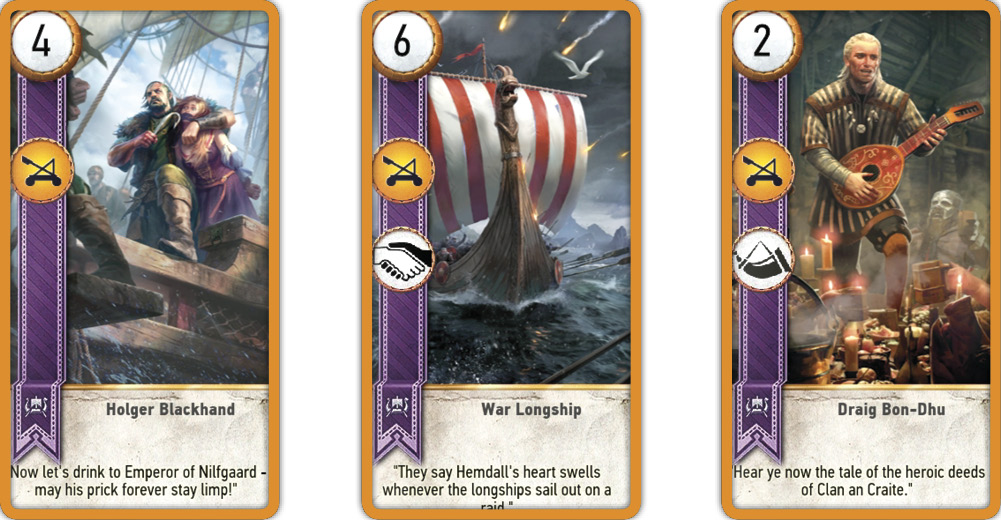
Skellige Clans (Siege Units) (5 Cards)
Of the five available Siege cards, Holger Blackhand offers minimal help to your cause, but the three War Longship cards and Draig Bon-Dhu are great to partner together. The War Drakkers (6 point) have a Tight Bond ability, while Draig brings the Commander’s Horn to further augment the row. Think about adding some Neutral Siege units, perhaps with King Bran’s Leader ability, to further bolster this row, adding flexibility to your game.
 Unit Ability: Hero (25 Cards)

There are 25 Hero cards available (five Neutral, and four for each Faction). Hero cards are not affected by any Special Cards or abilities. This is both good and bad news for the Gwent player. It means (for example) that even if Geralt of Rivia (Neutral), Imlerith (Monster), Morvran Voorhis (Nilfgaard), Vernon Roche (Northern Realms), or Saesenthessis (Scoia’Tael) are Scorched, or subjected to Weather effects (Biting Frost, Impenetrable Fog, or Torrential Rain), they remain in place with no diminishment of their points total. However, it also means that Heroes don’t receive the benefits of the Decoy, Commander’s Horn, Morale Boost, or Medic. Be wise to the opportunities (and shortfalls) this creates.
- Decoy-Proof: You cannot swap a Hero with a card in your hand, and therefore, you are unable to plan the more advanced tactics (Decoy with Medic for example) using Hero cards.
- Commander’s Horn Proof: They receive no bonus from the Commander’s Horn boost, meaning this card is less helpful in Hero-heavy decks (and so you may wish to refrain from adding it to those deck builds).
- Scorch-Proof: Heroes are unaffected by Scorch, meaning you can play them without fear of them being removed.
- Weather Proof: Heroes ignore Biting Frost (Close Combat), Impenetrable Fog (Ranged), and Torrential Rain (Siege). As some Leader cards have a variation on this ability, this lessens the power of those cards, too; so check what Leader your adversary is using and react accordingly.
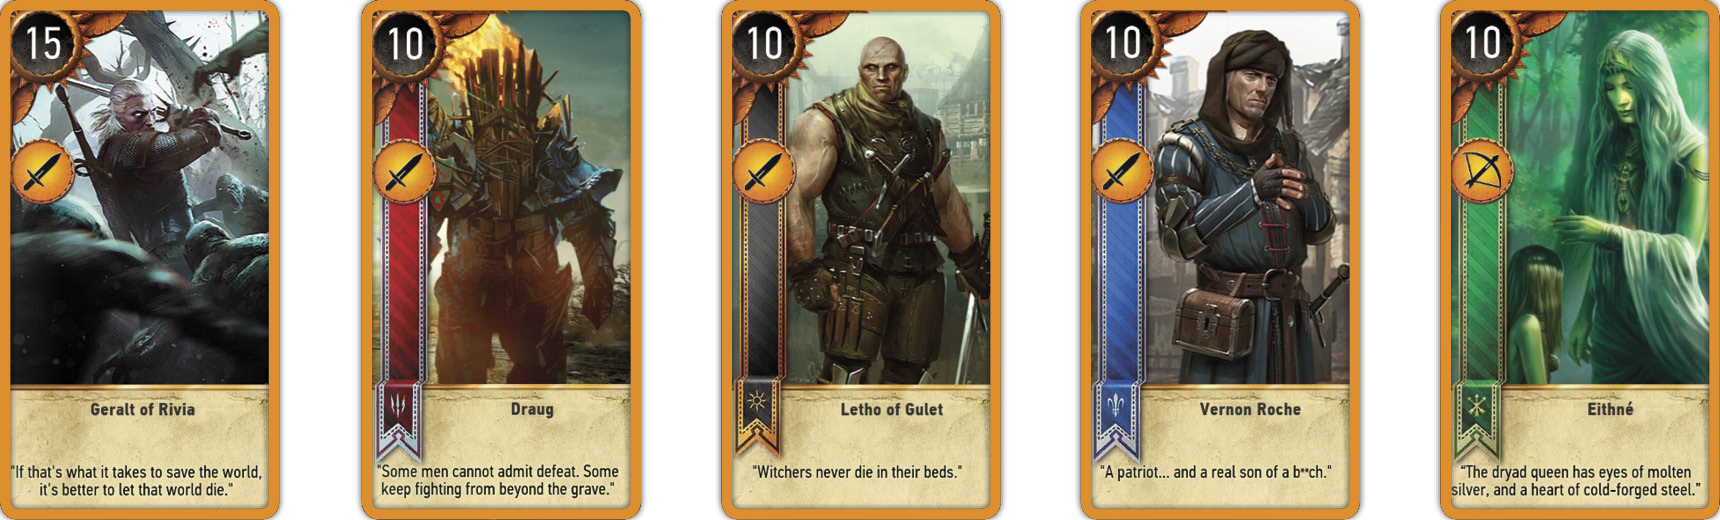
Heroes: Know When To Hold Them; Know When To Fold Them
The biggest plus is that Hero cards are dependable: Play Hero cards to maintain a points total on the battlefield that you know won’t be diminished by Weather or Scorch. They remain on the battlefield for the entire round, and will always add to your points total no matter what your opponent throws at you!
Don’t play Hero cards if you’re thinking of using them in a later round, as they can’t be reused in a match. Instead, you may want to “bulk up” your total by passing the first round, and sending out your Heroes to guarantee a second and third round win, once your foe’s best cards (or their own Heroes) are used up in the initial round.
Don’t waste Heroes securing a win after an opponent has passed; always use a card (or cards) that has a lesser value, or one you can more easily Medic back into play.
Heroes can be less effective compared to certain combinations of cards with other abilities. For example, in the Northern Realms deck, you can take up three spaces in your deck by picking Vernon Roche, John Natalis, and Esterad Thyssen for your Close Combat deck (a total of 30 points). But you could also pick three Crinfrid Reavers Dragon Hunters (each is a 5 points card). But when all three are placed with Tight Bond, their total becomes 45; 15 points higher than the Heroes (and on the Ranged row, which is sometimes less frequented by other cards, and therefore less susceptible to a foe’s Weather attack). Weigh the chances of picking these cards when you make your deck.
Bolster your Faction deck by adding Neutral Heroes into your deck. But don’t overdo it (if you have a complete Gwent collection) as you may find Medics, Spies, and Decoy cards more helpful if you employ tactics related to these abilities, and those card types won’t appear as often if you stack your deck with Heroes.
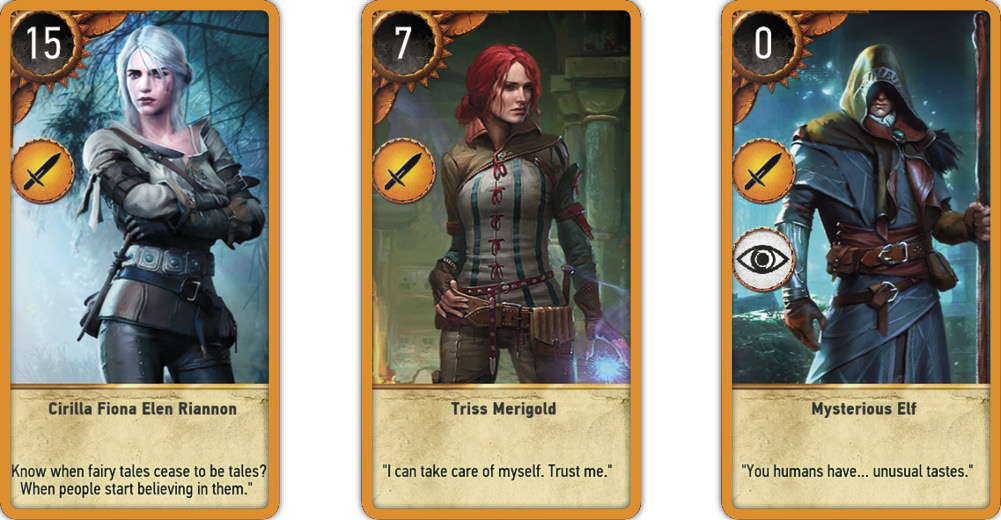
Neutral Cards (Hero Ability) (5 Cards)
Of the five available Neutral Heroes, Geralt of Rivia, Cirilla Fiona Elen Rianno, and Triss Merigold have no other abilities; they are here to simply add points totals to your round. As Geralt and Ciri both add a whopping 15 points each, they are incredibly useful and dangerous, and should be in your hand at all times. Triss, with her 7 points, is much less effective, works well in beginning and mid-level decks, but is usually ignored when you have a complete collection and need to reduce your deck size; as there are many other more potent cards to pick.
Yennefer is one of seven ranged Heroes but the only neutral ranged Hero, meaning she’s useful to bolster decks needing help in this row (such as the Monster deck), as well as adding to an already-potent row in a Nilfgaard or Northern Realms deck. She is also only one of two Hero Medics, so has this flexibility of use. This is especially helpful to decks that normally cannot utilize a Medic, such as Monster decks. The Mysterious Elf is another amazing card, as the zero points total means your opponent won’t receive a points addition, but will have the detrimental antics of your Spy to deal with!
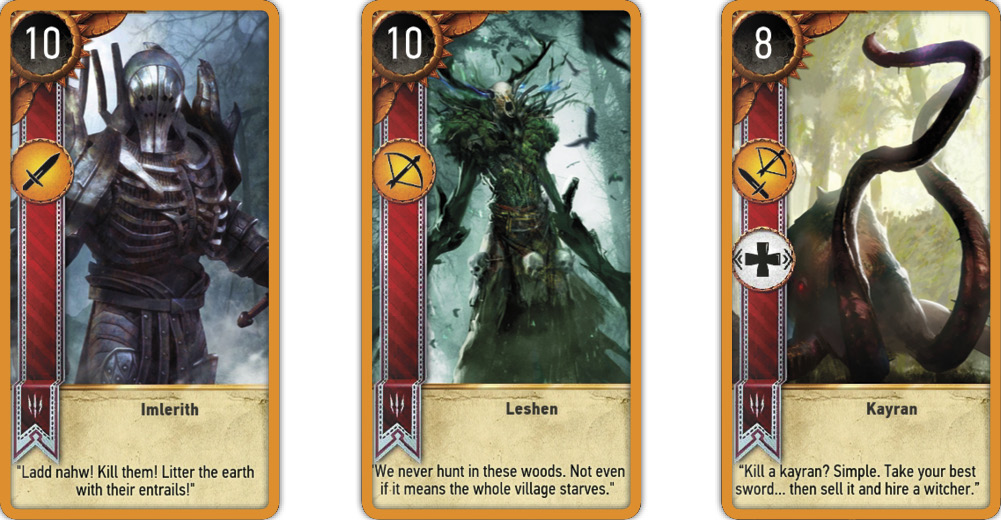
Monster Deck (Hero Ability) (4 Cards)
Draug and Imlerith are both giant monstrosities of pain with 10 points each to bring to a close combat row. Leshen offers the same points, but is ranged (and should be the centerpiece of a ranged row, which won’t be facing the same kind of attention as your close combat troops will). Kayran offers something no other card can; three abilities! Aside from a Hero, it is Agile (and therefore more flexible in its placement), and gives the row you place it in a Morale Boost, though it only is worth eight points. All four Heroes should be chosen no matter what bout you’re attempting.
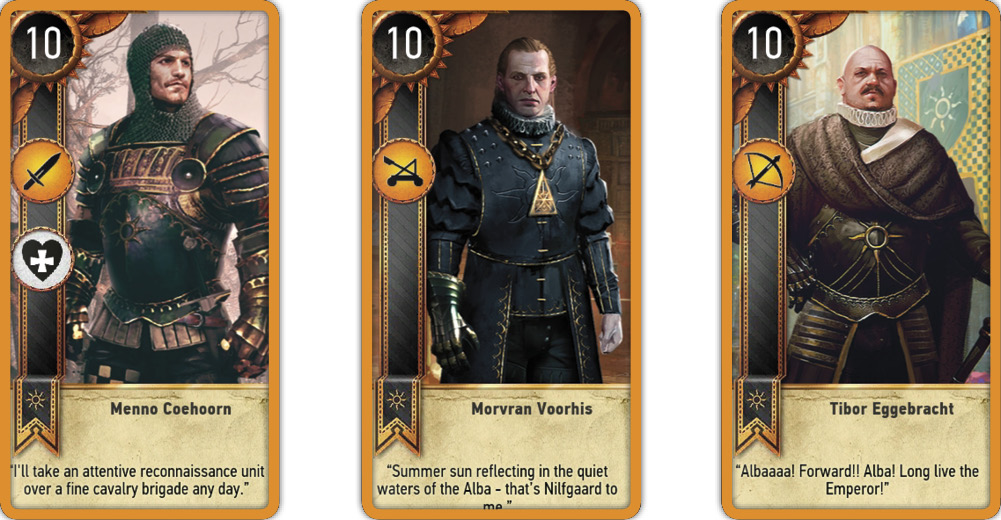
Nilfgaardian Empire (Hero Ability) (4 Cards)
Three of the Nilfgaardian Heroes offer no other ability, but each is positioned on a different row (Letho of Gulet is Close Combat, Tiber Eggebracht is Ranged, and Morvran Voohris is the only Siege unit Hero in the game). This makes your Nilfgaard Heroes versatile, and your Siege row more potent than most. Menno Coehoorn is close combat, but also a Medic, giving you additional flexibility to use this ability. All Nilfgaard Heroes have 10 points.
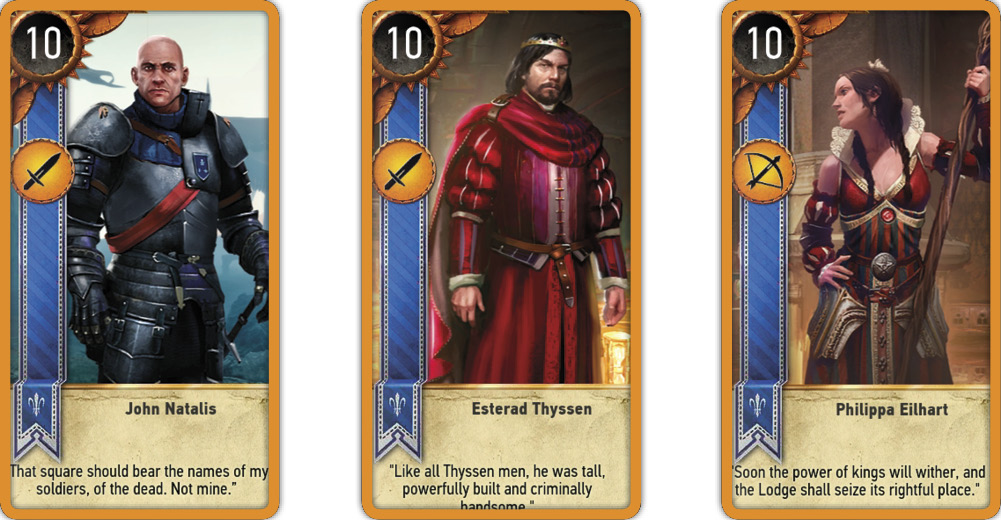
Northern Realms (Hero Ability) (4 Cards)
The four Northern Realm Heroes offer tremendous points totals (10 each), and three of them (Vernon Roche, John Natalis, and Esterad Thyssen) are close combat cards. Only Philippa Eilhart is a ranged Hero. This means you’re more likely to bolster your close combat row than any other; this knowledge means enemies should attempt to focus on neutralizing the other cards surrounding these Heroes to minimize your total points.
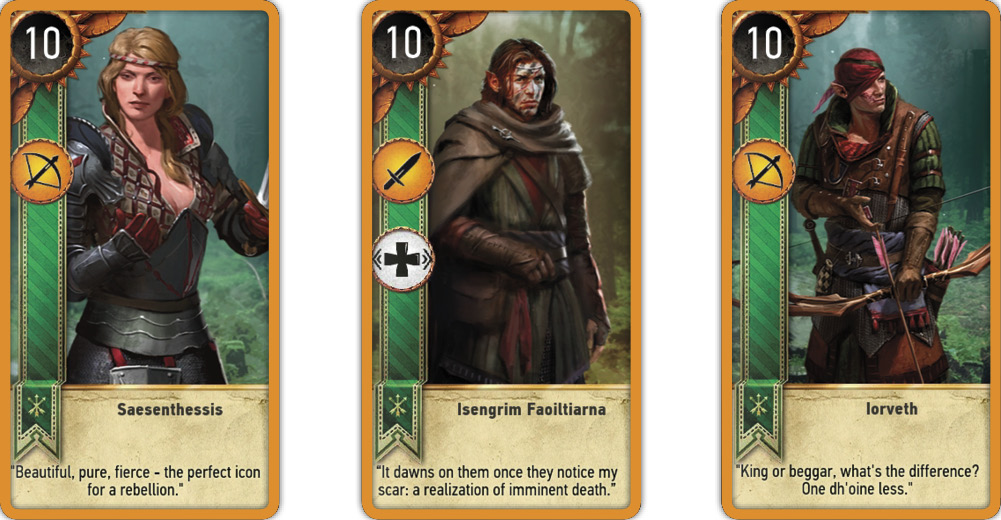
Scoia’tael (Hero Ability) (4 Cards)
Of the four Scoia’Tael Heroes, three of them offer a large points total (10) at the Ranged level; Eithne, Saesenthessis, and Iorveth. Only Isengrim Faolitiama offers a close combat row increase and a ten point total, with a Morale Boost to boot. This allows you to increase both your front rows with different types of Hero, though swapping out two of your ranged Heroes with Geralt and Ciri (if you’re minimizing your deck bloat) is a good idea.
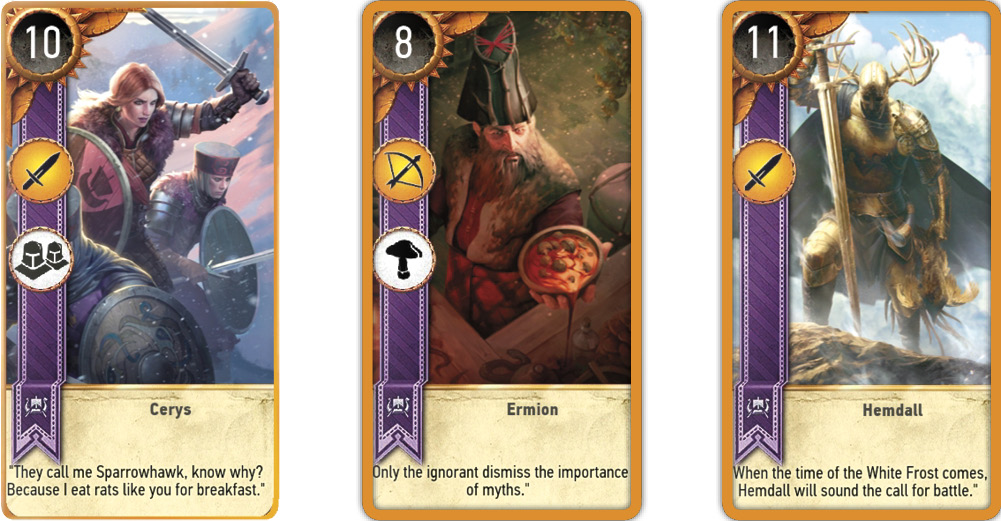
Skellige Clans (Hero Ability) (4 Cards)
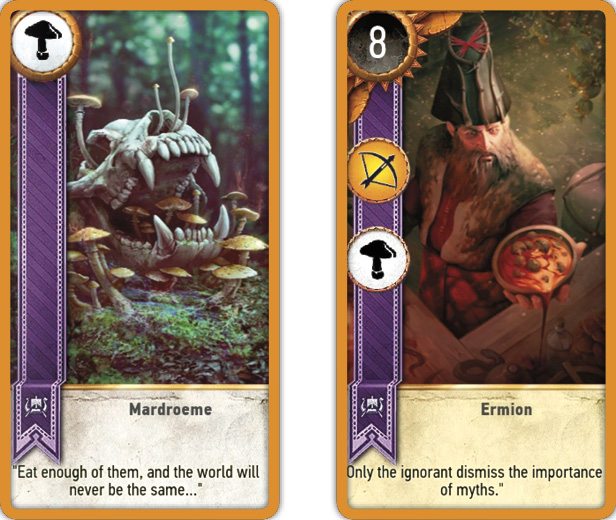
Cerys should be the main striking force of your Skellige deck as her prowess cannot be understated; she immediately summons your three Shield Maiden units using a special Muster ability. Note that the Shield Maidens can’t summon Cerys! As each Shield Maiden (4 points) has a Tight Bond, this is an instant 46 point total with all four cards played! Hjalmar is a great Ranged Hero (10 points), and Ermion is also splendid to play, either without, but ideally with, the Young Berserkers (2 points each), as his Mardroeme ability turns all three of them into Transformed Young Vildkaarls (8 points each). Finally, Hemdall is also available; an 11-point killing machine that only appears once you play Kambi (0 points) and it is discarded. Hemdall can turn the tide of battle in the later rounds with the appropriate pre-planning.
Unit Ability: Agile (14 Cards)
Agile units simply allow you to position them on either your Close Combat or Ranged rows of the battlefield (once placed, they cannot be moved to a different row unless discarded and brought back with a Medic). This simple ability can turn the tides of matches simply because you have the flexibility to avoid placing cards on rows you know a foe is likely to be targeting with Weather cards, or to bolster a row in need of help. Is a Biting Frost covering your close combat units? Without Clear Weather, place Agile cards on your Ranged row instead. Only Monster and Scoia’Tael decks have such cards; the Nilfgaard and Northern Realms have no troops with this ability (unless Olgierd is added to your deck).
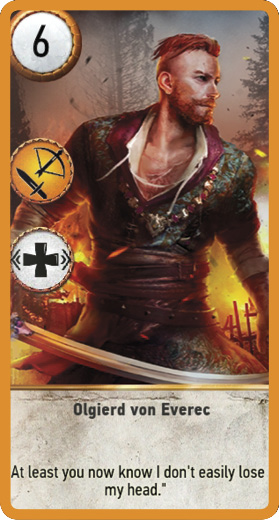
Neutral Cards (Agile Ability) (1 Card)
Only Olgierd von Everec has the agile ability among the Neutral cards, and although his points total is only above average (6), and he isn’t a Hero, he does provide a Morale Boost too. This can be useful for decks without Agile cards (like a Monster deck) allowing you to spread your cards over more than one row. But there are better ways to combat your one-row approach (Clear Weather to remove Biting Frost, and watching for Scorches before piling on the pressure).
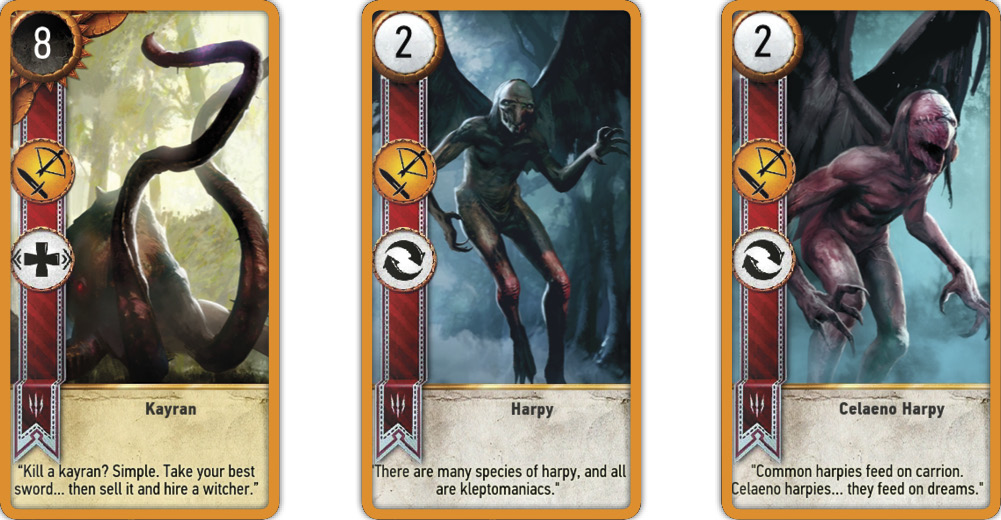
Monster Deck (Agile Ability) (3 Cards)
Only three Monster deck cards have this ability, and two of them are very low point cards (Harpy and Celaeno Harpy with 2 points each); use those to steal a win from a passing opponent, and remove them at higher levels of Gwent playing. The stand-out card is the Kayran; it is a Hero and immune to special attacks, and offers a Morale Boost to either row; fantastic if you’re building up a Ranged Row (if your close combat row has problems you can’t overcome), or adding to an already-stellar close combat row.
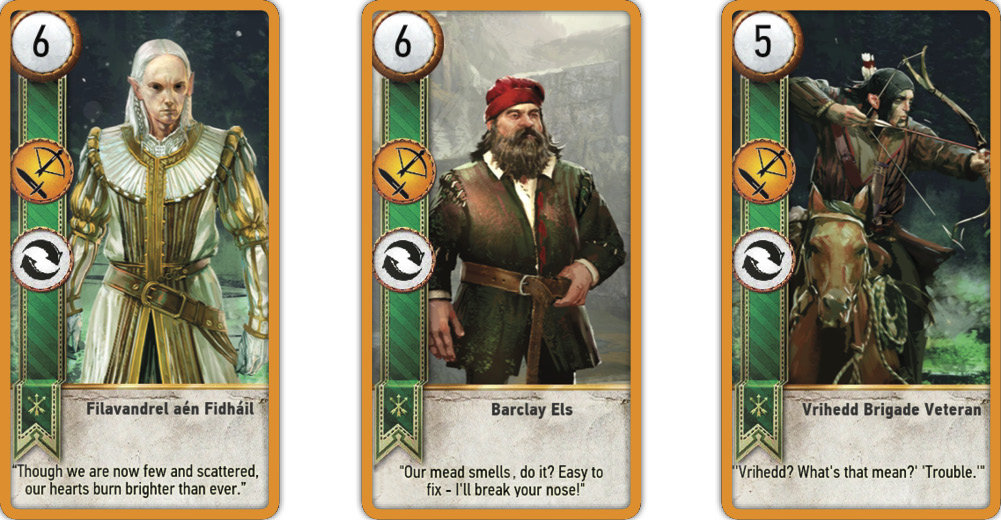
Scoia’tael (Agile Ability) (9 Cards)
The supreme flexibility of the Scoia’Tael is demonstrated by their large number of Agile cards (9), though only cards with a point value of 6 should be considered as the mainstay of your deck in later matches. All Agile cards here have no other abilities; simply pick the row you want them in. Once all the Scoia’tael cards are found, it is better to remove all these cards from your deck, replacing them with Heroes and higher-point value Neutral cards (as these are more effective).
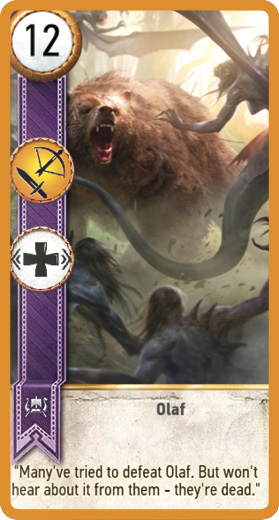
Skellige Clan (Agile Ability) (1 Card)
The mighty Olaf is a 12-point non-hero with Agility and Morale Boost, making him a tremendous asset in battle, but also one that is highly susceptible to Scorch. Use him to bolster either row, and use his lack of Hero status as a bonus; you can Medic him back into play to cause another round of problems for the enemy. Simply look to which row needs Olaf’s help before placing him. For example, he can bolster your Berserker (Close Combat) or Young Berserkers (Ranged), adding more points to already-augmented troops. For this reason, you may find playing him later in a round is most helpful.
 Unit Ability: Berserker (4 Cards) and Mardroeme (4 Cards)

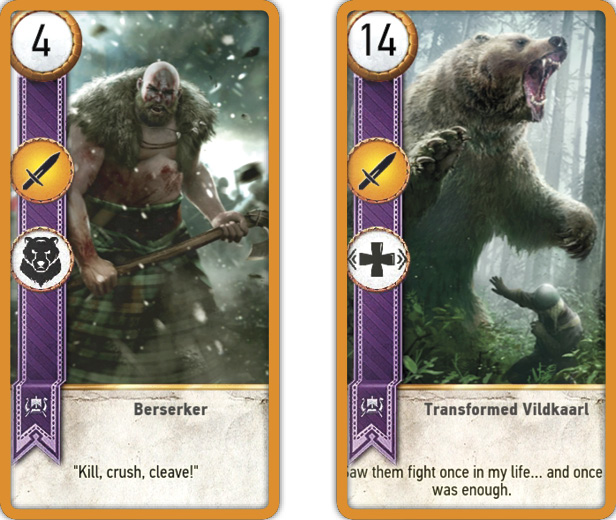
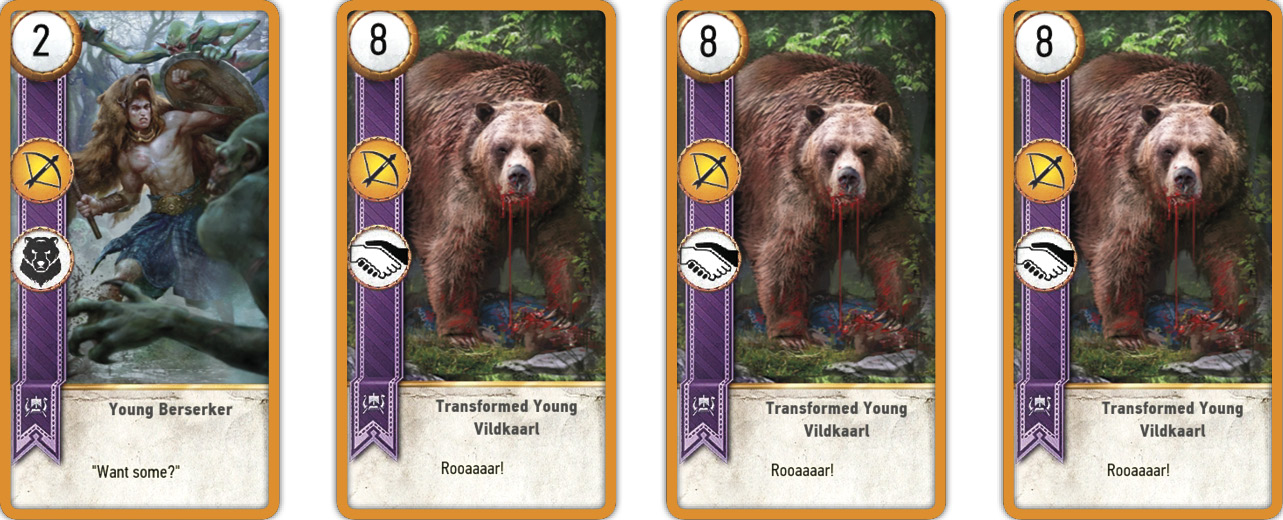
The Berserker ability is only available to two particular units in the Skellige Clans faction, and is only accessible when used in conjunction with the Mardroeme card (or Ermion’s Mardroeme ability). This transforms a normally mediocre unit into a rampaging Vildkaarl with a much greater points value. There is a single Berserker/Transformed Vildkaarl (4/14 points) available for the Close Combat row, which can only be transformed using the Special Mardroeme card. The Transformed Vildkaarl also has the Morale Boost ability, but only when transformed. There are also up to three Young Berserker/Transformed Young Vildkaarls (2/8 points, with a maximum of 6/24 points when all three are played) available for the Ranged row. These are transformed using either the Mardroeme or Ermion’s Mardroeme ability (as Ermion can only be placed on the Ranged row). The Transformed Young Vildkaarls also have the Tight Bond ability, but only when transformed.
Berserker Cards: Know When To Hold Them
Don’t forget the three Special Mardroeme cards to obtain, as these should be employed on either your Berserker or Young Berserker. However, don’t use up a Mardroeme on your Young Berserkers if Ermion can be played; at the expense of not transforming your Close Combat Berserker (who can’t be influenced by Ermion). Remember never to place a Mardroeme on your Siege row, as there are no Berserker cards that are placed there!
Berserkers are an option when you need a quick additional points increase, and you’ve already committed these cards into play. Berserkers aren’t anywhere near as useful without the Mardroeme cards, so ensure you have both in your hand at the start of a game. Remember there’s a chance you might not draw either; a shortfall of this ability. Also remember you can use your Young Berserkers in groups of one, two, or three, depending on how the bout is going (though as Transformed Young Vildkaarls, they have a Tight Bond ability, increasing your points value when more of them are together).
The three available Mardroeme cards are also great to stack in your Skellige Clans deck, as you can use them even if all Berserkers have been played (to “burn” a card in the hopes your foe plays something or you’re drawing down your foe).
Berserkers are good troops to sacrifice as Scorch-bait. For example, the Berserker (4 points), transforming him into a Transformed Vildkaarl (now worth 14 points) if you’re subsequently planning on placing Clan an Craite Warriors (Close Combat Tight Bond cards) or Olaf (a 12 point non-hero) and want to shield these other cards from your foe’s scorching wrath.
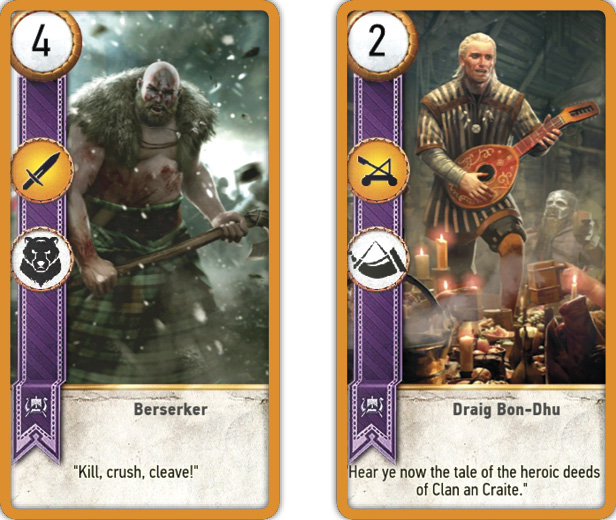
Berserker Cards, Commander’s Horn, and Morale Boost
The Berserker / Vildkaarl, when transformed, has the Morale Boost ability included, making it another option to play if you wish to further bolster your Close Combat row. It can also utilize the Commander’s Horn ability.
Young Berserkers / Young Vildkaarls utilize the bonuses of both the Commander’s Horn and Morale Boost from other cards, further augmenting their ability, though it doesn’t matter if the Young Berserkers have transformed or not.
Berserkers don’t have the multiple points totals of a Tight Bond or Muster group. Young Berserkers do have the Tight Bond bonus, but as they must be individually drawn and placed (along with a Mardroeme employed), the chances of further augmentation is smaller than other ability types.
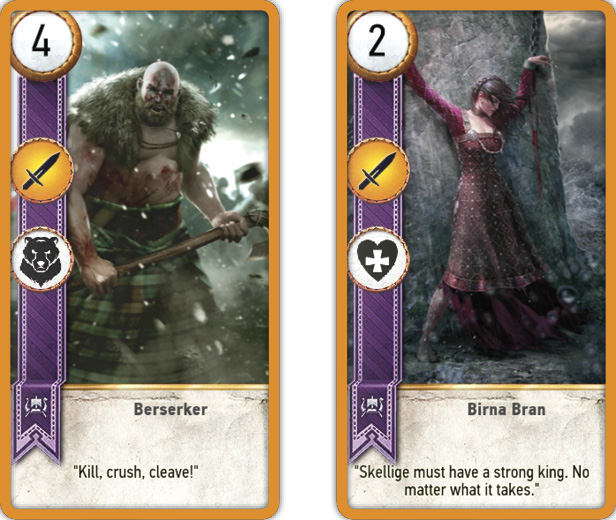
Berserker Cards and Medics
Berserkers are a good choice to employ with Medics, but only if you’re confident you can play a Mardroeme with them. As Mardroeme cards can’t be returned to play (except using Crach an Craite’s Leader ability), only use a Medic to bring back a Berserker if you’re holding a Mardroeme card.
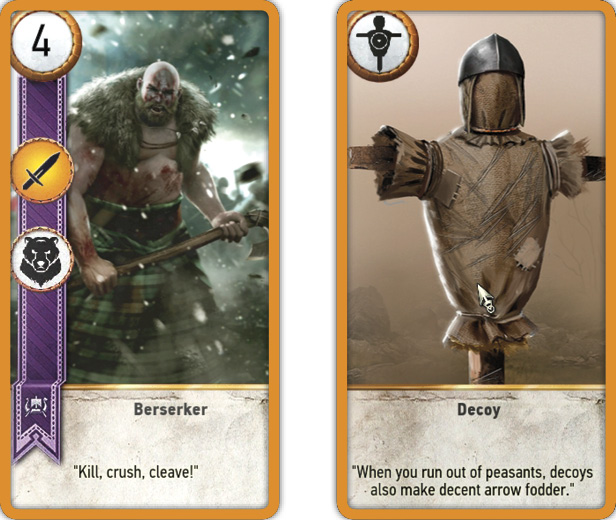
Berserker Cards and Decoys
Decoys can be helpful if you have no other option but to play a Berserker card, and then wish to bring it back and save it for a more cohesive strategy in a later round. Remember that Mardroeme (and Ermion) can’t be brought back with Decoys, so choose which of these two types (Berserker or Mardroeme) to “waste” if you can’t play them in unison. It’s usually a good idea to use Decoy with Berserkers only if you know you have a Mardroeme waiting to play later.
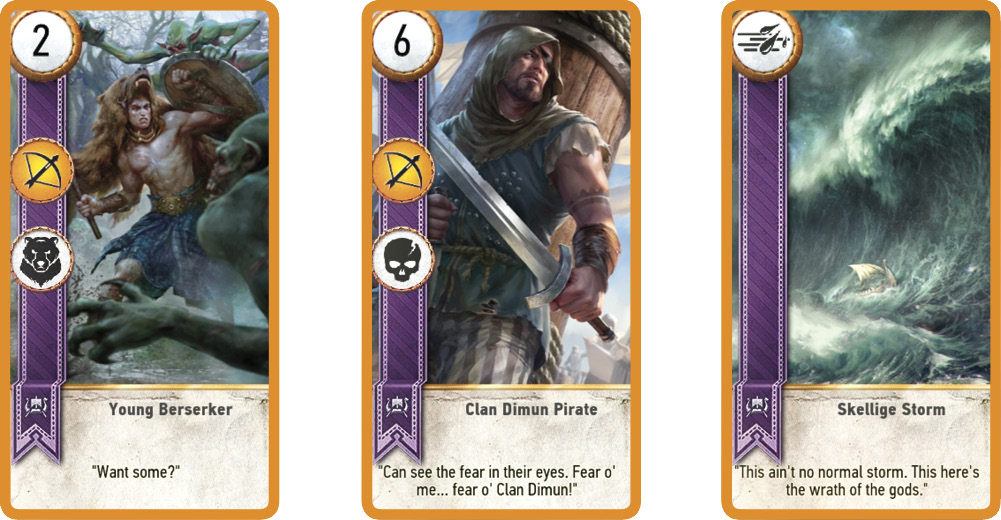
Berserker Cards, Scorch, and The Weather
Berserkers are easily scorched, especially when transformed into Vildkaarls; it is wise to wait your opponent out until they play a Scorch card, and then play your Mardroeme. Berserkers are less susceptible to Scorch before they transform, so should be played earlier in a bout or game, so they can sit in a row for a while until your foe has exhausted their Scorch cards. Only then should they be transformed.
Skellige Clans (Berserker and Mardroeme Abilities) (5 Cards)
Your Close Combat row only benefits from a single Berserker/Transformed Vildkaarl. Your Ranged row benefits from up to three Transformed Young Vildkaarls, which can provide single, double, or triple benefits with a single Mardroeme, especially as a Young Vildkaarl’s value increases with the Tight Bond ability (only accessible once they are transformed). Ermion is always partnered with the Young Berserkers, so make a mental note these two card types go together (as Ermion is a Ranged unit only, and his ability is only useful with them). There’s no need to overuse multiple Berserkers if you have additional Mardroeme waiting to play. Overkill isn’t necessary if you can eke out a win, before using your other Mardroeme and Berserkers (and using Medics to bring back Berserkers) in subsequent rounds.
Unit Ability: Commander’s Horn (6 Cards)
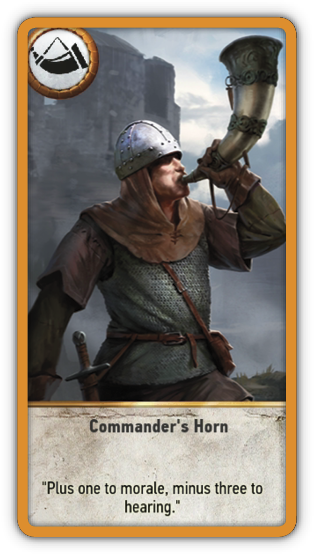
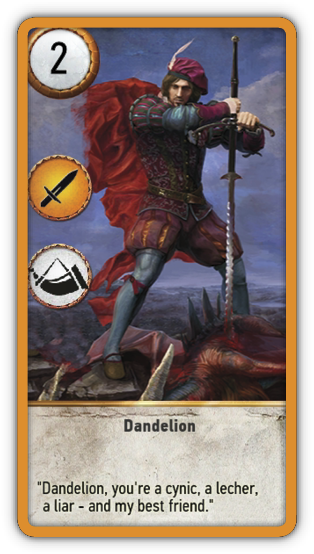
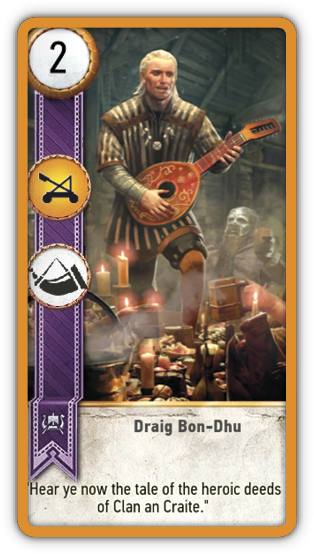
The Commander’s Horn doubles the strength of all non-Hero unit cards in that row. Only one Horn can be placed per row. There are only six cards (four Special cards, Dandelion the two-point Neutral Close Combat non-hero, and Draig Bon-Dhu the two-point Skellige Clan Siege non-hero) with this ability.
Commander’s Horn: Tooting Your Own Horn With Tight Bond Units
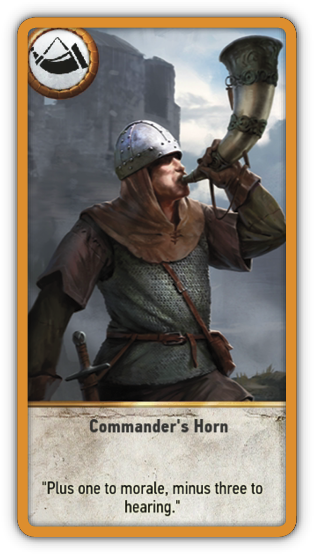
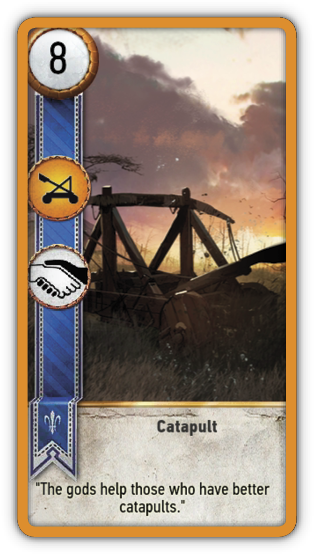
The Commander’s Horn is a boon when placed with high-value, non-hero cards, such as the 10 point Black Infantry Archers of the Nilfgaard, or the 8-point Catapults of the Northern Realms. The latter is especially devastating, as doubling the strength of a unit with a stacked ability can make them even more powerful (and unfortunately, subject to Scorch attacks).
For example, if you were to use the available Catapults in your deck, they have Tight Bond ability which doubles their strength:
- One catapult is worth eight points. With a Horn, it is worth 16 total points.
- Both catapults are worth 16 points each (32 total). With a Horn, they are worth 64 total points!
Commander’s Horn: Know When To Fold Them
If you’re playing with a number of Hero cards in your deck, lessen the number of Commander’s Horns you use, as the Horn has no effect on them.
The trick to building a deck with a Commander’s Horn or three, is to determine how risky a proposition it is to build a deck with fewer Heroes, and more high-point non-hero cards. Such cards can easily be Scorched, but are also able to be Decoyed and can have Medics used on them time and time again—a slightly riskier but more flexible option.
Also use Commander’s Horns on rows you know you are going to bolster or focus on, such as the Close Combat row of a Monster Deck, where the more cards you have on a row, the more helpful Commander’s Horn becomes.
It usually isn’t wise to stack your deck with Commander’s Horns. Having three or four in your hand (due to a bad draw) limits your ability to add high-point cards on the battlefield; think of Horns more as an afterthought, rather than the mainstay of your deck.
Though occasionally you can place a Commander’s Horn without having any other cards on that row, in order to feint your opponent, see how they react, or simply burn a Commander’s Horn card in the hopes of getting one more suited to your current tactical plan, this can be seen as a waste.
Usually, it’s wise to save a Horn in case you want to lull an opponent into thinking they are just beating you in a points total, before dropping a Horn to clinch a round.
Dandelion and Draigs’ Horns: The Only Horns You Can Reuse (2 Cards)
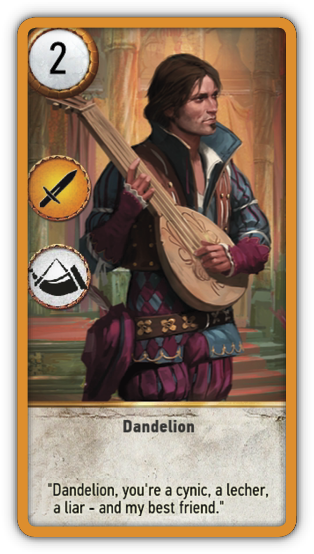
Dandelion is a unique individual in many ways, and his card is too. It is a non-hero (one of only two Commander’s Horns you can “reuse”), the card is Neutral (thus allowing him to be used in any deck), and offer the Horn ability only to the Close Combat row. Therefore, it’s great to partner Dandelion with a Close-Combat heavy deck build (such as Monster or Scoia’Tael decks).
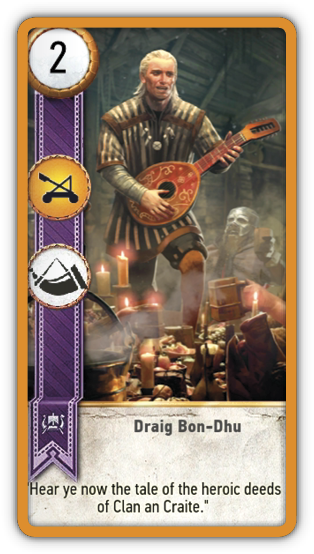
Draig Bon-Dhu of the Skellige Clans is the only other character with a Commander’s Horn ability, though the fact he is a Siege unit severely impedes his usefulness. Play him only if you’re bringing in other Skellige Clans Siege units (or Neutral Siege units) into play.
 Ability: Decoy
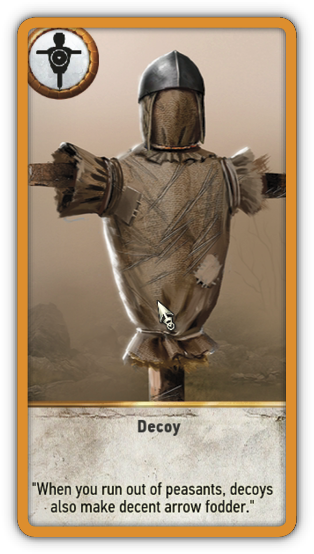
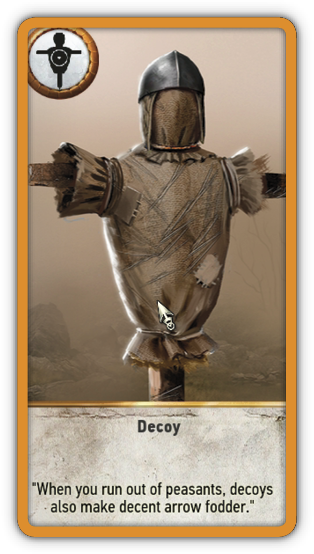
Decoy cards swap with any card on your side of the battlefield and returns that card to your hand. Remember they don’t work on Hero cards. There are only three of these Neutral cards available, and in almost every circumstances, they form part of the very best tactical advantages you can attempt in a game of Gwent. Stack your deck with them in almost every circumstance.
Simply put, Decoy cards have two huge advantages:
1. Decoys allow you to reuse other cards with abilities that you crave.
2. Decoys enable you to keep the total number of cards in your hand at the same number (as the swapped card returned to your deck replaces the Decoy card), and gain a card advantage (so you can out-draw your opponent and usually win).
Try the following tactics depending on your situation, and remember that with three Decoy cards, each tactic can be attempted up to three times:
Decoys and Biding Time
Use the Decoy on any card already in play (including other Decoys) as a simple delaying tactic. As the player with the most cards usually wins, and Decoy cards don’t reduce your count (as a card on the battlefield is returned to your hand), you can wait your opponent out.
Decoys and Feinting
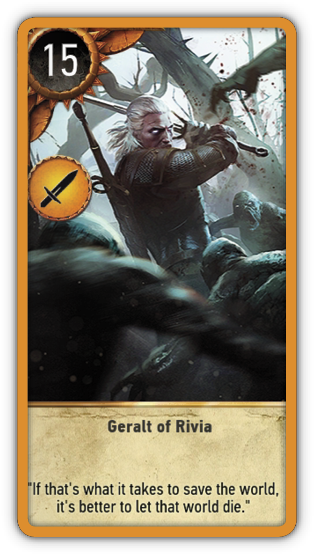
Use the Decoy on any card already in play. Use this when you have few cards left, you’ve played a card you want back, or you want your opponent to think you’ve played your best cards. For example, if you play Geralt (a Hero card) early in the first round (which isn’t usually wise, as Heroes are better played in later rounds), you can take this back with a Decoy after your foe tries to match you and save Geralt for later.
Decoys and Berserkers
Decoys can be used with the Skellige Clans faction’s Berserker cards, but make this a lower priority over cards with other abilities, simply because Berserkers require a Mardroeme in order to transform into Vildkaarls. As Mardroeme cards can’t be Decoyed (they are Special and Ermion is a Hero), you may not have the opportunity to employ the Berserker ability again. However, if you’re carrying Mardroeme cards, feel free to employ a Decoy card immediately!
Decoys and Commander’s Horn
Who says you can’t reuse a Commander’s Horn? Normally, these rules apply unless you’re utilizing Dandelion (or Draig Bon-Dhu). Though you’d usually want to keep Dandelion or Draig Bon-Dhu to bolster their respective rows, there are times when it makes sense to retrieve either of these characters using Decoy, for example, if the row is affected with Weather Cards that you cannot counter, or you have enough points to beat your foe without the character’s bonus and you want to gather either card up for a subsequent round.
Decoys and Morale Boosts
Aside from the Kayran and Isengrim Faoltiama (who are Heroes and can’t be Decoyed), there are five units with this ability; which shouldn’t be overlooked. As Morale adds +1 to all units in a row, the tactics for Decoying such cards work in a similar way to Dandelion; gather up your Morale Boost card if your row is either too weak to make a difference (affected by Weather cards or completely outclassed by your opponent), or too strong to make a difference (and your Morale Boost bonus won’t affect you winning the round). Then play the Morale Boost again when it matters.
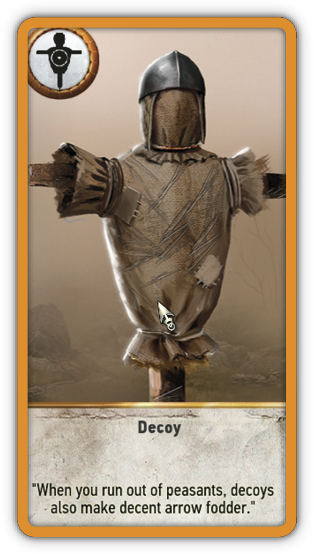
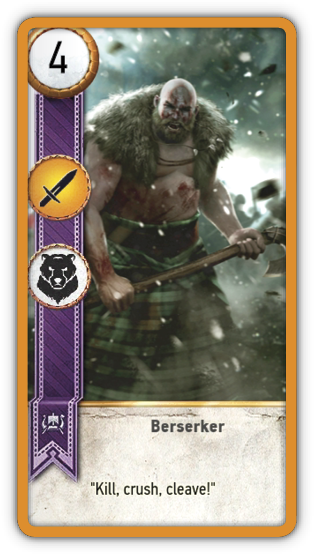
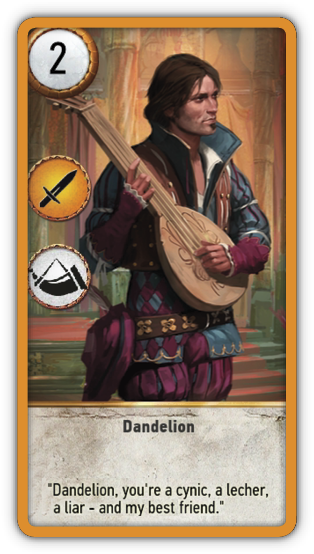
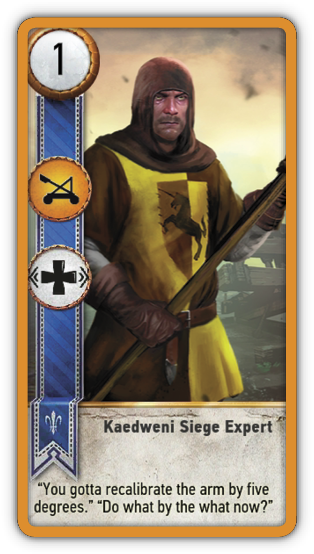
Decoys and Medics
Use in conjunction with a Medic: As the Medic ability allows you to revive a card from your discard pile and play it immediately, you can Decoy the Medic to revive an additional card. If you then use the Medic in one of a variety of ways (see the Medic section for more information) you can thoroughly stall your card attrition, and bring back some fantastic cards from the discard pile of doom!
Decoys and Scorch Character Cards
If you have Villentretenmerth, Toad, or Schirru (all with the Scorch ability), you may have a hankering to use them more than once in a bout. So play your Scorch character card (for example, Toad against a Ranged row), demolishing that row. Then use a Decoy to grab the Toad, return it to your deck, and use it again (and again)! Don’t forget to use a Weather card before the Scorch attack to completely decimate a row, and use this with a Medic card so your Scorch character can return from the dead (discard pile)!
Decoys and Muster Cards
Though not often used (as Muster cards are most effective when summoned at once and grouped together), it is still possible to mount an effective play with a Decoy; but only to retrieve a card your opponent has scorched. For example, if Villentretenmerth has torched all your four-point Arachas cards, but you still have the Arachas Behemoth (which wasn’t affected by the flames as it is a Siege card), you can retrieve the Arachas Behemoth with Decoy, then play it again (and return all three front-line Arachases into combat).
Decoys and Spies
If an opponent places a Spy card, use the Decoy to remove the card, and return it to your own deck. Then play this enemy Spy back at your foe! Unfortunately, he or she can do the same to you, and you can’t Decoy one of your own Spies once they’ve been played into enemy territory. But this can effectively increase the Spies you can play by up to three; gathering two cards from your unused pile each time (increasing your card total by one), and buying you time against a foe who isn’t concerned about maintaining a large number of remaining cards (to his or her detriment).
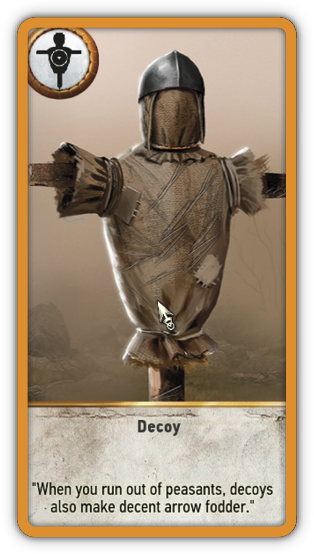
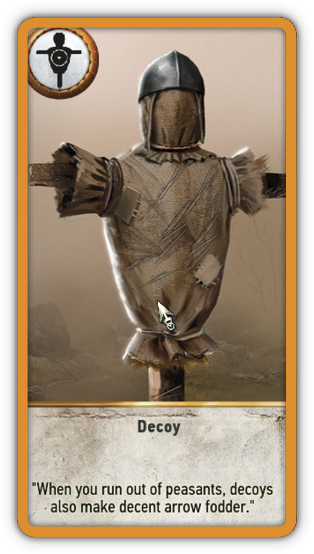
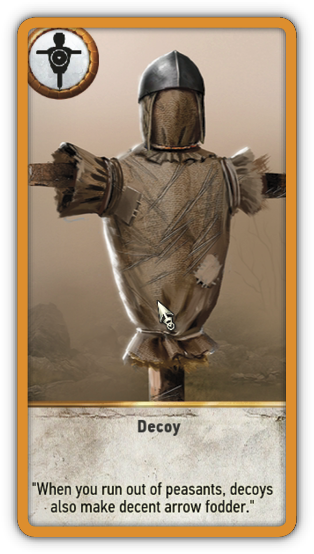
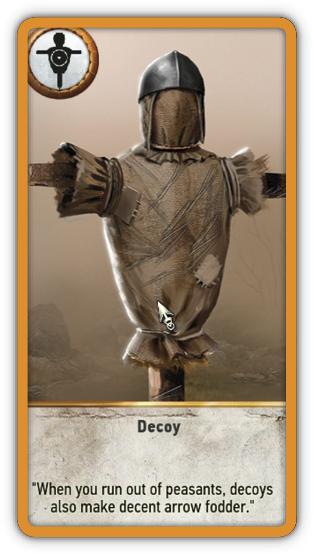
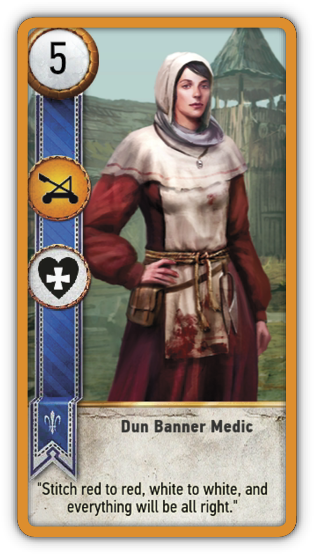
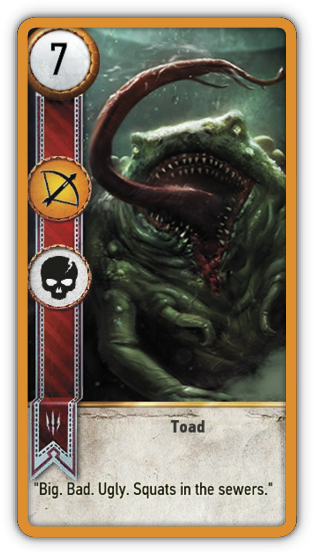
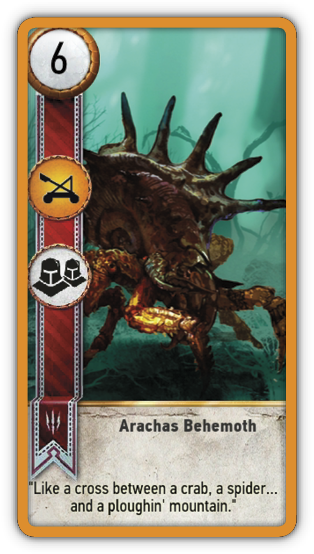
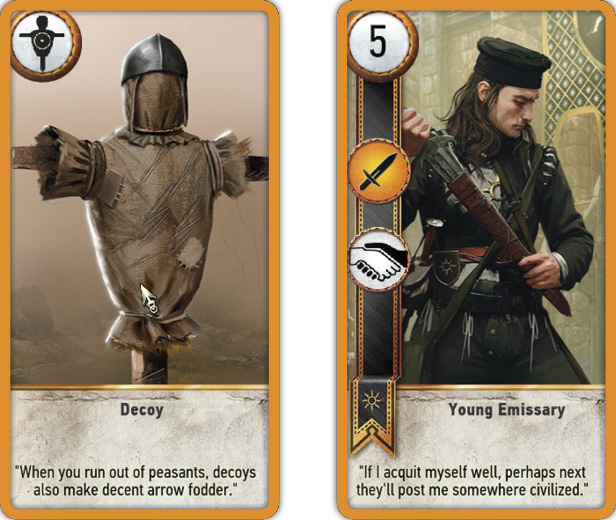
Decoys and Tight Bond Cards
Decoys are only usually used with Tight Bond cards after you make a mistake (or you want your opponent to think you’ve made a mistake) by playing a Tight Bond card without having an additional Tight Bond unit to utilize. Return the card if you draw a new Tight Bond card and wish to delay using it to another round, or as part of the “feint” tactic listed previously.
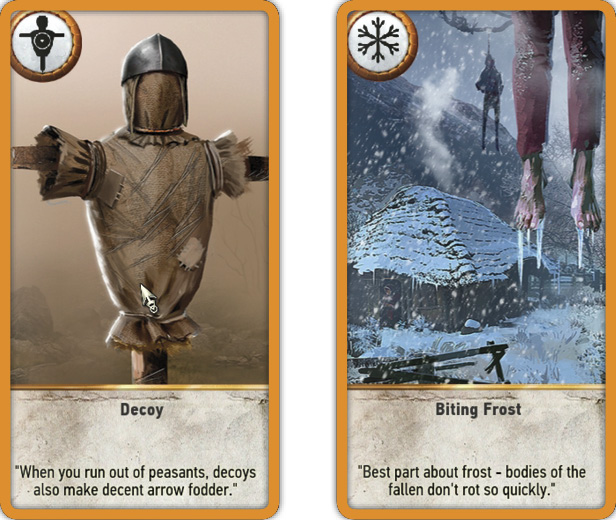
Decoys and Weather Cards
Is your close combat row feeling the Biting Frost? If you don’t have Clear Weather, and want to save one or more of your best cards on a row for another round, employ a Decoy to salvage them. You can also place a high-value non-Hero card on a row, hoping your opponent plays a Weather card; then Decoy that valued card back into your deck, with your foe wasting the Weather card.
Decoy Cards: Know When To Hold Them; Know When To Fold Them
Decoy cards are dramatically less useful in the third (last) round of a Gwent bout; at this point use them to prolong the round if it benefits you, or to retrieve a card you might want in anticipation of a foe’s strategy you wish to disrupt (gathering a card before Scorch, or grabbing an Agile card so you can play it on a different row). But get rid of Decoy cards early (rounds 1 and/or 2, and possibly early in round 3), so you don’t finish the game drawing dead (as Decoys have no points value).
 Unit Ability: Medic (10 Cards)

Medic cards allow you to choose one card from your discard pile and play it instantly. This can be any card you like except Heroes or Special cards. Although the Medic’s own points value (if available) is good to add to your total, this is a secondary bonus to their ability, especially when used in conjunction with other ability cards. Medics are also useful when played with another (usually high-value) card in mind. The basic tactics is to play an impressive non-Hero card in the first round (such as the Northern Realms Catapult for 8 points), and then retrieve it, or another high-point non-Hero card, from the discard pile in the second or third round (or after it has been Scorched) so it can demolish your foe again (and again)!
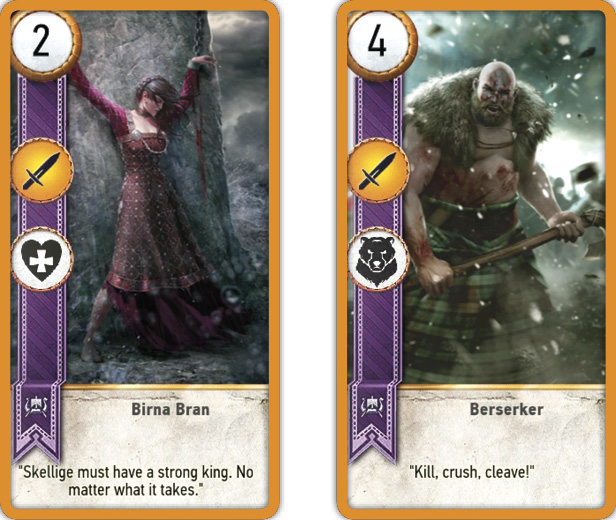
Medics and Berserkers
Medics can be employed to gather up discarded Berserkers providing you already have a good Mardroeme and Berserker contingent on the board already; otherwise there are far better choices of cards to Medic. If you’re holding a Mardroeme (or three), Young Berserkers, the Berserker, or Emrion, and you know you’ll be playing most of these in the round, bring back any previous Berserkers you already used. Otherwise, medical attention should be employed elsewhere.
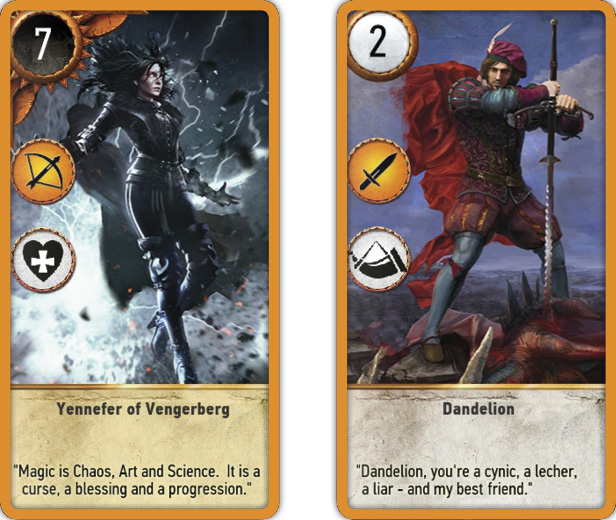
Medics and Commander’s Horn
Dandelion (Neutral) and Draig Bon-Dhu (Skellige) are the only cards with the Commander’s Horn ability (which you can’t normally Medic back into play). They are also not Hero cards, thus allowing you to use them to bring his ability back to your specific rows even after they’ve been discarded. Doubling the strength of all unit cards in that row in multiple rounds? This is an excellent choice, especially if you’re using Dandelion and you’re partnering him with a Close Combat-heavy deck, like Monsters.
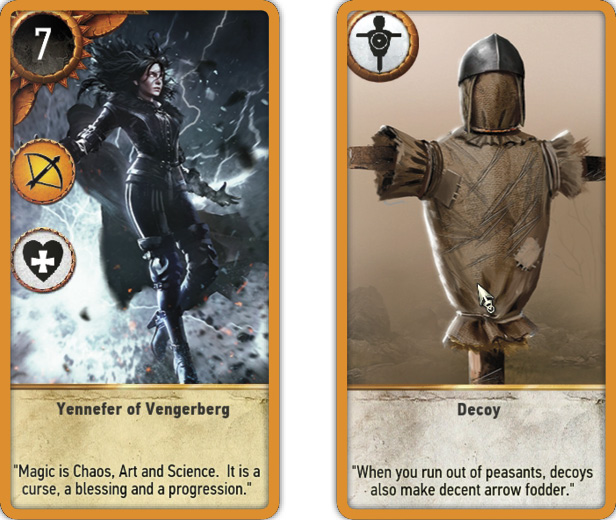
Medics and Decoys
It’s extremely useful to play a Medic, then utilize a Decoy (in the first two rounds) to gather up that same Medic so you can play it again. This keeps your card count from decreasing, and enables you to keep from playing a more valuable card you want to save or hope to play after a Scorch is removed from your opponent’s deck. Use this tactic to stall for time, while watching your opponent expend cards, all the while adding to your own card count!
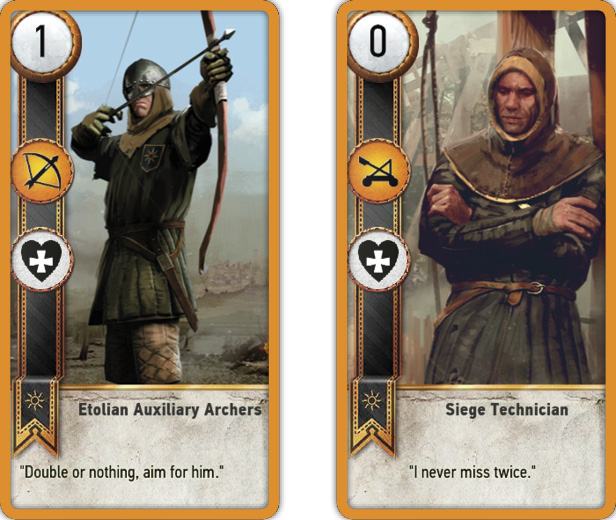
Medics and More Medics!
Usually reserved for second or third rounds (and obviously, only after you’ve already used a Medic that is in your discard pile), using a Medic to resurrect another of your discarded Medics has a key benefit: It keeps your card count up both in your hand and on the battlefield (you expend one card, but play a total of three: your medic, your resurrected medic, and the resurrected medic’s card!). Now do it again, once you have another discarded Medic and one in your hand.
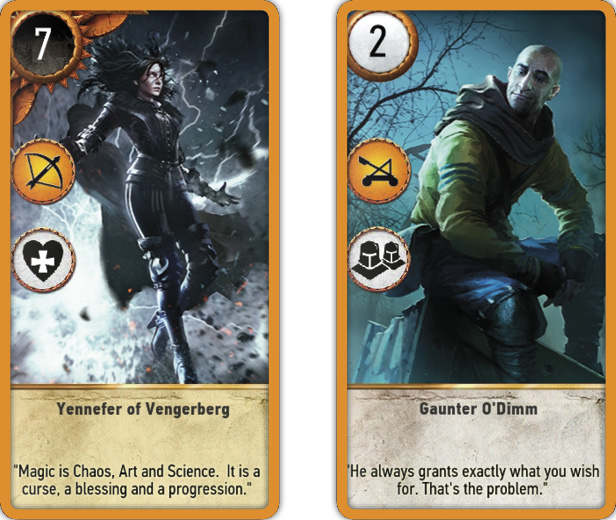
Medics and Muster Cards
Medics and Muster cards are fantastic combinations, but only if you don’t have a Muster card in your hand (thus negating the need for a Medic). However, if a Muster unit has been discarded, simply resurrect it, and every one of them is played! You can also bring back a Muster card that might have taken the brunt of a Scorch attack too (such as Gaunter O’Dimm if struck by Schirru). Remember though; Muster cards don’t gather units that are already discarded, so a Medic is the only opportunity you have.
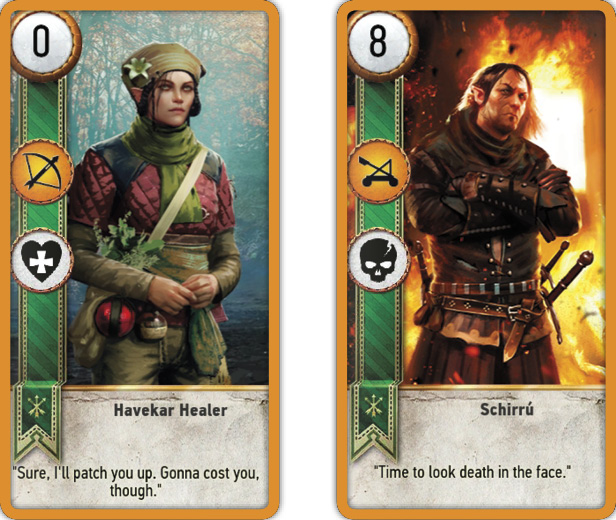
Medics and Scorch
The annoying Scorch special card, and the four character cards with the Scorch ability, can seriously damage your high value, non-Hero cards. So bring back your torched card from the discard pile with a Medic. But what about when you want to use Villentretenmerth, Toad, Schirru, or the Clan Dimon Pirate yourself? Then make sure you use their Scorch ability effectively, before using a Medic to bring it back to wreak havoc in a future round (which can be insanely devastating to your opponent), or if your foe removes it in the current round. If you’re playing against a foe who is using Medics, wait to use Scorch until a Medic (or two) have been committed to play, so there’s less chance of the enemy card you torch being brought back into play.
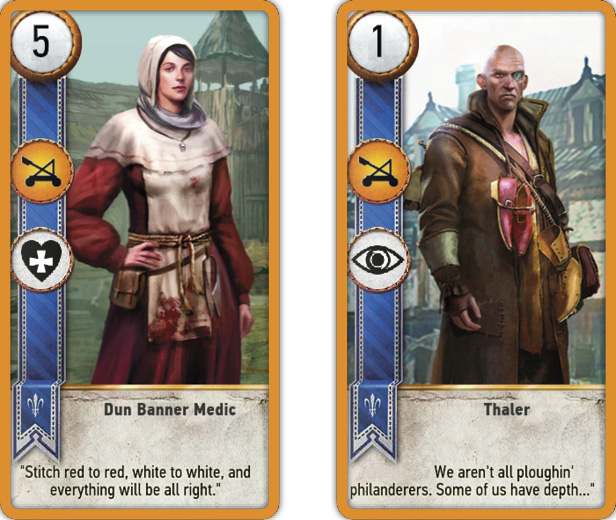
Medics and Spies
Usually after the first round, when the enemy Spies already played by your opponent are in the discard pile, simply resurrect them with your Medic and utilize them yourself, choosing the one with the lowest points value (like Thaler) first. This allows you to gather more cards later into a bout, which can be critical for out-drawing your opponent. Remember you won’t be using your own Spies—only the enemy Spies your foe has already played—so a Medic can turn a previously Spy-free deck (like the Monsters deck) into one with more versatility. Feel free to resurrect and reuse your foe’s own spies back at your opponent!
Medics and Tight Bond Cards
Medics are very useful if you’ve played a Tight Bond card earlier in your game, it has gone to your discard pile, and you have other identical units you wish to play. Though not as potent as bringing Muster cards back from the dead, you can still cause havoc by gathering all your Tight Bond cards to play in a single round, where they are most effective. Do you have two Tight Bond cards that have been discarded (or possibly Scorched together)? Then employ two Medics and retrieve them both; especially now the Scorch has passed.
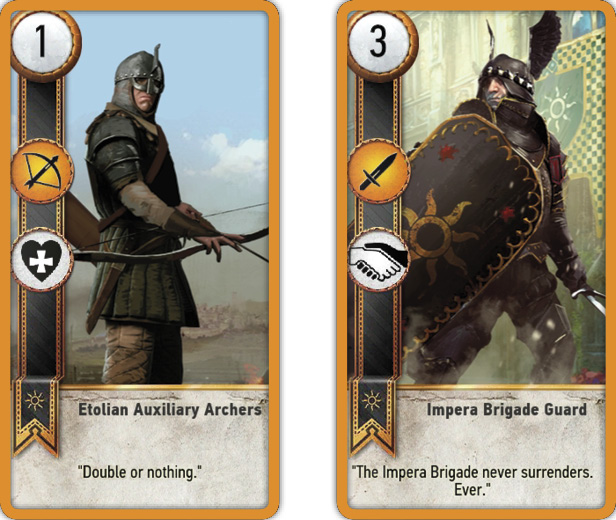
Medic Cards: Know When To Hold Them; Know When To Fold Them
Remember that Medics only retrieve non-Hero and non-Special cards from your discard pile. So you effectively waste their exceptional ability if you play them early, when your discard pile is empty or devoid of impressive cards. Did you play only Heroes in the first round? Not a good idea; as you can’t retrieve them in later rounds. Medic-heavy decks benefit from more high-value non-Heroes instead of an over-reliance on Heroes, or the reliance of Heroes played in the final round.
If you’re playing against an opponent who uses Medics frequently (such as the Scoia’Tael deck), delay causing destruction of your foe’s cards for as long as possible, lessening the impact Medics will have on you.
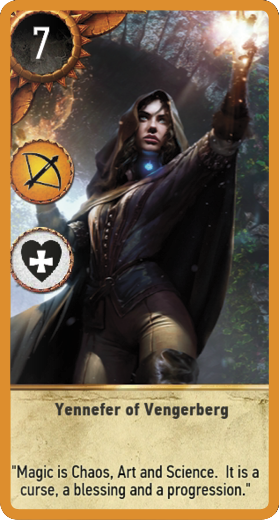
NEUTRAL CARDS (Medic Ability) (1 Card)
Yennefer of Vengerberg is the only Neutral Medic, as well as being a ranged Hero. This means she can’t be brought back into play, and her ability is useful only once (so make it count)! As she’s Neutral though, she provides a great addition to a Gwent player whose deck is usually devoid of Medics (the Monster and Northern Realms). There are no Monster units with the Medic ability.
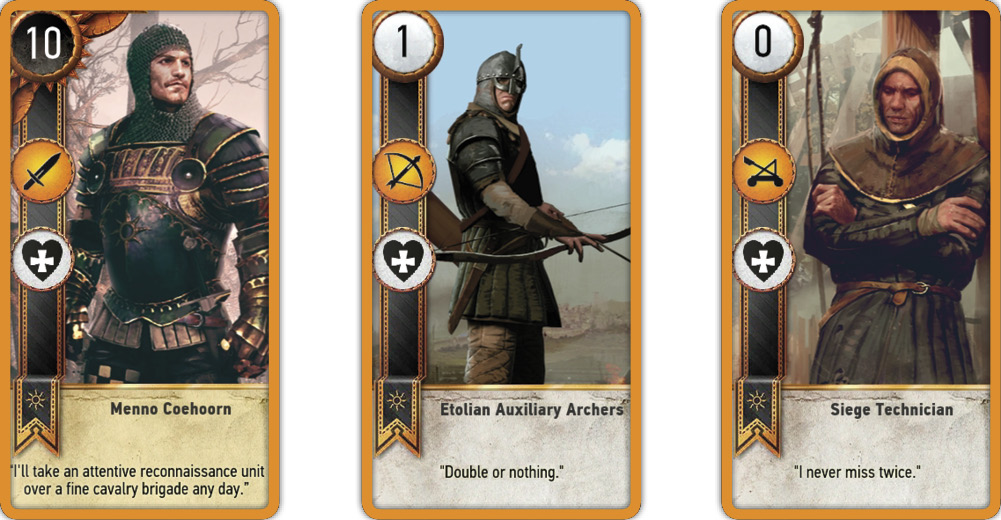
Nilfgaardian Empire (Medic Ability) (4 Cards)
The Nilfgaard have arguably the best medics as all of them have a points value (compared to the Scoia’Tael), and there’s some flexibility on where to place them (Ranged or Siege, with Menno Coehoorn being Close Combat). Menno himself is a Hero, so his Medic ability is used once. But the Etolian Auxiliary Archers and the Siege Technician can be employed time and time again (with Decoys or other Medics).
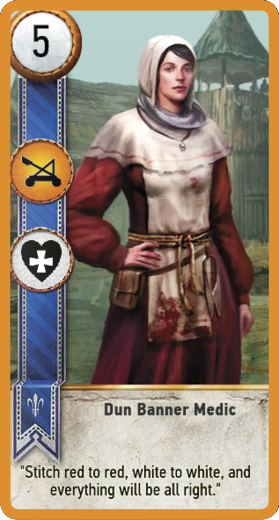
Northern Realms (Medic Ability) (1 Card)
Only a single unit, the Dun Banner Medic, offers the Northern Realms hope with this ability, so bolster the deck with Yennefer if you wish, and learn (both playing with or against the Northern Realms deck) that once this Medic is played, another isn’t to be expected. Offering the highest non-Hero point value (5), this medic is also a worthy Siege Unit to boot.
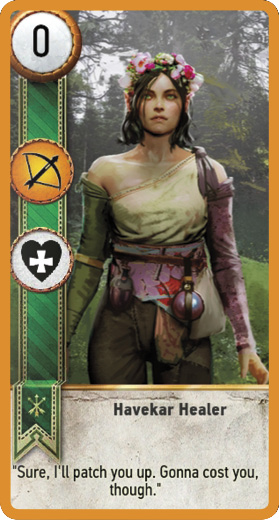
Scoia’tael (Medic Ability) (3 Cards)
There are three Ranged Havekar Healers you can bolster your Scoia’Tael deck with. Due to their non-existent points value (0), their only role is to provide their Medic ability to your tactics. Just like Spies, don’t be put off by their lack of combat prowess; use them to coax your beefier units back into the fray!
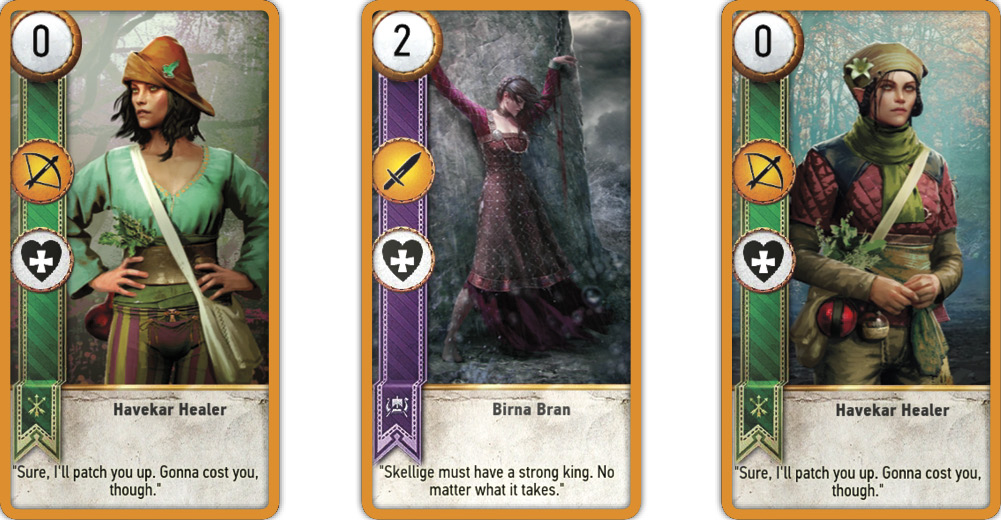
Skellige Clans (Medic Ability) (1 Card)
Birna Bran may have a low points total (2), but her Medic ability makes her exceptionally helpful. Use her to bring back Olaf (who is Agile, worth 12 points, and has Morale Boost!), and then the Light Drakker Muster units (also worth 12 points in the Ranged row when all three are employed). Partner her with Yennefer to double your chances.
 Unit Ability: Morale Boost (8 Cards)

This adds +1 to all units in the row, excluding the card itself. A relatively rare card (only seven have this ability), these are initially seen as similar to Commander’s Horn cards; enabling you to bolster a single row’s total. However, Morale Boosts are always associated with a character card (not a Special card), and they are more helpful when you have a larger group of cards (with either a low or high points value), compared to the Commander’s Horn which is more potent when partnered with high value cards. As always, Morale Boosts do not affect any Heroes in the row.
Morale Boost: Know When To Fold Them
Morale Boost doesn’t quite have the potency of the Commander’s Horn, and it’s usually better to swap out cards that don’t have other types of bonuses as you become more proficient in deck building. Do include Morale Boost cards when you are focusing on adding an overwhelming force to a single row, and wish to further augment it, though (as ever), watch for Scorch to ruin your plans.
If you’re playing a Northern Realms deck, and focusing on your Siege row, you may have stacked your deck with average to high-point equipment:
- Play a Siege Tower (6), Trebuchet (6), and the Dun Banner Medic (5), and your normal total for that row is 17.
- Play those three cards and add a Kaedweni Siege Expert (1, with Morale Boost), and your new total is 21 (your three original cards each receive +1 to their points, and the Siege Expert brings 1 point himself).
Now imagine you have eight non-Hero Siege cards on the row and the Morale Boost becomes a lot more potent (adding +8 to the row). With this in mind, it’s good to keep a Morale Boost and play it last (after your row is established), if you need to push your total quickly after lulling a foe into thinking they’ve won by a point or two.
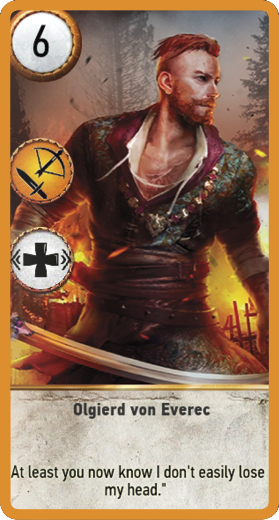
Neutral Cards (Morale Boost Ability) (1 Card)
The infamous Olgierd von Everec is the only Neutral card with Morale Boost, and therefore the only way a Nilfgaard player can utilize a card with this ability (as no faction card from that deck has Morale Boost available to it). Olgierd has the flexibility of being Agile too, and has reasonable points too (6). Use him late in a round to bolster either your Close Combat or Ranged rows and then Medic or Decoy him back into play afterwards, if you wish.
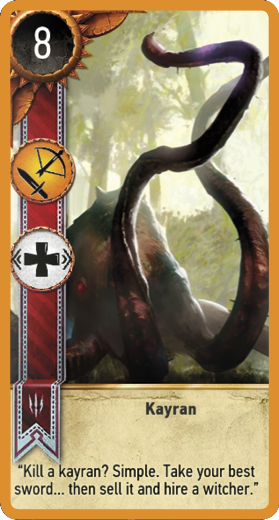
Monster Deck (Morale Boost Ability) (1 Card)
The Kayran is the only Monster card with this ability, which it can bring to either the Close Combat or Ranged row. As the Kayran is a Hero, he can only be used once, but otherwise has the flexibility of being placed on either a Close Combat or Ranged row, and adds eight points before any Morale Boost bonuses are calculated, which is impressive. As Monster decks are primarily focused on Close Combat, you would normally bolster this row using Kayran. However, you can sneakily wait, and place him on a Ranged row instead, if your Close Combat row is getting pounded by Weather cards or Scorch.
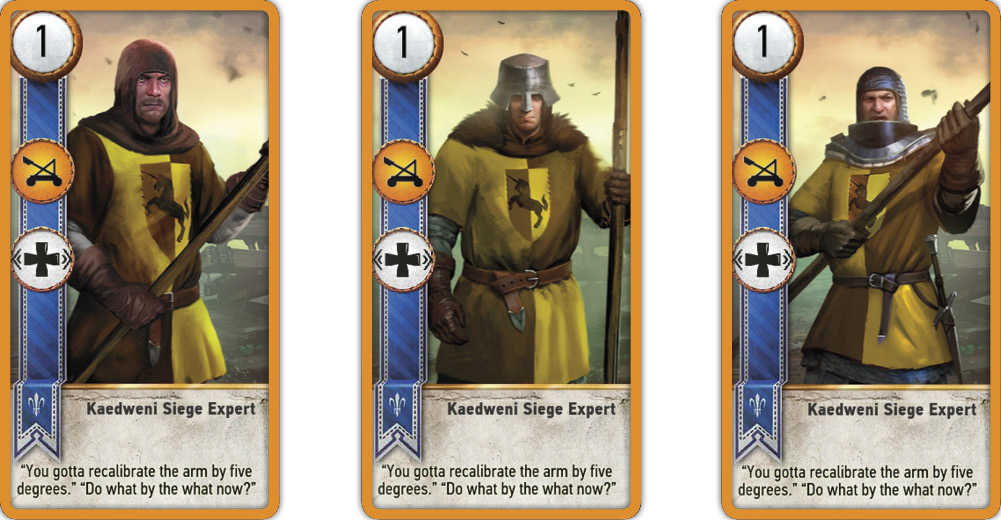
Northern Realms (Morale Boost Ability) (3 Cards)
There are three Kaedweni Siege Experts to collect in a Northern Realms deck, and although their points score is a pitiful 1, all three can be stacked (enabling you to increase your Morale Boost ability by up to +3 per Siege card on the row, if all three are used). As Northern Realm players tend to utilize this, beware of your foe’s focusing on nullifying this row over other ones. As always, think about bringing one of these cards back to win a match late in the round, either by keeping one in your hand or using a Medic.
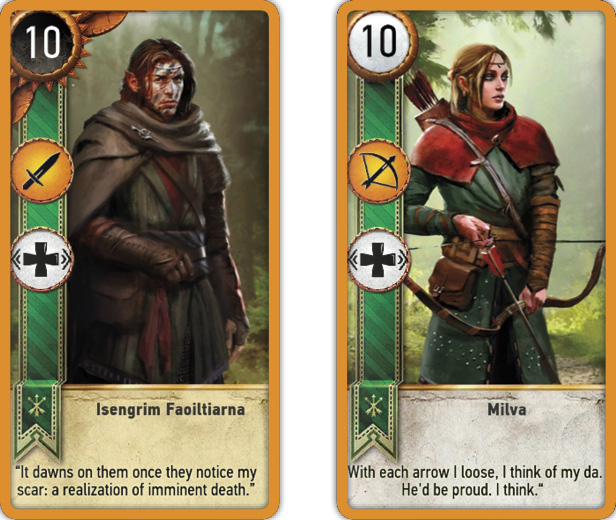
Scoia’tael (Morale Boost Ability) (2 Cards)
Two elven units have this ability; Isengrim Faoltiama (a Close Combat Hero) and Milva (a Ranged non-Hero). Both are worth 10 points too, making them extremely useful. Isengrim is a worthy card to be sure, and is usually the preferred choice over the other 10 point Scoia’Tael Heroes without this ability. Of course, he can’t be returned to play after use. Milva is arguably more potent (or, at least, a more flexible a card to use), as she is the only 10 point non-Hero a Scoia’Tael player has, and is therefore able to be Decoyed or returned to play with a Medic. She is Scorch bait however, so bring her to bolster your ranged row after the coast is clear!
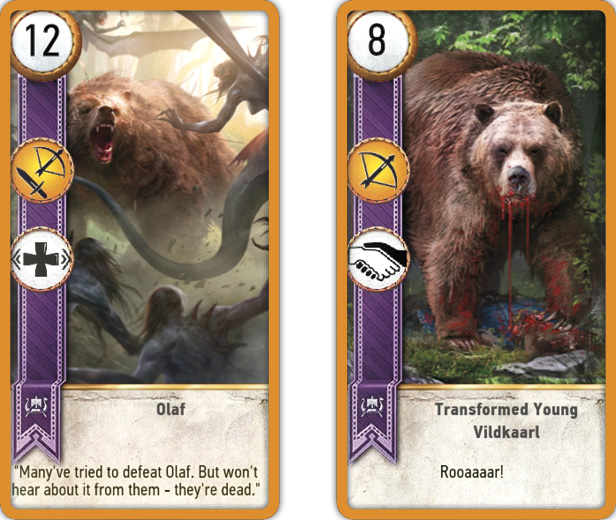
Skellige Clans (Morale Boost Ability) (2 Cards)
Olaf is one of the mightiest Morale Boost cards of all! He is Agile, worth 12 points, and is a non-Hero. This makes him susceptible to Scorch, but he’s also able to be Decoyed and brought back by Medics. If you coax your foe into using their Scorch cards on lesser cards (or even on Olaf so you don’t lose groups of your best cards like three Young Berserkers when they have transformed into 8-point Transformed Young Vildkaarls), bring him back time and time again to add Morale Boost to either row that needs it, and bring punishment with his tremendous points value!
The Berserker offers even more bear-faced savagery than Olaf, bringing a whopping 14 points to the Close Combat row. Remember this Morale Boost card is only available once you’ve used a Mardroeme to transform him. In all other respects, he has the tactical advantages and shortfalls of Olaf; though his potency isn’t as easily utilized due to the need for a Mardroeme card.
 Unit Ability: Muster (35 Cards)

Muster cards allow you to find any cards with the same name in your deck, and play them instantly. This is a highly potent ability that can seriously improve your points total in a single placement! However, there are some worries about using Muster too, and you need to learn which groups of cards are going to be played together. Remember that discarded cards aren’t able to be added to a Muster group (unless you use a Medic), so it is wise to play Muster cards only on a round you are setting out to win.
For example, if you were to own all three Crone cards, and played one of them during a round, the other two Crones would also appear (either from your hand, or from within the deck of cards you haven’t discarded), effectively giving you their combined points total (6x3). That’s an 18-point play right there, and almost double that of a 10 point Hero!
Muster: Know When To Fold Them
Muster cards are far less effective when you haven’t collected all of the same card type, and don’t have a full Muster group in your deck. Why play an Arachas if you have only one? Instead, focus on collecting cards so you’ve gathered a complete group.
The biggest advantage a Muster set of cards has (the ability to play them all at once), is also the biggest concern: When playing a Muster card, you lose a large number of cards you are holding (as all like-minded Muster cards are played at once), and you can sometimes drop far more cards from the hand than you want to (especially if you have no other options of cards to play). For this reason, learn to calculate how many cards you will have left once you play a Muster group, and swap out any related Muster cards at the initial card draw.
For example, your initial card draw from your Monster deck gives you all three Crones and an Arachas. The Arachas is fine (as the Arachas isn’t part of the Crones group). But if you keep the current draw as-is, and play one of your Crones in battle, all three are removed from your hand; effectively lessening your card total by three! That’s terrible, as your foe is likely to out-draw you. So counter this problem by swapping out two of the Crones during the card draw, and hope you get other Muster groups (except for Arachases!) or other Monster card types instead.
Think of Muster units as being useful only once (much like Heroes), as although they can be brought back with Decoys and Medics, once a number of them are discarded, it takes a large number of Decoys and Medics to resurrect them back into play, which isn’t the best use of these card types.
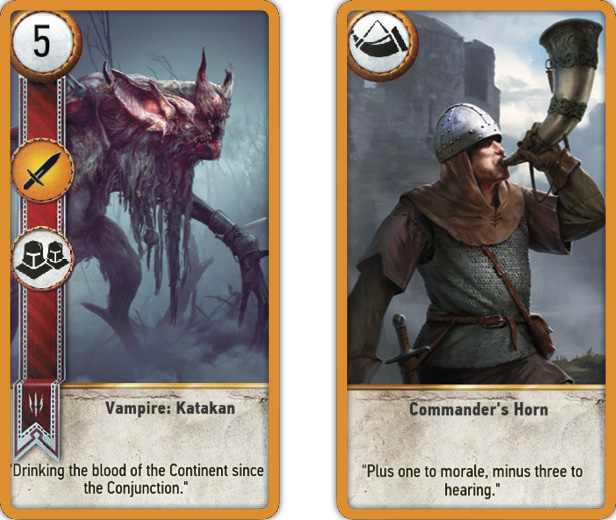
Muster Cards and Dandelion Or Commander’s Horn
This combination of cards is spectacularly potent, though it can be the focus of a Scorch or Weather card as your foe tries to circumvent such an increase in points! Whether you play your Muster cards or Commander’s Horn first is up to you, but an already-impressive total is effectively doubled (providing all your Muster cards are on the same row; remember some are placed on different rows!).
For example, if you have all five Vampire types in your Monster deck, and play any one of them, all of them appear on your Close Combat row: Vampire Katakan (5), Vampire Ekimmara (4), Vampire Fleder (4), Vampire Garkain (4), and Vampire Bruxa (4). That’s an impressive 21 points! Now add a Commander’s Horn, and that total increases to 42 points! Expect a Weather card, Scorch, or weeping from a foe that passes after this combo strike!
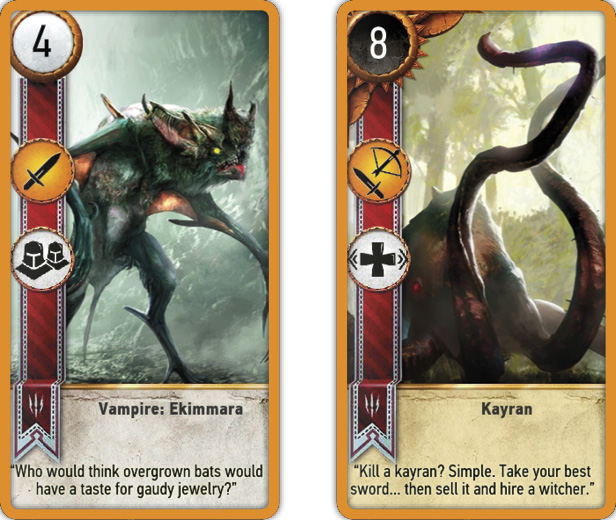
Muster Cards and Morale Boosts
Though not normally as potent as a Muster and Commander’s Horn play, combining Muster cards with Morale Boosts is another fantastic way to squeeze out even more points from your deck. Once again, expect to be hit by Weather or Scorch cards afterwards (so wait until your opponent plays these before trying this combo). Assuming all your Muster cards affect the same row, you won’t get as large of a points total as combining Muster with a Commander’s Horn, but you won’t lose as many points if one or more cards are nullified with Scorch, either. Plus, Morale Boost cards usually have a higher points value to bring to the battlefield, which helps offset the lower bonuses.
For example, if you play all five Vampire types from your Monster deck, placing them all on your Close Combat row (Vampire Katakan (5), Vampire Ekimmara (4), Vampire Fleder (4), Vampire Garkain (4), and Vampire Bruxa (4) for an impressive 21 points), why not add the Kayran card to complete this dominant play? The total increases to 34 points (the +1 bonus for each of the five Vampires in play, and 8 for Kayran’s points).
Naturally, you can combine Muster, Commander’s Horn, and Morale Boost cards to further bolster a points total to truly insane levels!
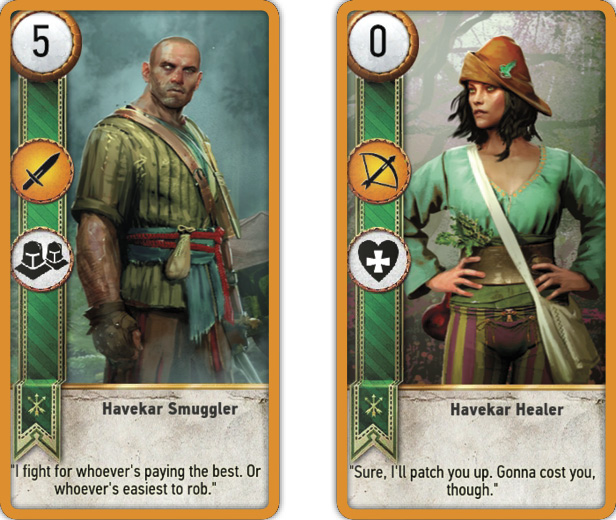
Muster Cards and Decoys Or Medics
Muster cards aren’t very helpful to use with Decoy cards, as you need multiple Decoys in order to gather up all the Muster cards on the battlefield. The only time you’d use (usually multiple) Decoy cards is to gather up any remaining Muster cards after one or more of them have been Scorched.
Likewise, Medic cards have limited help to a Muster unit, until you realize you could bring a Muster card that was Scorched back from the dead. But the remaining Muster cards are likely to be either already in play, or discarded, forcing you to utilize multiple Medics you bring back the whole Muster team, and there are far better options when using Medics than this.
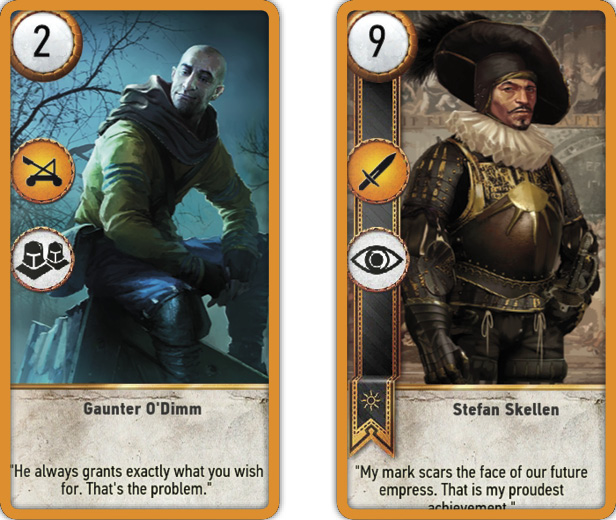
Muster Cards and Spies
As Spy-heavy decks (the Nilfgaardian Empire and Northern Realms) can only use Gaunter O’Dimm, and the Muster-heavy decks (Monsters and Scoai’Tael) only have the Mysterious Elf as a Spy card, synergy between these card types is minimal.
For Spy-heavy decks, and assuming you’re using Gaunter O’Dimm, wait until Gaunter O’Dimm’s group has been played before using a Spy, or there’s a good chance you’ll draw one (or two) additional Gaunter O’Dimm-related cards, wasting your Spy’s ability completely.
For Muster-heavy decks, which only allow you to use the Mysterious Elf, play the waiting game until toward the end of the bout (the second or third round), when you’ve played all your Muster units completely. The Spy is far more effective at grabbing a (non-Muster, but important) card then.
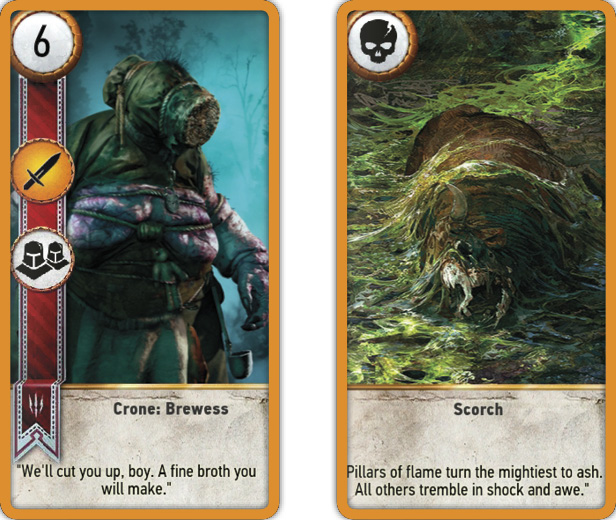
Muster Cards, Scorch, and Countering
If you wish to counter an opponent who loves to use Muster in a Monster (and to a lesser extent, the Scoia’Tael deck), the trick is to try to coax them into playing their Muster units as early as possible, or bring a Weather card to lessen the threats they pose, playing it only after Clear Weather appears from your opponent, so you can ensure you lessen the impact Muster units present.
Most (but not all) Muster units are highly susceptible to Scorch. If you have a card with this ability, play it to ensure you win the round. For example, if your opponent plays three Crones (6 points each), retaliate with Scorch (assuming the Crones are the highest points in your opponent’s row). All three Crones are then burned, as they all have equal the highest number. But if a higher numbered Monster card also appears with the Crones on the row, your Scorch targets that instead.
Neutral Cards (Muster Ability) (4 Cards)
Gaunter O’Dimm and his dark specters introduce the Nilfgaardian Empire and Northern Realms into the wonderful world of Muster cards (as Gaunter is Neutral). He also augments an already-heavy Monster and Scoia’Tael deck still further, though the chances of getting multiple Muster cards of the same name in your hand does increase, the more Muster groups you carry into battle. Gaunter is a reasonably strong Muster group, but has the added benefit of splitting his troops between Ranged and Siege (which is usually the least-used rows, especially in Muster-heavy decks).
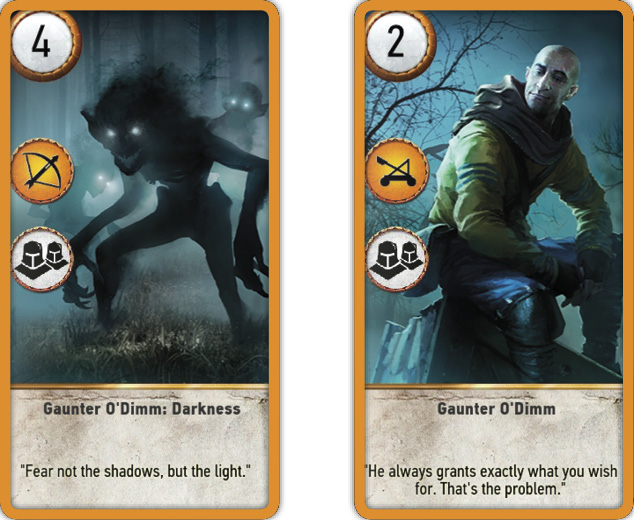
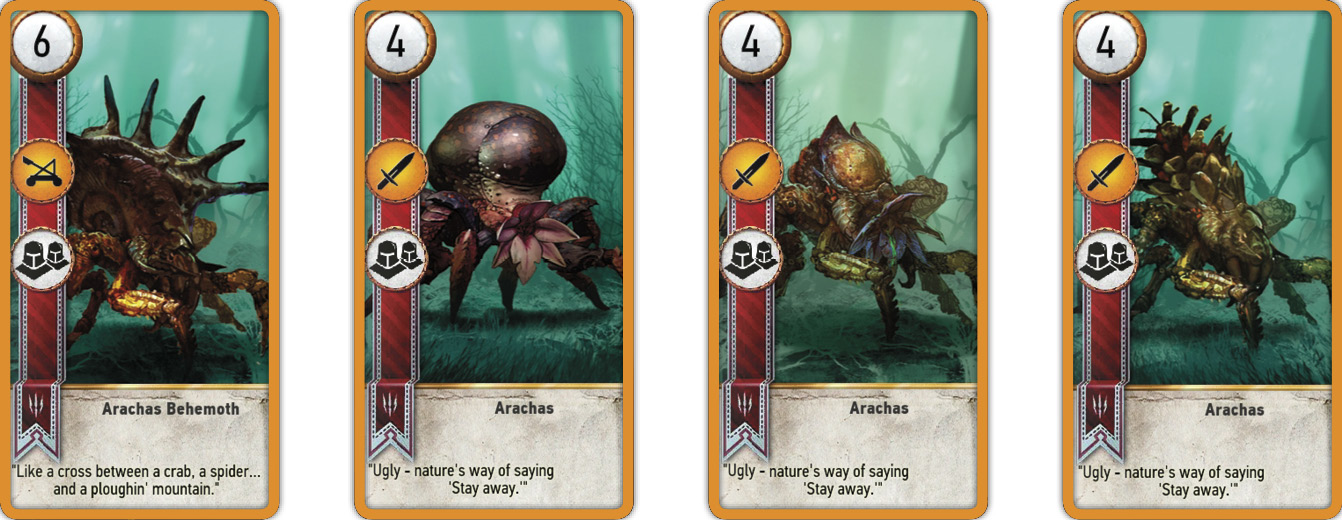
Monster Deck (Muster Ability) (18 Cards)
As there are five possible Muster groups in a Monster Deck (and a sixth if you utilize Gaunter O’Dimm, too!) making this the most potent of Muster Decks, assuming you’ve spent the time gathering all the cards needed for each group. As you progress in your Monster Deck collection, swap out the lower Muster groups for higher point ones, as it’s not usually a great idea to have all Muster groups. Why? Because it’s easy to lose multiple cards from your hand (or deck) during a round and run out of cards before your opponent.
The Arachas group offers excellent value, as the Arachas Behemoth is a Siege unit, while the regular Arachas troops are close combat, giving an opponent with a Weather Card or Scorch something of a headache.
The same can’t be said for the Crones; although they are tremendous value (and offer 18 points to play in one turn using only three of your cards up instead of the Arachas group’s four), all three Crones are Close Combat units, making them highly susceptible to Scorch. As the only higher value non-Hero available to Monster Decks is the Toad or Villentretenmerth, you may need to play them to save your Crones from being torched. Or wait until the threat of Weather and Scorch as passed and then play them.
The Vampire group numbers five (which can really remove cards from your hand or pile when played!), but are arguably the best Muster group you can use. This is because the Vampire: Katakan is worth five points, while the four lesser vampires are worth four each. So even if you’re Scorched (which kills the strongest cards on the battlefield), your Katakan “protects” the others while still bolstering your Close Combat row. Watch for Biting Frosts, though!
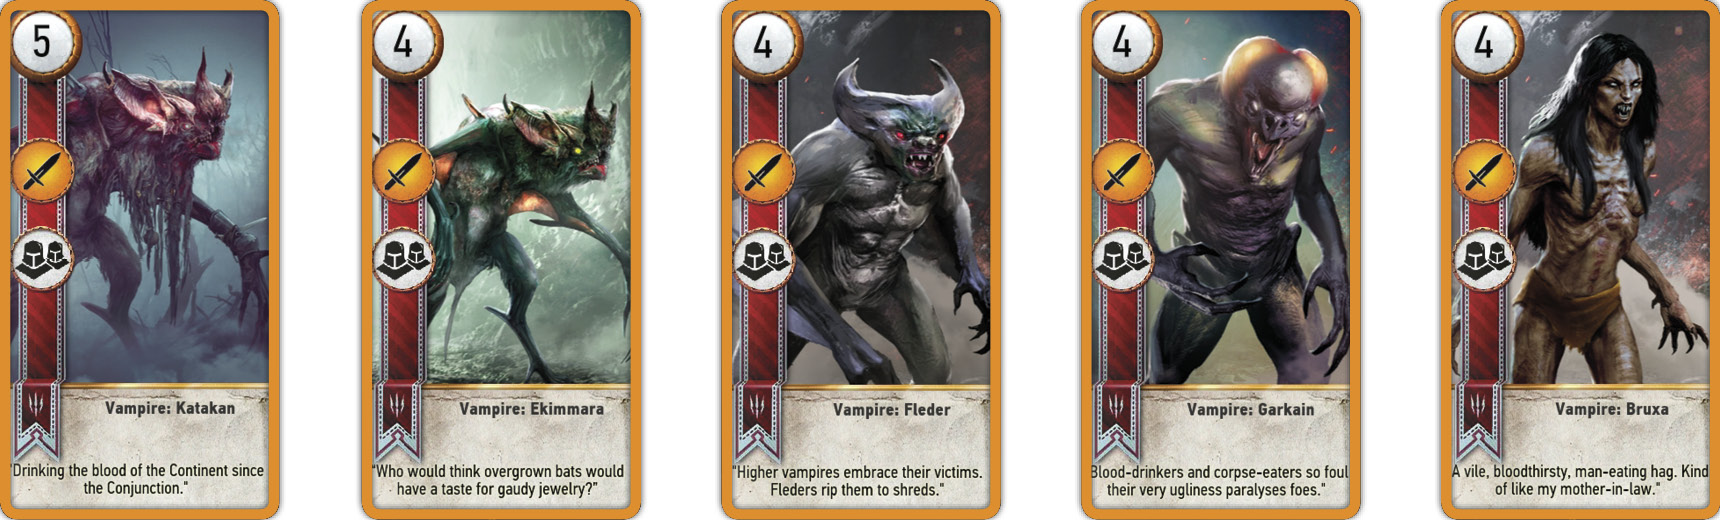
The Nekker and Ghoul groups are good to utilize when you’re first
starting out with a Monster deck, and are good to play as single cards (keep some of the Muster group out of your deck entirely, negating the Muster ability, in order to keep your card count high) if you’re trying to feint your opponent or need to use up a card instead of a more important one. As you progress, you may find using up three Ghoul cards for a measily three points isn’t worth it; there are better options to pick (Heroes, and Neutral cards).
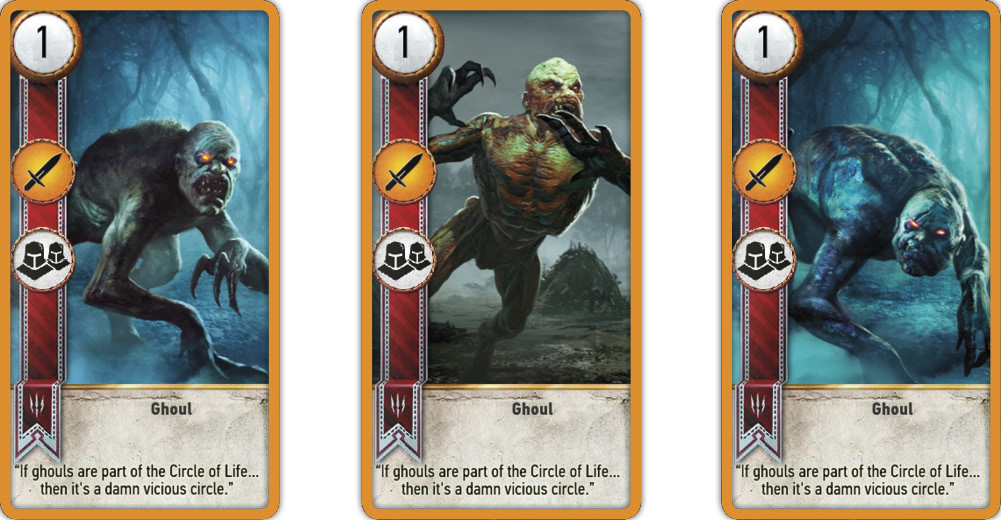
Scoia’tael (Muster Ability)(9 Cards)
While the Monster Deck has the most devastating Muster cards, the Scoia’Tael has a few units with this ability that can help your cause to a lesser extent (and don’t forget to add Gaunter O’Dimm, too!). The Elven Skirmishers offer 6 points to Ranged, though using up three cards to get these points is troubling if you’re trying to keep your card count up.
Swap your Elven Skirmishers for Dwarven ones as you continue to build this deck up. You get three extra points for the same card expenditure, though you have to place the Dwarves in the Close Combat row, which may already be crowded (so use Agile cards to even up the rows). The three Havekar Smugglers are a great way to instantly add 15 points, and because you’re likely to have a number of higher-value non-Hero cards to act as Scorch-fodder (such as the Dol Blathanna Scout, Barclay Els, or Yaevinn), your main worry is Biting Frost. So keep a Clear Weather card just in case. Also be mindful of running out of cards more quickly, too.
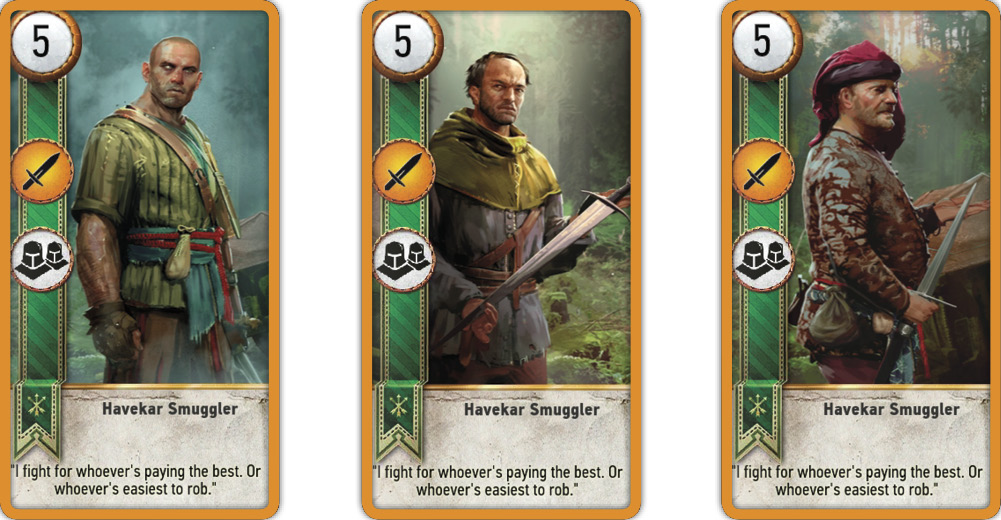
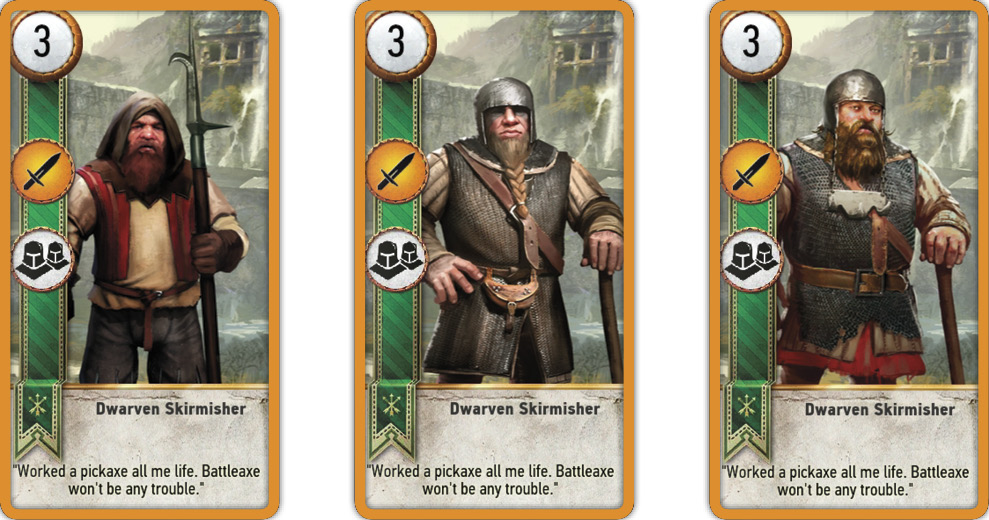
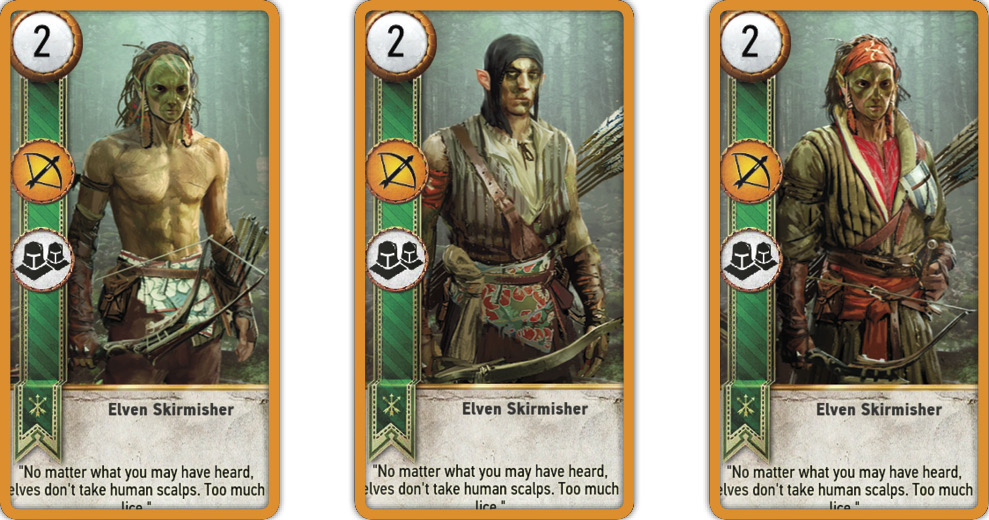
Skellige Clans (Muster Ability) (4 Cards)
There are two separate Muster groups that the Skellige Clans can bring into a bout (and Gaunter O’Dimm makes three). The first involves the Hero Cerys. She has a unique Muster ability to summon three non-Muster cards: the Clan Drummon Shieldmaidens. Without Cerys, the Shieldmaidens are simply three 4-point Tight Bond cards. However, with Cerys, they are instantly summoned to her side, immediately giving you their Tight Bond bonus. That’s 36 points not counting Cerys! Think of Cerys as instantly able to summon this Tight Bond group. Remember, only Cerys has this ability; you should hope to draw her over the Shieldmaidens at the start of any match.
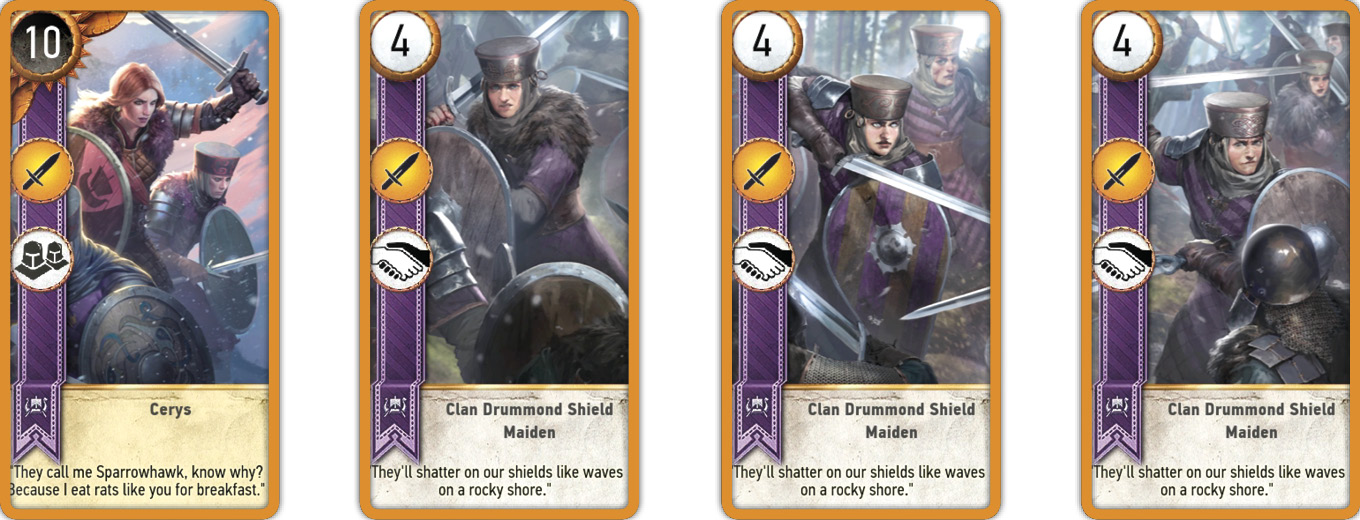
Completely separate are the Light Longship Group, which brings a reasonably impressive 12 points to the Ranged row when played. Avoid Scorch by using any of the Clan Brokvar Archers, or Olgierd von Everec as Scorch fodder on this row. Remember Cerys and the Light Drakker groups are unrelated Muster groups.
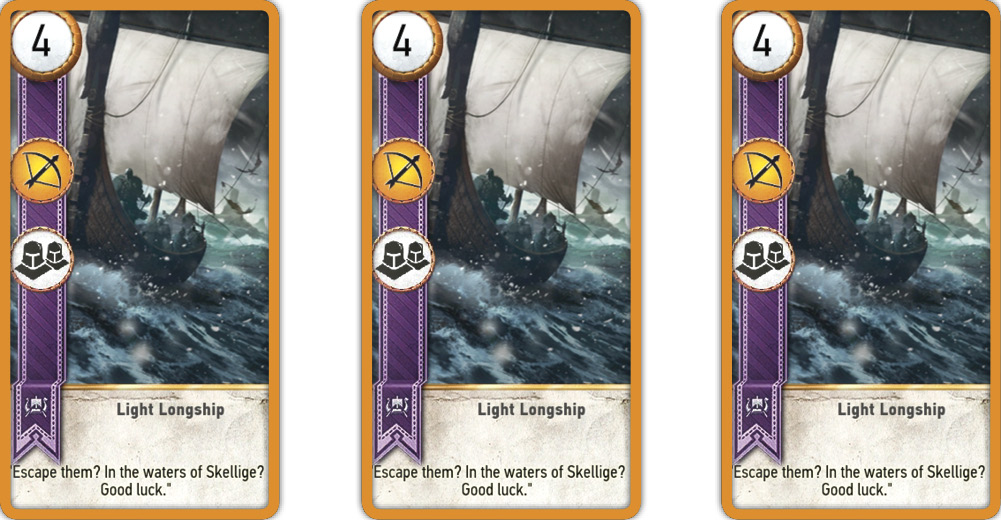
 Unit Ability: Scorch (7 Cards)

Special Scorch cards are discarded after playing. Character Scorch cards remain on the board (and can be scorched themselves). Scorch kills the strongest card(s) on the battlefield (not including Heroes). Special Scorch cards, and the Clan Dimun Pirate card, affect the entirety of your opponent’s battlefield. All other character Scorch cards pick out the highest value from a particular row (as long as the row’s combined units’ strength is 10 or more). There are only seven Scorch cards you can collect: three are Special cards, and there’s a Neutral, Monster, Scoia’Tael, and Skellige Clans character with Scorch ability, too.
Aside from Weather cards, think of Scorches as the ultimate counter (and biggest threat) to non-Hero cards, and especially those with abilities of their own. Study the point value of each deck to determine the largest concentration of high point non-Hero cards of the same value. There, you’ll be able to learn which high point cards, or groups of cards, you should look to use Scorch on, and what to expect your opponent to play.
For example, when playing against the Northern Realms deck, you see your opponent play a Trebuchet (Siege, six points). Nasty! But you also remember that your opponent is likely to have numerous other six point cards (such as another Trebuchet, two Ballistas, a Siege Tower, Ves, et cetera). Do you wait until your foe commits to more six-point cards and torch them all? Or do you wait until he plays a Catapult (Siege, eight points) which would automatically be the focus of your Scorch instead? The trick is getting lucky so you remove the most number of your foe’s points; not necessarily cards of the highest number! This is why cards with group abilities are ripe for scorching!
A good rule to follow: Play scorch if your opponent plays several cards across their battlefield with the same points strength. Gauge the correct time. Too early and you only get rid of one or two cards; too late, and you may only hit a higher-value card instead of numerous slightly lower-value cards. You’re using Scorch to remove the largest number of points in a single strike, not the strongest single card.
scorch: Know When To Fold Them (and Scorching Your Own Cards)
You can also simply waste a Scorch special card by playing it to remove a low point card. This is only acceptable when trying to get your opponent to pass, or when you need to hold on to more valuable cards you don’t want to play yet.
You can waste Scorch character cards by playing them without any regard to their Scorch ability. For example, you can place Villentretenmerth (7 point Close Combat non-Hero) into your row, irrespective of your opponent’s own Close Combat cards. If no cards of value are presented, the scorch is wasted. This is almost never a good idea due to the exceptional value the character Scorch cards represent.
Another cunning plan is to drop Hero cards on the battlefield if you know your foe is low on cards and might have Scorch (so they are forced to play it), since your Heroes aren’t affected by it. Or, play your lower value cards first, increasing your points gradually until your foe plays a high value card, and you can pounce!
Has an opponent passed, confident they’ve won the round? Then play a Scorch, remove their strongest non-Hero, and win the round instead!
Special Scorch cards also affect your own non-Hero cards, which is something to be exceptionally mindful of when using them! Make sure your own battlefield cards are lower in value than your enemy’s, or expect disappointing results. There are very few reasons why you should plan to Scorch your own cards!
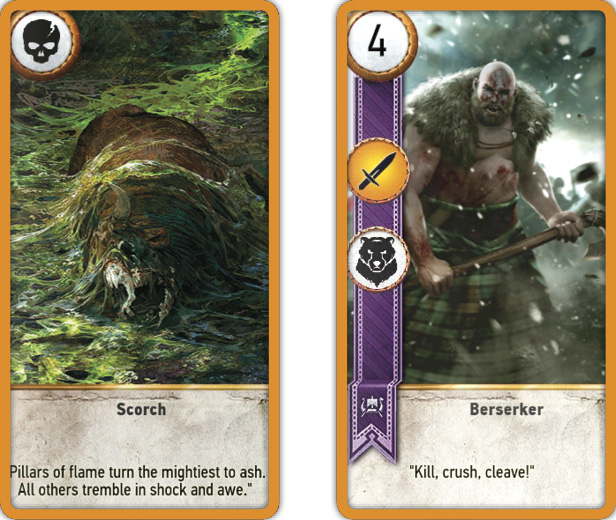
Scorch Cards, Berserkers and Mardroemes
No Mardroeme cards (as they are either Special, or attached to Ermion who is a Hero) can be Scorched, but the Berserkers certainly can. Bide your time with these units, as the non-transformed Berserker and Young Berserker aren’t usually of high-enough value to be Scorched. No so after a Mardroeme is played; check the new value of the Transformed Vildkaarl and Transformed Young Vildkaarl units and Scorch at will! Be aware that occasionally units go Berserk so they can become Scorch-bait, prior to your foe placing other units in their place to win a round; a plan you can try, too!
Scorch Cards and Transformation Cards
Employ the Scorch on the Cow (or the Kambi) only after it has transformed into its more potent card; otherwise there is no advantage whatsoever. As you’re already forewarned by the placement of the Cow (or Kambi), you can prepare to remove the transformed card later on. If you destroy a transformation card with Scorch, your opponent can use a Decoy or Medic to bring it back, even if the Bovine Defense Force (or Hemdall) is deployed; but Scorching a zero-point card is a foolish idea anyway, and one that almost never occurs.
Scorch Cards and Commander’s Horn Or Morale Boosts
Scorch cards don’t usually have any benefit being played with or against Commander’s Horn or Morale Boost cards if the rows affected by the Horn or Morale Boost are the rows you are targeting (or want your opponent to target). But there are times when you want to play a Commander’s Horn or Morale Boost with Scorch in mind.
First example: Say you have a Monster deck with a Forktail, Plague Maiden, Griffin, and Werewolf making up your Close Combat row, and Grave Hag on your Ranged row. All are non-Hero cards worth five points each. A Scorch would be devastating to you, so manage your losses by planning the following before a Scorch appears:
Add a higher-point non-Hero, such the Fiend (six points) to “take one for the team,” keeping all your five point cards in play.
Or, add a Morale Boost card to your Ranged row by playing Kayran (Hero, Agile, Morale Boost, eight points) there. Kayran is immune to Scorch, and his Morale Boost adds one to the Grave Hag, bringing her points total to six. Now a Scorch will only kill her, leaving all your other five point cards alone.
Second example: Imagine you have a Nilfgaardian Empire deck with two Black Infantry Archers in your Ranged row. Both are non-Hero cards worth ten points each, making them extremely susceptible to Scorch. Mitigate your losses by placing a Siege Engineer (a non-Hero Siege card worth six points), and then use the Commander’s Horn to double the strength of the Siege Engineer to 12. Now the Scorch targets him, and not your archers.
Scorch Cards and Decoys Or Medics
Special Scorch cards are immediately discarded when used, so the tactics here refer to character cards with Scorch ability, such as the Toad of the Monster Deck. Decoy and Medics are incredibly useful to bring back a character Scorch card you’ve either wasted by playing too early, or want to utilize again, and should be part of any professional Gwent player’s repertoire!
For example, say you’ve laid waste to a couple of high-point Scoia’Tael ranged cards using Toad. Simply Decoy it back into your deck so you can use it later. Or wait until the end of the round, or until the Toad is scorched off the board, and resurrect it from the discard pile to bring havoc later in a round or in future rounds. Even if you don’t use the card’s scorch ability again, it is a seven-point card to place.
Scorch Cards and Spies
As an opponent with numerous Spies usually wants to reuse them, and they add to your own totals when a foe plays them, you don’t want to Scorch high-point enemy spies such as Stefan Skellen (nine point Spy) or Shilard Fitz-Oesterlen (seven point Spy) of the Nilfgaardian Empire; the enemy has already drawn their additional cards, and is likely to want to use Medics on them anyway (though you can scorch them to stop them from being Decoyed if the situation calls for it).
Otherwise, Spies offer little benefit unless you’re playing with the aforementioned Stefan or Shilard. Play either or both, grab the extra cards the Spy ability grants you. Then Scorch them (as they are both high-value cards, and currently adding to your enemy’s points total). Then Medic them back into play! You can’t do that as easily with lower-point Spies. Let Stefan, Shilard, (and to a lesser extent Prince Stennis (five point Spy) and Sigismund Dijkstra (four point Spy) of the Northern Realms) take one for the team!
Scorch Cards and Muster Cards
Scorch cards can be infuriating to players with high-value Muster cards, such as the three Crones (six points) of the Monster deck. As Muster cards usually result in multiple cards of the same strength being played at once, they are easy to Scorch out of existence. Though there are exceptions.
The Arachas Behemoth (six points), and the Vampire: Katakan (five points) both have higher points than the other units of their Muster group. This “protects” the majority of the group from Scorch as these higher cards are sacrificed instead.
For example, you play the Vampire: Katakan and all four lesser Vampires (four points each), for a total of 21 points on your battlefield. An enemy Scorch would only remove the Katakan, still leaving you with 16 points (the four remaining lesser vampires).
Another plan is to use lower-value Muster cards (such as the three Nekkers) to lure a foe into playing a Scorch card. As they aren’t likely to have another, you can sacrifice your Nekkers in order to place higher-value units (such as the Crones) in relative safety.
Otherwise, use Scorch to attempt to remove as many Muster units as you can. The Crones are very susceptible to Scorch, as they have a high point value.
Scorch Cards and Tight Bond Cards
Just like Muster cards, you (and your enemy) should focus your Scorching attention on Tight Bond cards for multiple reasons; they are usually the highest point total (especially after bonding), and they can really threaten to overwhelm you, points-wise, if left alone.
As Tight Bonds are usually played when victory is attempted, you need to wait until a Scorch is played by a foe before your Tight Bond cards are fully utilized. Though it’s fine to have a single Cinfred Reavers Dragon Hunter (five points ranged) on the battlefield, especially if your foe has higher non-Hero cards, when you add a second Hunter, their points total climbs to 10 each, making them Scorch bait. For this reason, refrain from completing Tight Bonds until it is safe to do so.
Scorch Cards and Weather
Scorch cards, and especially Character Scorch cards (Villentretenmerth in particular) can cause one of the most damaging strikes in an entire Gwent game! This happens rarely, but when it does, you’ll be bragging about it for weeks!
The plan of attack is this: Late into the Gwent bout, lure your opponent into playing a large number of cards (of any points value, with one or more Heroes if possible) in a particular line. For Villentretenmerth, these must be Close Combat cards. For Toad, these must be Ranged cards. For Schirru, these must be Siege cards. For the Clan Dimun Pirate, it must be all rows (including your own)!
Play a weather card that affects the row you want to decimate. For Villentretenmerth, it is Biting Frost. For Toad, it is Impenetrable Fog. For Schirru, it is Torrential Rain. For the Clan Dimun Pirate, it is Skellige Storm and Biting Frost. Now look at your opponent’s row(s); it needs to have a points value of 10 or more (except in the case of the Clan Dimun Pirate, which doesn’t have this limitation). As heroes aren’t affected by Weather, they usually bring that total to ten already.
Now unleash your Character Scorch. The entire row of non-Heroes, because the Weather card has reduced them to the same points total (1), are all seen as the “strongest”, and therefore scorched, leaving only your Heroes left!
For example, imagine a Northern Realms player has stacked their Close Combat deck with the following:
- Vernon Roche (10 point Hero)
- Ves (5 point non-Hero)
- Three Blue Stripes Commandos (36 points total due to Tight Bond)
- Commander’s Horn (doubling the strength of everyone except Vernon Roche)
That’s a total of 92 strength points in that row! Now launch your cunning plan. With a Biting Frost and Villentretenmerth in your hand, place the Biting Frost on the battlefield. Your enemy’s row total is now 18 (Ves and the Blue Stripes Commandos are now worth two points each, while Vernon Roche is unaffected). That’s not a bad reduction. But what happens if your foe plays Clear Weather? Before that happens, place Villentretenmerth. The Close Combat row is worth over 10 points (thanks to Vernon Roche; remember this wouldn’t have worked if Vernon wasn’t there, as Ves and the Blue Stripes would only be worth eight points, nullifying Villentretemerth’s attack. Villentretemerth scorches Ves and the three Blue Stripes Commanders, reducing the row to 10 (only Vernon is left wondering what the hell happened!). Now your foe’s front line is decimated permanently!
Note that Special Scorch cards affect the entire battlefield, so aren’t usually able to be combined with Weather cards (as there’s always a higher-point card on a different row that’s targeted instead).
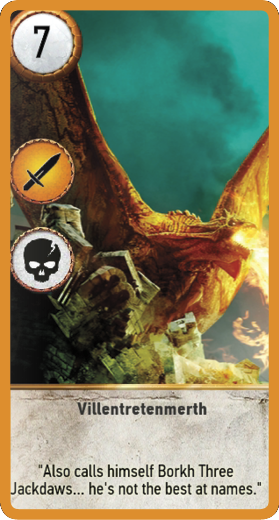
Neutral Cards (Character Scorch Ability) (1 Card)
Villentretenmerth is a seven-point Close Combat Unit with a Close Combat Scorch ability. Use this in every deck; it’s arguably the best card to play if you want to decimate a high value target, targets, or even an entire row if you use the Scorch and Weather card technique mentioned previously. Remember to Decoy or Medic this card so you can employ it again and again! This card’s only shortfall is that it doesn’t affect Ranged or Siege units.
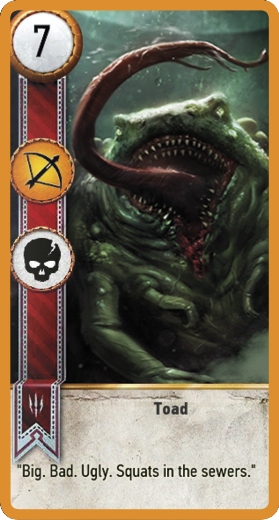
Monster Deck (Character Scorch Ability) (1 Card)
Toad is a seven-point Ranged Unit with a Ranged Scorch ability, and is also unique. Employ exactly the same tactics as with Villentretenmerth, and use both cards so you have the possible ability to specifically target Close Combat or Ranged rows. Toad is more devastating when battling against a deck that uses Ranged rows frequently, such as the Nilfgaardian Empire and Scoia’Tael. Combine him with the Impenetrable Fog card to wipe out a unit row!
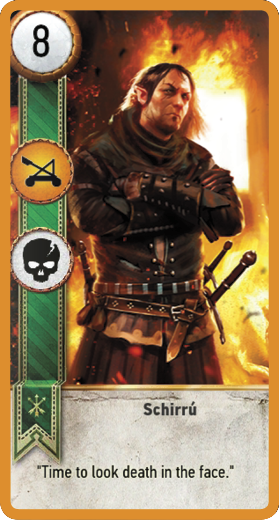
Scoia’tael (Character Scorch Ability) (1 Card)
Schirru is an eight-point Siege Unit with a Siege Scorch ability, and also unique. The same tactics apply here (use like Villentremerth, and employ both cards to cover Close Combat and Siege rows). However, because Siege units are used less frequently (the Monster deck only has four possible Siege cards, for example), the chances for devastating attacks are less frequent, unless you’re playing against the Northern Realms. Combine Schirru with Torrential Rain to wipe out an entire Siege row.
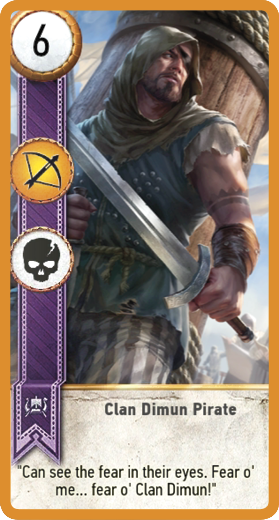
Skellige Clans (Character Scorch Ability) (1 Card)
The Clan Dimun Pirate may be a 6-point non-hero Ranged unit, but he has the most devastating Scorch ability of all; a battlefield-wide Scorch which works in exactly the same way as a Special Scorch card! However, this does mean you can’t target your attack to a specific row (unless you’re using Villentretenmerth to remove a Close Combat unit or group first, with your Clan Dimun Pirate attacking the next-highest unit). Wiping out entire rows of Weather-crippled cards are less effective with the Clan Dimun Pirate (as he targets rows with higher-value cards instead, and that can include your own non-hero troops!) unless you’ve blanketed the entire battlefield with Skellige Storm and Biting Frost, and you’re using King Bran’s Leader ability: Do this, then use Scorch to wipe out your foe’s entire Close Combat, Ranged, and Siege rows! This is a rare, but insanely powerful occurrence that works if you plan it correctly!
 Unit Ability: Spy (7 Cards)

Spies are placed on your opponent’s battlefield, and count towards their points total. In return, you receive two cards from your deck. So why give your opponent additional points? In order to bolster your own deck and receive some of the preferred cards you need or want to play, or to bolster your deck so you can out-draw your foe. It’s important to understand that because Spies add to your opponent’s total points, a more powerful Spy is one with a lower points total.
For example, Stefan Skellen might have nine points, but because that nine points is going to your opponent when you play him, he’s a terrible Spy! Even so, giving your opponent nine points is still a good idea, as the two cards you receive usually more than make up for your shortfall, as you have more cards (a net increase of one), and more flexibility in playing future cards. Compare Stefan to Thaler (a 1 point Siege unit). Thaler is an amazing Spy, because he only adds one to your opponent’s total (while allowing two cards to be taken from your deck, just like Stefan).
Spies: Know When To Use (and Abuse) Them!
Generally, the tactic with Spies is to utilize them as early as possible, starting with your most ineffectual spy (the one that gives your foe the most points). That way, you aren’t playing high-point Spies later, when the points totals are more critical. Then use cards with other abilities (Decoy or Medics for example) so return a Spy to your deck and play them again (and again)! The only exception to playing Spies early is if you know your opponent is hoarding Spies for later rounds. As they can out-draw you if you’re not careful, keep Spies in reserve for just such an occurrence.
The plan with Spies is to use them continuously throughout all three Gwent rounds to bolster your deck, so you have the largest number of cards available that you can, so you can more easily react to a foe, draw important cards more easily, and keeping more cards in your hand than your opponent. Remember; having more cards in your hand than your opponent is the most important strategy for winning Gwent!
Spies are more helpful if your deck total is low (the 22 minimum), and the number of Spies in your deck is high (up to four depending on your Faction). Make sure you start the second round with around two extra cards compared to your opponent. Start the final round with around four extra cards. Why? So your opponent is forced to struggle finding cards to play against you, or your card total forces them to pass, allowing you an easy round win.
When Spies are used in the first round, you’re more likely to pass or throw the round to your opponent. Treat this round as a buildup in forces for the second and third rounds you must win. As you’re adding cards and removing Spies to achieve this, your deck is likely to be much more powerful for the latter two rounds.
Remember that just because you aren’t playing Spies, it doesn’t mean you shouldn’t employ these tactics, as your foe may be using them on you; forcing you to turn enemy Spies against your opponent!
Spies are utilized primarily by Nilfgaardian Empire and Northern Realm players, as there are no Monster, Scoia’Tael, or Skellige Clan spies. Only the Mysterious Elf can be played with these factions, and he is only used once as he’s a Hero. As both these Decks can rely on Muster cards (especially Monsters), it usually isn’t worth duplicating a Muster group you are already holding.
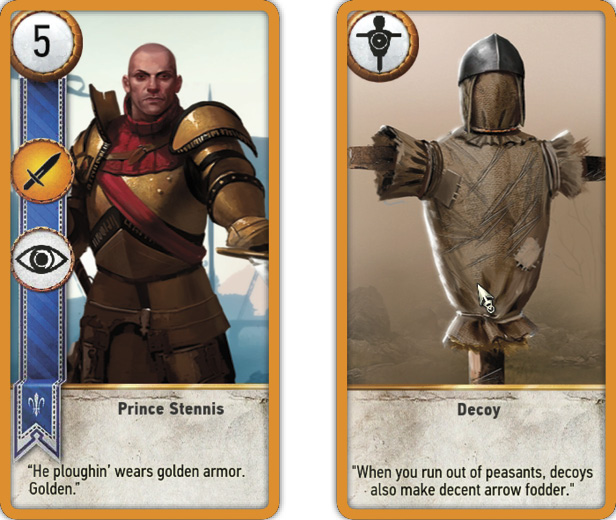
Spies, Enemy Spies, and Decoys
One of the best strategies for those with a number of Spies in their deck is to play them as early as possible; usually in the first or second round. However, once you send out your own Spies, they become enemy troops; so your only option is to Decoy an enemy spy back into your hand, so you can play it back onto your enemy’s battlefield. This is all part of the overall tactic of acquiring more cards in your hand. However, this tactic doesn’t work if your foe isn’t sending out Spies on your side of the battlefield, so watch out for opponents who aren’t using Spies (Monster and Scoia’Tael decks) and adjust your tactics accordingly.
Decoys are also the best way to counter a foe who is using Spies against you. When a Spy enters your ranks, simply Decoy it into your hand, and play it back as soon as it makes sense to (so you can claim two cards as the Spy is effectively yours, now!). Do this again if further enemy Spies arrive on your battlefield.
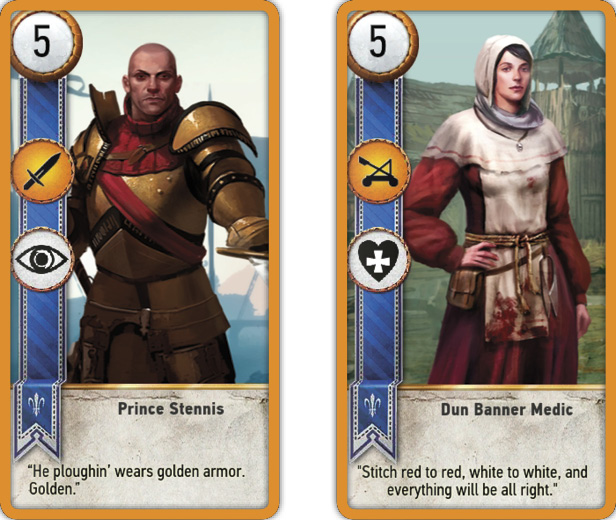
Spies and Medics
Remember that Spies that you play go into your opponent’s discard pile and not your own, so any Spies you’ll be resurrecting are going to be from your opponent’s deck initially (unless your foe plays your own Spy back at you, and you then Decoy it!). If you have a choice of Spies to bring back into play (which is a great idea, as it gives you that two card draw again and again), choose discarded Spies with the lowest points value (such as Thaler). Higher point Spies are still viable, however.
Another good point to use a Medic on a Spy is when your opponent has passed, and you can still play cards. Utilize a Medic, assuming the points of the Medic won’t cause you to lose the round (if that matters to you; you could be throwing the first round anyway). Then continue until you’ve maximized the cards you hold for the subsequent round.
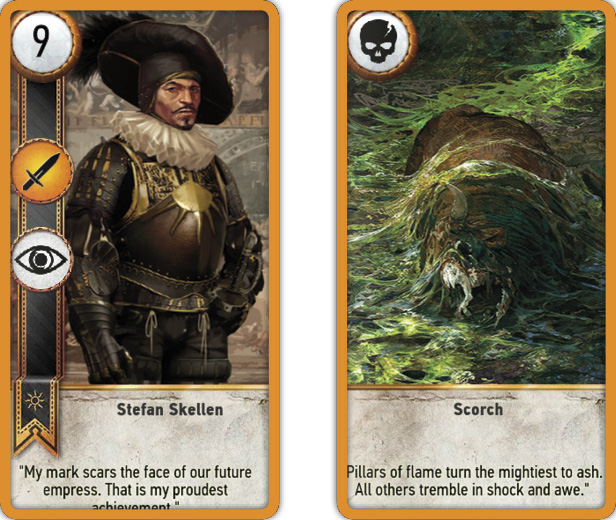
Spies and Scorching
This is where Stefan Skellen becomes more helpful to the Nilfgaard! If you’ve placed a Spy on the board, you can Scorch it into your foe’s discard pile after playing it. This allows you to remove the bonus the Spy was giving your opponent (in Stefan’s case, nine points!). Remember you don’t get the Spy (your opponent’s discard pile holds it, enabling them to Medic the Spy back). But this is an option; only for Scorching high-point Spies (as there are usually other cards with a higher point value than a Spy you’ve placed, like Sigismund Dijkstra with his four points). However, there are usually better ways to use up a Scorch card than this.
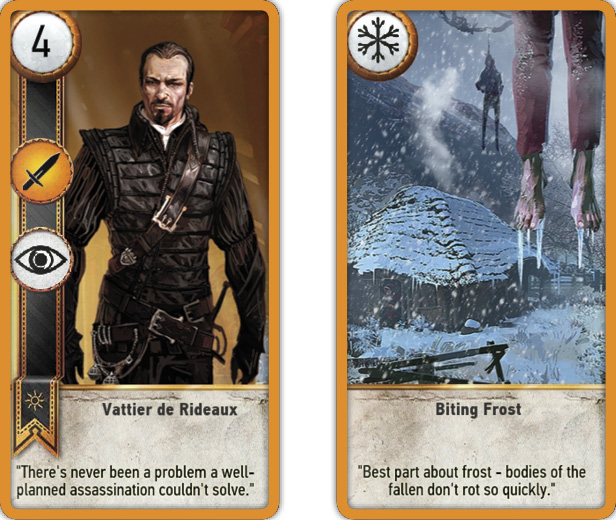
Spies and Weather Cards
Negate the points your Spy card gives a foe by employing a Weather card after playing your Spy. If Vattier de Rideaux is heading into your opponent’s Close Combat row, he’s less effective if that row is fighting off a Biting Frost (reducing his points total for the enemy from 4 to 1).
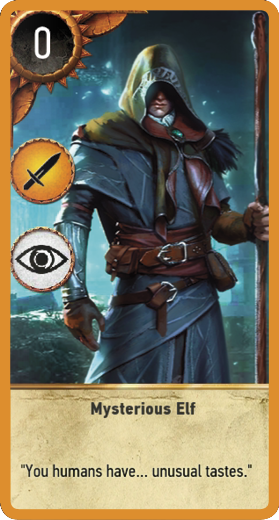
Neutral Cards (Spy Ability) (1 Card)
The Mysterious Elf is an extremely powerful Spy, as he doesn’t increase your opponent’s total at all (0 points), and is a Hero (meaning he’s a one-use card per match, and can’t be destroyed, Decoyed, or brought back with a Medic). He’s great to add to the Nilfgaardian and Northern Realm decks (where you have a Spy roster already), but offers less help to Monster and Scoia’Tael players, who may not want to stack their deck with Muster cards. Still, he is a good choice for those decks if you want a Spy in them; he’s the only one you’ve got!
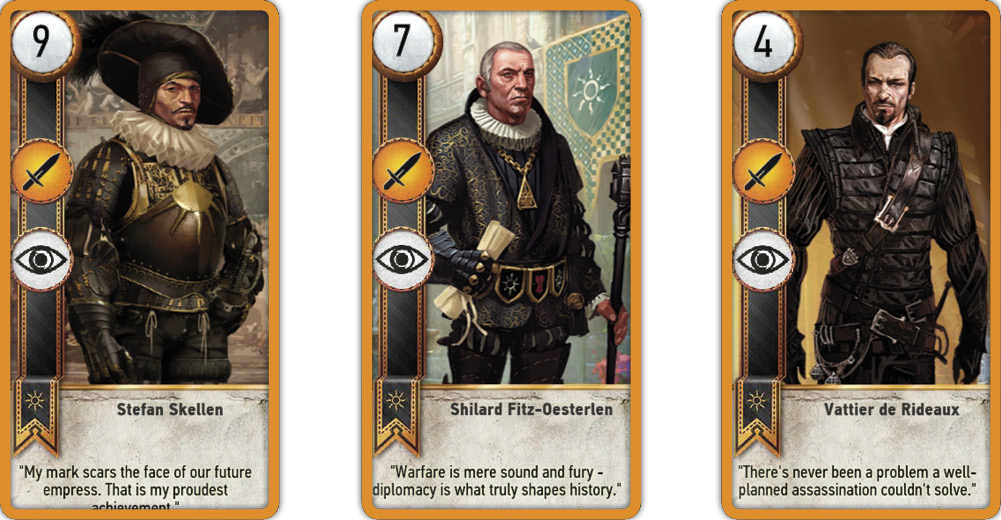
Nilfgaardian Empire (Spy Ability) (3 Cards)
Although both the Nilfgaard and Northern Realms have three spies each, the Empire’s trio of sneaky sods are decidedly more hamfisted: The infamous Stefan Skellen (9 points), the only-slightly more proficient Shilard Oesterlen (7 points), and the actually-adept Vattier de Rideaux (4 points) give your opponent 20 extra points if you play all three! Still, the extra cards you gather almost always make this a moot point. Add the Mysterious Elf for a quartet of Spies and eight extra cards!
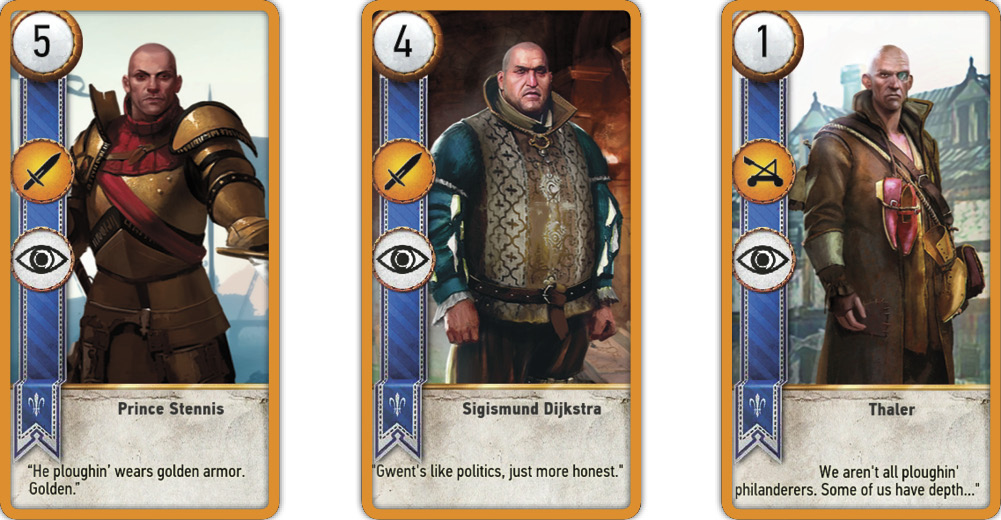
Northern Realms (Spy Ability) (3 Cards)
The most adept Spy masters are the Northern Realms faction, featuring three competent fellows; Prince Stennis (5 points), Sigismund Dijkstra (4 points) and the amazing Thaler (1 point); they only give up 10 points when all three are used; which is far less than the benefits you get from the additional cards you draw. Add the Mysterious Elf to complete your quartet.
 Unit Ability: Tight Bond (33 Cards)

Though there are 33 Tight Bond cards, these are only available to Nilfgaardian Empire, Northern Realms units, and Skellige Clans factions, and require you to draw two or more cards of the same unit type in order for the ability to work. However, if you can gather multiples of the same unit, you can really increase the strength points total of a particular row. Which of course, then attracts Scorch and Weather Cards from your enemy’s deck. So learn to mitigate these circumstances as often as possible.
At the very beginning of the round, when you redraw two cards, if you’re wanting to use Tight Bond cards in the round in question, you should redraw in the hopes of getting one (or more).
Tight Bond Cards: Know When To Hold Them
On their own, Tight Bond cards are normal unit cards that aren’t very effective (with the exception of the Catapult, a Northern Realms Siege unit worth eight points). This means you can place them on the battlefield, wait a few turns, and then complete the pairing to really hammer a foe with a huge strength points increase!
Some of the lesser cards (such as the Poor F--king Infantry) are also good to use as “throw away” cards; play them if you’re stalling for time, or hoping to draw a better card.
The biggest drawback with Tight Bond cards is that you need to have all of them in your hand so you can place them all in the same round. Using them in different rounds negates their ability completely, though it’s sometimes a good strategic idea to “waste” a card early, then Decoy or Medic it back into your hand when a subsequent Tight Bond with the same name appears.
There are no Monster, Scoia’Tael, or Neutral cards with the Tight Bond ability.
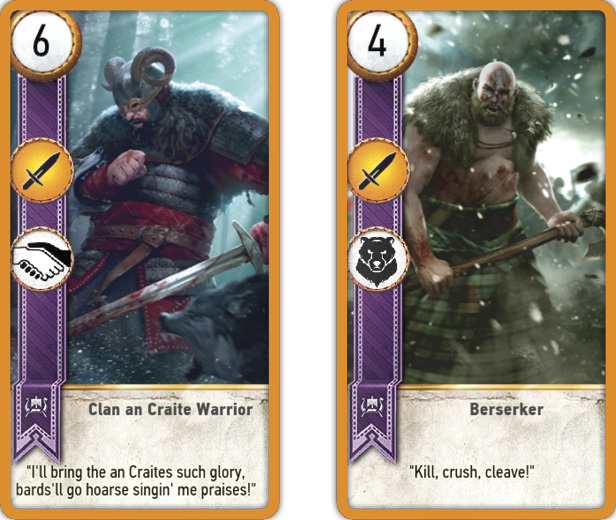
Tight Bond Cards and Berserkers
Tight Bond and Berserker units have some similarities; not least because the three Young Berserkers actually have the Tight Bond ability when transformed into Transformed Young Vildkaarls! Generally, both Tight Bond and Berserker cards have bonuses that require a subsequent card to played with them, and both can skirt by Scorch cards your opponent may use, becoming more susceptible to Scorch the more powerful their points total becomes. They both have the flexibility to be “under the radar” of your opponent, before being augmented to win a round. A Berserker group can reach their bonus a little more easily (as there are up to four Mardroeme cards that cause the bonus, compared to usually only two identical Tight Bond units that increase a Tight Bond’s group total). Finally, remember that Young Berserkers, when they have transformed into Transformed Young Vildkaarls, add the Tight Bond ability; they become much more powerful when transformed in a group of up to three.
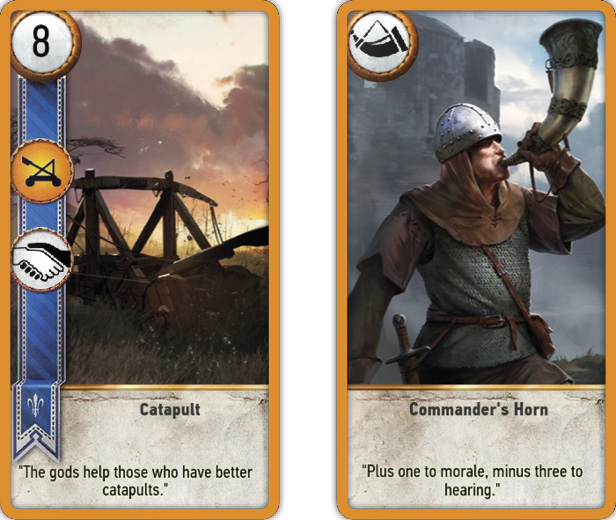
Tight Bond Cards, Commander’s Horn, and Morale Boost
Though there’s not many card combinations that cause the enemy to instantly scramble for their Scorch or Weather cards, if you’re able to halt these threats, you can add some incredible strength points to a row, and unequivocally win a round. The following is the best-case example:
Place both Northern Realm Catapults in your Siege Row. Each Catapult is worth 8 points on its own. Each is worth 16 as a duo; making 32 points. Now add a Morale Boost thanks to the Kaedweni Siege Expert (1 point unit, +1 for all units in the row). This brings the total up to 35. Then place the Commander’s Horn, doubling the strength to 70. Not bad. Wait, do you smell burning?
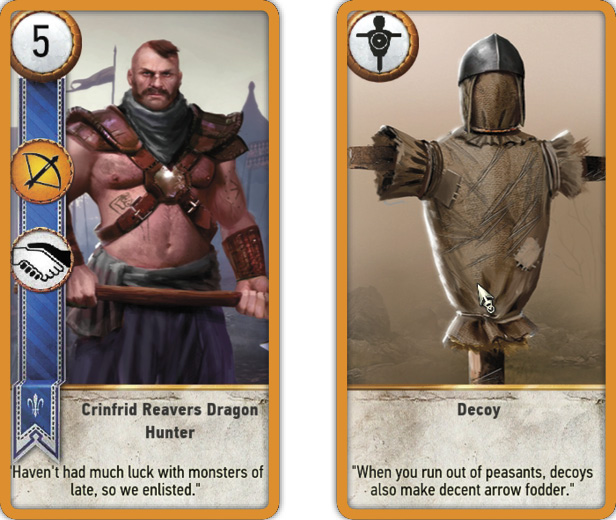
Tight Bond Cards and Decoys
Perhaps the ultimate bait-and-switch tactic is to place a Tight Bond card on the battlefield, hoping your foe thinks you’re about to place another. If the card isn’t subsequently Scorched, simply Decoy it back into your hand, and save it for later (if you were feinting, needed to burn a card, or the time wasn’t right to play it), or for when you have more of the same unit type to maximize the Tight Bond ability. Just because you look like you’re about to drop four Impera Brigade Guard units, doesn’t mean you need to follow through with this plan!
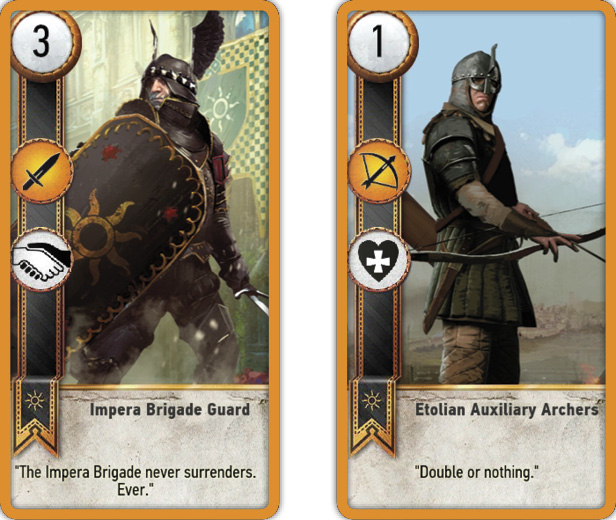
Tight Bond Cards and Medics
The Nilfgaardian Empire is more adept at employing Medics (they have five compared to the Northern Realms’ and Skellige Clans’one Medic, though Yennefer of Vengerberg is a great addition). This allows you to bring back a complete set of Tight Bond cards, or some of a set of units you already used (when the third of that set is drawn later in the game). Reusing a group of cards with an ability to yield one of the largest points totals is always a good idea; especially after the threat of Scorch has passed.
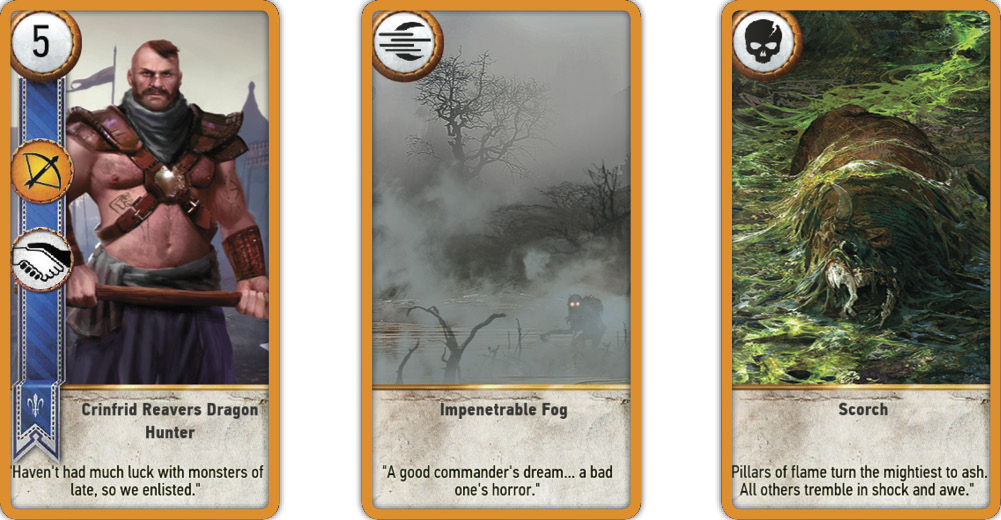
Tight Bond Cards, Scorch, and The Weather
In most circumstances, you should expect your Tight Bond cards to be targeted by Scorch, and do something about it. You could wait patiently to play the second and third cards until Scorch is used on another unit, or until the next round after Scorch disappears. You could sacrifice a higher-point unit so the Scorch targets that, allowing you to bolster your Tight Bond units to much stronger levels. Obviously, be worried about the three Scorch Character cards; up to two could be played by a Monster or Scoia’Tael player, and they can seriously damage your plans.
You can purposefully use Weather Cards to hide the potency of Tight Bond units from a player you suspect is going to use Scorch. For example, place a Crinfrid Reavers Dragon Hunter in your Ranged row when your foe has an impressive selection of Ranged cards on their side of the battlefield. Then play Impenetrable Fog, pretending to negate both Ranged rows. In reality, play a couple more Hunters, use Clear Weather (or a Leader ability) and reveal a much stronger Ranged row that was immune to Scorch when each card was valued at one (or two or three depending on how many Tight Bond cards were in that row).
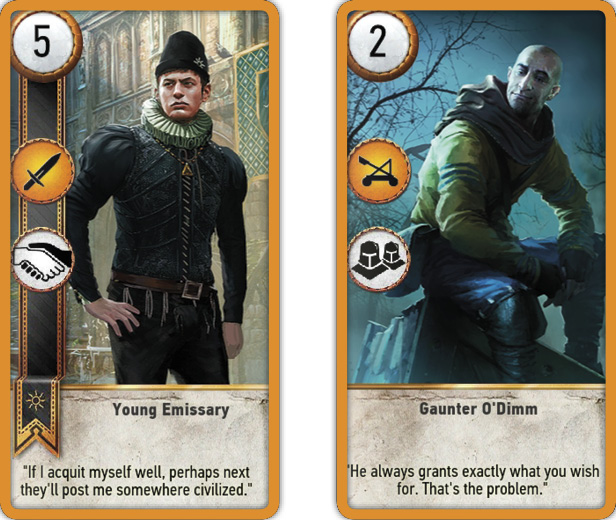
Tight Bond Cards and Muster Cards
While the Nilfgaard and Northern Realms primarily use Tight Bond, the only way to mix your deck with Muster Cards is by adding Gaunter O’Dimm (and his dark minions) into the mix. Both are Scorch-bait, both add a large number of points, but Muster cards are instant, offer a lesser total, can impede the total cards you hold in your hand, and aren’t usually Decoyed or resurrected by Medics back into play. Tight Bond cards add a similar amount of points (though a couple of units can add much more), take place over multiple turns (a slower build of power), and are much better to Decoy or Medic. It also goes without saying that Tight Bond cards only “bind” with cards of the same name: A Nausicaa Cavalry Rider only adds to other Nausicaa Cavalry Rider totals.
Nilfgaardian Empire (Tight Bond Ability) (9 Cards)
Though the Nilfgaard don’t seem quite as impressive a group of Tight Bond units overall, compared to Northern Realms, they have more Medics enabling you to return Tight Bond cards back into play; an important point to consider. Gather all three Tight Bond units as early as you can, but concentrate on employing the Impera Brigade Guards as often as possible, up to the point where higher-value cards become more important for your deck strategy.
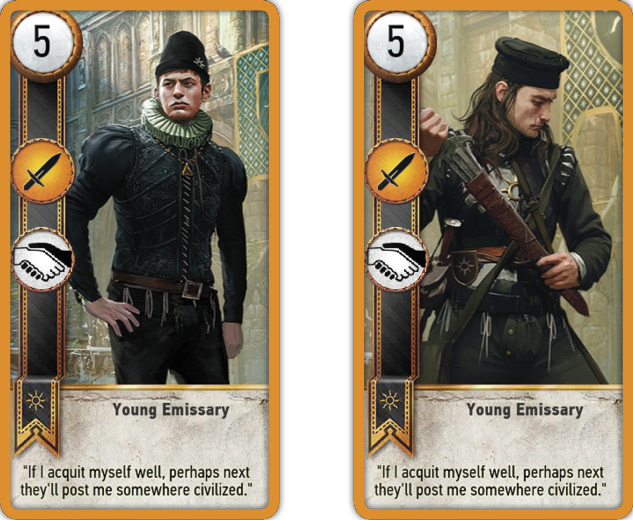
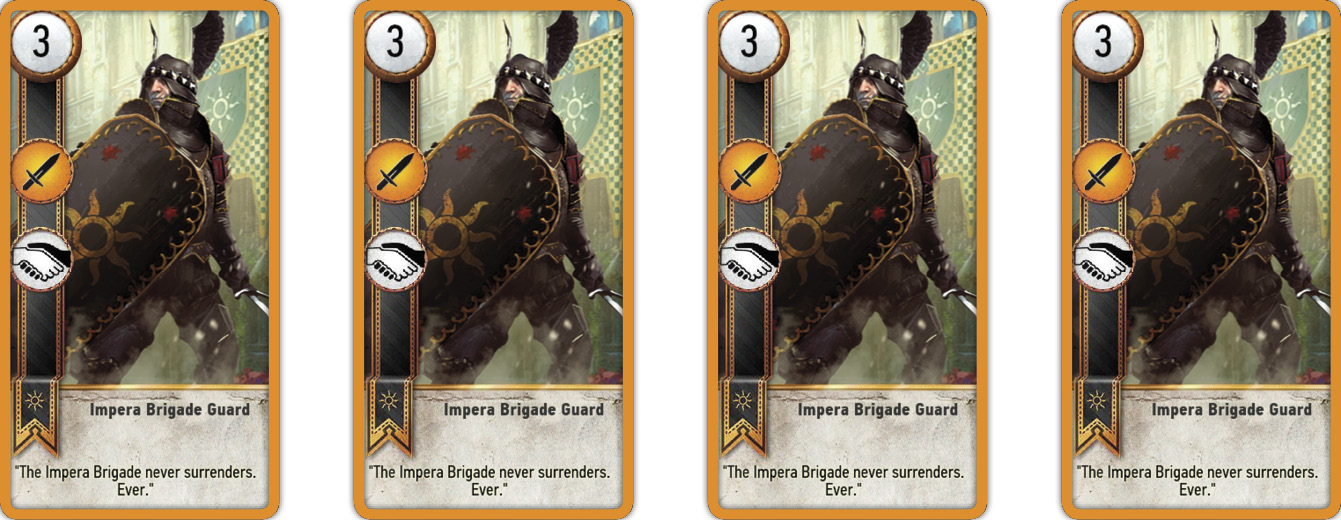
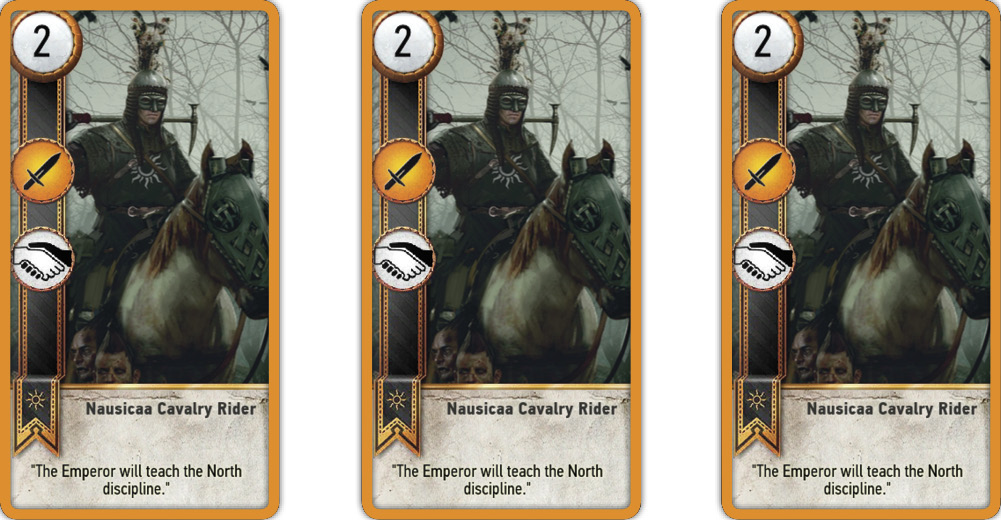
Northern Realms (Tight Bond Ability) (12 Cards)
Though the Northern Realms’ downtrodden infantry are worth using to burn a card in order to delay the end of a round, even their Tight Bond value is questionable. Ditch them when more potent cards are available. Mid-level Gwent players employ the Blue Stripes Commandos, and the Crinfrid Reavers Dragon Hunters, with the aim of launching Catapult strikes as often as possible too. Just beware your lack of Medics impedes the return of these units after a round or a scorching.
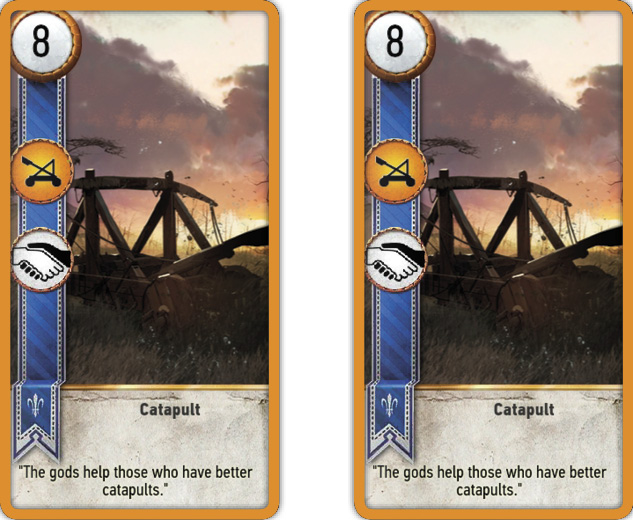
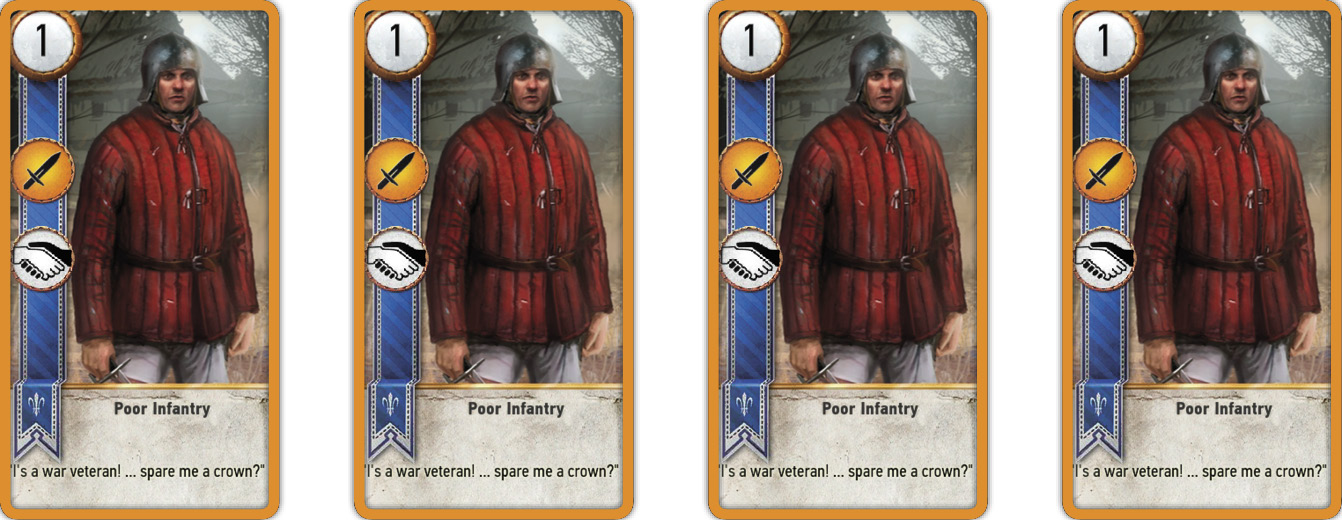
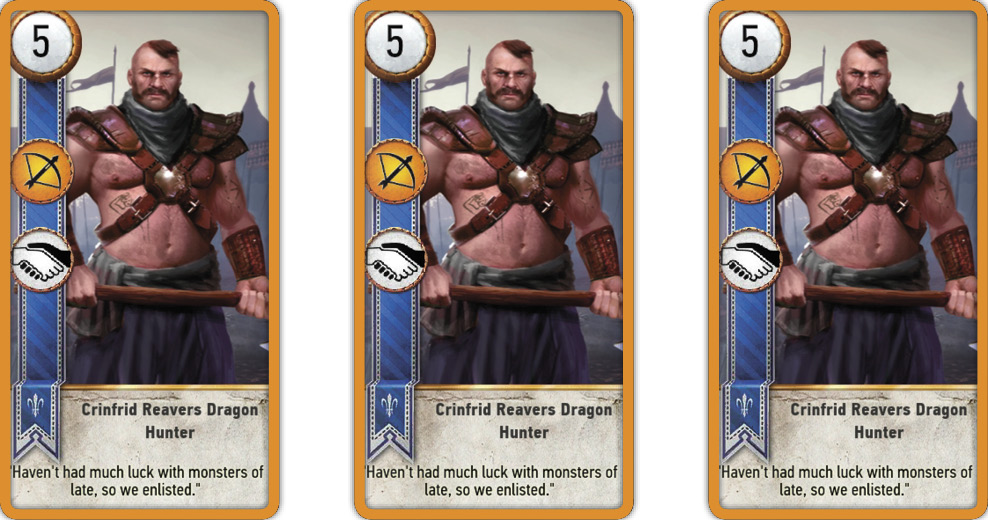
Skellige Clans (Tight Bond Ability) (12 Cards)
Both the Clan an Craite Warriors and War Longships have the same group value, and are comprised of three individual cards. The only difference is that the former is a Close Combat group, while the latter is your main Siege force. Augment the War Longships with Draig Bon-Dhu’s Commander’s Horn (otherwise he’s useless!), and add Yennefer with Birna Bran to hopefully Medic one of these groups into play to maximize their potential.
The Clan Drummon Shieldmaidens are a potent force on their own, though not providing quite the power of the other Tight Bond Skellige Clans cards. However, if Cerys is played, she instantly summons all three Shieldmaidens as if they were Mustered. This has the advantage that all the cards are played at once (not usually the case with Tight Bond cards), and that you can redraw any Shieldmaidens in your deck at the start of a match in the hopes of obtaining Cerys (who summons them anyway). Note you can employ the Shieldmaidens as “regular” Tight Bond cards without Cerys, but this isn’t the most potent use of this group.
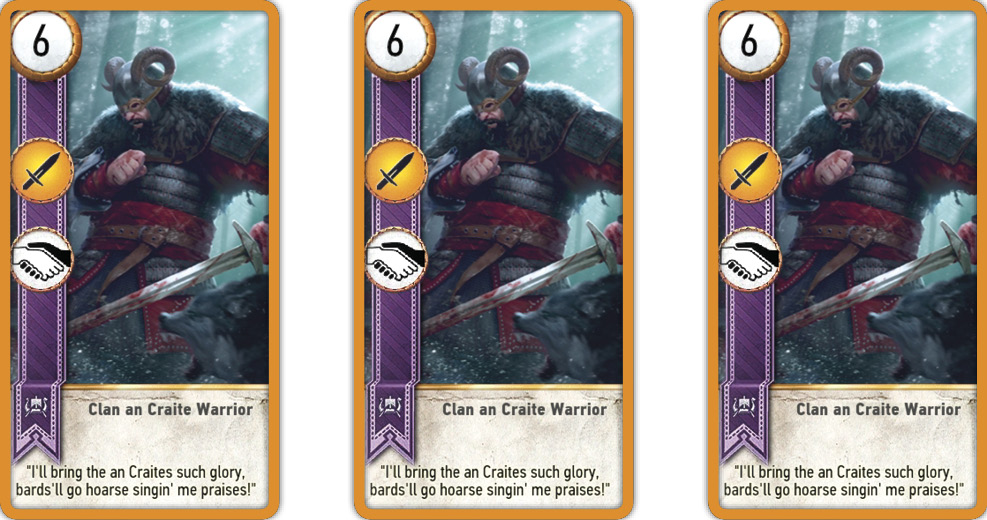
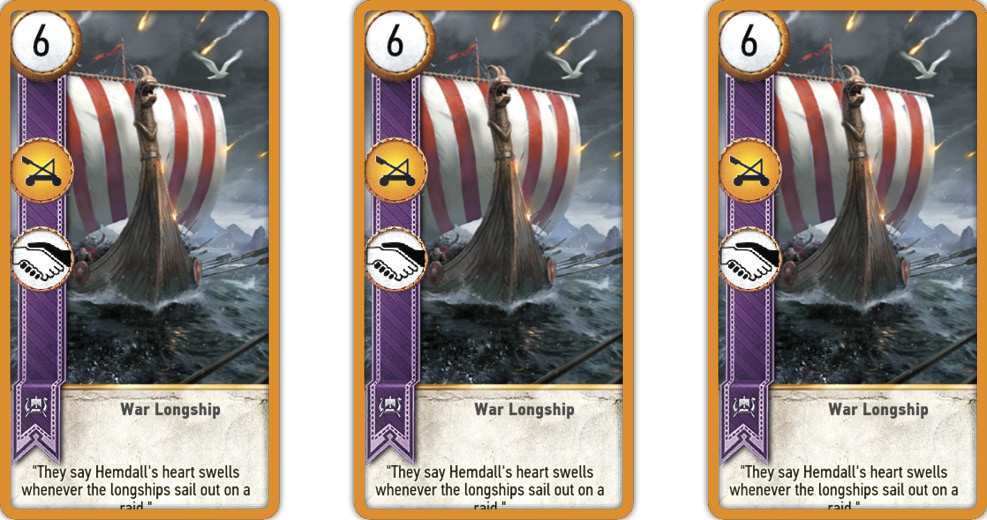
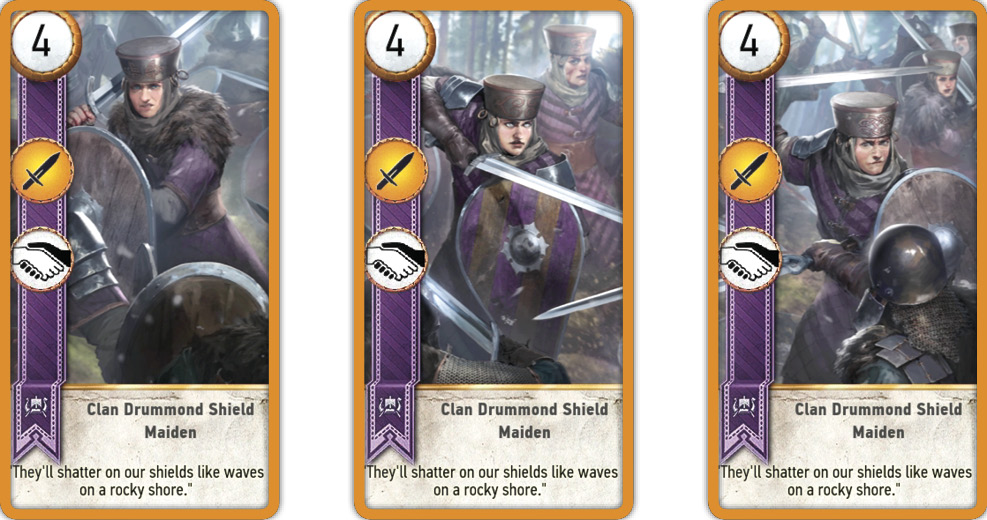
The Transformed Young Vildkaarl group, when partnered with Ermion or transformed using a Mardroeme, becomes a mauling and unstoppable force with tremendous value, providing you’re lucky to have all three in your hand during a bout. Though the value they give you is immense, gathering the three together along with a Mardroeme (so the Tight Bond ability is triggered along with the Berserker transformation) can be tricky.
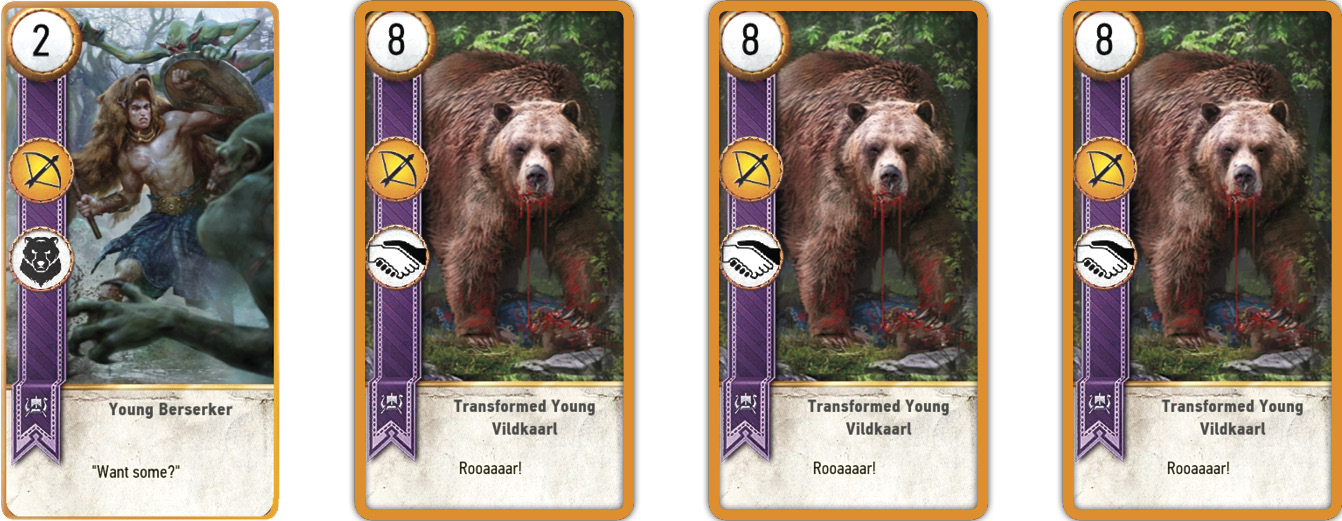
Unit Ability: Transformation Cards (2 Cards)
The Cow seems initially to be a useless ranged card which offers no strength bonuses, and nothing of value during the round it is played, aside from the fact it is a great card to “burn” while you wait for your opponent to run out of cards or play a Weather card or Scorch. However, once the Cow is taken off the battlefield (either after a round, or by Scorch), the card transforms into a Bovine Defense Force (an eight-point Close Combat Fiend) that begins the next round already on your board. This can surprise your foe, quickly add points to a front line, and even take a Scorching for you! While the Cow card is excellent in the first and second rounds as a prelude to enforcing your Close Combat line, it’s not very useful in the last round, as the more powerful card would appear only in the last round.
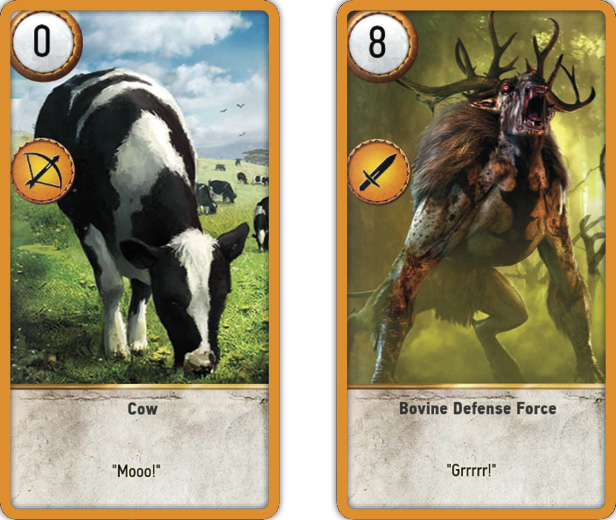
The Skellige Clans have the (Close Combat) Kambi card, which works in the same way as the Cow. The only difference is that Hemdall is a close combat card (and therefore boosts that row) and is a Hero.
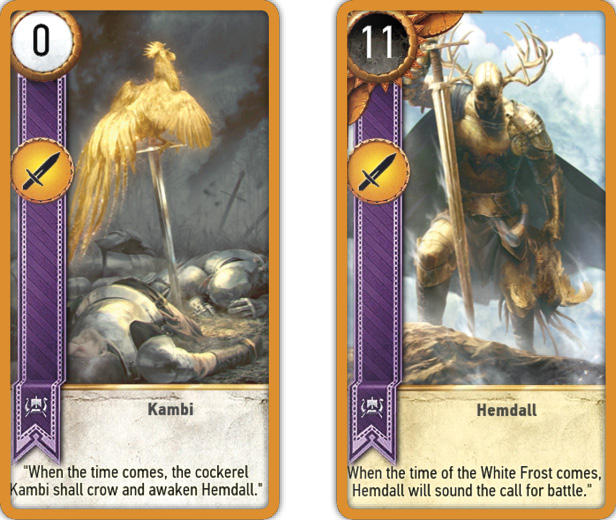
Neutral Cards (16 Cards)
Neutral cards are units and Heroes that can fight alongside your faction forces no matter which deck you decide to build; Geralt of Rivia is just as happy battling with the Scoia’Tael as he is with the Northern Realms. This allows you further customizable options when adding Neutral cards to your deck, and some interesting decisions on which cards to use, and which to ignore. Neutral cards are easily distinguished from your Faction cards as they always appear first (after your Special and Weather cards) in your “All Cards” collection list. They also have no banner design. There are 16 Neutral cards to collect, and the pictures on some of them change depending on if you have activated the Ballad Heroes DLC.
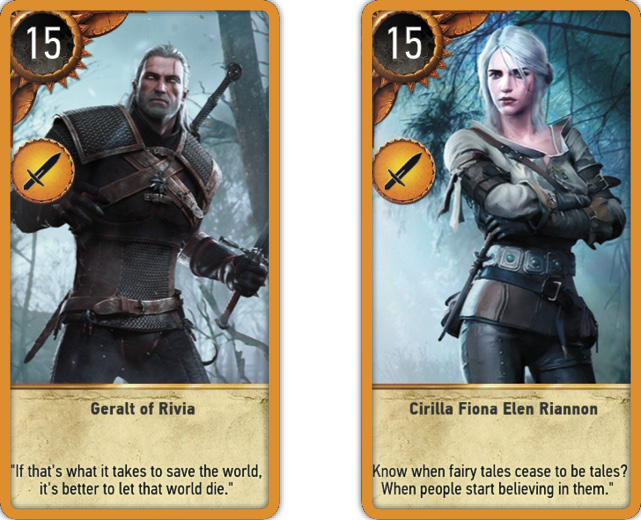
Neutral Cards: Geralt and Cirilla
These two Hero cards are the very best one-card strength point cards you can use, and five points higher than even your toughest faction Hero. They should be in your deck at all times, and should even take the place of faction Heroes if you’re wanting to cut some cards in favor of a lean deck. They are devastating, Close Combat fighters, immune to Weather and all special effects (so they can only be used once a bout), and used to thoroughly bolster your front lines.
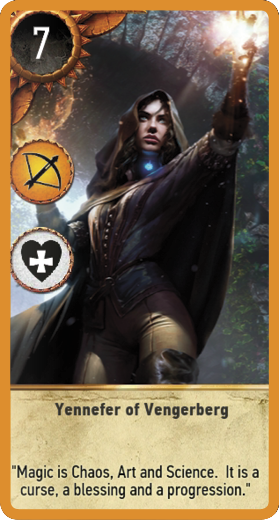
Neutral Cards: Yennefer Of Vengerberg
Yennefer is a seven-point Hero Medic who fights at the ranged row. As most of your highest point troops are likely to be at Close Combat range, this is a great way to diversify your forces. Though Yennefer isn’t as strong as your best Faction Heroes, her Medic ability more than makes up for this slight shortfall. Add her to a deck you are creating with more Medics, or to forces that have no Medics at all (such as a Monster Deck), to add flexibility to your tactics. Yennefer is great for bringing back Villentretenmerth from the discard pile, for example.
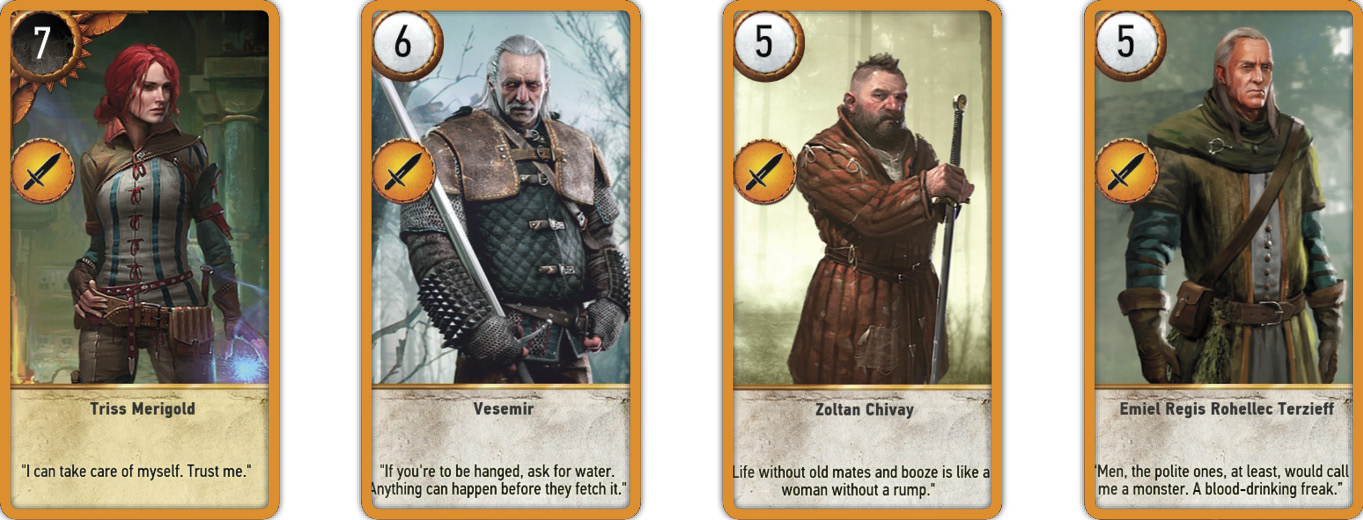
Neutral Cards: Triss, Vesemir, Zoltan, and Emiel
This quartet of strong-willed, Close Combat units, of which Triss is the only Hero, are among the first Neutral cards you should add to your deck when you’re first attempting to play the game of Gwent. However, as you progress and collect the stronger cards (or those with abilities, as none of these cards—save Triss—have anything other than brute force to offer you), place these in your permanent discard pile so your deck doesn’t get bloated. You are better off utilizing higher-point strength cards, and there are plenty to choose from.
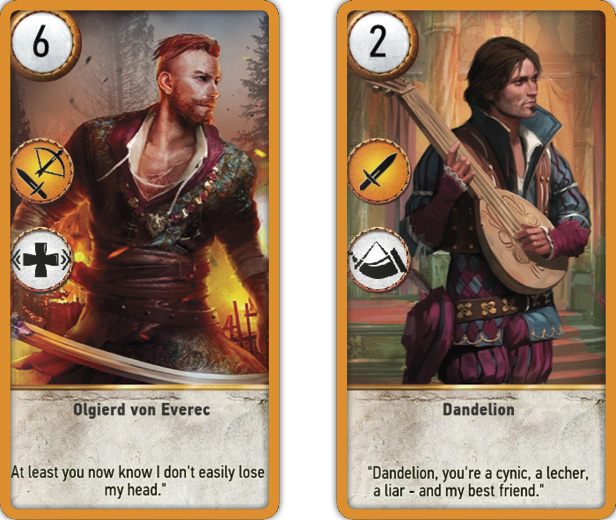
Neutral Cards: Olgierd Von Everec and Dandelion
Olgierd is no Hero, and he’s only worth six points, but he’s a good card to employ because of his flexibility thanks to the fact he is Agile, and offers a Morale Boost. This means you can place him in either the Close Combat or Ranged rows and add some much-needed bonuses. Combine him with a Commander’s Horn to really increase a row’s strength, and reuse him by utilizing a Medic.
Dandelion offers a similar strategy, though he only brings two measly strength points to Close Combat rows, so isn’t as flexible in his positioning (despite what the harlots at the Rosemary and Thyme may have told you). Dandelion’s biggest benefit is his Commander’s Horn, enabling you to ditch a Horn Special Card. Combine him with Olgierd to increase your Close Combat row by a huge amount.
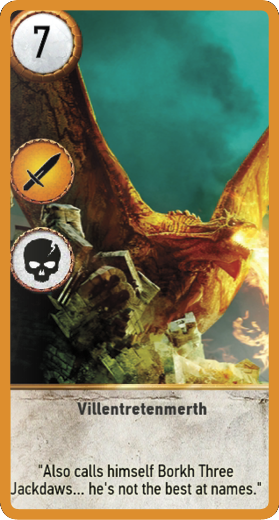
Neutral Cards: Villentretenmerth
One of the best cards in the game of Gwent! Villentretenmerth must be part of your deck strategy at the earliest possible point. Though this is a seven-point non-Hero, Villentretenmerth has the invaluable ability to Scorch; not across the entire battlefield like the Special card, but a focused Scorch on your opponent’s Close Combat row, if the total value of the opposite row is greater than or equal to 15. This allows you to place him (usually late in a round) to remove one or more high-level non-Heroes. Use him often, and resurrect him from the discard pile with a Medic. Use him with Toad (Monster Deck) or Schirru (Scoia’Tael Deck) to Scorch two different rows. Utilize all the Scorch tactics previously mentioned in this chapter. Watch the world burn!
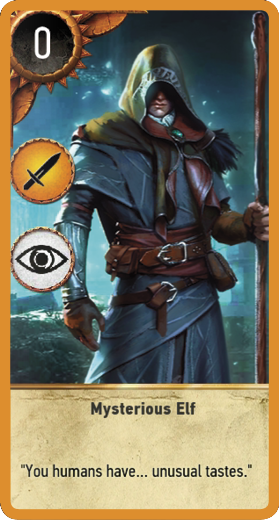
Neutral Cards: Mysterious Elf
Initially, one might puzzle at the sight of a zero-point Hero, until you realize this elf is a Spy, and therefore gives your opponent no additional strength points, making him the finest Spy available. His only downfall is that because of his Hero status, he can’t be Decoyed or resurrected by a Medic back into your hand; so use him to gather extra cards as soon as you can. Or, wait until the very end of a round, and feint your opponent into thinking you have few or no cards left, and then use him. He is a card you definitely should employ in any deck strategy, and also allows you to utilize the fabled Spy ability in decks where Spies aren’t normally available (such as Scoia’Tael decks).
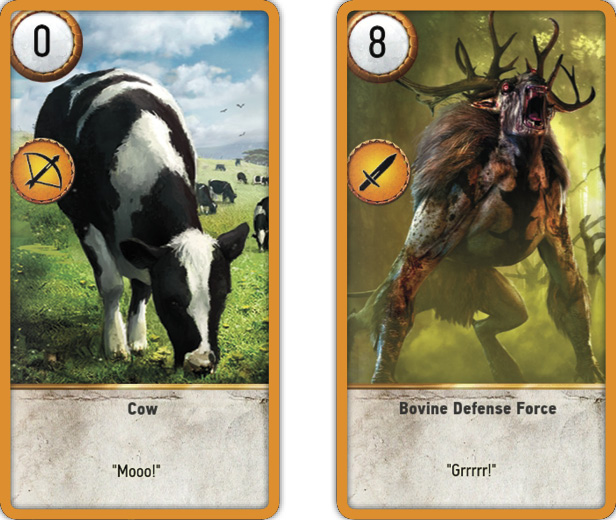
Neutral Cards: Cow (Bovine Defense Force)
The Cow seems initially to be a useless ranged card which offers no strength bonuses, and nothing of value during the round it is played, aside from the fact it is a great card to “burn” while you wait for your opponent to run out of cards or play a Weather card or Scorch. However, once the Cow is taken off the battlefield (either after a round, or by Scorch card), the card transforms into a Bovine Defense Force (an eight-point Close Combat Fiend) that begins the next round already on your board. This can surprise your foe, quickly add points to a front line, and even take a Scorching for you! While the Cow card is excellent in the first and second rounds as a prelude to enforcing your Close Combat line, it’s not very useful in the last round, as the more powerful card would appear only in the last round.
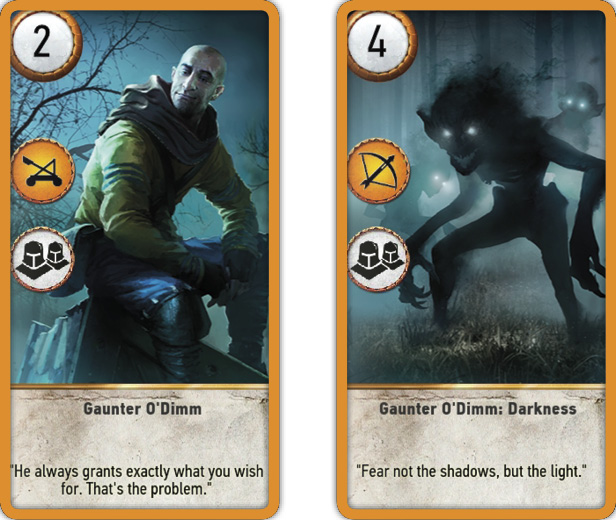
Neutral Cards: Gaunter O’dimm and Darkness
The tactical advantages of this set of Muster cards has been discussed in the Muster section of this chapter. Simply put, Gaunter O’Dimm adds a possible 14 points (if you have all four cards) with a single placement. Not only that, but the cards sit across your Ranged and Siege rows, which are less frequently attacked by the enemy. Furthermore, Gaunter O’Dimm can add a fantastic extra dimension of strategy to decks that don’t normally use Muster. You could even increase your card count without too much worry, as all five cards are used at once!
The tactical advantages of this set of Muster cards has been discussed in the Muster section of this chapter. Simply put, Gaunter O’Dimm adds a possible 14 points (if you have all four cards) with a single placement. Not only that, but the cards sit across your Ranged and Siege rows, which are less frequently attacked by the enemy. Furthermore, Gaunter O’Dimm can add a fantastic extra dimension of strategy to decks that don’t normally use Muster. You could even increase your card count without too much worry, as all five cards are used at once!