
The Witcher 3: Wild Hunt The Complete Edition Guide Quest Walkthrough: Act I (Novigrad) Secondary Quest: Redania's Most Wanted
Dropping in Unannounced
Objectives:
|
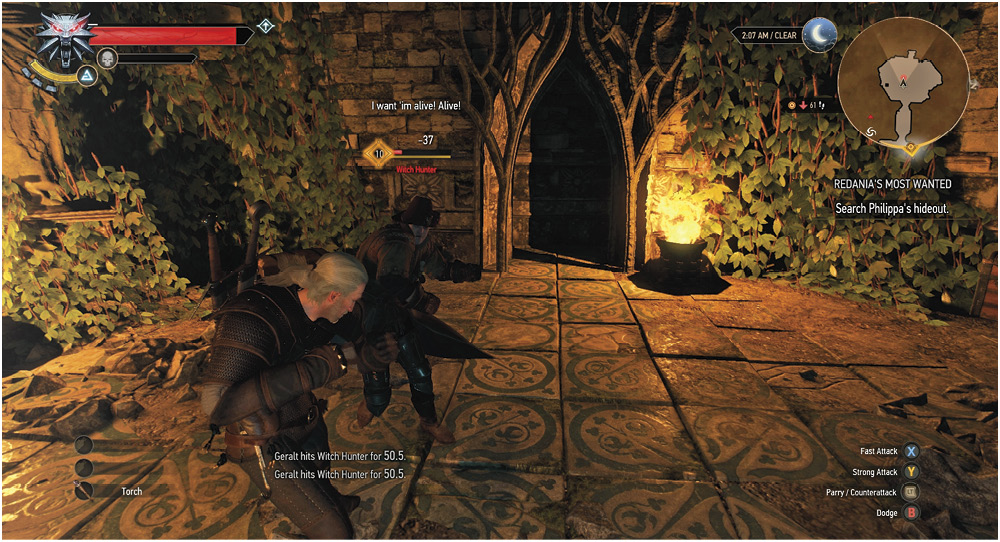
A lone witch hunter is brandishing his sword. Lost and disoriented, his inspection of the area has convinced him that a meeting of sorceresses is set to take place here. However, in order to protect himself from creatures visiting this area, he has removed the nearby portal’s power cell. Naturally, you need the power cell to continue. You can:
- (Axii Delusion Level 2) Tell him to behave and give you the crystal.
- (Fight Fight) Tell him he’s in a world of hurt, and literally beat the power cell out of his hands.
Aside from denigrating your antics, expect no more annoyances from the witch hunter. Inspect the chamber you’re stuck in. There’s another feather (a Sign of polymorphy) and a chest containing some love letters written to Philippa (from a woman scorned by her as she discarded her for… Dijkstra?!). Now run up the stairs to the deactivated archway portal. Fall off here and you die, so turn around, place the power cell into the wall alcove to your left, activate it with Aard, and step on through.
|
ITEM: Quest Items: Power Cell, Letter to Philippa |
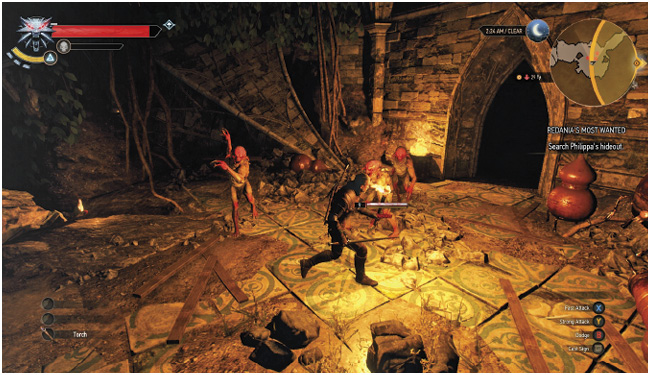
You step into a chamber of three nekkers that attack you immediately. Slay all three and inspect the remains of Philippa’s laboratory.
There’s another feather on the ground, and an opening that leads down some ledges into a small watery cave. Attack four more nekkers in this lower cave area, before exploring it thoroughly. There is a power cell to gather. Grab it, head back up into the laboratory, and up the steps to the portal platform. Once again, insert a power cell into the wall alcove to your left, activate it with Aard, and use the Portal.
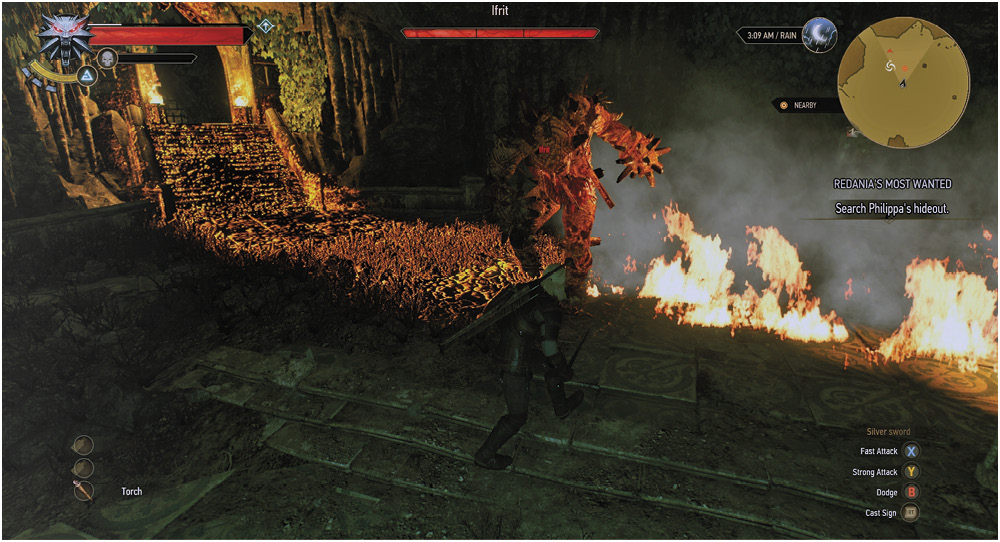
Now finally on the lowest level of this maze, dash forward (northeast) toward the central tiled pathway lit by braziers. At the far end you are greeted by a guardian summoned by Philippa—an Ifrit to slay. Once the fire elemental is snuffed, head up the stairs, through two archways and into Philippa’s private quarters.
Objective
|
Amid the broken furniture, rubble, and discarded equipment, your Witcher Senses pick up the following:
- Agates that Philippa wore around her neck. These are covered in blood for unknown reasons.
- Blood-stained surgical instruments indicating she operated on someone.
- Notes that are so charred they are unreadable.
- The remains of her megascope, scorched and covered in soot.
- A heavily-chipped crystal from the megascope. Your favorite sorceress friend will know what to do with it.
|
ITEM: Quest Items: Agate, Polished Crystal |
Depending on your previous quest and romance choices, you may optionally take the Polished Crystal to be examined by:
 Triss in Novigrad.
 Yennefer in Skellige.
 Yennefer in Kaer Morhen.
Or, you can ignore the sorceresses completely, and return to Radovid.
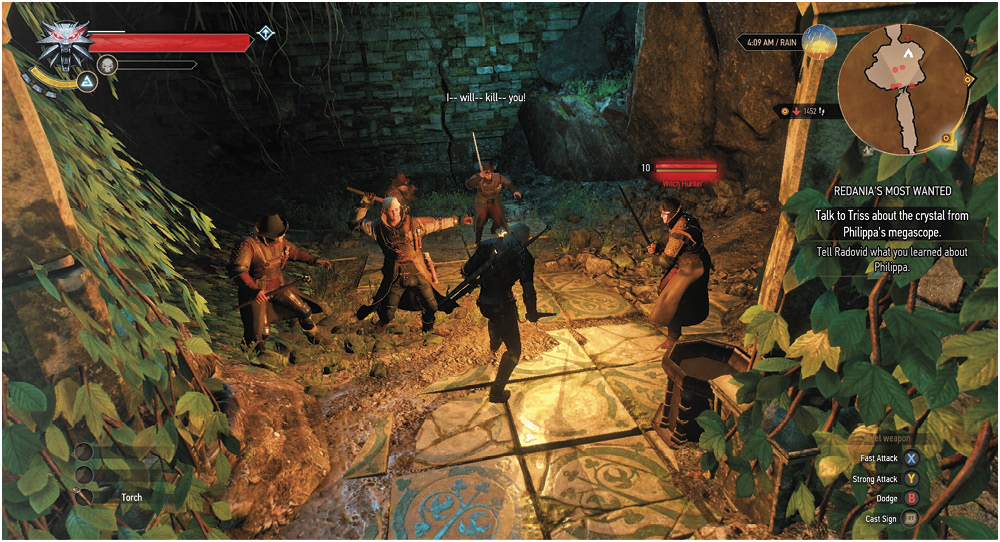
Exit Est Tayiar the same way you entered. Access the portal and ascend to the hole below the exterior ruins. You notice that the witch hunters are discussing your efforts, and their leader aggressively demands to learn what you’ve found out.
You can:
- Be as rude as you wish, or attempt to hide the fact that you found the megascope’s crystal. It matters not; you must fight the five witch hunters.
- Or you can hand over the megascope’s crystal to the leader immediately. You aren’t able to visit either Triss or Yennefer, and should head back to Radovid’s boat for your reward. This isn’t recommended.