
The Witcher 3: Wild Hunt The Complete Edition Guide Quest Walkthrough: Act II Main Quest: The Battle of Kaer Morhen
A Wild Frenzy
Objectives:
|
You are now Geralt. After a protracted battle, Triss finally rains molten death down from above. You seize this opportunity to flee back to the castle with Lambert (and Letho). Once on Roach, gallop quickly across the ford (roughly north), dodging any fiery missiles. Race to the fortress as Yennefer’s power begins to falter, and the protective shield she valiantly has summoned starts to shrink, forcing this retreat.
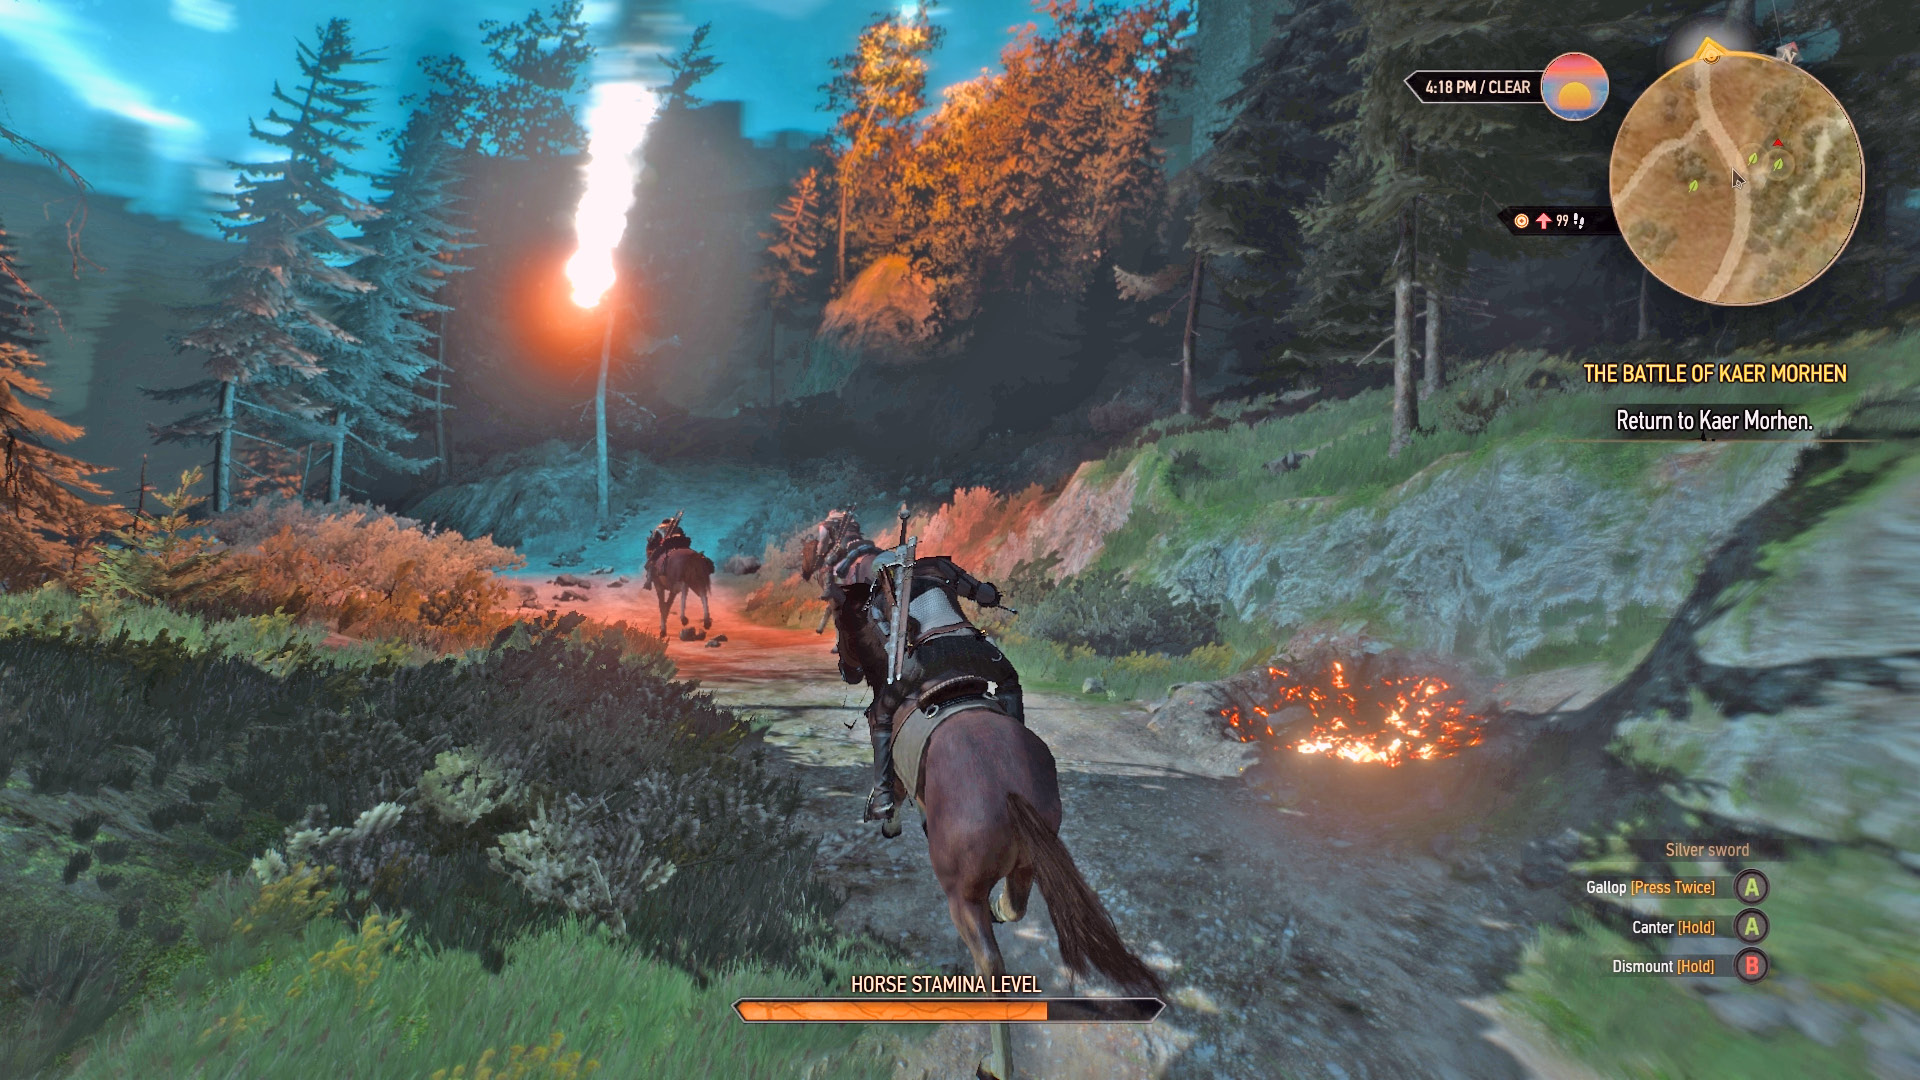
Dismount just inside the keep entrance, to the right. The Wild Hunt is over the battlements, and a portal appears. Expect chaos and mayhem; and at least three warriors and just as many hounds to choose to fight. Pick a warrior close to you and concentrate on slaying him. Continue until Vesemir yells to close the gate.
Turn southward, climbing the wooden platform up to the main battlements and objective area. Vesemir is up here, battling the Hunt.
 Vesemir is attempting to close another rift. If you help him now, he turns back and races to the roof, to help Triss as well.
 Ermion is also on the crenelations, putting his staff to good use and slaying away.
Tackle any nearby warriors but make the gate mechanism—a lever along the upper wall to the west and north—your priority. Pull it!
Return down to the courtyard, and expect at least five more warriors and just as many hounds throughout this carnage-filled combat. Bring down any foes to their knees, heading to help Lambert and finish your fighting in his vicinity (near Letho and Vesemir as well). Check on Lambert’s health and ensure he doesn’t die.
 If Keira Metz is with you, she summons a large protective circle, repels the Wild Hunt warriors, and saves Lambert. Afterwards, she continues to patrol the side yard (alone if you didn’t help her).
Objectives:
|
Yennefer’s strength is waning. Retreat by heading the way you moved at the start of this quest, east and north up the ramparts, then west and finally north, where Vesemir drops an archway on your pursuers. Remain in the initial courtyard and tackle any foes stopping your friends from escaping. Expect at least six warriors and hounds to bring down, along the way. Use bombs or Yrden on every portal that appears, gradually making your way up the steps. Pass the ballista crossbow, looking for further portals to close. Then battle up the steps, slaying stragglers, and reach the main doors to the keep. Eskel hasn’t opened these yet!
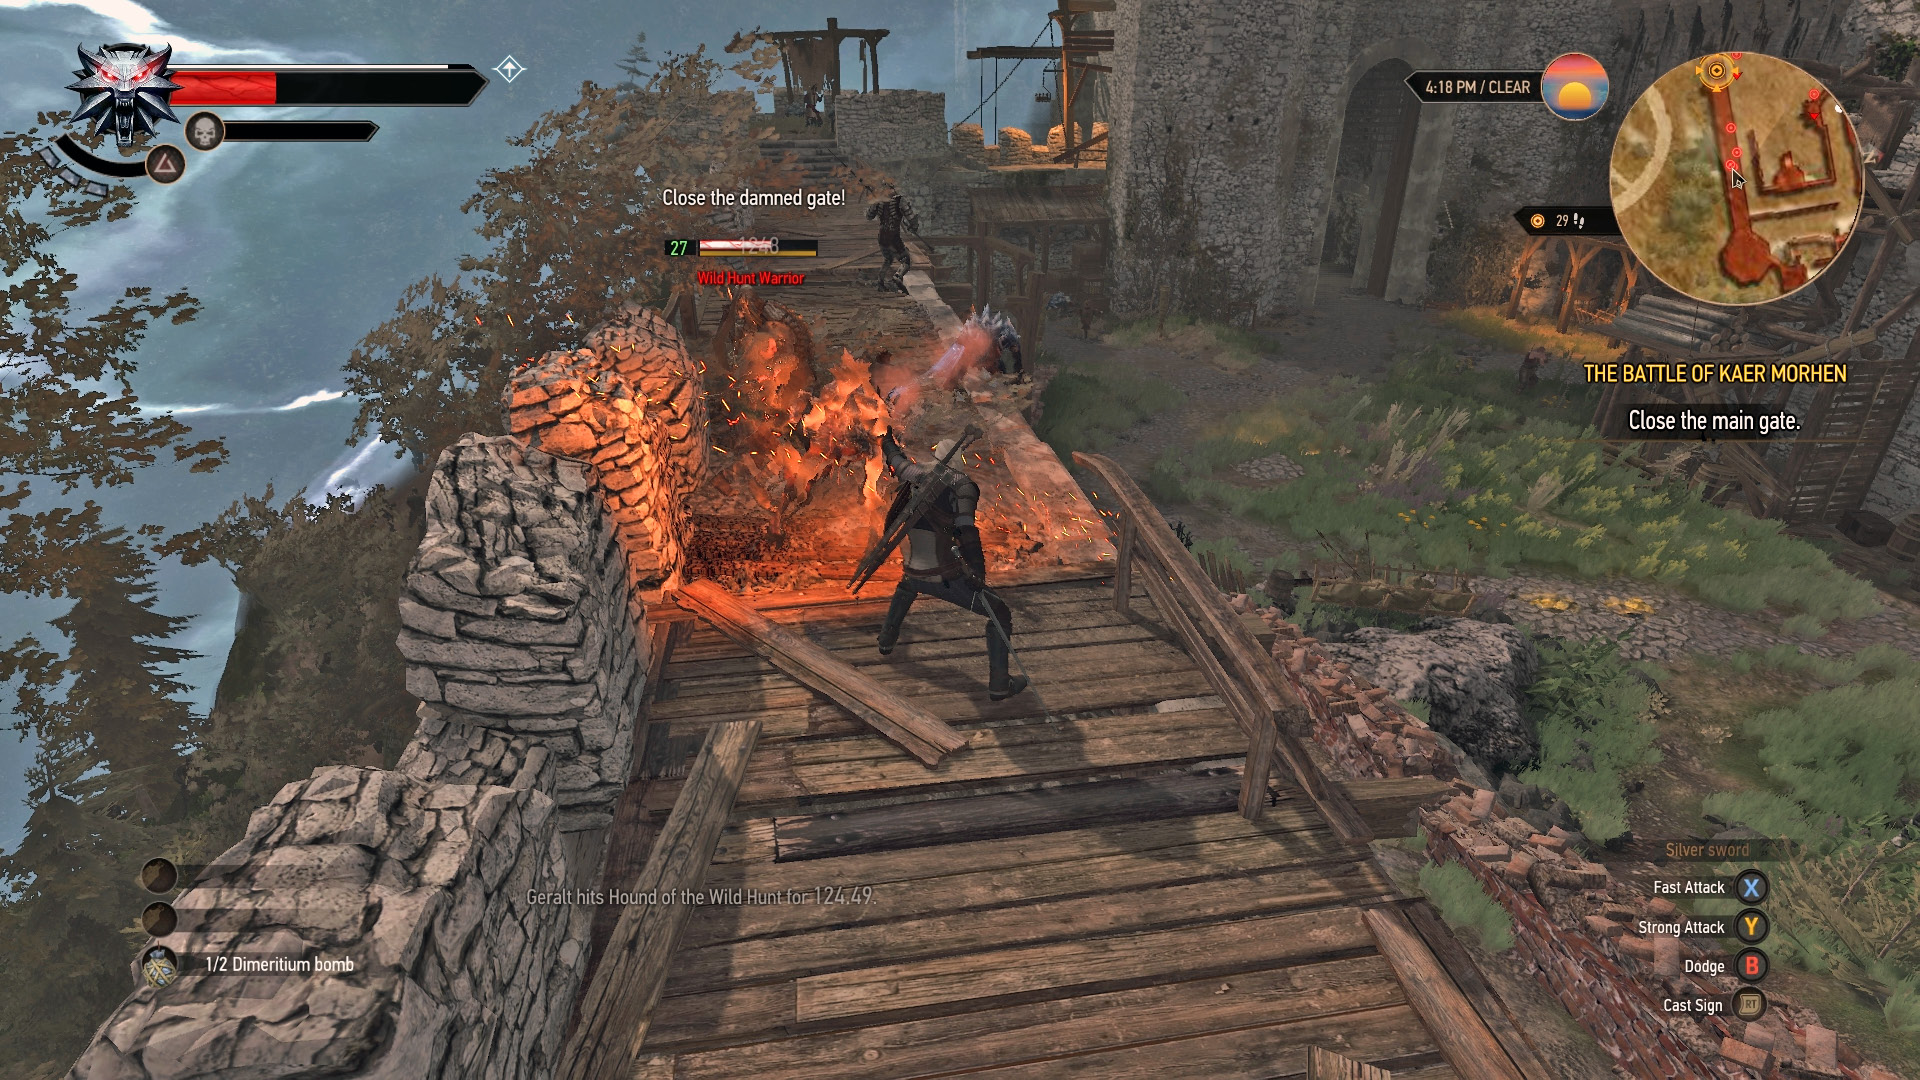
 If Zoltan was invited, he has placed his explosive barrels across the fighting area from this point onwards; ignite any and deliver an explosive death to any foes nearby. Why not try to blow up a barrel close to where Ermion (if invited) has released some flammable gas? The explosive is even more devastating!
 If you invited Roche and Ves, they welcome you from the walls, shooting burning arrows and bolts at your enemies. If you brought Zoltan along too, Roche and Ves also aim for the dwarf’s exploding barrels.
Head back down the steps, then northeast towards Triss’ location. Ignore the fire raining down and instead sprint at the portal, and close it with bombs or Yrden. Turn on at least three more warriors and hounds, cutting them down with Lambert’s (and Letho’s) help. Now look for any remaining foes and bring them down with keen sword and sign strikes. After the fight, Ciri appears atop the battlements, and agrees to find Eskel.
Objectives:
|
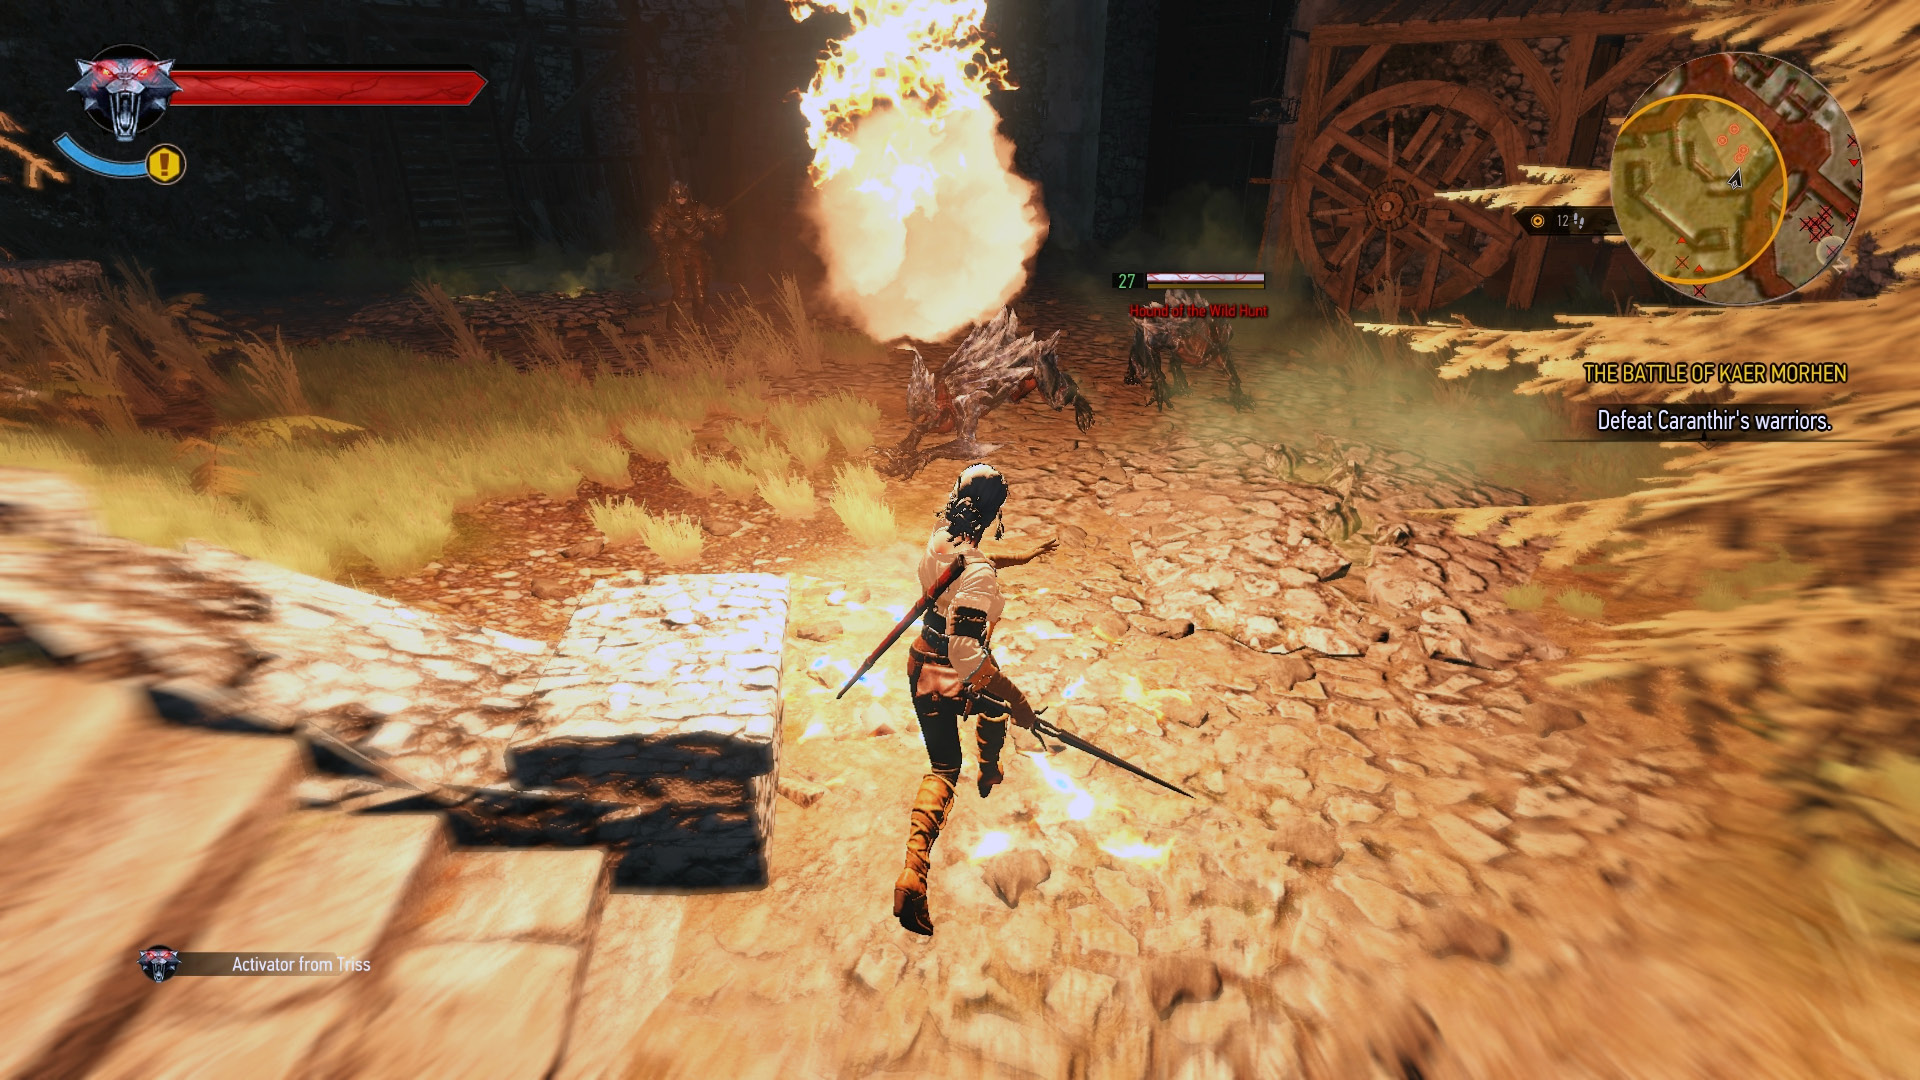
You are Ciri again. Caranthir strides through the keep, stopping to face Eskel in combat. The witcher is nimble and cunning, but Imlerith is vicious and quicker. You jump into the fray, saving Eskel, and face Caranthir, who stops as a mighty horn sounds in the distance. He departs, leaving you to fight his minions. Perfect your Charge and missile strikes as you whittle down four warriors, and listen to Eskel complaining.
Move to the next objective area. Slay two warriors and two hounds from the portal, and then descend to the lower courtyard where three warriors and hounds must be faced. Next, move to the large wooden wheel mechanism, and use it to unlock the gate.
Maelstroms in the Courtyard
Objectives:
|
You are Geralt again. Still the Wild Hunt comes! But with the gates open, you can access the central courtyard, and stop further Hunt incursions via the portals.
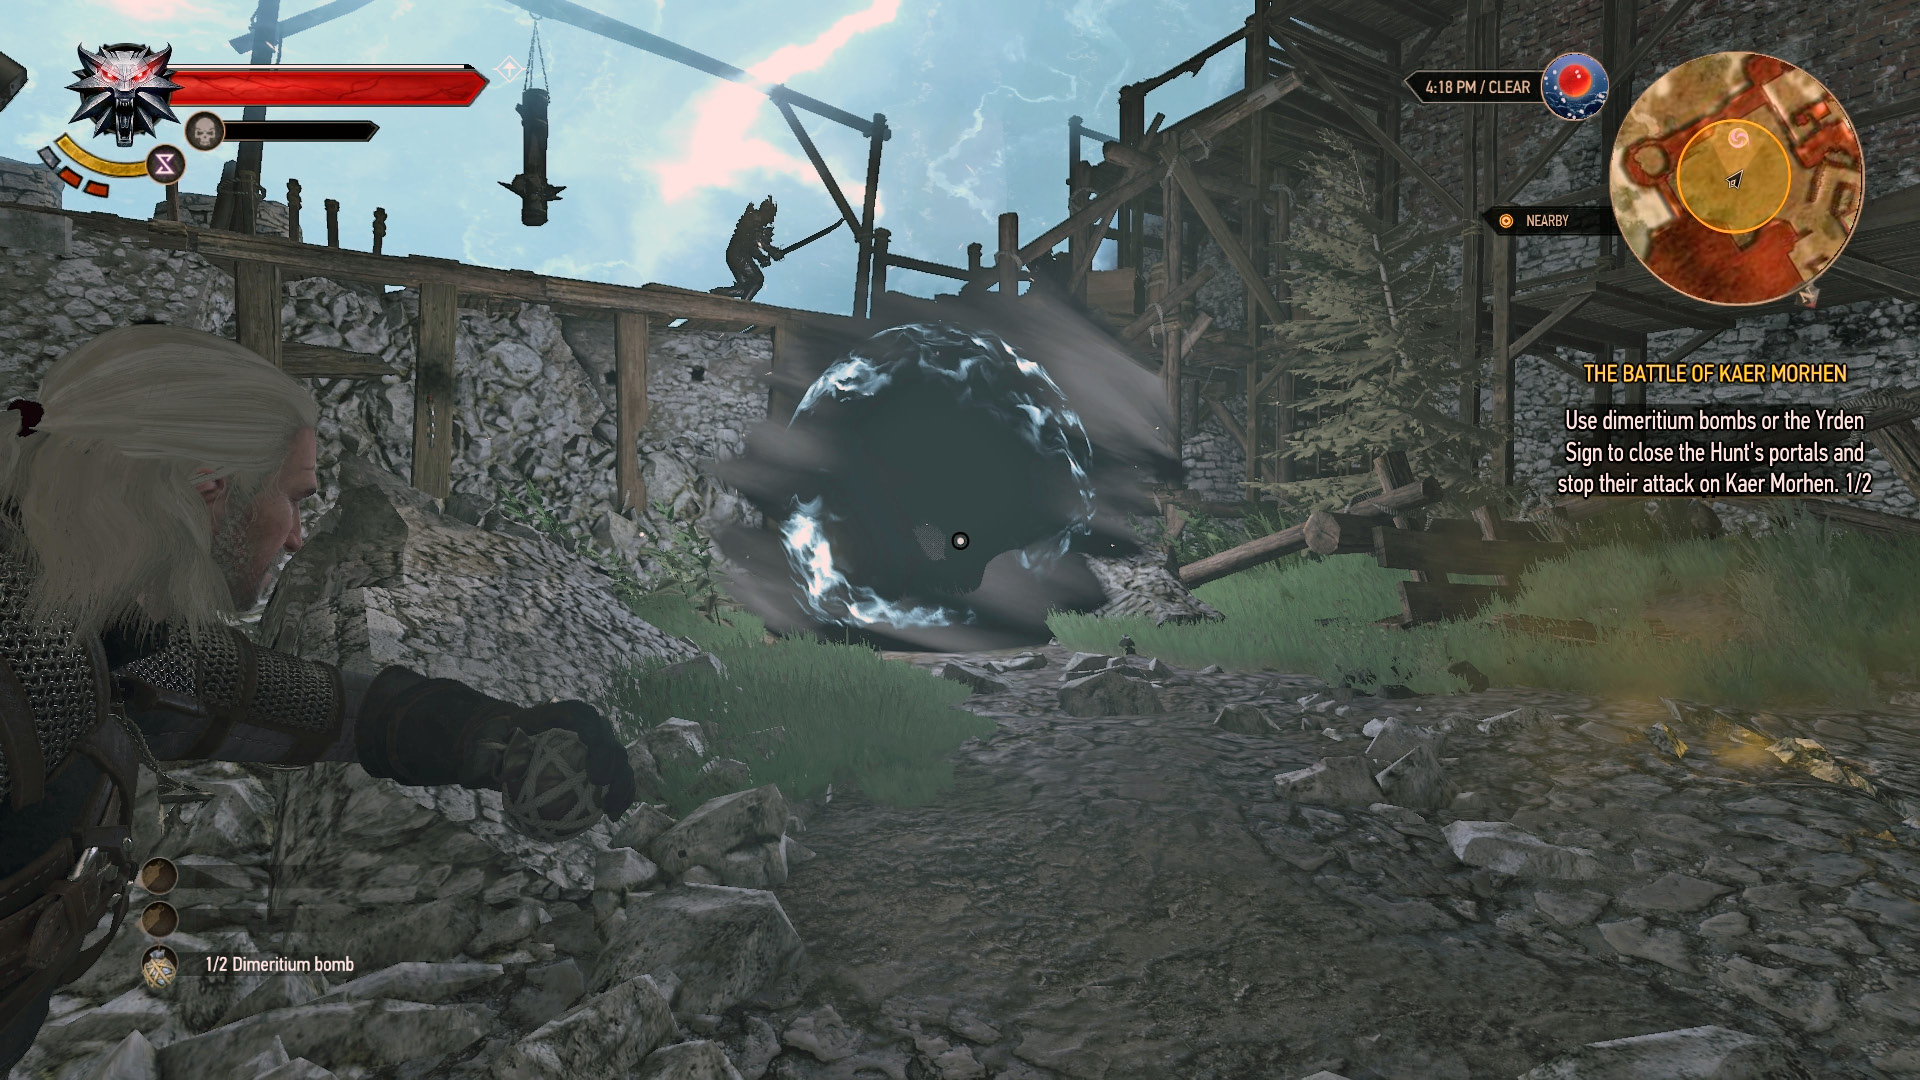
Temporarily stop your slaughter of warriors and hounds, and instead race immediately to the nearest portal, banishing it with Yrden or dimeritium bombs (if you run out, find more in crates along the walls).
 If Hjalmar is with you, he leaps into a portal, shrugging off the White Frost, and reappears a moment later, fill of vim and vigor, helping you remove one of the portals.
Objectives:
|
When no more immediate portals are visible (there are usually three to dismiss), fight any foes close to your location. When Eskel yells that the Hunt is coming through Savolla’s breach, ascend the steps and head northeast. Find and remove three more portals in the upper courtyard. Then Ciri shouts for help.
Rush southwards towards the opposite end of the upper courtyard, where Hjalmar launches an attack on a warrior, before a new portal opens. Dismiss the portals quickly. Triss yells for assistance now. Dash northwestward and down to the main gate.
End: There is no Blame. Just Grief.
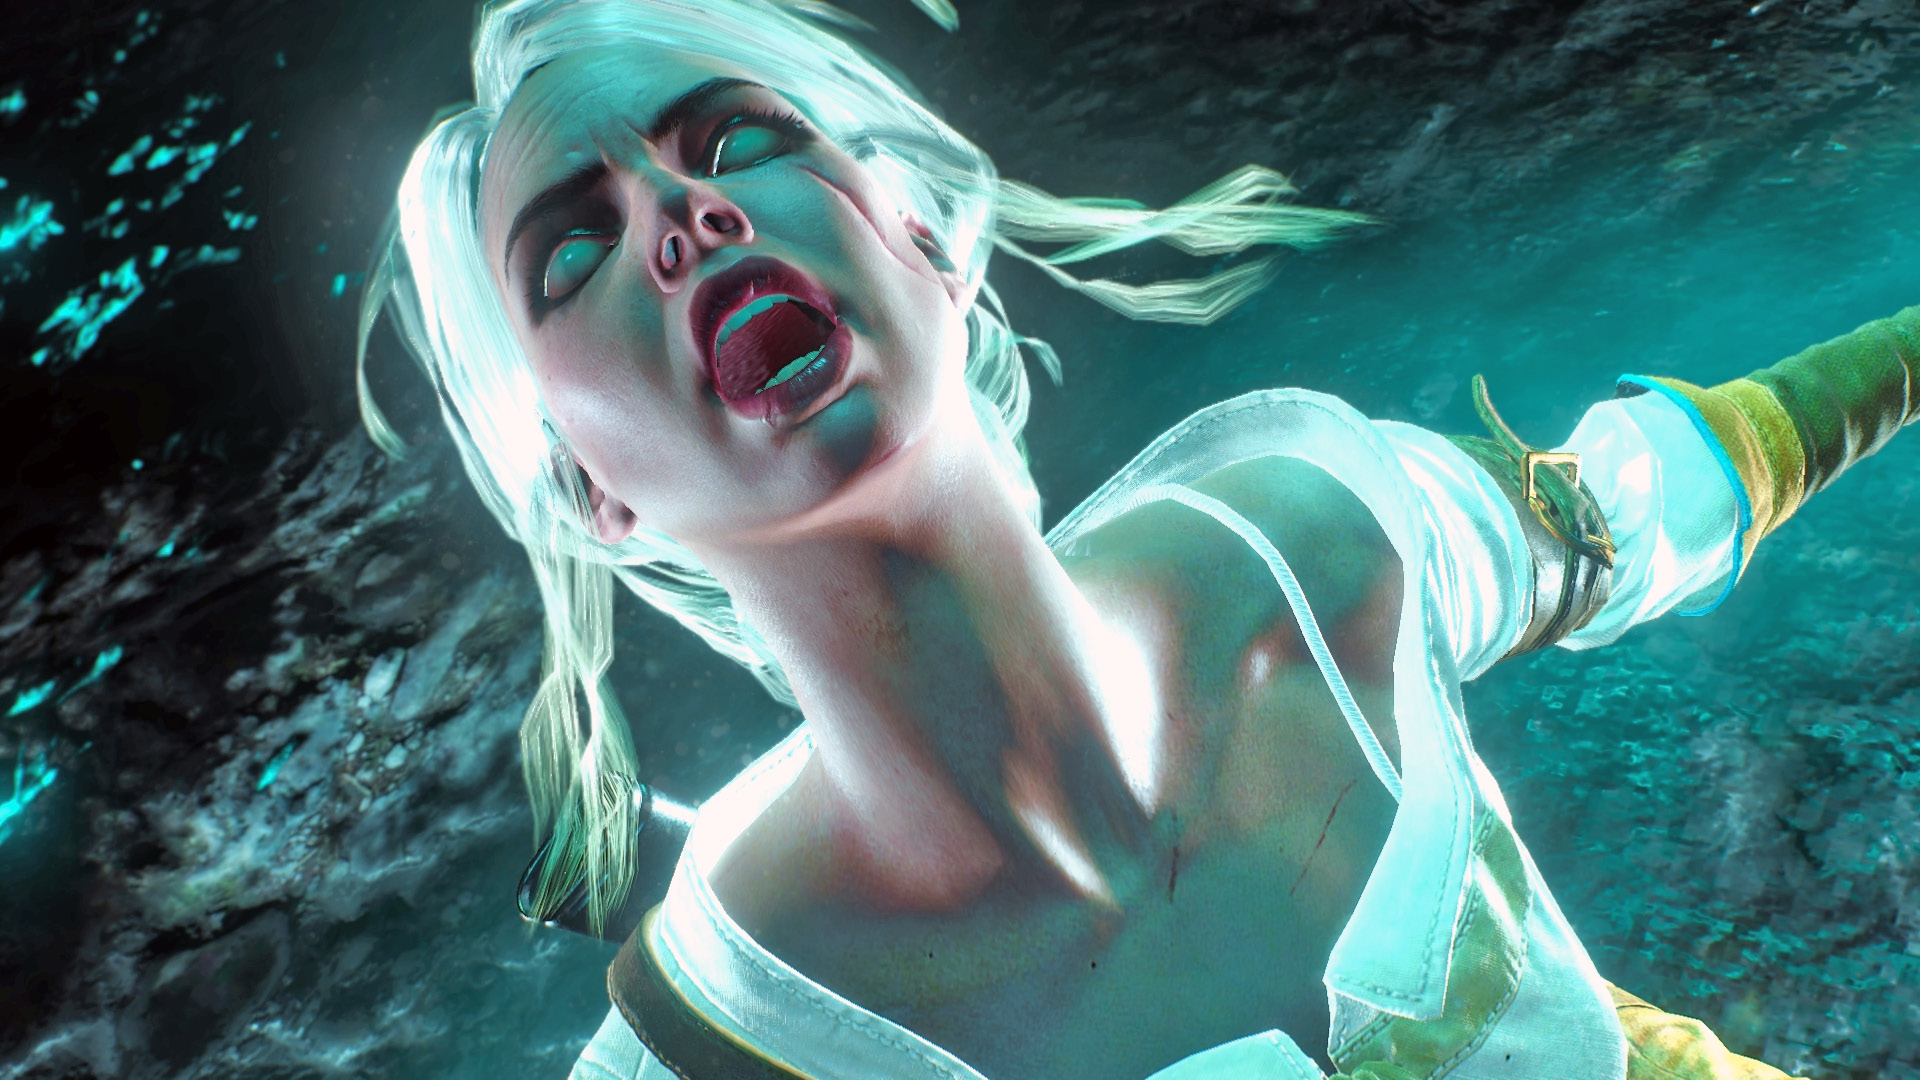
The main gates burst open as Yennefer falls. You are frozen as the White Frost envelopes the castle grounds. The Wild Hunt strides in, with both generals and including Eredin himself! Knocking Vesemir from his protected stance near Ciri, the old witcher saves her life, but at a great forfeit. Overcome by rage, Ciri loses control of her powers, uttering a magical scream that forces the Wild Hunt back, and then to banishment. Avallac’h appears, siphoning her power. She falls to the ground.
- After reaching out to Ciri, speak to her as you wish. Preparations are made to say farewell to a friend, as this quest concludes. Main Quest: Blood on the Battlefield begins automatically.