The toughest job, if you’re helping the Knight Errants, is the clearing of three huge bandit bases. These take considerable time, preparation, and skill to emerge victorious from, and the odds are the most overwhelming you’ve ever faced!
Each of the three Hanses is a base of operations for an infamous outlaw gang commanded by a particularly unhinged leader. These bandits are well-organized and when attacked, they call for help from neighboring camps. To prevent this, kill bandits running with torches (that show up on your mini-map) toward signal fires (also on your mini-map). Your goal is to kill the hanse’s leader. Once this occurs, the Knights Errant take over this location, and you can claim a reward.
Items: Crowns (100 per Hanse)
In each location, you should expect upward of 20 bandits, and around 10 Hanse Dogs to face. Some bandits have long swinging hammers, while others carry shields. Tucked away in a separate area of the camp is the Hanse leader himself; a particularly hardy specimen. Your job is to remove all enemies from the Hanse.
HANSE BASE #1: ARTHACH PALACE RUINS
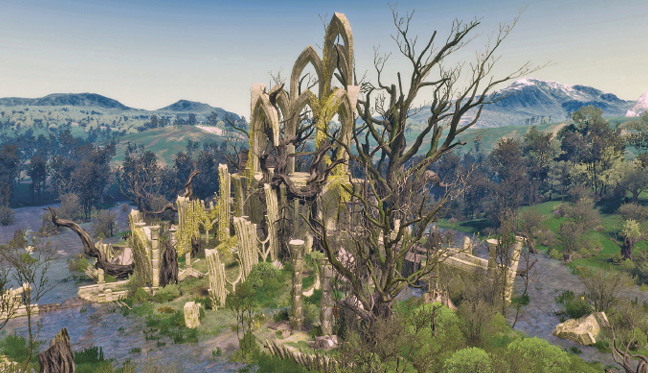
Located at the very northern part of the Vedette Valley Territory, this old elven ruin slowly sinking into the marsh features a central island, shallow waters you can fight in, and a few scattered bandit camps.
Items: Antoine “Starling” Straggen’s notes
HANSE BASE #2: MONT CRANE CASTLE
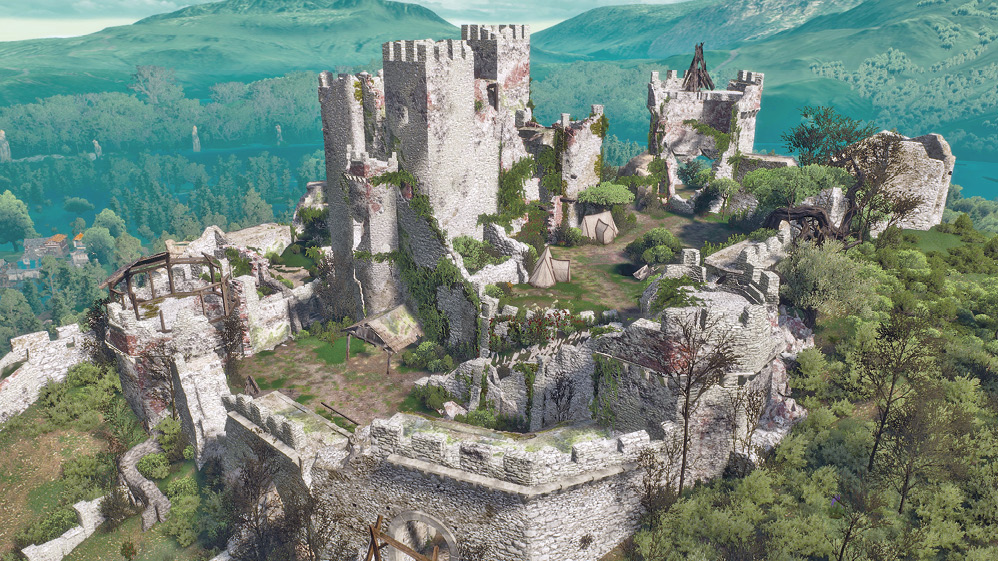
Resilient against the winds of Mont Crane is the sprawling castle atop this mountain, in the northeastern part of The Champs-Désolés. Expect the majority of combat to occur within the crumbling walls of this fortification.
Items: Journal bound in worn leather
The two roads to the west and south of the castle are each patrolled by bandits on horseback; tackle these enemies (one pair, one group of three) before assaulting the castle itself.
Charge into the lower courtyard, and a torch-bearer tries to flee up the steps. Concentrate on him first if you aren’t wanting to face reinforcements. Expect around six foes in this lower area.
You can use the gap in the exterior battlements left of the main gate, below the ballista, and with some careful jumping you can leap up, past the ballista, and more easily catch the torch-carrier.
Try to keep the torch-carrier in the lower courtyard (by blowing him up, using ranged weapons, or sprinting and hacking at him).
If you ignore the torch-bearer, the fire is usually lit when you reach the upper bailey and fight for a minute or so; a large walled area of grass with tents at the top of some long stone steps. Around 12 reinforcement foes charge in up the steps behind you, and may overwhelm you.
Charging the signal fire isn’t feasible, as it’s too far away and high up to reach before the fire is lit, so cut down the foe running as early as possible.
You may wish to actively encourage more foes to arrive, to gain additional experience and enjoy much more carnage! If you do, retreat to the northwest ruined castle chambers, where you have cover and foes (plus their hounds) can only approach one at a time.
Stealthy Witchers may wish to enter the lower courtyard, turn right, and climb up through a ruined tower to reach an upper covered deck where you have more cover, and access to the top of the main open stairs to the upper bailey, though this isn’t the best way to catch the torch-bearer.
Well-timed bombs thrown at the reinforcements streaming up the steps can cause mass casualties, especially if you quickly switch from a Northern Wind bomb to an explosive or Igni blast. Drop area-of-effect magic or bombs at the top of the steps, when the foes show up en masse.
Fighting in the open usually makes you susceptible to archers, though by now your activity point allocation should make ranged attacks moot. If you need to hide from the archers on the upper bailey, dip below the wall on the stone stairs at the upper bailey entrance, while coaxing foes into an easily-dispatched group.
Fighting on the signal tower spiral steps is unwise, especially at the top, as you can easily fall after being struck by a foe. Incapacitate enemies with Northern Wind, Signs, or crossbow bolts to lessen the chances of losing your footing.
Need to flee? Leap from the upper bailey, down to the lower courtyard, and back up to the stream, using the high castle walls as cover.
Remain in the northwest castle ramparts after the main fighting has died down, find a ladder, and climb onto the wooden platforms, facing a couple more armored foes as you reach a second ladder, and more platforms leading all the way to the top.
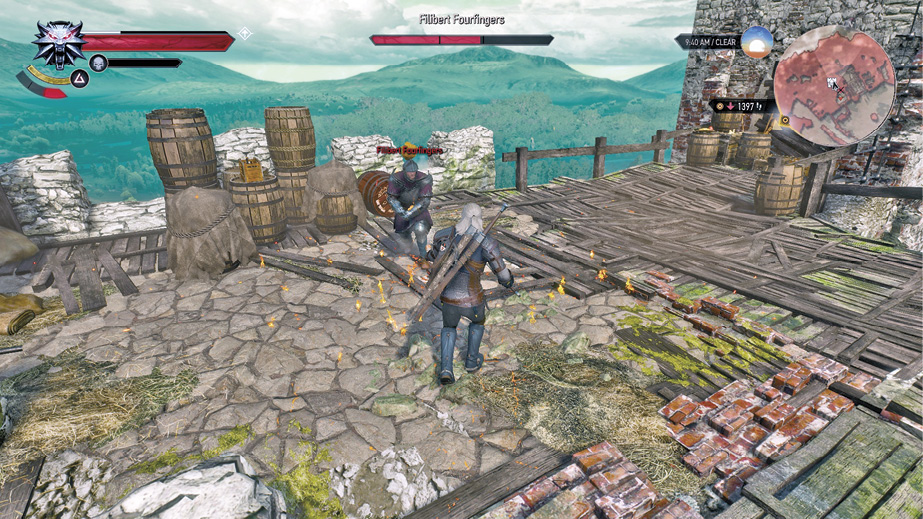
This is where Filibert Fourfingers – the Hanse leader – resides. He is clad in heavy armor, and tough to hack apart easily, though you can parry and push him back toward the red explosive barrel, then light it with Igni or a flaming crossbow bolt (or explosive bomb). Or just Axii his brain. Then check his perch for some notes. You’ll find some orders from Filibert at the nearby Knight Errant in Distress.
Once the Hanse is cleared, Knight Errant forces appear to take over this position. Expect a deep discount from a Journeyman Armorer that appears at this location.
Items: Journal bound in worn leather
HANSE BASE #3: TULASENS CAVES
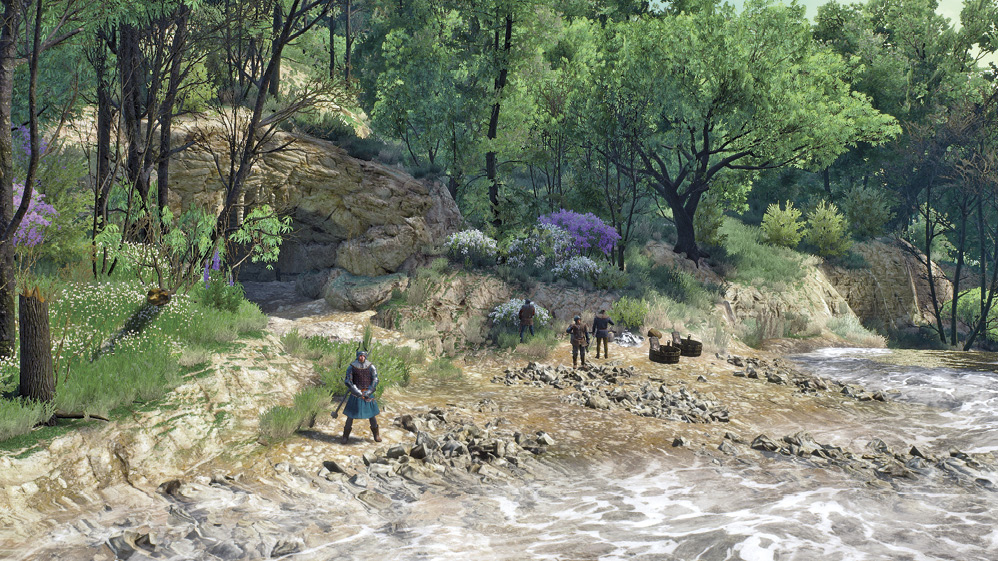
In the far northern climes of the Gorgon Foothills, north of Fox Hollow (which is an Abandoned Site full of bandits, and a recommended culling spot before the Caves are assaulted), is a deep gorge in the wooded hills. You can fall to your death from above. A better plan is to assault from the river, into the mouth of a small cave.
Though the map marker of this Hanse shows it just south of a deep fissure leading to a shallow underground stream, the only real way to actually engage the foes in this base is to search the river to the southwest, and uncover a small bandit camp at the cave mouth. Tackle the four foes here before heading into the cave. Note there’s a second cave entrance to the east of here, but it has an iron gate that is locked and cannot be accessed now.
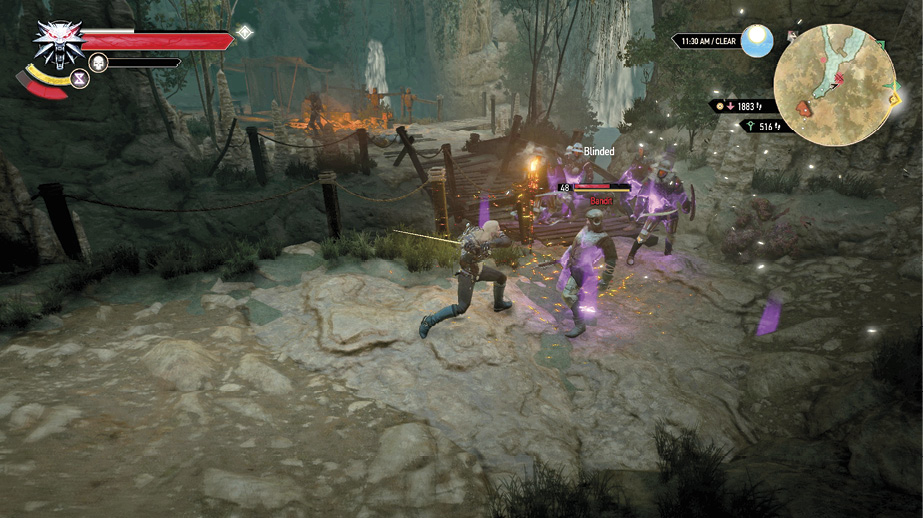
Watch the left side of the stone passage; you don’t want to fall into the rock-walled streams of this Hanse at any time, as it’s difficult to get out, and you’ll attract unwanted attention.
Reach the first wooden footbridge, before sprinting across and through the first set of foes, focusing on the torch-carrier. He runs up the long right-curving path, then up the wooden steps to the signal fire at the top of the open cave fissure. Use Axii before he reaches the steps to ensure this doesn’t happen.
Now turn your attention to the assembled bandits. As the cave complex is dark and confusing, a good idea is to face foes where you killed the torch-carrier, retreating back to the first wooden bridge and using that narrow opening to funnel foes into your attacks (so you aren’t overwhelmed). Retreat to the cave mouth if you wish; then slay bandits in a much more manageable manner.
The steps up to the signal fire are difficult to navigate, and you can easily be swamped by foes. As the only way to escape is a death plummet, stay away from here (even if the signal fire is about to be lit).
There are side passages, the watery stream below, and other small bridges and ledges to explore. Do this after combat, and not before, to minimize risk of becoming lost or trapped.
Head roughly south, passing a waterfall gorge to your left as you cross a wooden bridge, push open an iron gate, and enter the lair of Loth Halfbreed, the Hanse leader in these parts. He favors a sword and shield. You should favor an Axii flummoxing and quick murdering.
Once the Hanse is cleared, Knight Errant forces appear to take over this position, with a Journeyman Armorer (found in the north part of the cave). Search Loth’s corpse for his notes and a key to unlock the southeastern cave exit, off this area, allowing a quick access out to the river.

 HANSE BASE #3: TULASENS CAVES