
The Witcher 3: Wild Hunt The Complete Edition Guide Scavenger Hunts Cat School Gear (Basic)
Armor, Boots, Gauntlets, And Trousers: Novigrad’s Biggest Secret

|
Locations: Elector’s Square (Novigrad), Temple Isle Passages (Unmarked), Lighthouse, Widow’s Grotto, Flying Stag (Unmarked), Est Tayiar, Drahim Castle Characters: Adalbert Kermith Enemies: Golem, Wraiths, Drowners, Witcher Kiyan, Bandits, Witch Hunters |
Objectives
|
After viewing the first of Adalbert Kermith’s annotated maps, it appears the City of Novigrad is hiding more than just sorcerers in its many subterranean hideaways. There’s mention of special passages under Temple Isle, the hifalutin seat of government and location of the Eternal Fire’s major place of worship.
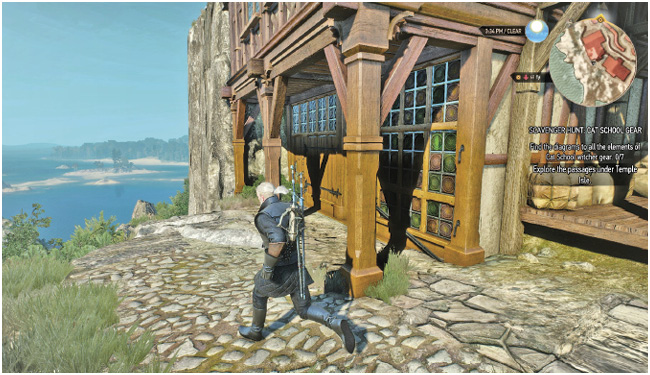
Head to the Elector’s Square signpost to start your exploration. Don’t be tempted to explore the shoreline under this huge island rock, or you’ll never find the entrance!
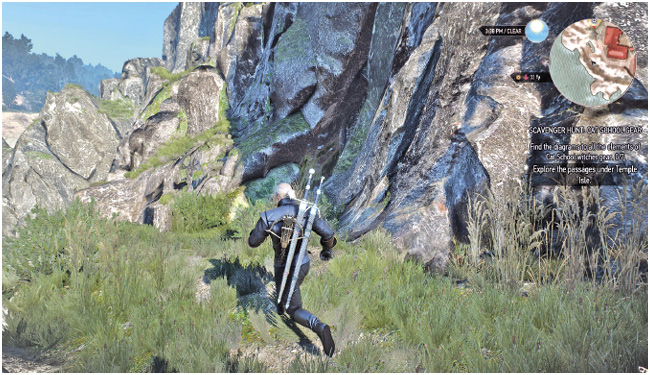
From Elector’s Square, head roughly west and northwest down the cobbled side streets, to the cliff edge. You’re looking for a clifftop stone path that winds precariously around the dwellings that face the sea. Carefully climb down the rocks to a subsequent grassy path which takes you down and around to a large fissure, the cave passage entrance.
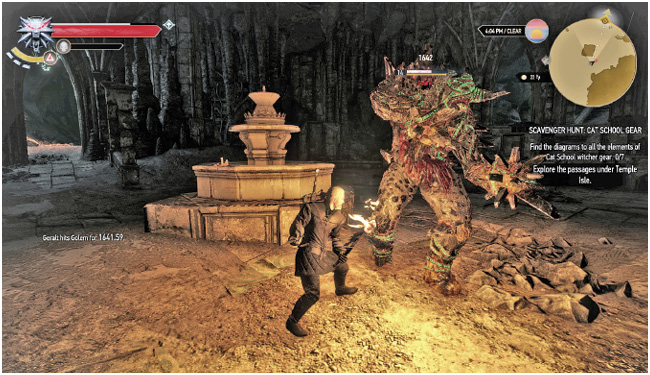
Enter the cave passage, continuing north and northeast until you’re stopped by a rock wall. This is actually an illusion, so produce the Eye of Nehaleni (obtained during Main Quest: Wandering in the Dark), and interact with the rock; it dissolves away. You gain entry to a large subterranean cavern with elven arches around the perimeter. Beware of a golem up ahead, close to a fountain. Battle or avoid this summoned monster. Secure the main fountain chamber, ending (to the southeast) at two sets of steps with four cauldrons to light, with a firmly-locked laboratory door atop the steps.
Invoice For A Golem
Work your way in a counterclockwise direction around the perimeter of the fountain cavern from the starting entrance. At the first blocked archway on your right (along the south perimeter of the cavern), light the two cauldrons and break the walled section of the cracked arch opening using Aard. Continue down a few rock steps to a pool. Dive down, optionally loot a chest, and climb out the other side. Head into an eerily-illuminated chamber. Watch for a wraith guarding some paperwork and a chest. Read the invoice, revealing who purchased the golem (Irenues var Steingard).
|
Items: Invoice for a Golem |
Look To The Depths To Be Lifted Up
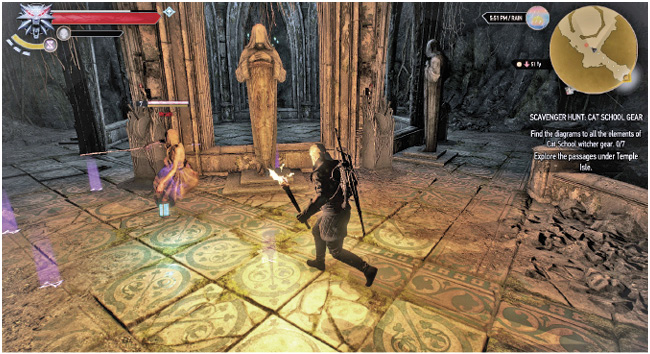
Return to the fountain cavern where you fought the golem, and journey east through an open arch, and southeast through a natural rock tunnel with some escaping fungi gas (refrain from using fire). Climb the rocks at the end of the tunnel, and search for a strange ceremonial stone chamber marked by a tablet inscription. Examine it, then explore the octagonal room with eerie cowled statues surrounding a central stone floor. Use your Witcher Senses and uncover some notes, strange markings, and a mysterious recipe. Slay the two waiting wraiths guarding this place.
|
Items: Research notes, Mysterious recipe |
Light the torches if you wish, then inspect the pillars around the chamber. All of them have levers you must pull. Each time you pull a lever, the statue to the right of it rotates clockwise 90 degrees. Continue moving these statues until every single one of them faces into the central stone floor. You’ll know when this has happened as the central floor grinds back to reveal a plunge pool! Dive into the murky depths, fending off any Drowners with your crossbow, and locate (using Witcher Senses) the skeletal remains on the bottom of the pool. Extricate its key, ascend, and head back to the golem chamber.
|
Items: Laboratory key |
No Good. No Evil. Only Pain.
Objectives
|
Unlock the door at the top of the two sets of steps, and enter the mage’s laboratory. You may wish to Meditate and prepare for combat first. Light any braziers, and then look ahead at the deranged man sitting inside a pentangle. This is Kiyan, the Witcher driven mad and doomed to sit here for an eternity! Not any more…
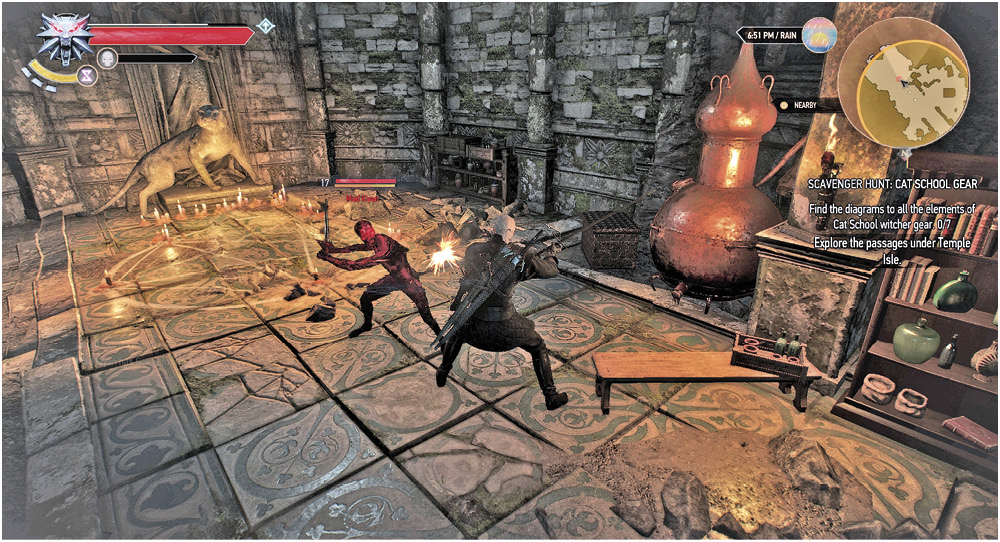
After slaying your erstwhile brethren, inspect his corpse for a mother lode of valuables! The notebook reveals how Kiyan was driven mad, becoming little more than a demonic host. The laboratory log also mentions the wreck of the “Flying Stag;” your next destination.