
The Witcher 3: Wild Hunt The Complete Edition Guide Treasure Hunts
Gustfields:from Ofier’s Distant Shores
|
Related Quests: Secondary Quest: Enchanting: Start-up Costs; Secondary Quest: Races: Swift as the Western Winds Locations: Upper Mill, Erde, Heddel, Zuetzer Castle Characters: Ofieri Merchant Enemies: Fallen Knights |
IN RISK THERE IS HONOR
Objective:
|
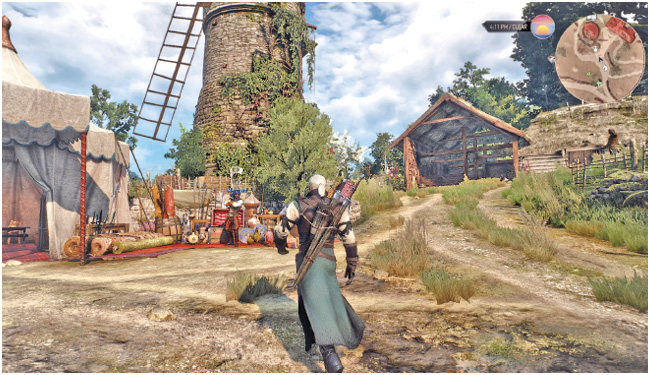
In the very northeastern corner of Gustfields territory, far east of Novigrad City, is idyllic Brunwich village. Across Miller’s Lake is the small hamlet of Upper Mill, where a pair of Ofieri traders have taken up residence. One is a merchant, and the other a Runewright. Engage in conversation with the merchant, who has set up his stall in front of the windmill, by his tent. You can:
- Ask him about his homeland.
- Mention his horse. This prompts you to challenge the merchant to a horse race (Secondary Quest: Races: Swift as the Western Winds; see page 503).
- Tell him you “wouldn’t mind a look” at his wares. After inspecting (and optionally trading), the merchant asks if you see worth in his goods.
After answering in the affirmative, the merchant tells you that local ruffians attacked him during his travels to reach Upper Mill. In the ensuing fracas, he lost a small collection of diagrams. Offer to recover the diagrams for the merchant to begin this quest.
Objectives:
|
The merchant mentioned a “crossroads” where the thievery took place. Head directly south of Upper Mill, passing the strange little wooded hamlet of Erde, to crossroads midway between Erde and the village of Heddel. At the logging mill, take the road heading roughly southwest, towards a ruined fort in the distance. An Ofieri caravan and dead horse lie at the side of the road. Use your Witcher Senses to uncover the following:
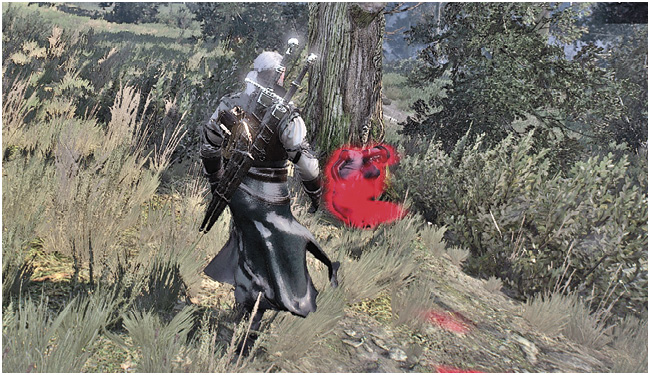
- Signs of a bloody fight.
The multiple prints weave roughly northwest across the road from the wagon, then roughly northward until the trail goes cold. Search the immediate area with your Witcher Senses and uncover:
- An area of ground showing someone bleeding heavily.
Follow the dripping blood trail through the scrub in a roughly northwesterly direction, until you discover the remains of an Ofieri propped up against a tree.
Check the area around the tree to pick up the bandits’ trail again, following it in a semi-circle to a patch of dirt on the ground. After a quick removal of the dirt, you uncover a trapdoor leading to a bandit hideout.
Objectives:
|
Open the trapdoor, use the ladder and climb down into the small tunnel, the remains of a small mining operation and now the lair of the Bandits. Fallen Knights come charging at you when you investigate further in. Deliver a series of killing blows to this scum; there are four foes, including a shielded, two-handed, and crossbow-wielding enemy.
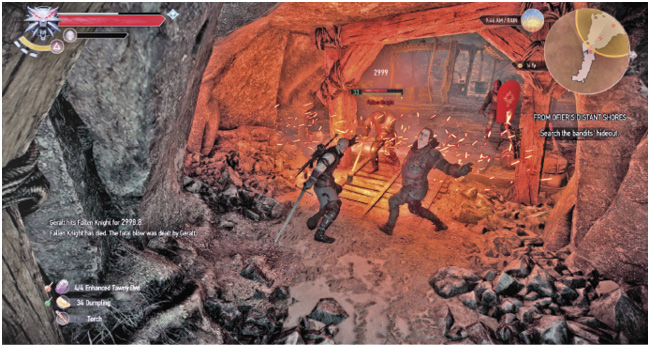
Afterwards, loot the hideout, and don’t forget to open the chest containing some treasure, as well as the following items. Gather them, then read the letter which details locations the degenerate knights have sent the other diagrams to be translated.
|
Items: Armor Diagram – untranslated, Letter with orders, Manuscript Page: Beast Oil |
FELLING THE FALLEN KNIGHTS
Objectives:
|
The following three bandit camps must now be raided (in any order you like). They are referenced here in the optimal order.
SECOND BANDIT CAMP: THE RENEGADES IN THE WOODS
Just north and a little west of your current position (west of Erde), and just off the wooded path is a small camp of around six Fallen Knights, who may be preoccupied by a small Nekker, Bear, or other wild animal incursion. Either way, anything that isn’t Roach needs to be put to death. Then search the chest (glowing red if you use Witcher Senses) just right of the metal brewing equipment, and left of the tent. There’s a crumpled letter (to optionally read), some supplies, and the following items of interest:
|
Items: Boots Diagram – untranslated, Order of the Flaming Rose (armor or gauntlets), Crumpled letter |
THIRD BANDIT CAMP: THE MOTLEY CREW AT THE COTTAGE
Meditate and refill any potions before locating the next camp. Along the very northern edge of Gustfields territory, northeast of the Isolated Hut, and northwest of the Garin Estate, is a remote farmhouse with six Fallen Knights to defeat. Once the coast is clear, enter the house and search for the chest left of the bed for some florens, Flaming Rose armor, and another diagram you need.
|
Items: Trousers Diagram – untranslated, Order of the Flaming Rose (armor or gauntlets), Letter with orders |
FOURTH BANDIT CAMP: THE GARRISON AT ZUETZER CASTLE
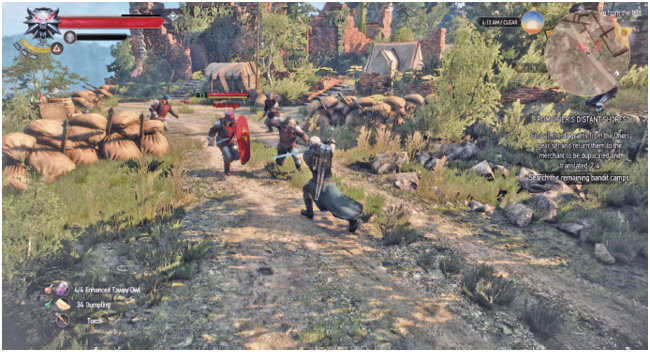
After meditating and replenishing your potions, locate the last camp. South and a little east of Upper Mill itself are the crumbling brick remains of the unmarked location Zuetzer Castle. Expect around a dozen Fallen Knights in this encampment, including one on the battlements (so keep an eye on your map as combat progresses). Beware of archers. Battle your way into the overgrown castle grounds, to the largest white tent, and secure the following from a chest inside:
|
Items: Gauntlets Diagram – untranslated, Order of the Flaming Rose (armor or gauntlets), Crumpled letter |
TRANSLATING THOSE DAMN SCRATCHINGS
Objectives: |
Return to Upper Mill, and hand over the four diagrams to the thankful merchant. Should you want translations of these diagrams, you must wait (or adventure) for one entire day before returning. You are given the following diagrams (which should then be crafted and worn if you wish).