
The Witcher 3: Wild Hunt The Complete Edition Guide Secondary Quests Turn And Face The Strange (Blood and Wine)
The Elven Obstacle Course
Objectives
|
Almost due east of the cemetery, along the southern shore of the Sansretour River, between the Mere-Lachaiselongue Cemetery and Toussaint Prison, is a stretch of water with something mysterious hidden beneath the surface. Take a boat or swim out to the investigation area, and dive down. Beware of Drowners (notch a crossbow bolt if you need to retaliate).
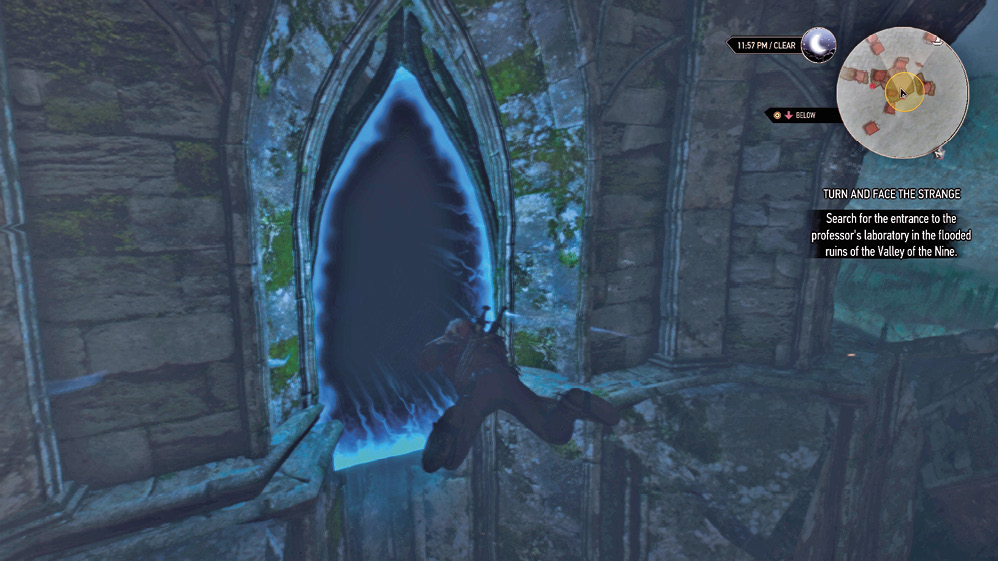
You discover the sunken remains of an elven ruin! Not only that, but if you swim around to the north side of the main, cross-shaped structure, there’s a shimmering portal, ready to transport you into the ruins. Swim in, if you dare!
DOL NAEV’DE: BRIDGE OF SPIKES
Objectives
|
You appear inside the ruins of Dol Naev’de, and must start exploring. Optionally check the entrance area for some skeletal remains to loot, then press forward, down some steps, passing a second skeleton near some rock ore you can loot. Head to a large cavern, and a bridge of floor spikes.
At the first and second floor tile of spikes, time your walk to step over the spikes as they are retracting.
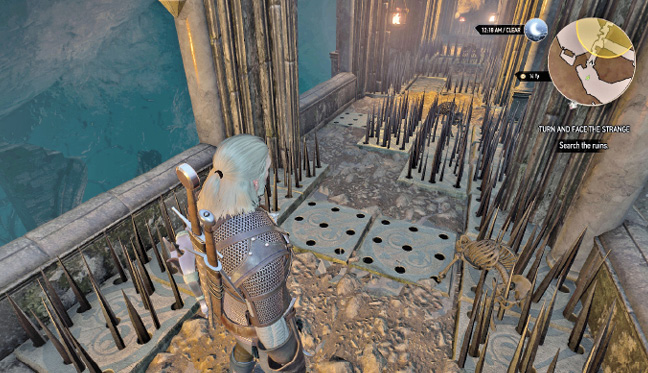
At the set of four tile spikes moving in unison, use Quen to protect yourself, walk across the first two when they retract, then jump across the rest.
At the set of six tile spikes moving in unison, use Quen, walk across the first two tiles when they retract, ignore the “path” of spikes and instead leap over the stationary spikes ahead of you. Alternatively, avoid the spikes altogether by dropping down a ledge on the right shortly before them. Use your Witcher Senses to detect the grave robber’s passage and go right or left, parallel to the bridge.
At this point, you can turn right and continue your descent. Or, you can optionally use Quen, and make a quick couple of jumps (with a roll to finish) across a large number of moving spikes to a chest with some better loot inside, at the end of the bridge.
DOL NAEV’DE: GUARDIAN PANTHERS
Objectives
|
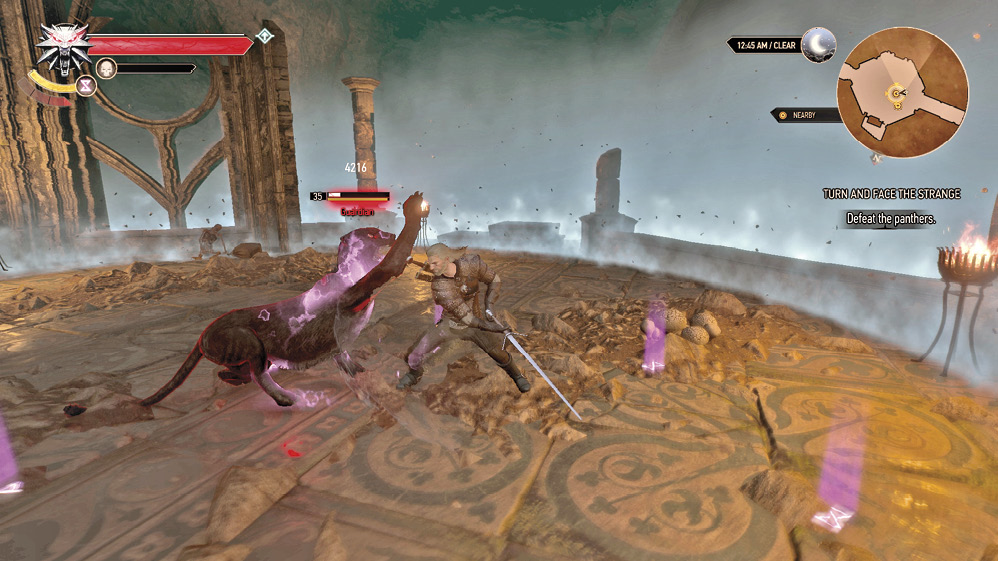
Head down the steps, dropping down to another impressive bridge structure, and walk into the circular platform, which suddenly seals up, and two Guardian Panthers transform from stone to flesh. Treat them as you would a normal fight with a big cat (see Bestiary entry), though these are specters, and require a different oil to coat your blade with. When both guardians are dispatched, the magical barrier dissipates.
Objectives
|
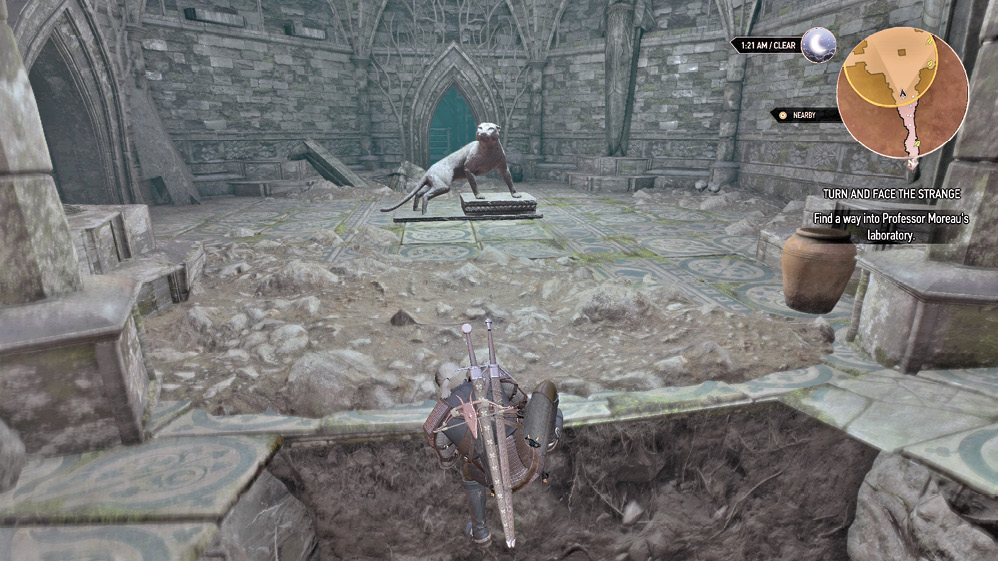
Continue east, up the steps, and into a chamber with a hole in the floor to your right, near a candle-filled altar to a long-forgotten deity. Ahead, the corridor continues to another hole, before a rock fall prevents your progress. Drop into the sagging floor to discover a small mining tunnel underneath, some implements, and (using your Witcher Senses) some blood-soaked rags from a wounded grave robber, near a lantern. Head along the tunnel of broken walls moving southwards, passing a skeleton, until you find Professor Moreau’s diary lying in an extinguished camp fire, close to a crossbow.
|
Items: Professor Moreau’s diary, Crossbow |
It seems the robber triggered a trap, as in front of you is a giant, globe-like boulder that has fallen through the floor. Climb it, and peer into a circular chamber with a Guardian panther statue in it. It doesn’t take a genius to figure out you have another fight on your hands!
DOL NAEV’DE: DOOR OF STONES
Objectives
|
Once you’ve dispatched the Guardian panther and the magical barrier recedes, head south, into an adjoining chamber with some particularly unsafe flooring! Watch you don’t fall to your death as you inspect the remains of this bridge balcony over a high chasm, and locate the following using your Witcher Senses:
- A column with rope tied to one end, and the other down below on a ledge you can’t reach.
- A locked door at the south end of the balcony. If you’ve read the notes, they mention “four protruding stones.”
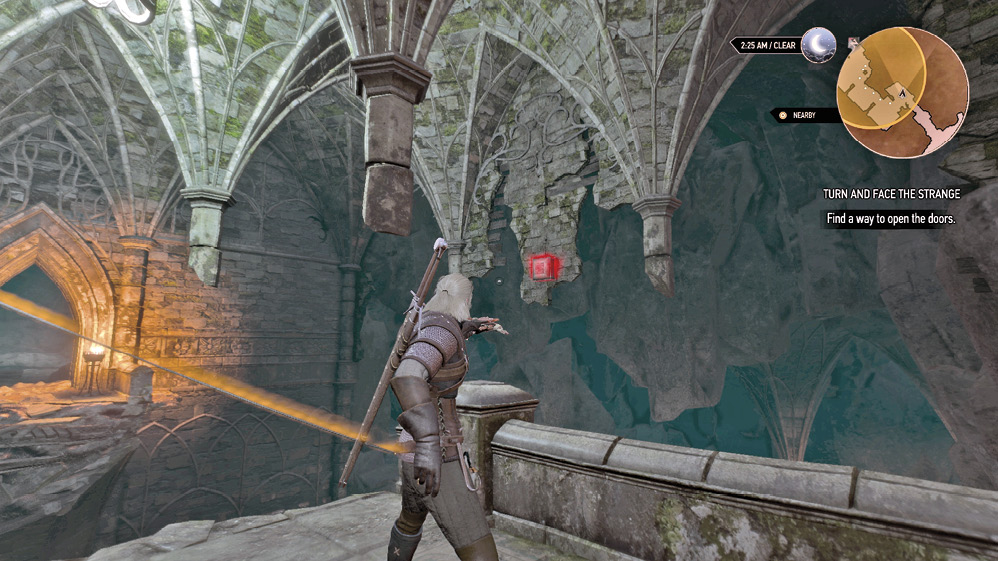
- Four protruding stone blocks, poking out of each of the walls, which glow red when you use your Witcher Senses.
Produce your crossbow (or return to where you find the diary notes and grab the crossbow there), and aim a bolt at each of the four protruding blocks. You can alternatively use bombs, or even Aard, on the first three, the last one being out of reach. The locked door rumbles open: Success!
DOL NAEV’DE: CHAMBERS OF PORTALS
Objectives
|
Step through the arched door you just unlocked, and into a large and ornate circular chamber of many arched alcoves, with a central cowled statue to gaze at. Don’t gaze for long though; a Gargoyle transforms from stone to attack! When you’ve demolished this foe, search it for a gargoyle paw. Now peer around the statue with your Witcher Senses, and place the gargoyle paw on the vase-shaped plinth. It slowly descends, triggering…portals. Great.
|
Items: Gargoyle paw |
Objectives
|
Portals have appeared in many of the alcoves on this level, and the two circular balcony levels above you. The only way is up, and as you’d expect, all but one of the portals on each level progresses you forward; while the others deposit you back where you fought the gargoyle. The path to further your progress is as follows:
First Chamber: Level 1: East Portal: Take the portal one alcove clockwise from the room entrance you came from. The central cowled statue faces this portal.
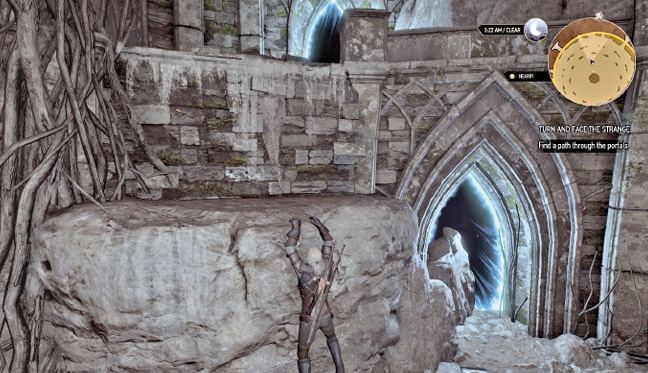
Second Chamber: Level 2: North Portal: Though it isn’t immediately obvious, you appear in a completely different circular chamber of portals! If you compare the ground area below you, you can see there’s more rubble and rocks in this chamber, and more eerie blue light compared to the orange light of the first chamber. Hop over the broken stone balcony you’re on, to the ground, and climb the large fallen boulders the central statue is looking at, just left of a ground portal. Take the portal on the balcony above (head north).
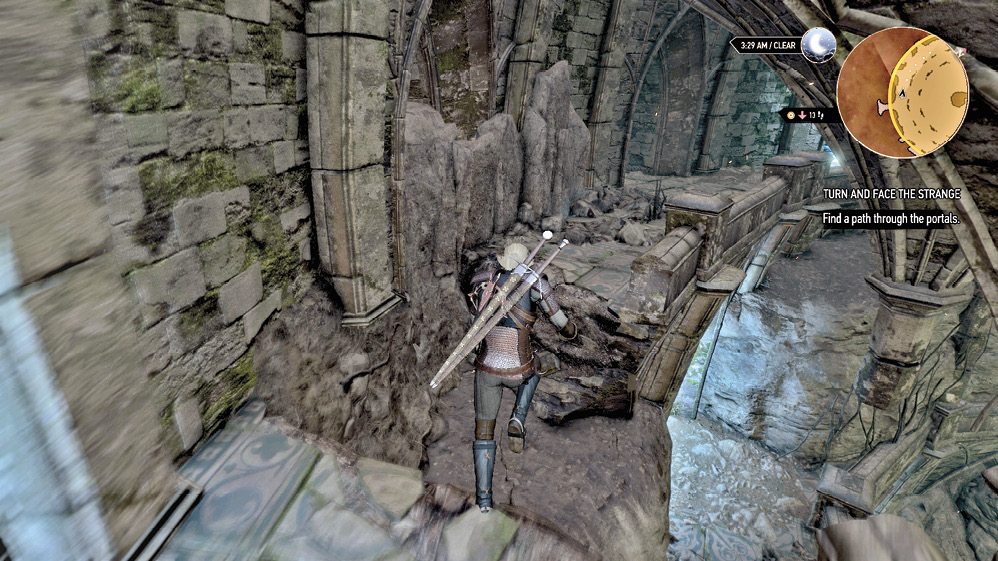
Third Chamber: Level 3: Northwest Portal: You appear in a brand new circular chamber (peer down and you’ll see vegetation below). Remain on this upper stone balcony, and run clockwise around the edge of it, ignoring the first two portals on your left, and leaping the gap below you. Land on the subsequent section of balcony, the one the statue is facing.