
The Witcher 3: Wild Hunt The Complete Edition Guide Scavenger Hunts Grandmaster Wolven Gear
Here Lies Our Witcher. He Died When A Rock Fell On Him.
Objectives
|
If you’ve been busy coating your sword in specter oil, you’ve correctly predicted this elven tomb holds a number of unquiet spirits! Slowly descend the steps, and engage two Barghests in combat. It’s recommended you make slow and steady progress through these ruins, to avoid becoming overwhelmed by spectral forces. When both astral hounds are dispatched, use your Witcher Senses to look for the skeletal remains in the first chamber. They appear to have been running for the exit.
The sturdy arched door to your right (west) is firmly locked, meaning the only way is left (east) and down the steps. Use Aard on the cracked wall preventing further progress, and step through into a more rocky tunnel, turning right (south), moving into a larger cavern where a Giant Centipede must be slain. Afterward, feel free to search for a minor chest and loot, before locating a second weakened wall and blasting it open to reach the second part of the underground ruins.
You are immediately set upon by two Barghests and four Wraiths, so it is imperative you prepare for this combat! If you’re feeling overwhelmed, retreat into the giant centipede cavern to regroup; rushing further into the ruins simply summons two more wraiths! It is worth remaining in this secondary chamber and fighting any remaining guardians of these depths.
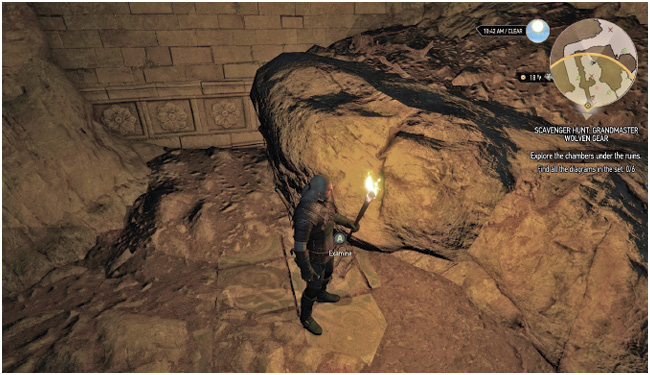
After the wraiths are defeated, head right (east) to a room with a dead end, and a huge boulder brought down from above. The skeletal remains of Witcher Adon can be found partly under this massive rock; he brought this down to crush his foes, and ended up killing himself, too. He’s carrying some of the diagrams you seek. Gather them before continuing.
|
Items: Diagram: Grandmaster Wolven steel sword, Diagram: Grandmaster Wolven silver sword, Diagram: Grandmaster Wolven gauntlets |
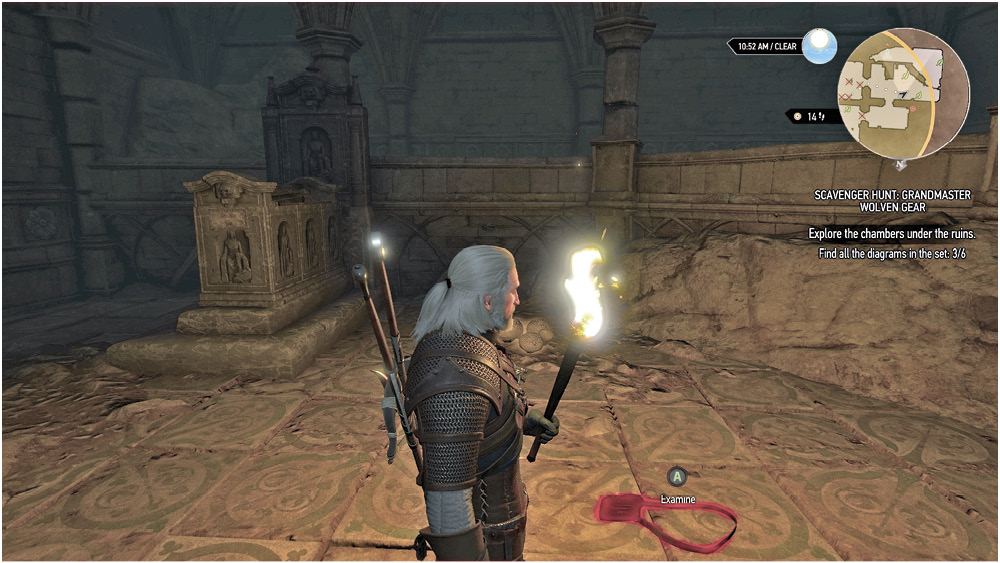
Head west now, into a tomb where you make a spectacular discovery—the tomb of King Divethaf himself! Inspect the plaque, then a satchel strewn on the tile floor in this chamber. It looks like it belonged to a Witcher. It also contains the three remaining diagrams you seek! The journal also found in the satchel may cause a smile of melancholy; the Witcher came to Toussaint at Vesemir’s request.
|
Items: Adona of Carreras’ journal, Diagram: Grandmaster Wolven armor, Diagram: Grandmaster Wolven trousers, Diagram: Grandmaster Wolven boots |
This concludes the quest for the Grandmaster diagrams, but you still need to leave these ruins. Simply inspect the ruins for any further loot, before you head through the archway to the north, turn right (east), gather a key at the foot of the sturdy door you couldn’t open previously, and unlock it. From here, ascend the steps back outside.
|
Items: Old elven key |
Upon exiting the ruins, the responsible thing to do is to remove the crystal to seal them back. They’re sealed for a reason after all, and leaving them open just lets more Wraiths and Barghests out to roam the area.