
Tom Clancy's Ghost Recon: Wildlands Guide Welcome to Bolivia Villa Verde: El Wey
Miners Strike
Objectives
- Talk to the union leader
- Kill Santa Blanca forces in La Marqueza
- Kill Santa Blanca forces in the mine
LOCATIONS
- La Marqueza
- Illegal Pyrolusite Mine
REWARDS
- + 1,000 XP
Brief
The miners in Villa Verde hate working for the cartel, but Santa Blanca keeps them in line with threats to their families. Removing the threats will encourage the miners to throw down their tools and bring the mining to a halt.
Rebel Assault
Just under two kilometers downhill from Villa Verde Charlie is the town of La Marqueza, where a rebel leader must be questioned to see if there’s a way for the local workers to break out of servitude the cartel has imposed upon them. It seems there is; and it involves removing all the cartel threats in town (along with some rebel support) and an additional group of foes guarding the main Pyrolusite Mine to the southeast. You have two mission areas and no time to recon once the mission commences, so make your tactical battle decisions with a swiftness of forethought.
La Marqueza: Recon
North: Main Road
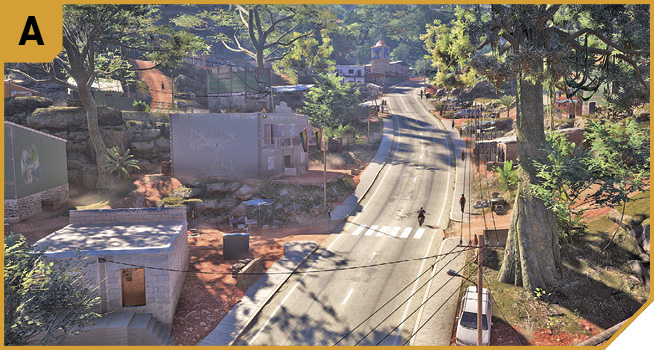
The main arterial thoroughfare is great if you’re zooming up here in an armored vehicle while shooting up the place, or stealthily moving from building to building, but there are more tactical insertion points than this.
Northwest: Brick Bungalow Outcrop
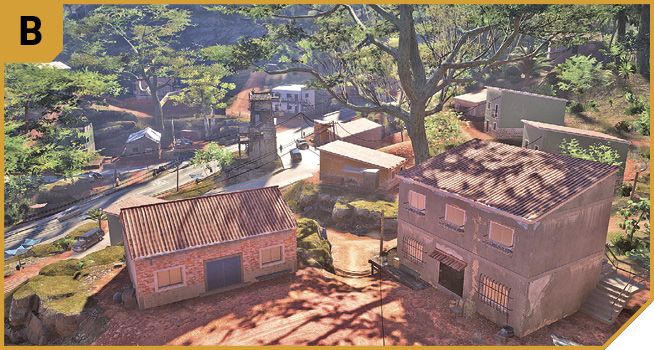
This single-story cabin-sized house has a rock outcrop, about 80 meters northwest of the sniper tower and minigun nest. As these two enemy locations are priorities, and this vantage point allows you to swiftly engage them, other foes, or stay back and snipe, it’s a thoroughly recommended flanking point.
La Marqueza: Recon
TACMAP
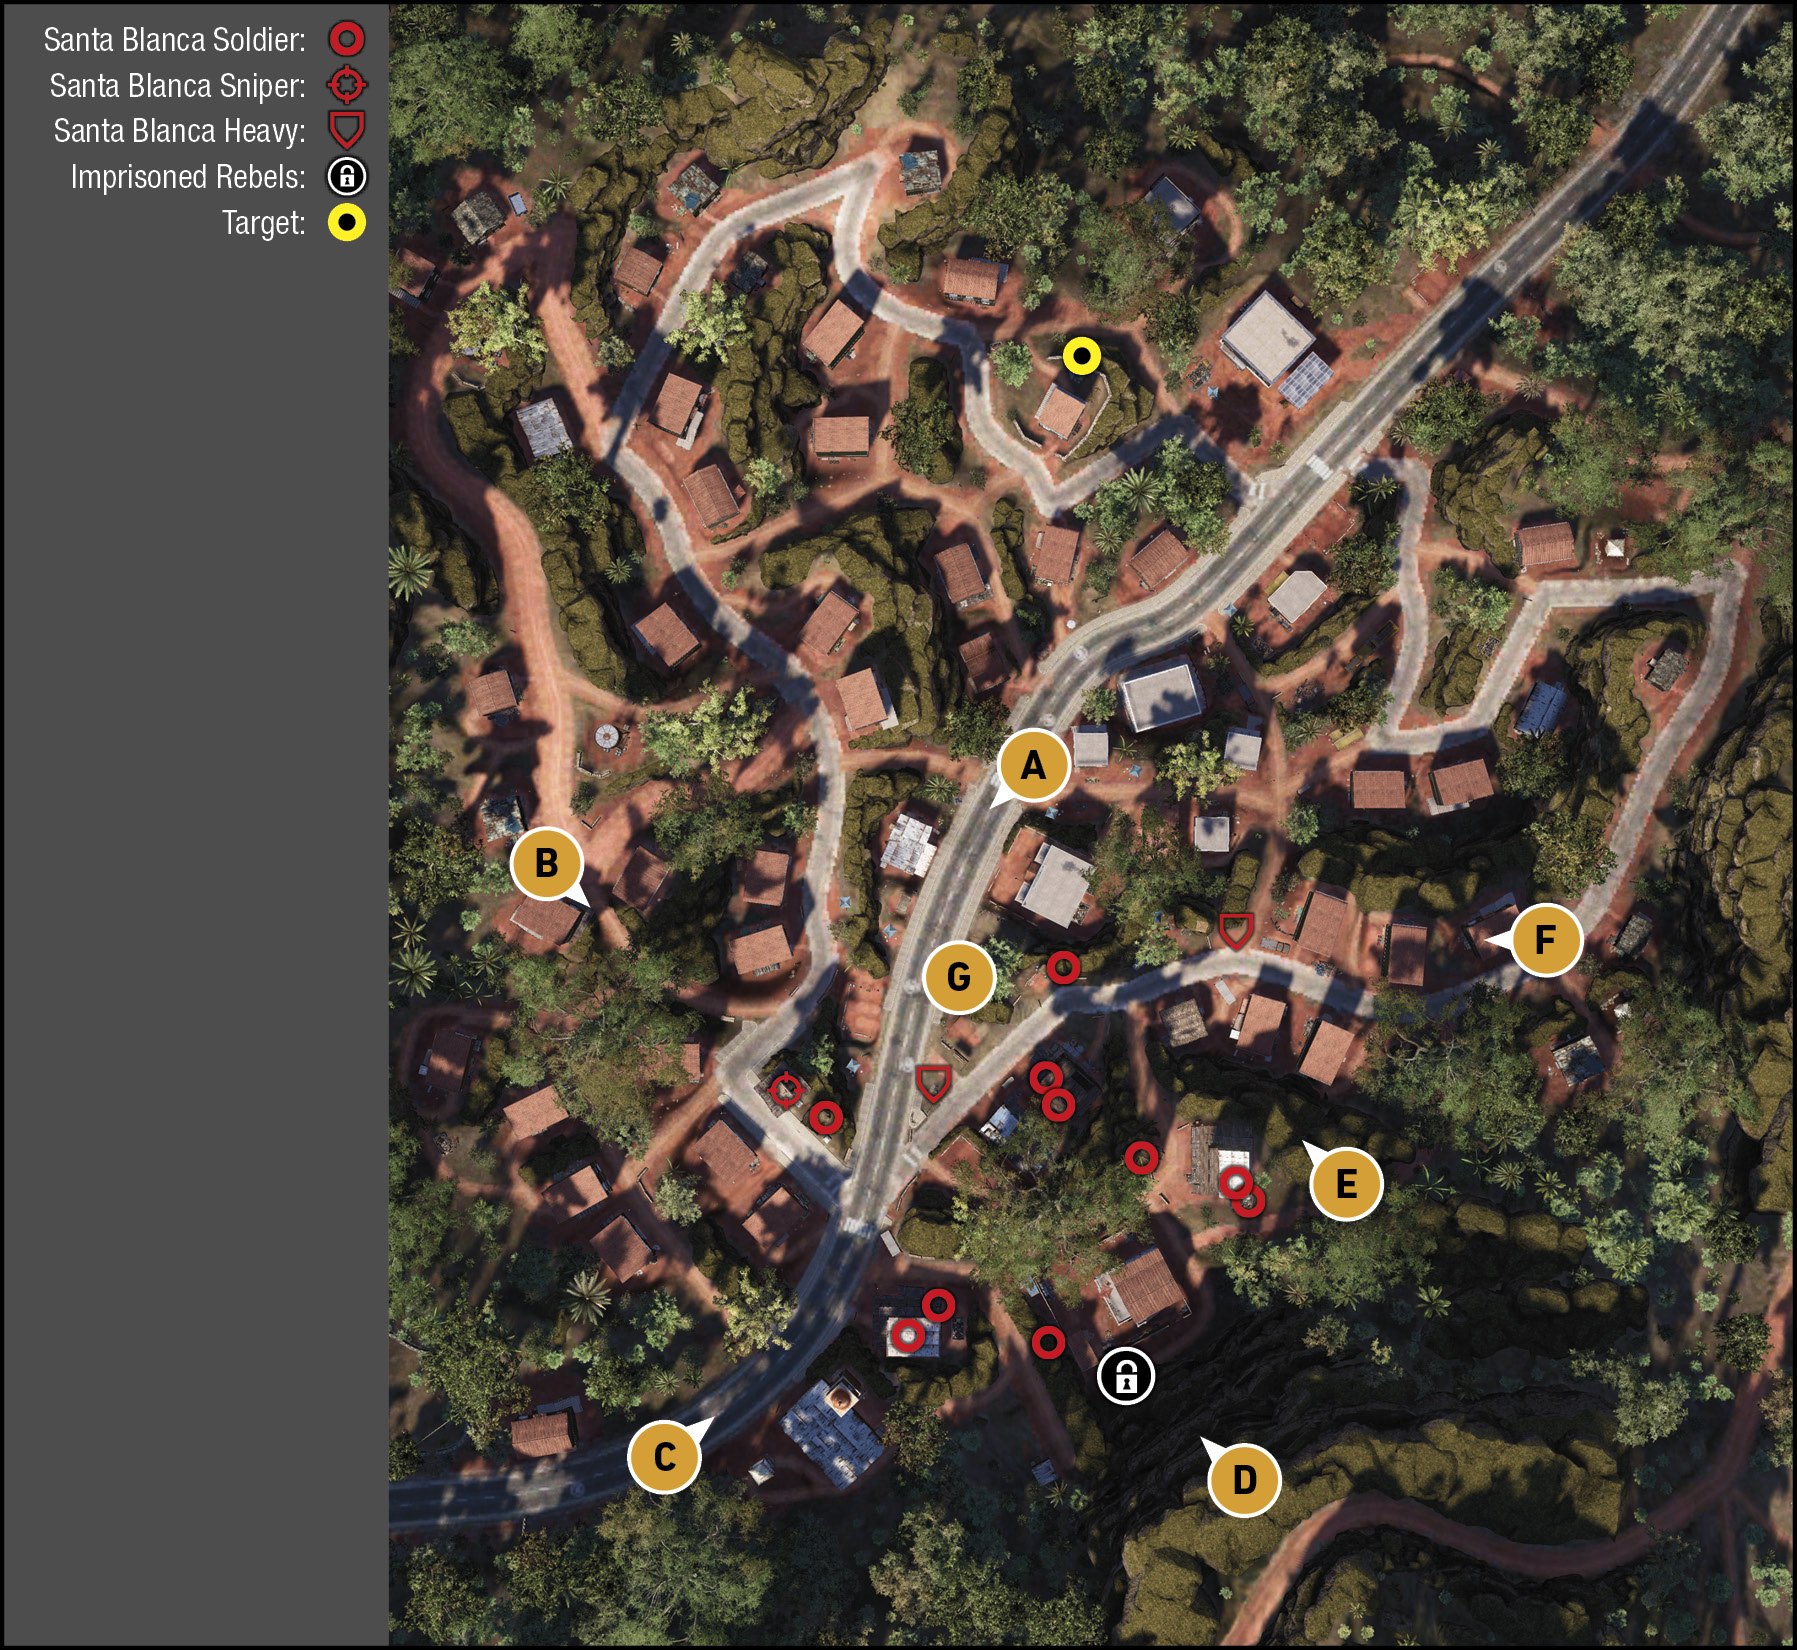
Expect around 13 enemies to be tagged for removal on your Tacmap, in the starting positions shown here. They are clustered at the south end of the settlement, which gradually slopes uphill the farther south you go, making a looping route into combat more advantageous, as you aren’t attacking uphill. There are scattered defenses, and a few containers with slit windows enemies like to fire out from, but this is street combat you’ve attempted before, with no installations aside from the two minigun nests and sniper tower to worry about.
Southwest: Main Road
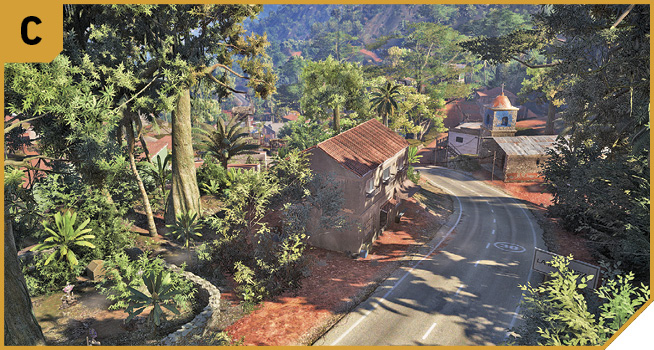
If you can, hike or journey round to the edge of town, and head downhill, with the chapel ahead and on your right. There’s cover, height advantage, and easy access to taking out the foes at the sniper tower and minigun nest. You can stay on the southeastern edge of town and work your way through the back yards (on the higher ground), toward the cartel mansion near E, or remain at the road junction at the metal container with the slit windows.
South: Rock Outcrop
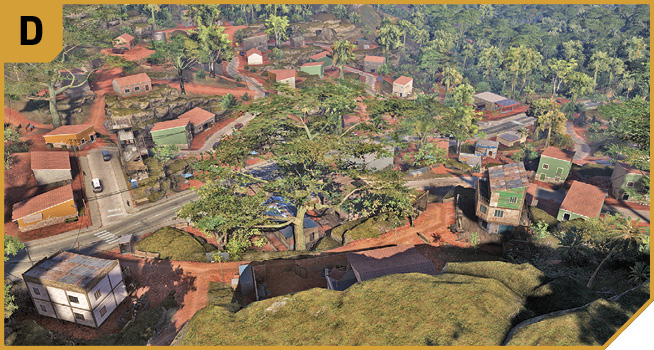
The best sniping position mixes safety with a panoramic view of the town, and the entire area below you. Hike up here via the trail, and stand directly above the cartel mansion. You’re around 200 meters from the sniper tower, and can sweep from west to east, removing foes without worrying about being flanked (and if you are, just place a mine to the sides of you).
Southeast: Low Rock Outcrops
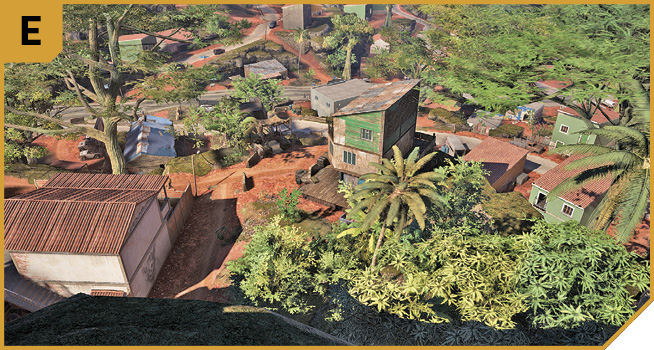
Offering similar, but not spectacular views of the town like D, this location allows you to snipe foes on the eastern edge of the mission area, as well as infiltrating the buildings on this side of town, like the green shack structure with a balcony overlooking one of the minigun nests. Fall back to here, or head down and engage the foes between the buildings.
East: Minor Road
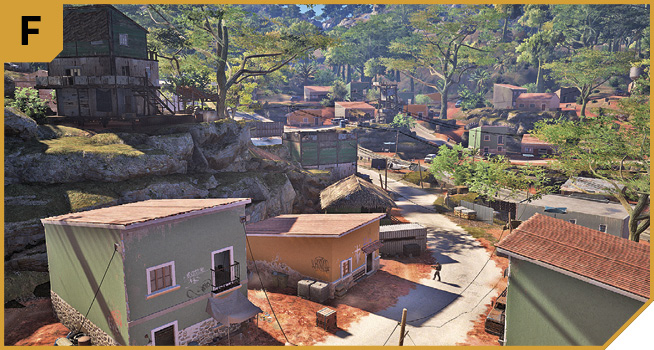
This road offers better cover opportunities than A, as it’s on higher ground, and you’re able to engage the enemy more quickly, fighting down this street. The first confrontation is at the minigun nest, near the armored enemy, then the cluster of homes between there and C. Use the buildings as cover, and work around or through each of them, clearing the area of foes.
|
 Target: Thirteen Enemies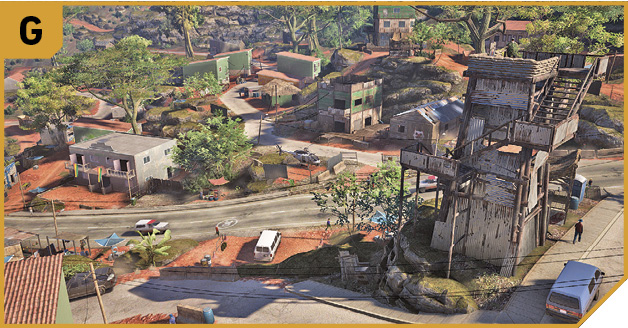
La Marqueza: Other Tactical Advice
 Your plan is straightforward, and you have rebels incoming from the north, so a more clandestine approach soon gives way to regular and violent gunfire. Make your opportunities count by heading to B, and removing the sniper and minigun operator, before circling to C or the sniper tower itself, and looking for further foes as you urge your team toward G to weed out enemies; then support them until the place is cleared out. Remember you can attempt a more clandestine approach if you tackle these foes before talking to the union leader, though you don’t have the rebels supporting you.
Other options include sniping down from D as your team clears the area, or landing your chopper atop the cartel mansion roof (below D) and fighting off foes using the defenses of this small compound. Otherwise, utilize building-to-building fighting, with grenades to flush out your enemies.
 While all Solo options work, having multiple vehicles causing mayhem while other Ghosts snipe down from vantage points and/or shoot out from the same vehicles is an exciting, if not too tactical, plan.
Outflanking is another great idea: One Ghost should tackle the sniper and minigun operator from B. Another should head down the road from C, clearing the foes to the south. A third Ghost should stand atop the rock outcrop at D, shooting at foes below and covering other Ghosts. The fourth player should sneak in from E or F, attempting close assaults with cover from the Ghost up at D.
Can you dig it?
You must travel, either via the helicopter found in the previous area, or in a vehicle (or for a much slower assault, by foot) to the large open mine. The foes are less numerous this time, but have slightly better defenses at their disposal. Fortunate then, that they aren’t using all of them.
Illegal Pyrolusite Mine: Recon
Northwest: Main Road And Minigun Tower
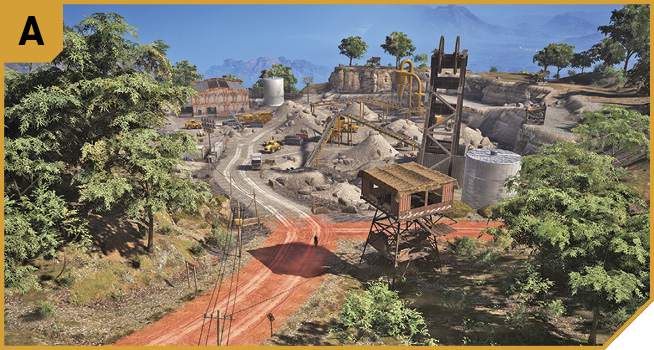
The tower is unmanned; an oversight on the part of the cartel, and you can use the minigun to waste the foes in the immediate vicinity. A better plan is to either drive down this road, all guns blazing, or peel off to the east or west if you want to gain the height advantage. Head down the road on foot if you wish to engage the enemy in close quarters fighting, get into a vehicle parked at the mine, or use the rock conveyor belts to gain height (but not much protection).
Illegal Pyrolusite Mine: Recon
TACMAP
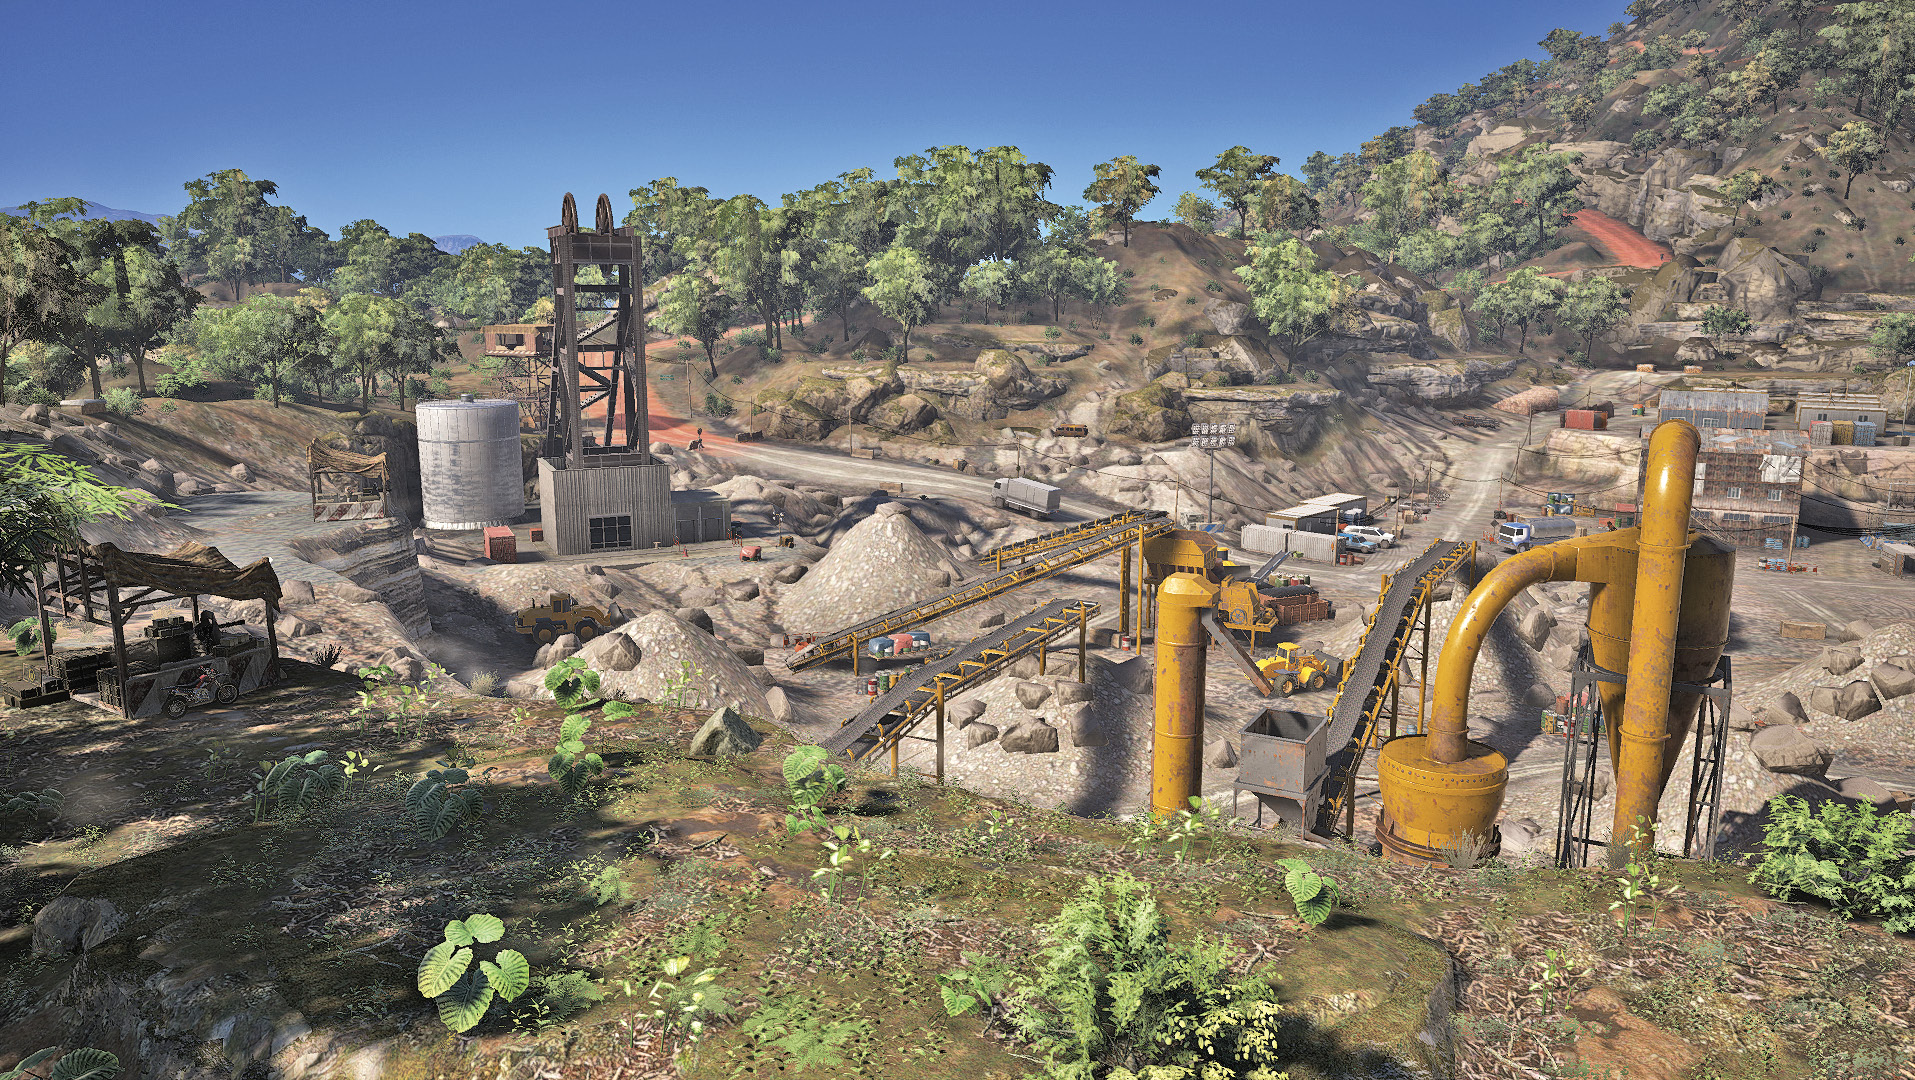
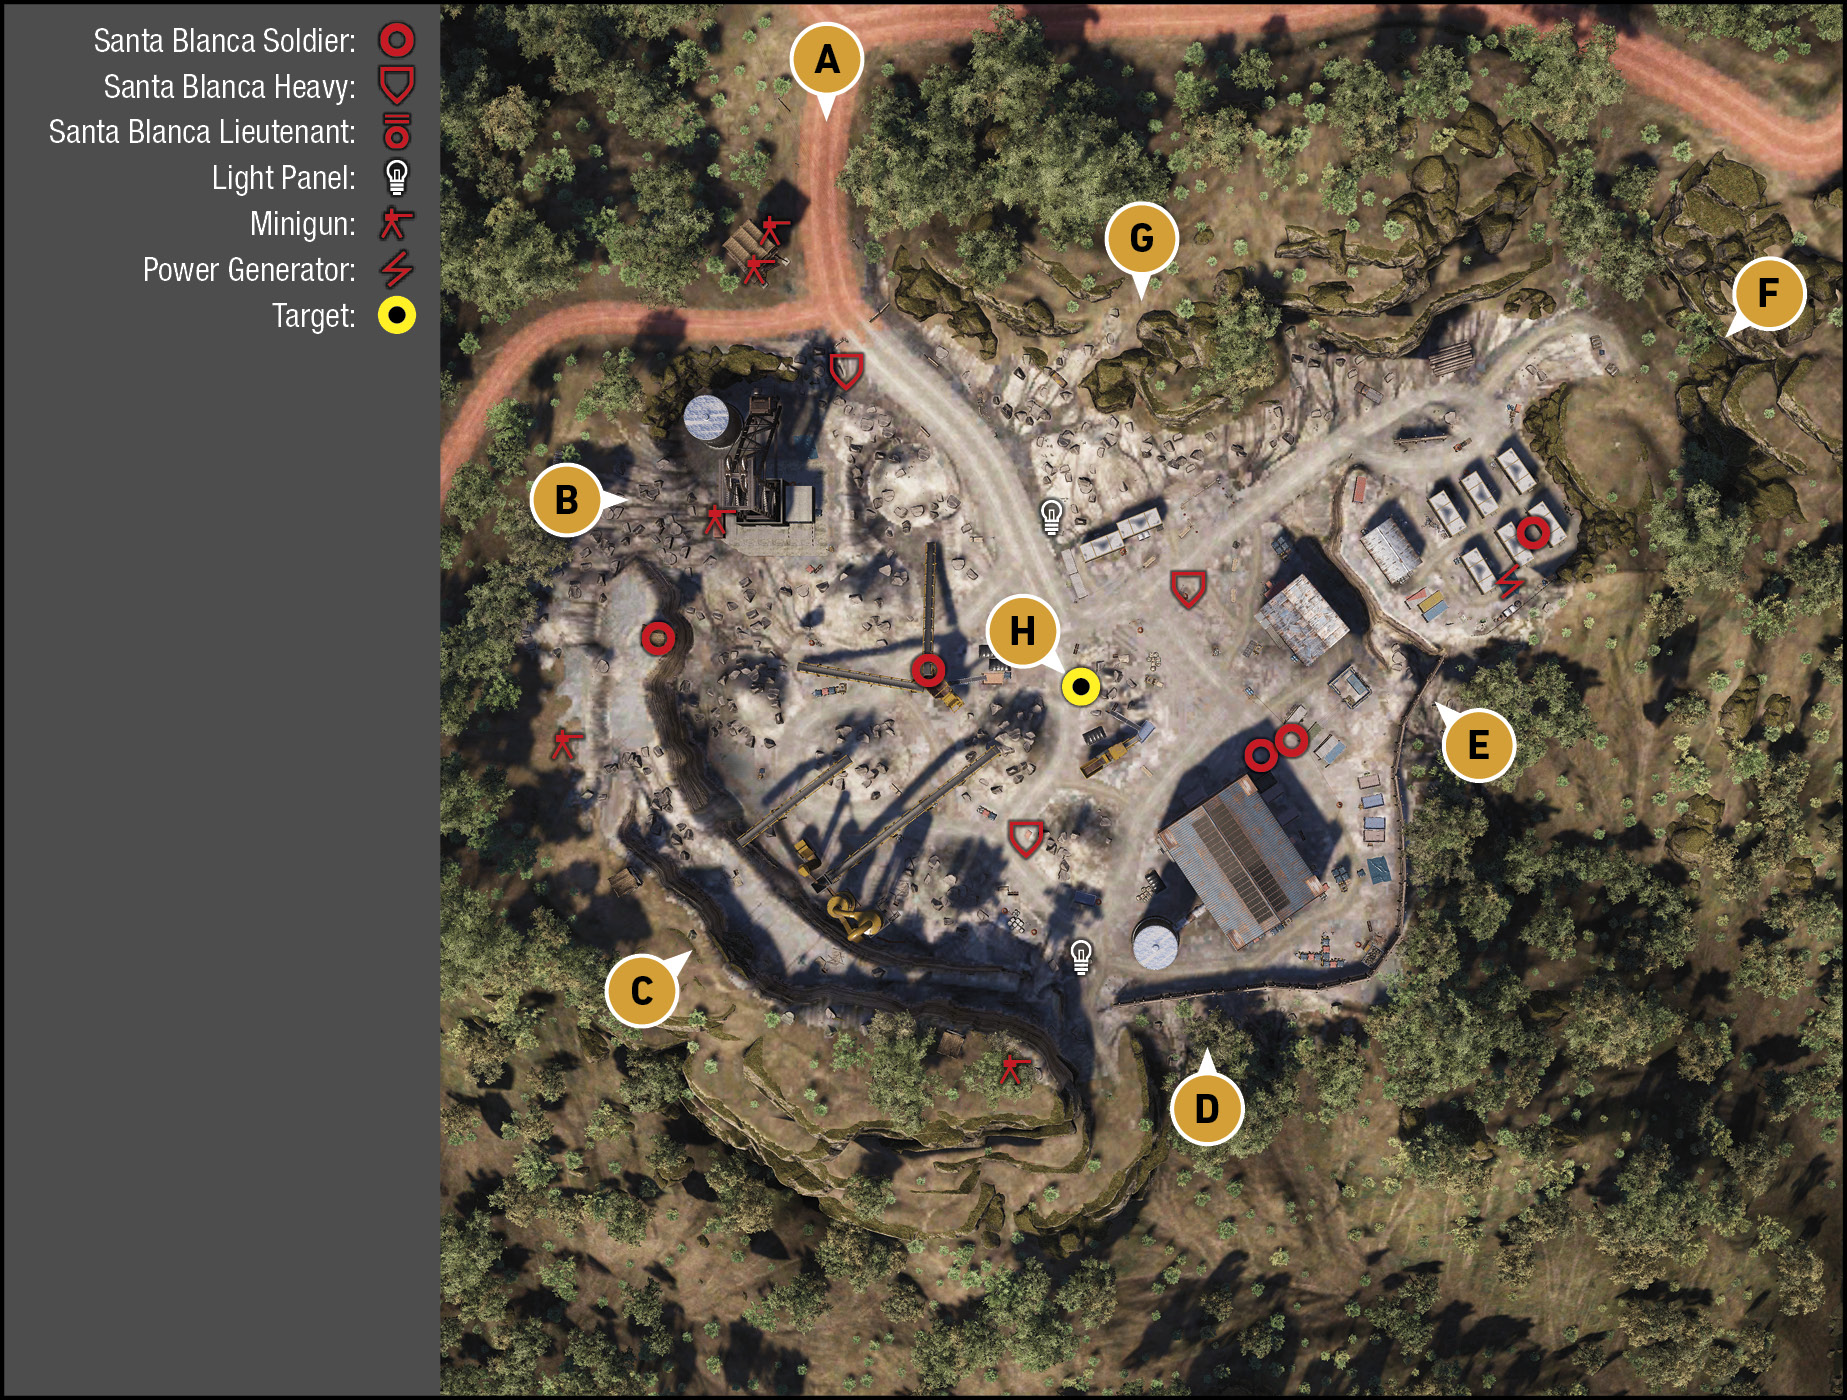
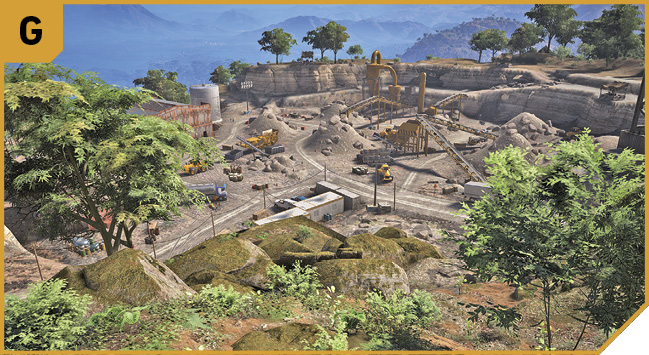
The mine is an open-cast pit with massive digging equipment, including diggers you can use to ram foes or hide behind. The entire western side of the mine has an upper ledge where minigun nests are located, while the central area is accessed from the sloping road to the north. East is a smaller raised area of container housing for workers, and the northeast hills make a great vantage point. All foes, with the exception of two, are in the lower mine grounds, making this a relatively smooth execution.
Northwest: Upper Ledge And Minigun Nest
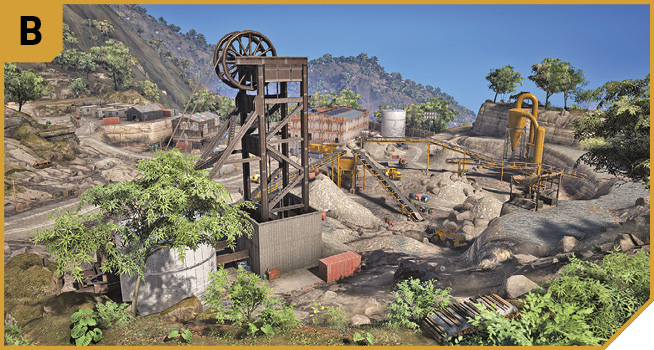
This is a recommended infiltration spot, as you have an excellent height advantage, can defeat all but one of the enemies relatively easily (the only one who might give you trouble is near the workers’ barracks close to E). Also, you can sneak behind the foe at the minigun nest and remove him, optionally using the miniguns afterward. Great sniping views make this a go-to spot.
Southwest: Upper Ledge And Minigun Nests
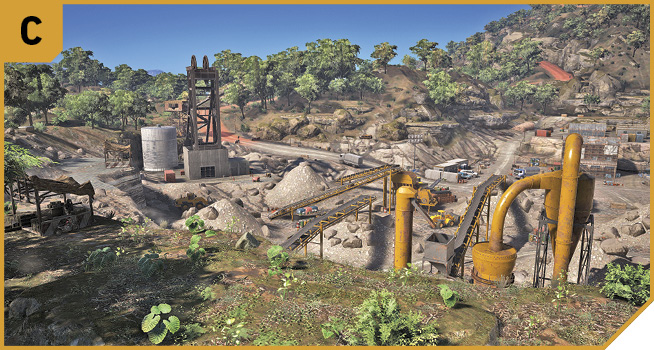
The two further minigun nests in the southwest upper ledge are unmanned, so use them for cover, or employ the miniguns to lay waste to foes (not workers) down below. Simply move farther round from B to reach here, as you catch the enemy by outflanking and firing at them from multiple directions. This is safe, and you can even kill the panel on the light pole if you need to.
South: Main Warehouse
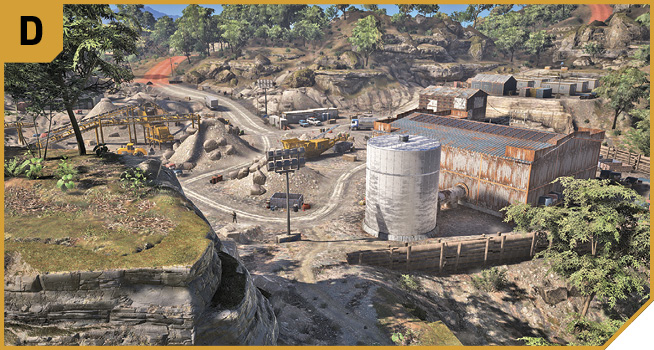
The largest warehouse in the mine is filled with cylindrical containers, with a vertical vat outside, near the main lights you can destroy. Though getting here takes time (unless you have a helicopter, which you can use to land or drop Ghosts off on the roof, which is an excellent defensive position), the main reason for infiltrating here is the quick access to the generator, if you want to kill the lights. Under normal circumstances, however, the foes don’t represent enough of a threat to require killing the lights as well as the enemy.
Southeast: Wood Wall And Generator
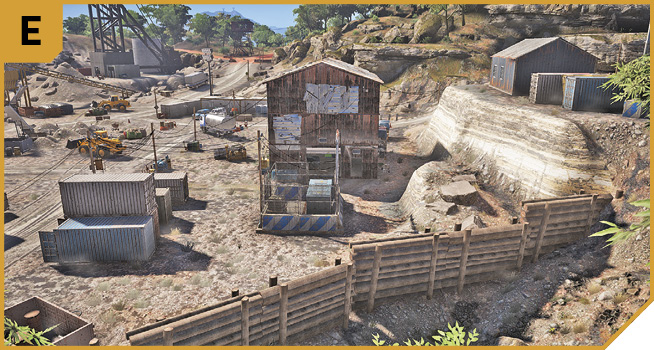
The perimeter wall along the south side of the mine consists of stacked logs, and can easily be climbed over. This allows access to the main warehouse, as well as the generator and smaller warehouse on the lower level of the mine exterior. Head here if you need to kill all power to the mine, or into the warehouse if you need to use it as a defensive position.
East: Workers’ Barracks And Hillside
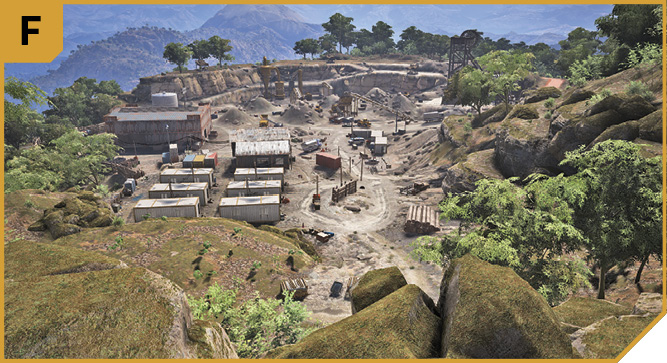
Instead of heading down the hill from A, you could hike or drive to F, which provides a great view of (and infiltration route into) the eastern side of the base. This raised area usually has a single foe, so attacking him from the hillside makes clearing the area easy. In addition, the cabin on the ledge overlooks the main grounds of the mine, allowing for many ranged takedown opportunities.
North: Road And Hillside
Use the hills as cover; the rocks and long grass allow you to thoroughly check the position of your opponents if you need extra information (like whether your enemy is one of the three armored foes), as well as exceptional ranged attacking opportunities.
|
 Target: Eight Enemies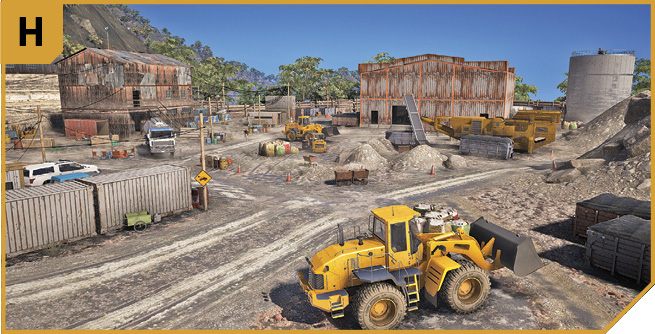
Illegal Pyrolusite Mine: Other Tactical Advice
 After ordering your team down to engage the enemy from A to H, hike around to B, and make your first kill the foe at the minigun nest. This hobbles any rapid-fire defenses the enemy has access to. Now snipe from this nest, ideally at the armored foes first, then the remaining stragglers. Or, you can snipe the minigun operator from A, and make a joint push down into the mine grounds, ordering your team south while you loop round to catch the foe on the higher ground near the workers’ barracks to the east.
Alternatively, you could steal one of the large diggers and drive it into the mine with your Ghosts hanging off the sides, all guns blazing. You could also land a helicopter on the roof of the main warehouse, and snipe from this vantage point, or just strafe the ground with chopper fire (making sure you don’t hit any workers).
 Solo plans work well here, though you have the obvious advantage to split up and dot yourselves around the perimeter, providing sniping fire for any Ghosts wanting to experience close combat, or backing up the rebels that are arriving. Place a Ghost at B, C, F, or G and catch all enemies in the crossfire.
Or, the use of multiple vehicles is also encouraged, with a digger, the armored truck you arrived in (or requested via Rebel Support), and a chopper all making short work of the enemies here.