
Tom Clancy's Ghost Recon: Wildlands Guide Welcome to Bolivia Tabacal: Madre Coca
Killasisa Coca Farm (Optional)

Objectives
- Recon the Killasisa coca farm
- Clear the Killasisa coca farm (17 enemies)
LOCATIONS
- Killasisa Farm
REWARDS
- + 500 XP
Brief
The cocaleros in Tabacal are forced to deliver their coca leaves to a farm in Tabacal where Madre Coca’s enforcers collect the leaves. Ambushing the enforcers will weaken Madre Coca in the eyes of the cocaleros.
The Killing Fields
It’s worth driving to the Killasisa Farm, and parking to the north, to ensure your recon commences at the highest point on the slope above the coca fields. After some drone flying, all cartel thugs must be removed from the farm. Assuming you want the height advantage, this is all about sweeping these thugs downhill.
Killasisa Farm: Recon
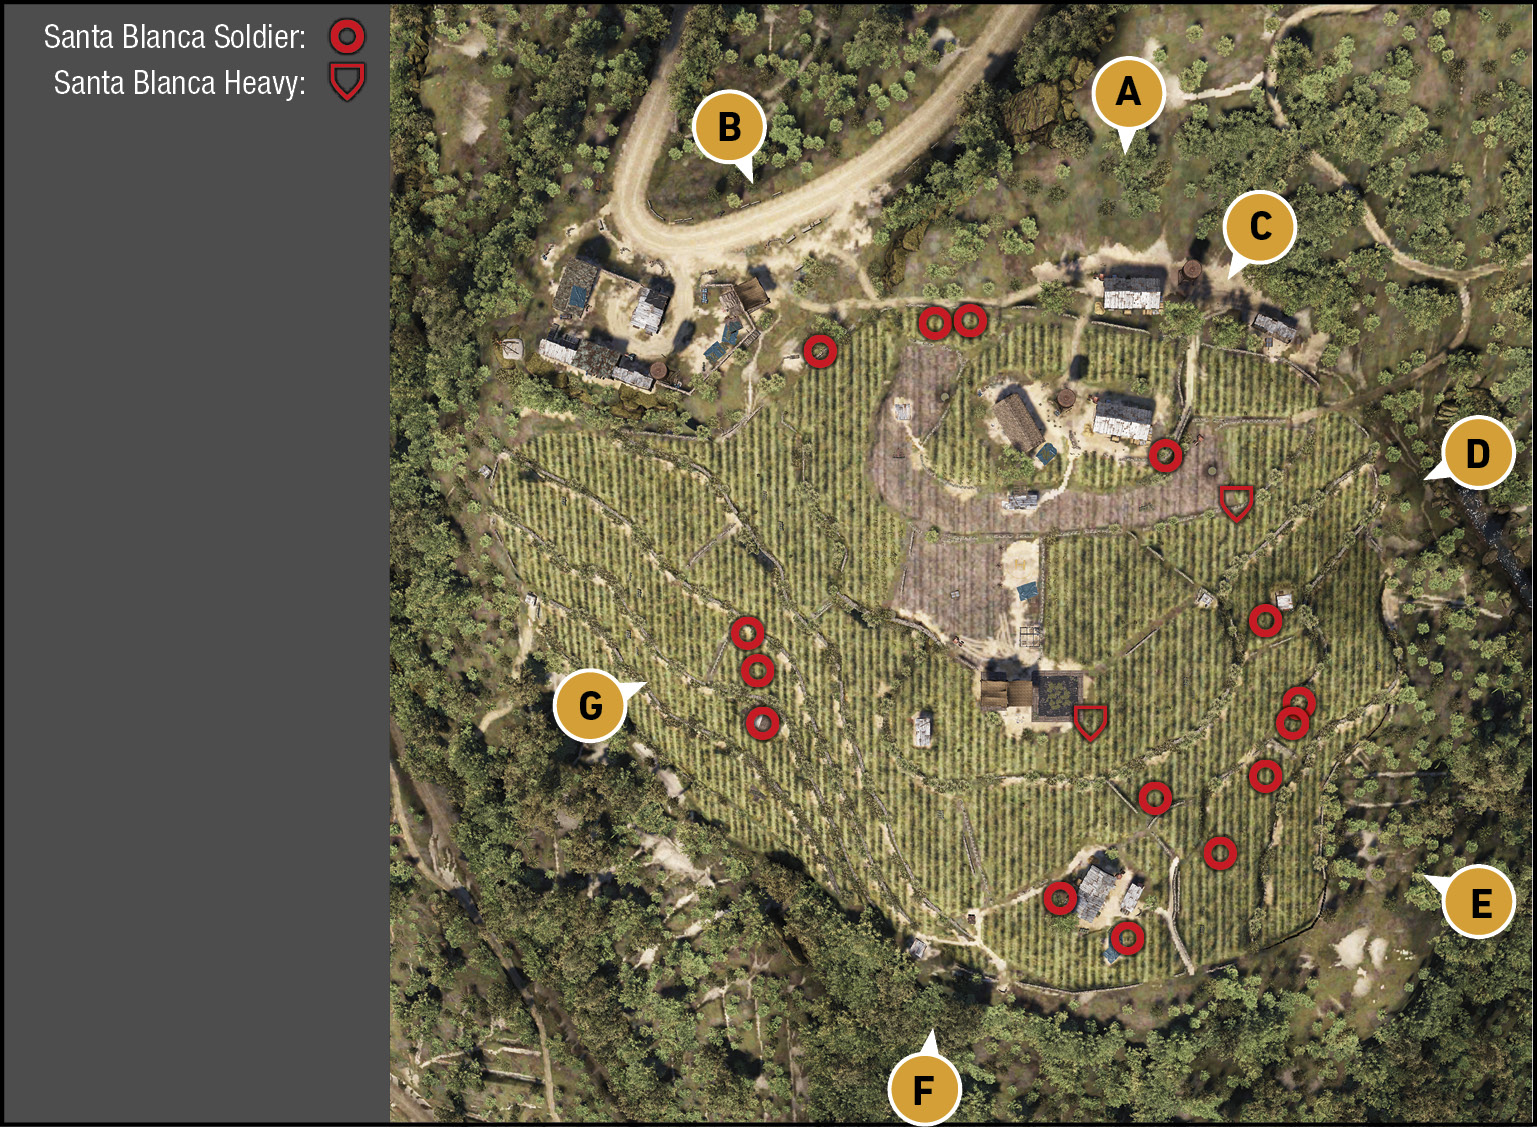
TACMAP
Scattered outbuildings between the steep sloping coca fields means maneuvering downhill (north to south) is easy, but uphill can be tricky as there are buttress outcrops that can’t be clambered over. You’re extremely exposed during your culling of enemy troops too, so use the coca crops to duck down into, shoot from the outbuildings, and keep your height advantage for best results.
Recon Hill
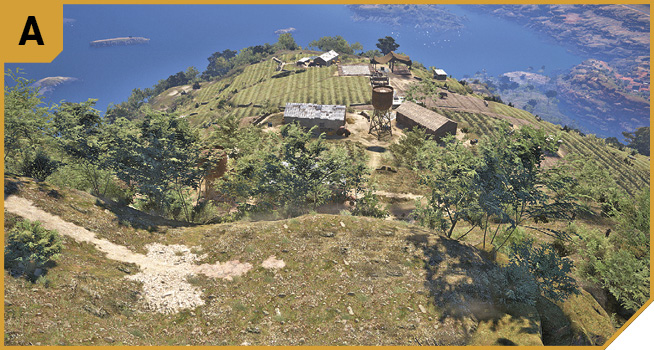
The small flat area of open ground above the farm is the best place to start tagging the 17 foes you’re about to face. Feel free to move additional Ghosts to one of the other indicated areas if your Drone range can’t flag all of the foes. Checking the lay of the land from here is both safe and offers good tactical information.
Main Farm Buildings
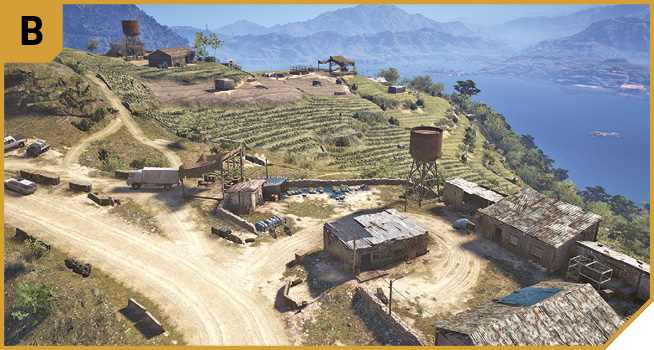
If you’re planning to herd the enemy along the western flank of the field, you can start clearing the immediate area of foes from this farm, but the majority of the combat occurs south and east of here. This is a good fall-back position though, and extraction point if you’re not using the chopper in the middle of the field.
Northeast Farm Structures
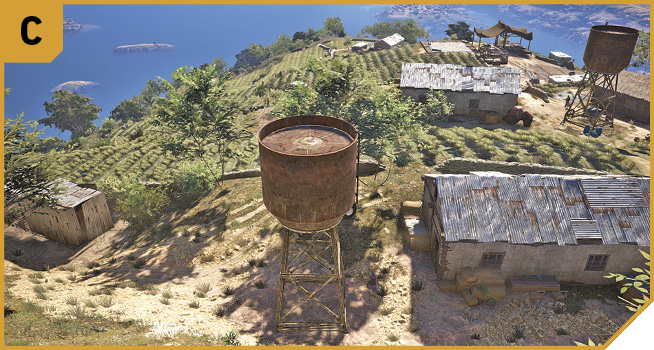
Head down from A to begin the killing, as there’s likely to be an armored foe in the vicinity of these scattered outbuildings. These make great places to hide and shoot out from, or a fallback position. Let the enemy trek uphill to you. Also note the hay bale on the wagon trailer. Climb that to reach the roof of either warehouse; the south one offers great sniping views.
Storm Drain
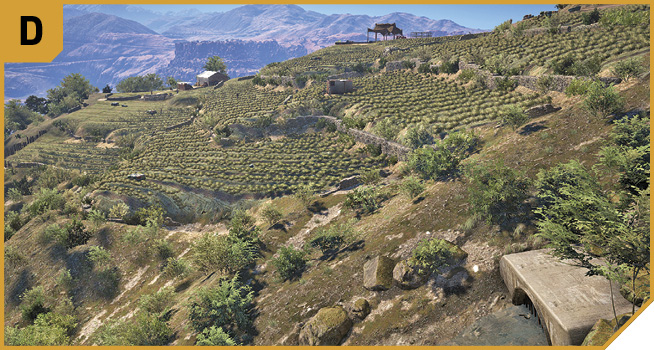
An often-overlooked area offering excellent sniping views to take down the majority of the foes on the farm. Or, use this for spotting foes and relaying information to your teammates. The ground here is still high enough for you to infiltrate heading west, too.
Low Fields (Southeast)
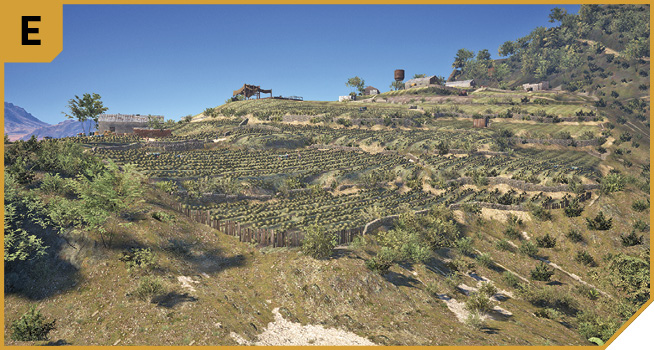
Though the enemy has an advantage as they’re on higher ground, looping around and heading up to the south farm building from here is reasonably easy, as the ground isn’t as steep as elsewhere. If the firefight isn’t going well and the foes are dug in, outflanking them from here is an option.
Low Fields (South)
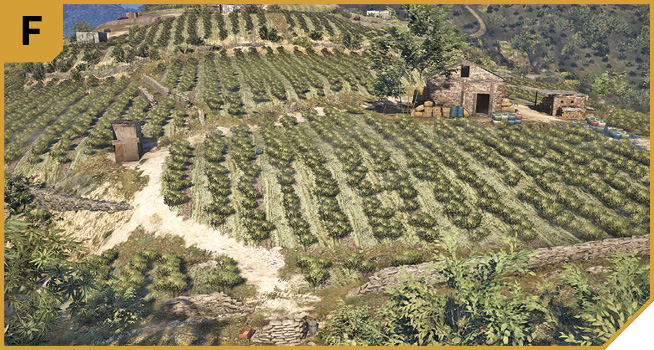
Hop over the perimeter stone wall or skirt it and maneuver between E, F, and G to catch foes in crossfire, if you want to outflank and outthink them. The climb uphill can be tricky, so avoid the steeper outcrops, and use the crops to hide in, as well as any scattered farm buildings.
West Slopes
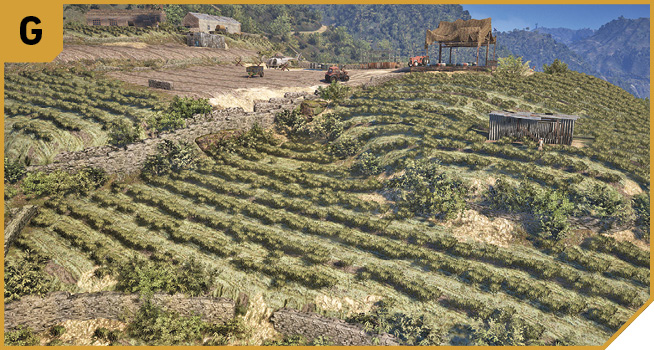
This is the steepest area of the farm, with areas of slope even the crops can’t be grown on. It’s advisable to avoid this area, as there’s little long-range takedown opportunities, especially given the quickness of engaging the enemy.
Killasisa Farm: Other Tactical Advice
 After checking the position of enemies at A, head down to C and start the takedowns, optionally using the stone barn roof for extra height and sniping. Push your team to the central barn structure near the helicopter, where the ammo box is. Then either remain here and snipe, or follow them down. If you’re in the middle of the farm too early, you can be attacked from both sides, so conduct a perimeter looping sweep with your team first. The central building near the tractor is important, as the ammo box can be critical if bullet expenditure is larger than normal.
 With the extra flexibility of your teammates to provide peripheral fire (ideally from D, E, and/or F), you can mimic the same plan as for Solo missions; moving down from A to C, and then to the middle barn and tractor area.
The open area makes helicopter strafing a great plan too, assuming you’re competent enough to only aim at cartel members, and not the innocent coca pickers.
Offroad vehicles with bristling weaponry (or additional Ghosts providing fire support) is also a reasonable plan to cause chaos and ultimate victory, though you want to remain on the least-steep parts of the farm to avoid rolling your vehicle.