
Tom Clancy's Ghost Recon: Wildlands Guide Welcome to Bolivia San Mateo: El Pozolero
The Journalist

Objectives
- Reach the journalist’s last known position
- Talk to the rebels
- Free the journalist
- Escort the journalist to the rebel safehouse
- Talk to the journalist
- Photograph the journalist’s notes
LOCATIONS
- Rebels (Unmarked)
- Outpost (East)
- Rebel Campsite
REWARDS
- + 500 XP
Brief
We’ve learned that a Bolivian journalist named Lupe Vera has been in San Mateo investigating the disappearances for the past several months. We need to locate Ms. Vera and find out what she knows.
Hello, Vera
Locating the journalist means befriending a small group of rebels at a burned-out area of buildings just west of a cartel outpost. The outpost itself is just east of San Mateo Bravo, and you can ignore the rebels and assault the outpost, ignoring the first two objectives, if you wish. Free Lupe Vera from a cage on the cliff edge of this precariously-positioned camp, and extract her. She must be led to a waiting vehicle and extracted.
Outpost (East): Recon
TACMAP
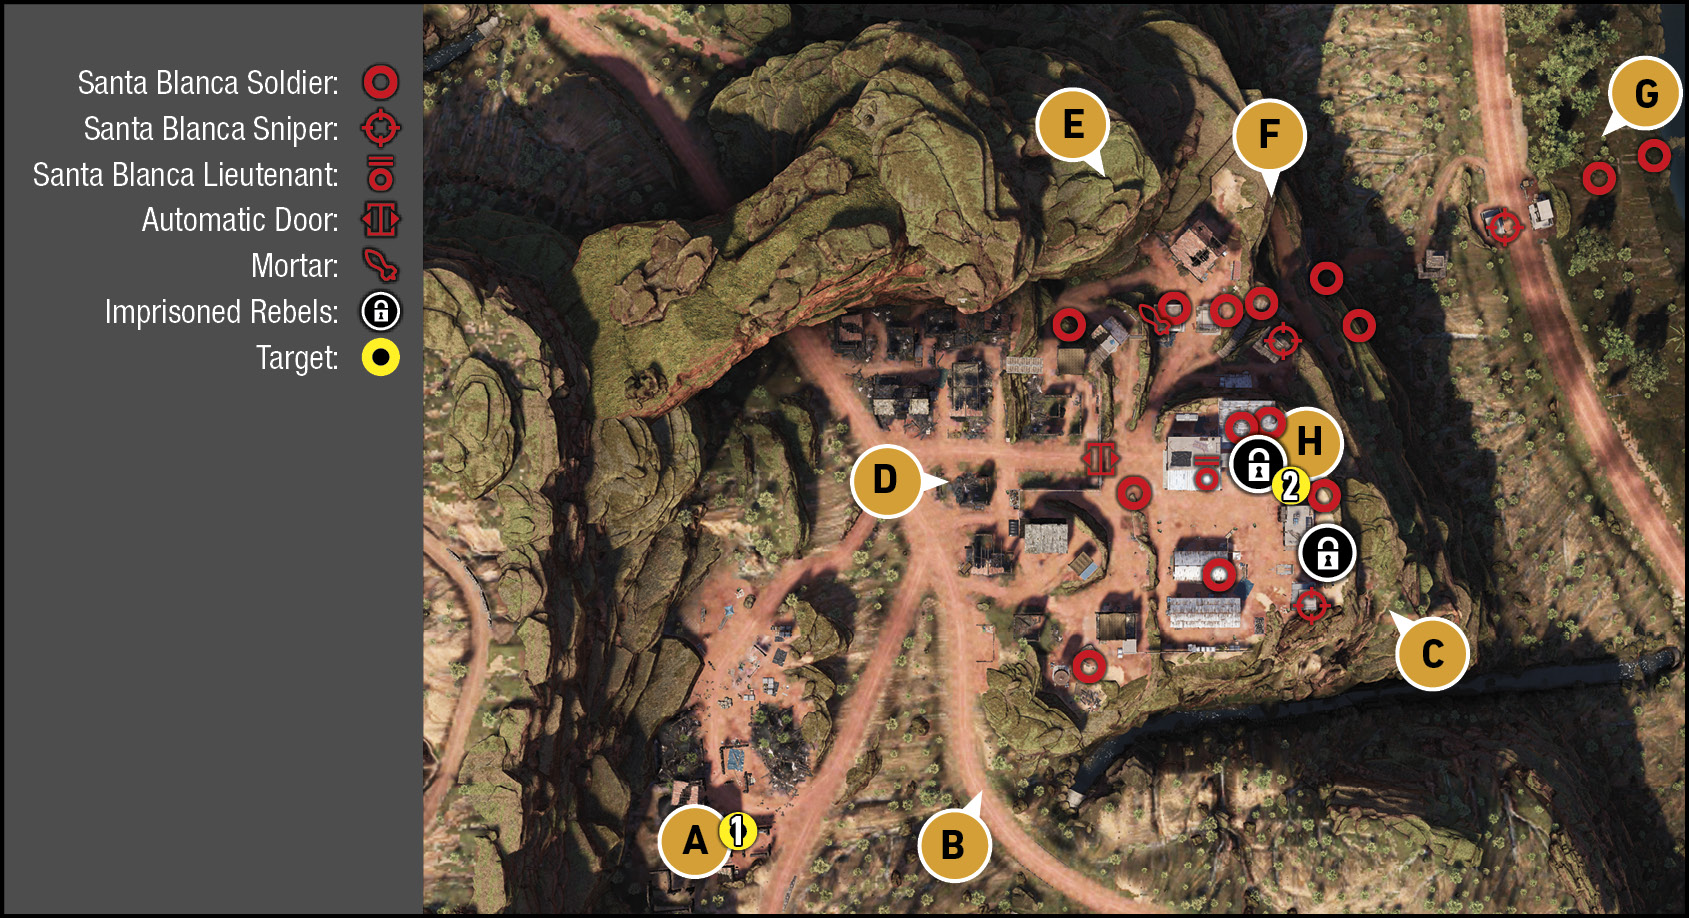
The small outpost where the journalist is being held (on the eastern edge of the upper area) features a single mortar installation, and a couple of sniper towers to worry about, along with a steep cliff-side path down to the road and river on the far eastern side of the area, where a third sniper tower and small checkpoint are. Simply concern yourself with the enemies on the upper area, unless you’re wanting to extract the journalist in a more novel direction (down to the east road, and out).
|
 Target #1: Rebel Leader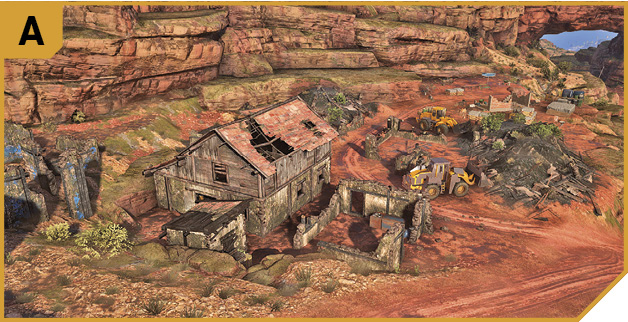
Southwest: Water Tower Infiltration Point
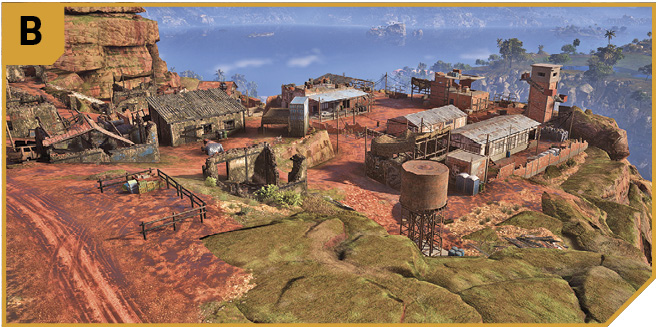
You have good height, actual visual on the target across to the northeast, and the ability to tackle the sniper on the southeast tower before you encroach into enemy territory. Sneak down here and either move along the south perimeter to C, or head into the mess hall and use the buildings as cover until you reach H.
Southeast: Cliff Edge
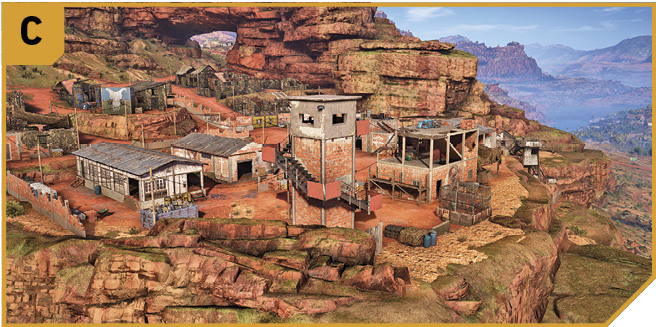
You can’t climb the steep cliffs to the south, where the torrential stream is descending down the mountainside, but you can sneak here from B (or F). Head here first to climb the tower and remove the sniper (or wait for a foe with an easier aim to do it for you), then free a second cage of rebels nearby. The half-finished building by the target can also be used to fire down on foes from.
West: Main Road Entrance
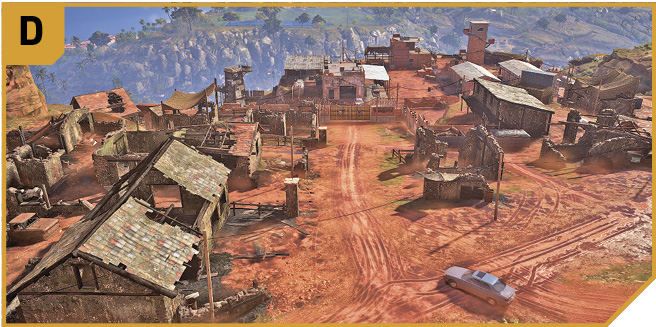
There are two parallel infiltration areas here, both running downhill from west to east. The main road allows a cartel-approved vehicle through the gates, and into the camp, after which you can gun foes down with a priority made to the mortar operator and snipers.
Or, you can head down through the ruined cottages, down the pathway by the foot of the cliff (E), and tag the sniper and adjacent mortar operator using stealth. Then sweep in heading south, to the target.
North: Crucifix Bridge
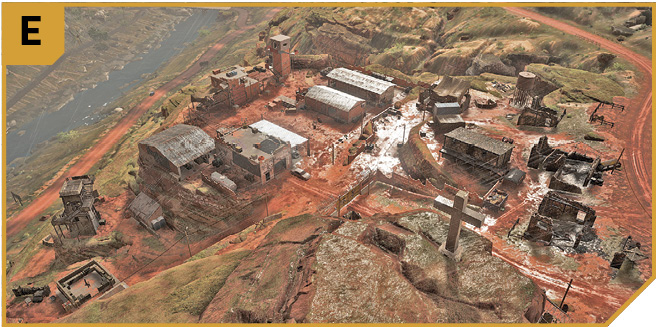
Head here by remaining on the upper ground after disembarking from the rally point, and locate the crucifix on the cliff edge. You can peer down, lob grenades, and create a huge amount of havoc with almost impunity, and can even snipe down to the tower near G. This is the ultimate support position, allowing you to cover teammates as they extract the journalist. A spot of careful falling allows you to reach F.
North: Cliff Ledge
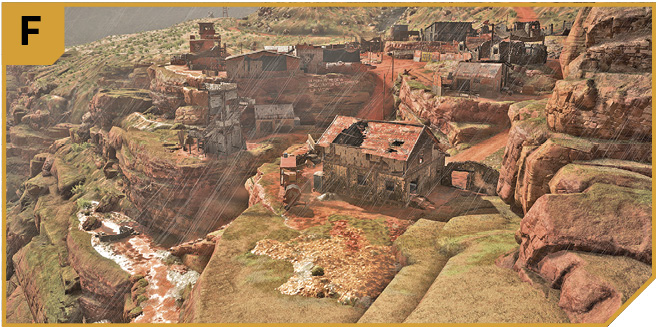
Either hike here from the road farther north, from E, or up the cliff path from G. From here, you can tag both snipers in the two main towers south of you, creep up and remove the mortar enemy, and clear the lower ledges atop the cliff of foes, in readiness for extraction. You can also look east to G, and try some long-range takedowns of the foes at the bottom of the cliff.
Northeast: River Checkpoint
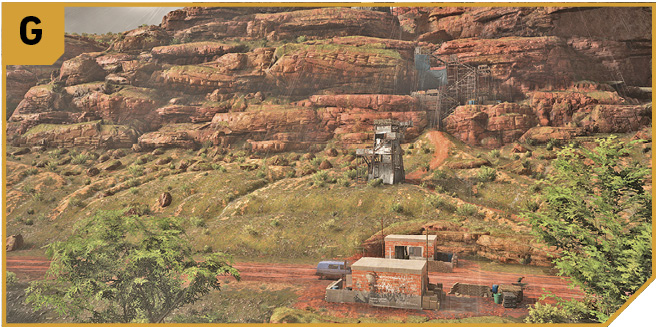
This isn’t necessary to head in from; but if you must clear everyone from the vicinity of the outpost, don’t overlook the enemies at the checkpoint, and the sniper atop the low tower. Note the pathway up to H from here; it has foes above you, and attacking from this direction (up the cliff) is extremely unwise and unsafe. It is an alternate extraction plan, though.
|
 Target #2: Lupe Vera (Rebel Cage)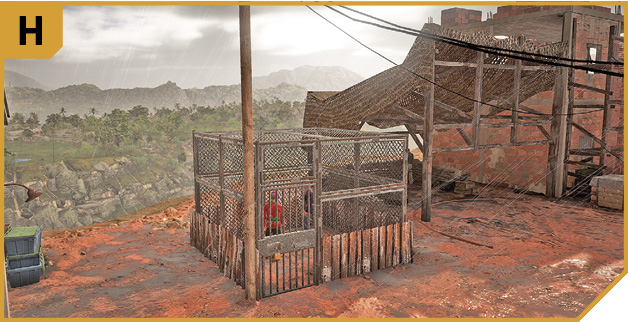
Outpost (East): Other Tactical Advice
 Use Rebel Support to call on a Mortar Strike to amusingly target the enemy’s own mortar after conducting a quick drone sweep of the area. Then infiltrate from B, quickly clearing the sniper, southern foes, and order your team (and rebels if necessary) to the lower ground near F to remove enemies by the cliff edge.
Or, you can locate a military-spec vehicle belonging to Santa Blanca (any white vehicle), and drive it down from D, into the base, and create havoc before getting out and slaying the snipers and mortar enemy. You may wish to remove the snipers before the vehicular manslaughter begins.
Another option is to sneak along the northern edge of the outpost, below E, and start silently culling all the enemies, remaining close to the gate, then sneaking south, and around to C to remove the remaining foes.
After freeing Lupe, bundle her into a waiting vehicle. This can be a vehicle you parked near B, the white car you can drive through the gate that’s parked adjacent to the brick garage (near the gate), or via a chopper you used to land in the main yard of the outpost.
Or, you can lead Vera down the cliff path to G, to a waiting vehicle or flag down an innocent’s car and use that.
 Solo tactics are advisable, but it’s also worth attacking simultaneously from different angles. Have one Ghost up at E, sniping and removing enemy sharpshooters and the mortar. Have a second Ghost partway down the hill at G, and tackle the foes at the checkpoint, the low sniper tower, then head up the cliff path. The remaining two Ghosts can figure out their preferred path; one from B and one from D works well, as you can outflank the foes and shoot them in a crossfire.
You can structure the extraction of Vera much more easily with other humans in your ranks. Have a teammate flying around in a chopper, landing it once the coast is clear, for immediate extraction from the main yard. Or use the digger, or a vehicle that’s maneuvered close to Vera while another Ghost is leading her. You can also head down the cliff to G to a vehicle a Ghost has driven there.
Extraction To Rebel Campsite
After escaping the outpost in a vehicle, take Lupe to the rebel campsite to the southwest of your current location. During the journey, Ms. Vera explains the story she’s working on. Park at the rebel campsite, speak to the journalist one last time, and she offers up some helpful information. Head into the hut inside the campsite, and simply photograph the notes on the desk to complete the mission.