
Tom Clancy's Ghost Recon: Wildlands Guide Welcome to Bolivia Libertad: Marcus Jensen
Toxic Assets

Objectives
- Locate precursor stocks
- Destroy precursor stocks (4)
LOCATIONS
- Libertad Airport
REWARDS
- + 500 XP
Brief
We have obtained intel on the stockpiling of precursor chemicals in Libertad prior to delivery to Ocoro. Locating and destroying these stockpiles will have a major impact on cocaine production.
Blow Out the Barrels
In the center of Libertad, adjacent to the town of Viloma, is the province’s airport, around 1.4 kilometers northeast of Libertad Bravo. This open area features two plane hangars, where a quantity of barrels is stocked. The plan is to destroy the four groupings of barrels and then depart. If you encounter any resistance, retreat or take them down.
North: Terminal Building
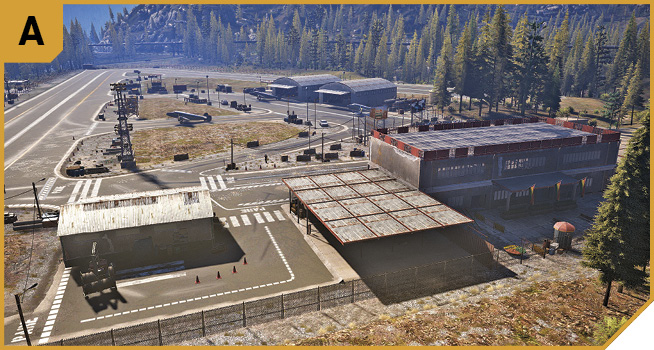
This is a reasonable area to infiltrate from, mainly if you intend to clear the entire airport of foes and want to work from north to south, or engage in a pincer maneuver with a teammate heading up from D. The terminal building is easily accessed (the perimeter fence can be crossed), and the structure provides excellent cover. Plus, you can push southward onto the runways, using the concrete barriers for cover. Don’t forget to destroy the alarm pole panel from outside or inside the terminal to prevent helicopter reinforcements.
Northeast: River and Road
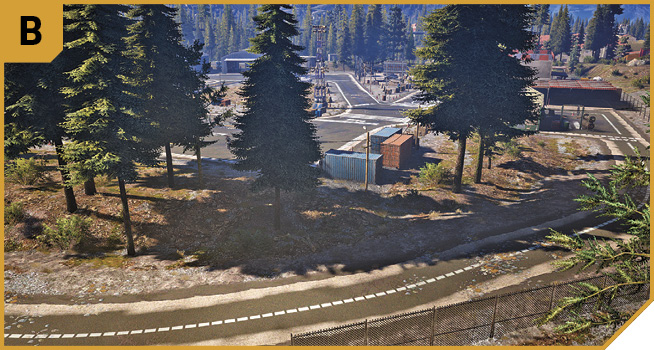
Moving in from the river to the north end of the main runway is great for creating crossfire opportunities, with the rest of your team heading in from F or G. The fence is easily accessible, and there are metal containers to hide behind. Drop the sniper on the control tower to the south (C) early, but not before you destroy the alarm panel; this is the easiest location to destroy it from. Then you can push across to the hangars (H), remain and offer covering fire, mop up foes in the southern part of the runway area, or go for the drone jammer or generator.
Libertad Airport: Recon
TACMAP
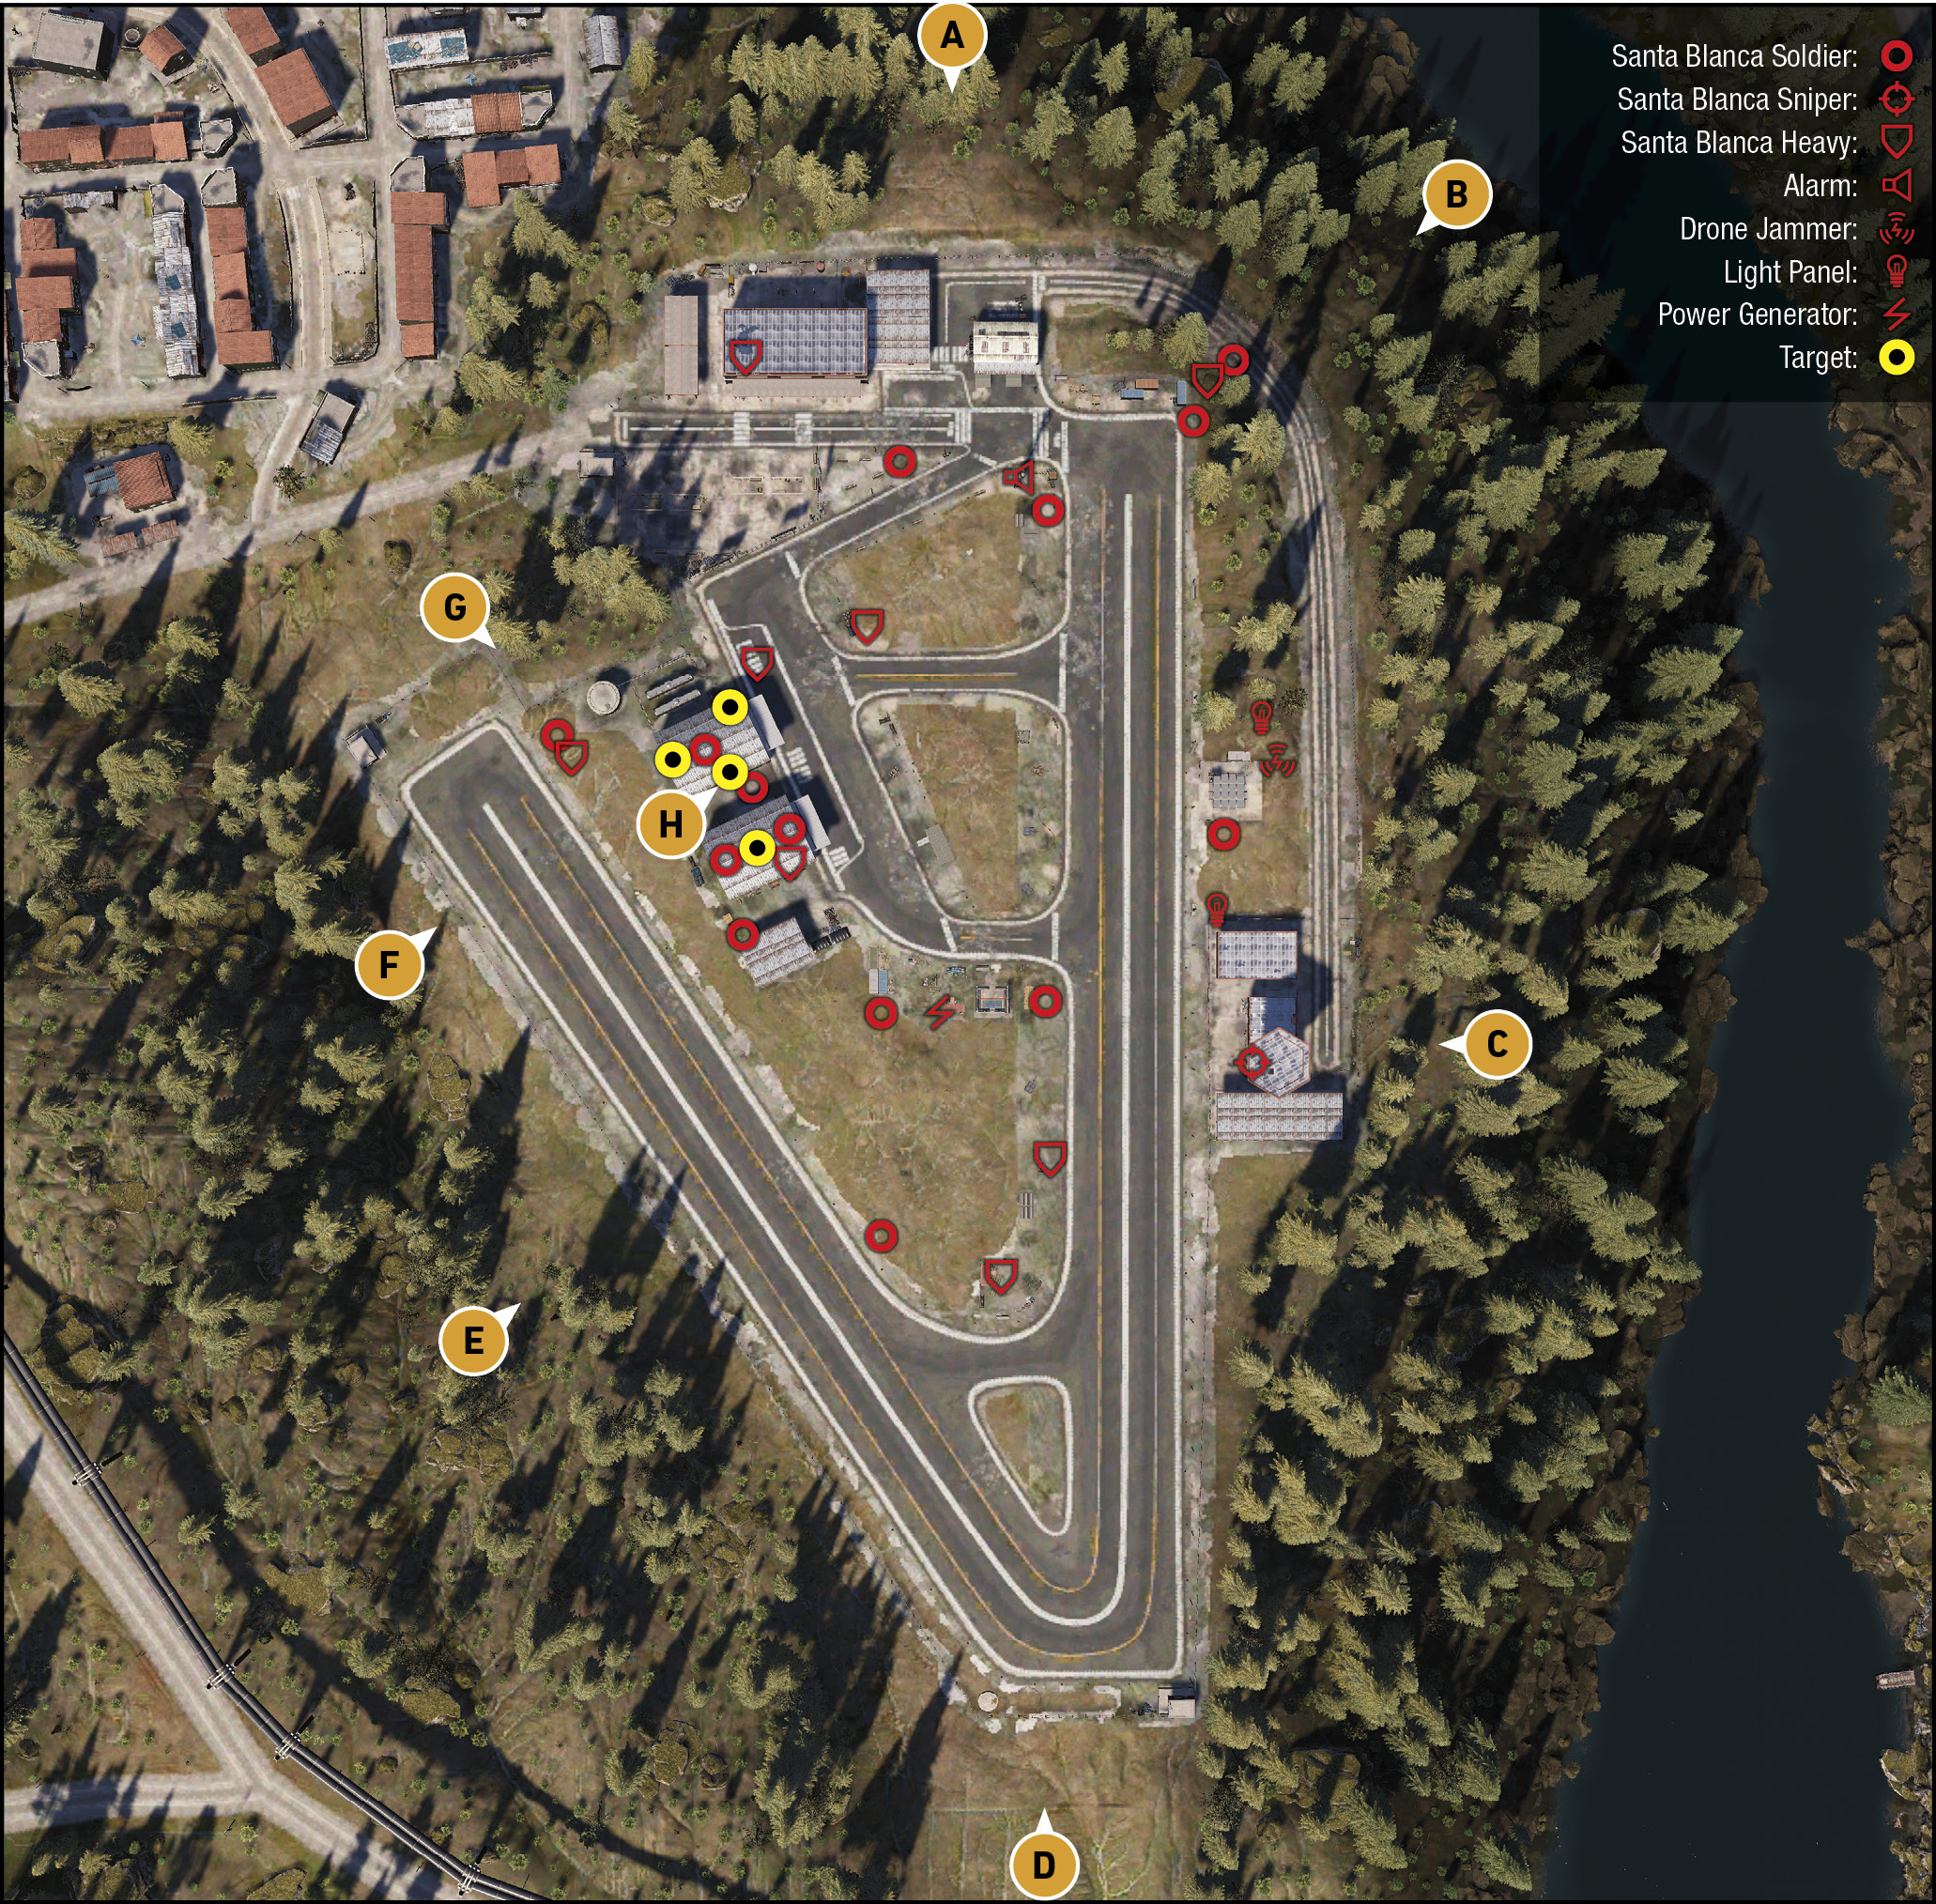
This is a large, open area with around eight properly armed enemies—almost half of approximately 22 foes in this battle. They’re well-armored and capable of putting a dent in your plans. There are three clusters of buildings: the terminal to the north with two outbuildings and alarm pole, the control tower to the east near the radar jammer, and the hangar buildings with the barrels you need to destroy. Choose either a quick infiltration-and-destruction plan or a fierce battle.
East: Control Tower
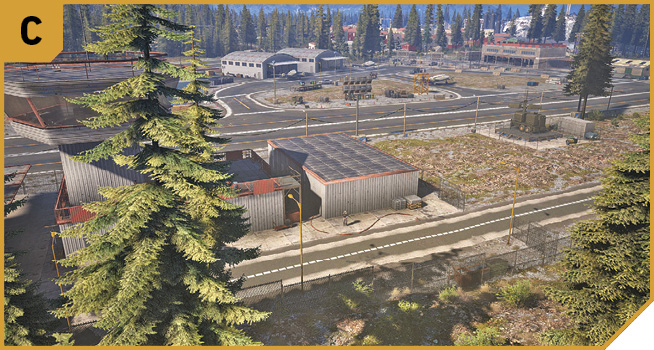
The main control tower houses a sniper on the roof, and possibly another patrolling enemy, but few other foes. Note the sniper can’t be accessed at close range; though you can enter the control tower, you can’t reach the roof. Drop the sniper from A, B, D, E, or anywhere else within range.
The control tower offers the highest vantage point in this area, so use it to snipe from, either from the low roof of the ground structure or the upper windows of the tower itself.
A bit farther north is the jammer, and across to the west is the generator. Removing them is optional, though it’s handy for a Ghost to start from C, hop the fence to deactivate the jammer, and retreat so the rest of the team can tag all foes before violence begins. The generator is a little too exposed, so it’s easier to manually tackle the jammer and alarm pole instead, and not worry too much about the enemy having active floodlights. That is, unless you plan on a night-time stealth-takedown special with everyone sneaking up to foes, strangling them from behind, and whittling down the enemy until only a few remain.
South: Runway and Perimeter
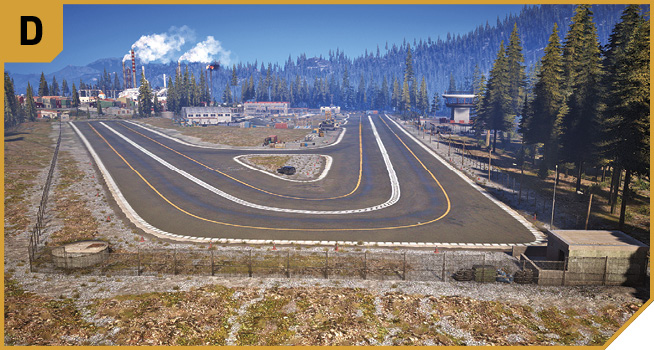
The checkpoint hut, usually used as a sniping position or hiding spot if you’re foolish enough to let the enemy call on helicopter reinforcements, is empty of foes. This means you can cross the perimeter fence and move northward, to C or the generator, or along the runway to H. Foes spot you quickly, and you’re too far from the alarm to stop reinforcements from being called. However, if you’re working in conjunction with other Ghosts and attacking from different directions, this is a great choice of insertion point, due to the fact you can take out the sniper on the control tower first and cause a distraction in the area.
Southwest: Perimeter Fence
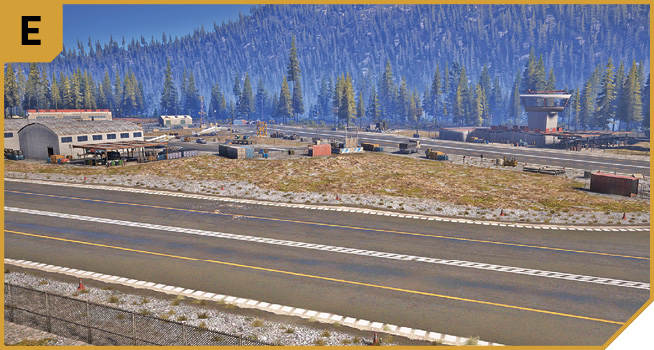
This offers similar tactical access to D—hop the fence and then skulk around, dropping foes before running to the barrel-storage building adjacent to the hangars at H. The runway area is wide open, making this a difficult location to breach.
If you’re adept with a sniper rifle, consider lurking behind the perimeter fence by the tree line and shoot into either hangar, destroying the barrels with a single sniping shot (per barrel cluster). This enables you to complete the mission without even stepping into the airport!
West: Fence Insertion Point
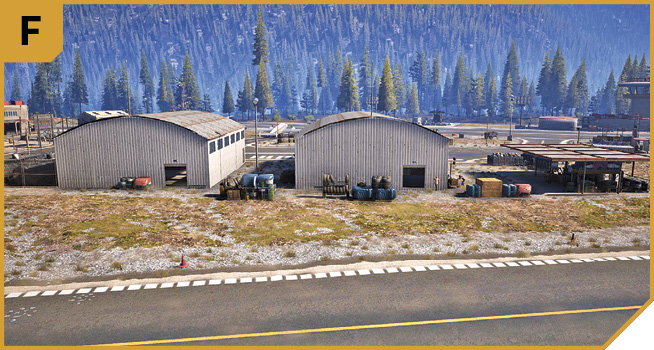
The north end of the second runway doesn’t offer much in the way of cover, but the enemies aren’t close enough to spot you anyway, save the couple of patrolling foes you can sneak behind or drop silently. This then provides immediate access through the main hangar doors at H. Or, like at E, you can snipe the barrels from outside the fence by the tree line.
Northwest: Access Point
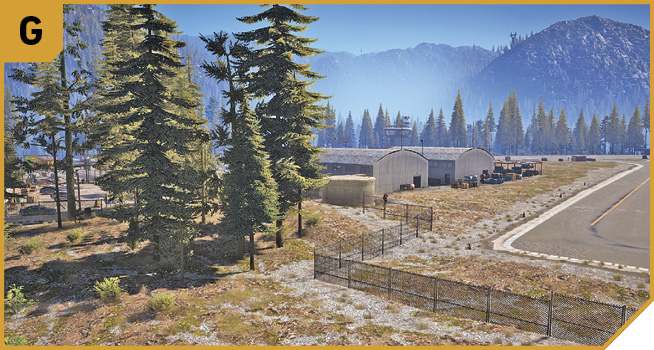
To reach the hangar as quickly as possible, enter by hopping the fence here. The foes aren’t immediately aware of your presence, and you can creep directly into both hangars with minimal problems. Just be sure to deactivate the alarm pole across to the northeast if you’re planning a stealth execution of this mission. Or stay in and around the hangars as a firefight erupts.
|
 Target: Barrels and Hangars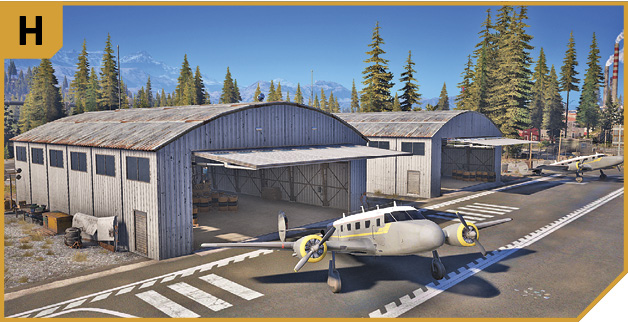
Libertad Airport: Other Tactical Advice
 Before you do anything, remove the alarm panel from the pole in the northeast part of the airport by shooting at it. It then doesn’t matter how hairy the situation becomes; no reinforcements arrive to make your job harder. The only exception to doing this first is if you intend to sneak to each target, place C4, then retreat to a safe distance before detonating.
For stealth removal of the barrels, enter via G, prep both hangars with C4, retreat to G or F, and detonate. Or fly an explosive drone in via a window you break, or a doorway. Two are needed, so do this to the north hangar and plan a different tactic for the south hangar. Or have your team storm the runway area to the south or northeast, creating a distraction, while you prime the hangars with C4 or finish the mission, then remain in cover at the hangar and finish off all the foes. Or you can drive a vehicle into the barrels, though the explosions usually kill you. A better plan is to find a vehicle you can fire from, then cause havoc and skid to face the main hangar door, strafe the area with gunfire, move to the next hangar, repeat the plan, and then flee. Or hover a chopper at the hangar doors and strafe the barrels. Or parachute onto the roof of either hangar, drop down to any entrance, and complete the mission. Or fly a plane, crash it directly into the hangar, and hope you don’t die. Or use one of the planes at the airport and drive it into the hangar.
 Make sure your teammates work in conjunction with you to execute a pincer maneuver. You and a colleague start at A and work south, while your teammates start at C, D, or E and work north, dropping foes in the crossfire. Or do the same, but work from west and east inward.
Helicopters are easily maneuvered, there are no SAM launchers here, and your team can quickly fire from them into the hangar before escaping. Name one teammate responsible for shooting the alarm to avoid a dogfight with a cartel chopper. Afterward, strafe the ground and carve up the remaining foes.
Two vehicles speeding around the airport grounds and causing havoc is a great distraction while a lone Ghost completes the objective.