
Tom Clancy's Ghost Recon: Wildlands Guide Welcome to Bolivia Villa Verde: El Wey
Framing El Wey

Objectives
- Reach the Villa Verde base
- Search El Wey’s headquarters
- Pick up one of El Wey’s signature shotgun shells
- Kill Lieutenant Bento
- Place El Wey’s shotgun shell near Bento’s body
LOCATIONS
- Villa Verde Base (Cartel)
- Observation Post (Unidad)
REWARDS
- + 1,000 XP
Brief
We can use the feud between El Wey and Bento as leverage to topple the buchon. Obtain some of El Wey’s custom shotgun shells, kill Bento, and leave the shells near the body. That should be enough to convince Unidad that El Wey was the killer.
Shell-Shocked
There is a two-fold plan to complete. First, to infiltrate and remove some specific shotgun shells from the Villa Verde Base in the far southwestern corner of the Province. Then, it’s a colossal hike to a small, but extremely well-guarded, Unidad base along the eastern edge, killing a lieutenant and planting the shells on his still-warm corpse. Neither are particularly easy, unless you plan carefully before tackling both parts of the mission.
Villa Verde Base: Recon
TACMAP
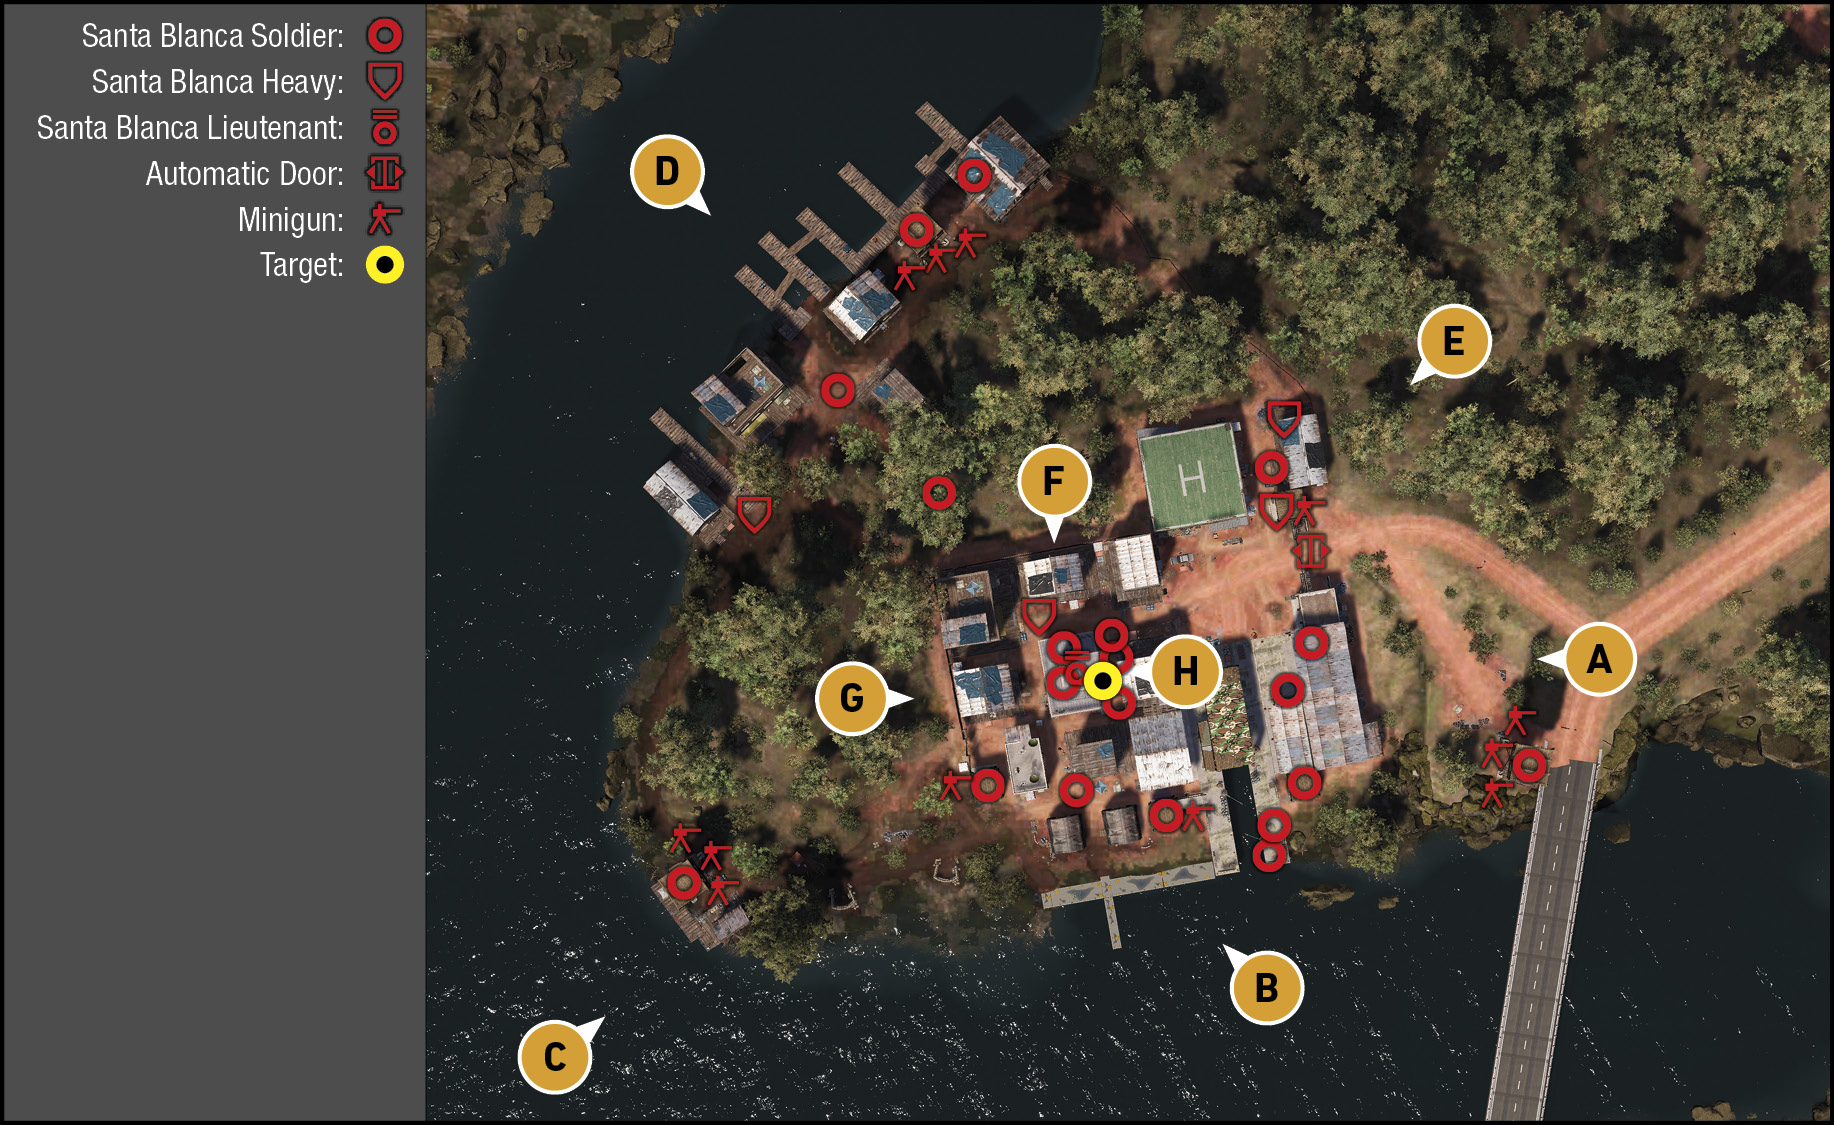
This is a well-guarded, but easily-accessible base, especially if you use the undergrowth from the northeast. Think of the area as a main base with a cluster of eight buildings around the central HQ, along with some barracks to the south, a large covered dock, and a mechanic’s warehouse, main gate, and helipad with a smaller warehouse along the eastern side. Then there’s a secondary docks area with fewer foes, but bristling with minigun defenses along the northeast shore of the river. Neutralizing or circumventing these areas allows you to reach the HQ building, which is almost crowded with foes and a target you need to physically reach.
East: Main Road, Gates, And Minigun Tower
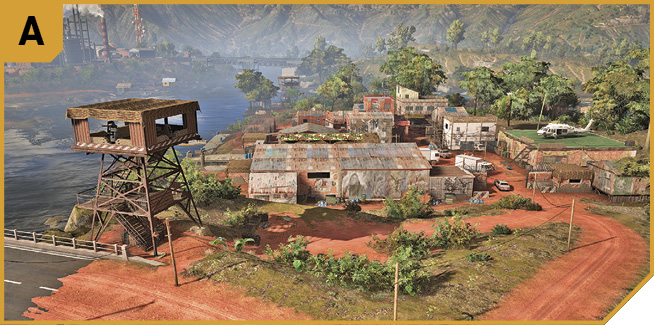
Taking out the single foe atop the tower is easy if you approach from the woodland to the east, the river, or anywhere else at a distance and ideally from cover. The main gate remains shut (and there’s a minigun in a firing post just to the side of it), unless you drive in with a cartel vehicle; there’s one at the base of the minigun tower, though that usually starts violence once you breach the gates. Park the vehicle so that the gates can’t close, and you have another entrance and exit.
South River: Docks And Barracks
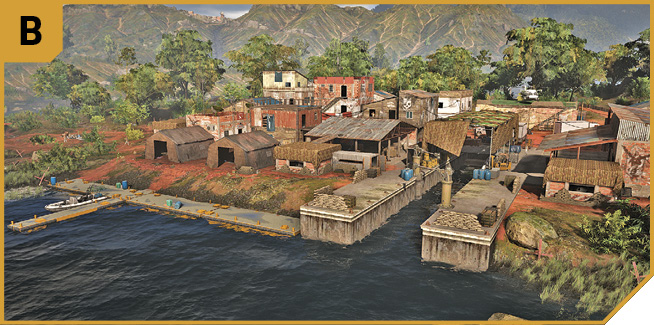
This is a good stealthy infiltration location, mainly because the river is lower than the ground the base sits on, and on the eastern side, there’s bushes you can use (or you can sneak in from A), allowing you to lob a grenade into the firing post, or enter the southeast warehouse by the open doorway, and start tagging sicarios.
The concrete docks can be driven down in a boat, but this usually just ends up with you being unable to climb out, and being shot at. Instead, creep to the firing post west of the concrete docks from the barracks area, overpower the minigun operator, and use the container with the slit windows as cover, with your team advancing into the main base interior. Note you can climb on top of this container, and use planks across various buildings to sneak across the rooftops, allowing access to the structures immediately east and south of the HQ structure—most helpful when you’re attempting to get there as cunningly as possible.
The barracks are easily accessed, as this corner of the main base hasn’t the protection of walls that other parts do. Infiltrate at night, and remove multiple foes sleeping in this area, easing your main battle.
Southwest: River Junction And Minigun Tower
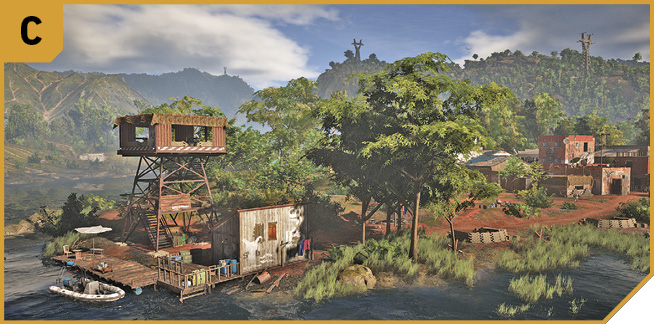
This can prove to be an early warning to the rest of the foes if the minigun operator here sees and starts firing down on you. Prevent this by mooring your boat to the southeast, near the tree, and shooting him from this cover. Then infiltrate toward D or G, depending on whether you’re wanting to remove all foes, or attack the HQ building immediately.
Northwest: Secondary Docks And Minigun Tower
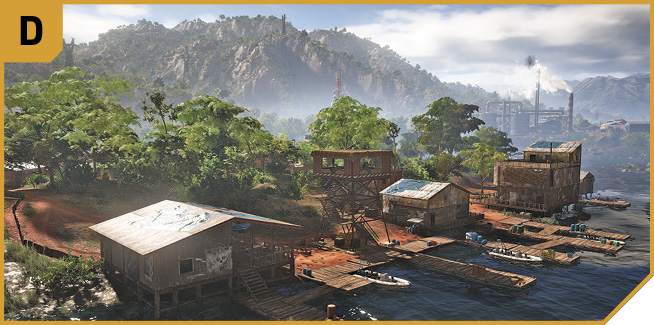
Clearing this cluster of river-side structures is optional, though it prevents the enemies from running in and helping during the main storming of the base. Attempt a clearing with stealth tactics as much as possible. Approaching from the river isn’t really advisable as you’re easily seen. Instead, snipe across from (northwest of) the river, or from E, taking out the minigun tower foe first, then the three to four other enemies, ideally in complete silence.
Northeast: Jungle And Higher Ground
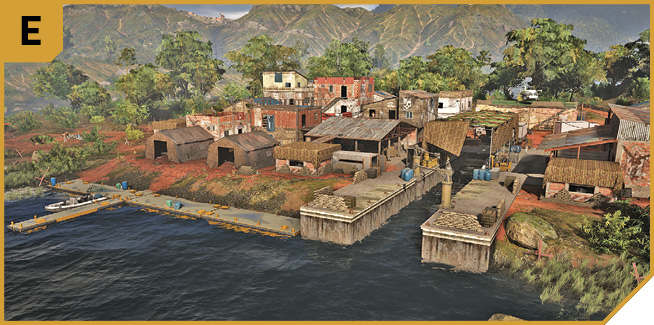
An optimal amount of trees, higher ground, and bushes that can easily hide you (and patrolling enemies, so use thermal vision) exists at E and F. Approach from the northeast and you have a commanding view of the secondary docks (D), as well as a lightly-guarded entrance between the elevated helipad and the corner warehouse. The helipad offers great covering fire and combat potential as long as you trap the entrance stairs with mines; use the elevation to fire and throw projectiles at foes below.
Before it all kicks off, sneak in and remove the enemies at the firing posts (one near the gate, the other to the southeast, through the larger open warehouse. You can also use the cargo trucks as cover, or to drive in and out of the base, or to the HQ building itself. If you’re standing atop the truck, you can drop onto the upper balcony of the HQ building.
North: Jungle And North Perimeter
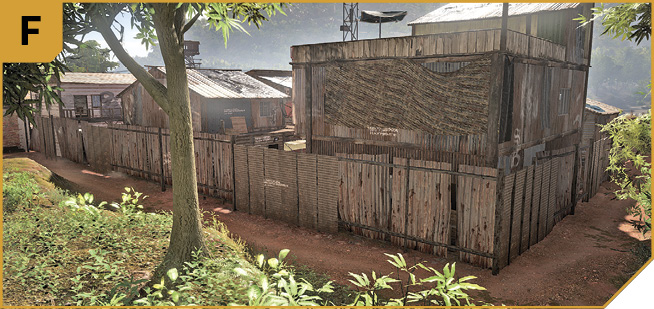
The north perimeter of the base has a high metal wall. Aside from firing at foes on rooftops or balconies, or through the gaps in the metal, this area is secure; seek an infiltration point east or south of here (E or G).
West: Perimeter
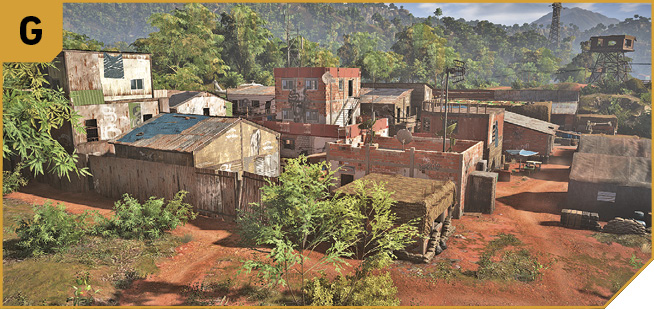
The western wall is impenetrable, until you reach the southwest corner of the interior base. Sneak under the firing post, and you can easily reach the HQ building, the street-to-street fighting in the buildings that circle the HQ, or you can move and neutralize the barracks and loop around into the unloading dock area to the east.
|
 Target: HQ Building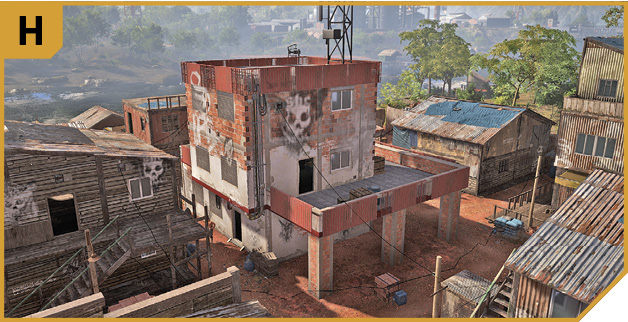
Villa Verde Base: Other Tactical Advice
 It’s time for a distraction! If your drone has a noisemaker, place it elsewhere in the base (toward E) while you sneak in from B, C, or G and enter via the southwest, grab the shells, and leave the way you came.
Or, you can try a methodical sweep of enemies, attempting stealth until you’re spotted. Remove the minigun operator at A, sneak along the south river area (B) removing foes at the firing posts, defeat the minigun operator at C, then clear the secondary docks of foes (D), enter the base at E, and use the helipad (and your teammates) to push into the base from this location, and southeast into the HQ building.
You could find a cartel vehicle that’s well-armored, and drive it through the gate, and lay waste to the area, though there are problems obtaining visuals on all the foes, and you’re surrounded if you park in the unloading docks.
Long-range sniping is minimized here, as you physically need to enter the HQ building to obtain the shotgun shells. Parachuting onto the roof of the HQ building, then descending to the second floor room with the shells works, though shotguns and backup from teammates are needed.
 A more robust plan involves each Ghost infiltrating from a different point, some with the intention of causing a ruckus or distraction, and others intent on getting the objective done. Start at night so you can kill the sleeping foes in the barracks. Have a Ghost enter from B and G, heading through the narrow alleys to the HQ building, with one splitting off to cover the three structures north of the HQ. The other two can cause a distraction at E, or the yard outside the door, or drive a vehicle into the main gates. Or, if stealth is more important, have all four Ghosts enter from B and G, and swarm the HQ building, ascending as quickly as possible, and remaining in the relative cover of this structure, killing foes who try to enter from below.
Use the boats to the south (B) or the helipad (E) as escape possibilities, as well as a vehicle parked inside the unloading dock (driving it out of the main gates, to A).
Get Bento
With the shotgun shells in your hands, it’s time to kill the Unidad lieutenant, and frame El Wey for it. This involves travelling to the far eastern edge of this province (or fast-travelling to Villa Verde Charlie and heading due south), and assaulting a hilltop observation post. Though compact, expect the enemies to be even tougher than those you’ve just dealt with. Rearm, and recon before the assault.
Observation Post: Recon
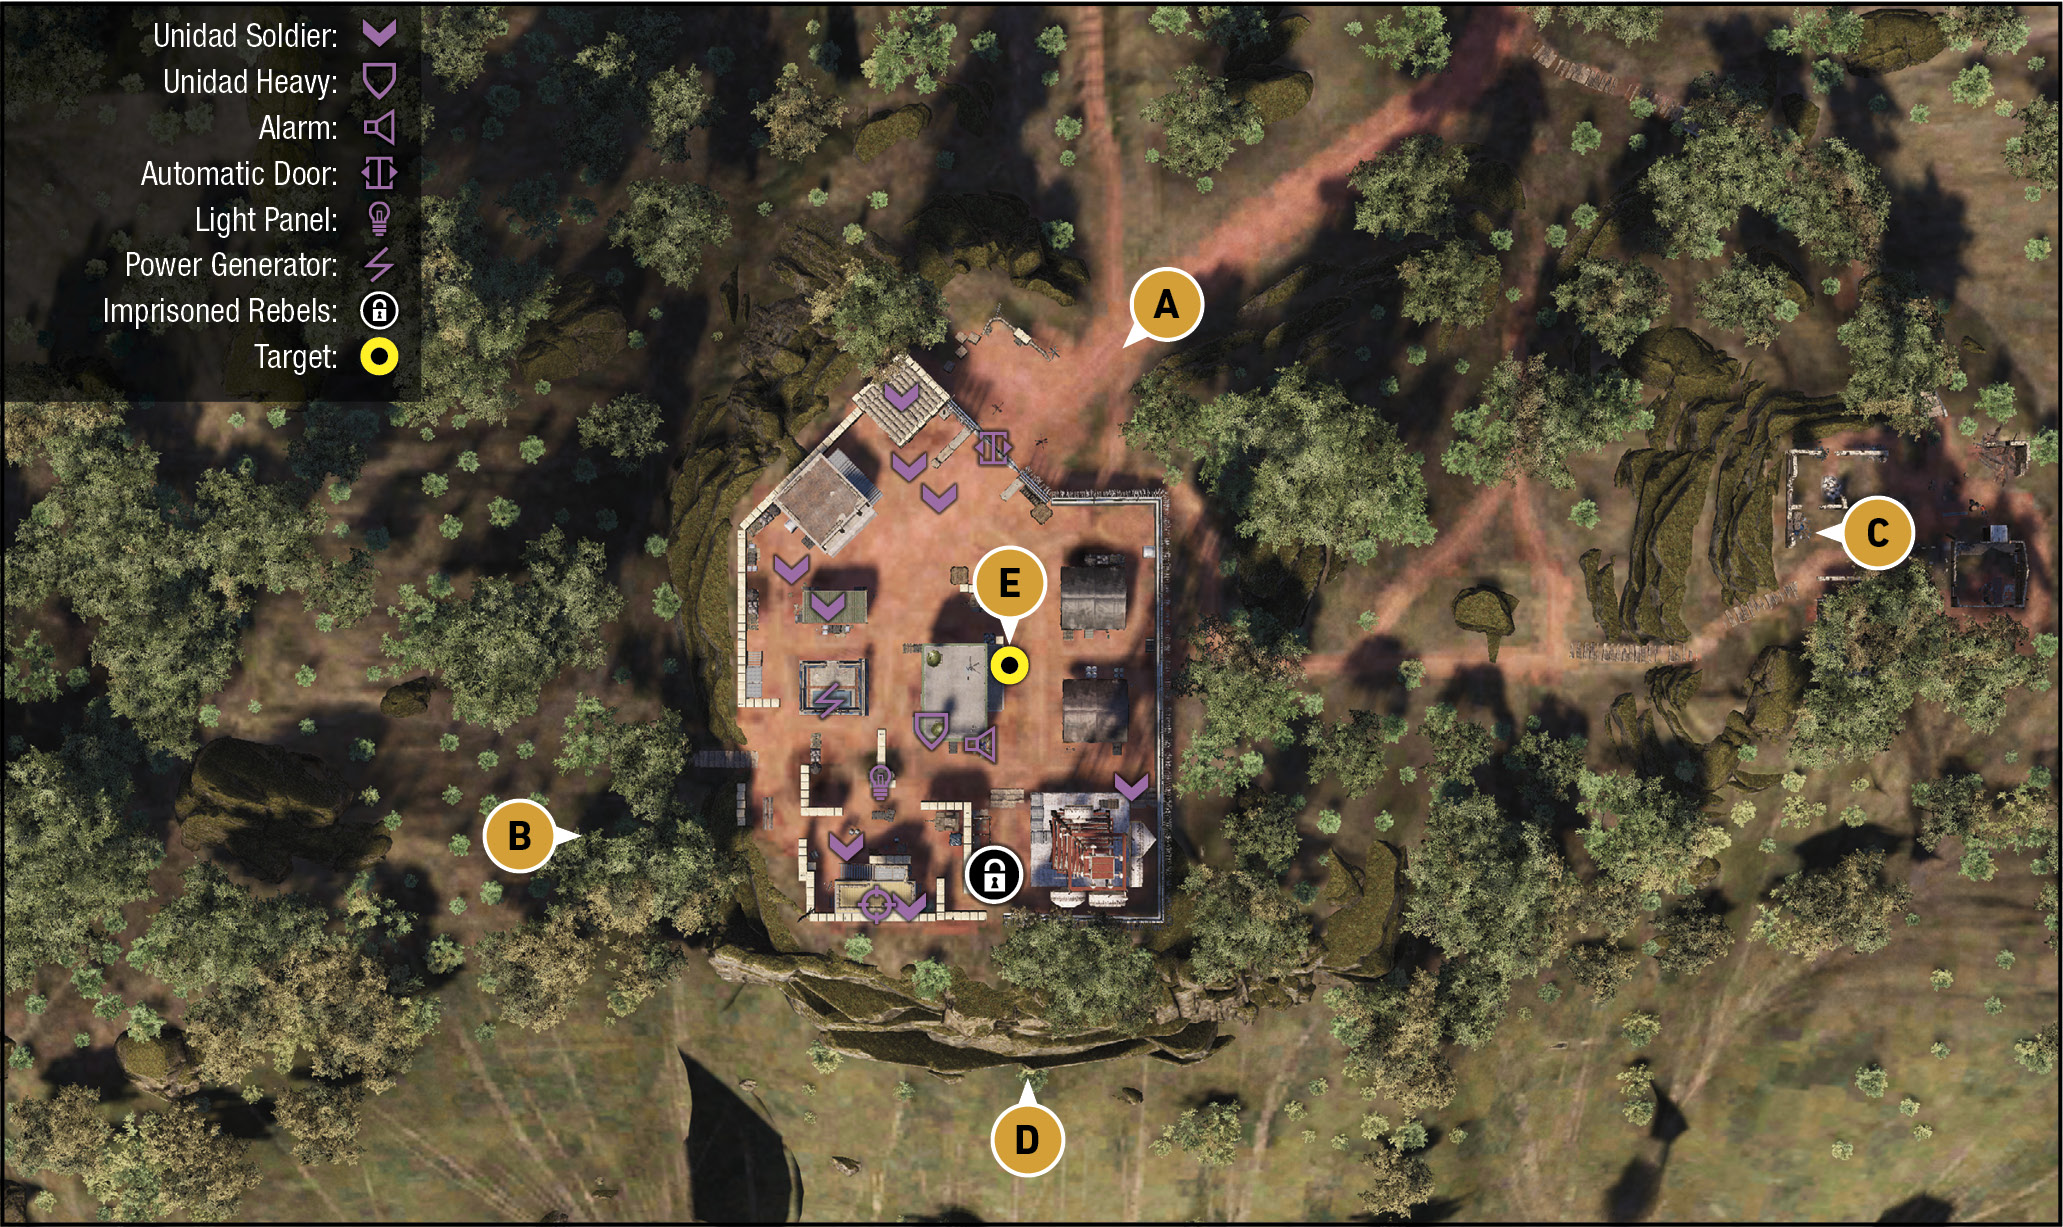
TACMAP
At the top of a very long and winding mountain is a compact, but well-guarded, observation post where pyrolusite extraction is overseen. The northeast entrance only allows Unidad vehicles in or out; the east side is impenetrable. The south side has a single break in the perimeter to infiltrate through, while the west side has defenses, but is open enough for an infiltration. Note the light panel, alarm, and generator are all relatively close to each other. As for the lieutenant, he begins sitting on some boxes near the barracks, on the east side of the comms building.
Northeast: Main Gates
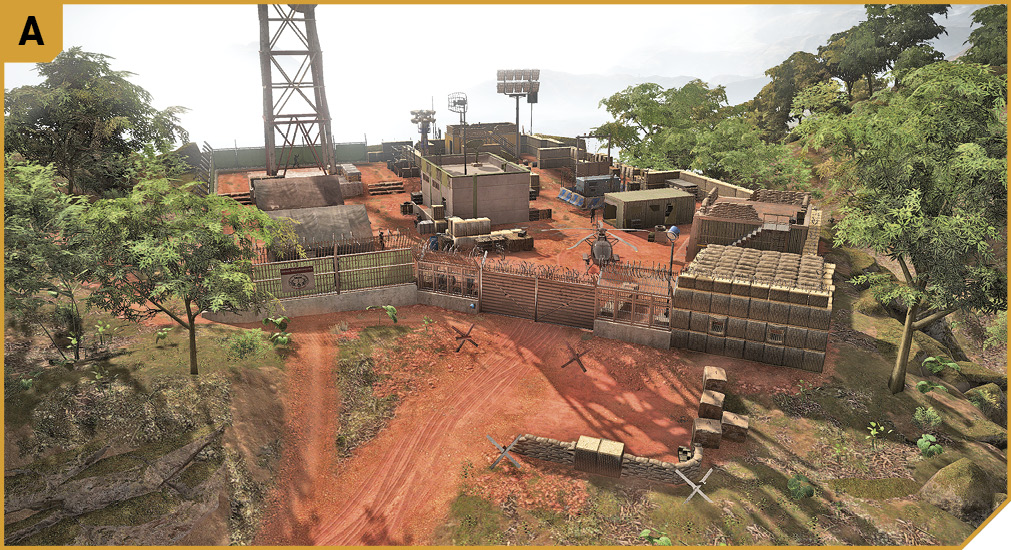
Truly the worst location to infiltrate from, unless you’re driving up and into the base in an armored truck owned by Unidad, can slay the lieutenant in seconds, and run the gauntlet to place the shotgun shells by the corpse and return to the vehicle before you’re shot to bits yourself.
Instead, ignore this area, looping around to B or C. If you must attack from A, lob in grenades into the firing posts to soften up the enemy. But do this after the alarm has been neutralized.
When enemy reinforcements arrive (and they will), vehicles come up this hill, so it’s wise (and cunning) to litter the road with mines. Not just one, but three or four, all at different parts of the hill (so when one explodes, the others are still intact). This, along with pushing your team to guard the gates from the inside of the base, keeps reinforcements at bay for as long as you need.
West: Hilltop Rocks
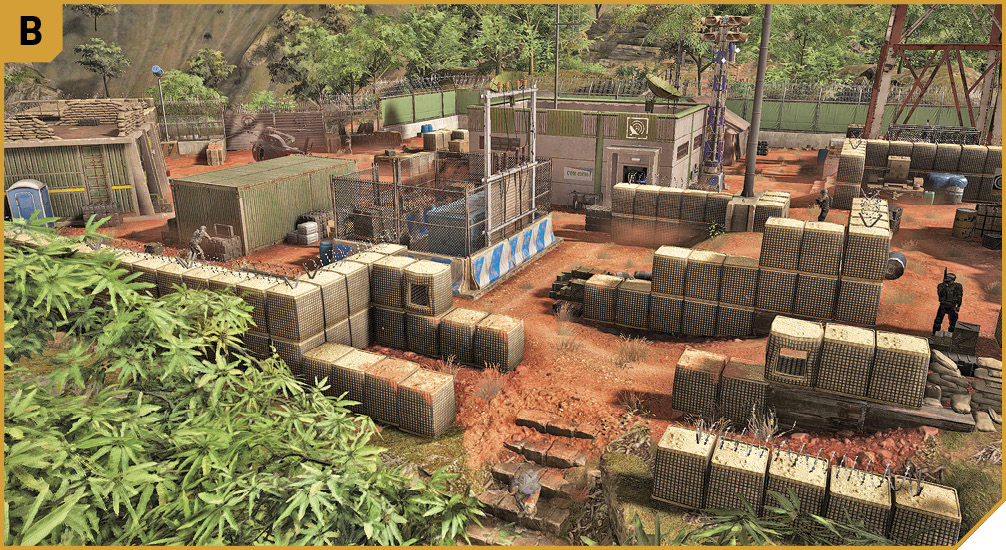
Whether you’re reconnoitering from here, using this cluster of boulders as a sniping position, or shooting out the lights and alarm panels, this is a great support spot to take. Though the target isn’t initially visible from here, if he runs, he can be seen and taken down from here, too. Plus, you can just about take down reinforcements appearing at A.
Closer to the base perimeter, you should notice that the wall cubes the base walls are built of have some handy gaps here, and there’s no real enemies patrolling the immediate area (though you need to watch for the sniper to the south). This is the prime spot for infiltrating, freeing the rebel in the cage, shutting down generator power, and killing both the alarm and the lights.
East: Hilltop Ruins
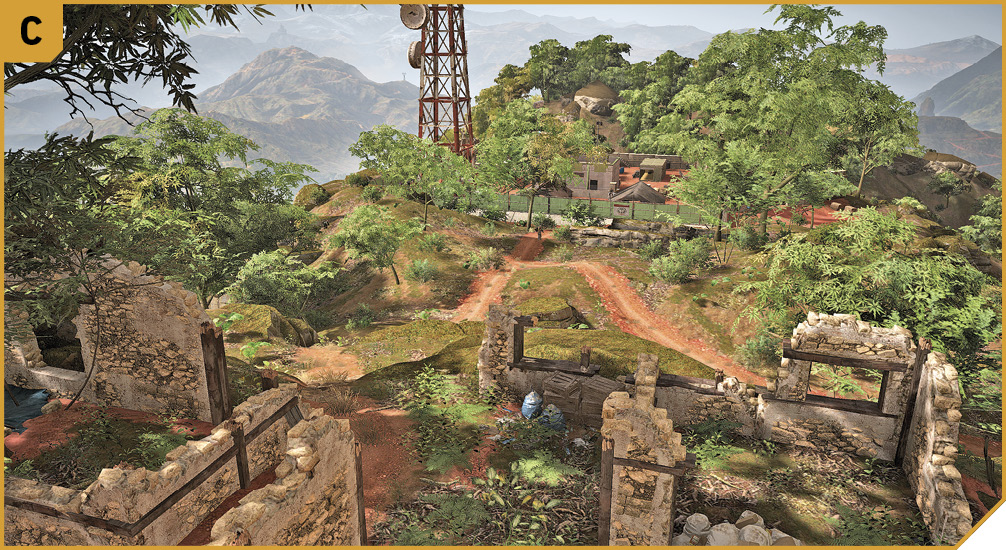
While the eastern perimeter is impenetrable from this direction, you’re able to see almost all the important parts of the base from these old ruins. Sniping both the alarm and light panels, as well as the target (and foes in the barracks area) is possible, though you’ll need to reach the target to plant the shells afterward. This is another great camping spot.
South: Wall Gap
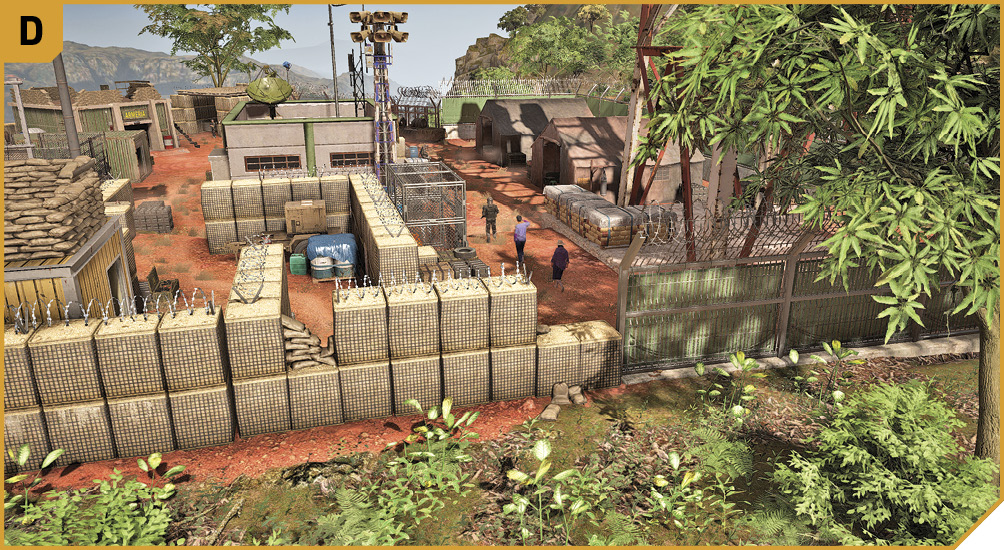
The gap in the wall here allows you to jump over and into the base, ideally before anyone sees you. At this point, you can find the lieutenant and, when he starts patrolling, you can quickly follow, neutralize him with suppressed fire, plant the shells, and retreat the way you came without anyone knowing. Or, you can quickly tag the alarm panel, move to the barracks, or into the base and start firing at folks.
|
 Target: Lieutenant Bento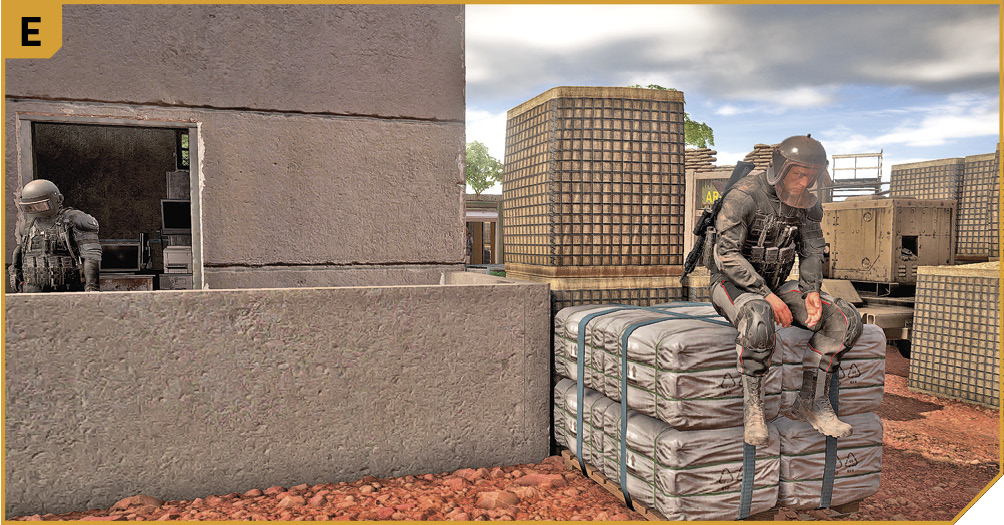
Observation Post: Other Tactical Advice
 Remember that simply “clearing” a Unidad area isn’t really necessary (unless you do this with pure stealth), as these forces simply increase their patrols until they kill you. Instead, enter via D, after dark, watch for the lieutenant, follow and silently kill him, then escape.
Or, enter from B, kill the light panel and alarm panel so reinforcements aren’t instantaneous, and sweep south, removing the foes and sniper, then work your way to the barracks on the east side, into the comms building, and finally toward the firing post by the main gates (A), shooting foes silently along the way. Make Bento one of the casualties along with all the others; don’t pay him special attention. Assuming no one sees you, plant the shells and slip away silently.
Otherwise, simply assault the base with you heading in from B, and your team coming in from A in a vehicle. Or, infiltrate from D while your team does so from B. Then move them to the helicopter near A, to deal with reinforcements while you kill the alarm and mop up the target.
 Only a single Ghost is needed to perform the Solo plan detailed above (entering from D, killing the target, and retreating after mission completion). Or, you can set up snipers at B and C first, with two Ghosts entering the base (at B and/or D), killing the alarm and light panels, then everyone clad in Unidad uniforms. Alternatively, you can assault the base by driving a Unidad vehicle into A, causing a commotion while other Ghosts infiltrate from B or D to remove the target.