
Tom Clancy's Ghost Recon: Wildlands Guide Welcome to Bolivia Caimanes: El Cerebro
Submarine Fleet 2

Objectives
- Destroy the drug sub
LOCATIONS
- Las Anguila Wreck
REWARDS
- + 500 XP
Brief
El Cerebro has built a flotilla of three submarines that are capable of making the run from Caimanes all the way to Florida. This represents a major increase in the cartel’s smuggling capability, and it must be stopped. Locate and destroy these submarines.
Slaughter In The Swamp
Among the river inlets and swampy ground toward the eastern side of the province is the rusting wreck of an old ship called Las Anguila. This makeshift outpost has around 20 cartel members guarding a small submarine docked on the eastern edge of the base, and getting to it via the base itself is a tricky business. A better plan is to attack from a direction your foes won’t be expecting.
Las Anguila Wreck: Recon
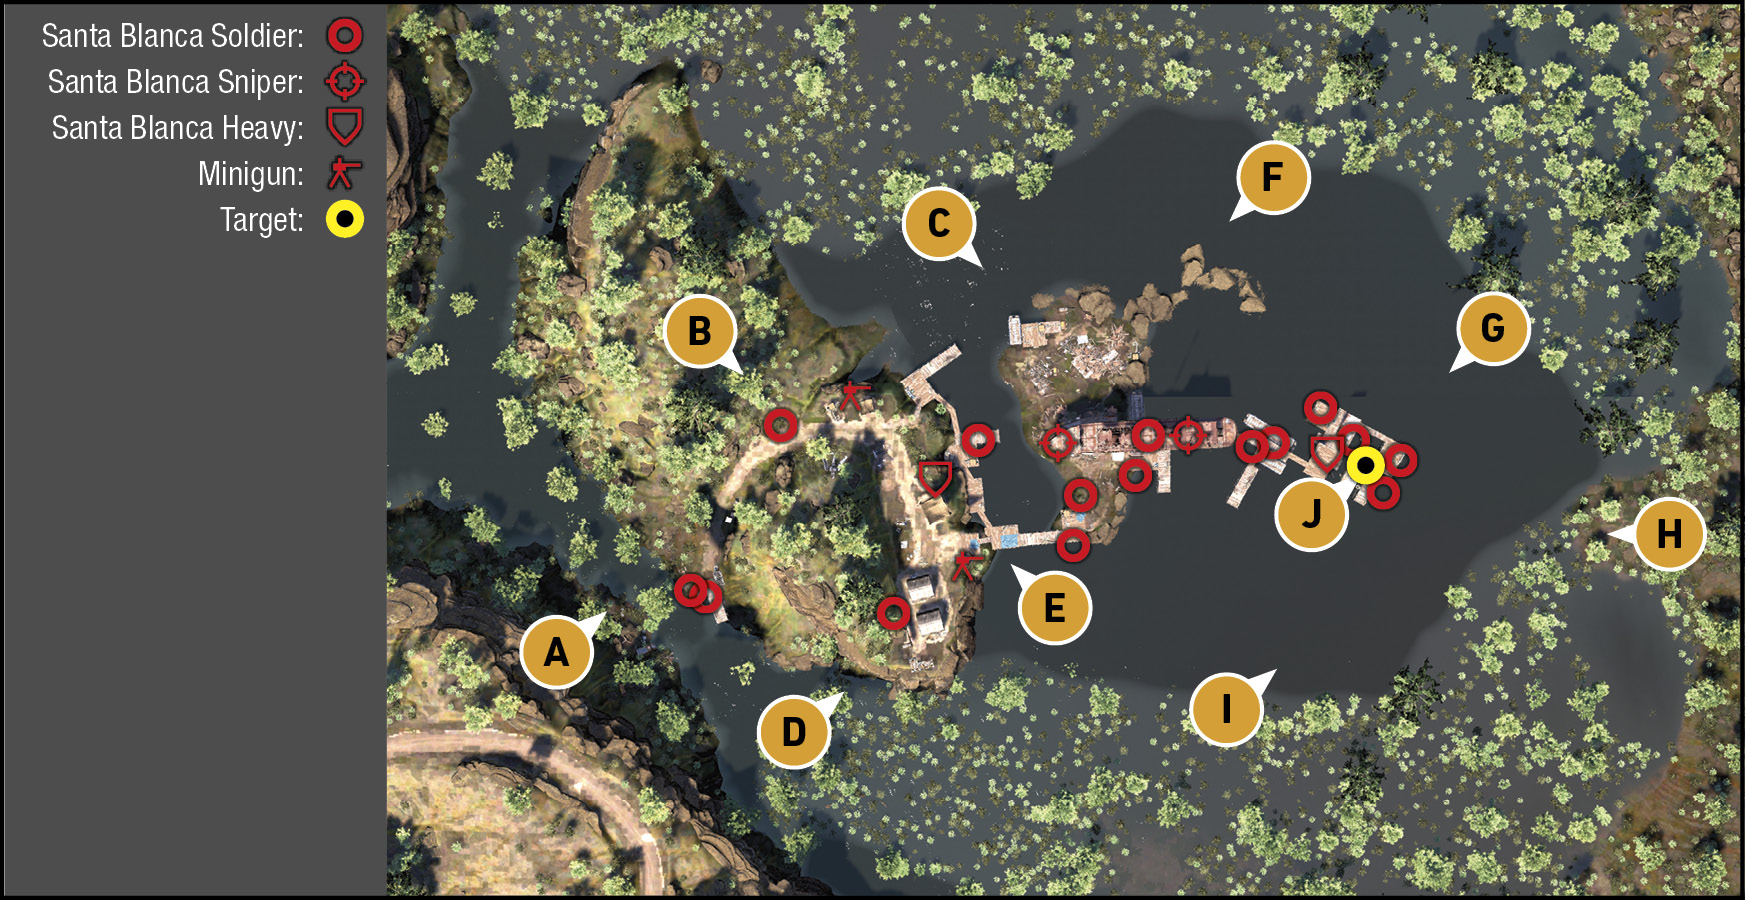
TACMAP
The wreck of Las Anguila takes the center spot in this low-lying swamp, with living quarters on the big island to the west, the boat stuck in the mud on a smaller, waterlogged island, and the submarine moored at some makeshift docks on the eastern edge of the base. Most foes are positioned in a line from west to east, and the single minigun nest and a couple of snipers on the boat are your main concerns.
Western Road
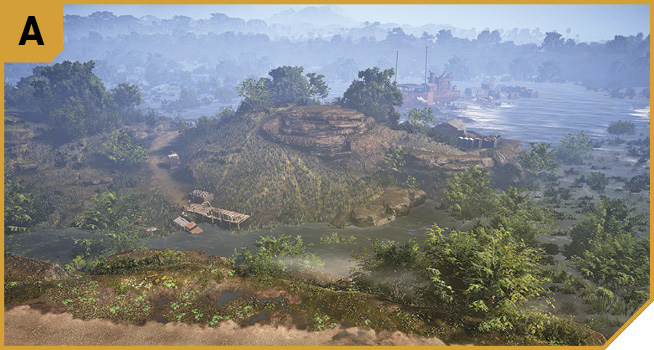
If you’re driving here by road vehicle, this is where to disembark; on a low hill overlooking the main island. Here you can mop up the couple of fellows on the small dock below, and figure out whether you’ll approach the main base around the north (B) or south (D) sides of the main island. Obviously, you can also toy with the idea of approaching from the water instead.
Large Island: North Road
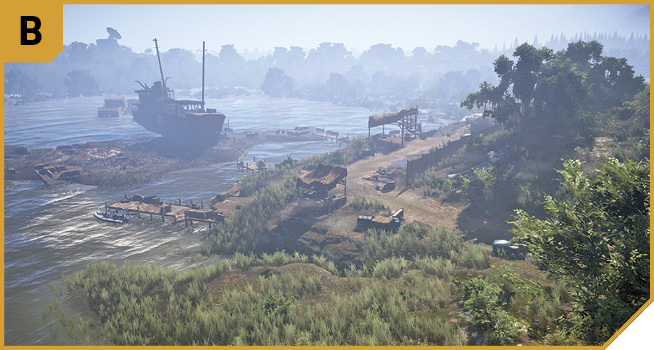
The track from the small dock (A) runs around the north side of the island, and into the rudimentary cartel base overlooking the rusty boat. The slightly higher ground on either side of the track (on the northern part of the island, or in the middle behind the metal fence) are possible sniping spots if you need to tag the minigun nest operator, or the sniper on the western edge of the boat. There are few enemies, so an on-foot stealth takedown here is straightforward.
Small Island: Jetty
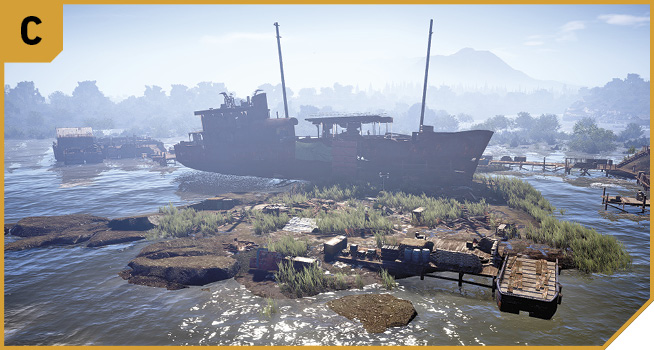
If you’re trying a clandestine attack, you can sneak here, then move west and assault the large island base, or swim east using the hull of the boat as cover, and maneuver onto the wooden docks where the submarine is. However, this area is exposed, and you’re easily shot at from above (both the boat and base). There are boats moored near here if you need a quick extraction, though.
Large Island: Barracks
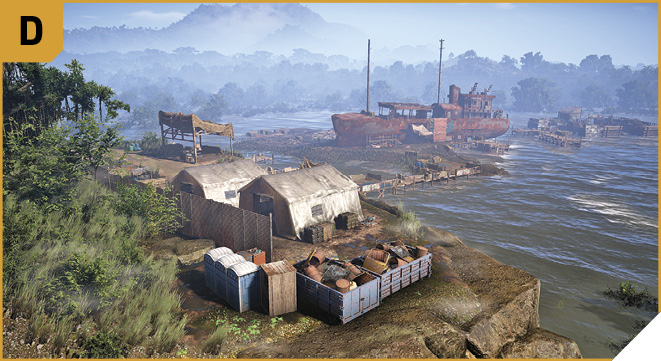
Maneuver around the metal fence running north-to-south and attack the base from this direction (ideally with a fellow Ghost doing the same from B); if you’re heading here during the night, you can wipe out multiple foes at the tent barracks. Then ensure the armored foe near (or using) the minigun is put to rest.
South Jetty and Las Anguila Wreck
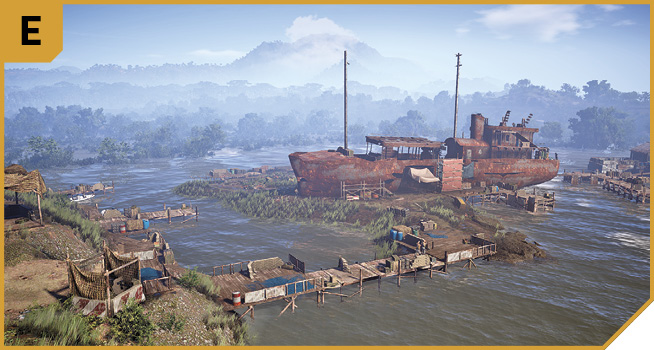
Unless you like swimming, the only way to cross to the small island and boat is via this jetty on the southeast part of the large island. Note the explosive barrels dotted about the wooden jetty, which you can shoot to cause a distraction (moving enemies west, so a teammate can infiltrate J from the water, for example).
Note the huge hole in the boat’s hull on the south side, near a secondary jetty. This is the usual way to access the boat interior and deck, where the going is narrow for both you and the enemy. If you’re wanting to completely clear the area of foes, trying heading in here with the enemy unaware of your presence, as close-assault battles are very dangerous.
The other entrance and exit to the rusting boat is the hull hole on the eastern end of the vessel (stern), which allows access onto the wooden docks. This is where the majority of the enemies are, so you may wish to study alternative routes, or tag the snipers on the boat’s roof before entering here.
North Swamp
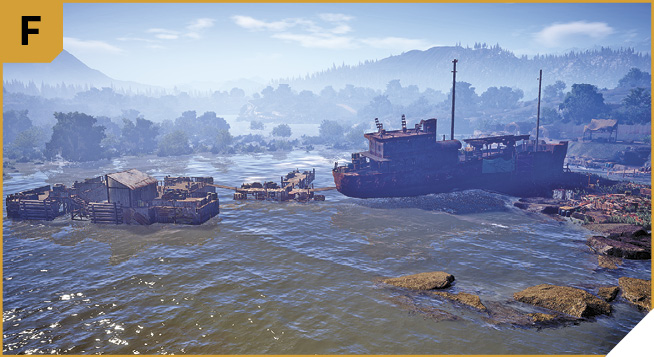
Looping around and standing on the edge of the deeper water, the edge of the swamp is a good spot to start removing foes from long range, including enemies on the roof of the boat (which is difficult to climb up and onto), as well as the majority of the enemies on the docks. A great position for covering fire.
Northeast Swamp (Big Tree)
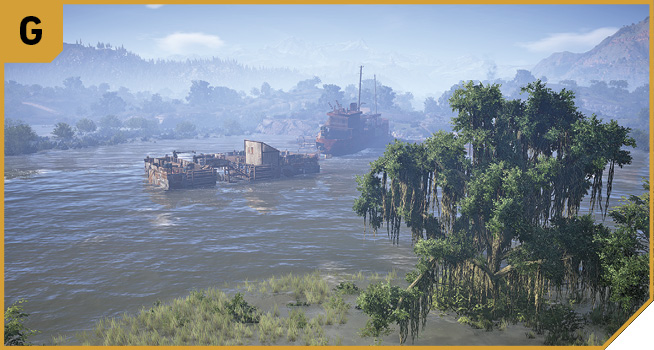
Standing close to the large tree on the edge of the swamp, around 110 meters away from the submarine, is another good spot for sniping. You’re safe, and can clear the eastern edge of the docks, as well as the exposed foes on the boat. Then you can swim to the target, or circle around to C, F, H, or I and provide additional support. Bring a boat if you need to move more quickly.
Though it’s difficult to make out, the northeastern corner of the dock is on shallow water that you can stand on, and allows you to cross; climbing up and onto the eastern dock platform above the submarine. Use this to surprise and overwhelm your foes if you opt for quick submarine destruction. This is one of a few shallow areas around J you can use to quickly climb up out of the water.
East Swamp (Peninsula)
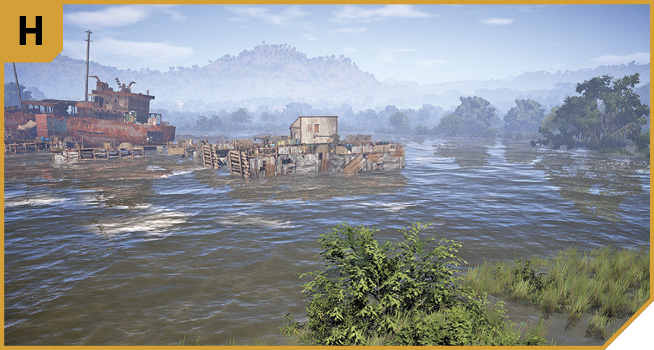
Study the Tacmap in great detail, and you can make out a slightly differently-colored area of water that’s shallow enough to stand in, which surrounds the submarine docks. Wading from the peninsula (H) west, allows you to get around 80 meters from the target. From here you can snipe, or swim to the target.
South Swamp
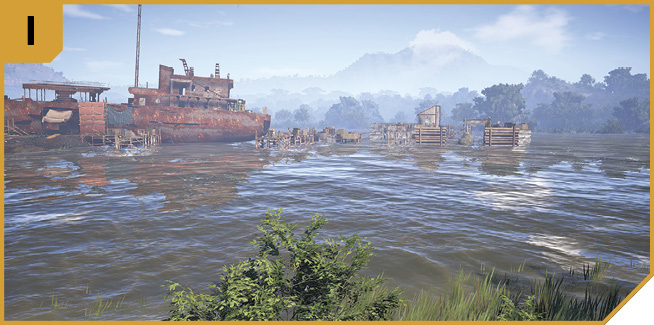
Though you’re farther from the submarine (around 130 meters before you need to swim), this section of swamp has low bushes to use as cover, and an excellent view of the southern side of the boat and docks. This allows takedowns of many foes, and brings more out onto the small exposed island too.
|
 Target: East Docks And Submarine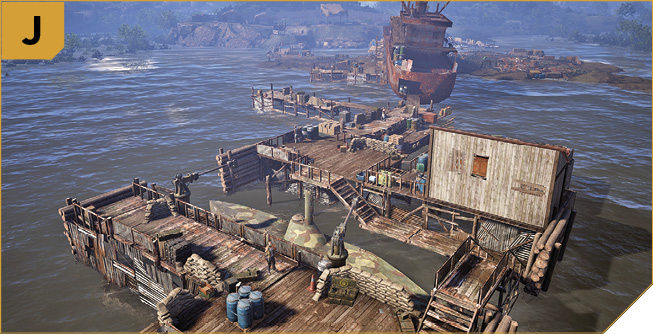
Las Anguila Wreck: Other Tactical Advice
 A thrilling, but not tactically advantageous method is to approach from the road (A), and work your way east, methodically killing enemies on the big island, and battling your way through the boat to the docks. Have your team sweep in from the south to act as bullet sponges while you remain on dry land.
Or, pile everyone into a chopper, and strafe the area, dropping grenades or other explosives on the target.
Alternatively, swim in from F, G, H, or I and neutralize the target without fighting a single foe.
 Variations on the Solo plans are feasible here, though you have the added ability to split your forces and attack from every direction, using multiple boats, choppers, and on-foot attacks to get the job done.
Causing disruption by having a boat harry the enemy from the north or south (along with a chopper doing the same, and taking out the minigun) allows more clandestine members to enter via the eastern swamp.
Or, you can elect a more subtle approach, with one or two Ghosts methodically slaying foes from west to east across the large island to the boat, then to the docks, while their teammates snipe from the edge around the eastern swamp.