
Tom Clancy's Ghost Recon: Wildlands Guide Welcome to Bolivia Itacua: La Yuri Y El Polito
Rebellion Rising
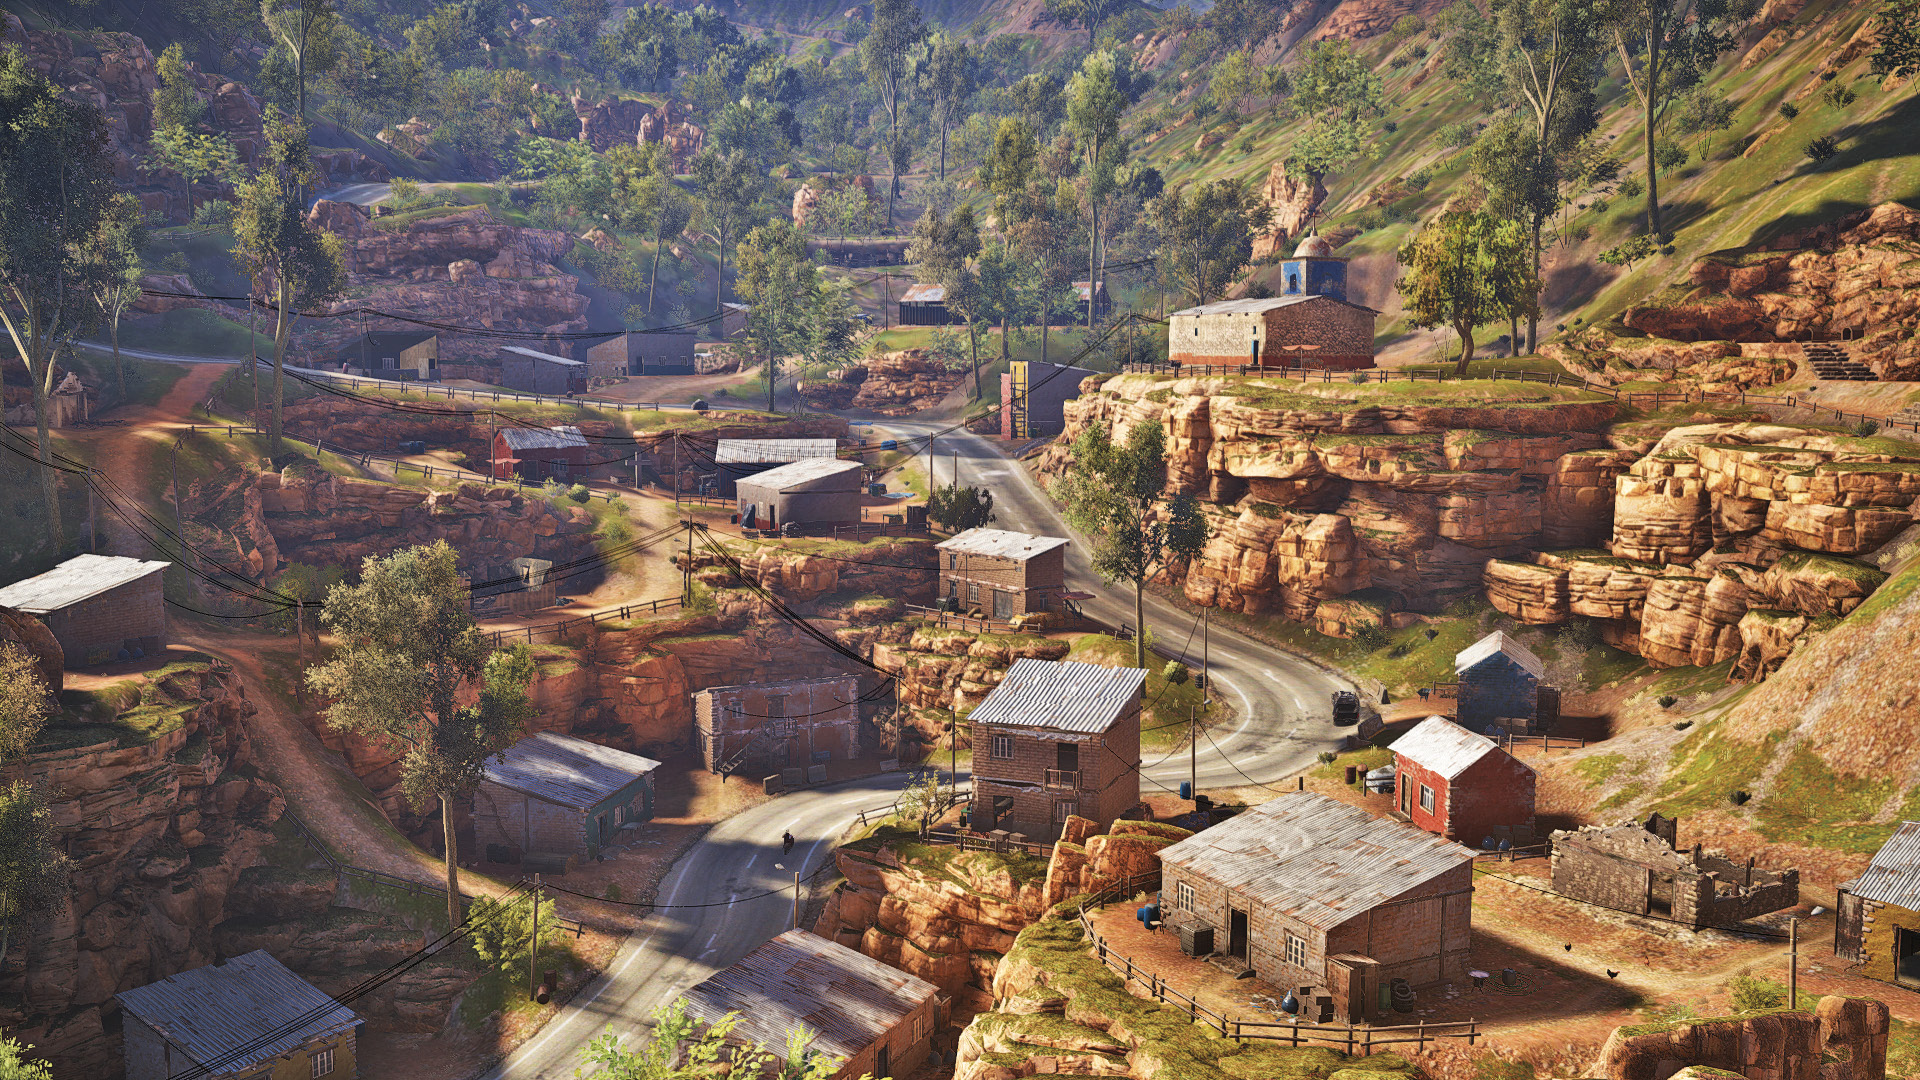
Objectives
- Stop and tag the Santa Blanca convoy
- Stop the convoy
- Tag the convoy
- Find intel about a rebel op
- Start and defend the rebel radio
- Start the radio
- Defend the radio
LOCATIONS
- Santa Blanca Convoy
- Pantoja
REWARDS
- + 350 XP
- Rebel Support: Mortar Strike
Brief
The rebel movement in Itacua is in bad shape, and Pac Katari needs our help. The more we support him now, the more support we can expect from him in the future.
We Gonna Roll This Truckin’ Convoy
Once your first mission (Amaru’s Rescue) has been completed, you soon receive a radio signal from Pac Katari, who’s hoping you’ll be more proactive in helping his rebel forces. To start with, there’s a Santa Blanca convoy somewhere in the southern part of Itacua Province that needs “liberating”; it must be stopped and looted.
Santa Blanca Convoy: Recon
TACMAP
Unlike the majority of your main missions which take place in a stationary location, convoy attacks occur somewhere along the route the enemy convoy is driving down, which in this case is the road network in the southern part of this province.
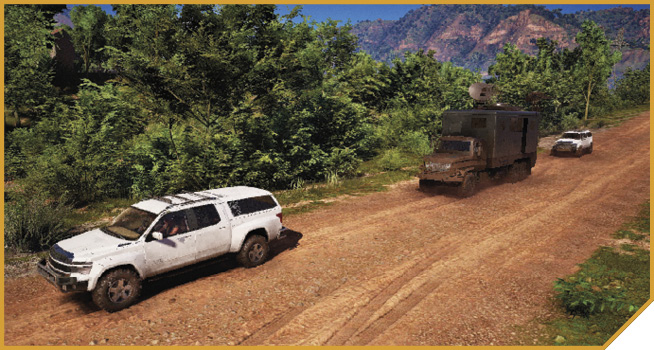
The convoy consists of a lead SUV, the convoy truck itself, and a second SUV bringing up the rear. Each vehicle has two enemies inside. Simply bring the convoy truck to a halt (it doesn’t have to be damaged), and then “tag” the main truck so the supplies can be picked up by the rebels later. The supplies are stored in a compartment on either side of the main truck.
Santa Blanca Convoy: Other Tactical Advice
 There’s no “wrong” way to assault this convoy, though finding a remote stretch of road via helicopter recon is an excellent pre-planning idea, and commencing the assault when you’re far away from any other enemies (such as those at the Itacua Base) is encouraged. Get ahead of the lead SUV, and tag the driver with a long-range headshot, then his passenger, and continue this enemy takedown for the two other vehicles, while you order the rest of your team to attack from the sides of the road (assuming you positioned them close to where you got the convoy to stop).
Buzzing the convoy in a helicopter is also entertaining, but can lead to civilian casualties. Ramming the main truck off the road is also an option. Having a sturdy SUV-type vehicle that can take damage and shoving the convoy truck into a rock wall or down a gully at the sides of the road so it stops are all good ideas.
Explosives also work well; it takes two grenades to incapacitate the main truck, but this also causes it to explode, which can kill you. The supplies can still be looted, however.
You can also find a narrow stretch of road, drive a couple of vehicles across the path of the convoy so it has to stop, and drop the convoy enemies as they slow down. Having more vehicles in this blockade means the enemy is less likely to ram through, and some can be used as cover.
 With the ability to split your team into individuals who can each take a separate role, the convoy stands little chance. Have two of your team concentrate on taking out the main black convoy truck, while the others each pick one enemy SUV.
With each team member picking a specific vehicle to neutralize, feel free to use one of the Solo plans presented previously, such as getting ahead of the convoy and ambushing it (except each of you can tag a different foe in seconds).
Can you drop onto the truck roof from a helicopter, then fire through the driver roof to subdue the enemy? Certainly!
Intel: Rebel OP

Once the convoy has been captured, Pac Katari radios in to thank you. You’re now encouraged to scour the province for intel pertinent to any rebel operations, in order to continue this mission.
An Unscheduled Broadcast
Pac Katari has recorded a broadcast to the people of Bolivia, in an attempt to rouse support for his rebels. He needs the broadcast to go off without a hitch. Unfortunately, you expect cartel forces to shut down the radio mast as soon as the broadcast starts—but not if your team is here to guard the transmission.
Pantoja: Recon
TACMAP
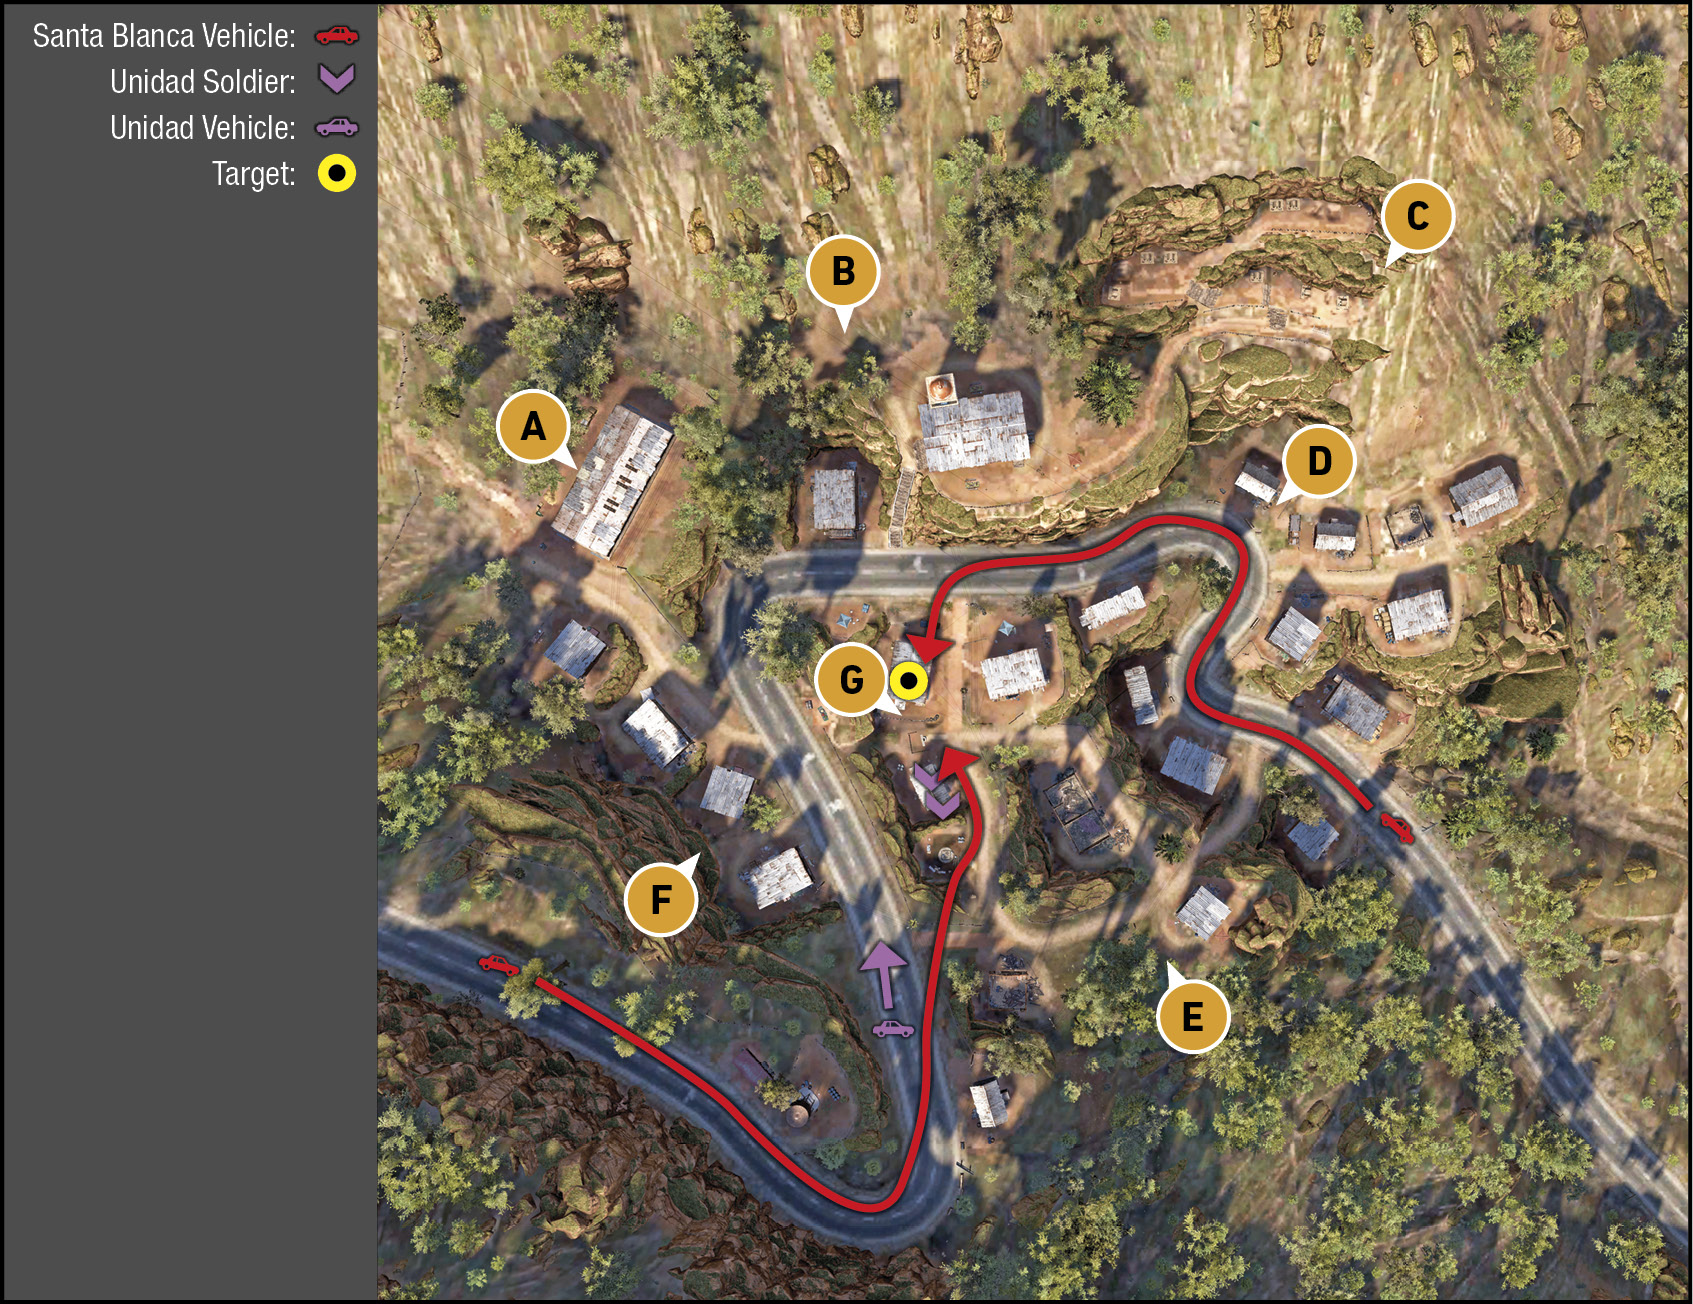
The hillside village of Pantoja offers numerous long-range sniping opportunities if you’re backing up Ghosts closer to the radio transmitter (G). It’s worth clearing a couple of Unidad forces close to G, and an SUV with two more forces that park nearby afterward; do this proficiently so further Unidad forces don’t appear. Also be aware of two possible additional foes on the road by D; they’re easily neutralized if attacked from above or from the road to the west.
Then you have the luxury of getting into an advantageous position for the minute or so before Pac Katari’s broadcast commences. During this time, two cartel vehicles appear; one from the west heading downhill, and one from the east heading up. Each has two foes inside. Remove them as threats.
Cow Barn
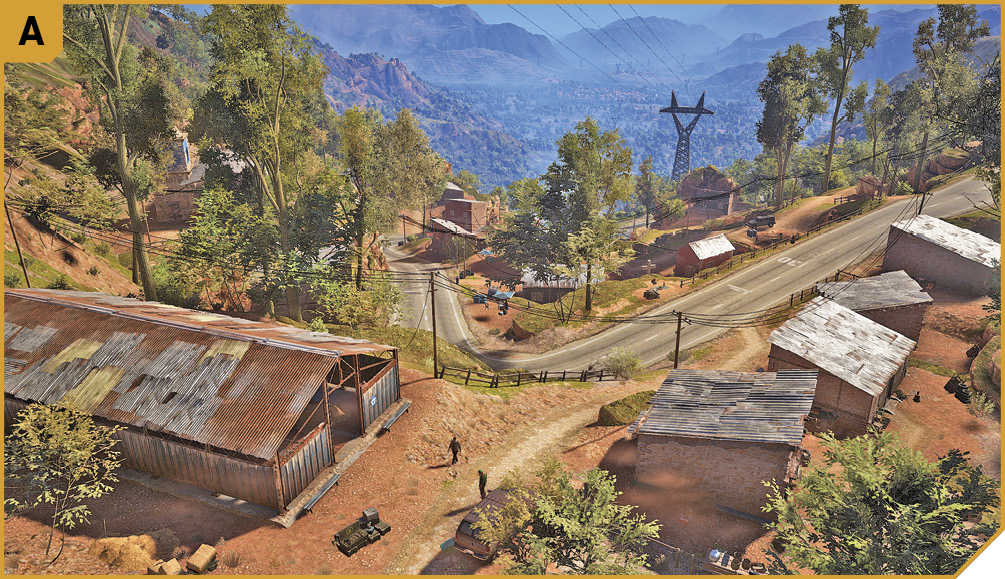
Close to an ammo pick-up and offering views of the valley below, you have views of the western vehicle on approach (which you can neutralize with sniper fire or favored takedown tactics) from the front of the barn. You can easily hike east to B and C from here, too.
Church
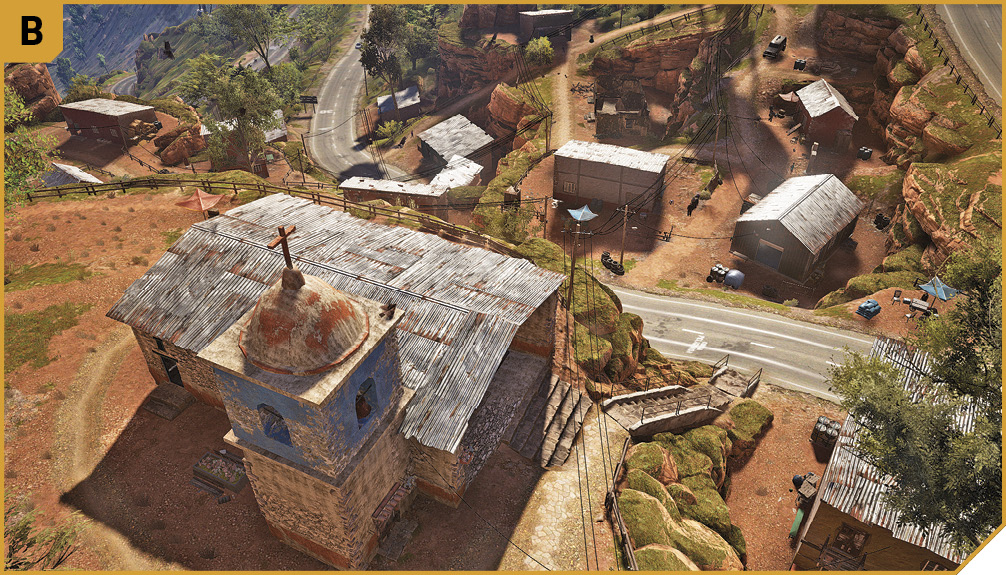
There’s ammo, interior access to the church if enemy reinforcements arrive that you can’t handle, and a fantastic view of the transmitter, allowing you to tag foes trying to disconnect it with ease. Just watch for foes climbing the stone steps, or approaching from the cemetery to the east.
Cemetery
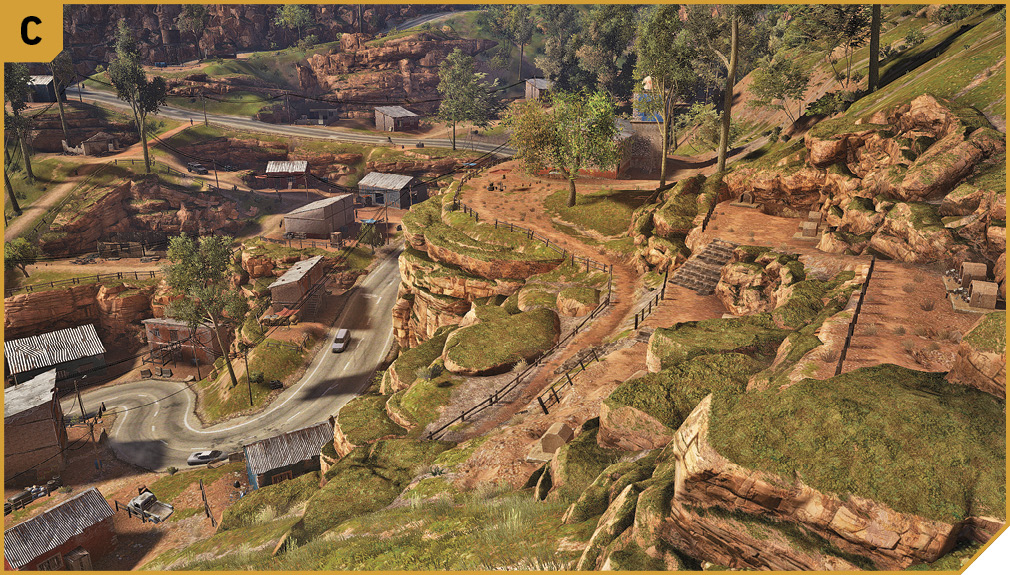
Position a sniper here who can take down any foes milling about at D, and can track the east vehicle all the way up the winding road, and take it down with ease. The eastern end of the cemetery allows direct views of the transmitter too, if you need to back up Ghosts closer to the objective.
Lower Village
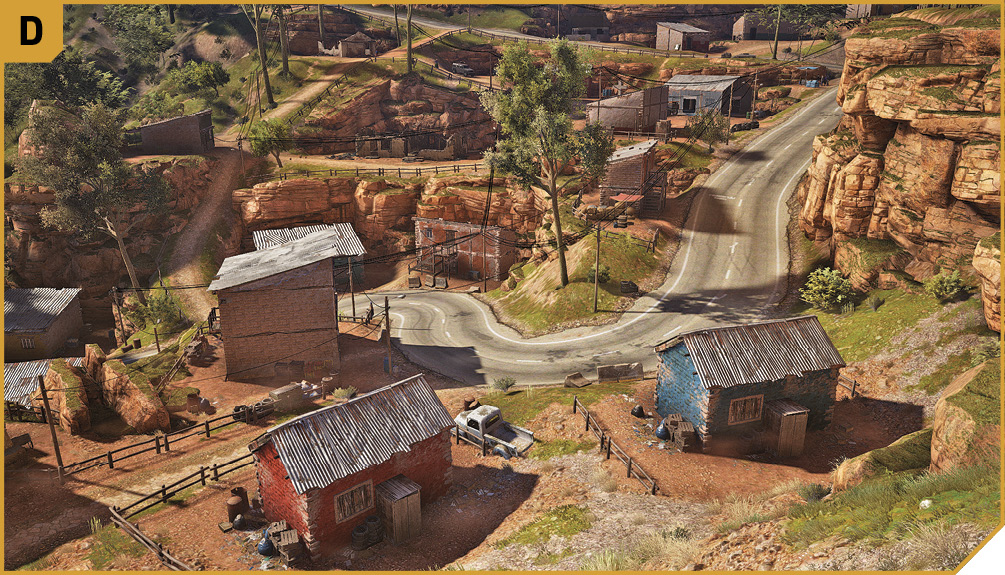
The roadside area at the lower village may have additional cartel thugs to neutralize, so mop them up before you start the transmission. Park a vehicle near the blue house, across the road, if you want the reinforcements to stop, allowing you an easier takedown opportunity. You can quickly yomp west to intercept foes at G if the transmitter takedown looks likely, too.
South Shack
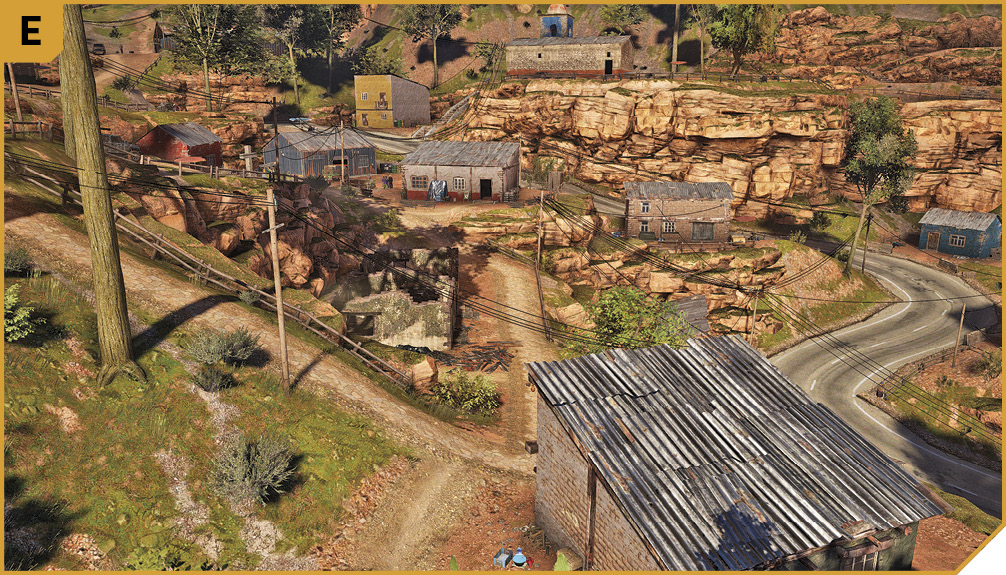
Stationing a Ghost here allows you to intercept either incoming vehicle; there are views of the road near D for tackling the enemies heading uphill, and you can run in behind the foes in the vehicle heading downhill and rake the vehicle as they park up near G, if no one else has done their job properly.
Bus Stop and Water Tower
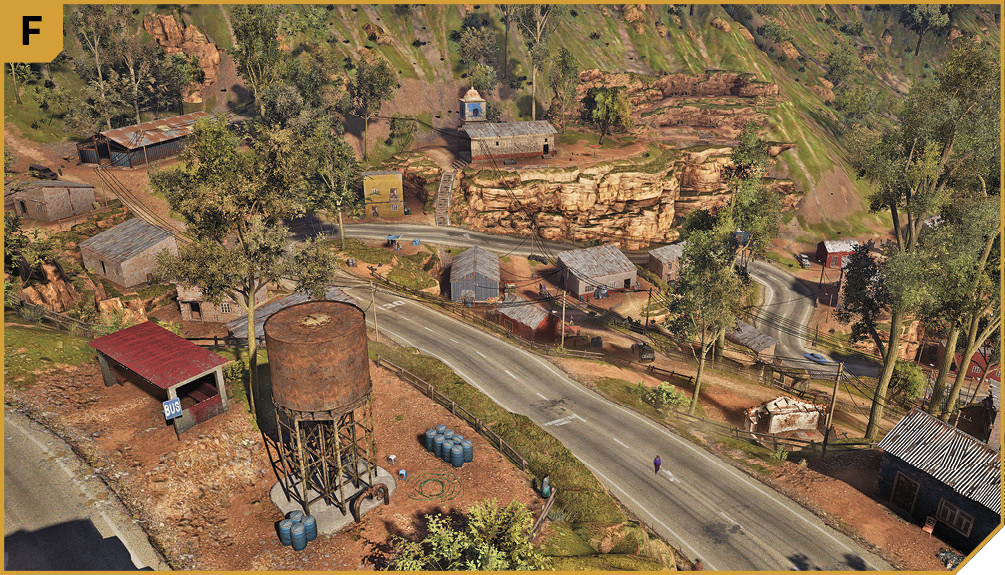
This section of road allows early detection and removal of the vehicle heading downhill, either by blocking the road with a car and removing the threat, or raking the car as it nears you. Or, you can hang tight and watch the transmitter from the grassy rock outcrop at the switchback in the road, which offers excellent views of any targets milling about below.
|
 Target: Radio Transmitter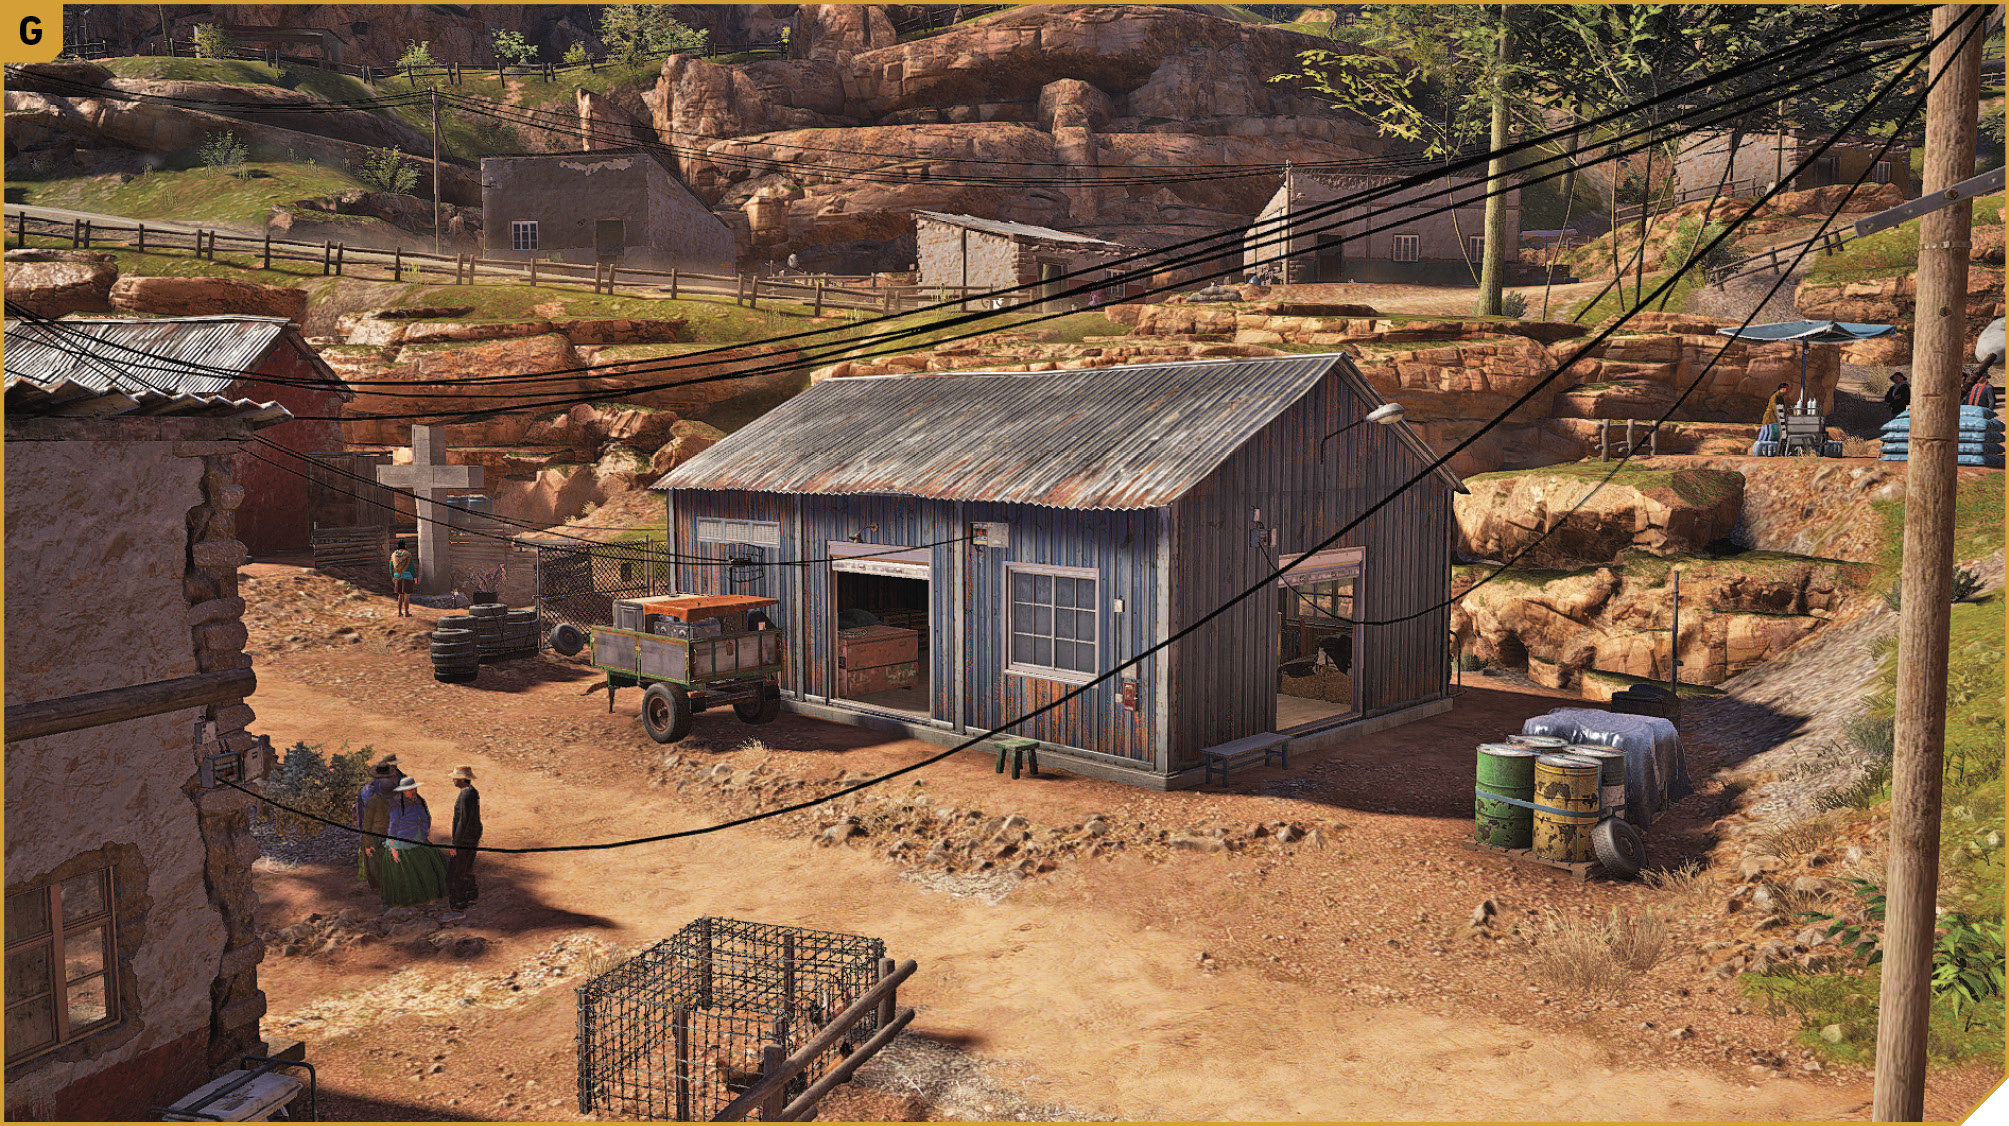
Pantoja: Other Tactical Advice
 With doing the transmitter switching, it’s important to first remove Unidad threats, so move in your team south of G to help take down the two Unidad soldiers, and the SUV with two additional foes that arrives.
Before activating the transmitter, feel free to prep the area (away from any civilians) with mines along the route the vehicles will take, along with vehicles (even a helicopter) so the roads are effectively closed. Judge where it’s best to stop either enemy car, and position your team so they can quickly remove one of the cars, while you concentrate on the other.
A good place to move from is north from G to B, making sure no foes are attacking from C. Then sit tight, and drop foes from the church cliff-top, optionally lobbing down grenades to explode just as the vehicle stops.
 As there are numerous advantageous locations where you can hide, have two teammates assigned to stopping each vehicle. Crossfire opportunities from D and E (for example) neutralize the east enemy car in seconds. Similarly, stationing a Ghost at B and F prevents the downhill car from arriving. Mines on the road, expertly-lobbed grenades as a car stops at a barricade you’ve made, and even helicopter strafing are all available to you, though the latter can reduce the civilian population.