
Tom Clancy's Ghost Recon: Wildlands Guide Spec Ops Training
Basic Gameplay
On Foot Controls
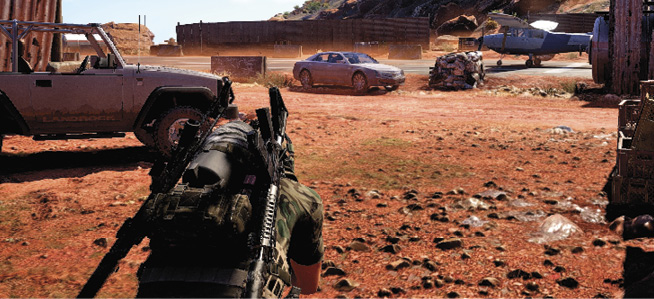
Moving, looking, and firing a weapon in Wildlands should seem familiar to anyone who has played a third-person shooter. With a controller, the two sticks move and look. Aim with the left trigger and fire with the right. The Sprint button allows for faster movement, but is countered with more noise—making stealth less likely. Ghosts have limited stamina, and can’t run forever. However, if you put your weapons away, your stamina decreases at half the normal pace. In addition, you can increase your stamina by allocating Skill Points. Crouch and prone stances are available for stealthier approaches. A full listing of controls is found by selecting Controller or Keyboard and Mouse from the Options menu.
Vehicle Controls
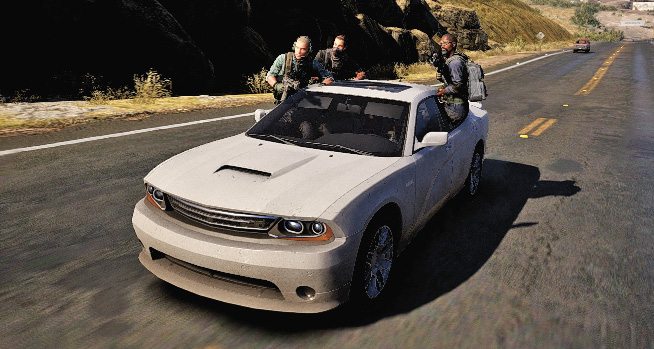
Numerous land, air, and water vehicles are available to assist you when traversing the world. With a controller, use the triggers to brake/throttle down and accelerate/throttle up. A handbrake is available when on the ground, making it easier to handle the mountain switchbacks.
Refer to the Vehicle Control Scheme in the Options to see the full listing of controls.
Order Wheel
Hold the Order Wheel button to bring up the Communication Wheel. Commands for your AI teammates are available across the top of the screen. In Co-op, these commands become greetings.
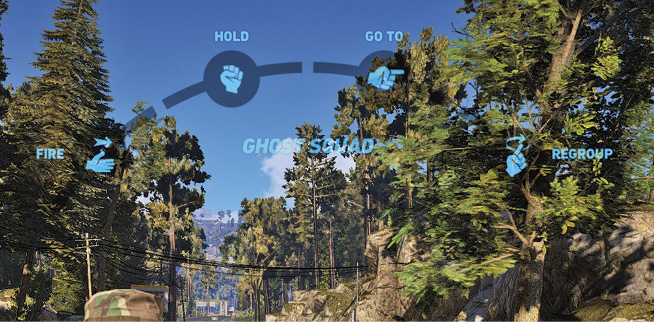
• FIRE: Orders the team to fire at the given target. There must be a target for the squad to fire.
• HOLD: Orders the team to stop at their current location.
• GO TO: Orders the team to go to a given location. A white circle appears at the cursor. Release the button to give the command.
• REGROUP: Orders team to meet up at your position.
The bottom of the wheel displays the five Rebel Supports, which become available as the respective side missions are completed. After one is used, a time is given in seconds, which counts down until it can be used again.
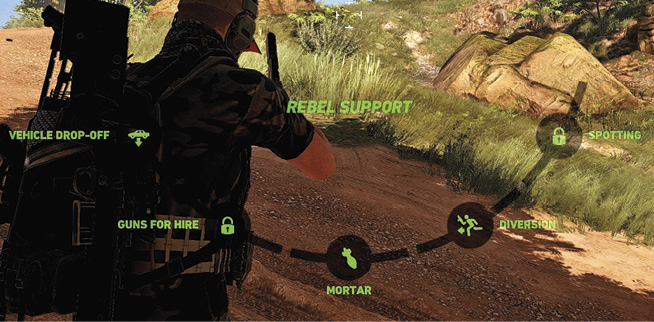
• Vehicle Drop-Off: The rebels drop off a vehicle nearby.
• Guns for Hire: Call in one or two rebels to fight along with the team for a limited time.
• Mortar: The rebels fire mortars at a specified location.
• Diversion: The rebels pick a fight at a specified location.
• Recon: Enemies are automatically marked in the current area.
Tacmap
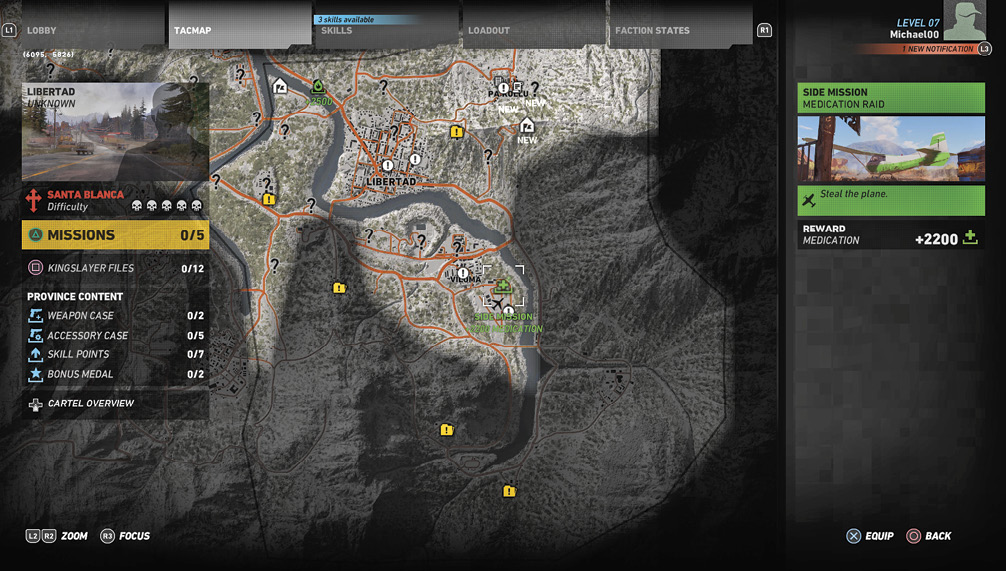
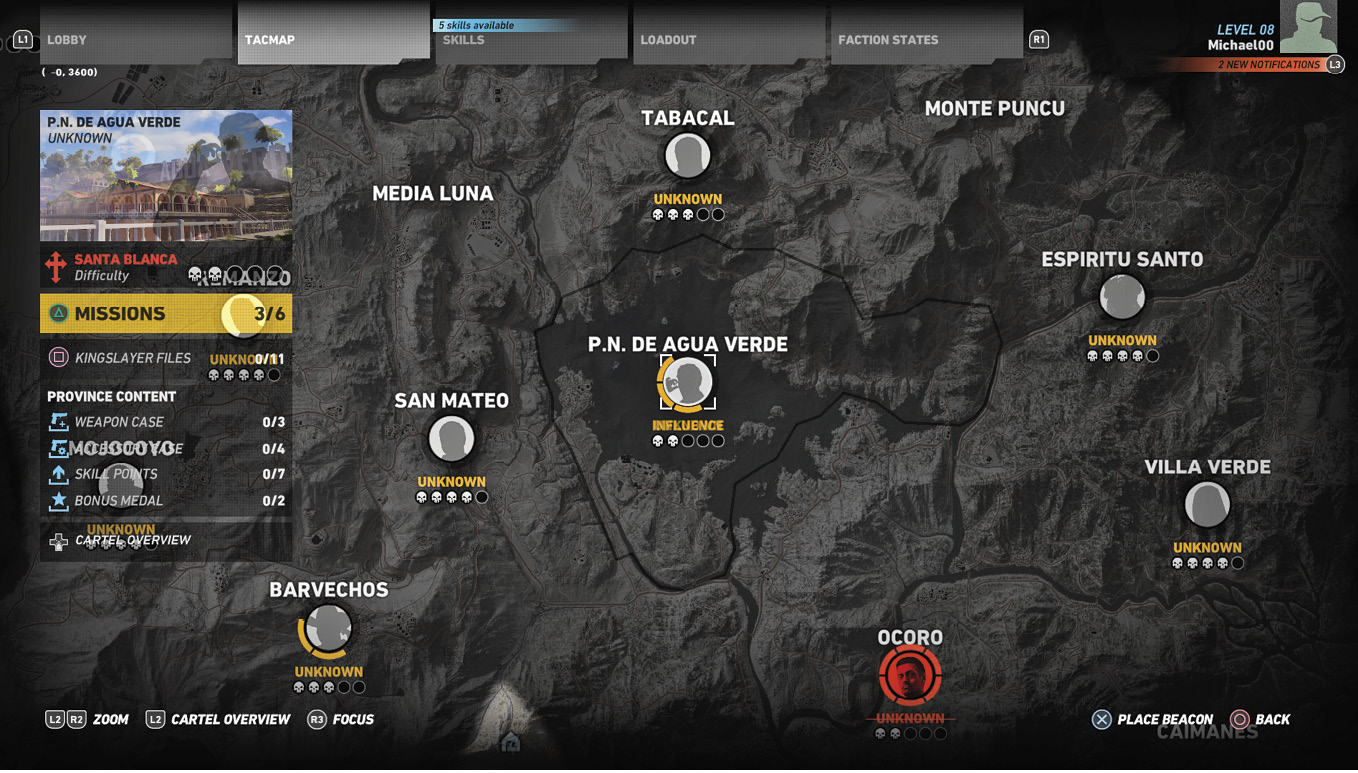
Press the Tacmap button to bring up the world map. Here you can scan around the 21 provinces and view discovered points of interest, unlocked missions, and learned collectible locations. You can Fast Travel to Rally Points you have discovered via the Tacmap. Zoom out to view the buchon and difficulty of each province. Press the Cartel Overview button to see progress toward dismantling the cartel.
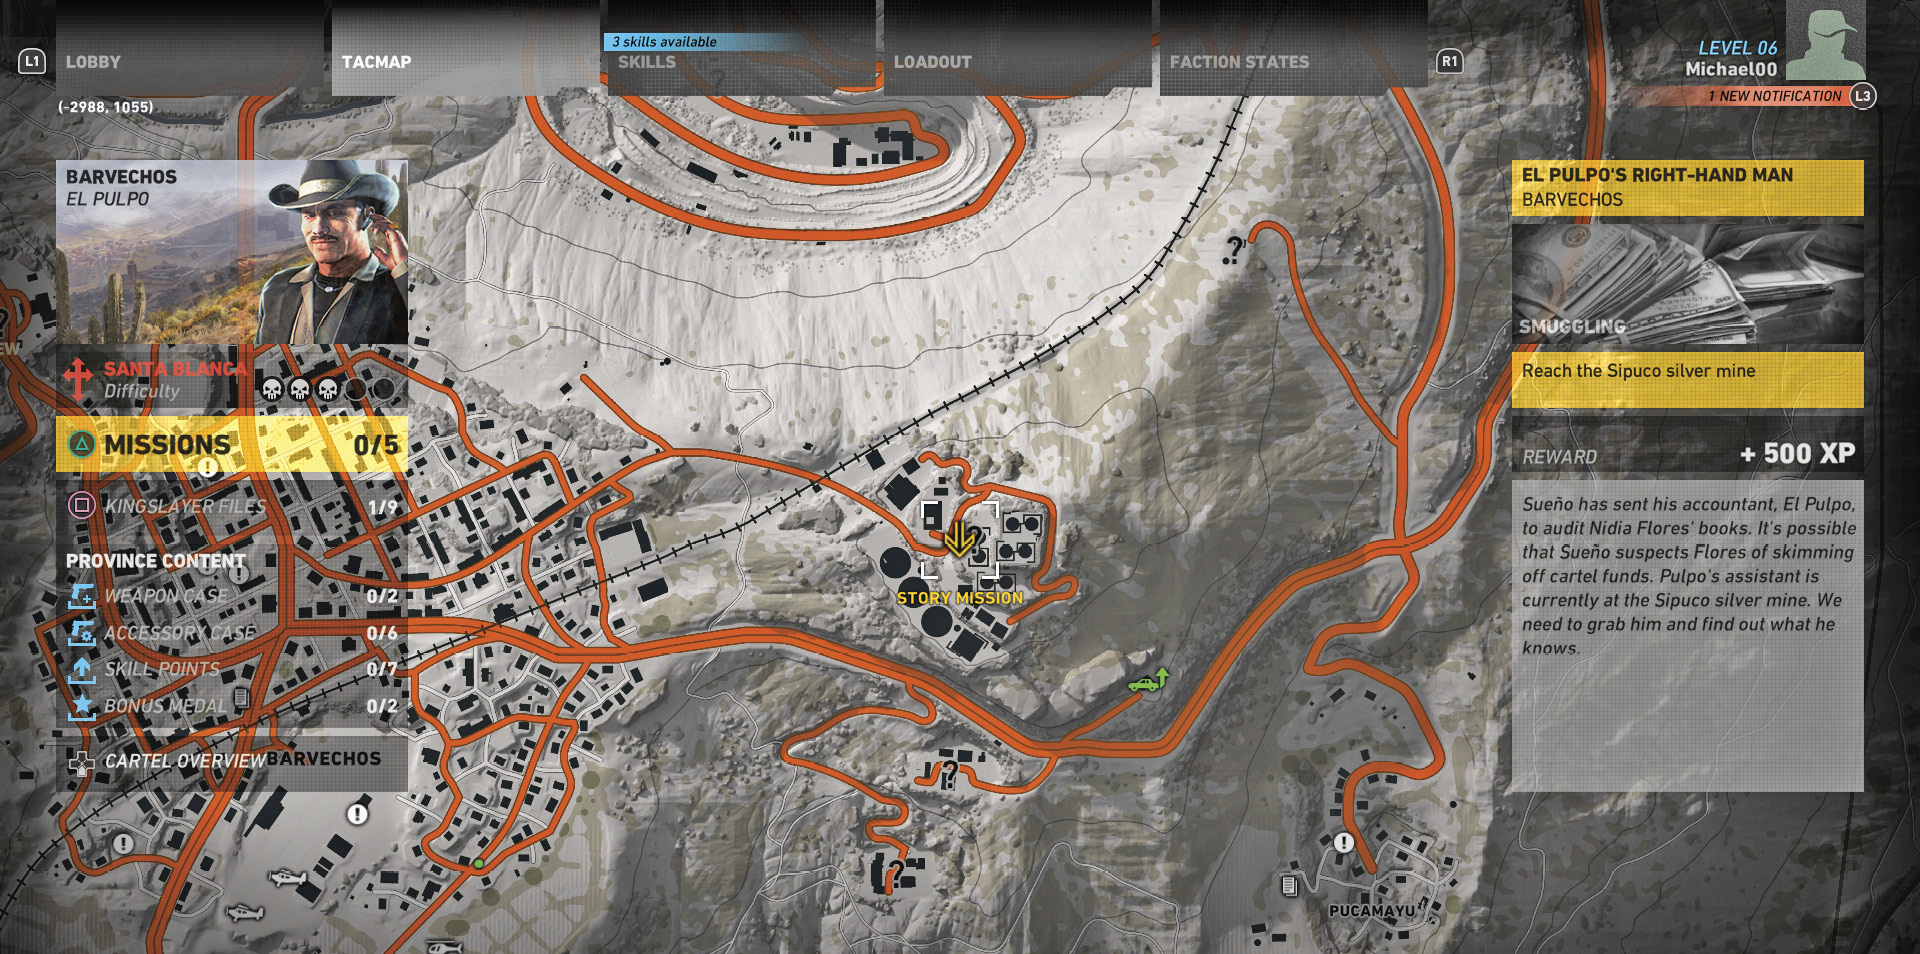
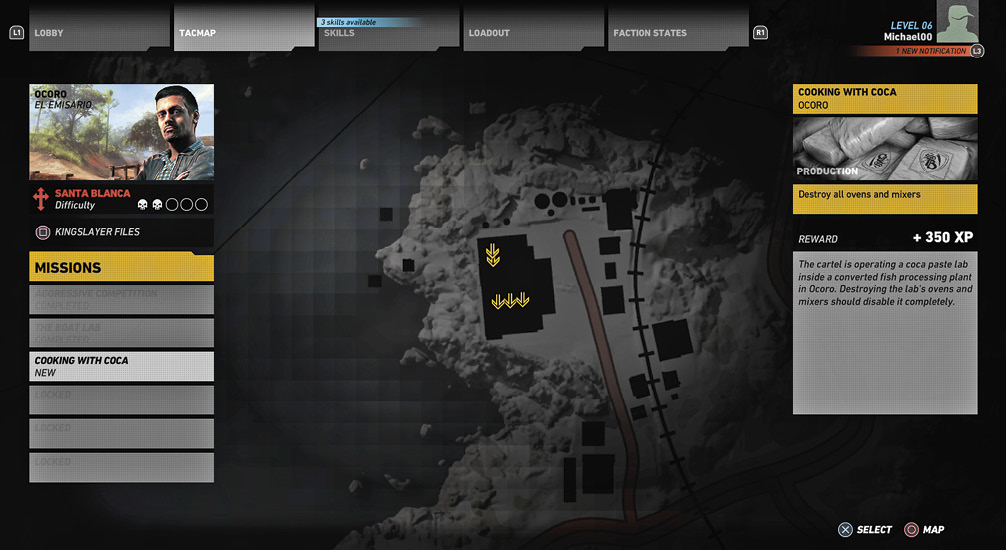
Along the left side of the screen, mission and collectible information are readily available, as well as access to collected Kingslayer Files. Available story missions can be viewed through the menu while you have the cursor inside that province. Select one of these missions to equip it. This will display mission information as well as an objective marker on the HUD and Map to lead you to the appropriate location. Side missions can be activated in the same manner.
Mini-map
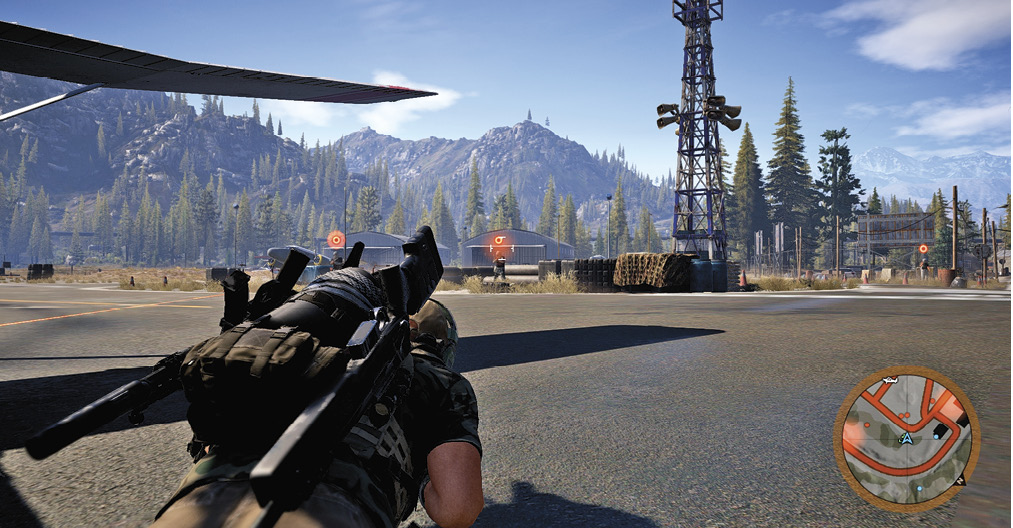
The mini-map, in the lower-right corner of the HUD, is an extremely helpful tool when plotting an infiltration of an enemy base. Blue dots represent Ghost locations, green shows the rebels, red indicates Santa Blanca, and purple is for Unidad. Red/purple blobs indicate that an enemy is in the area. Once marked, they become more-precise dots. The mini-map also shows nearby locations of resources, ammo, and collectibles.
A band around the outside of the mini-map becomes yellow to signify the enemy is looking for you. Take out the searching soldier or stay hidden until it returns to normal. Once the opposition has been alerted it becomes red. At this point, engage the enemy or flee the area.
Leveling Up
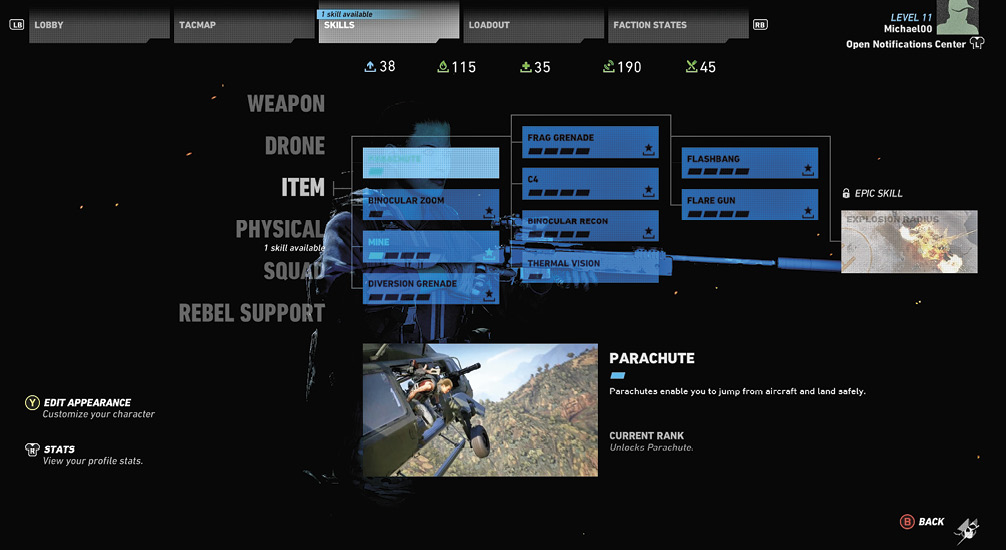
You earn XP by marking, killing enemies, completing missions, and more. Your level is increased at certain amounts of XP with a maximum level of 30. New skills become available along the way, so check out the Skills chapter to plan for Skill Point and resource allocations.
Exploration
Much of your time is spent exploring the vast, sprawling world of Bolivia. Finding new towns and enemy bases is essential when searching for intel on the Santa Blanca cartel. Whenever entering a new, unexplored area, take time to do some sightseeing. Much of the intel does not show up until points of interest are found.
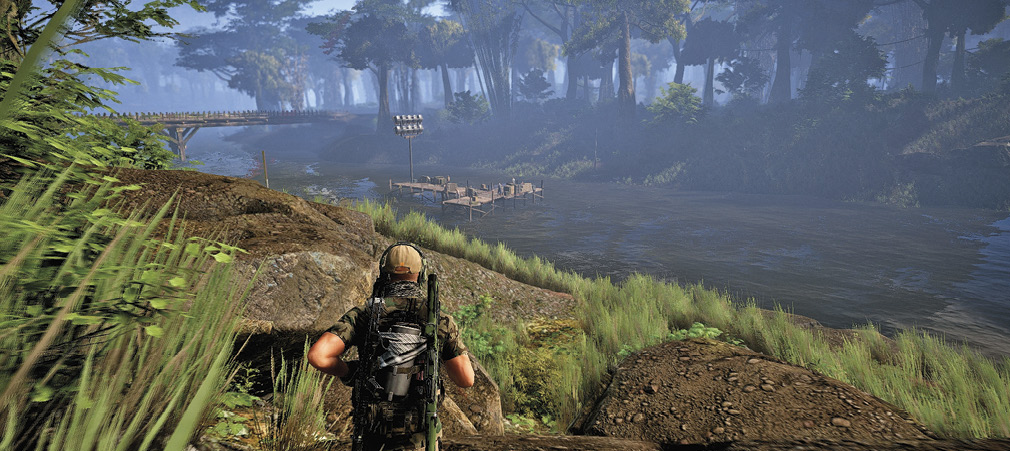
Use all available tools to simplify the journey with vehicles and Rally Points greatly speeding up travel time. Don’t be afraid to take automobiles off-road for a shorter trip. This also helps avoid enemies, as they tend to pay more attention to the roads.
Discovering Points of Interest
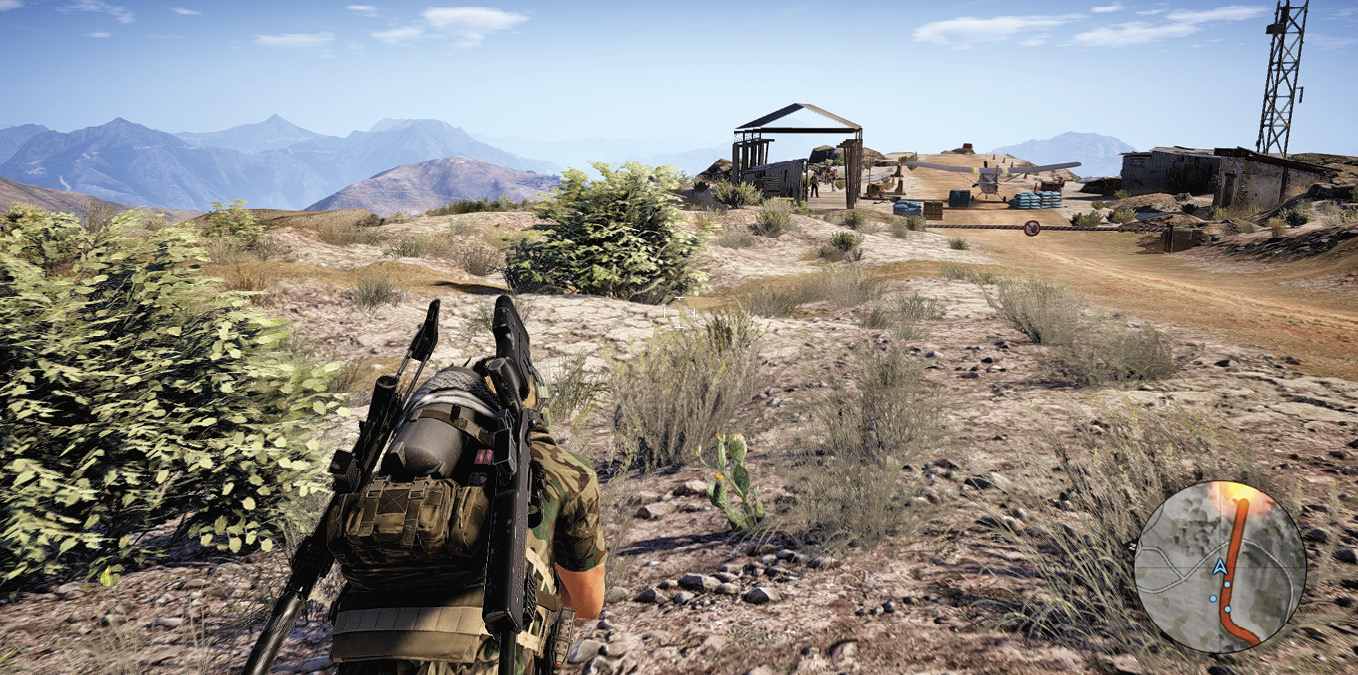
A question mark appears on the map when a point of interest is near. Once the place is discovered, the name appears. Highlight a location on the Tacmap for more information. You can use your binoculars to scan a point of interest and reveal it from afar.

Rally Points
Rally points appear on the map as they are discovered through exploration. These locations allow you to fast travel between long distances. Towns, villages, and cities also permit fast travel. When planning a long trip, utilize these teleport points to save time.
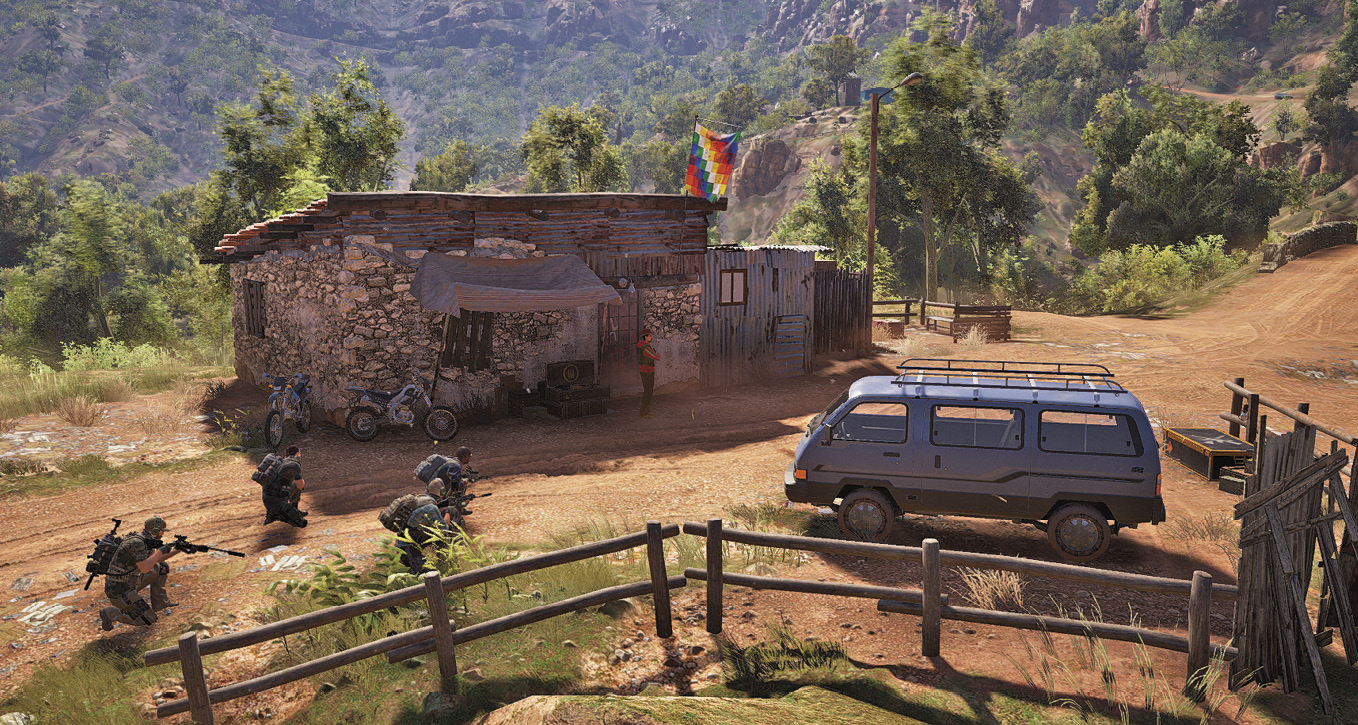
Each rally point is equipped with an ammo crate, as well as a selection of vehicles. Motorcycles are often available for the team and as you progress through the game.
Climbing
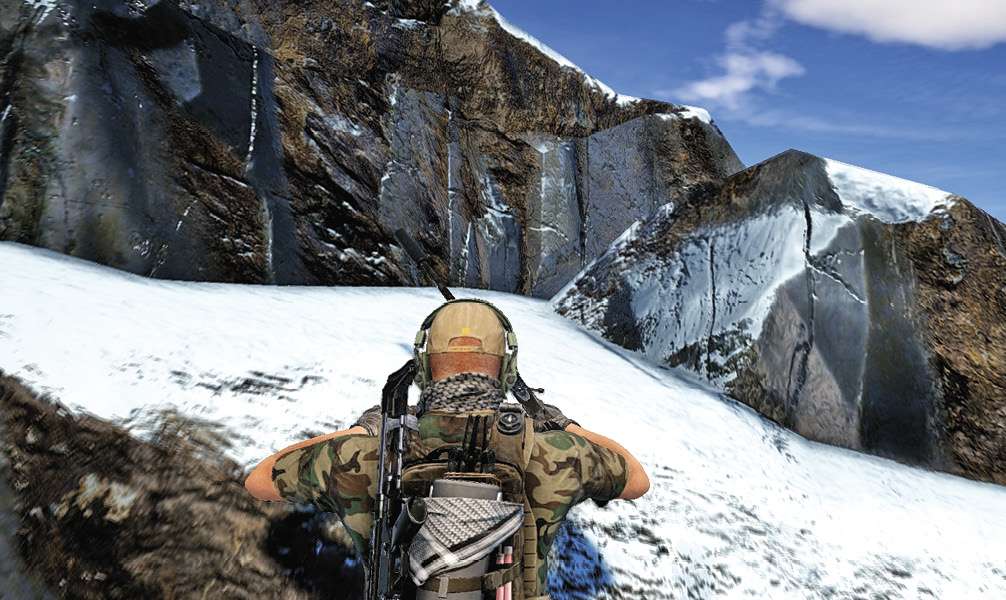
When next to a climbable object, the word Climb or Cross appears on screen. Pressing the Vault button at these points allows you to climb over or onto the object. Mountains can be scaled and shorter fences vaulted.
Swimming
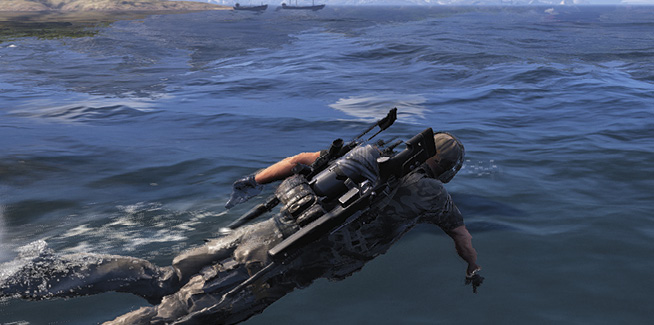
The Ghosts can swim when entering waterways. If a boat is unavailable or when stealth is important, jump into the water and move just as when walking. Use the Sprint button to swim freestyle. This gives you more speed, but also increases the noise you make. Press the Crouch button to dive underwater for a Stealth Swim to avoid being detected by nearby enemies.
Detection
Detection arrows, along with an accompanying sound, indicate an enemy is spotting you. Two lines move closer together until they connect at which point the enemy is alerted. The arrow points in the direction of the alerted soldier, so react accordingly. Return to cover or take out the offending foe before this point to avoid detection. A red circle appears overhead or on the side of the screen to also alert you to an impending detection.
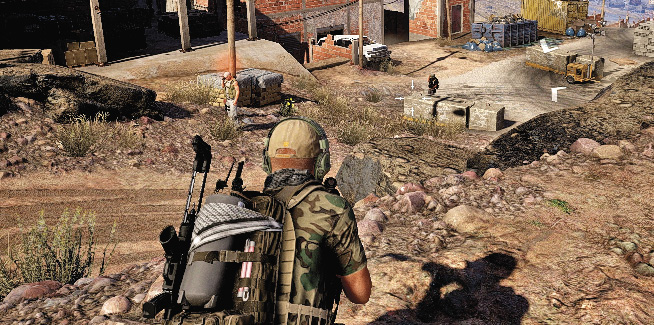
Paying close attention to these lines and learning which direction to move to avoid detection is key in stealth situations. Note that AI teammate locations do not affect your detection.
Also note that an enemy becomes alerted when the body of a comrade is discovered, so pay attention to where you are before knocking out a foe. If possible, pull enemies to a safer area before taking them down.
Health
There is no bar to indicate your health status, so you must pay attention when getting hit. Red markings on the side of the screen alert you when you’re taking damage from that direction. A red arrow also denotes the direction of an attack. Teammates warn you when taking too much damage, as well as a “Fall Back” message on-screen.
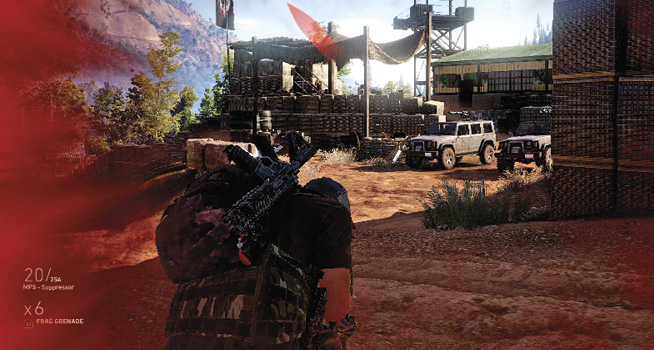
If you continue to take damage, you may be downed. At this point, a blue, circular timer counts down while bleeding out. A teammate must reach you and administer first aid. This takes time, which is signified by another blue timer. Invest in the Revive Speed skill to increase the speed of revival. If a teammate is not available to revive you, it is possible to give up and re-deploy to a nearby spawn point or teammate.
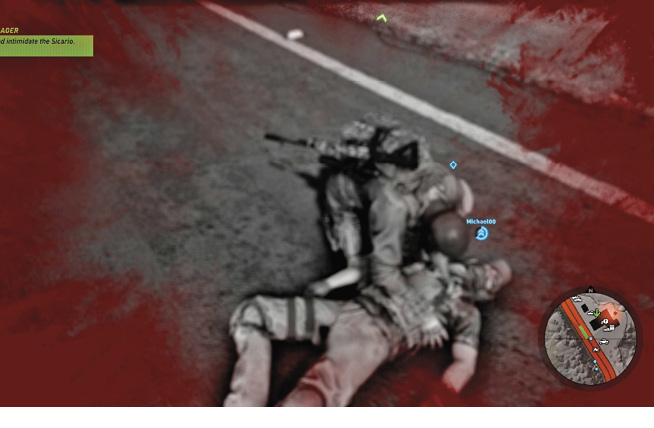
Teammates can revive you once per fight. Being downed twice in a short period results in a game over. Listen for downed teammates and revive them when possible to get them back into the action.
Note that you take fall damage when dropping from a high distance. Be careful when climbing to avoid taking unnecessary damage.
Teammate Warnings
Pay close attention to teammate ramblings and the warnings that they offer. They warn of incoming missiles, nearby enemies, and more.
Stances
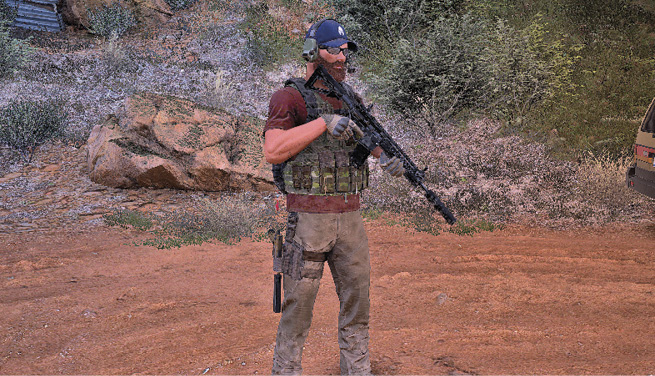
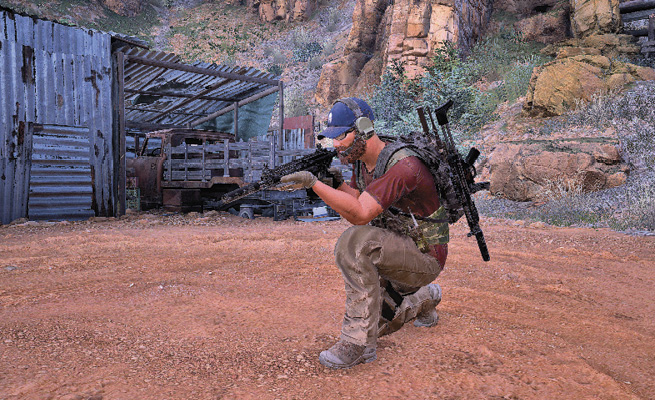
Three stances—stand, crouch, and prone—offer varying effects. Standing offers the quickest movement, great for moving between locations when stealth is not essential.
Crouching is a must when attempting stealth, since it provides a smaller profile and less noise.
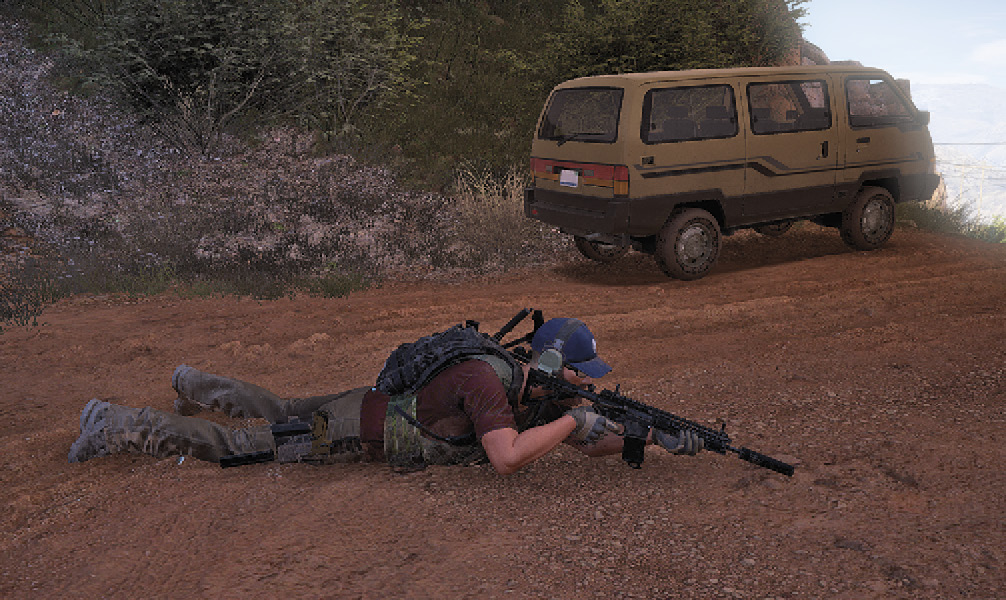
Going prone (hold Crouch button) in tall grass or behind cover is a great way to avoid being noticed when the detection arrows appear on screen. This stance is a must whenever an enemy helicopter flies overhead.
Close Combat
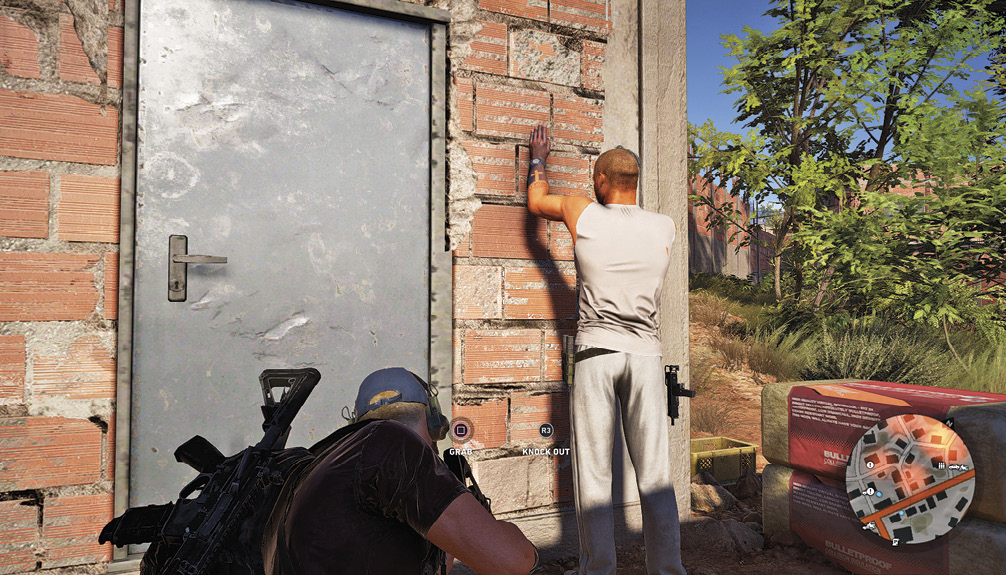
Hand-to-hand combat is pretty much limited to stealth gameplay, but it is possible anytime you are next to an enemy. At this point, you can grab or strike the opponent.
Strike
Press in on the right stick when using a controller to punch or swing with the equipped weapon. This maneuver is useful whenever next to an enemy, but knocking out an unwitting foe with a melee attack keeps you in stealth. This is greatly effective and rewarding when infiltrating an enemy base.
Grab
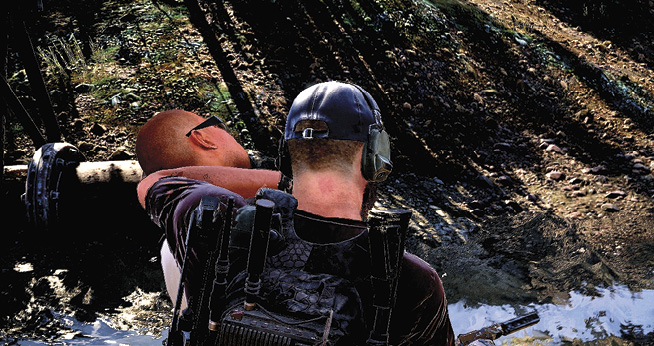
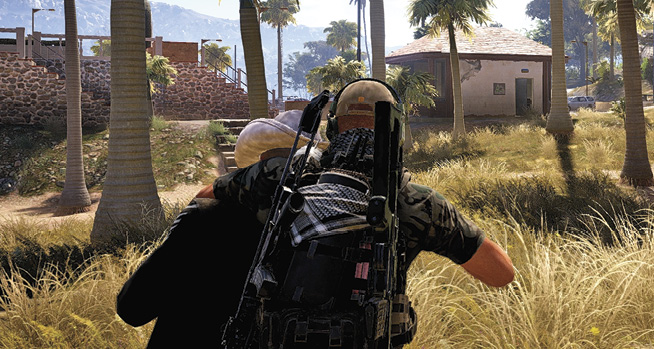
Hold down the Interact button when next to an enemy to grab him. From there, he can be used as a shield as you fire at another foe, or knocked out. Try to deposit these guys out of view from the opposition. Pull them behind cover whenever possible before knocking them out. It is also extremely useful to grab a target and move them to safety before interrogating them. This comes in especially handy when you want to stow an enemy in a vehicle by getting close to a door or trunk.
Interrogate/Intimidate an Enemy
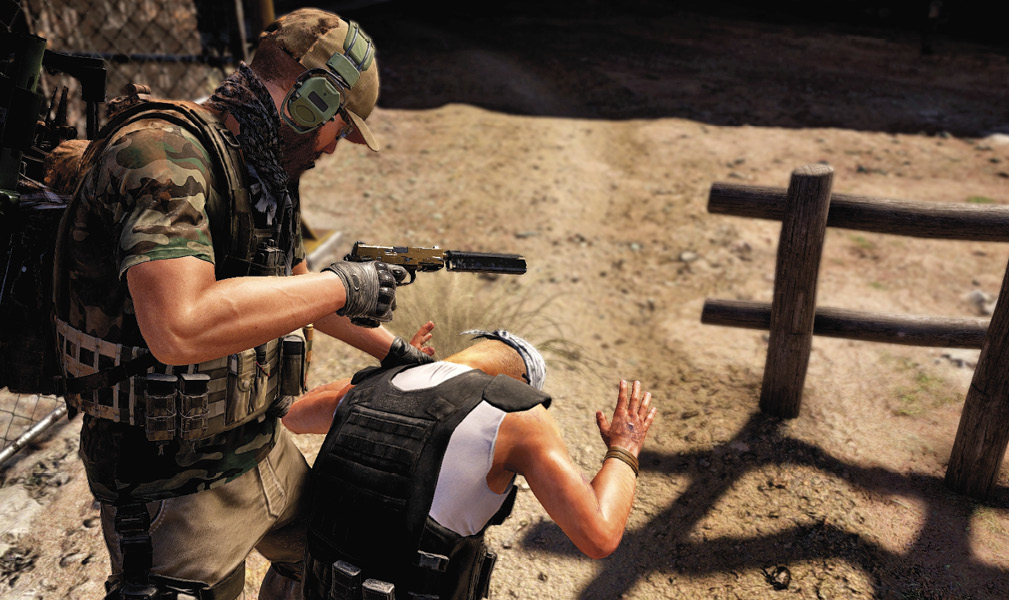
When gathering intel from lieutenants or during some missions, a grabbed enemy can be interrogated or intimidated. If the option isn’t there, it cannot be done.
Surrendering Enemy
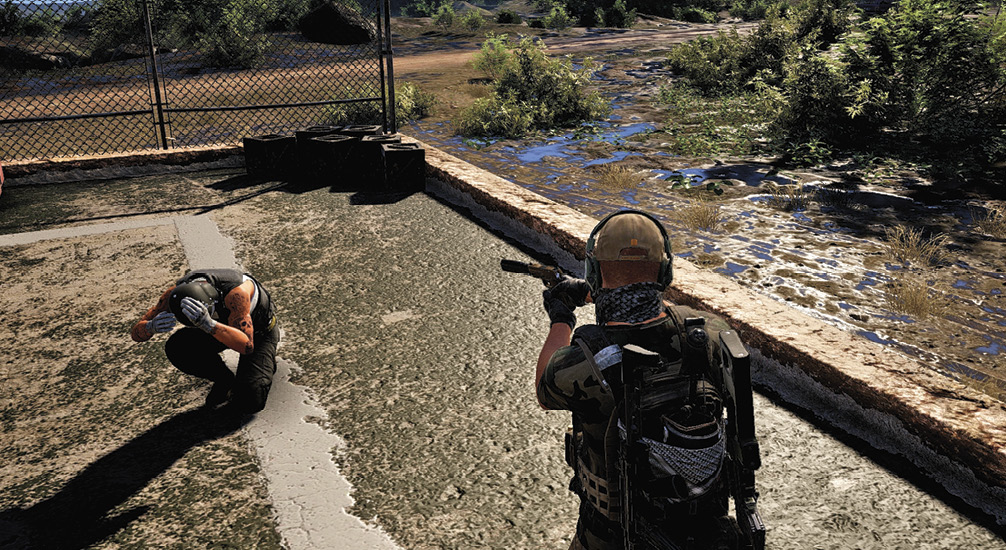
Note that some enemies cower in a surrendering position when confronted. Killing or knocking out a surrendered enemy is treated like taking out a civilian and can lead to a game over, so be careful near a cowering foe.
Vehicles
Numerous types of vehicles are available throughout the provinces. Automobiles, motorcycles, boats, helicopters, and planes are found in cities, near homes, at airports, docks, and even along the side of the road—all of which can be used to get around Bolivia quicker.
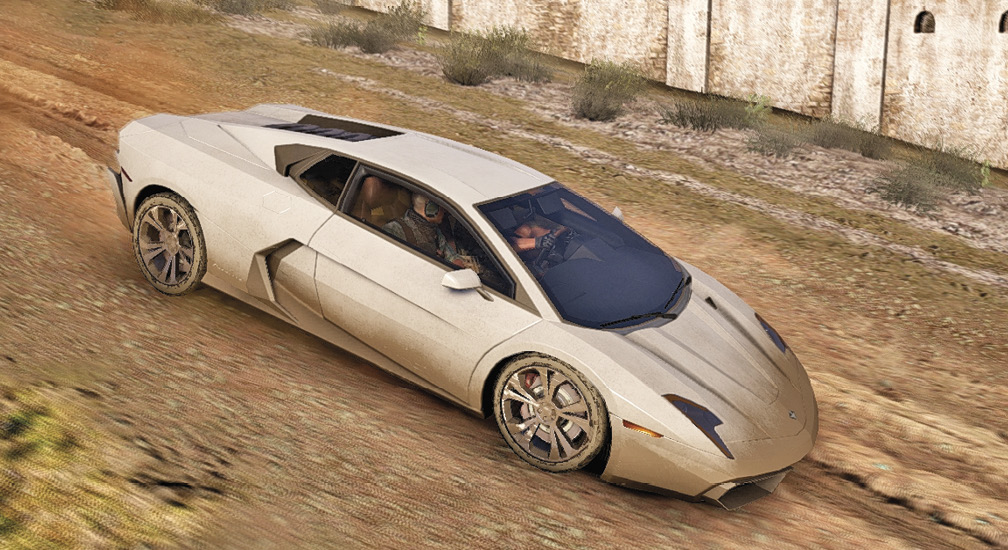
You can switch between the driver and front passenger seats. Or, if in the back, switch between passenger seats and a mounted gun (if available). Note that if playing solo, you must enter the driver seat or the vehicle does not move.
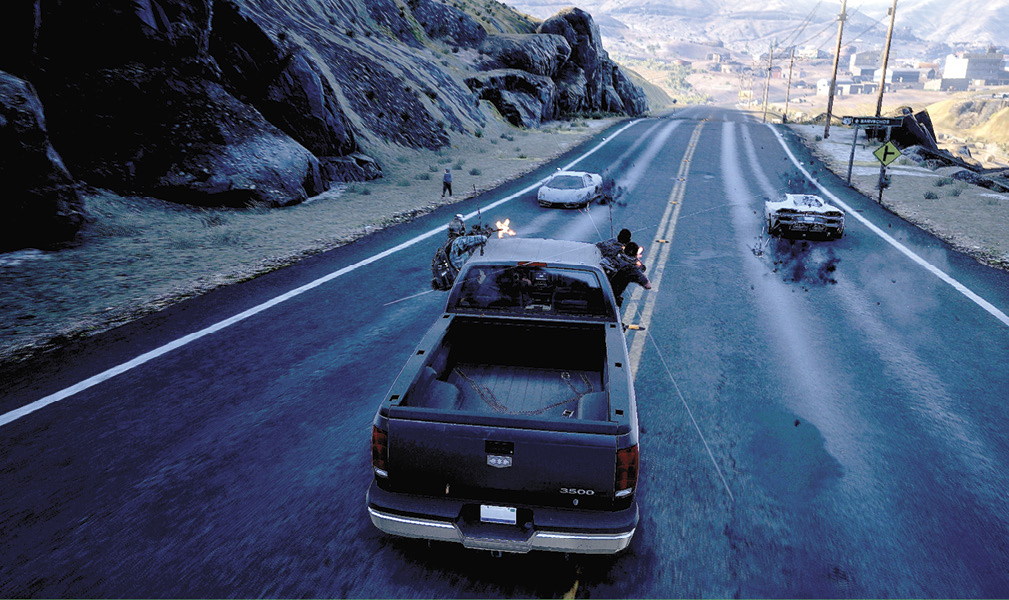
Ground Vehicles
Take advantage of the huge variety of ground vehicles in the world. Motorcycles, sports cars, buggies, trucks, and SUVs are just a few of the obtainable automobiles. They are all controlled the same, but handle significantly differently. Find your favorites, but also take the current objective into account.
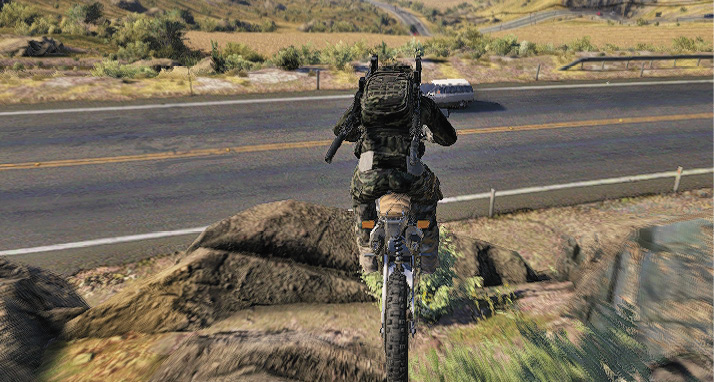
A motorcycle can handle most terrain, even some climbing, making it a solid choice when going off-road. The two-wheeled vehicles do take time to master, as they can get squirrely.
An armored vehicle or technical are ground vehicles of choice for assault players. Drive one right into an enemy stronghold and order the team to open fire. These are also great for Stop the Convoy Supply Raids.
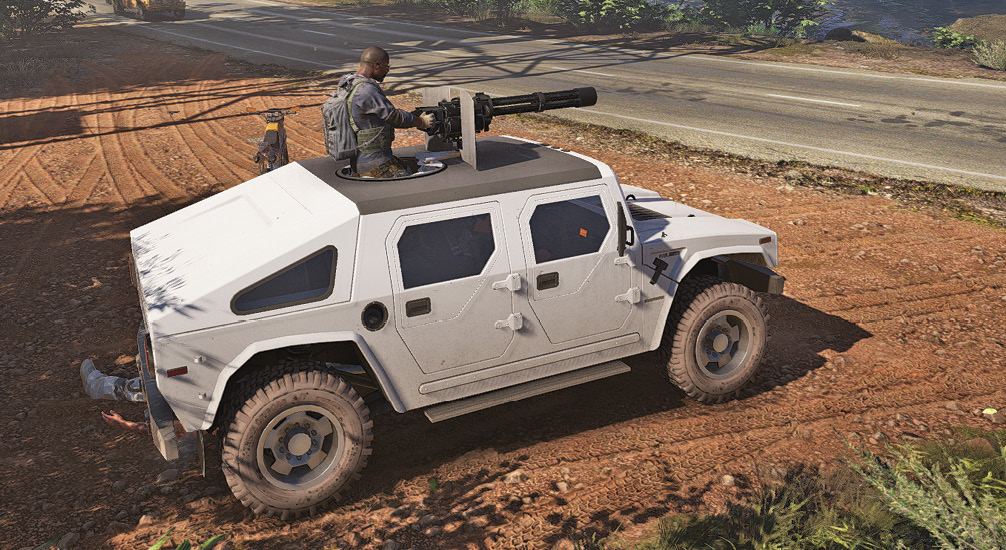
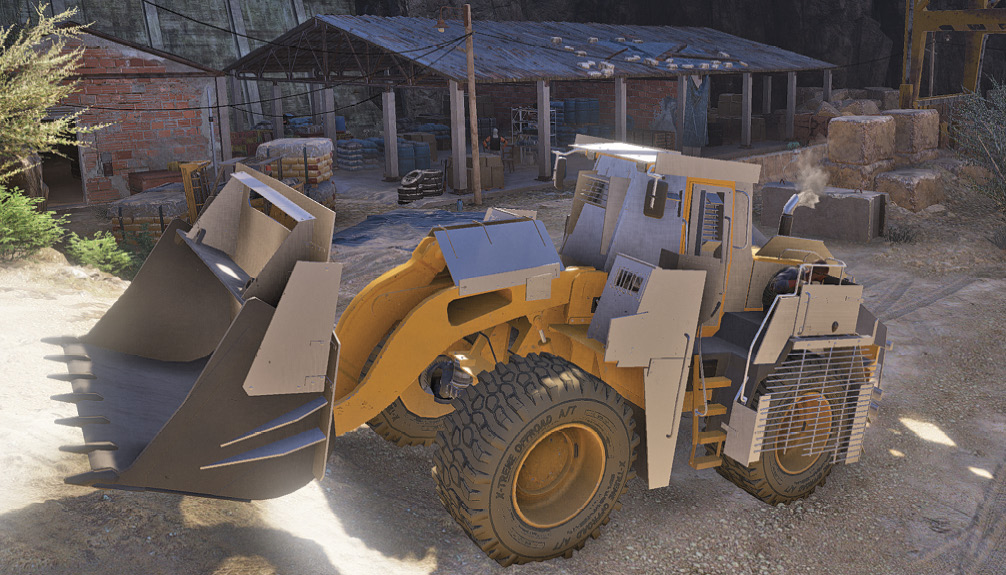
Unique vehicles are also available, such as the armored Digger. Keep an eye out for these special rides. Note that vehicles vary in capacity, seating less than the full Ghost unit. If playing solo, teammates catch up to Nomad after exiting the automobile. In co-op, simply grab another car to accommodate the crew.
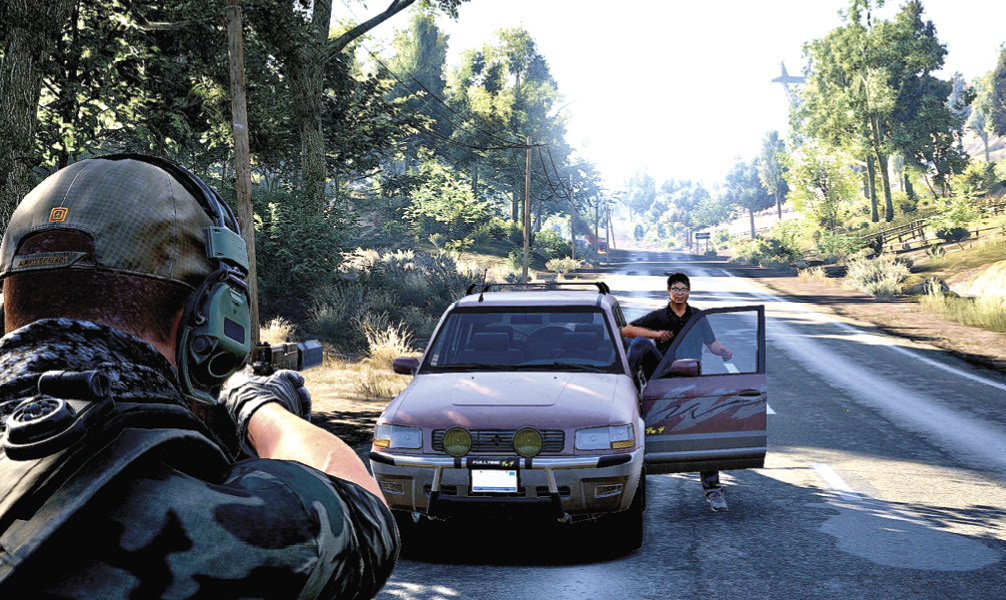
Commandeer a Civilian’s Vehicle
Civilian vehicles can be intercepted by shooting at them or by aiming at the driver. This causes the person to surrender, but be careful not to kill the civilian or it may lead to a game over. Plus, it’s good karma.
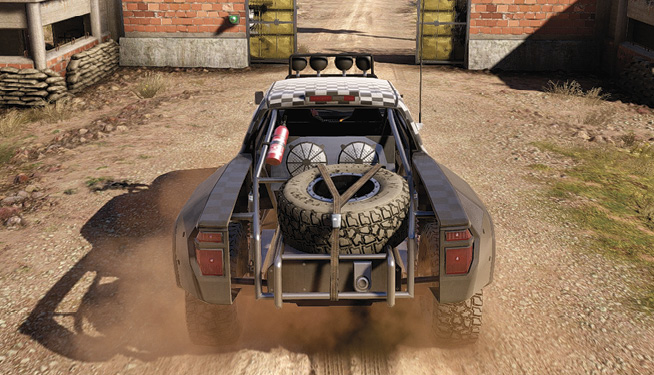
Automatic Doors
Santa Blanca and Unidad have their own official vehicles. When an Automatic Door is approached, these automobiles allow for easy access to their bases. Do not dawdle though as soldiers eventually detect a hostile presence when driving near them. Once inside their walls, quickly drive to a safe location or find a building that can be used as cover.
When standing next to a driver’s door, Santa Blanca or Unidad is listed next to the vehicle type if it is an official vehicle.
Exploding Vehicle
If a vehicle is damaged too badly, it begins to smoke and then catches on fire. Clear the area immediately before it explodes or it may take you out with it.
Car Alarm
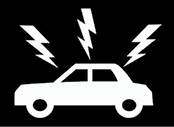
Fancier cars, such as the Santa Blanca sports car, are often installed with a car alarm—signified by a car icon with squiggly lines above it. When parked, shoot the vehicle to sound the alarm. Use this as a diversion to sneak by enemies, as they investigate the noise. You can also disable the car alarm by pressing the button used to turn the car lights on and off.
Enemy Vehicles on Patrol
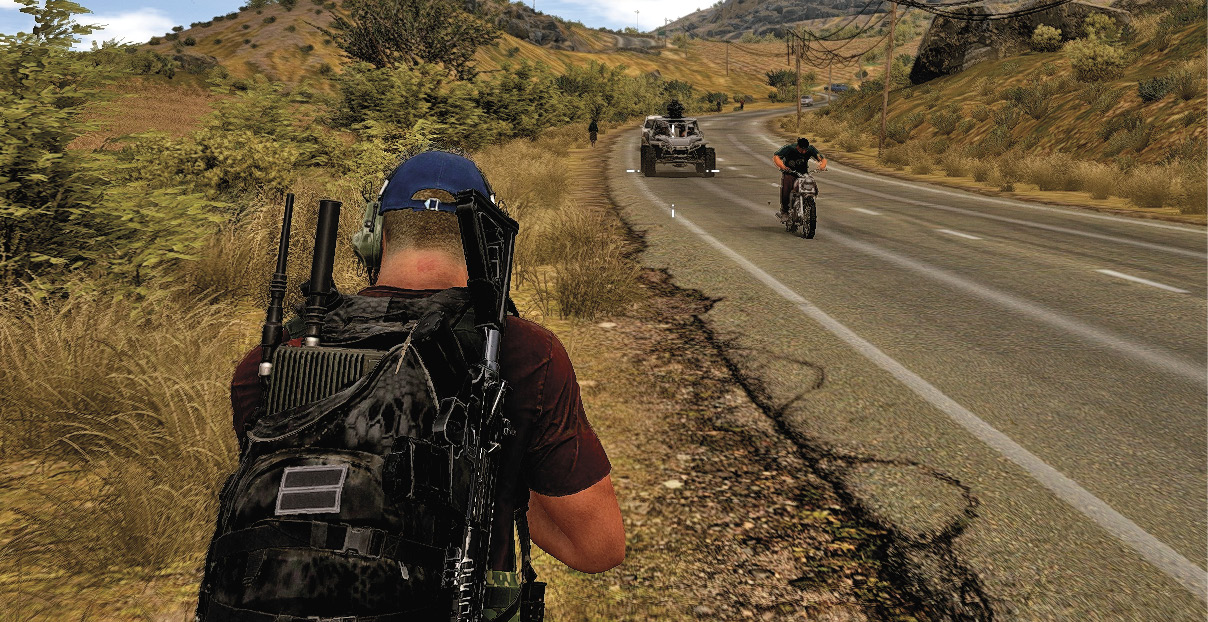
Watch out for Santa Blanca (red) and Unidad (purple) vehicles as they patrol the roads. The usual detection arrows appear on screen as they begin to recognize the Ghost presence. Quickly move behind cover or lie prone to avoid being detected. Or, take cover and shoot the driver to bring them to a stop, though a gunner should be the first target if present. Their vehicle is a valuable asset when infiltrating a corresponding base.
Shooting at and doing damage to a vehicle will damage it. Once it has suffered sufficient damage, a vehicle’s driving capabilities are affected, making it slower. When a vehicle reaches a certain level of damage, the enemy driving it will leave the vehicle and either run away on foot, try to find another vehicle in which to escape, or surrender.
Water Vehicles
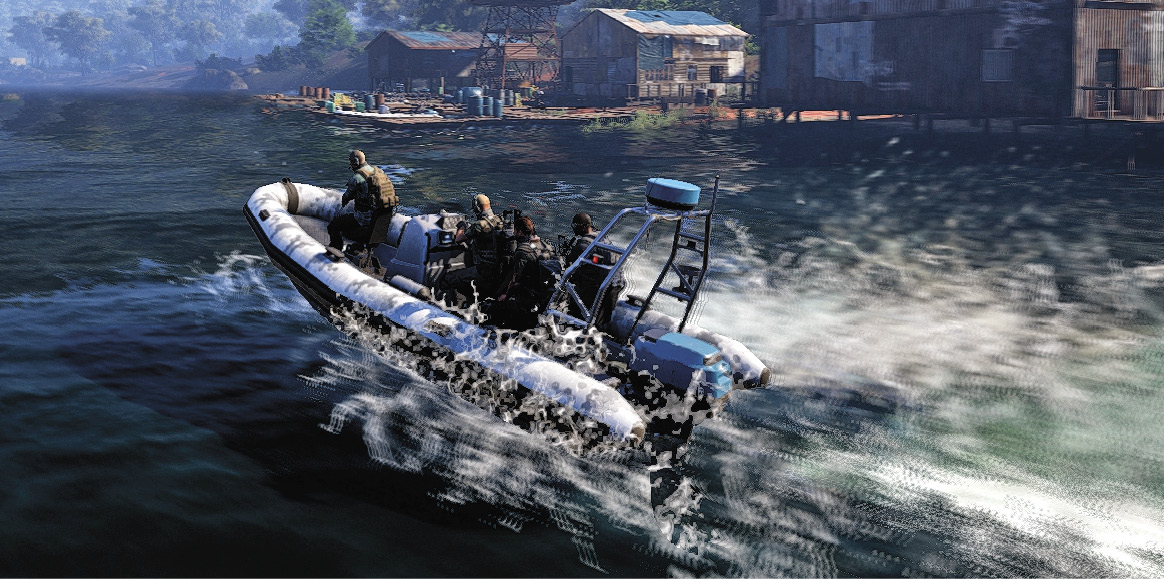
Various boats are docked up and down the rivers and lakes. Like automobiles, you enter a passenger or driver seat—controlling the vehicle in the same manner. A boat comes in handy on several occasions as the cartel sets up boat labs and it often offers the quickest route when crossing a waterway.
Air Vehicles
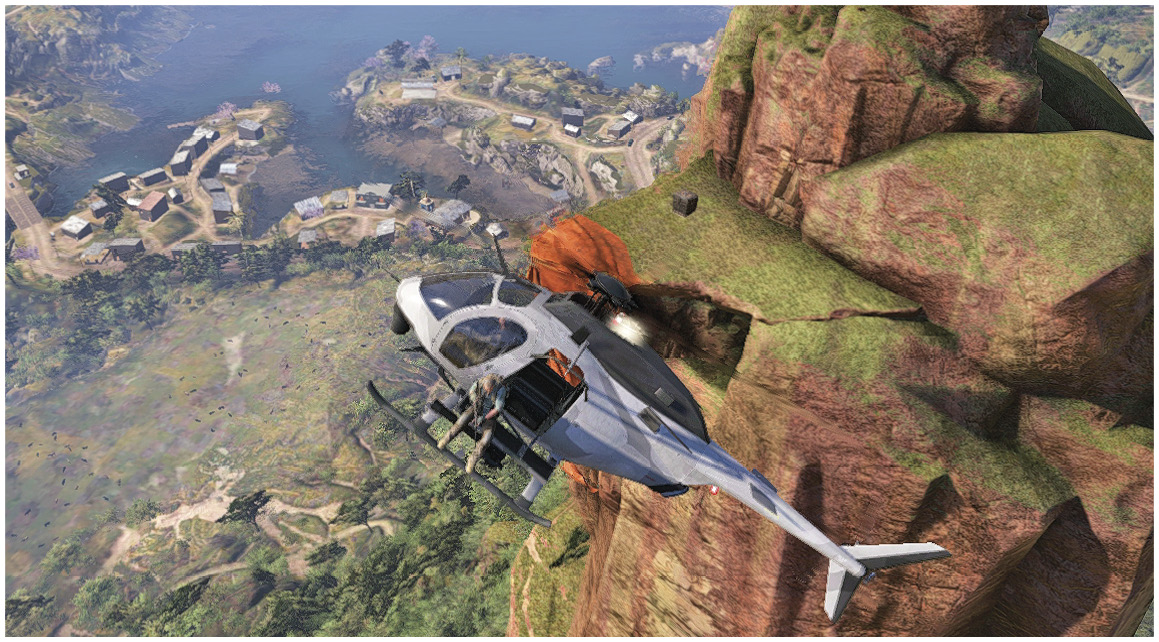
Helicopters and planes are a great way to travel great distances and heights, but there are risks involved. A chopper does not need much space to take off and land, making it a great option to reach mountain peaks and ledges—often required stops for Rebel Ops Parachute Drop side missions. Some helicopters may allow the pilot to use a minigun or rocket launcher as well!
Airplanes are typically found on or next to runways, since they require a bit of road to take off and land. Be sure to give plenty of space to bring the plane to a stop and keep it straight or it may accidently take out a civilian or two.
Much like a technical, some helicopters are equipped with a minigun. Enter the gunner position to take control of the weapon.
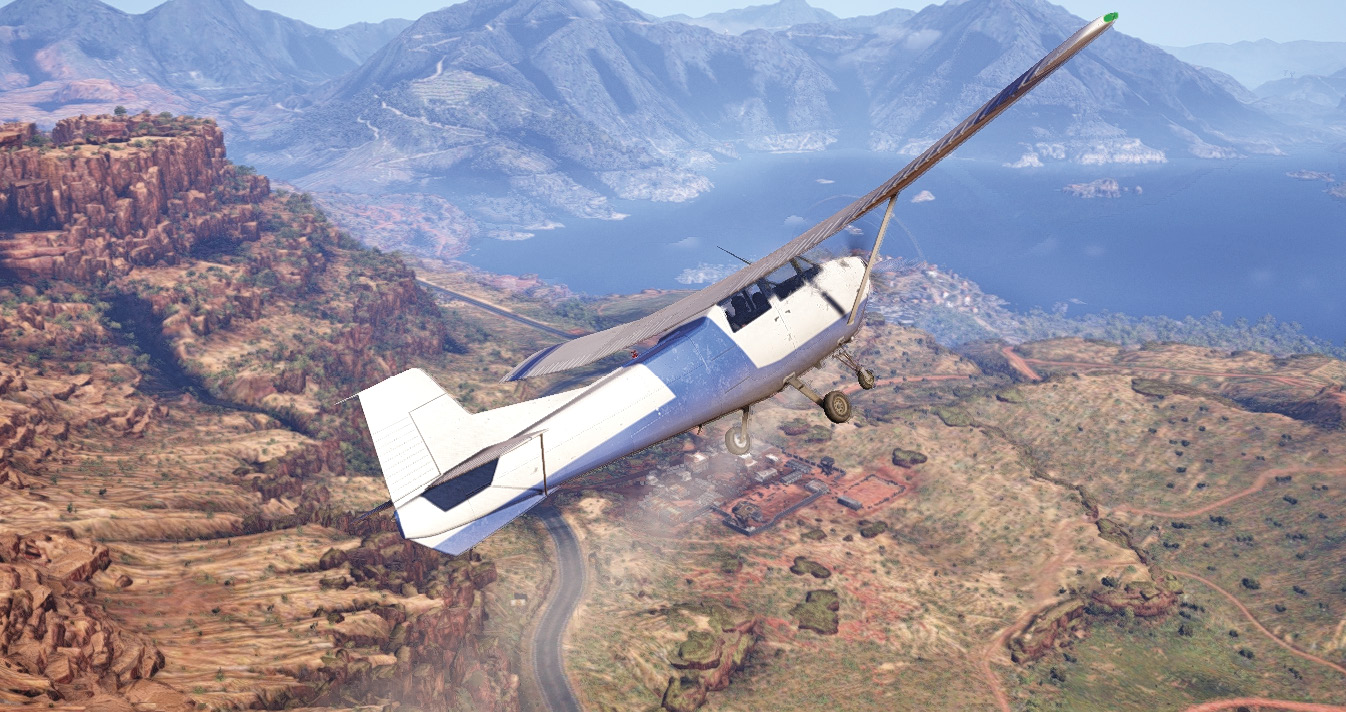
The Parachute
The parachute is available at level 1, but you need to unlock the appropriate skill with Skill Points and Resources. Once unlocked, it is possible to jump out of an aircraft and land safely on the ground (or rooftop). You can also jump from a cliff, if you hold the traversal button as you push your character over the edge (if you are high enough). This function allows you take a lot of risks, so be careful to clearly assess the situation if you don’t want to dive headfirst into a rock. Be sure to gain a decent amount of altitude before jumping or there may not be enough time to deploy.
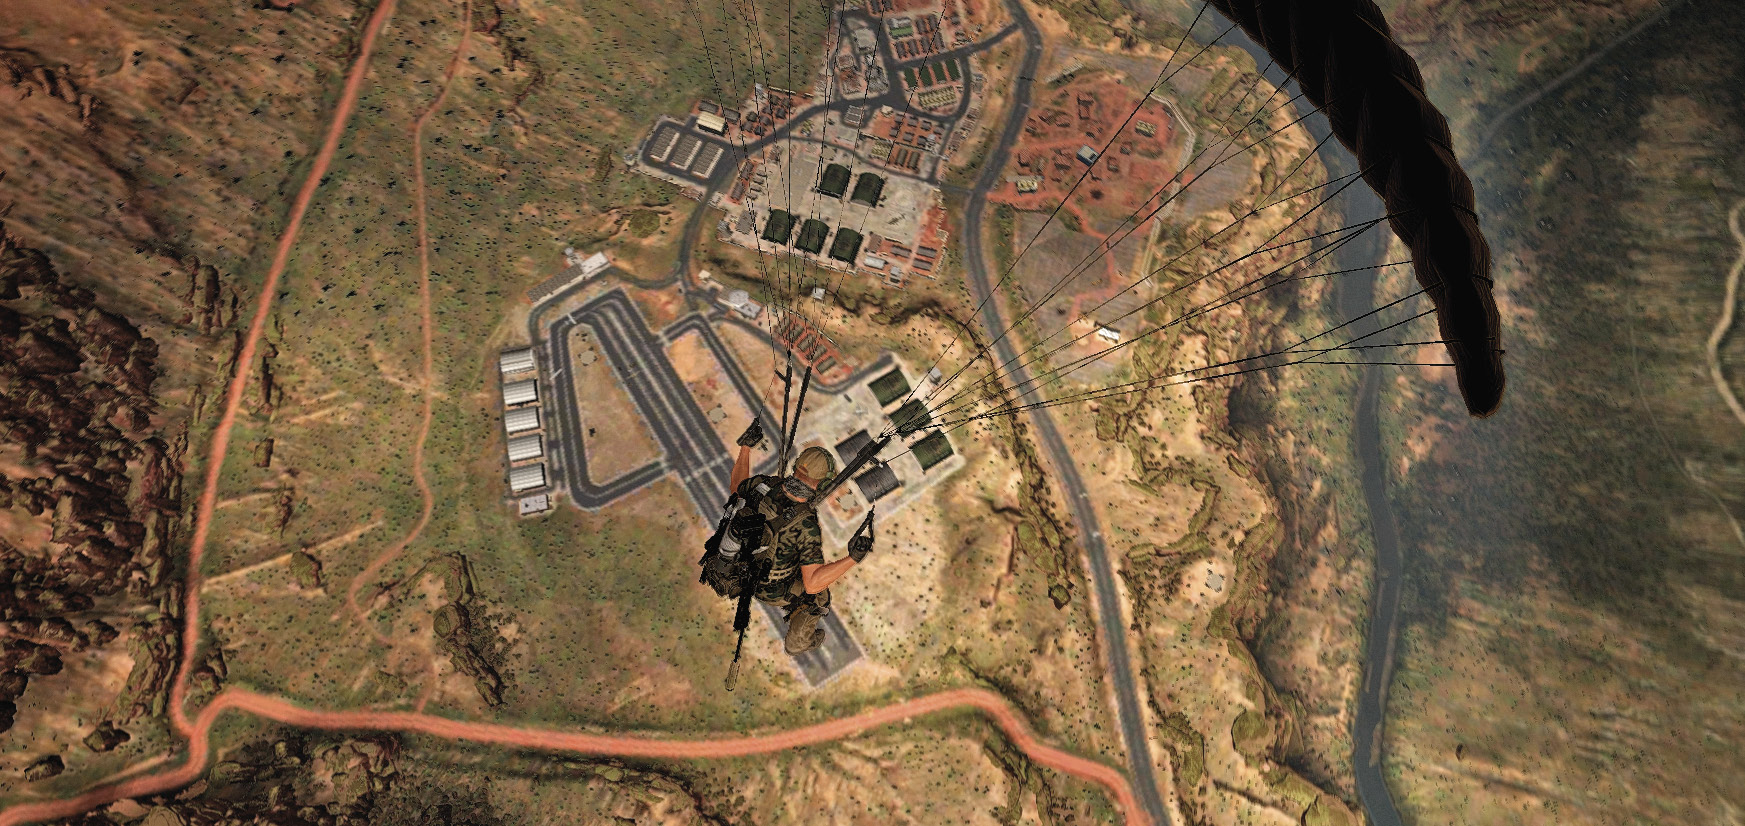
At first, you are in freefall with the ability to fall faster by pushing forward. You’ll then be free falling until you deploy your parachute. Pushing up causes you to descend faster and nearly straight down, good when directly overhead of a target area. Pulling back slows the speed and keeps you in the air longer, in case the destination is farther ahead.
Hitting a target area takes some practice, but there are some techniques that can help. Push left or right to circle around when honing in on a location. Use a building or the side of a mountain to stop momentum, but be sure the ground is close enough to drop safely.
SAM Launchers do not target parachutes, but nearby enemies do detect you, and will shoot.
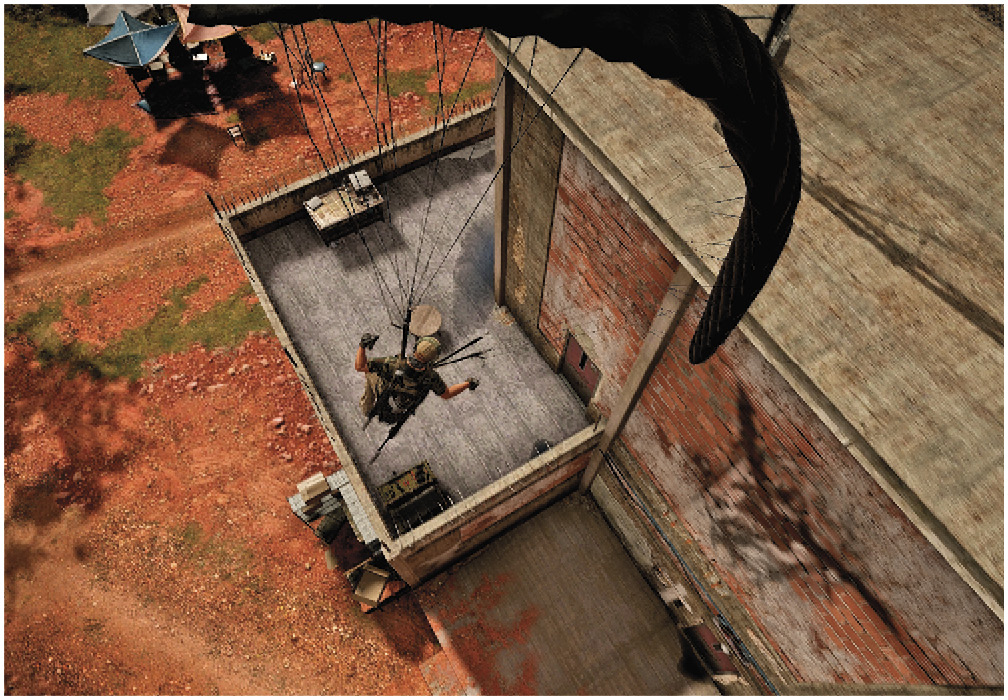
SAM Launchers
SAM Launchers, often found in hostile territories near bases, attempt to shoot enemy aircraft out of the sky. The familiar detection arrows let you know when being targeted. Explosives can be used to destroy SAM Launchers before taking flight, but they do tend to be repaired over time. One C4 charge or two well-placed Frag Grenades do the trick.
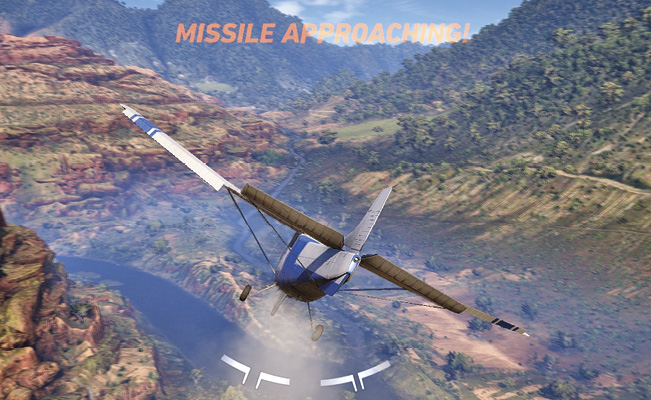
Once a launcher draws a bead on you, it fires a missile toward the aircraft. Teammates warn of the impending projectile as well as a “MISSILE APPROACHING!” message on screen.
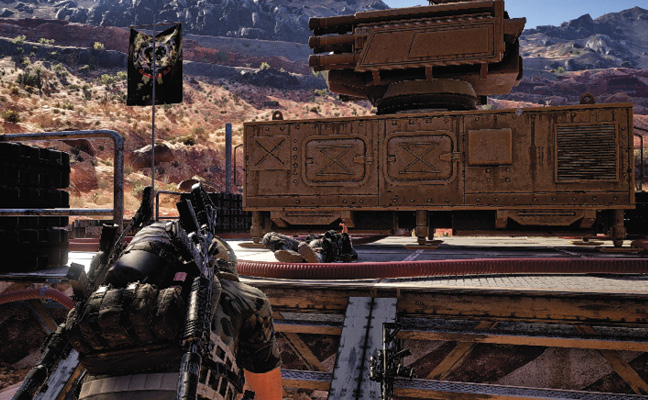
If possible, swing the camera around to spot the explosive. Tilt from side to side while making sharp turns away from its path to avoid taking damage. Dive behind cover when available to shift the destruction to the unsuspecting environment.
Flying low tends to avoid detection by their radar, so make this a habit whenever launchers are a threat. The closer you fly to a SAM Launcher, the tougher it is to avoid impact, so pay attention to the surroundings whenever in flight. Knowing their locations ahead of time is extremely helpful.
Enemy Helicopters
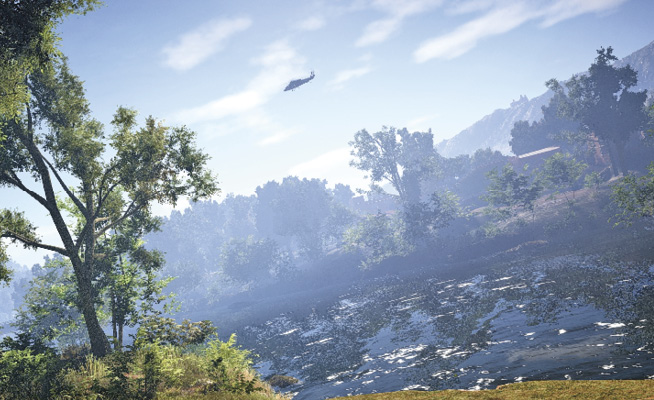
Watch out for enemy choppers as they patrol a territory. A teammate typically warns you of incoming aircraft, but it is always wise to keep an ear out for helicopters. Lie prone or move inside cover to avoid being spotted.
Day-Night Cycle
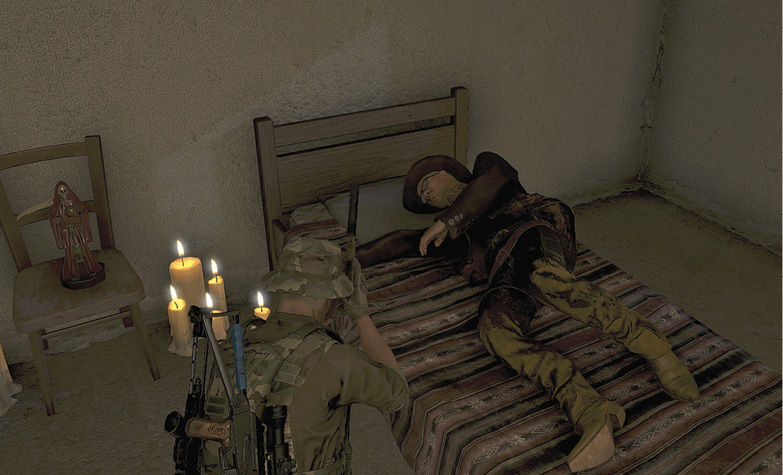
A day-night cycle keeps the game moving in GRW with an effect on gameplay. Many enemies, especially in towns and bases, have different routines at nighttime. Patrols change and some rest at campfires. Search houses for sleeping soldiers and knock them out where they sleep. Note that they continue to detect you for a short while, so be patient if you come across someone lying down for the night.
Weather
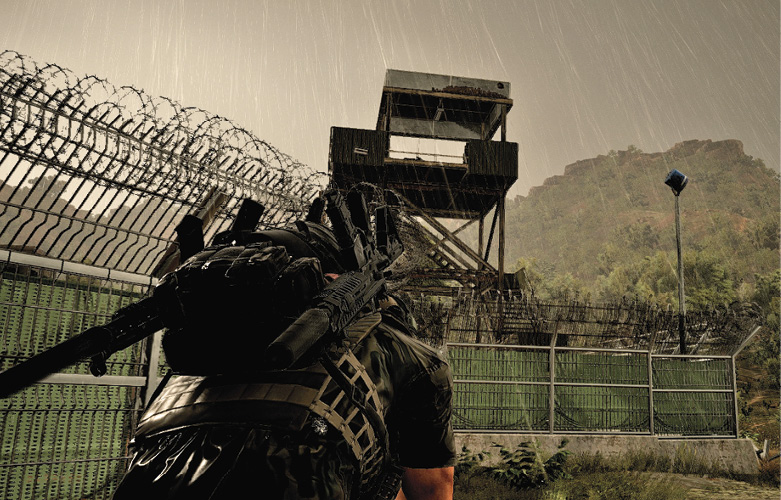
The weather also influences gameplay. Fog obscures sight at a distance and the rain conceals sound. Use a rainy night for the ultimate stealth opportunity.
Guns
As in any shooter, guns play a huge part in Ghost Recon® Wildlands. Much of the time, it is possible to get by without them, but sooner or later, they become a necessity. Find weapons and accessories throughout the world to improve weapon selection and ready the team for additional situations.
Loadout
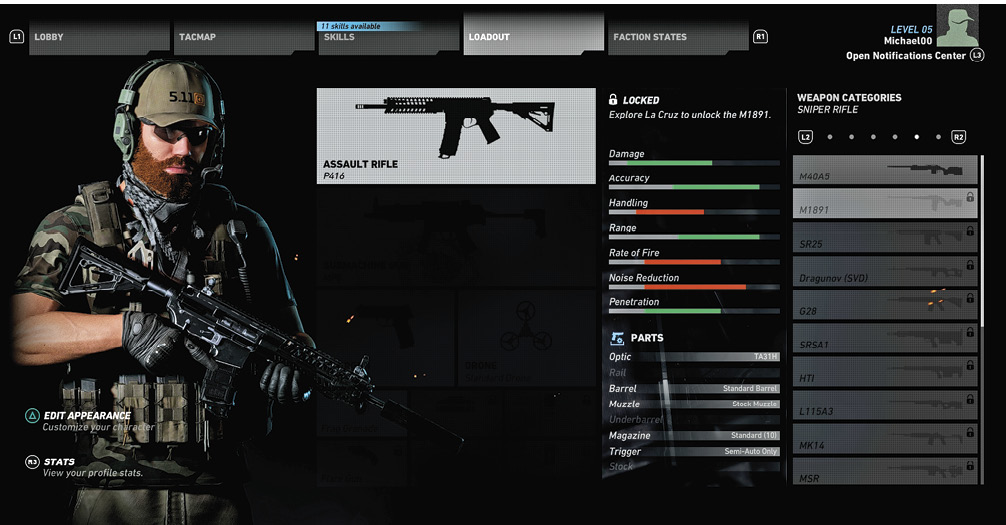
Access guns, items, and the Drone at the Loadout screen—available by pressing the Tacmap button and selecting the Loadout tab. It is also available from ammo crates and Equipment Cases. Ammunition can also be topped off for all guns and items at ammo crates.
Combat
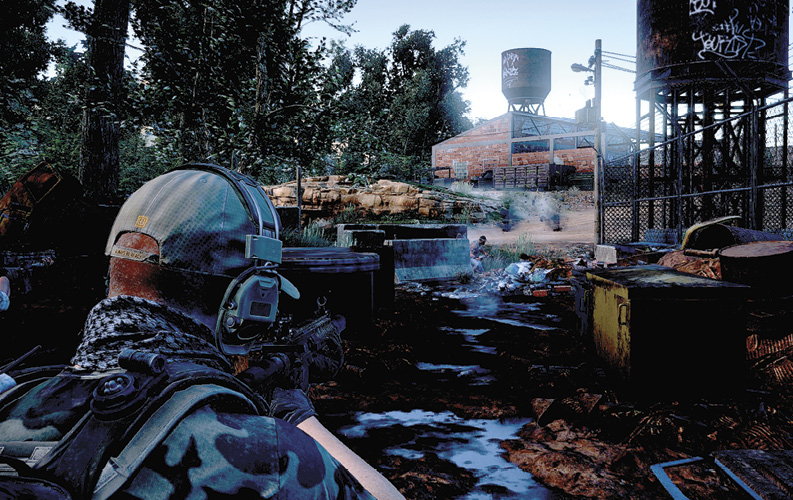
Firing a weapon in Wildlands is similar to other shooters with the ability to fire over the shoulder (OTS) or by looking down the sights of the gun (FPS). You can switch between FPS and OTS view by clicking on the right stick while aiming. OTS is very useful for looking around corners or above obstacles without being exposed, giving you the optimal viewing angle.
You can also do a shoulder swap with your weapon by pressing the right button. While in cover, this also allows you to change the direction you’re heading. It’s crucial to always have your enemies in sight!
Gun Types
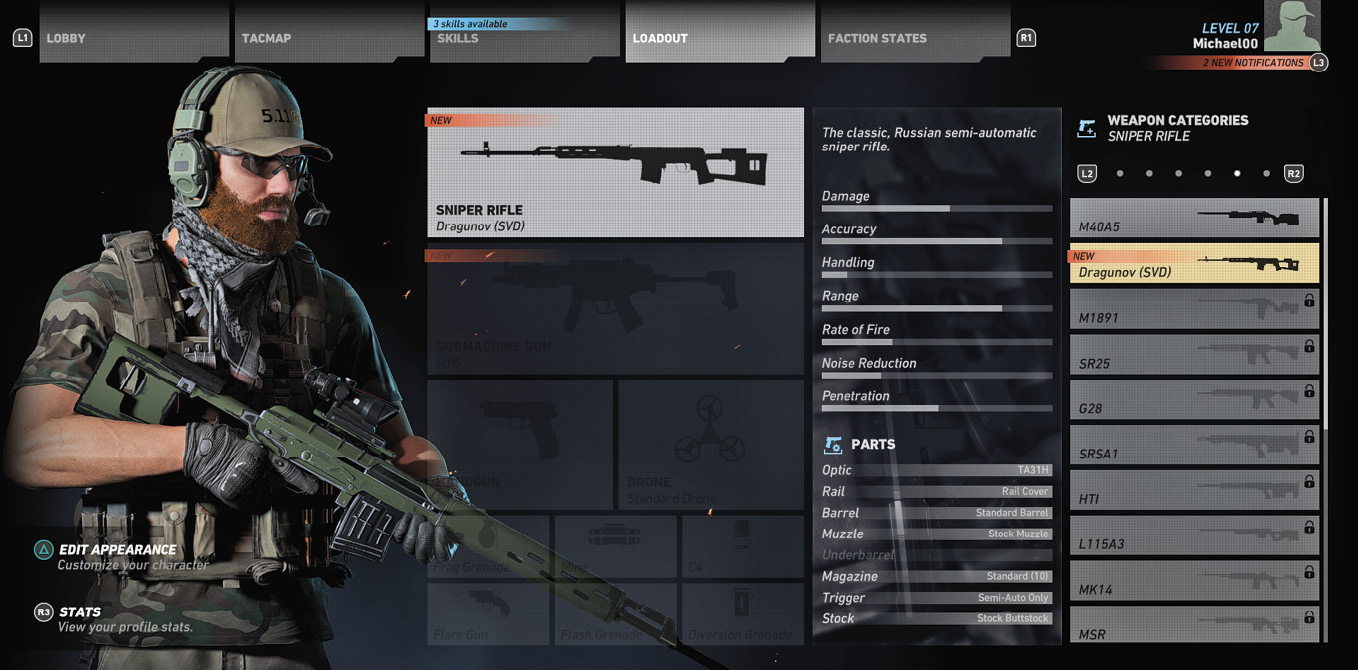
Ghost Recon® Wildlands has a huge selection of guns of various types and most can be altered at the Gunsmith. New weapons and accessories, hidden throughout the world in Equipment Cases, are available to build an arsenal worthy of any situation. Three weapons can be carried, a one-handed gun and two rifles or shotguns.
|
Single-shot, one-handed weapon for a quick fire—typically the best option for stealth gameplay |
|
|
Higher rate-of-fire option for the handgun slot—use as third gun in assault situations |
|
|
Assault Rifles |
Low- to moderate-power rifle capable of fully automatic, semi-automatic, and/or burst fire |
|
Sustained weapon fire with a moderate rate of fire—best against a higher number of enemies |
|
|
High rate-of-fire in a portable package |
|
|
Long-range rifle capable of causing high damage—always carry one in stealth gameplay to pick off enemy snipers |
|
|
Spread fire capable of high damage in close quarters—a great choice for interiors |
Stats vary greatly between the weapons, so choose wisely depending on your current needs. Some guns suffer from high recoil. Move the right stick in the opposite direction to compensate for the effect.
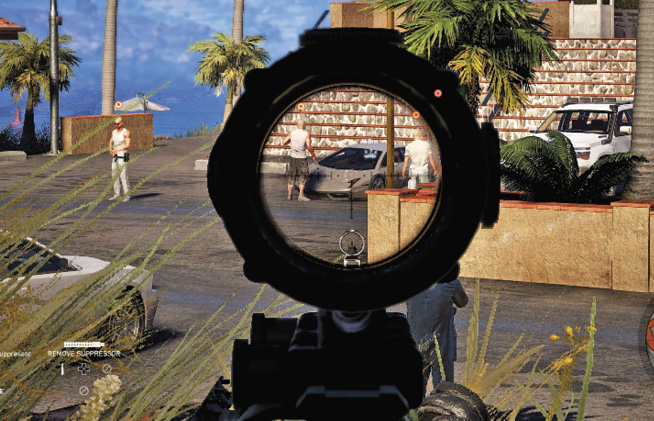
A sniper rifle is a great addition to any loadout, especially combined with a powerful scope. The penetrating ability of some rifles allows you to take out an enemy who stands behind a brick wall. Use the rifle to destroy a Power Generator from a safe distance. Note that bullet drop becomes more of a concern when firing from afar, but the sound of the gun is more likely to go unnoticed. Unequiping a weapon’s suppressor allows the weapon to have its bullet penetration at maximum capacity.
Gunsmith
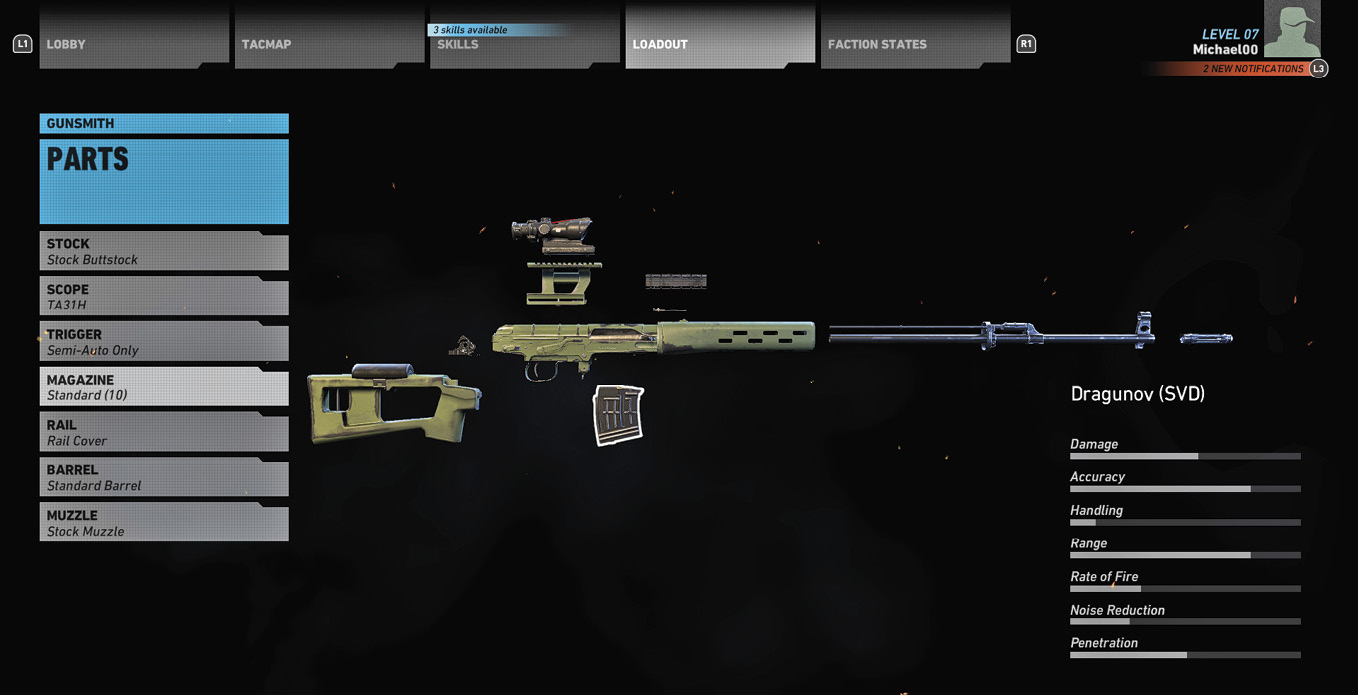
From the Loadout screen, the Gunsmith is accessible for any editable weapon. This allows you to swap out parts and apply paints to the gun.
|
Optics |
Scopes and sights, allowing for easier aiming—a high-powered scope is ideal for a good sniper rifle |
|
Rail |
Laser sights, range finder, and rail cover are examples that effect Accuracy, Range, and/or Handling |
|
Barrel |
Shortening the barrel chooses mobility over damage |
|
Muzzle |
Compensators reduce recoil and suppressors reduce sound—an important accessory in stealth gameplay |
|
Underbarrel |
Aids in the handling of the firearm, but may also increase accuracy |
|
Magazine |
Improves ammo capacity— a great accessory for automatic weapons |
|
Trigger |
Not editable. Affects the fire rate of the gun, including full-automatic, semiautomatic, and a 3-burst fire |
|
Stock |
A folded buttstock offers improved mobility with less stability |
Weapon Modifications in the Field
Certain weapons can be altered while aiming the gun. With a controller, the digital pad makes these adjustments if available.
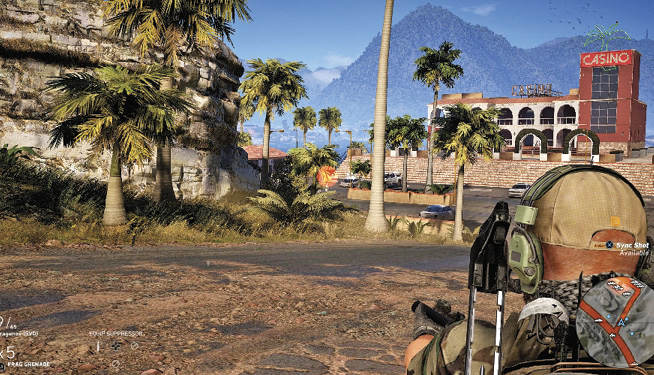
|
Up |
Equip/Remove Suppressor (Equip based on stealth or assault gameplay) |
|
Left |
Switch Trigger (full-automatic, semiautomatic, burst 3 |
|
Right |
Switch Scope (Some scopes can be adjusted) |
|
Down |
Swap Underbarrel (Add a grenade launcher to weapon) |
Marking Enemies
Anytime an adversary is targeted, he is given a mark that all players can see, even when behind a barrier. This should be the first step whenever approaching an enemy stronghold. Take time to recon an area thoroughly, so there are no surprises.
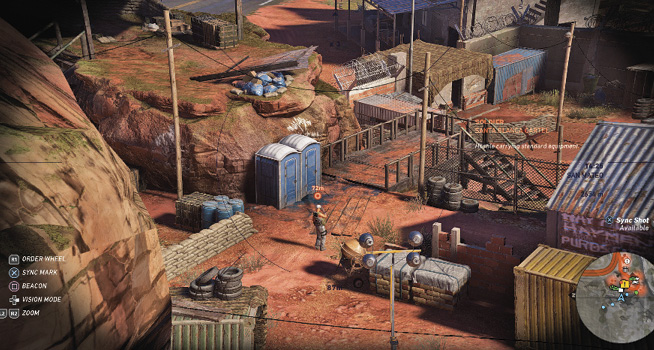
The Binoculars and Drone are great assets during this stage of a fight. Binoculars allow for long distance recon and the Drone gains a great view from above. Tagging enemies with your Binoculars is faster than using only your weapon scope, as they have a wider view range. Maneuver around so that all areas reveal their secrets.
Synchronized Shot
While aiming at a target, or using binoculars or drones, you can allocate a specific target to your teammates. This places a number above his head to allow you to coordinate your shots.
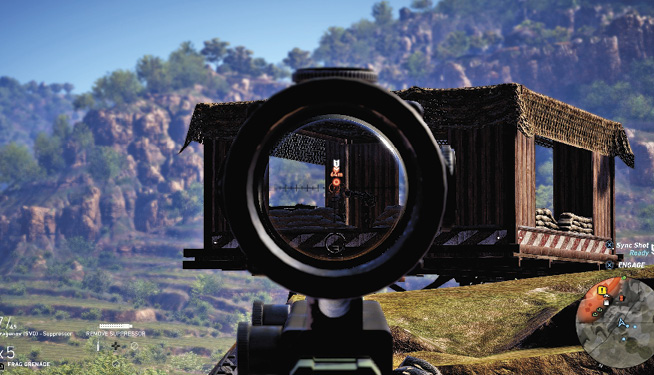
With AI teammates, a spinning circle above each number signifies the shot is not lined up yet. Wait for it to come to a stop before engaging.
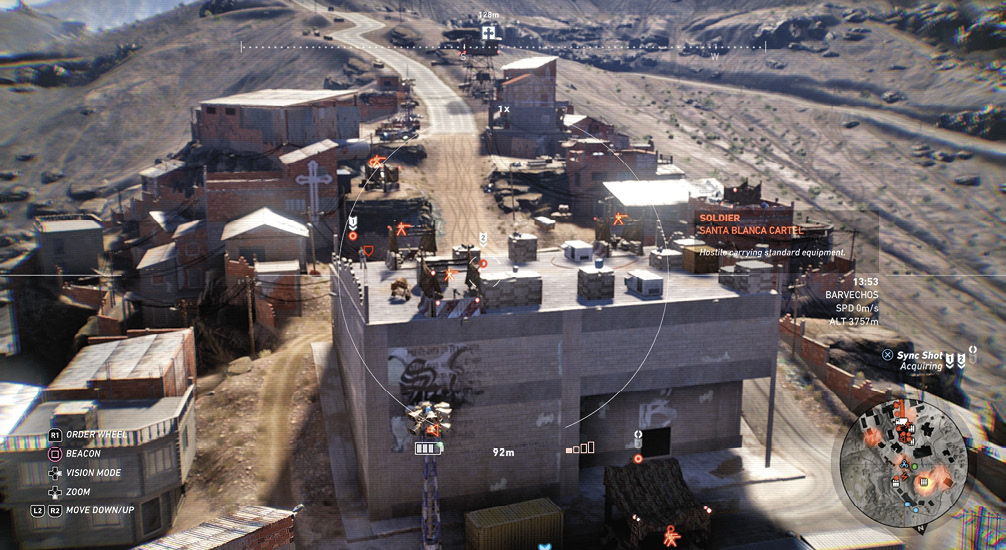
At first, you can only setup one Sync Shot. You can purchase the Sync Shot Extra Target skills to increase this to two and then three Sync Shots. With the ability to take down four enemies with one shot, a solo player can handle many more situations. Note that selected targets inside a structure may move in and out of view quite often, severely hampering the ability to successfully hit them all.
Dropped Weapon
An enemy drops their weapon when killed, which you can pick up, replacing the two-handed weapon last used. This weapon does not unlock in your loadout and it cannot be modified. Once it is swapped out, it is lost.
Items
At the start of the game, you are equipped with three items: Frag Grenades, Binoculars, and a Drone. By investing in Item skills, you can add valuable tools to your arsenal.
Binoculars
The binoculars are an essential piece of equipment for any elite soldier. Mark enemies and interactive elements from a safe distance. Starting with a 3x zoom and night vision, upgrades allow for an even higher zoom and thermal vision. Unlike the Drone, the binoculars do not need cooldown time before using again.
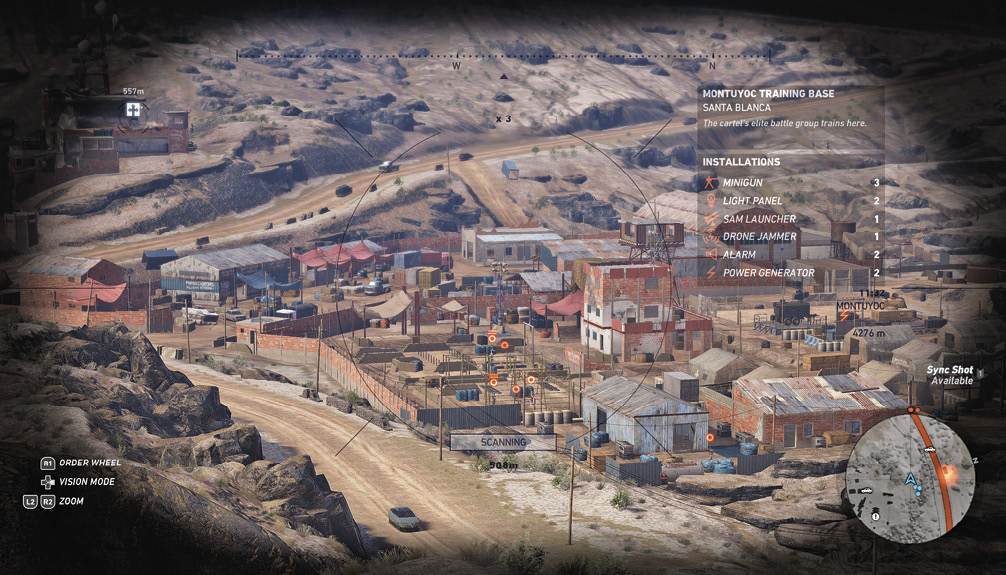
Not only do the binoculars mark targeted enemies, they can also be used to discover points of interest, side missions, collectibles, and more. Zoom in on locations from afar and thoroughly recon an area in safety. Upgrade Binocular Recon to increase its effectiveness. Note that the Order Wheel can be used while looking through the binoculars. Gain a high vantage point and give your team orders from afar.
Drone
The Drone is an improvement on the binoculars in almost every way. Toss it into the air and fly it over enemy strongholds to recon the area. By running the reticle near enemies, they are automatically marked for all to see.
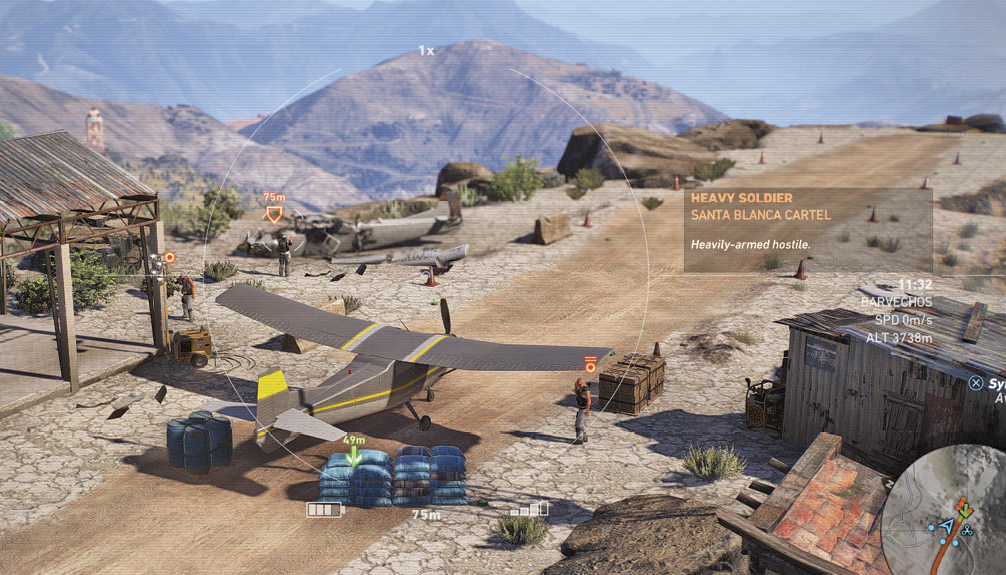
The Drone is limited by its battery and strength of signal. Audible and visual warnings alert you as either goes out. Upgrades are available to extend both battery life and range.
Mastering control of the Drone is key to a thorough recon. Flying in and around windows allows you to even mark enemies who hide inside buildings. Be careful though as the Drone is not completely stealthy. Get too close to an enemy and they will detect your drone and be alerted.
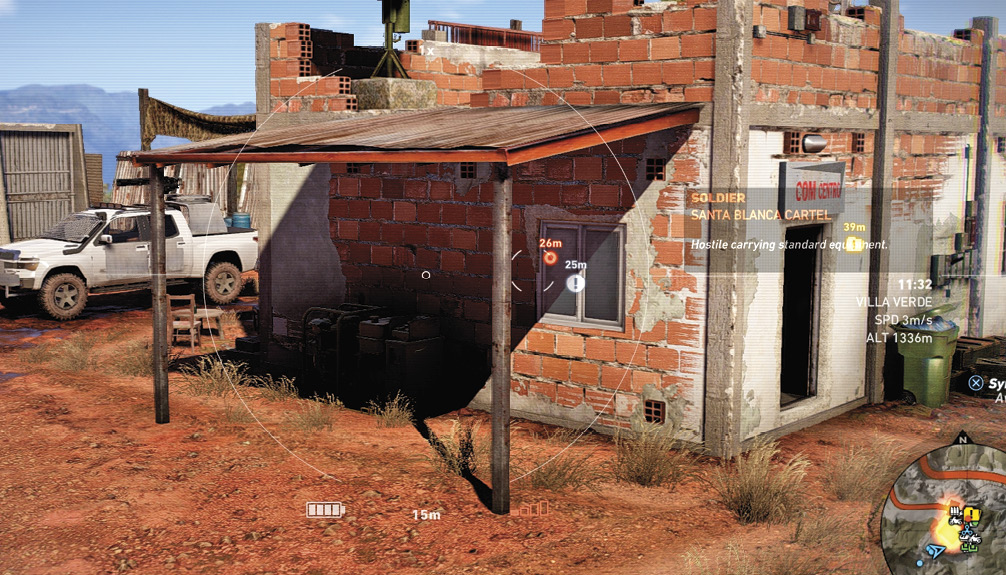
For those who enjoy commanding troops, the Order Wheel can be utilized while flying the Drone. This allows you to move teammates or rebels anywhere the Drone has a view.
More skill upgrades give the Drone night and thermal vision, as well as the following great abilities. Equip these at the Loadout screen.
|
Explosive |
Detonate the Drone with the push of a button to cause a massive explosion. With good timing, this is a great way to eliminate a pesky helicopter. Obviously, this is only advised when stealth is no longer an option. |
|
EMP |
Detonating an EMP disables all nearby electronics and vehicles. This is extremely useful at enemy strongholds and a great alternative to shutting down the power generator. |
|
Noisemaker |
Emit a noise to attract enemies who are close by. This gives you yet another means of diverting attention. |
|
Medic |
Purchase at least the first rank in all Drone skills to unlock the ability to heal a teammate with the Drone—making it possible to help a downed teammate without entering the fight. |
Explosives
Frag Grenades are available from the start of the game. Mines, Diversion Grenades, C4, Flashbangs, and a Flare Gun are all available from the Item skill tree—giving you even more options when infiltrating enemy strongholds.
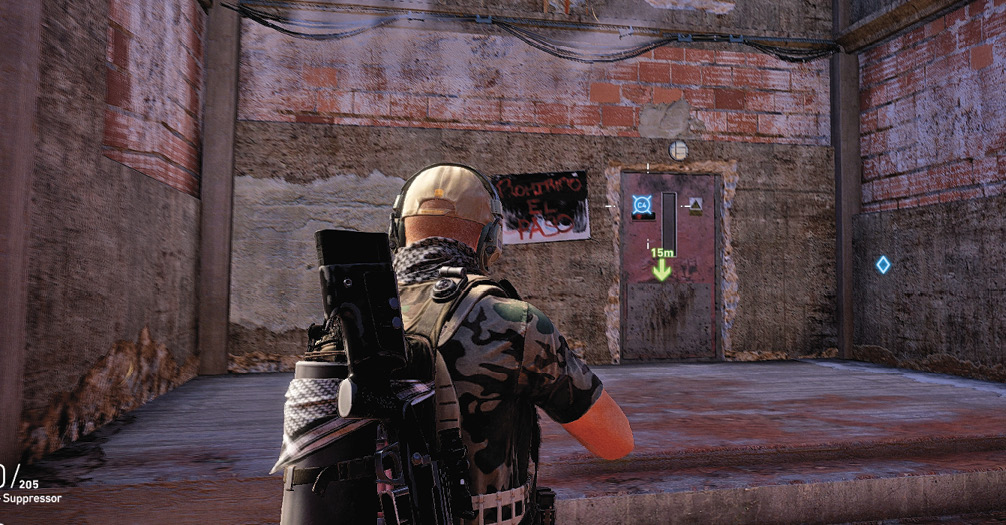
Frag Grenades, Mines, and C4 are effective for causing large amounts of damage. Flashbangs disorient nearby foes, letting you mow them down or slip by. Be careful though as this does put the opposition on high alert.
The Diversion Grenade creates a simulation that draws nearby enemies away from their post. The Flare Gun can be used to attract adversaries to your position or draw them away from a desired location.
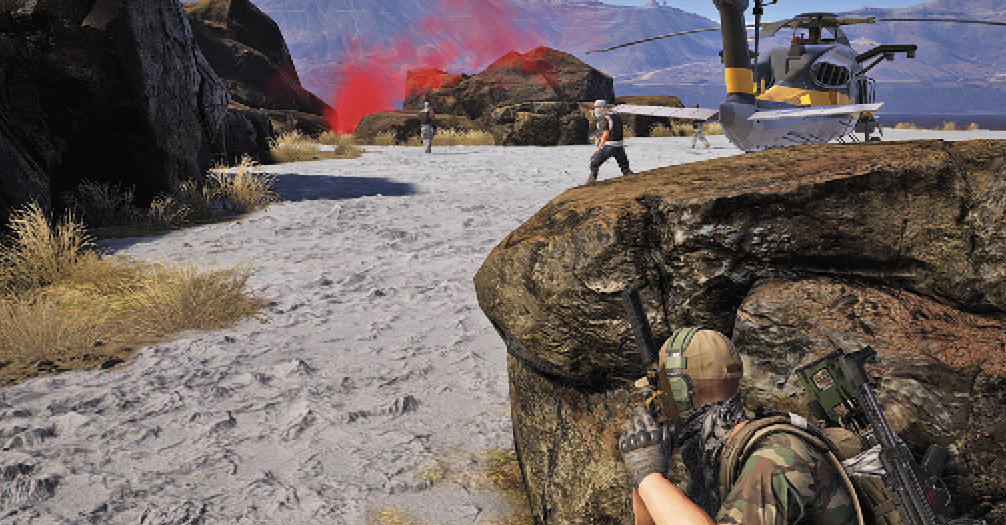
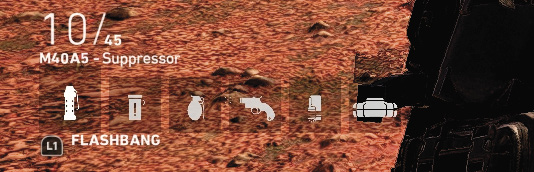
Once a second explosive is unlocked, the Select Item button changes the active item. This is shown in the lower-left corner of the HUD. Be sure to always have an appropriate item selected. You do not want to be stuck with a Mine or Flare Gun in your hand in the heat of battle.
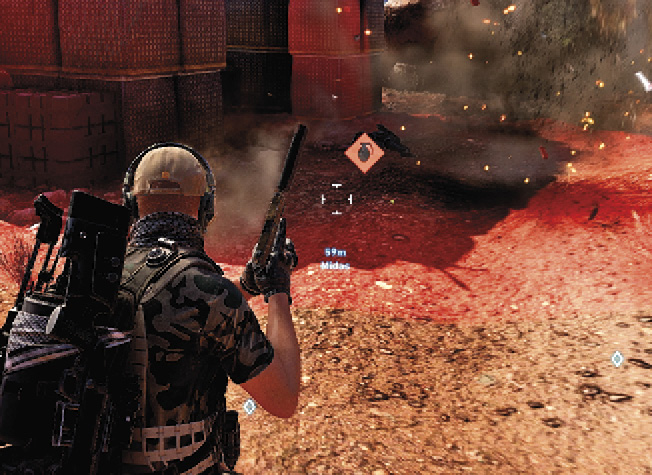
Tap the Use Item button to toss, plant, or fire the item. With one or more C4 placed, hold the Use Item button to detonate the explosive. Watch for the red, diamond icon that indicates a live Frag Grenade. Clear out of the immediate area to avoid taking damage.
Flare Gun
The Flare gun is really useful in attracting both Unidad and Santa Blanca foes and creates the opportunity to trigger a fight between those two factions.
Night and Thermal Vision
Night Vision is available from the start of the game. Press the Toggle Night Vision button to brighten your view at nighttime. Stealth missions are especially effective at night and this equipment gives you an advantage over the enemy.
Thermal Vision can be purchased from the Item skills tree, allowing the user to see the world via heat signature. This is great for tracking targets in low light and a huge asset for stealth players.
Player Skills
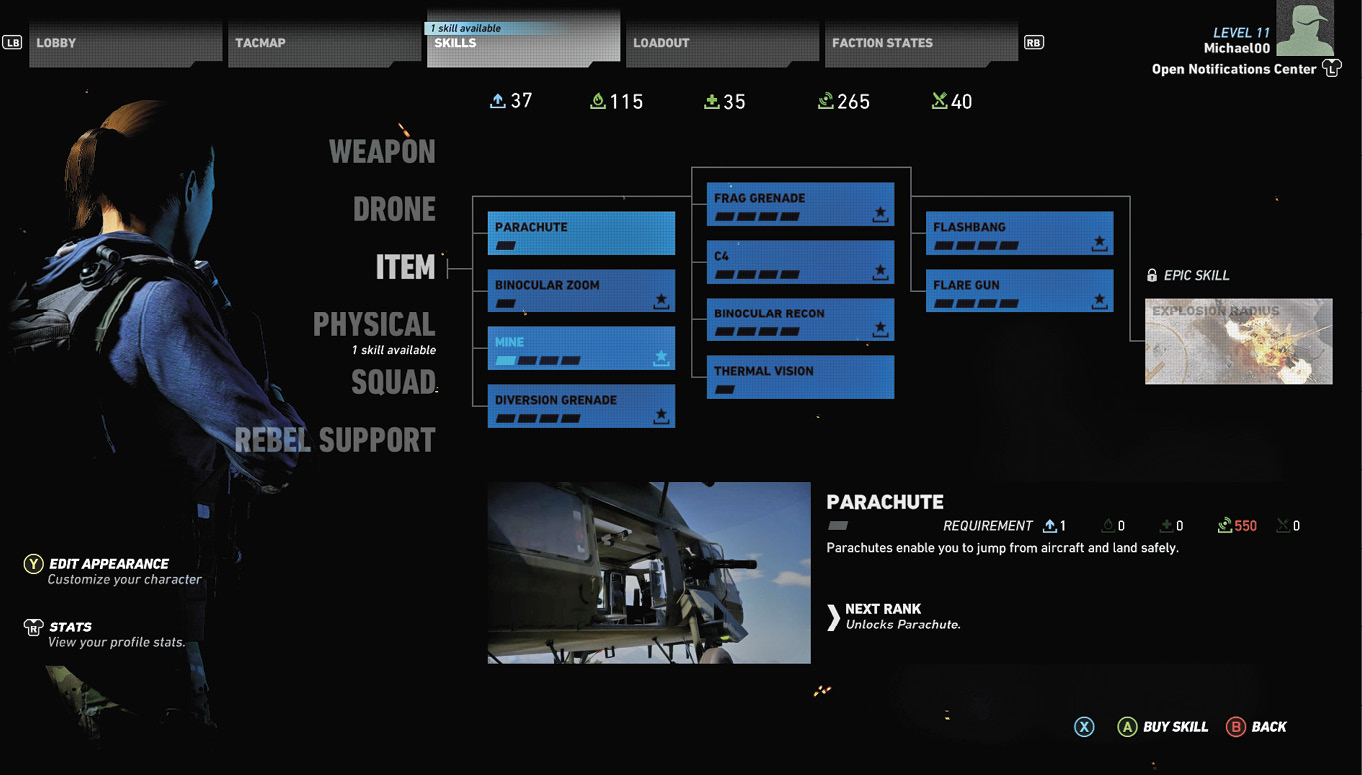
Your abilities can be upgraded and new equipment unlocked through the Skills system. From the Tacmap, select the Skill tab to view the skill trees for Weapon, Drone, Item, Physical, and Squad. Rebel Support status can also be viewed on this screen.
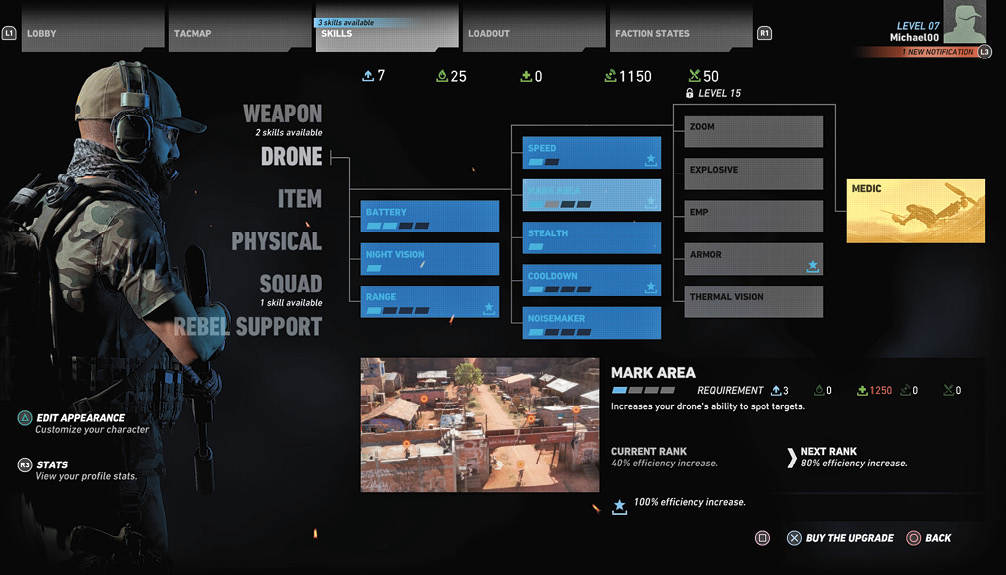
|
Weapon |
Improve your proficiency with firearms |
|
Improve the Drone as well as unlock new skills for the device |
|
|
Unlock and upgrade items, such as the parachute and explosives |
|
|
Improve your personal stats, such as stamina and resistances |
|
|
Improve proficiency of AI teammates and rebel fighters |
A set combination of Skill Points and resources is required to purchase each skill. If you don’t have enough of a needed resource, pressing the Interact button, while highlighting the skill, shows the nearest large source of that type on the Tacmap.
Most skills require a specific player level to unlock, which is shown on the Skills page at the top of each column. Most skills can be upgraded to increase their effect. If you buy at least one level in each skill in a particular tree, you are automatically awarded a free Epic Skill, which is shown at the end of the tree.
Many player skills have a bonus skill, denoted by the star icon next to the skill name. This gives the skill a little boost by discovering and looting a specific Bonus Medal. The location of this medal is given at the bottom of the screen when highlighting the corresponding skill.
Refer to the Skills chapter for full details of each skill and what is required to fully upgrade them all.

Intel Gathering
Two types of intel assist you while progressing through the game. Major Intel, indicated by the yellow file icon, gives valuable information on cartel activity in the province—unlocking a new story mission.
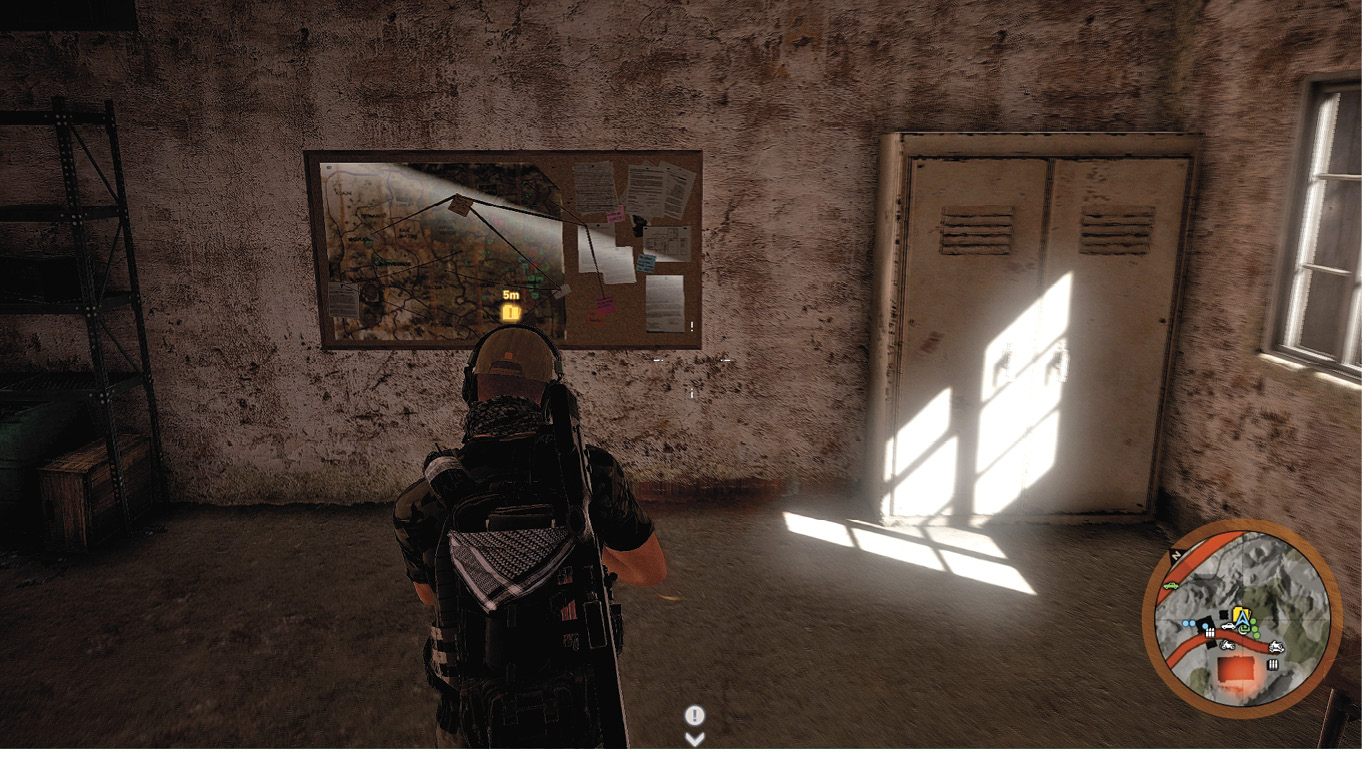
Non-narrative intel, indicated by a white circle, gives locations of collectibles and side missions. This includes Skill Points, Equipment Cases, Bonus Medals, Supply Raids, and Rebel Op missions.
Intel may be found anywhere, such as a civilian’s home or an enemy’s HQ building—appearing on the map as soon as a location is discovered. There are numerous possible positions for the intel as they systemically change. Therefore, not only will they be found in different locations the next time the game is played, they may move between visits to the same place. It is good practice to grab intel whenever found, especially if they do not involve infiltrating enemy strongholds. The sooner they are found, the less time is spent revisiting points of interest.
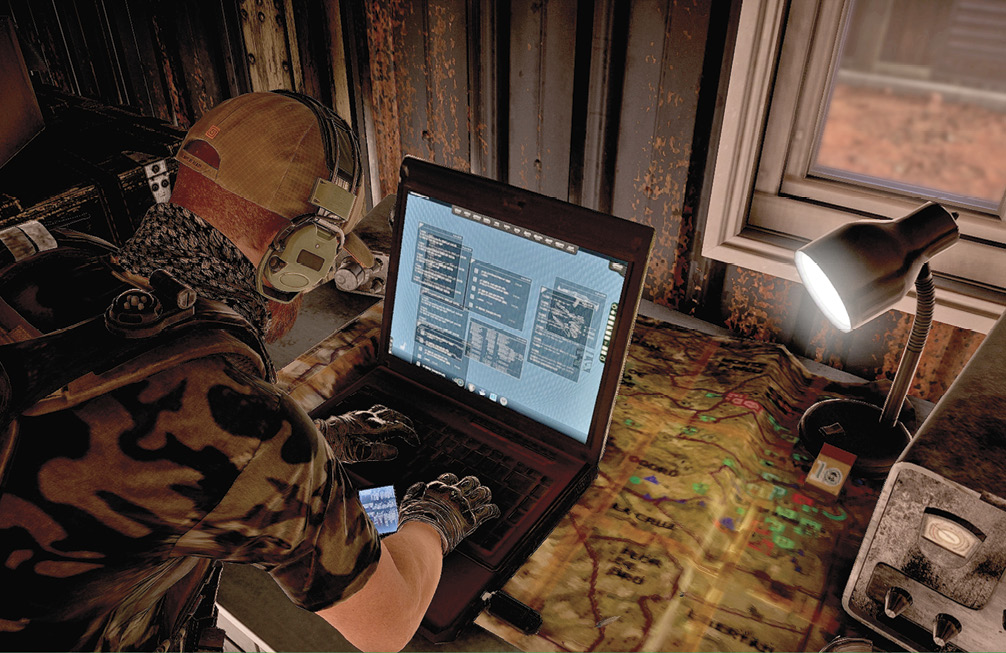
Sometimes intel simply involves investigating items, such as enemy phones, files, and maps. Hold the Interact button to snap pictures or gather the information.
Occasionally, a Rebel Lieutenant has information that they wish to share with the Ghosts. Find the person and hold the Interact button to talk to him.
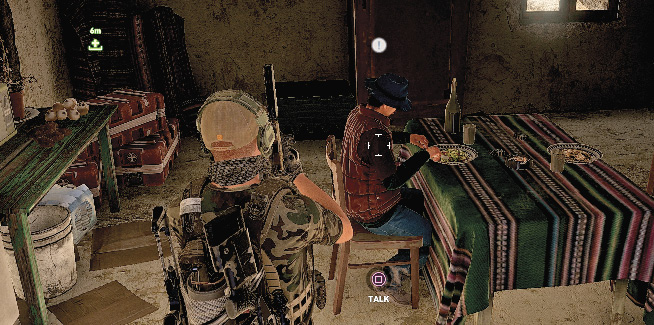
Enemy captains often hold valuable information and the only way to get at it is to interrogate them. Find the enemy marked with the intel icon and recon the area. These are typically the toughest intel to collect as not only do you have to get to the lieutenant, but other soldiers usually patrol nearby. When it is safe to do so, grab the suspect and interrogate him. Be careful, as the interrogation is a very vulnerable time.
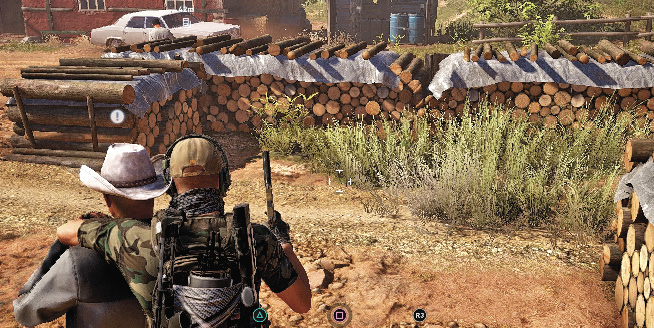
After finding a standard intel, you choose between three types of collectibles and side missions, at which point those locations are displayed on the map. Once all five have been selected, this type of intel is no longer available.
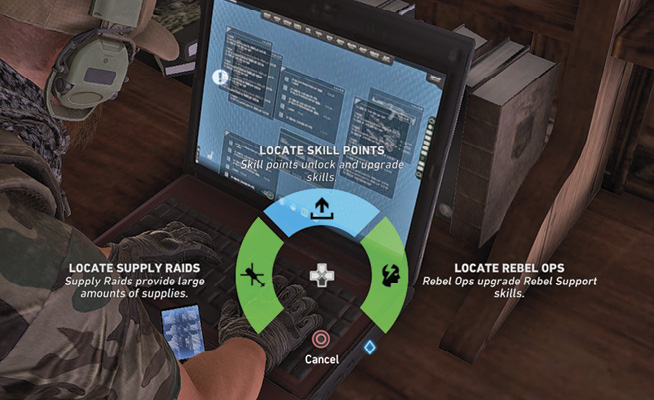

Skill Points
Each time you level up, you are rewarded Skill Points, though the majority of Skill Points are found by looting medals found throughout the world. Use these points on the Skills page to unlock and upgrade skills. Select the Skill Point option when intel gathering on a non-narrative source to display the locations on the Tacmap. Every Skill Point location is given in detail in the Provinces chapter.
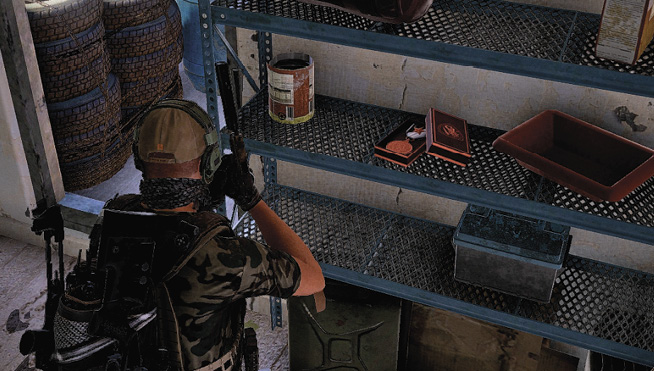
Equipment Cases
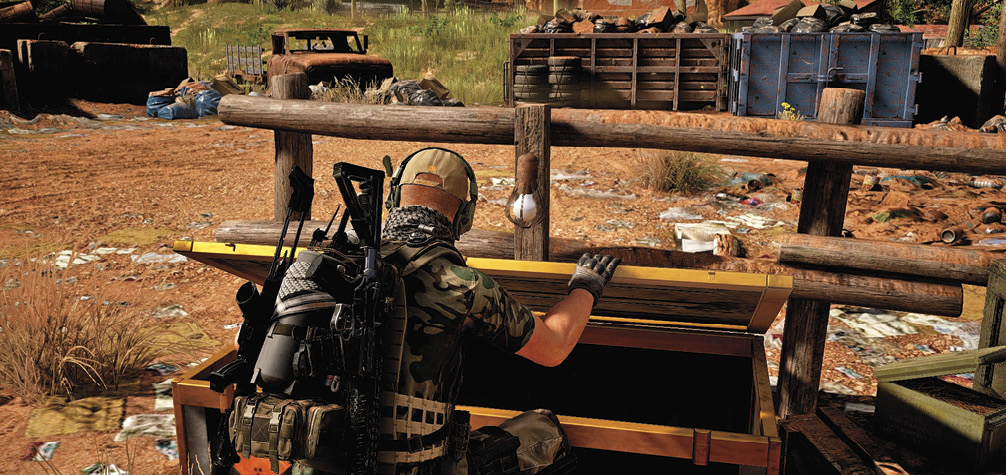
Unlock new weapons and gun parts by finding Weapon and Accessory Cases, respectively, throughout the world. Choose Equipment Cases when intel gathering on a non-narrative source to display the cases on the Tacmap. These cases also allow you to access the loadout screen. Check out the equipment and decide if it is a good match for the current objective. It is a good idea to seek these cases out whenever possible to improve weapon options.

Bonus Medals
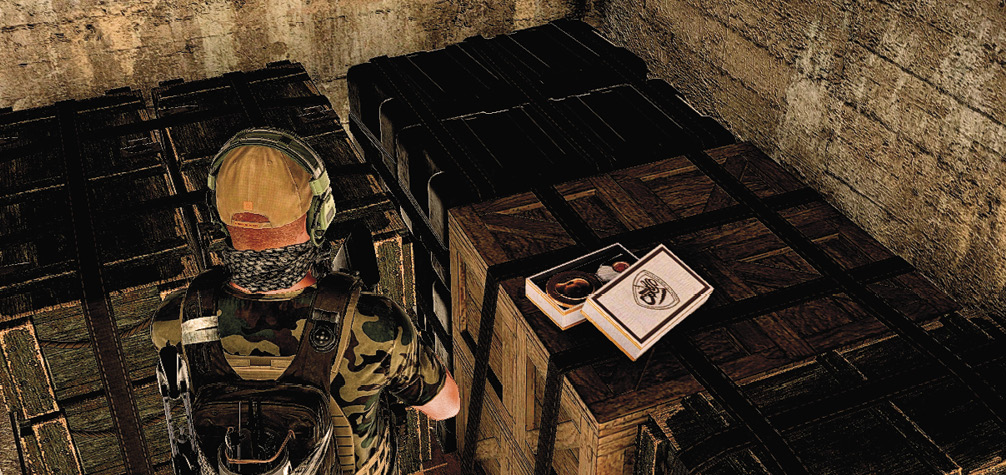
Bonus Medals provide a little boost to player skills. Each province holds one or two of these special commendations, providing valuable enhancements for the player. Select Bonus Medals when intel gathering to show their locations on the Tacmap. Refer to The Provinces chapter for the locations of every Bonus Medal and the Skills chapter to find out which skills have an available boost.

Kingslayer Files
Kingslayer Files present added story for the player, delving deeper into the dealings of the Santa Blanca cartel and Bolivia’s past. Documents provide recordings and picture evidence that can be used by The Ghosts in their hunt for the Santa Blanca bosses. Legends are artifacts that give the player insight into the history of Bolivia. As you explore Bolivia, you can also discover Legends, which are vestiges of history and ancient legends of this country. In every province, finding these objects rewards explorers. Once collected, these vestiges will unlock their part of the Bolivian memory.
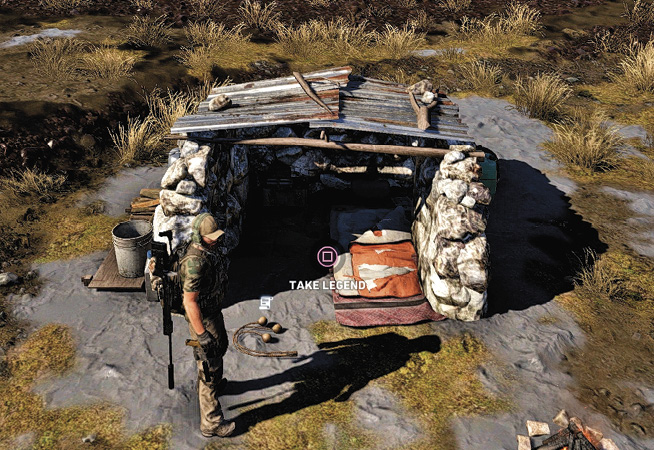
These items are found throughout the world and are displayed on the Tacmap as locations are discovered. From the Tacmap, press the Interact button to display any discovered files. From there, videos and audio recordings can be played. The Provinces chapter provides locations for every document and legend. Collect them all to complete the Kingslayer Files.

Resources
There are four resources available: Comms Tools, Food Parcels, Gasoline, and Medication. You hold separate reserves of each, which are used to unlock and upgrade skills. Containers found in towns, bases, and in the wild provide small amounts of each resource. Completing Supply Raids (Steal the Helicopter, Steal the Plane, and Stop the Convoy) nets larger amounts with convoys supplying the highest source.
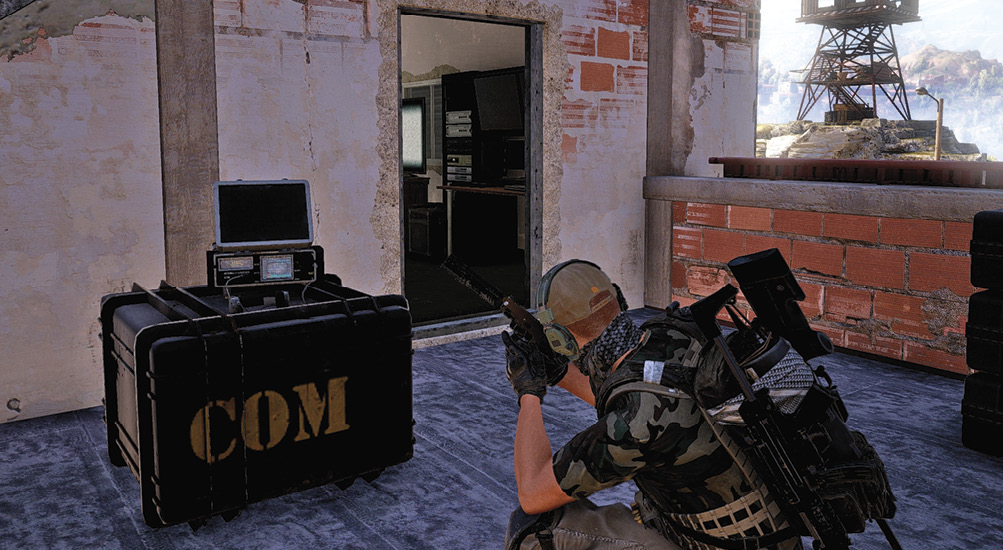
Defeating underbosses and operation heads in the main story nets 10,000 and 15,000, respectively, of a resource. Each operation matches up with a resource as follows:
| Operation | Resource Rewarded |
|---|---|
| Influence | COMM Tools |
| Production | Food Parcels |
| Security | Medication |
| Smuggling | Gasoline |
Resources at camps, towns, bases, etc., are consistent and shown on the maps in The Provinces chapter. Random resource containers may also be found in the wild, so keep an eye out.
The People of Bolivia
The world of Wildlands is active with human life. Civilians, Santa Blanca cartel, and Unidad troops all go about their daily life. Be mindful of who is around at all times, as there are repercussions to being seen.
Civilians
Neutral
Civilians go about their lives throughout the world with two effects on your game. Killing a few civilians leads to a game over. A notification appears on-screen when you are one casualty away from this point.
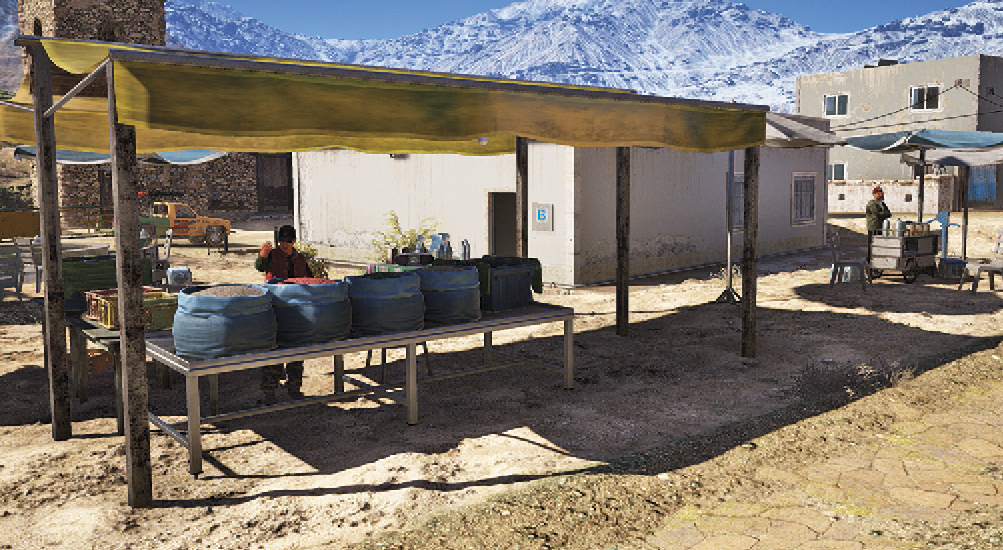
Many civilians alert nearby cartel or Unidad troops when the player is spotted. Therefore, when infiltrating an enemy base, it is a good idea to watch out for civilians as well as soldiers.
Rebel Forces
Ally Faction
The Bolivian rebels, led by Pac Katari, work with the CIA to free their homeland from Santa Blanca. There is a quid pro quo relationship between the Ghosts and rebels. Release imprisoned rebels and steal supplies for the rebellion. In return, they help you take on their rivals.
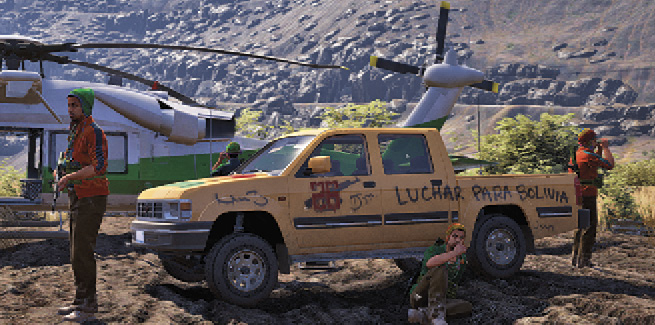
As Rebel Op side missions are completed, Rebel Support Skills are unlocked and upgraded. Use the Order Wheel to select a skill and call for assistance from the rebels. The more side missions completed, the more rebels available to help. You will also be able to see their presence in the world increase. The more you complete Rebel Ops, the more rebels will be powerful and patrolling the world, which gives you an extra edge while establishing your strategy to assault an enemy location. Refer to the Factions tab to view the current status.
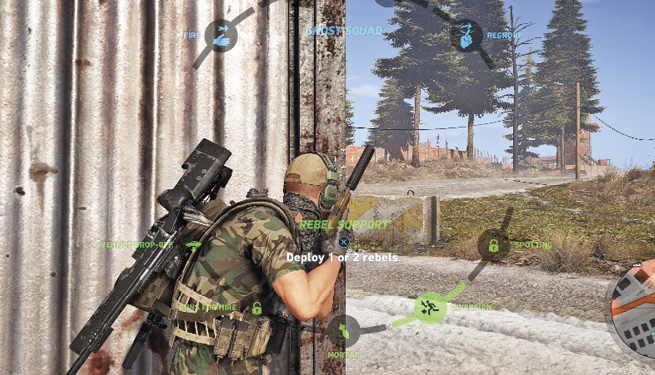
Many rebels are being held captive inside enemy strongholds. Approach the cage and interact with the lock to free them. With nearby Santa Blanca or Unidad, they assist in the fight. These diversions assist the Ghosts in their missions.
Santa Blanca Cartel
Enemy Faction
The cartel rules part of Bolivia as a narco-state, producing huge amounts of cocaine. Checkpoints and outposts have been setup throughout the 21 provinces to make sure the business runs smoothly.
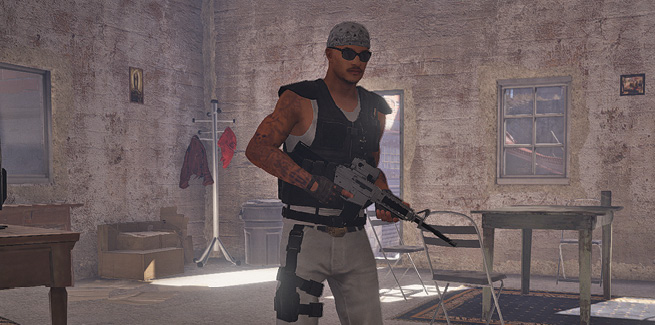
Red blotches and dots on the mini-map signify Santa Blanca presence. The soldiers vary depending on their cartel rank and province difficulty. Use the Drone to recon these areas and determine the best way to defeat them.
Santa Blanca are everywhere in the world—patrolling the roads, terrorizing villagers, and even in the most remote parts of Bolivia. Keep in mind that you are never safe behind enemy lines.
The main objective is to dismantle the cartel by defeating its bosses. Progressing through the story missions leads you to the buchon in each province. Killing off these chiefs gives you access to their bosses and eventually the boss of bosses, El Sueño.
Check out the Factions chapter for more information on Santa Blanca soldiers.
Unidad Forces
Enemy Faction
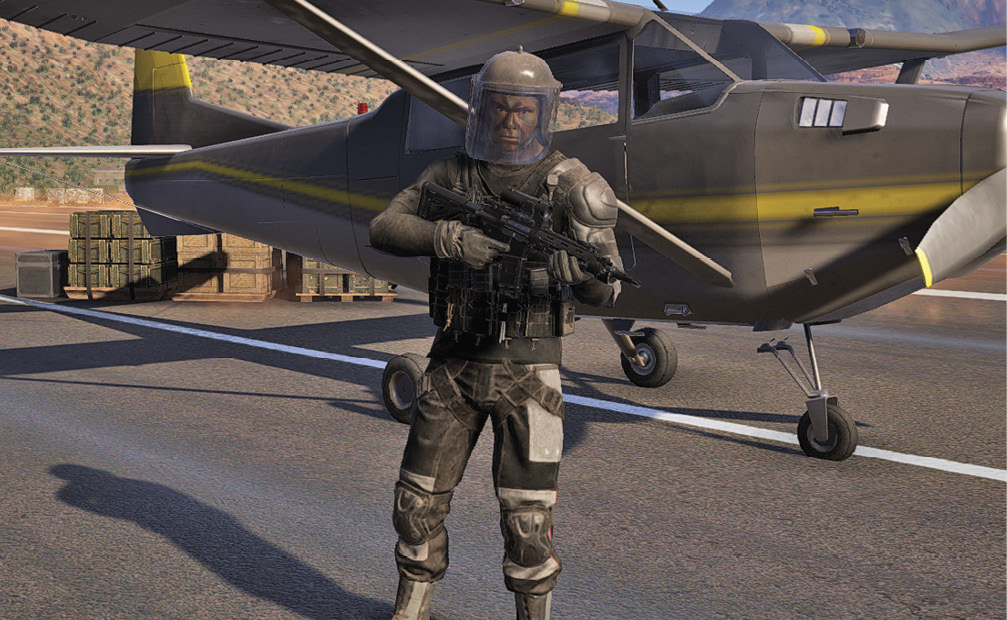
As part of the army, Unidad maintains order throughout Bolivia. They have an agreement with the Santa Blanca cartel: as long as there is no fighting, Unidad will look the other way when it comes to drug dealings. Unidad soldiers tend to be better equipped than the cartel, so avoid detection whenever possible.
Unidad forces often patrol Bolivia by foot, vehicles, and even choppers. They often create makeshift checkpoints on the road, to control the population. Be careful for ambushes or you may end up being chased.
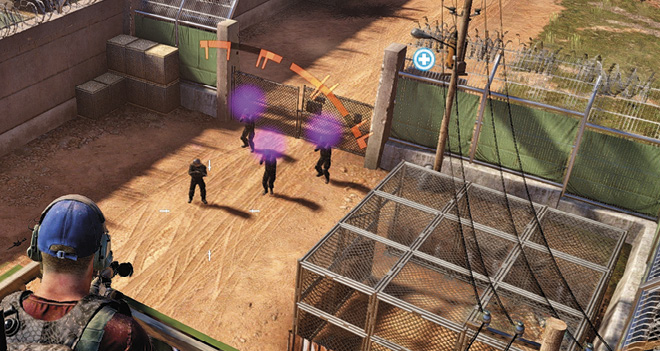
A Unidad Patrol Level is increased to one as soon as Unidad detects the player, which is indicated by four inverted chevrons in the upper-right corner of the HUD. This continues to rise as the player fights the faction. The higher the level, the deadlier its forces are. Killing civilians near Unidad soldiers also increases this level. Flee into hiding until the patrol level is removed. Use stealth against the troops to avoid it altogether.
Check out the Factions chapter for more information on Unidad soldiers.
Fighting Between Factions
Take advantage of the fighting that tends to happen when rebels clash with the cartel or Unidad. These skirmishes distract the enemy, allowing the Ghosts to continue infiltration, escape the area. free imprisoned rebels, or call in support to cause diversions.
With both Unidad and Santa Blanca present, it is possible for them to fight amongst themselves, so take advantage of this rare occasion. Unidad and the cartel are in business, but it is a really tense business relationship. If you see them close to one another and kill of them without being detected, they will think the shot came from the opposing faction and start fighting.
The Enemy Base
Many missions take the player into enemy bases with varying degrees of difficulty. Expect to find the following defenses at both Santa Blanca outposts and Unidad bases.
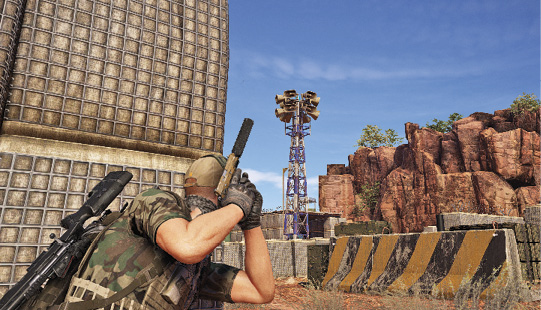
• Alarm: With an alarm present at a camp, an alerted soldier has the ability to call in air reinforcements by using the device. Shooting the power box, located near the top of the tower, or deactivating a nearby power generator, keeps enemies from sounding the alarm. Recognize the alarm towers during the initial recon and disable them with silent sniper rifle shots. These are a priority to avoid fighting a second wave of hostiles arriving by air , though disabling the alarm does nothing to prevent ground reinforcements from joining the fray.
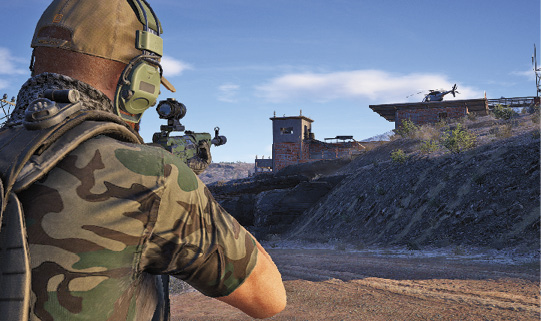
• Watchtowers and Snipers: Snipers stand guard around the perimeter, usually atop watchtowers. From this vantage point, they have a large detection radius, so it is worthwhile to deal with these guys first. Snipers may also be found on terraces and rooftops. A flash of light signifies when a sniper is about to fire.
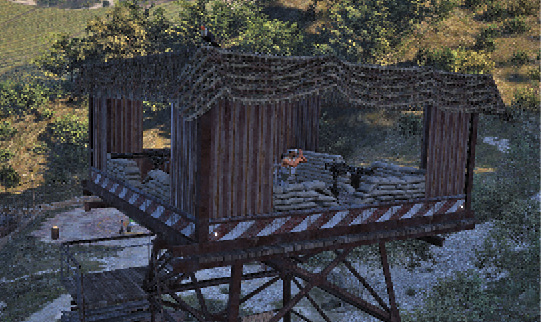
• Miniguns: Miniguns are typically found in bunkers, either raised or on the ground. Soldiers who man these should be high priority, since their gunfire can tear through a target’s health. Technicals, trucks with a mounted turret, present a new challenge with their mobility. Swipe one of these for a full-on assault.
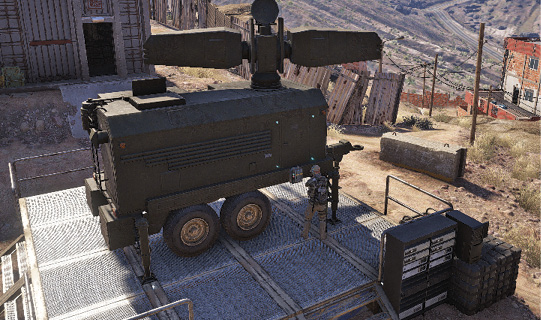
• Drone Jammer: By jamming the frequencies used by the player’s Drone, the recon device becomes useless. A message appears on screen along with static to signify that there is a jammer nearby. Drone jammers are typically deep inside the enemy base, but if found, a switch on the side of the machine deactivates the jamming. Turning a power generator off deactivates nearby Drone jammers. Of course, you can always just blow them up with explosives to eliminate their nuisance as well!
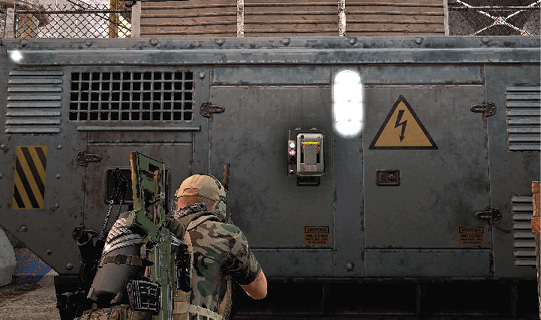
• Power Generator: Power generators provide power for the enemy base. Deactivate it to turn the lights out and disable nearby alarms, Drone jammers, and SAM Launchers. This also opens armored gates. This is a great tactic for nighttime infiltrations. The generator can also be taken out with explosives or gunfire.
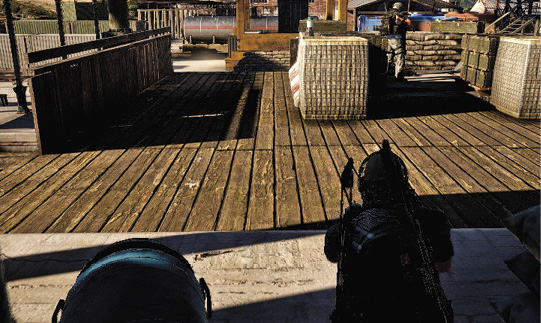
• Mortar: A mortar fires an explosive projectile at a target within a short range. A red reticle on the ground or floor indicates an incoming mortar bomb. Quickly flee to a safe distance before taking damage. Kill the soldier that mans the mortar to take it out of action. As with most things, explosives are a great solution for taking these out as well.
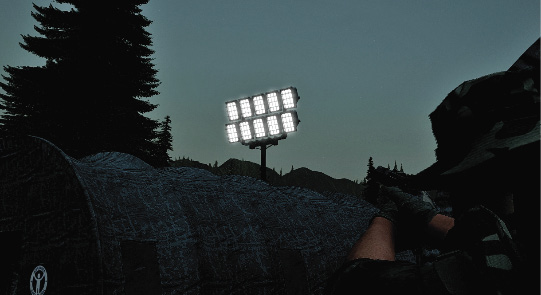
• Light Panel: Light panels shine bright lights on a small area of the base. Deactivating a nearby generator shuts them down, though they can also be shot out. There are numerous sections to the panel and it takes one shot per section to disable the lights. Activate Night Vision to take advantage of the darkness. Note that any light can be shot out to darken the area.
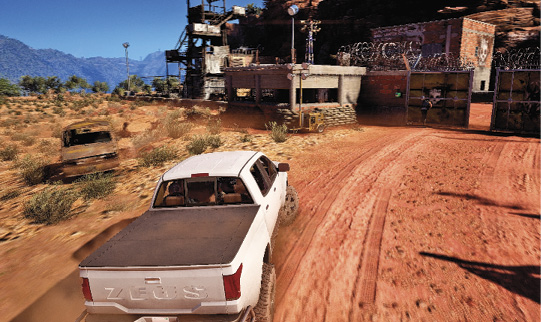
• Automatic Door: Many bases are fully enclosed in defensive walls, making it difficult for enemies to infiltrate. Electric gates are installed at road entry points, which only open for official vehicles. Find Unidad vehicles for their bases and Santa Blanca for cartel outposts. Look for the faction name when entering the vehicle.
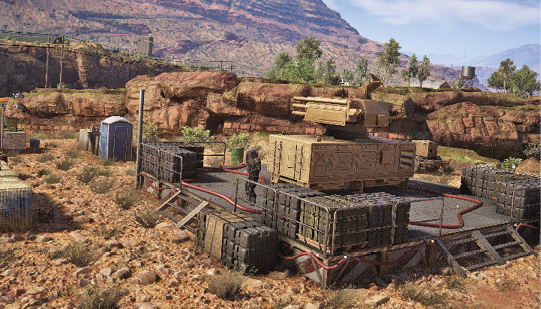
• SAM Launcher: Often found in hostile territories near enemy camps, these surface-to-air missiles lock on unfriendly aircraft in the area. Prepare for future flights by destroying the launchers with C4 or a couple of Frag Grenades. Beware that it will get repaired after a short time. In flight, listen for incoming missiles and prepare to avoid the projectile by tilting to the side and turning sharply. Their radars can be avoided by flying low.