
Tom Clancy's Ghost Recon: Wildlands Guide Welcome to Bolivia Libertad: Marcus Jensen
The Refinery Chief

Objectives
- Locate the refinery chief
- Talk to the refinery chief
- Locate the first oil derrick
- Destroy the first oil derrick (6)
- Locate the second oil derrick
- Destroy the second oil derrick (6)
- Talk to the refinery chief
LOCATIONS
- Viloma Refinery
- Viloma Dos Oil Field
- Viloma Cuatr Gas Field
- Viloma Refinery (Again)
REWARDS
- + 500 XP
Brief
Intel suggests that Libertad’s gas and oil-extraction company, Via-B Gas, is sourcing precursor chemicals and importing them on behalf of the cartel. It’s vital that we locate the chief of the refinery and convince him to stop working with Santa Blanca.
Fail to the Chief
There’s a refinery chief at the Viloma facility, about 1.5 kilometers northeast of Libertad Bravo. The only hostility inside the base is a stern talk you’ll give to the refinery chief, who’s uninterested in stopping the supply to the cartel.
Journey to the Viloma refinery and search the area for the chief. This part is extremely straightforward. Check the gantry steps on the right (east) side of the main structure, or send up a drone to find them. Then speak to the chief. No guns are needed. This guy’s more stubborn than General MacArthur; he isn’t about to listen to your demands. Time to destroy a few oil derricks.

A Refined Plan
This sets you up for a series of sabotage infiltrations to destroy the refinery oil derricks in the oil field about a click west of the refinery. When enough of them have been mangled, the mission continues to a second field location.
Viloma Dos Oil Field: Recon
East: Road Junction
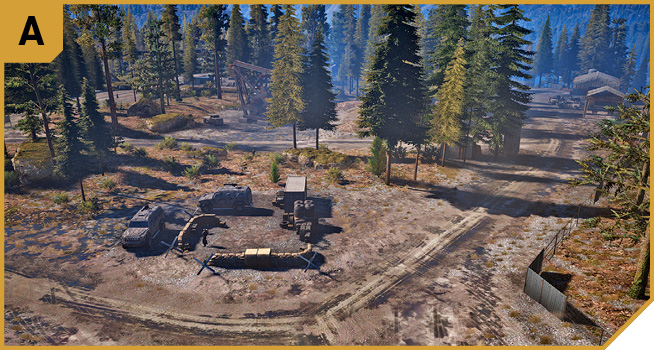
This offers a route from the massive main drill (to the east), or the road to the south. Watch for a single Unidad foe here; he can easily raise the alarm and start a firefight before you have a chance to survey the area. Shoot him from range or run him over.
Southeast: Main Road
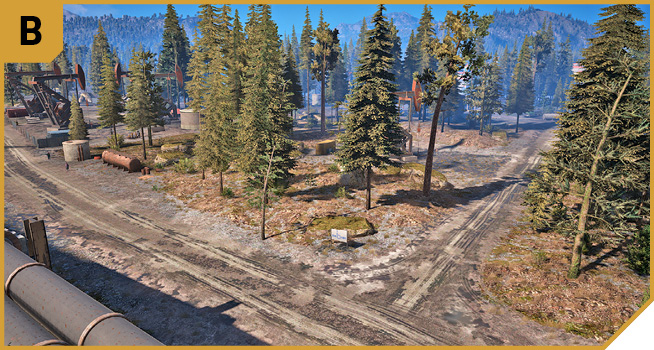
Aside from an occasional pair of Unidad patrolling soldiers, this area of the road is quiet and allows you to launch a drone and survey the scenery. You can also creep up on the derricks at G and I.
Viloma Dos Oil Field: Recon
TACMAP
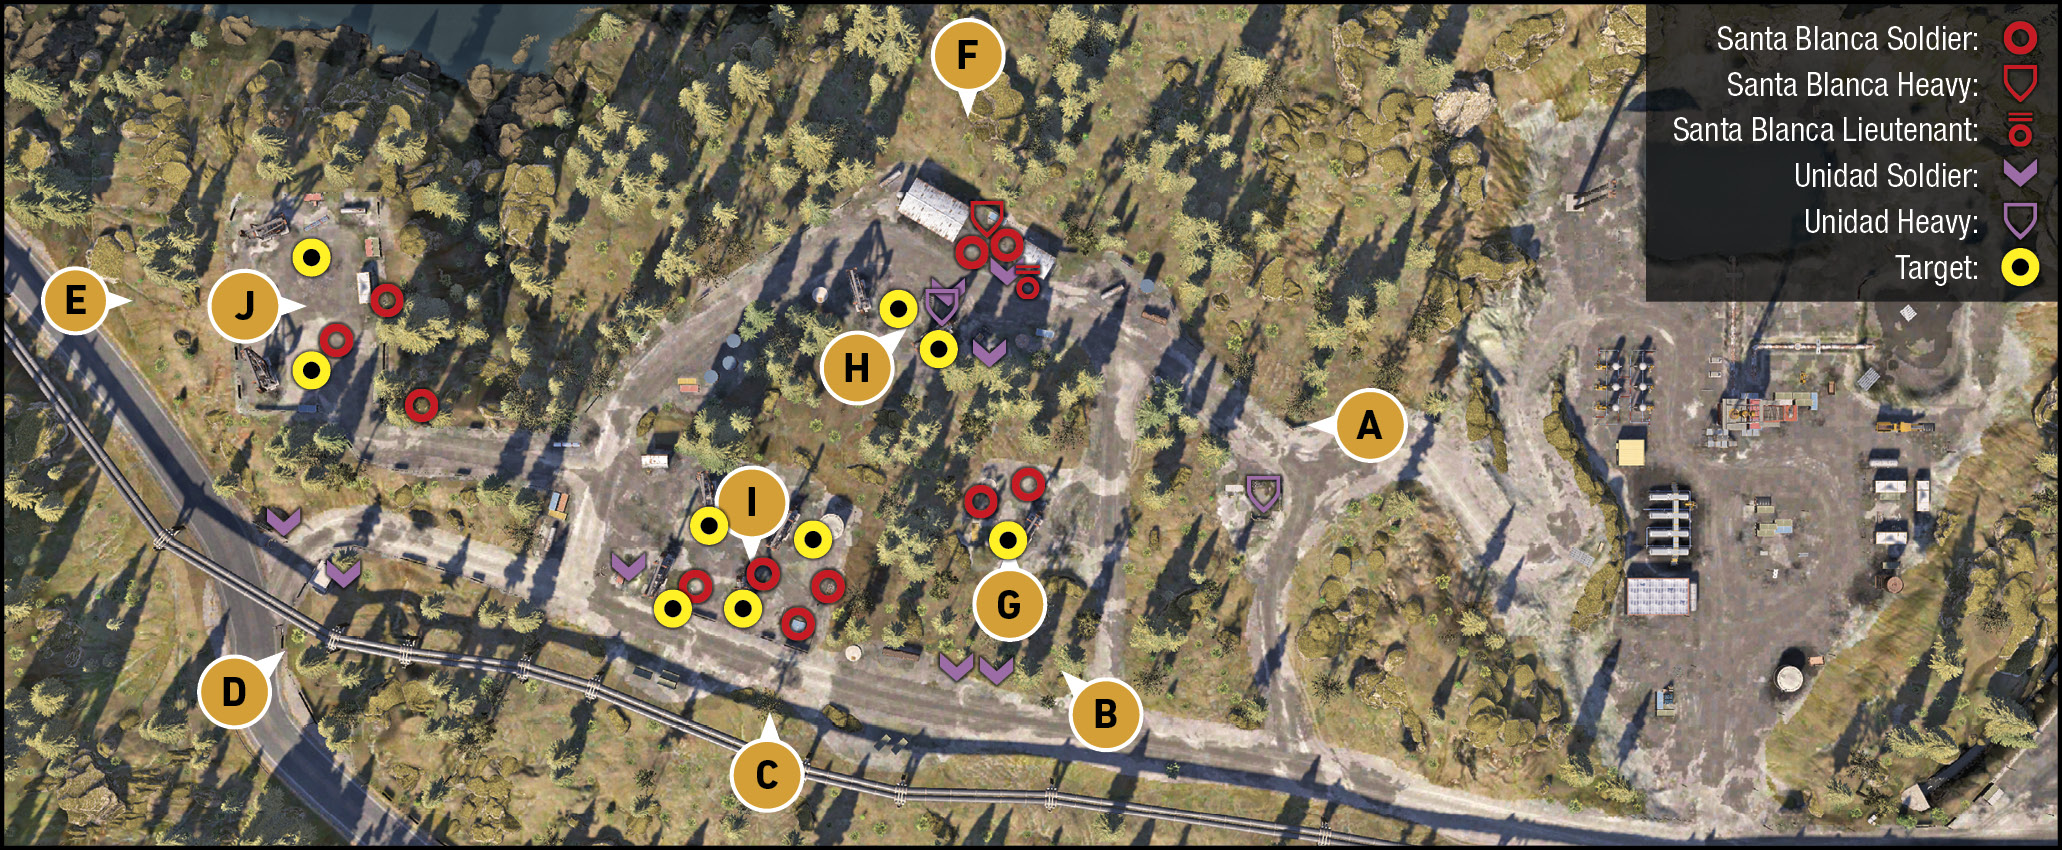
This is a relatively flat expanse of sparse woodland with a main road to the south and a river to the north. The derricks are easily spotted, but it’s the smaller-than-usual generators by each derrick that need to be destroyed. Note that only six of the nine available derricks must be destroyed, meaning you don’t need to visit all four clusters of derricks (G, H, I and J).
H4 South: Pipeline and Container Stack
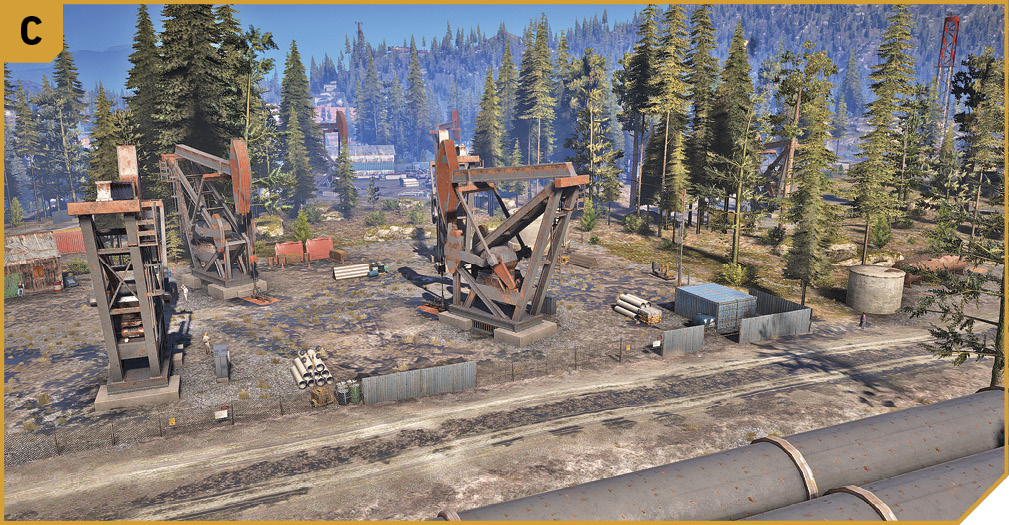
Find the container stack here and approach (ideally from the south, under the pipeline). This offers great views of all four derrick clusters. Furthermore, you can snipe six of the generators from atop the metal containers, completing the mission without moving off the main road! Just make sure you have backup from your team as the enemies realize what’s going on and retaliate.
Southwest: Checkpoint
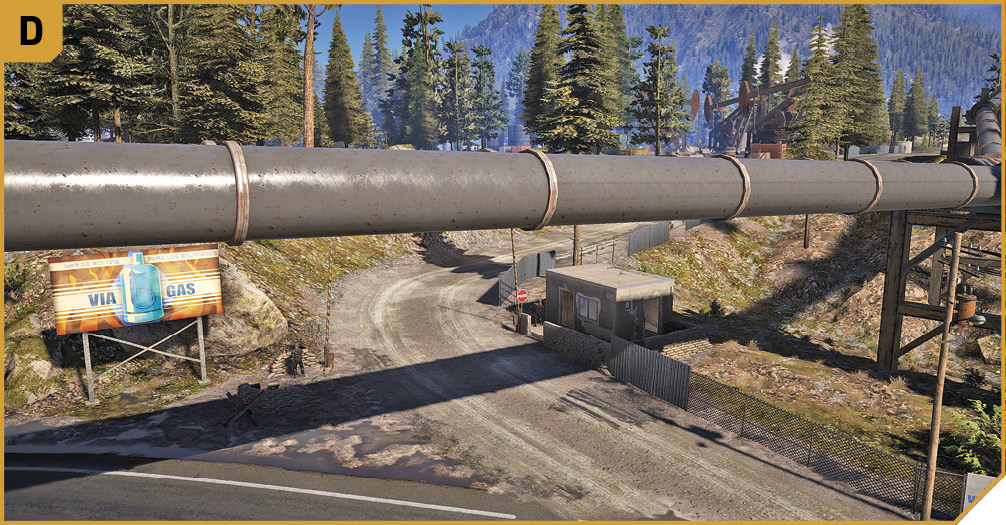
A small Unidad checkpoint can raise the alarm early if they see you, so tackle them with stealth, or avoid this route entirely. This road allows access east toward the main clusters of derricks (G, H, and I).
West: Perimeter Fence
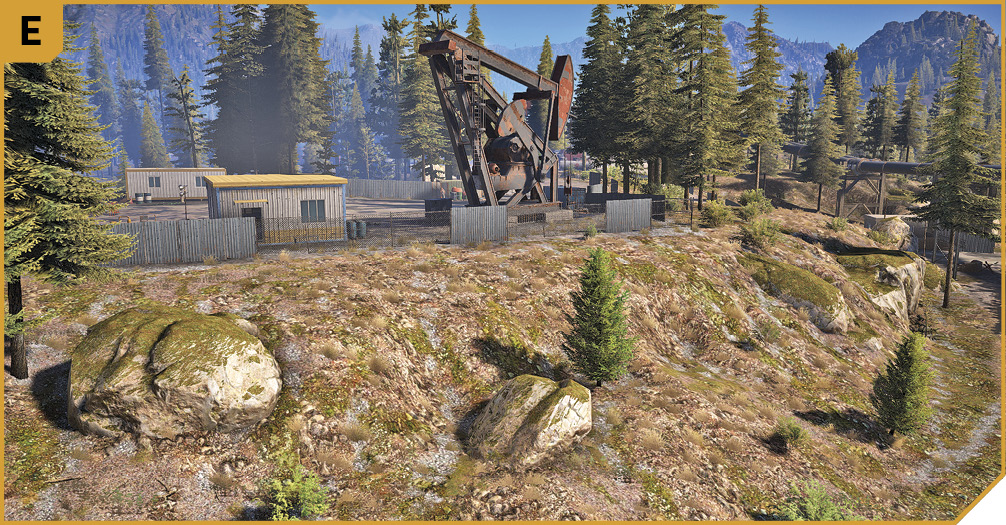
This is the western edge of the area and features a fence you can climb or drive through to reach one of the derrick clusters (J). The objects and scenery allow for reasonable cover, and the enemies are little match for your competence, though you don’t technically need to head here if you destroyed six derricks at G, H, and I.
North: River Perimeter and Warehouse
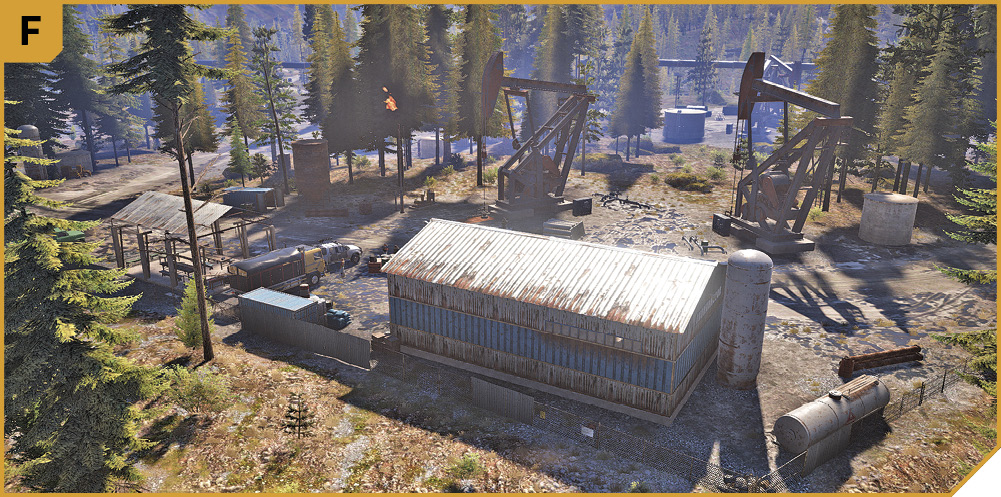
The largest concentration of enemies (a meeting is going on between Unidad and the cartel) and two derricks mean this is the riskiest area to infiltrate. However, there is ample access, as the perimeter fence can be climbed, and you can create a distraction by shooting the propane tank west of the main warehouse. Or remain on the west side of the warehouse and quickly shoot the generators (sniper fire is recommended); you can spot around three of them. Or stand atop the large metal container where the enemies are, since there are six generators you can find and shoot from here (once the foes are removed).
|
 Target: Southeast Derrick (1)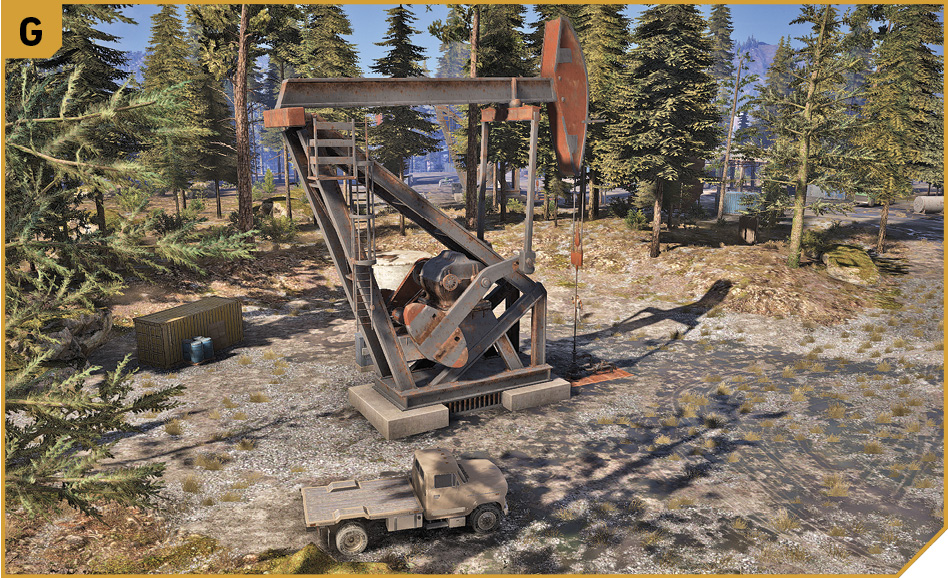
|
 Target: North Derricks (2)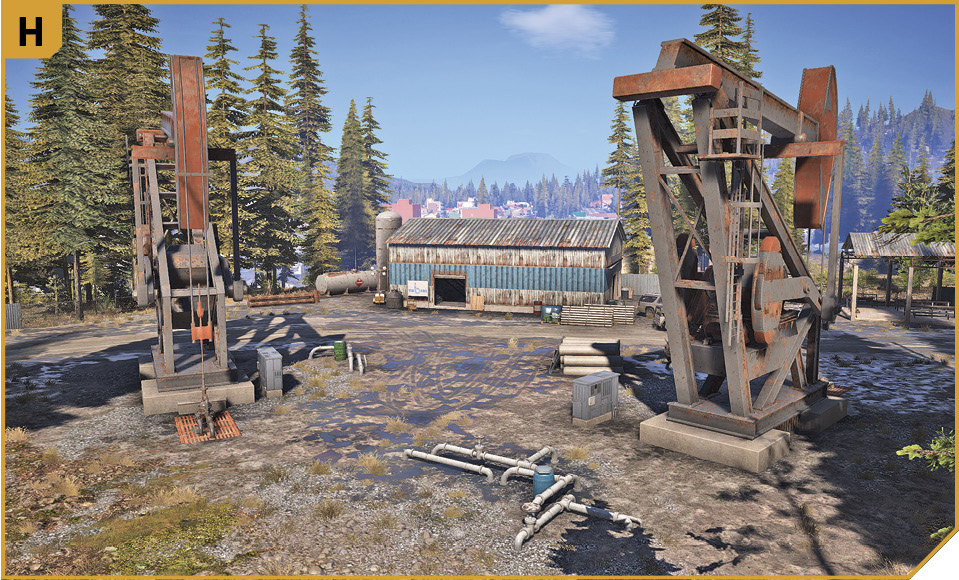
|
 Target: South Derricks (4)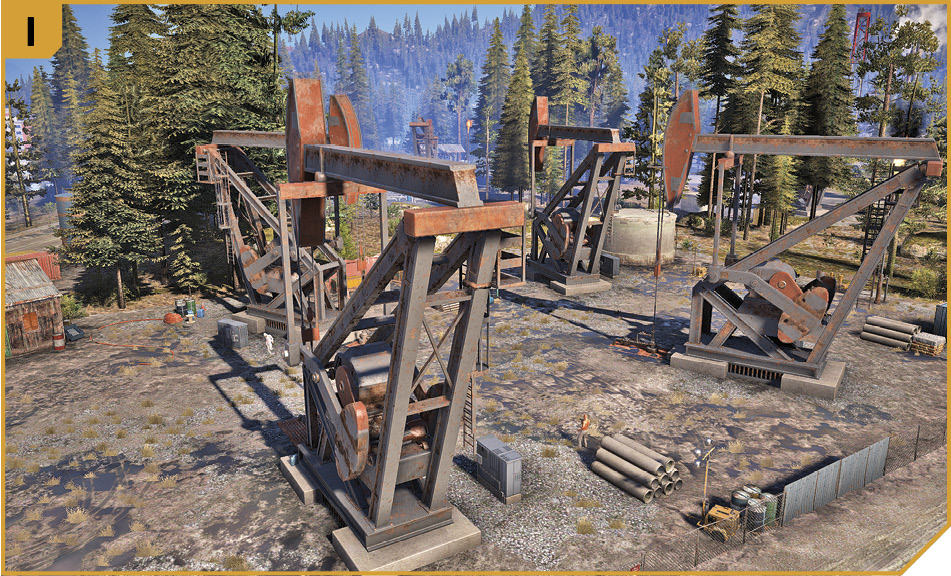
|
 Target: West Derricks (2)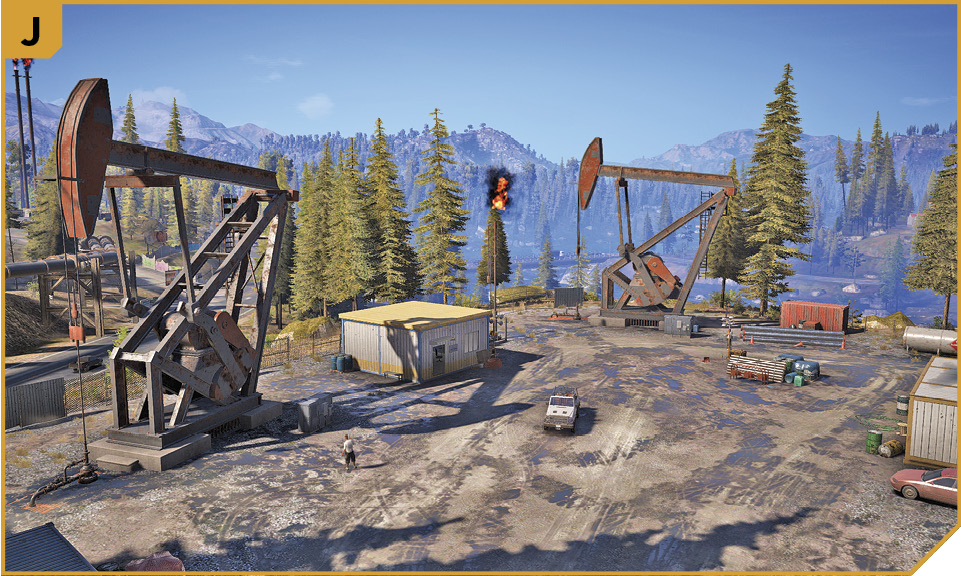
Viloma Dos Oil Field: Other Tactical Advice
 The generators can be destroyed in a variety of ways, since they aren’t as tough as the larger generator installations you’ve deactivated in past missions. Destroy them in any of the following ways:
A single bullet from any weapon (you don’t need to expend more than one), from any distance. This can even be done through some types of fencing (like the metal sheeting fence) and scenery (the branches of trees).
A sniper round, if you want to remove generators from a hiding spot.
Any explosive—grenade, C4, or mines you shoot afterward.
Any vehicle. Simply ram into the generator or scrape the side of it. Even bikes can achieve this, but they must be driven at speed.
A barrel or propane tank that explodes close enough to the generator. This also helps rid the immediate area of innocent oil workers.
An explosive drone maneuvered into the generator.
As the generators are extremely vulnerable to attack, you can mix up your tactics and use one or a combination of these destructive takedowns to destroy all six.
Perhaps the best plan is to approach from C, using a silenced sniper rifle, and destroy the two generators at either H or J. The generators at J make great targets, as they’re well away from the containers you’re standing on, and you can then destroy the four generators in the adjacent cluster (I).
Or create a commotion by, for example, tagging the propane tank near F while standing at C, which causes foes to move away from the derricks at I so you can destroy them without too much backlash.
Or drive an armored truck in from A, run into both derrick generators at H, then continue to destroy the ones at I before fleeing.
 The Solo tactics are recommended; the only additional method is to simultaneously attack different generators. Have two Ghosts destroy generators at J while two others remove them at I, before both duos flee.
If you’re piloting a helicopter, a passenger can fire out the window and strafe the generators with precise (or imprecise) fire. That does the job.
Viloma Cuatro Gas Field: Recon
TACMAP
This is a smaller, tighter area with fewer foes, but with the prospect of many more reinforcements if the alarm panel isn’t shot out as you approach. The deactivation of the area’s drone jammer (northeast) is optional. The derricks themselves are in two lines and easily spotted.
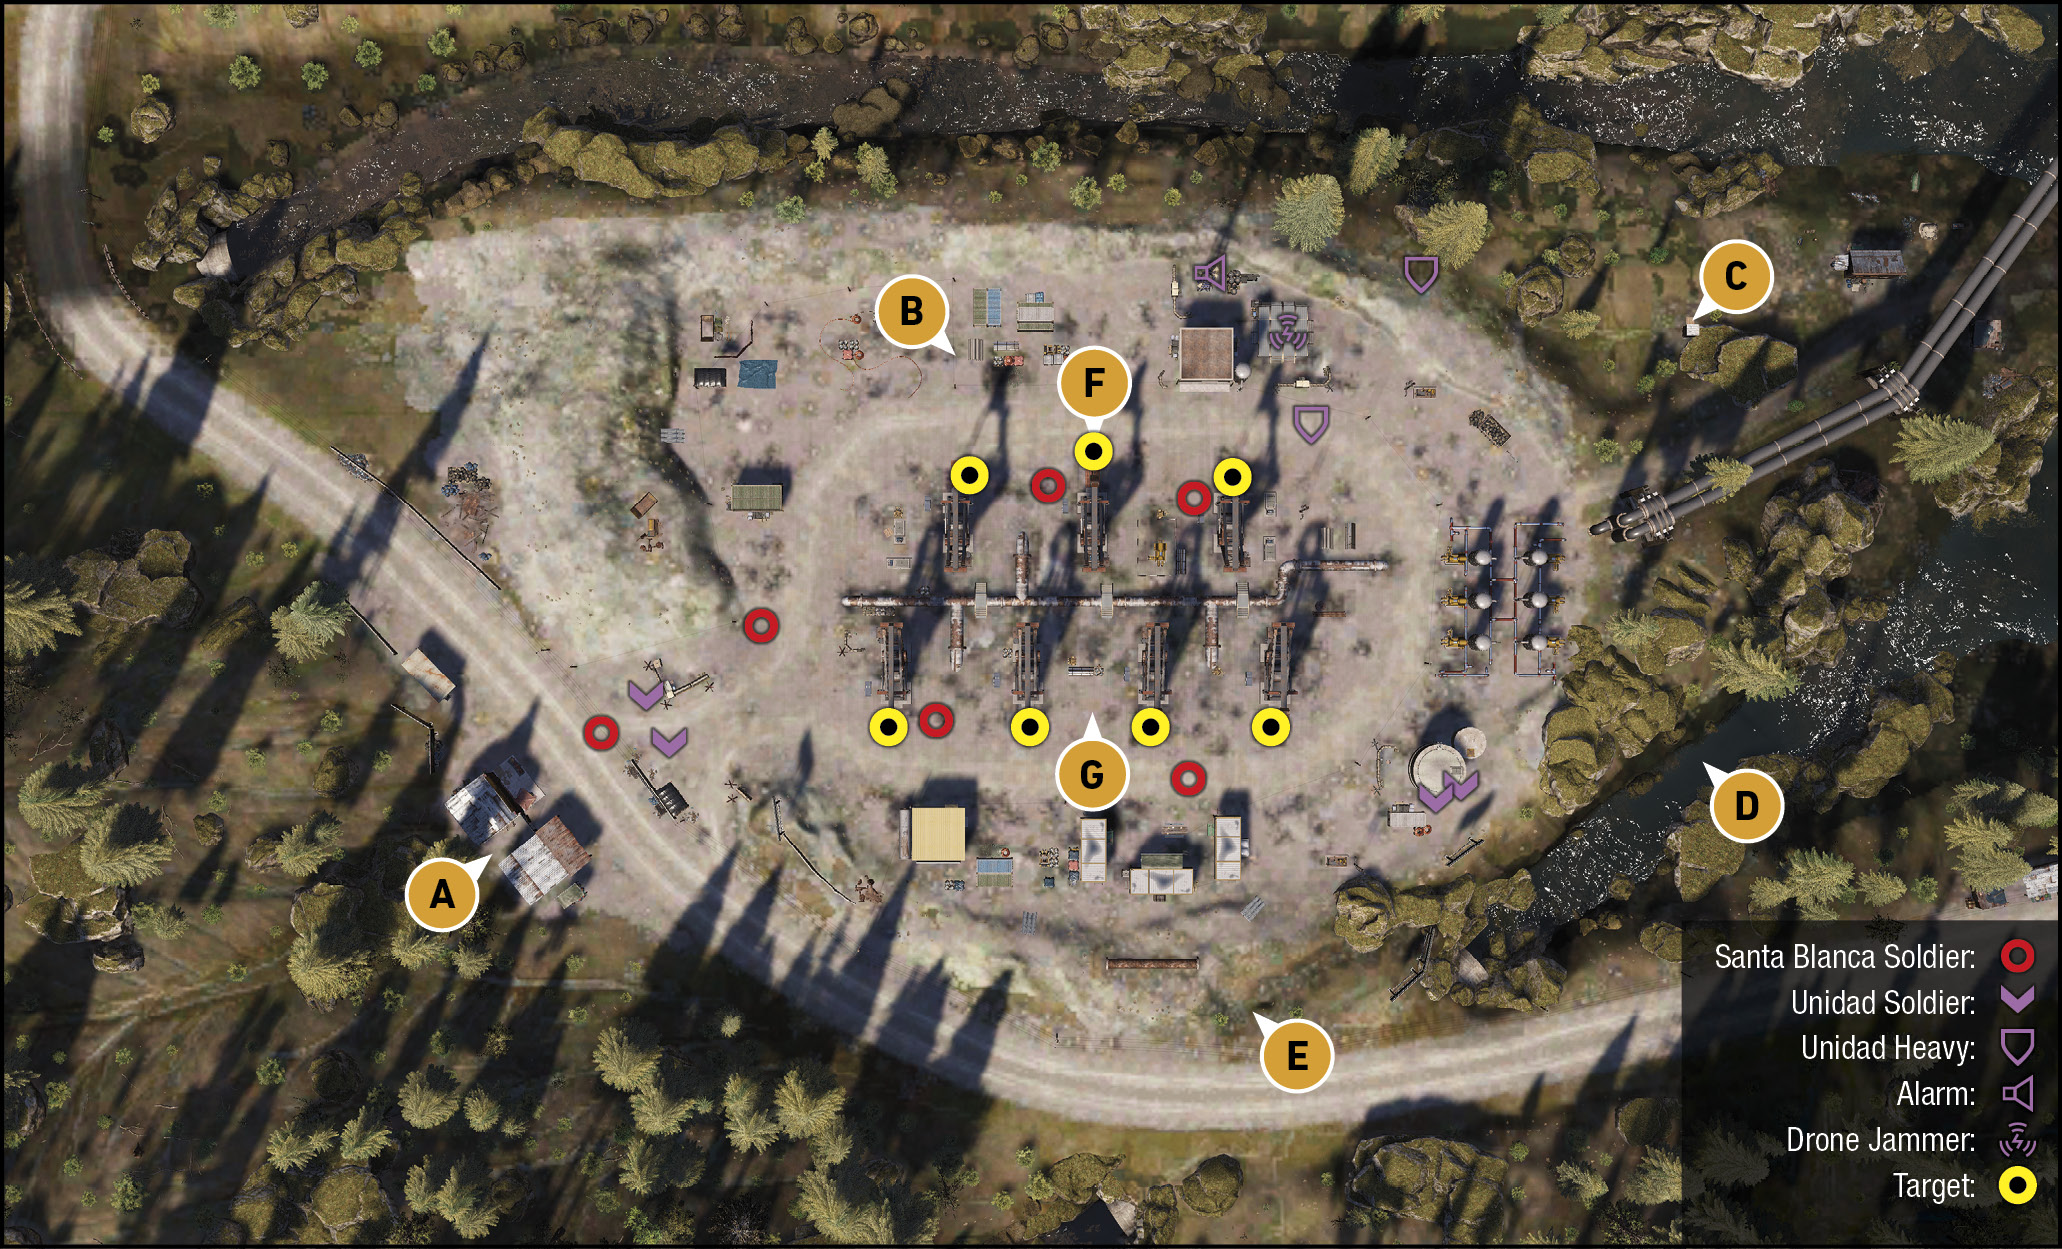
Southwest: Main Entrance
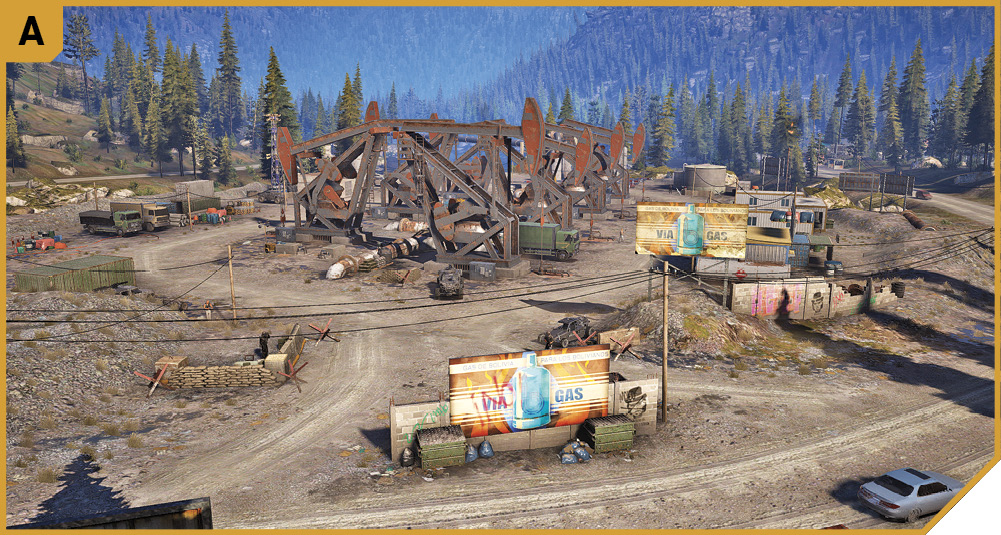
This offers quick access if you don’t care about being seen, or you can hide by the stores on the southwest side of the road. Watch for a foe behind the small billboard ad at the entrance. The small gravel mounds on either side are better infiltration points, and you can shoot a propane tank just east of here to cause a distraction.
Northwest: Gravel Mounds and Construction Parking
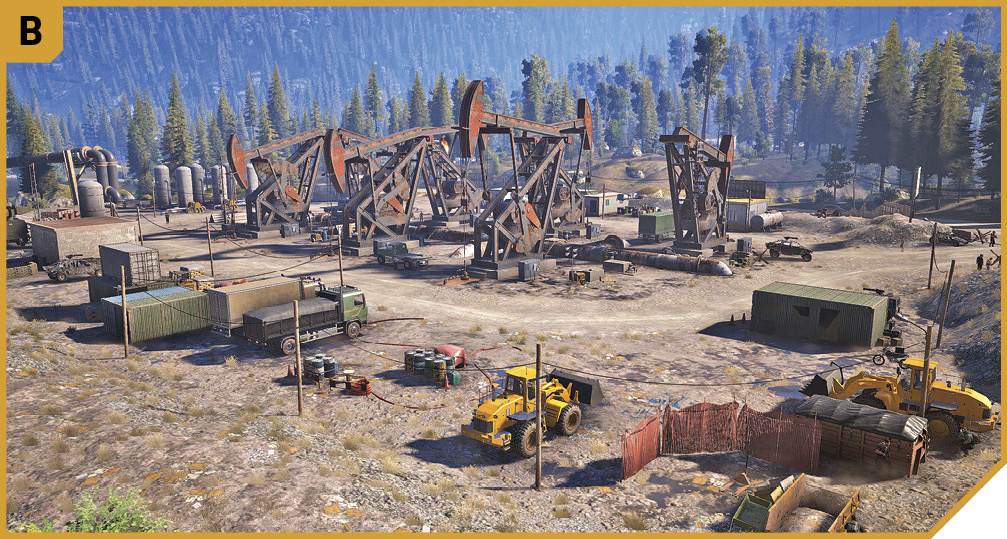
To the west are a few gravel mounds. To the north is a watery ditch, and without a fence, it’s simple to infiltrate from here without being seen. The gravel mounds make generator-sniping a breeze. If you want to create havoc, steal one of the parked vehicles (the digger is a good sturdy option) and ram it into the generators. Just make sure the first thing you snipe is the alarm panel!
Northeast: Alarm and Drone Jammer
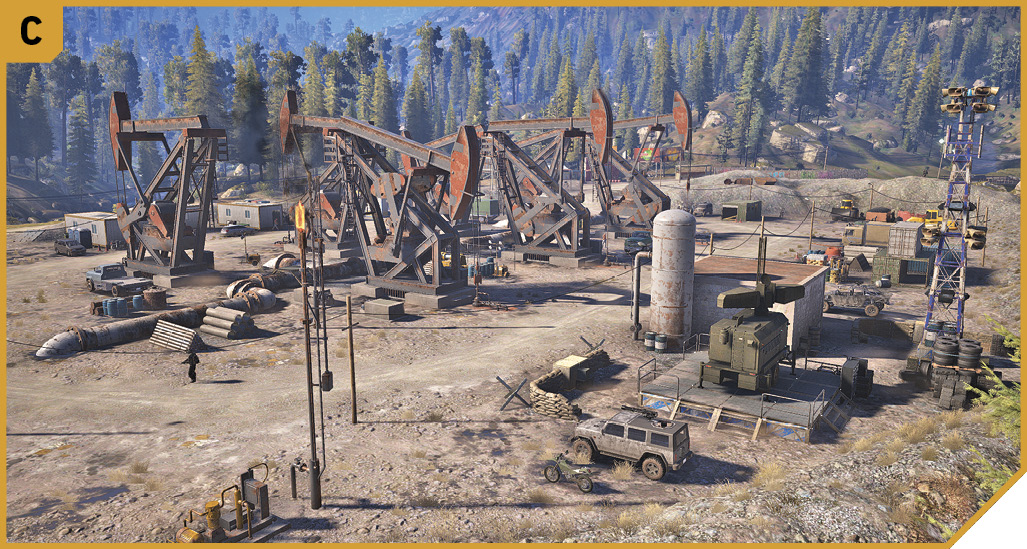
You can sneak in after mooring a boat on the river from this point, which offers some slight cover as you head either west toward the drone jammer and alarm, or southwest to a cluster of vertical gas containers. There’s usually a Unidad presence here, but they’re easily neutralized (even using choking takedowns). Then use a cartel vehicle or the cover the drone jammer gives you to shoot out the generators and any foes getting in the way. You did destroy the alarm panel first, though, right?
Southeast: River Inlet
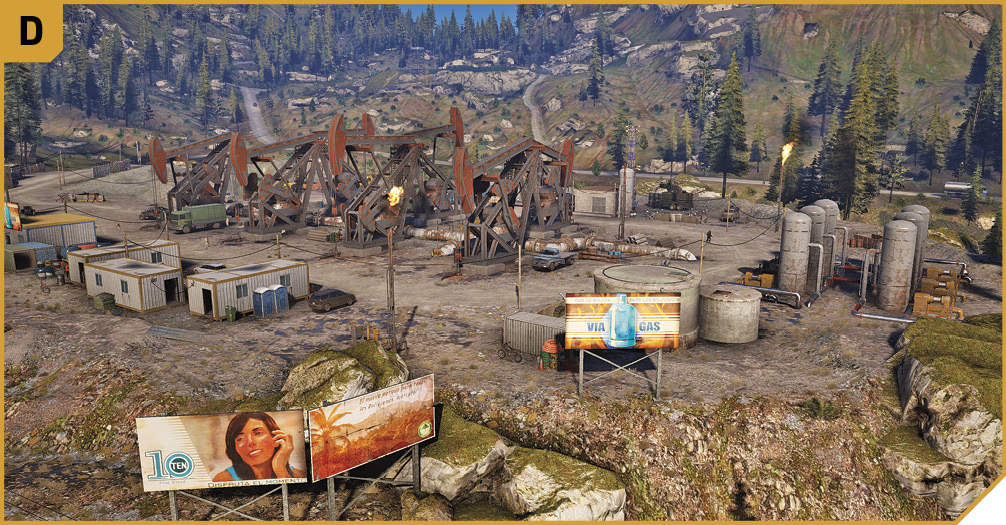
Beware the two Unidad foes here, and use the metal container and cylindrical structure and containers in this area as cover. Because the generators are on the west side of each derrick, they’re more difficult to shoot from this angle, so entering from here isn’t recommended.
South: Cabins
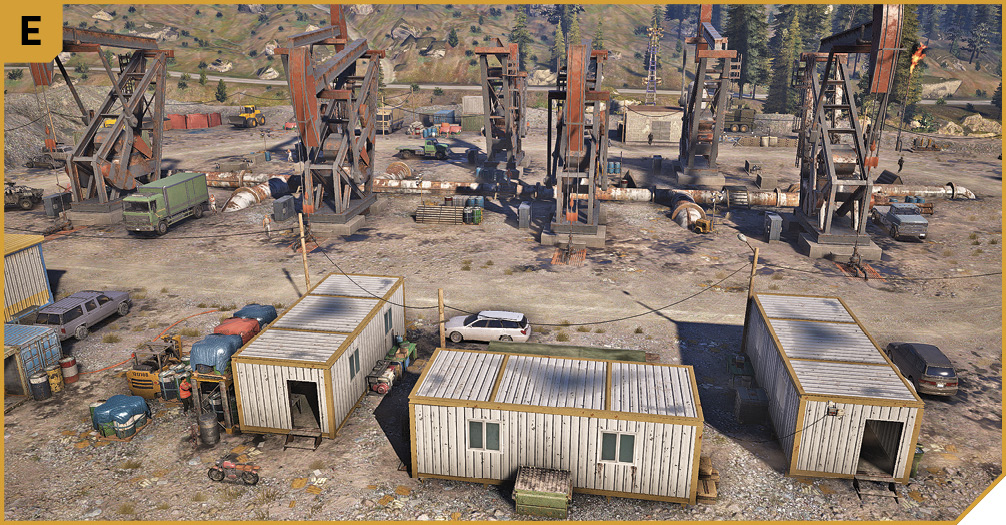
Enter from the road to the south, and you can use the cabins and other scenery as cover while you tag each generator with small-arms fire. Better yet, head to the rocky outcrop south of the road, and snipe the generators from almost complete safety!
|
 Target: North Derricks (3)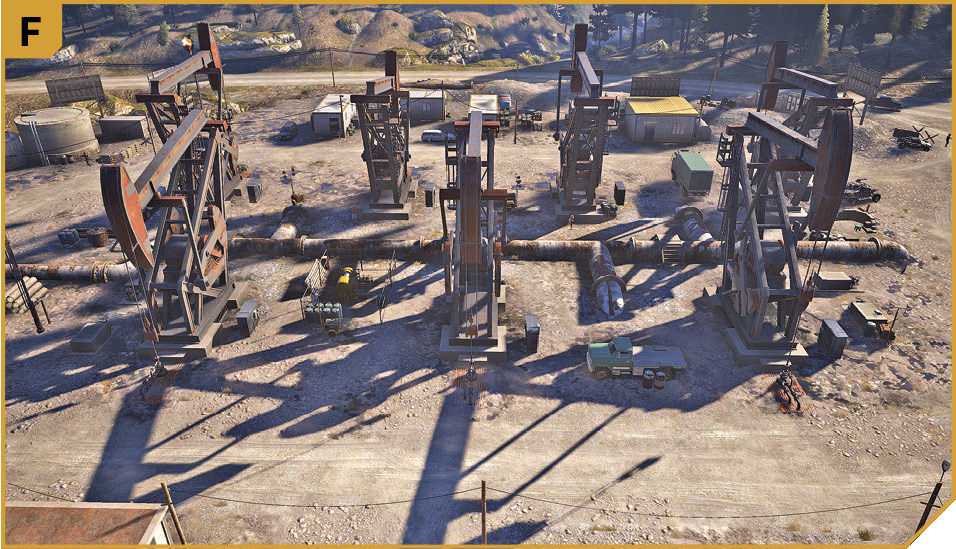
|
 Target: South Derricks (4)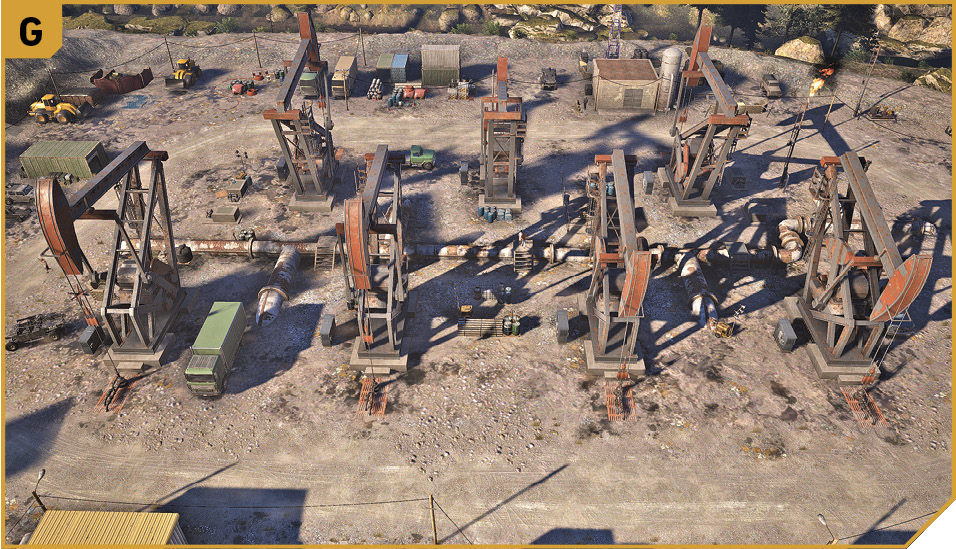
Viloma Cuatro Gas Field: Other Tactical Advice

 Aside from the necessity of deactivating the alarm panel with a ranged shot, the tactics here are delightfully straightforward and mimic the previous plans almost precisely.
Optimal plans include shooting all the generators from the gravel pile to the west (between A and B), or from the rocky woodland south of the road and E.
Flipping the Refinery Chief
With the generators sparking at both derricks, head due north 2.5 kilometers, back to the refinery where you spoke to the chief, and talk to him again. It seems your persuasive techniques—blowing up his derricks—have paid off, and he grudgingly agrees not to do business with the cartel again (though he’s pretty much in a lose-lose situation now). The mission concludes.