
Tom Clancy's Ghost Recon: Wildlands Guide Welcome to Bolivia Caimanes: El Cerebro
Boat Ride
Objectives
- Locate the armored boat
- Steal the armored boat
- Take the armored boat to the delivery point
LOCATIONS
- Outpost (North Outpost: Caimanes)
- CIA Delivery Point
REWARDS
- + 500 XP
Brief
There is an armored boat anchored at the Santa Blanca base in Caimanes, loaded with high-tech electronic systems for use in El Cerebro’s submarines. Get to the boat, steal it, and take it to a delivery point where a CIA team will pick it up.
We’re on a Boat!
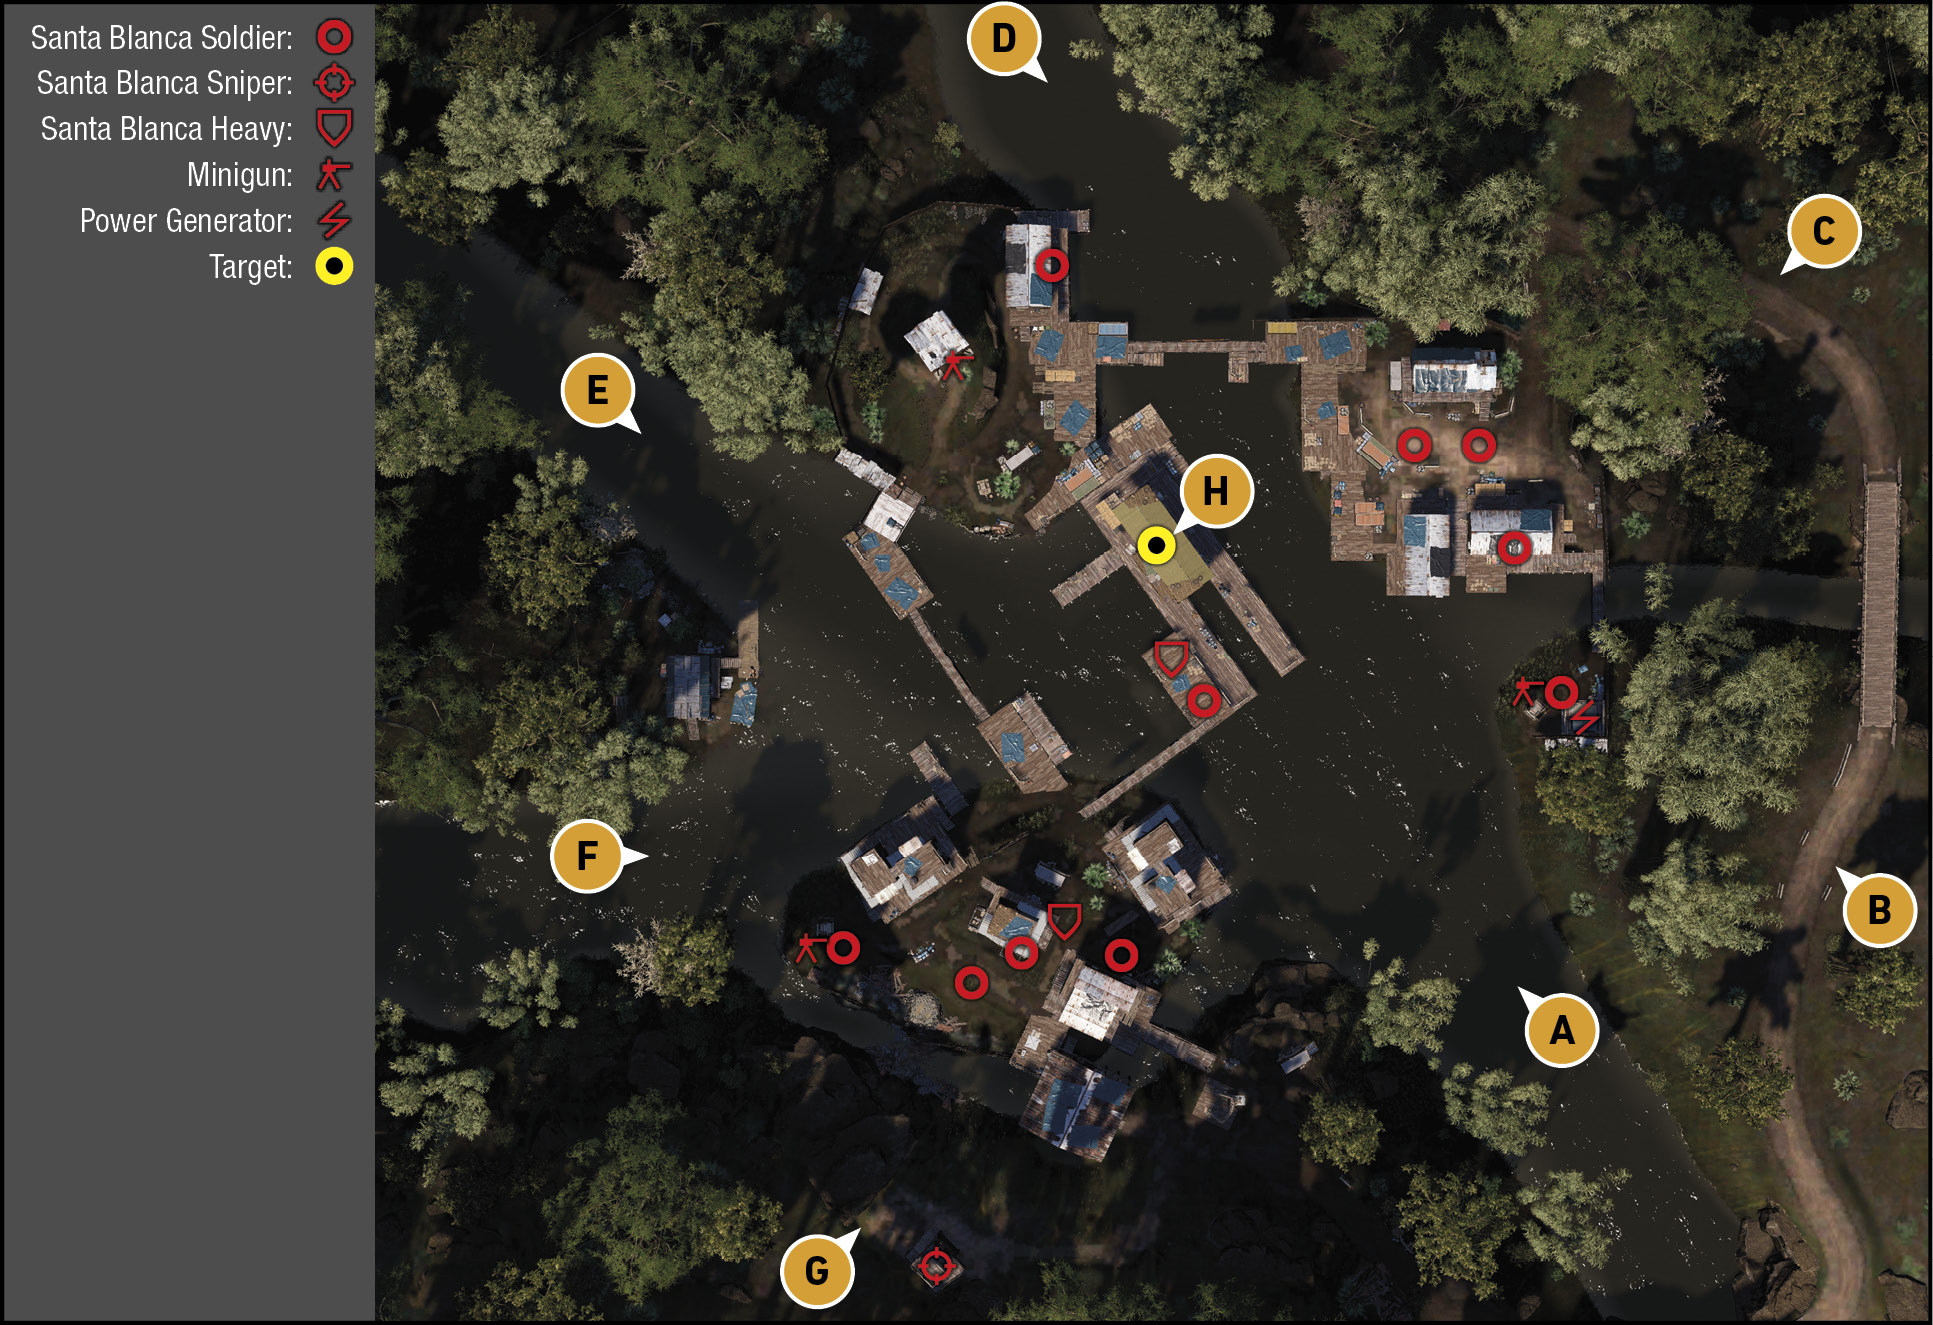
The armored boat in question is moored in a jungle outpost in the northern part of this province. A scattering of buildings on each peninsula of this river junction masks the fact that there aren’t quite as many enemies here as you might be expecting. But don’t be over-confident; the boat is in the middle of this outpost, where every foe can see you if you aren’t careful.
Outpost (North): Recon
TACMAP
Caimanes Delta Rally Point to the east offers a great stealthy approach into this combat zone. There are three areas of interest, all accessible on foot, by land, or river. To the northeast is a cluster of warehouses; note the minigun nest and power generator) on the eastern bank, the gun nest pointing south. To the north is an entrance bridge, and a minigun tower, with the main docks and gunboat itself, moored in the middle of the Outpost. To the southwest is a cluster of four low-rise shacks and a sniper tower, as well as a final minigun nest on the western tip of this building cluster.
Southeast River Inlet (Bridge)
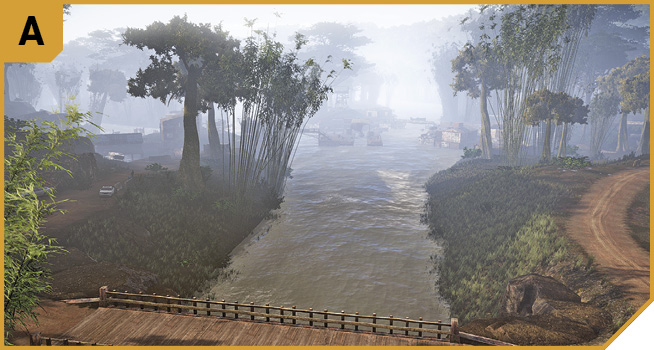
In all likelihood, this is the river route you’ll take out of here, so it’s worth inspecting, but heading through here is almost impossible, as there’s a small (but annoying) group of foes manning some light defenses to the south, at the mouth of this inlet. The access is under the bridge on the west side of these defenses, and even if you get through, there’s a gate blocking your river-based access here. Just moor up under the bridge, and fan out to tackle B or G.
East Road Bridge
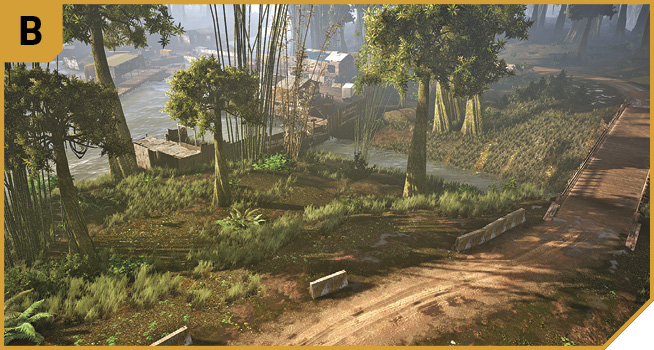
If you’re approaching from the road, or the small eastern river inlet channel, this is a good place to tackle the enemy at the minigun nest, as well as removing the power to this location at the adjacent generator. You need to crawl around to avoid being spotted by the gunner, so be aware of this, or have a teammate shoot him from another position. You can then infiltrate the warehouse area (C) via the perimeter bridge.
Over at the east road bridge, you can recon, snipe ineffectively at closer foes due to the perimeter wall, and have more luck shooting enemies across near G, at the limit of your scoped accuracy.
Northeast Warehouses And Dock
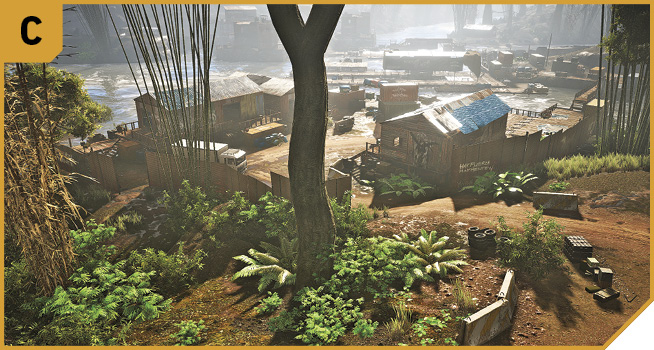
This area consists of three ramshackle warehouses (two by the river, one to the north perimeter), with relatively few foes to defeat. This is a great place to hold up and fire from, as it’s easily defendable, you can use the minigun, you control the generator, and you can start a battle with the foes diagonally across the water from you (at G). Note the gap in the tall perimeter metal fence allowing you to slip in near the cargo truck. Or just saunter in from the road to the north.
North River Entrance
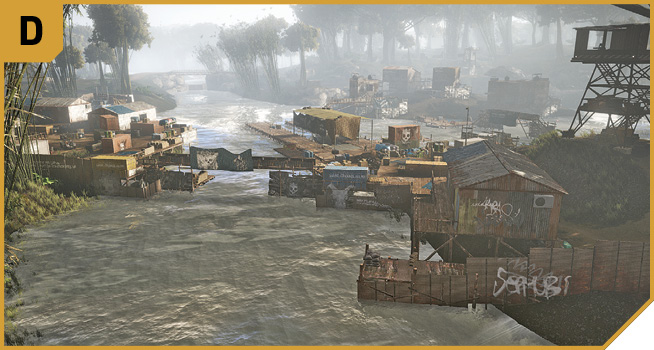
Another great spot to infiltrate in from, as there’s only a single foe in the warehouse on the west shore, and there’s a tall (and usually unmanned) minigun tower offering exceptional views of the target docks, and the enemy encampment to the south (G). Use this tower (or even the top of the hill at the base of the tower) to cover your teammates.
Northwest River Entrance
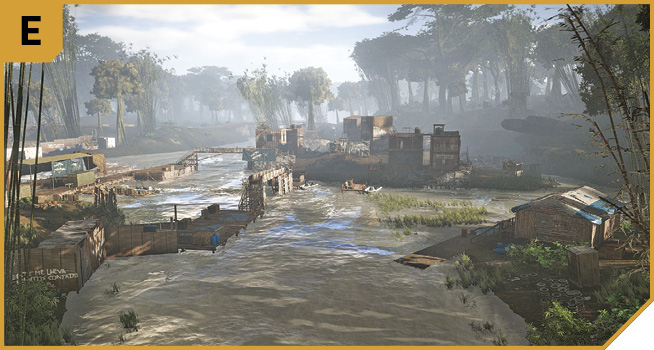
Not the most tactically advantageous way into this compound, as you’re easily spotted by the majority of the foes in the low-rise shacks to the south (G). You can quickly drive a boat southeast and east to the main docks, though you’ll be under heavy fire while doing so.
A better plan is to creep in on foot, behind the lone cottage between E and F, and use it as cover, shooting across to G and H.
West River Entrance
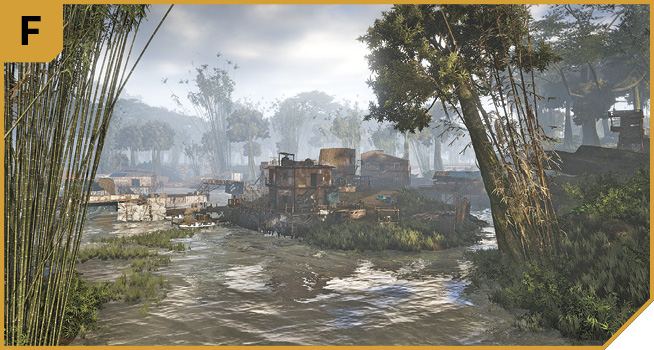
Another water route that’s compromised by the enemy’s commendable southern defenses to the east of this location; there’s a (manned) minigun nest as well as a sniper tower to contend with, so mooring your boat farther away from the action, and trekking towards G on foot, is a better plan. Use this as a possible escape route when you have the boat, though.
Low-Rise Shanty Structures
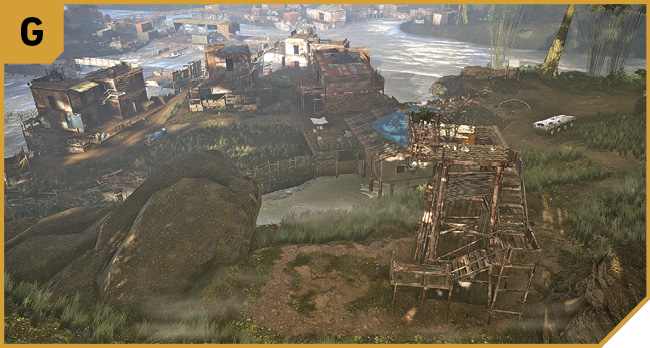
The cluster of five shack buildings, some with a couple of floors for enemies to look out from, is where the enemy defenses are the strongest. Note the minigun on the west edge of the river pointing west, and the sniper tower on the perimeter of the jungle. It’s well worth sneaking up and subduing the sniper on the tower, and using the height and protection to rain death on the foes down below while your team sweeps the area for stragglers. Then you can read the Gunboat via the bridge without getting your feet wet.
|
 Target: Armored Boat Dock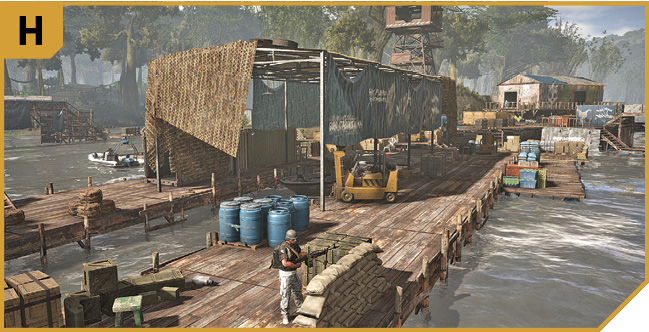
Outpost (North): Other Tactical Advice
 It’s possible to keep your teammates away from the Outpost entirely, and creep in from B, removing the minigun nest foe, and then swimming west, into the gunboat dock and up to the vessel itself. Then simply find the driver’s spot to climb aboard, and start the craft. Simple!
Or, if you’re wanting to secure the entire base, you can make a counter-clockwise sweep from B, removing the foes and shutting down the generator before defeating the foes at C, D, and H itself. This leaves the largest concentration of enemies at G. Loop around and attack them from G if they’re still unaware of your presence, or seek higher ground and engage them from cover, elsewhere in camp.
 Follow either of the two previous plans, with the option to combining the Outpost neutralization by splitting into two two-man teams. One approaches from C, and removes foes there, at B, then D, and H, and stations one Ghost at the minigun tower at D. The other approaches from G, removes the sniper, and engages foes throughout G itself.
Bowman’s Boat
Once you’ve stolen the gunboat, it’s a relatively simple matter of rendezvousing at an unmarked CIA delivery point (now tagged on your in-game Tacmap) about two clicks south of the Outpost. Simply trace a route southward along the river (there are two main paths), and don’t get bogged down fighting foes along the way. Take it slow(ish) and steady, so you don’t run aground and fail this mission. When you reach the unassuming river shack, simply dock the boat and disembark.