
Tom Clancy's Ghost Recon: Wildlands Guide Welcome to Bolivia Remanzo: El Gato
The Real El Gato (Spoiler)

Objectives
REWARDS
- + 350 XP
- +3 Skill Points
- Handgun: La Novena
- Facial Detail: Saber Scar
LOCATIONS
- Poco Irrigation Tank
Brief
We’ve got another shot at El Gato. Get to the location, kill the buchon, and check his biometrics for confirmation. The bastard’s luck can’t hold out forever.
Keeping It Real
It seems the real El Gato was under your nose all the time; he’s holed up at the Poco Irrigation Tank just south of Remanzo Alpha. In fact, his hideout is a square-shaped reservoir down the hill from you. Don’t attempt a quick removal of this foe without first ascertaining where he is. The raised hut with only a gantry linking it to the outside world means you’ll need to storm the place, or come up with a more cunning takedown plan.
Poco Irrigation Tank: Recon
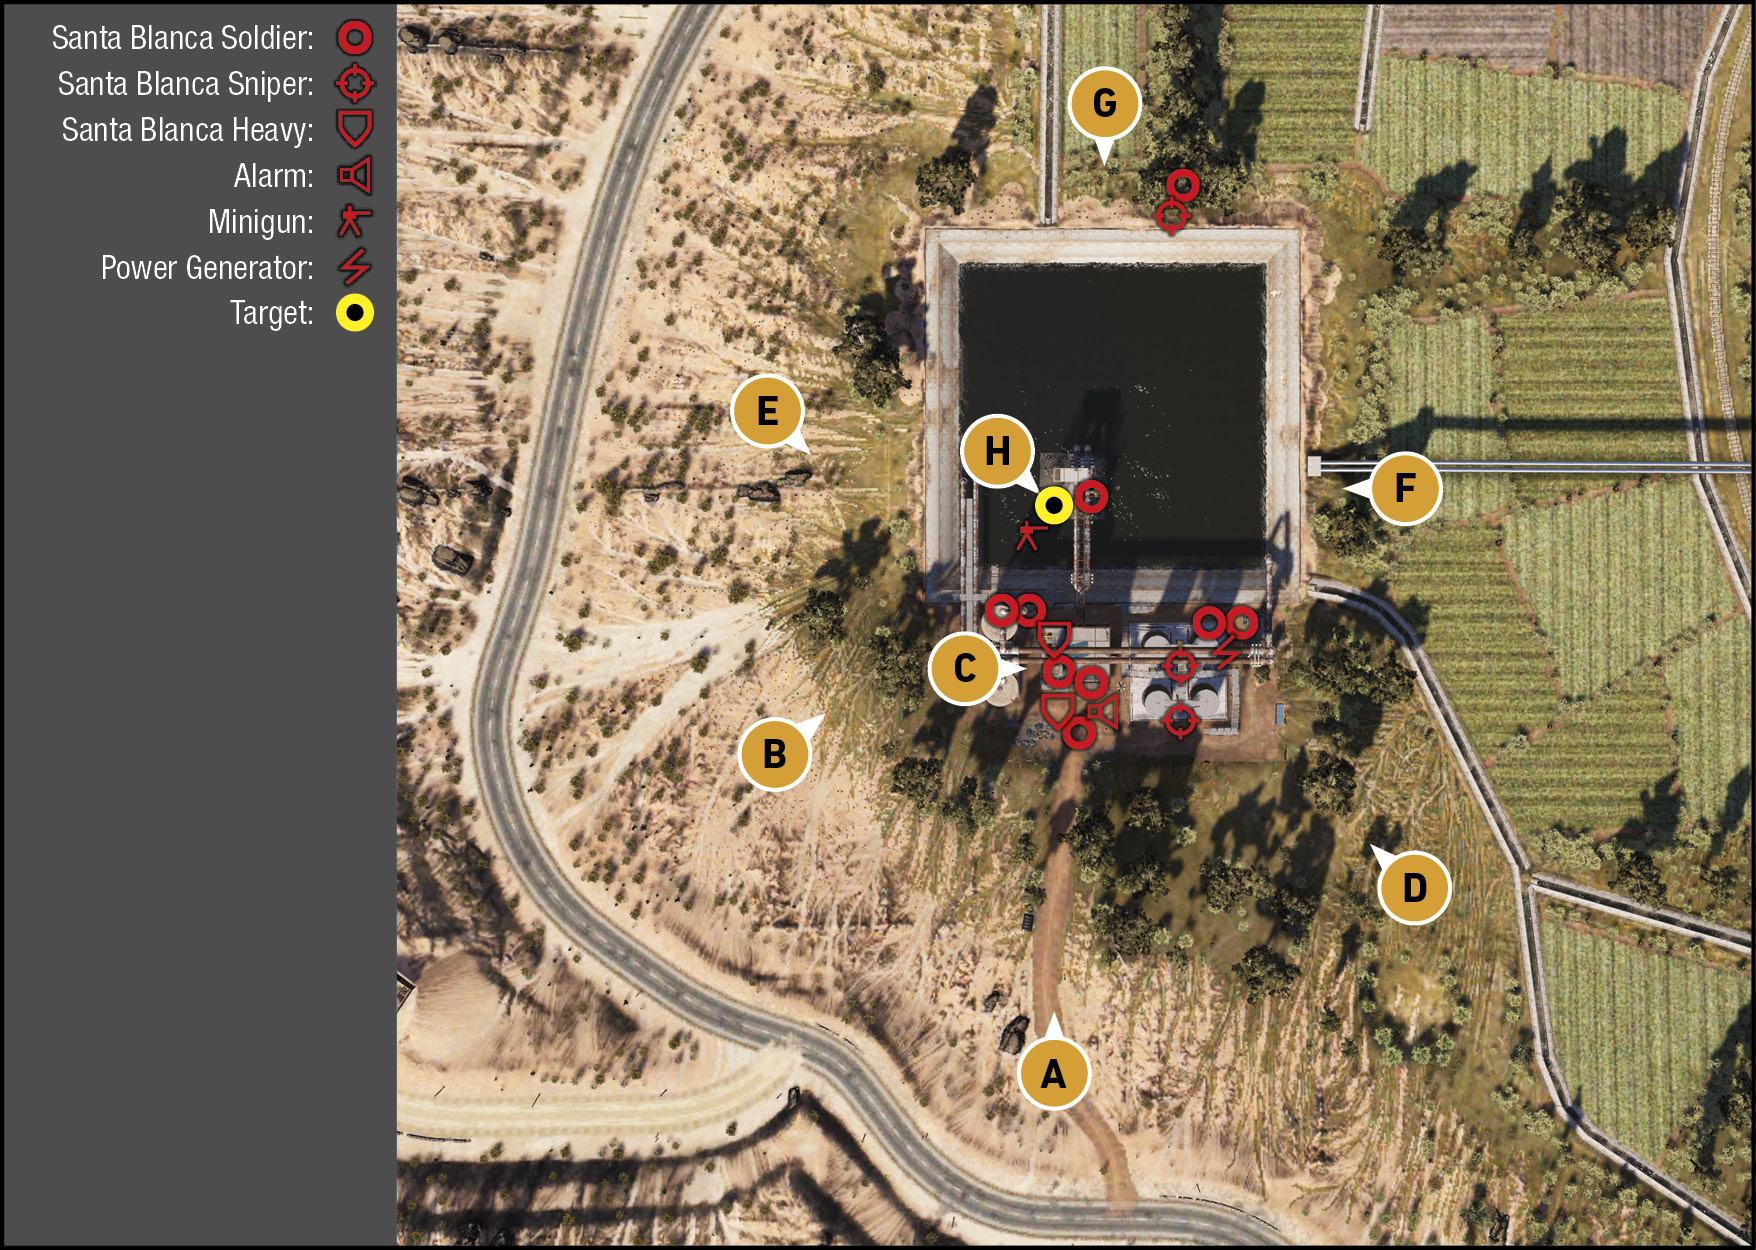
TACMAP
El Gato is hiding out in a stilt cabin above a square-shaped water reservoir, accessible only via a gantry leading to a series of walkways and industrial structures to the south. The place is well-guarded, with three snipers (one in a ruined cottage north of the reservoir, and two on the southwest cylinder platforms), forcing you to ascend up the platforms, stairs, and walkways to reach your target. Don’t try entering the tall warehouse from the ground floor either; you need to be climbing steps and watching for attackers along the way.
South: Main Road
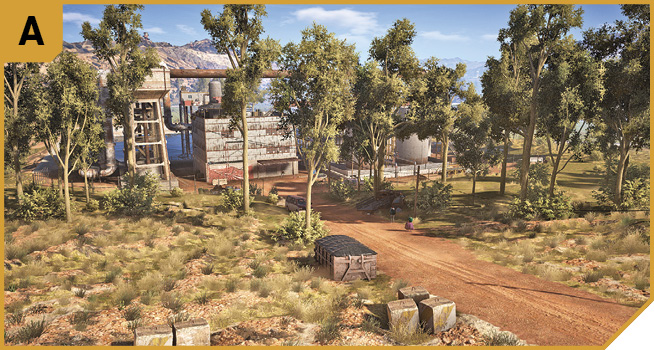
It’s worth ditching a vehicle well before you reach the end of this road, which stops at the Buchon House base entrance and alarm. Hide behind the concrete cubes further up the road, heading down to crouch behind a parked vehicle, and sending up your drone. Here you can tag both snipers before they become a problem, as well as the alarm. Then the assault begins.
Southwest: Perimeter Field
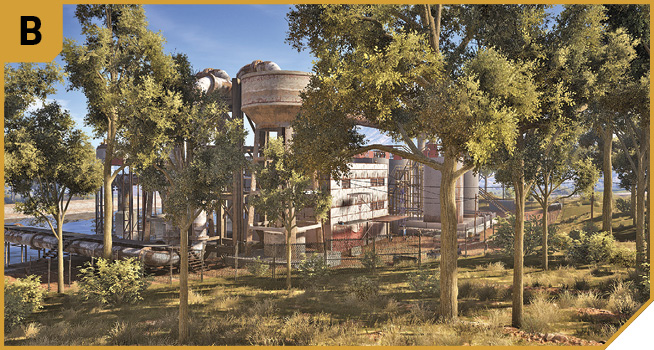
The gently-sloping field ends at a wire fence that’s climbable, and although you’re over 100 meters away, you can get a bead on both snipers and the alarm panel from this location, too. There’s few areas to hide, but you can clear the front yard of foes, and move northward to E, and into the southern edge of the reservoir to clear more ground foes.
Parachute Drop: Water Towers and Pipe
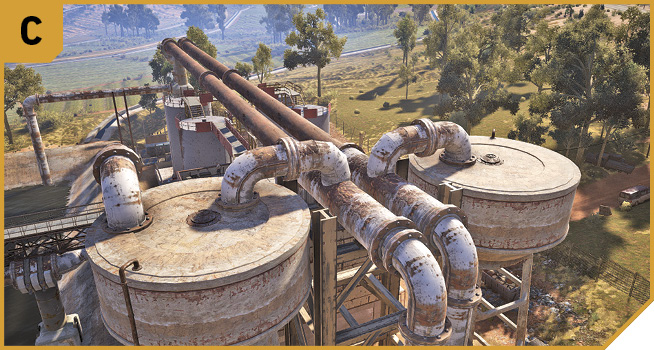
Above the usual areas you can maneuver though are two giant water towers linked by rusting pipes, two of which snake from west to east, above the sniper walkways. You can drop in, or land a chopper on here, and then actually tackle the foes with a height advantage; you bet they weren’t expecting that! Just be careful you don’t fall to your death. When you’re done, drop down to the roof of the tall warehouse.
Farther east of C is a cluster of four cylinders, with the two snipers above them on walkways. To reach El Gato, you need to climb these stairs. There are two sets from which to pick: one northwest (between here and the tall warehouse) and one southeast (by the generator). Do this when the ground enemies are defeated, so you have fewer foes to worry about. And don’t forget you can shoot up through the walkways to drop foes above you.
Head onto the roof of the tall warehouse where there’s ample opportunities to snipe the minigun operator (and even El Gato through the cabin wall he’s hiding in), then head north to H.
Southeast: Fields
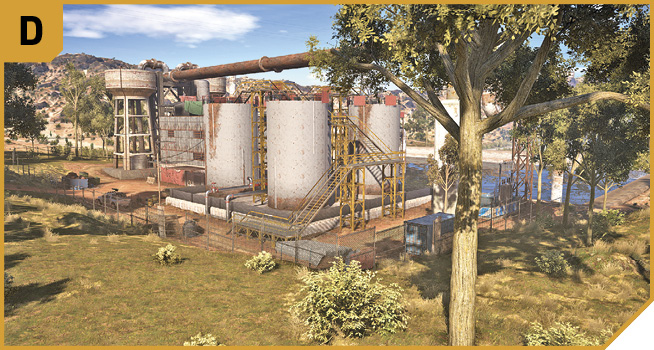
Approach from the southeast, and the snipers above the cylinders can easily see you, so use the long grass to hide in. The perimeter fence is easily compromised, but watch for patrolling ground enemies. Enter from this direction to easily shut down the generator power, and storm the base from a different direction.
West: Cacti Scrub
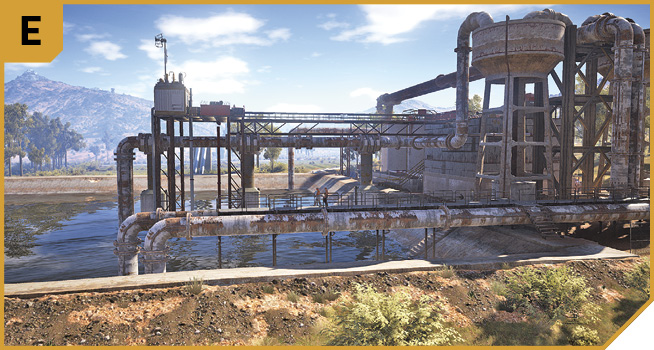
The scrubland to the west, below the road and west of the reservoir allows you to snipe the minigun operator and El Gato at the stilt cabin, as well as attacking the third sniper at G. But there aren’t as many aiming opportunities for taking out foes at the south yard of the base from here. A good supporting position in Co-op, though.
Water Reservoir Pipes
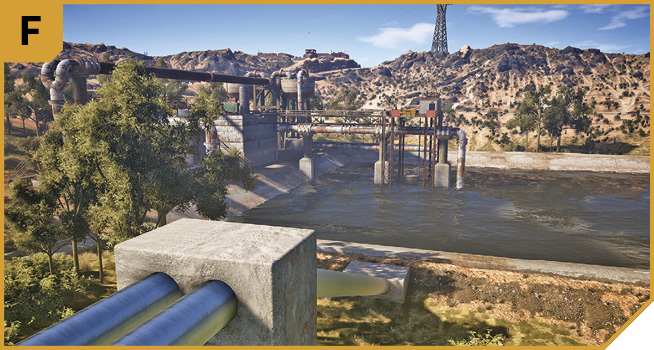
Climb atop these pipes to the concrete support pillar, and you have a direct sniping shot through the open door, and into El Gato’s stilt cabin. Mess him up, and the cartel thug that mans the minigun. In addition, you can remove the sniper near G (and his friend), as well as snipers on the main base structure to the southwest. This is a good place for a drone launch, too.
Sniper’s Breakfast
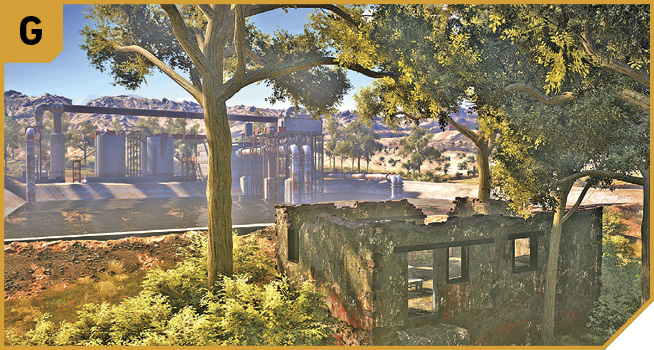
A sniper and his buddy are enjoying a spot of breakfast in this abandoned and ruined cottage on the north side of the reservoir. Take them out silently, and use this as a phenomenal camping spot. You can tag the alarm panel, both walkway snipers, the minigun operator, El Gato himself, and any fool wandering to the south edge of the reservoir. This is the ultimate support position. Remember to use a sniper rifle, and shoot through the cabin walls to nail your man!
|
 Target: El Gato’s Stilt Cabin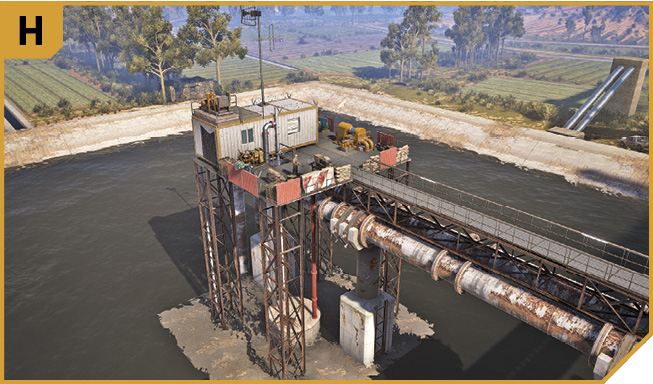
Buchon House: Other Tactical Advice
 Start at G, removing the sniper and his buddy. Then snipe the alarm panel, the two snipers on the cylinder walkway, and send your team in to attack. Shoot any foes appearing on the south side of the reservoir, then El Gato and his minigun operator, and finally assault the base itself by running east or west of the reservoir and climbing the gantry stairs with only a few stragglers to worry about.
If you’re armed with a sniper rifle, El Gato is an easy kill, as you can shoot through the walls of the stilt hut he’s hiding in, or even the floor and you’re shooting directly below him. Apply this tactic to foes on upper gantry areas too. You can’t conclude the mission (as you need to physically check the corpse and photograph it for the biometric data), but you can neutralize the main reason you’re here.
A more leisurely approach can be used as well. Start at E, fly a drone with explosives into El Gato’s stilt hut, and detonate it. Now, you still have to reach the corpse to identify the body, but the main objective is done in seconds.
Like flying a helicopter? Then hover it over El Gato’s cabin, jump out and land on the cabin gantry and kill both the target and the minigun operator. Quickly check the corpse for identification (completing the mission), then jump into the reservoir before reinforcements are called (or shoot the alarm panel before trying the helicopter trick).
 Use Solo tactics, but with the added benefit of flexibility when it comes to each team member removing a different cluster of foes, making the assault easier and quicker. For example, station a Ghost at B, D, and G. Have them remove the alarm, snipers, target, and any foes. The fourth Ghost can then tackle closer enemies as they climb up to the gantry, and across to El Gato’s corpse.
If all of your team have explosive drones, simply fly them at the enemies on the upper gantries or roof (the snipers, and El Gato’s minigun operator). With the higher foes dealt with, you can storm the place much more easily. If you’ve taken out El Gato, but there are still enemies in the base you don’t want to defeat, locate a helicopter, hover it over the cabin, have a teammate drop down to identify the corpse, and then jump into reservoir while you cover him.