
Tom Clancy's Ghost Recon: Wildlands Guide Spec Ops Training
Most Recon: Tactical Advice for Story Missions
A large proportion of this guide offers optimal solutions and complete reconnaissance overviews of each Story Mission (AKA Main Mission) available to you. As there are well over 100 of these, it is important to ascertain some general, beneficial advice to use when approaching each one.
Initial Recon: What to Do First
Before you even reach a mission-critical location, there is some important pre-planning to be aware of:
Tacmap
Main Missions usually come with a few specific objectives. Your first place to check for evidence is your Tacmap. Highlight the mission you wish to complete, and the type (Influence, Production, Security, or Smuggling), the first objective, the XP reward, and a brief are all listed. It’s also worth checking the Province rating (from one to five skulls) which gives a general difficulty.
Example: We’ll be running the Mission “Flight Plan”, which occurs in Koani Province, in the northwest corner of Bolivia.
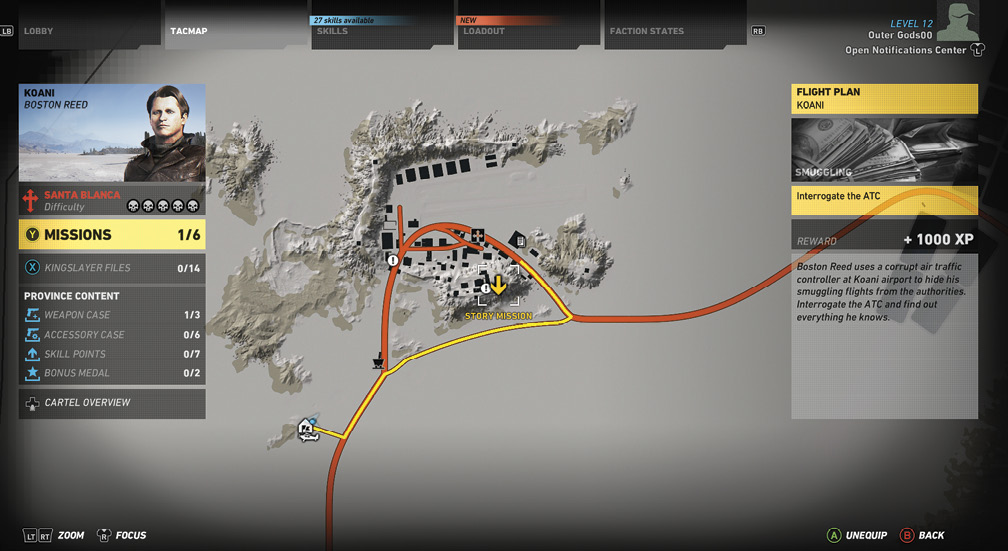
Cartel Destabilization Chart
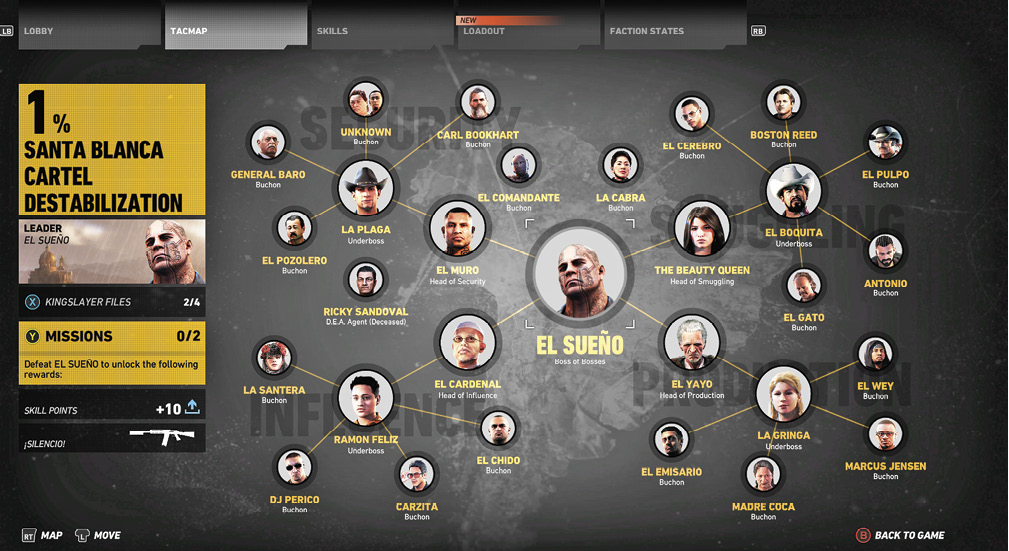
Zoom out of the Cartel Destabilization chart, and you can check additional rewards (such as Skill Points and weapons) given for taking out the boss, or “buchon”, of each province. You can also replay the mission if you’ve already finished it, and gain the extra XP. Need to find a cool mission you’ve already played? Then this chart is the best way to locate it, and learn how many more missions it’s going to take to bring El Sueño down (as the buchons of the four areas of the Santa Blanca drug trade are clustered together here in each corner). It’s the best way to find and equip underbosses and operation head missions as soon as they are unlocked.
Mission Area (Tacmap)
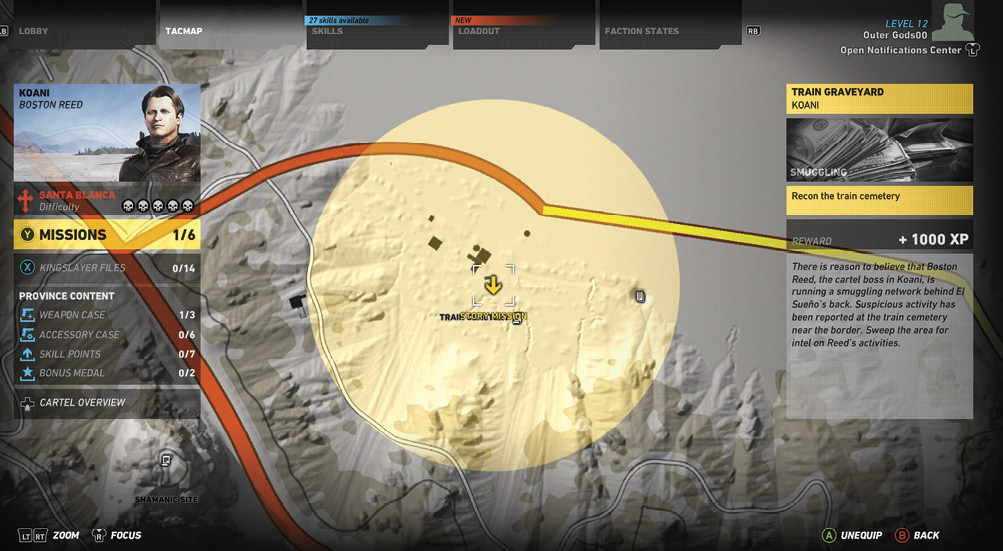
When the yellow arrow (or light gray if you’re playing this mission again) appears over the target location, a “Mission Area” is sometimes revealed. This opaque yellow circle indicates the general area you can expect hostiles, and the target in. Once you step into this area, the objective arrow will adjust until you’ve pinpointed a precise target. Collectibles (such as Kingslayer files or Skill Points) are also seen when visually spotted.
Mission Areas are important to compare to the actual topography you’re moving through, as you’re sometimes called upon to infiltrate a town where enemies are located both inside and out of the Mission Area (so stealth may be required in order for foes not to attack from outside the zone). Also, some sniping opportunities may not be available if the vantage point you’re using is outside the zone. Mission Areas only appear when you need to reach an area or locate the target first.
On The Ground: Rally Point
It’s worth either fast traveling, hiking, biking, driving, or piloting a helicopter to the Rally Point nearest the objective. You can resupply here, call on Rebel Support vehicles or use those parked here, and in some cases actually have a distant visual of the location you’re about to enter.
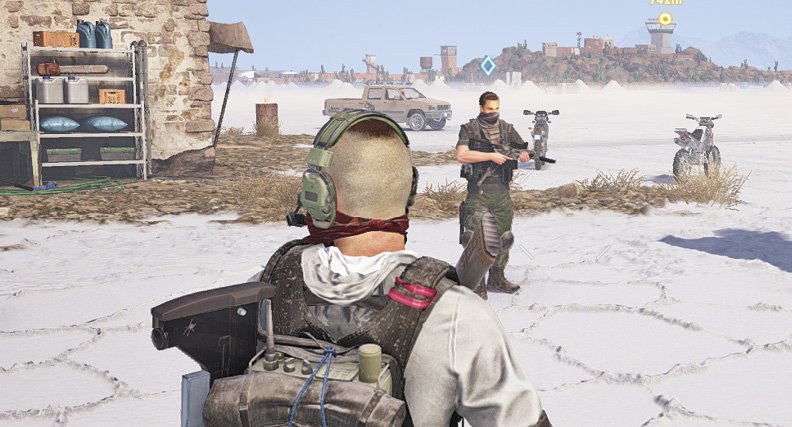
Example: This is Rally Point Koani Bravo, on the salt flats just south of the air base. Though the terrain is extremely flat, you can actually see the airbase control tower, which is where the initial target (who you must interrogate, not kill) is located.
Actual Recon: Prior to Hostile Engagement
When you reach the outskirts of a location, but have not infiltrated it yet, actual reconnaissance should be completed. Here are some pointers:
Guide Recon
You obviously have a huge advantage in that every Story (Main) Mission is covered in detail in this guide. This means installations are flagged, targets are already pinpointed, and the starting points of enemy patrols or locations have been meticulously spotted. Start your mission by reading over the actual mission recon.
Time of Day
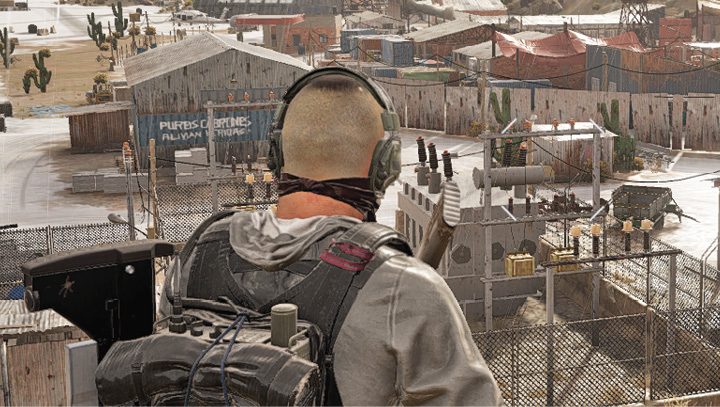
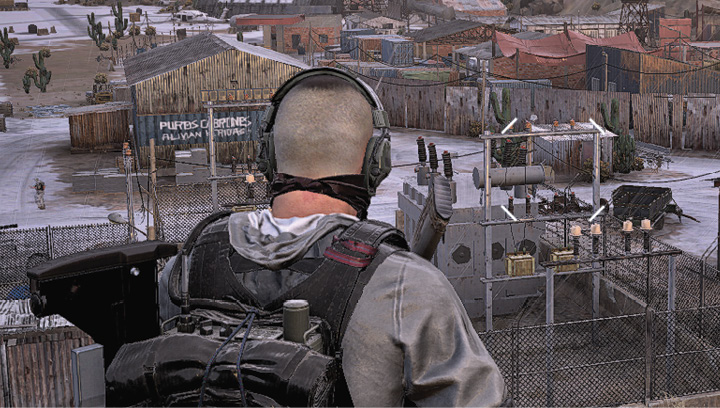
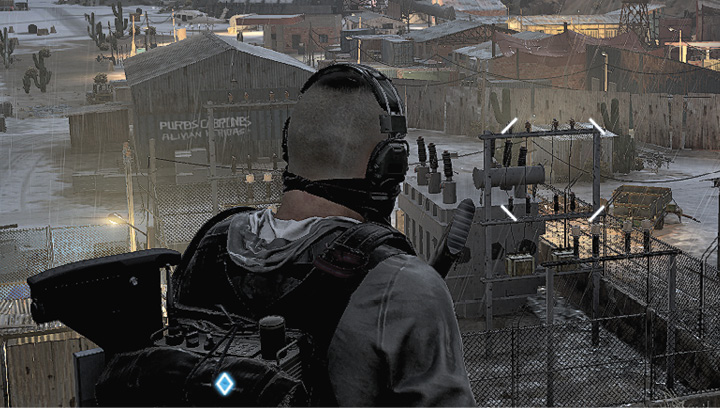
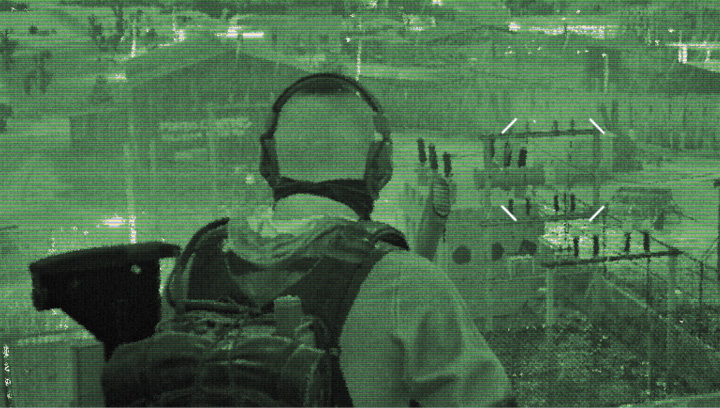
Before venturing into a combat zone, note the time of day. This affects the location of foes, and the effectiveness of some installations. For example, at certain times of day, enemies may move to a mess hall to eat. After dark, a number of enemies may move to a barracks to sleep. In either case, they are more easily neutralized, especially if they are congregated in a particular area.
Example: Koani Air Base has a central mess hall and two barracks near a small soccer pitch. Depending on the locations of the enemies you tag, you may wish to remove all foes using flashbangs and crossfire, explosives, or other aggressive means. Or, you may wish to sneak past them (optionally leaving a mine at expected exits).
Installations Location
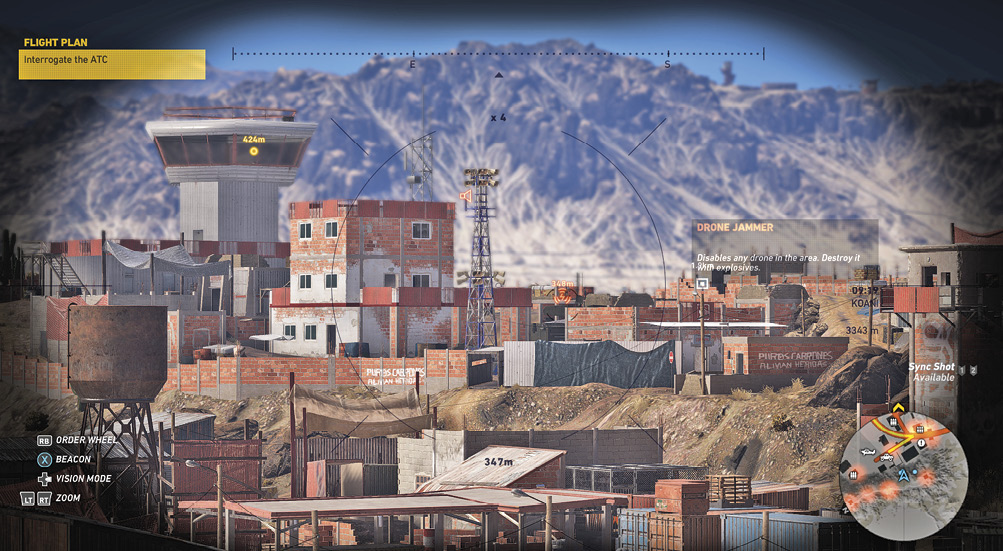
Next, ascertain through use of your binoculars, drone, or physical but unseen presence, the complete list of Installations, and their exact location pertinent to your objectives. The last point is important; if your objective states you have two minutes to rescue a friendly entity, there’s little point in spending time counting the number of SAM launchers.
When you step into the perimeter of the enemies’ location, or close to a larger operational area without a mission area pinpointed, check your Tacmap. The name of the location should appear, along with the installations it has. This list is important to know, as it allows you to focus on certain installations to deactivate or destroy, while leaving others alone.
Example: Koani Air Base has four miniguns, three SAM launchers, one Drone Jammer, one Alarm, and one Power Generator. As the Generator is located close to an easily-infiltrated area of the base (the west side perimeter, as shown), you may elect to deactivate it silently, rather than risk waking up the enemies by shooting the alarm pole panel (though this can be done with suppressed sniper rifles, too). Obviously, your plans will vary wildly depending on the location you’re infiltrating.
Other locations may have alarms, but no generators, which gives you only one option: a manual shooting of the panel, or additional time spent dealing with reinforcements. This leads to:
Installations Order

With a good overview of all a location’s installations, you must decide which ones need to be deactivated or destroyed. This is usually done prior to engaging enemies, though this can vary (as miniguns involve taking down foes manning them). Though each Installation type is detailed elsewhere in this book, it’s good to have a general order to work through in terms of what Installations to go after, and when. Here’s an optimal order, that works in most cases:

1. Drone Jammer: Do you want to use a drone to tag enemies and installations? Then locate the drone jammer first, and make plans to deactivate it at its handle, remove the Power Generator so this deactivates, or destroy it with weapons fire or explosives.

2. Sam Launcher: Do you want to use helicopters or airplanes in this mission? If not, these can be ignored. If so, these must be destroyed using explosives only.

3. Power Generator: Does this location have drone jammers, lights, normal lighting, and alarms? Then shut this all down at the power generator, which can be deactivated at the handle, shot with more powerful weapons, or destroyed with explosives. As removing the power generator has multiple beneficial effects, it’s usually worth doing every time. Disabling the Power Generator deactivates SAM launchers and automatically opens armored gates as well.

4. Alarms: Do you want reinforcements to arrive via air once the enemy engages in combat with you? If you don’t, destroy the panel on each alarm tower with gunfire or sniper fire. Or shut down the generator powering these.

5. Mortars: These manned locations are annoying as when you’re spotted, you’re pelted with incoming explosives. Mark the enemy at the mortar, and remove him with haste, remembering that the shells he’s using are explosive, so blasting him at close range can get you killed. Are you trying stealth? Then you may not need to focus on a mortar enemy, though a suppressed sniper shot is usually the best plan.

6. Lights: During nighttime infiltrations, these can blind you. Either shoot out the individual light bulb panels (not recommended), or deactivate the generator powering them.

7. Miniguns: Miniguns are found inside towers, firing posts, and small nests, and can be unmanned or manned. They cannot be destroyed, but the enemy manning them should be removed. Note the enemy may try to reuses this weapon, or not use it at all (as a show of strength or deterrent). See if it is tactically advantageous to remove the minigun foe if one is available. Then leave a mine in case it is reused.
Example: Koani Air Base has every type of installation except for lights and mortars. As our Ghost team is attempting a stealth infiltration, the drone jammer and alarm were neutralized silently, by deactivating the generator. Then, team members moved to the three SAM launchers on the runway, silently neutralizing any foes in the vicinity, and primed each launcher with a mine, to detonate during a subsequent objective, where it was required to steal a plane and fly it off the base. Finally, though there were four miniguns, only one was seen as troubling, as it was situated close to the airfield hangar where the escape plane was parked. So a Ghost crept up and strangled the minigun operator to ensure a safe departure.
Landmark Buildings
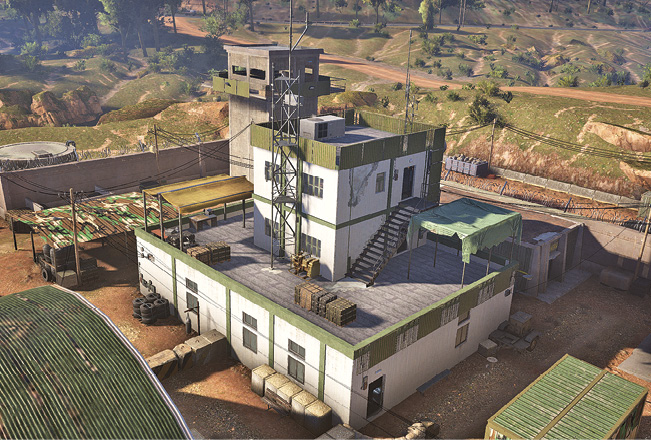
Learn the various types of buildings you’ll encounter during missions. The one shown in the image is an HQ building, but examples include comms centers, armories, pillboxes, firing posts, emplacements, barracks and tent barracks, cages with rebels inside, sniper towers, Santa Muerte chapels, buchon house compounds, warehouses of various sizes and shapes, and mission-specific structures. Know what to expect at these locations (an HQ building usually has a captain or target, while an armory has ammo and loadout changing access, for example).
When you’ve learned the various buildings, apply names for them that your whole team will know. Then figure out if the building is critical to your objective.
Example: This UNIDAD base has an HQ building (as shown), where a high-ranking enemy must be located and neutralized. But this structure could just as easily have a server or laptop to access, before defending it from incoming enemy forces.
Enemy Tagging
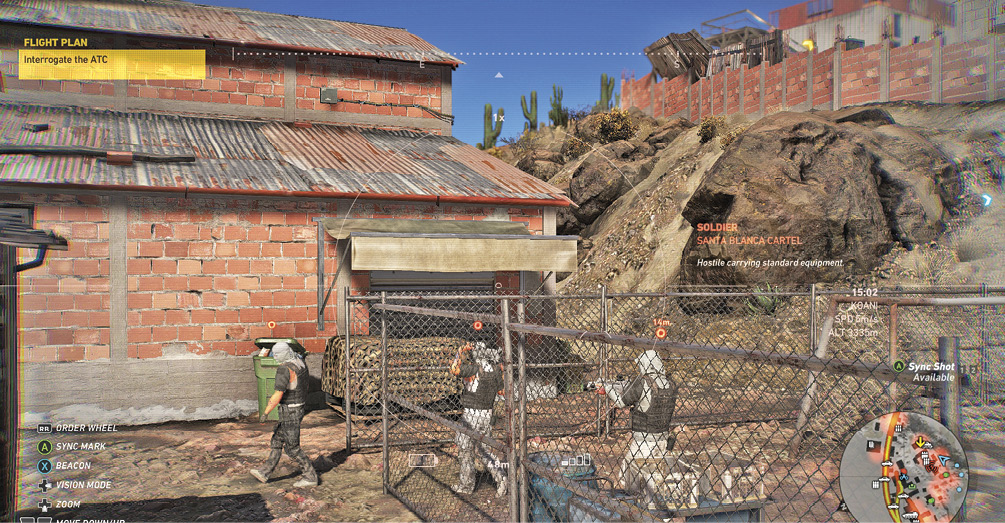
Example: Koani Air Base has its largest concentration of enemies in the main part of the base, unfortunately close to the target you need to interrogate.
Infiltration Path Planning
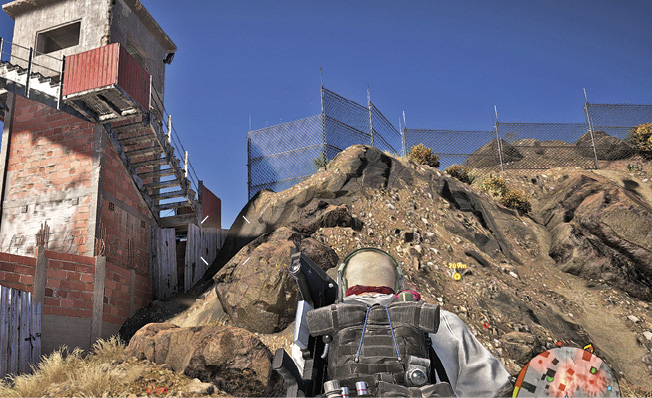
Lastly, before the actual insertion is attempted (through hiking, biking, drone use, airborne fly-bys, or binoculars), spend some time checking the perimeters of the location for gaps, quick routes, underground pipes, buildings to use as cover, or routes to aggressively drive through if you’re unconcerned about stealth. The obvious entrance to a base is rarely the one you should take.
Example: It was discovered that the southern perimeter of the Koani Air Base has a gap in it, just to the side of a sniper tower east of the main entrance. This allows for insertion, and stealth movement eastward, along the inside of the perimeter wall, all the way to the control tower, with minimal enemy interactions required. This was the plan used to reach the tower with the cartel still unaware of the Ghosts’ presence.
Target Requirements
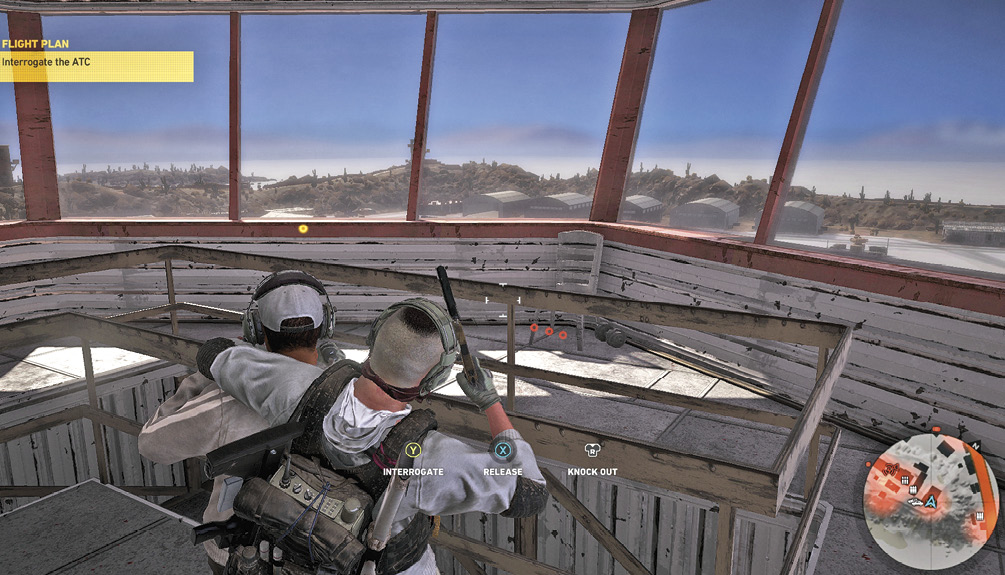
Lastly, before actual infiltration begins, the exact requirements of the target are important to ascertain. The tactics needed vary greatly depending on what needs to be done. Here are some of the most frequent types of target requirements:
Interrogation Suspect: The victim cannot be killed. He or she can be frightened into fleeing in a vehicle, allowing you to pursue without the need of infiltration at all. If the victim will not flee, you must physically reach and interrogate them, so explosives aren’t recommended. Or, you can bundle a suspect into a vehicle, drive it to a remote location, and conduct the interrogation without fear of being shot at during the talk. The suspect at the Koani Air Base had this requirement.
Target to Kill: The target must be neutralized, allowing for any type of takedown you wish, from melee strikes to sniper shots (for human targets), explosive takedowns (for vehicles) and everything in-between. You can even maneuver an explosive drone in remotely to destroy the target.
Target to Kill and/or ID: Ranged takedowns of targets become less helpful if you have to ID the target afterward, which essentially means you need to reach the neutralized enemy. If the victim flees, it actually becomes easier to chase them down, neutralize them in a remote location, and then ID them.
Evidence to Obtain or Photograph: If an important document needs locating, this involves physically moving to the target to obtain or photograph it.
Position to Hold: You may be required to hold a location for a specific amount of time (so a laptop download can finish, for example). This simply involves defending the necessary doorways and insertion points until the objective completes. However, with forethought, you can create defenses using parked vehicles, booby-trap roads enemies may head down, and reach excellent defensive locations prior to the timer countdown.
Vehicle to Steal: A vehicle must be removed from a location, and driven somewhere. This requires you to physically reach and drive it away. It can be delivered in any condition you like, except “on fire”.
Convoy or Moving Vehicle: This involves targeting a single vehicle and running it off the road (with perhaps a subsequent objective regarding the interrogation or killing of a suspect inside), or targeting a single vehicle as part of a convoy. Specific convoy tactics are included in the mission as appropriate.
Remember you can approach a location from the air as well as the ground, though parachuting onto a target to kill them usually doesn’t go quite as well as you might expect.
Destroy Missions: The target, which isn’t usually a human, but rather an object (such as a shipment of cocaine, or enemy explosives) must be located and destroyed. Specific methodology regarding the type of force to use is usually detailed within your mission parameters, but if in doubt, use explosives or high-damage weapons fire.
Weapons Free: Hostile Engagement
When infiltration begins, and your team knows their role, you should be thinking about maintaining clean, tactical planning, until everything goes south.
Enemy Hierarchy
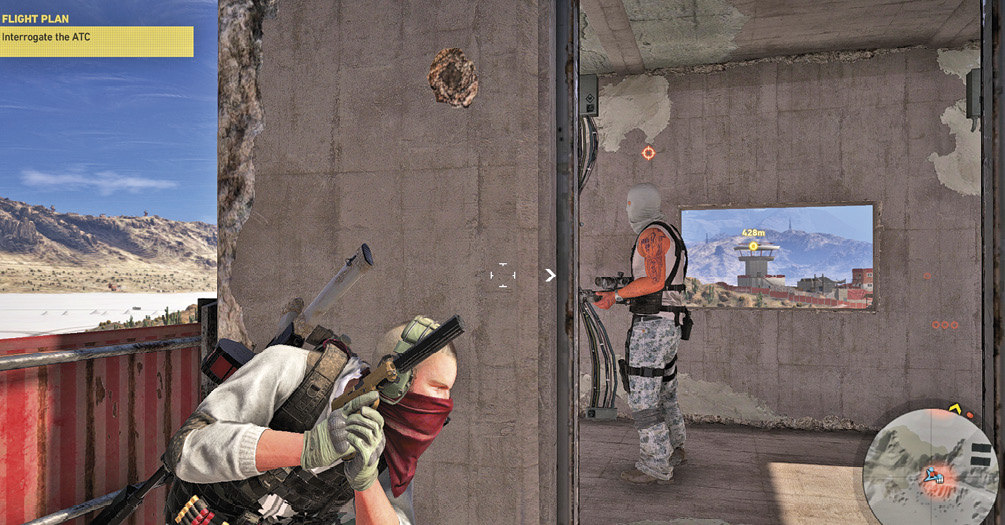
So, you’ve tagged all the foes using a drone or binoculars; you can then see which ones present the most danger, or should be tackled first. They are as follows:
Snipers in tower or on rooftops. Then foes manning minigun emplacements. Next, take out foes on the outskirts of bases (as appropriate; see Caution below). Then foes in cover behind pill boxes or firing posts, followed by heavy, armored foes with machine guns. Then move on to captains and then regular infantry. Check the Factions chapter of this guide for reasons why.
Example: Ghosts approached the air base from multiple directions, shooting snipers in every tower. Then the patrols along the perimeter rocks of the base were neutralized while the generator was shut down, and enemies in the immediate area were removed. As this was going on, one Ghost headed to the control tower via the insertion point gap along the south wall, and reached the target without compromising the stealth of the operation.
In addition, a Ghost was moving down from the northwest corner of the base to the line of airfield hangars, and removed the minigun operator on the low-roof building to clear the way for reaching the plane.
With the interrogation complete, the next objective (to locate a plane in one of the northwest hangars) began. The Ghost by the minigun on the low roof had only meters to reach the plane, which he ran to, started, and the other Ghosts from the SAM launcher joined him while the Ghost at the control tower hopped into a vehicle and drove onto the airfield. With stealth tactics now less important, the C4 was detonated, crippling all three SAM launchers, enabling the plane to take off with two Ghosts in it. The other two remained to steal a cartel helicopter, and provide air support as the plane left Koani airspace.
Unidad or Cartel Interactions
There are two major opposition forces to contend with: the Santa Blanca Cartel and Unidad Forces. The tactics for dealing with these factions is significantly different.
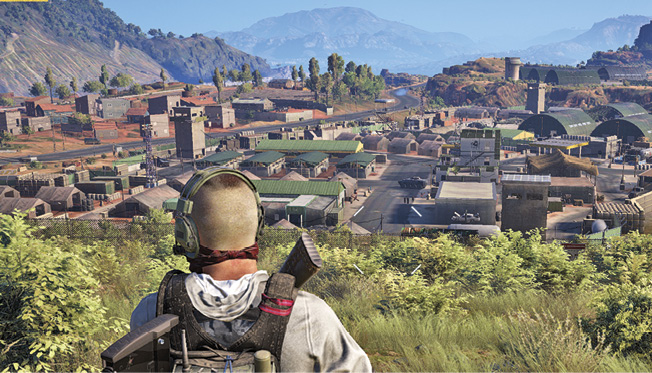
Cartel Interactions: You have a full reign of tactics to try against the main enemy faction, and are not limited in any way, aside from the boundaries of your objectives, and any Bolivian civilians who may be in the area.
Unidad Interactions: You occasionally have to infiltrate Unidad bases of operations, or attack this part of the Bolivian army. These foes have a Patrol Level, so will not be defeated at the location you are attacking. It is pointless to try and “clear” a Unidad stronghold, and reinforcements arrive by ground and air whether or not you’ve taken out alarms. While you can still clear a base using a completely stealthy takedown, this is unnecessary and extremely difficult. For missions involving Unidad, you need to get in, get out, and get away as proficiently and quickly as possible.
Silence to Violence
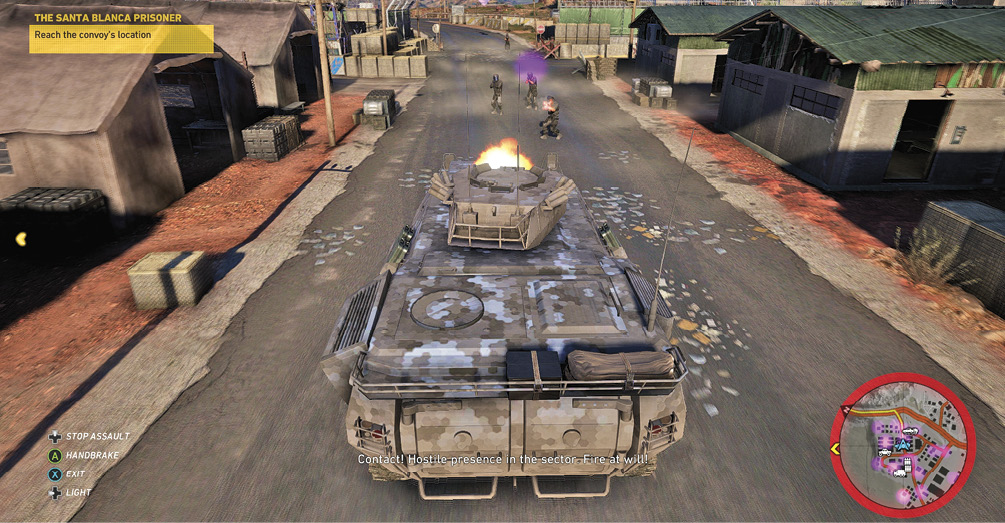
Finally, it’s important to know the (very) general methods to approach most missions. This involves trying stealth-related tactics to get as far as you can into a combat zone (ideally to mission-completion), until one of your team is compromised, and then switching to more aggressive tactics as necessary. Therefore, it’s tactically advantageous to be quiet when taking down foes. The following lists the actions you can take, from quietest to loudest.
Ignoring Enemies
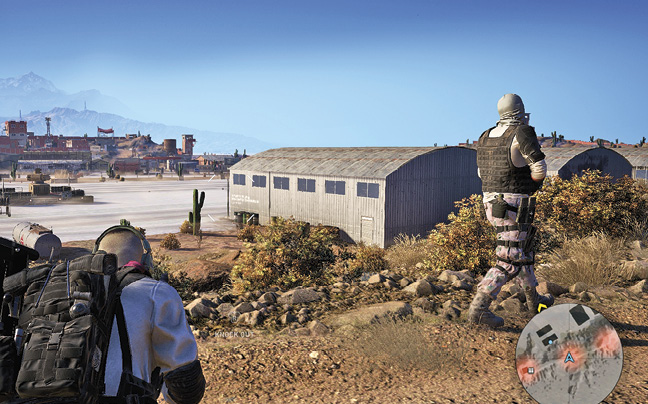
There’s nothing quite as quiet as simply ignoring foes. During missions you don’t have to neutralize absolutely everyone, so if the enemy is likely to be seen dying, isn’t close to a target, or is part of a cluster of foes, they are best left alone or watched and tackled when they are more easily able to be defeated.
Stealth Takedowns
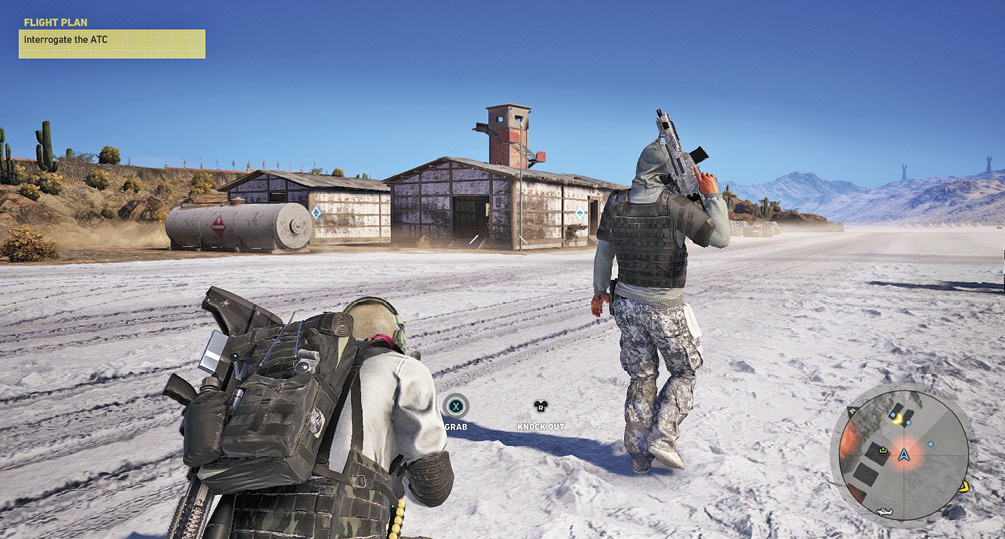
The quietest way to remove foes is to creep up behind them, grab and then take them down to the ground. After the grab, the type of takedown depends on the angle you’ve approached the enemy at. So, expect a strangle or rifle-butt to the back of a foe’s head if you’re approaching from behind, or a head-grab and ground-pound if you’re heading in from the flanks. Do this before you are seen, and no one hears this.
Suppressed Sniper Fire
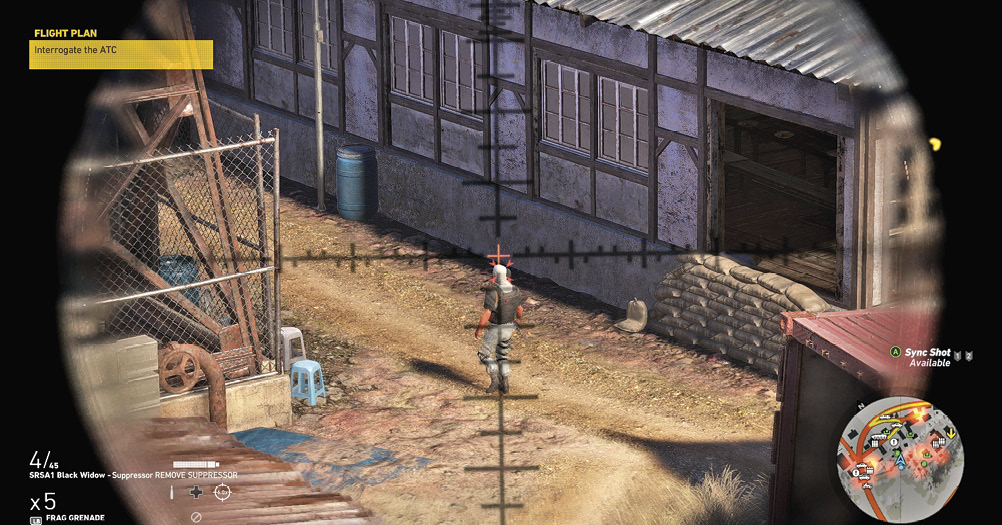
Utilize a sniper rifle with a suppressor, and you can target enemies from extreme range. This is extremely useful for removing snipers on roofs and towers without other foes knowing, but can be applied to any enemy in or around the combat zone. As the suppressor can reduce damage, it’s not worth keeping on the weapon once you’re discovered, but for covering other Ghosts entering a base while remaining hidden, it offers unsurpassed protection. Note that the weapon isn’t completely silent, so nearby foes may be alerted (but not violent) if they hear a foe fall.
Suppressed Fire
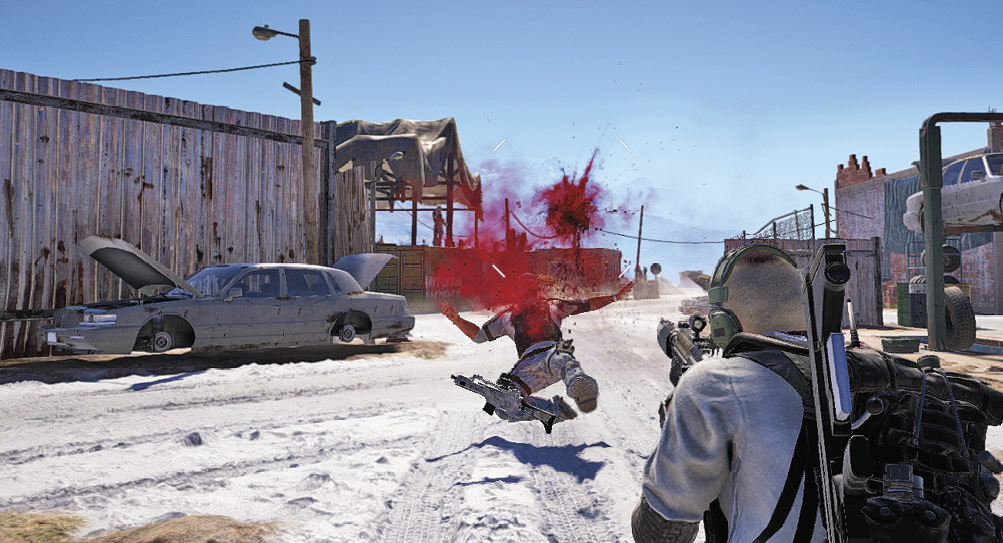
Many weapons with shorter ranges than sniper rifles can be fitted with a suppressor (even shotguns!), allowing you to attempt mid to close range takedowns in relative silence. There’s still a small amount of noise (compared with stealth takedowns for example), and foes are more easily able to see their compadres taking a face full of bullets, but if you’re picking out lone foes throughout a base, this works well, and keeps the stealth plan going.
Distraction: Items
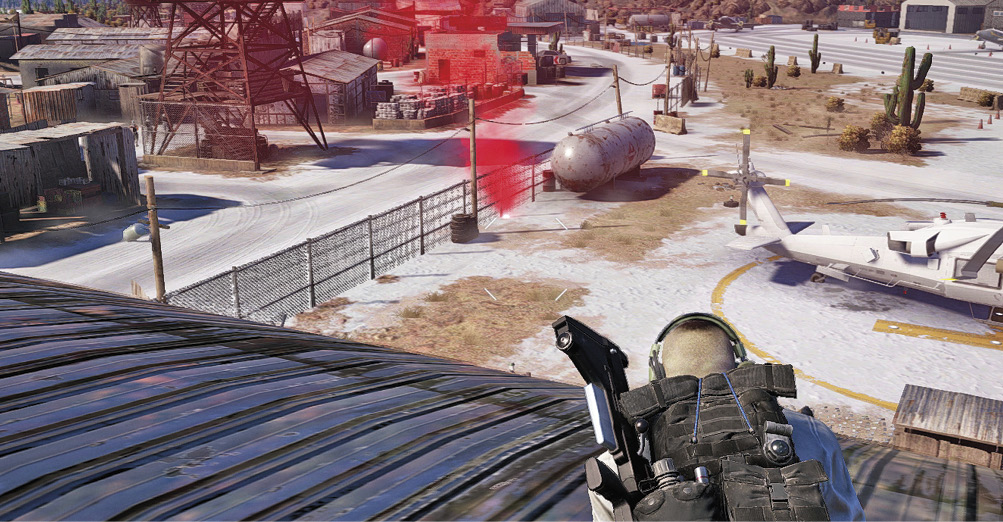
When available, use the Diversion Grenade or Flare Gun to create a non-violent distraction. Though the enemy has gone from not knowing you’re here to being suspicious that someone is around, this is a great idea if stealth is about to be, or has just been compromised. Use distraction items so foes investigate a different area, causing noise without the enemy turning hostile.
ou can also lob in Flashbangs to confuse the enemy, but this is slightly more violent and starts more frantic movements and enemy hostility afterward.
Weapons Fire: Sniper Fire
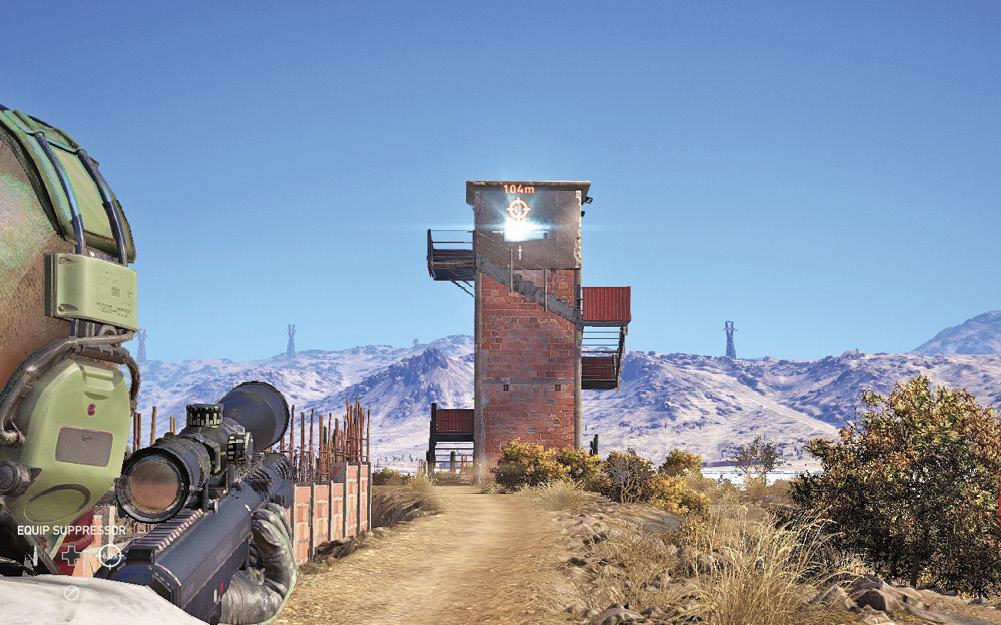
Targeting enemies from extreme range without a suppressor is still more subtle than carving up enemies at closer ranges. Though the shot is heard, there’s less the enemy can do about it if you’re behind a rocky outcrop 200 meters away. Assuming you’ve halted the enemy’s ability to call air reinforcements (by taking out all alarms), there’s little the enemy can do except attempt to reach you, which can act as a distraction so the rest of your team can enter from a different location.
Weapons Fire: Distraction
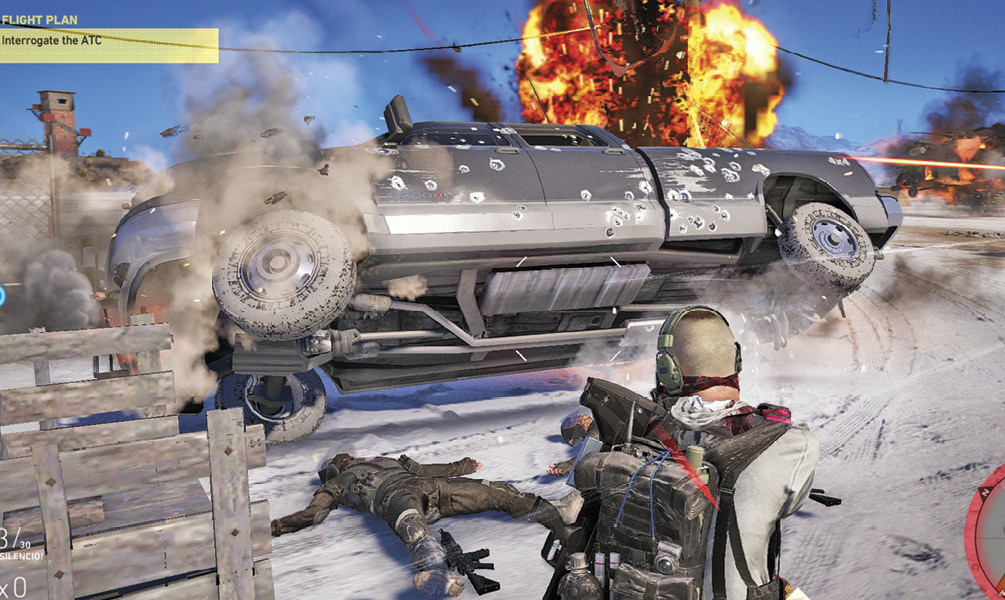
Opening fire on the enemy with the express intention of not killing every single one, but to attract them to another part of the Mission Area is also a good idea if you’re trying to get enemies away from one part of a location (where the target is, for example). Just be sure to remain in cover, or lay explosive traps, or let your team know when you’re about to take the violence up a notch.
Weapons Fire and Projectiles: Explosions
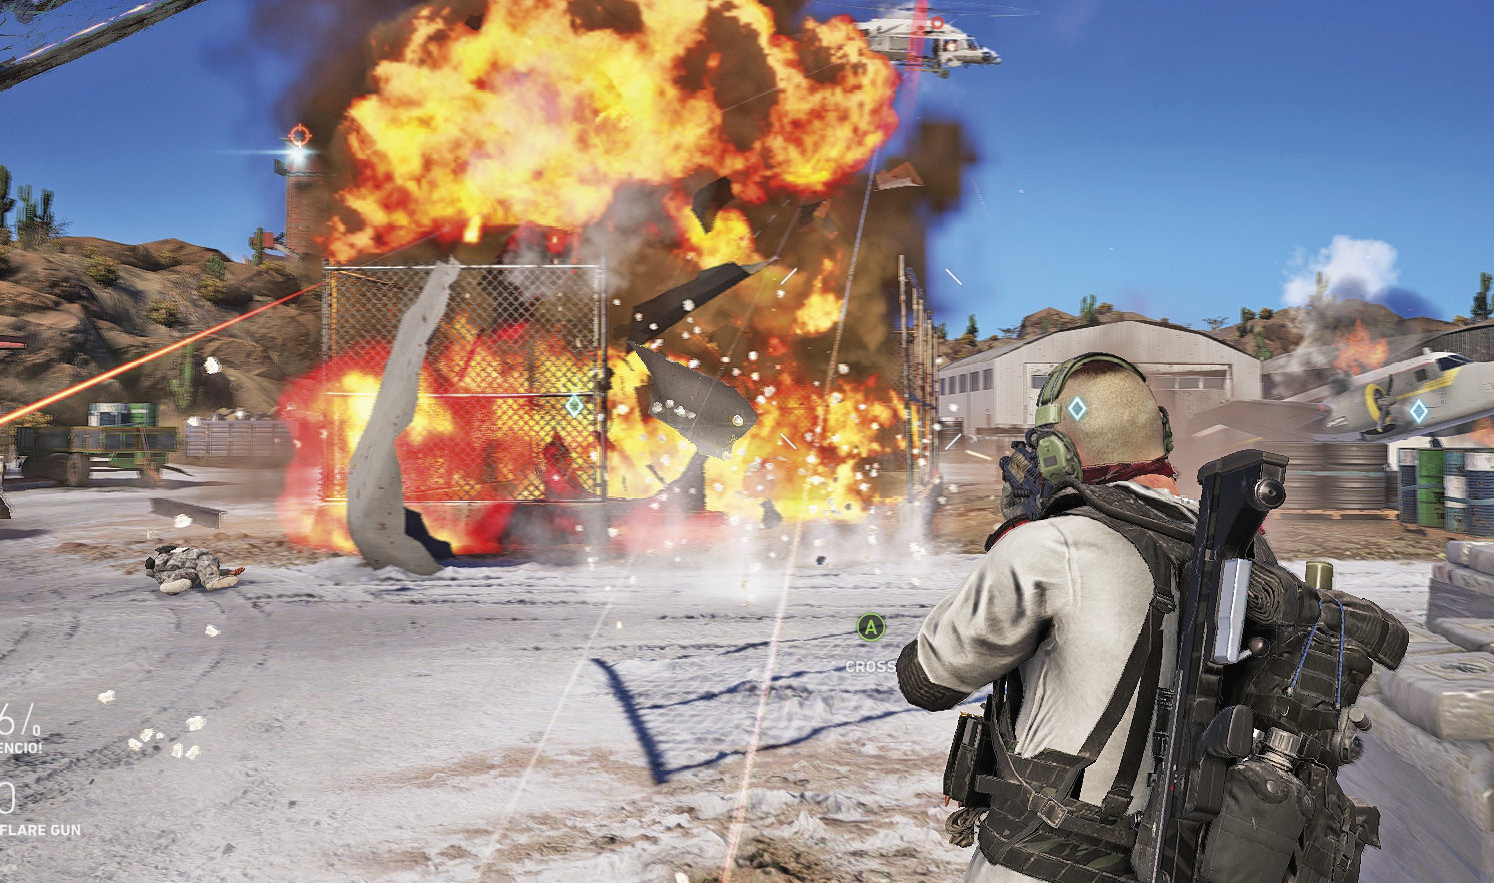
There’s something rather entertaining about shooting a single sniper round into a propane tank, watching it burn, then explode and viewing the enemies as they investigate. You won’t win any stealth awards, but this can get enemies out of cover, act as a distraction, or commence a more violent firefight. Expect a similar outcome if you prep an area with a trap (C4, mine, lobbed frag grenade).
Melee Takedowns
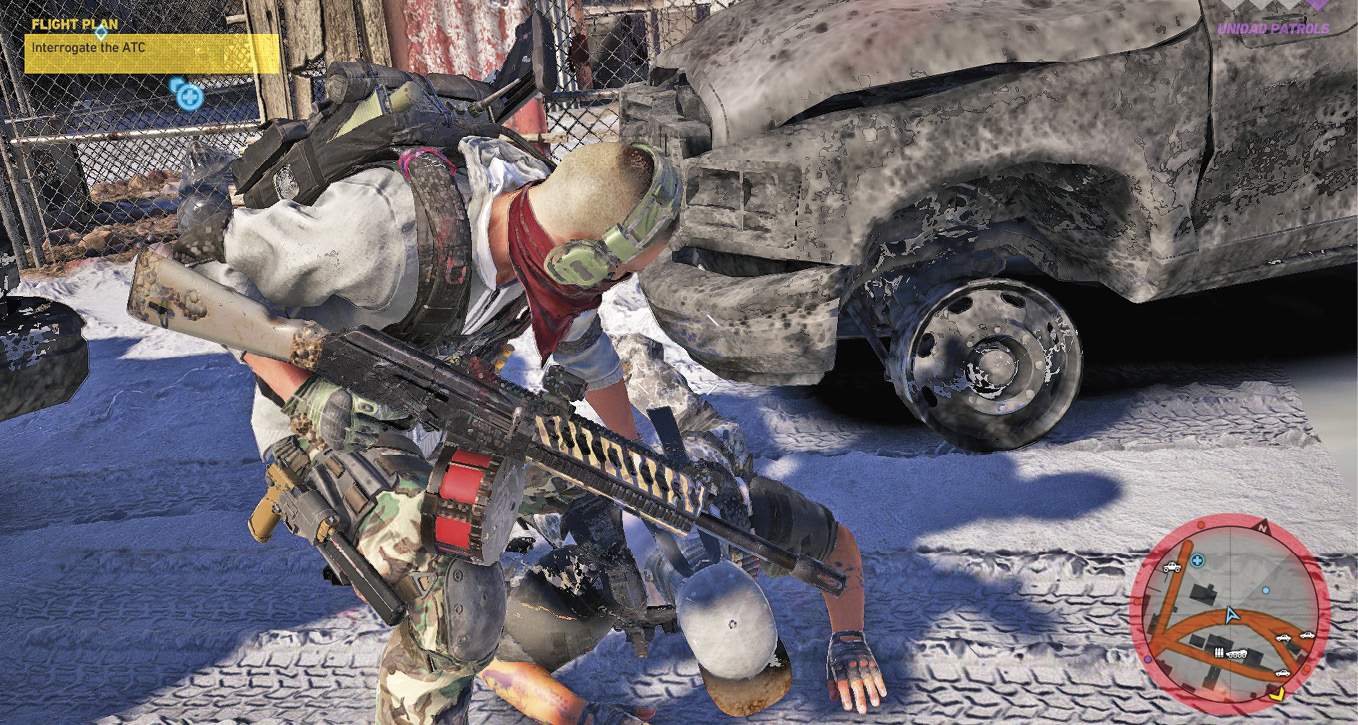
These are the same as Stealth Takedowns, but occur after the enemy has seen you and is about to open fire, shout, or already has done. Sometimes (if you’re close enough, the enemy is confused, or you’re reloading) it is preferable to charge an enemy with the intention of grabbing and neutralizing them, instead of relying on weapons.
Weapons Free
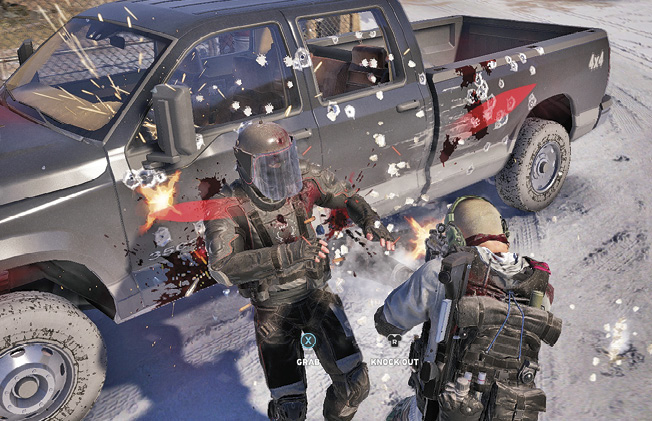
Has it all kicked off? Then there’s no need to worry about tiptoeing around the area; get into cover, attempt to advance toward the objective or enemy cluster you’re here to kill, and take everyone out that you need to. Execute flanking maneuvers, shoot down from height to gain viewing advantages, and make the takedowns swift and brutal. Headshots and correct loadout weaponry are vital depending on distance and enemy type.
Overly Aggressive Action
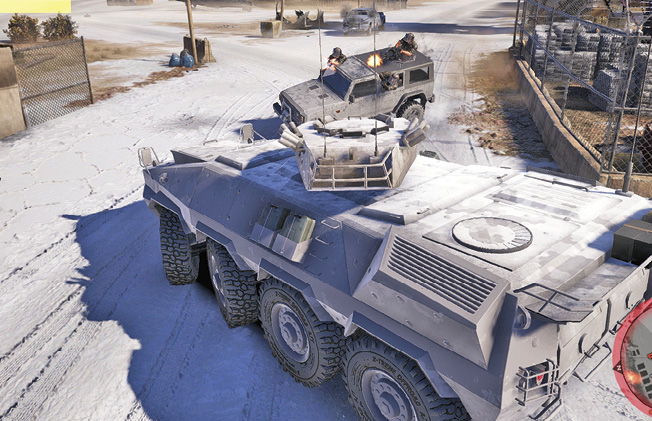
Have you tried other tactics, or aren’t worried about the enemy overwhelming you? Then you probably haven’t attacked a large Unidad base yet. In any case, if the situation calls for it (and heck, even if it doesn’t), why not cause as much mayhem as possible? Careen through a camp in an armored SUV with a turret minigun blazing. Strafe the ground from a gunship until everyone wearing cartel colors is a bloody mess. Charge in with shotguns blazing. Sometimes a more brutal plan gets the job done. Just make sure you try it once more subtle means are exhausted, and once you’ve spent some skill points to toughen yourself up.