
Tom Clancy's Ghost Recon: Wildlands Guide Welcome to Bolivia Malca: El Chido
Bad Publicity

Objectives
- Locate the promo truck without being detected (3:00)
- Deliver the promo truck to the rebels
- Talk to the rebel
- Take the replacement truck
- Drive the replacement truck back to the copper mine
- Leave the area without being detected
LOCATIONS
- Uma Marca Mine
- Uma Marca (Town Outskirts)
REWARDS
- + 500 XP
Brief
El Chido’s people and Santa Blanca are working together to promote the narcocorrido’s upcoming concert. The first step in disrupting the concert and embarrassing the singer is to destroy the promotional materials being stockpiled in the province.
Keep on truckin’
You’re heading here to steal (and replace) a truck, ideally leaving no dead bodies for enemies to find. This means removing all threats before you’re seen, or leaving everyone none-the-wiser and conducting a proper stealth operation.
Uma Marca Mine: Recon
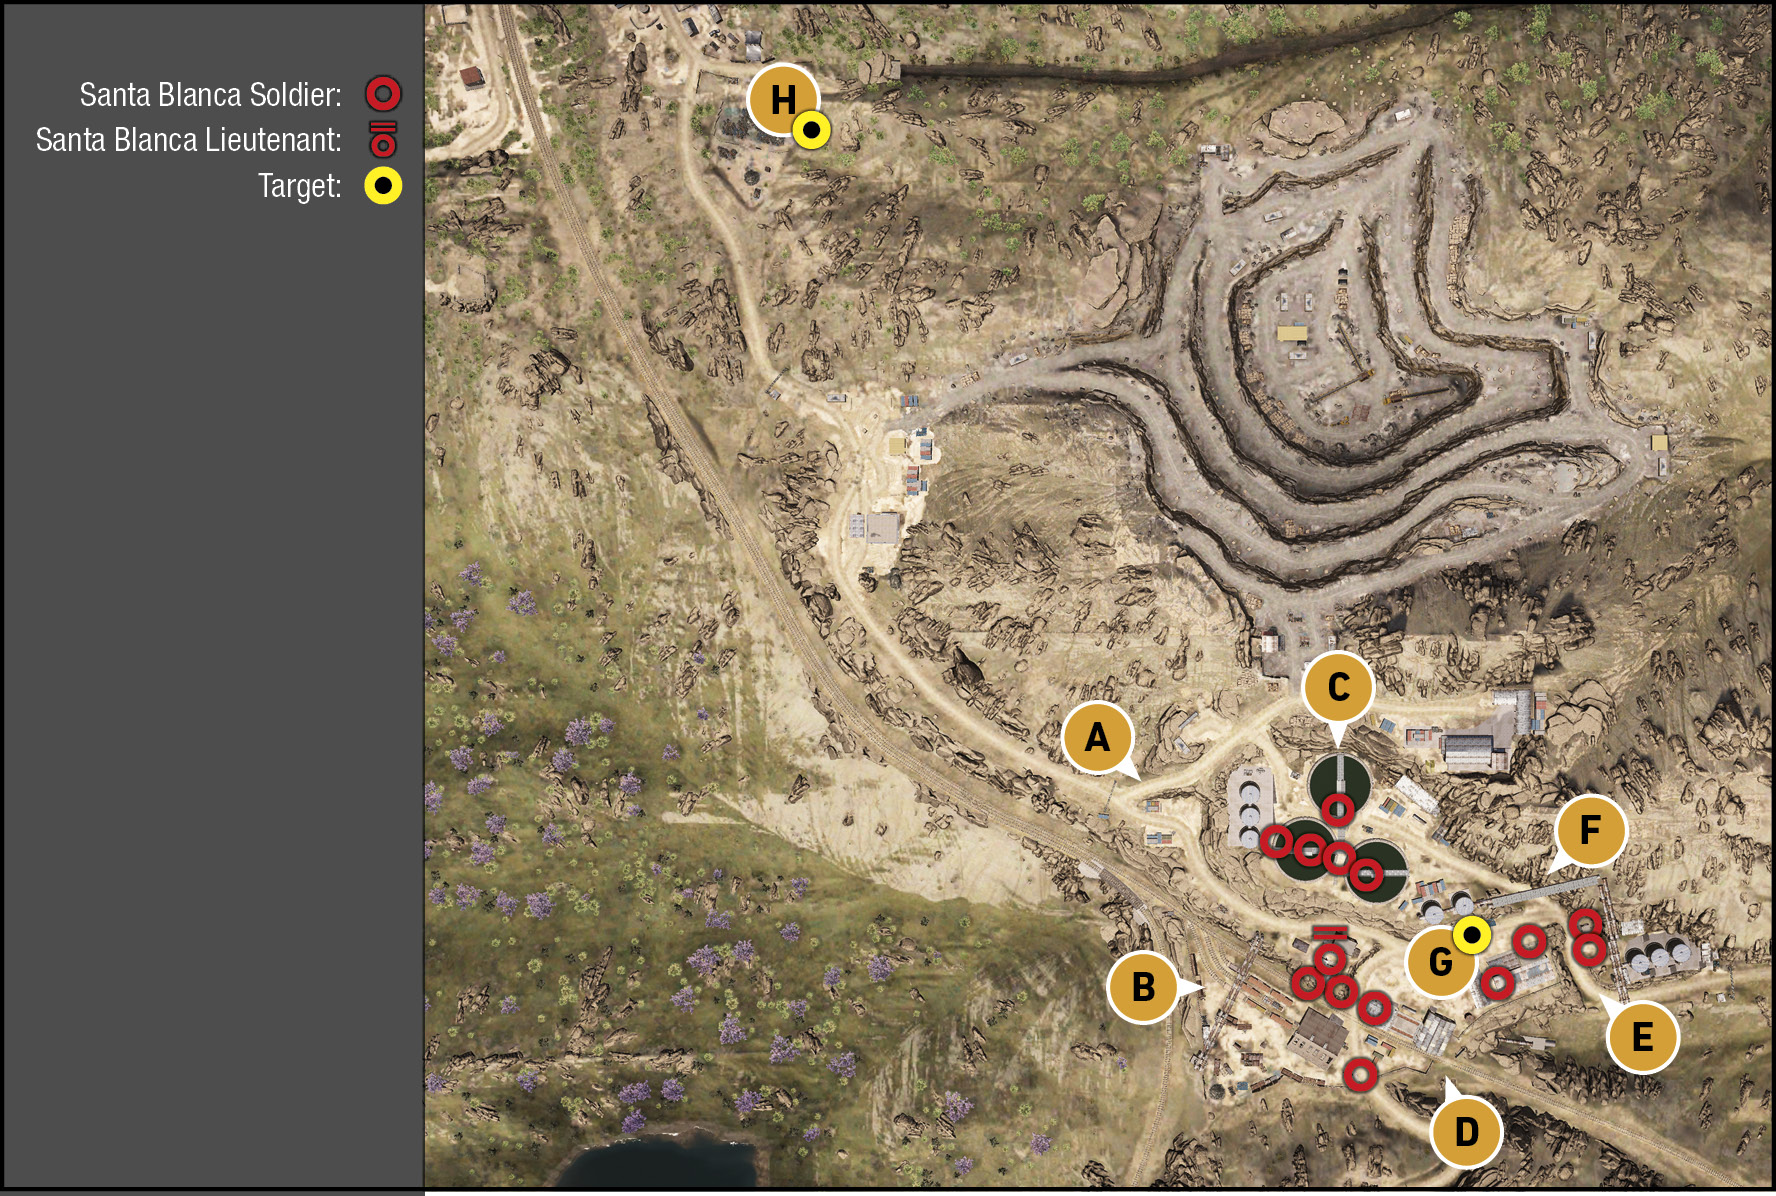
TACMAP
This is one of the few occasions where a good tactical overview of a location isn’t necessary, though it helps. The road to and from the rebel rendezvous is narrow, has concrete barriers to avoid, but it’s as precarious as some you’ve traversed. Just don’t drive too erratically. As for the mine base, there are only a few enemies, but engaging them puts this mission in far greater jeopardy than simply stealing the vehicle.
Mine Road: Northwest Entrance
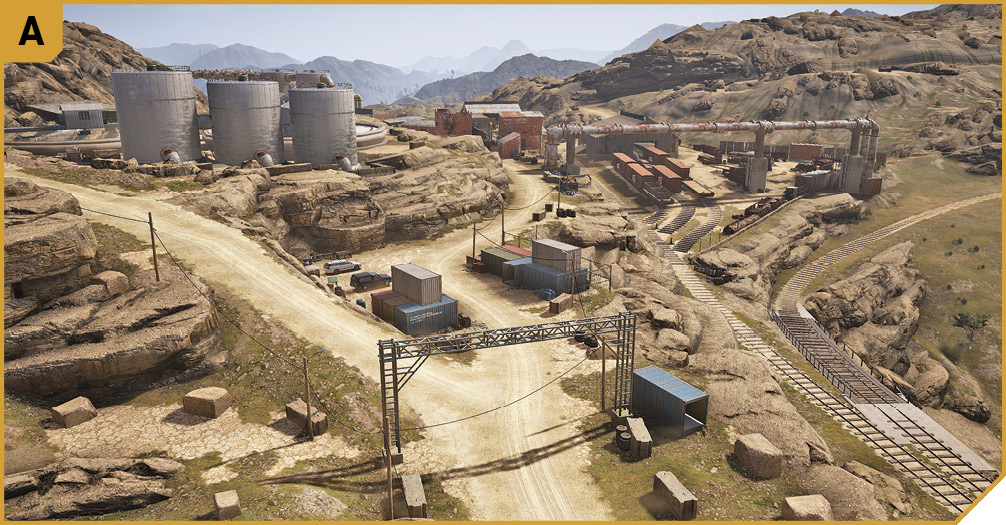
Study this area as it’s the only route to and from the objectives. Avoid the concrete barriers on the road. Stay on the road so you don’t attract attention. If you’re here to kill enemies (which isn’t recommended), use the cylindrical towers near the vats as cover, before tagging enemies on the vat platforms, and down by the railroad.
Railroad Tracks
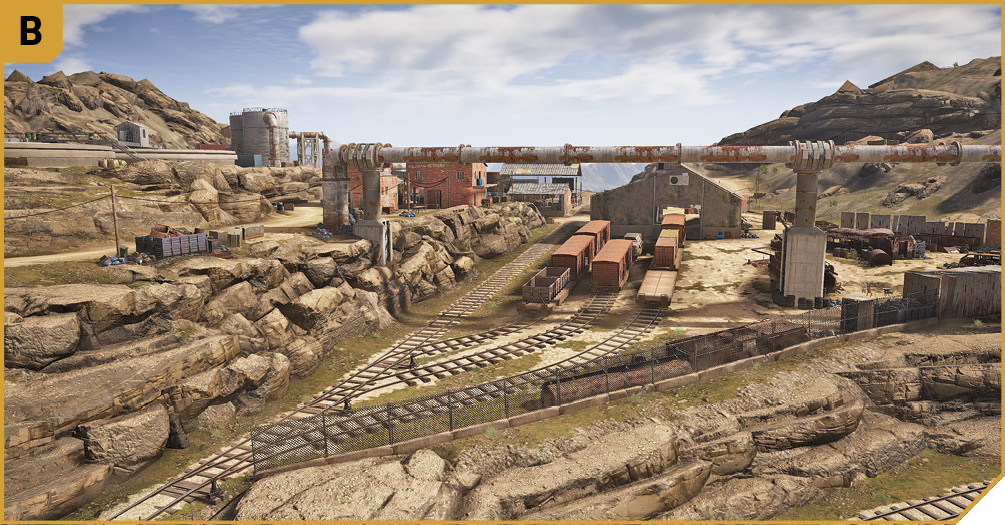
If you’re approaching on foot, which makes you much more visible than driving an unmarked vehicle, one way in is via the railroad tracks heading east, over the main road, and up between the warehouses and propane tanks to the helipad, and the truck. The rocky north side of the tracks keeps you hidden for some of the way.
North Outcrop
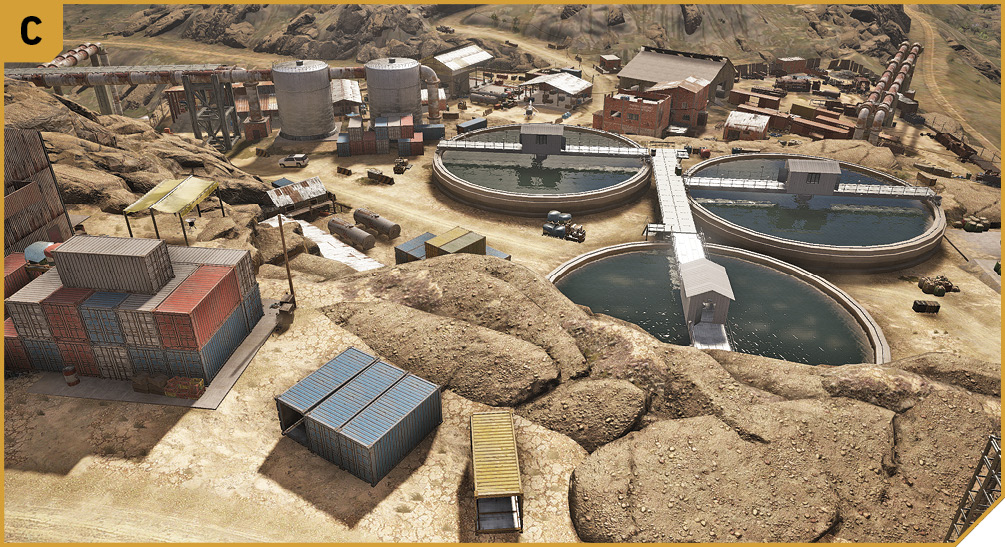
Though trekking up and around the hills above the three huge vats is a terrible way to reach the target vehicle, remaining up here to snipe at the cluster of foes on the vat platforms is acceptable, as long as additional teammates are neutralizing the other foes before they spot one of their own succumbing to your bullets. Otherwise, this spot is irrelevant to your operation.
South Road
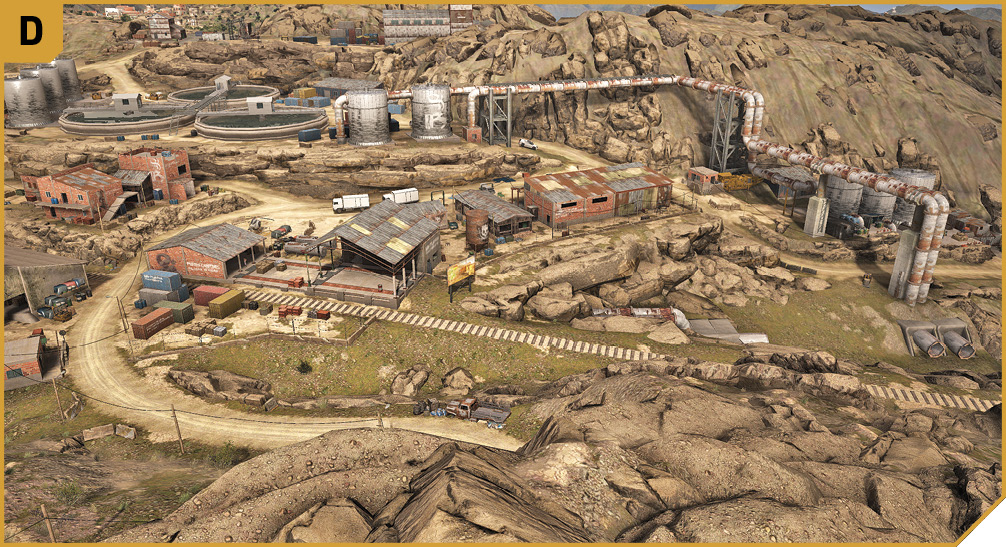
An alternate path into the mine base is via this south road, though you’re usually spotted by the foe at the small brick checkpoint building by the railroad tracks. However, if you’re approaching on foot, and can tag the guard at the checkpoint through the window, and a second foe in the open warehouse to the left of the propane tanks, you can creep to the truck with minimal worries.
Southeast Road
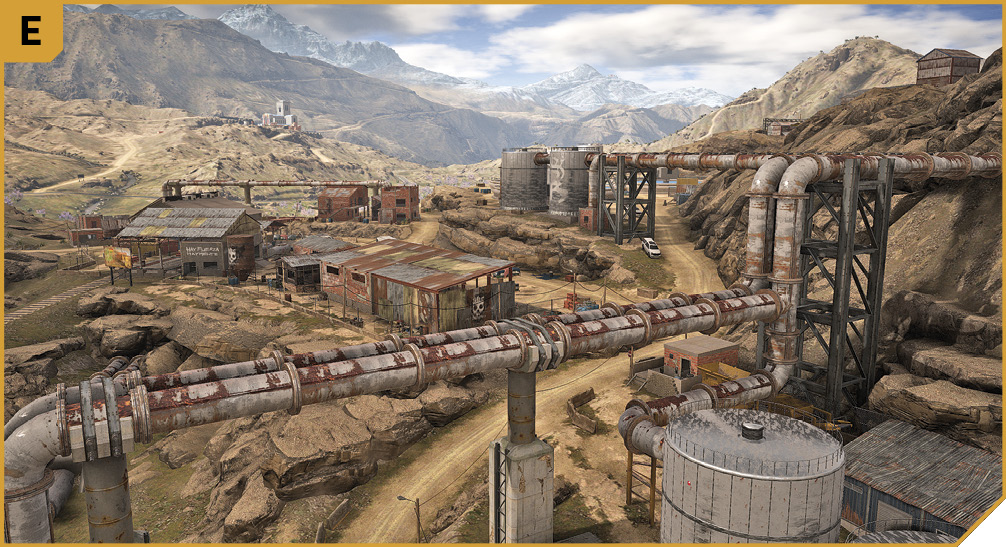
This isn’t a particularly cunning way to enter the mine base, as foes are too close to the road and may see you driving in. But if you must neutralize foes with stealth takedowns, it’s relatively easy to work building-to-building from here to the target truck.
Pipe Platform
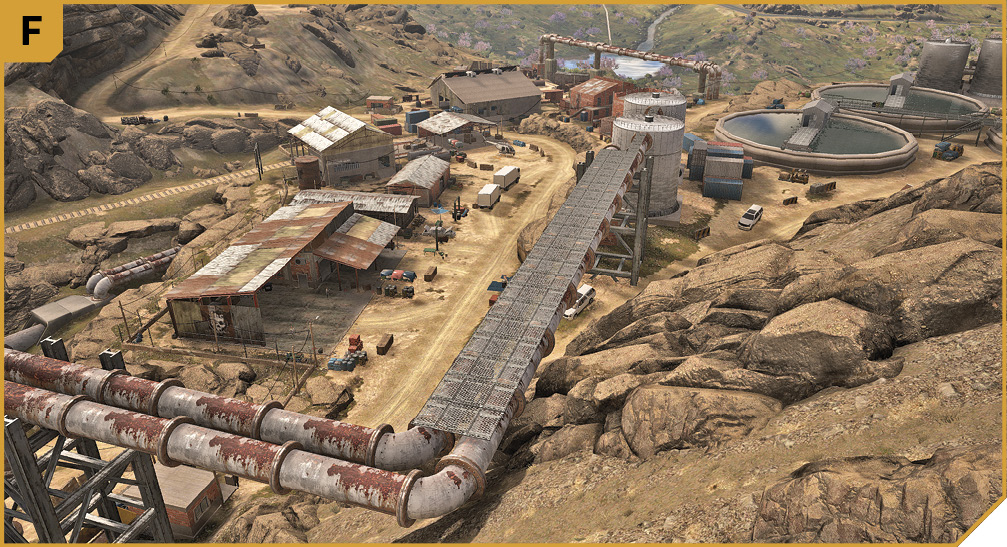
One of the most entertaining methods of neutralizing this entire base is to step onto the huge pipes from the hillside, and move west atop the cylinder towers. You can drop foes at the vats, the captain and cluster of enemies by the railroad, and you can drop down to a crawl to stop foes seeing you and the mission failing. Remain here until only a few stragglers are left. The only problem is getting down; the drop can kill you, so backtrack or let someone else steal the truck.
|
 Target: Truck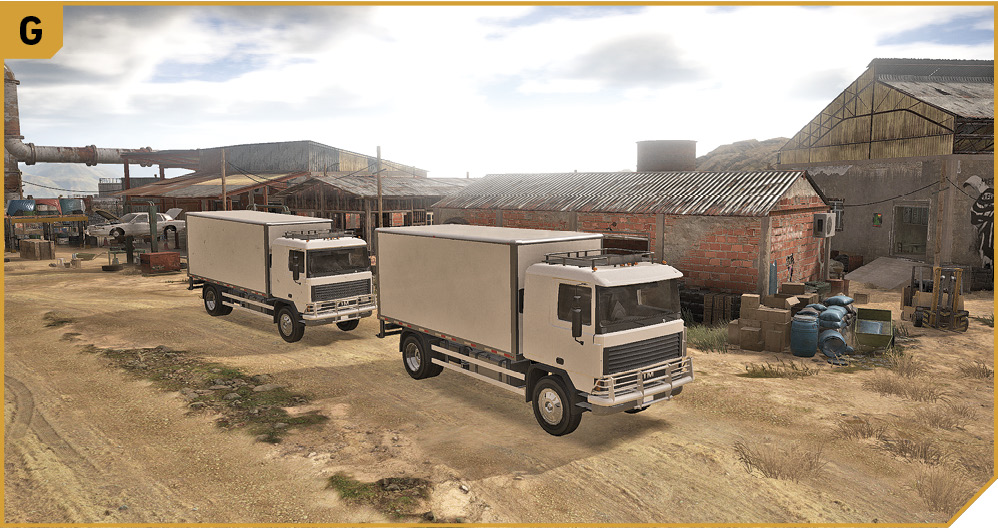
|
 Target: Rebel Rendezvous Point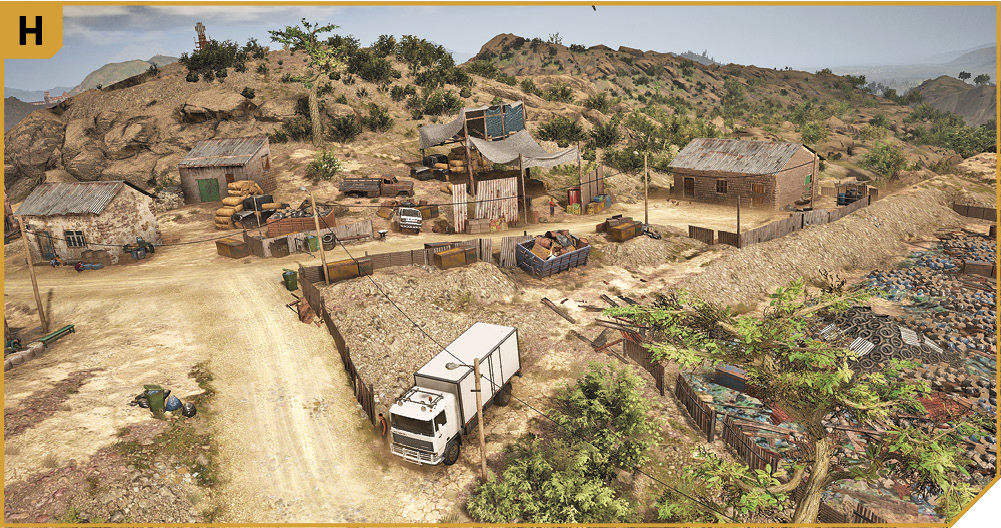
Uma Mine Truck Maneuvers: Tactical Advice
 You’re not here to clear this area of hostiles. Instead, drive into the base via one of the main arterial roads (the one to Uma Marca town is ideal, as it’s the route you’ll be taking when you swap trucks). Park close to the truck you’re about to steal, swap vehicles, and simply drive it up to the rebel rendezvous point. After chatting to the rebel, make the route back here, driving with due care and attention. Once you drop off the truck, the mission concludes. Hopefully without a shot being fired, as foes aren’t actively watching the truck-stealing area.
Or, you can sneak in from any of the recommended directions listed earlier (down from F has the fewest foes to sneak past).
 The only real difference in strategies here is that you don’t need more than a single Ghost to complete this task, though you can station one already in the explosives-laden truck at H to quicken the time. As more Ghosts equals a greater chance of being seen, keep most of your team out of the mission area.
Or, you can systematically execute every foe in silence, with the added problem that a timer is counting down from three minutes once you’re inside the mine base, and that any dead bodies or witnessed death fails the mission. So this is completely unnecessary. If you feel the need to challenge your teammates and try this, make sure you hit each of the three clusters of enemies in unison, with quick crossfire takedowns, and move to the next with stealthy haste.
Alternatively, have three of your teammates take down the foes while one Ghost completes the actual truck-based objectives.
A Stealth Extrication
Once you’ve parked up the new truck in the same position as you stole the old one from, simply slip away from this location, ideally in the vehicle you used to drive here, though the stealing of the nearby chopper is also an option. Engaging the enemy, as ever, is not called for, though it can be done with impunity once the mission is complete.