
Tom Clancy's Ghost Recon: Wildlands Guide Welcome to Bolivia Remanzo: El Gato
The Mule Doctors (Optional)

Objectives
- Kill the Santa Blanca doctors (3)
LOCATIONS
- Marcavi (Clinic)
REWARDS
- + 1,000 XP
Brief
We’ve learned that Santa Blanca is operating a crude surgical clinic in Remanzo where doctors are stuffing people with balloons of cocaine to smuggle out of the country. Locate the clinic and kill these doctors.
First, Do Some Harm
Just southeast of Remanzo Bravo, across the rugged hillside, is the cartel-occupied settlement of Marcavi. Concentrating your recon on the southern edge of town, you’re here to ascertain the location of three Santa Blanca doctors responsible for sewing up innocents with balloons full of cocaine, and neutralize them, along with any other foes you deem necessary. Time to burst their bubbles.
Marcavi (Clinic): Recon
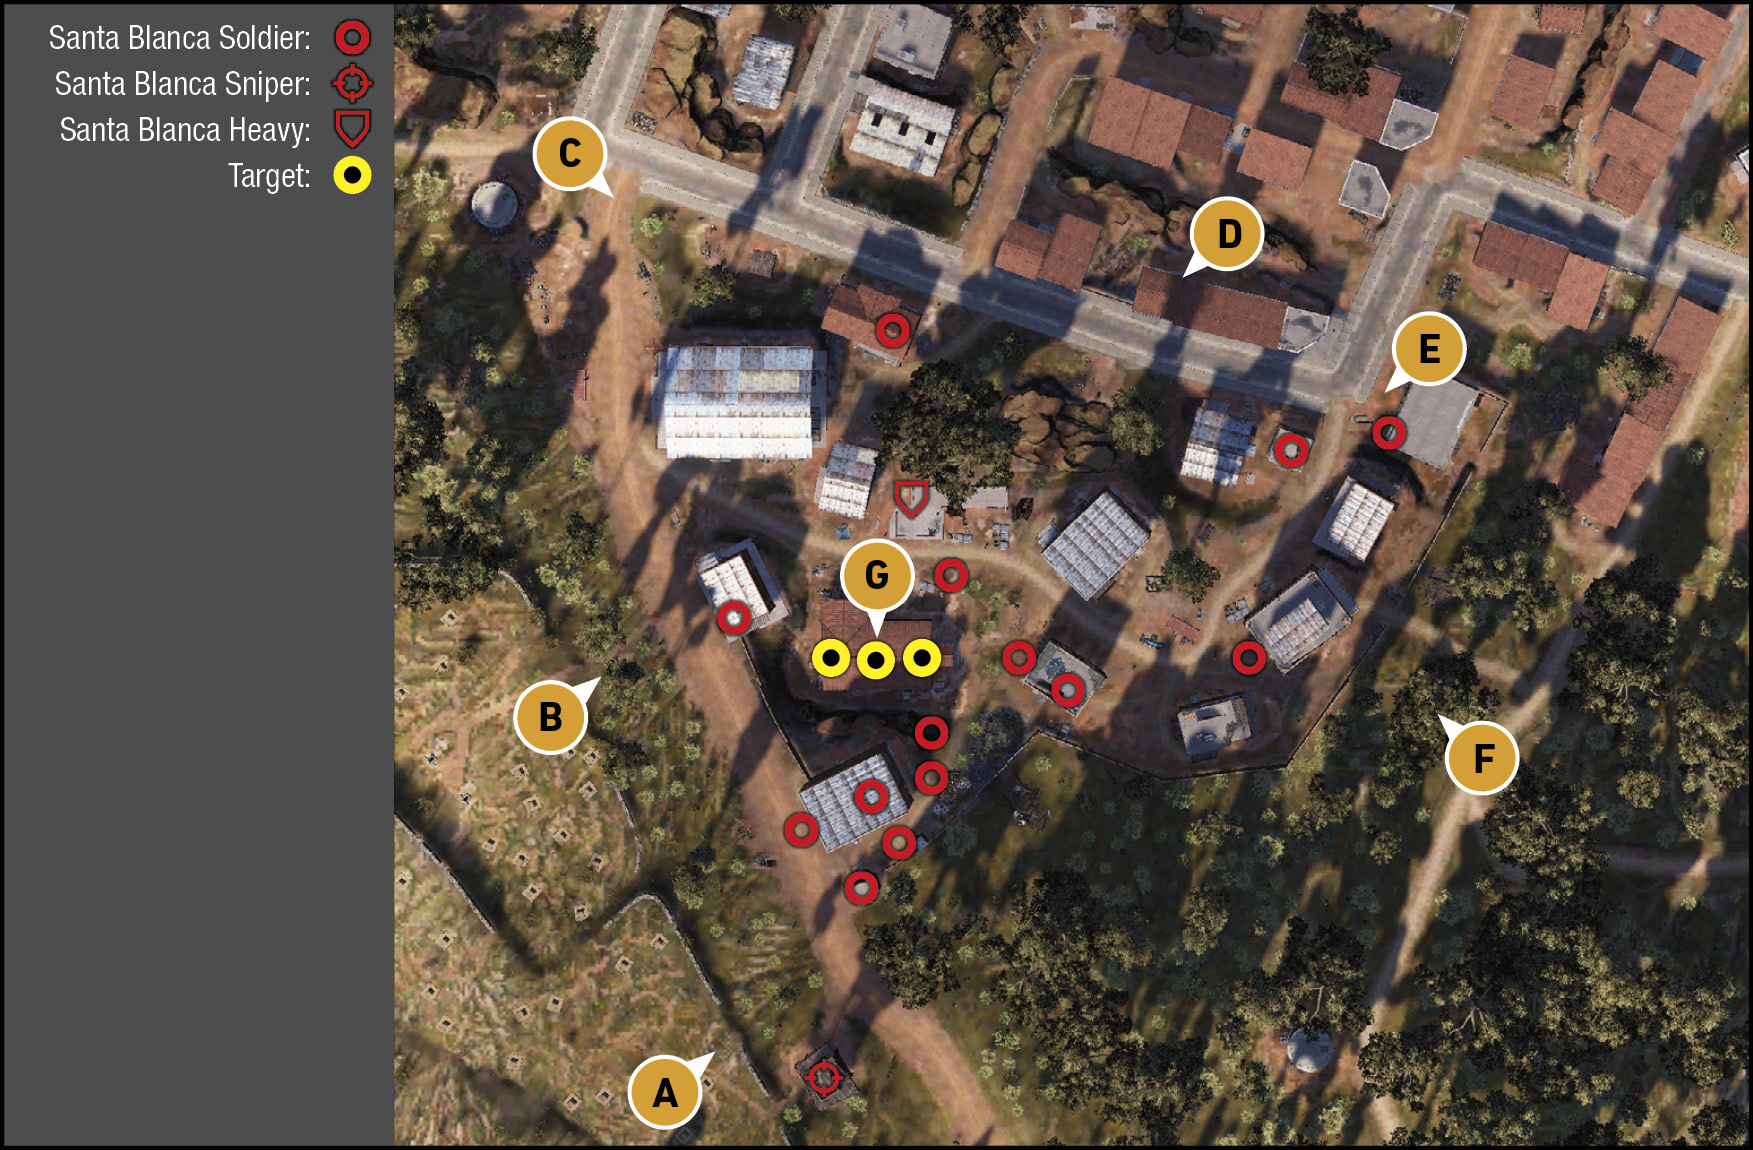
TACMAP
This is a tactically straightforward location to storm, with the biggest concerns being a sniper on the road in a tower to the south, and an armored enemy prowling the northern part of the area. Aside from some perimeter fencing to the southeast and southwest, the area is open, features numerous buildings to hide in and sweep through, and a cluster of foes around the clinic itself. Aside from properly reconnoitering enemies inside or on rooftops of buildings, you can get a good view and knowledge almost immediately.
South: Sniper Tower and Main Road
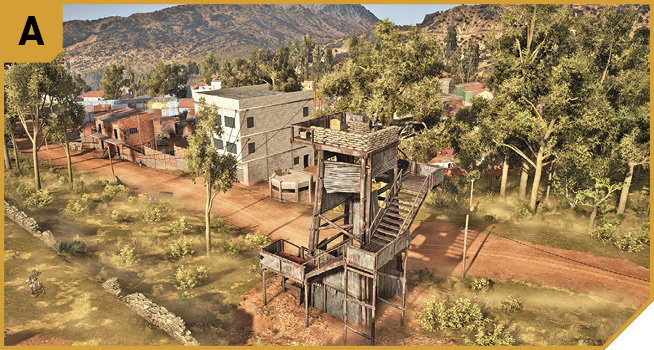
Whether you’re approaching from the south or elsewhere, the sniper atop the wooden tower is an obvious and priority kill. Afterward, feel free to use the tower he was sniping from to peer down at the mission area, so you can study the area more closely, or provide support fire for teammates heading into the clinic itself.
When heading down from the grassy hill, there’s a foe in the pillbox, and a patrolling guard or two in the general area. The tall breezeblock garage building is a good one to slip into, as the open door on the north corner overlooks the target clinic building. Just be aware of the foes below you (and one upstairs, which has windows overlooking the main cluster of foes to the north, which you can snipe after breaking a window). If you’re after a quick in-and-out storming, you can’t do much better than infiltrating from here.
West: Graveyard and Brick Corner Barracks
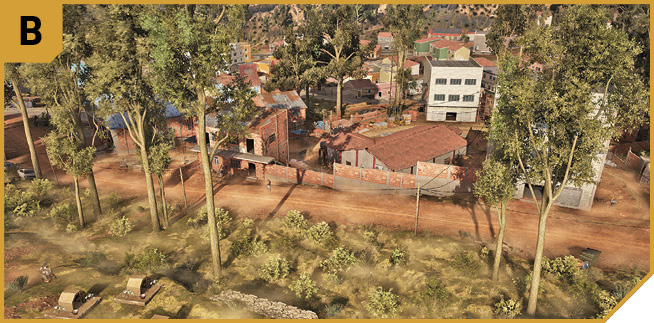
Heading down from the graveyard gives you cover, though you can’t actually see many of the foes over the brick wall along the south perimeter of the area. To the left (northwest) of the wall by the road junction is a brick structure with scaffolding. Enter, shoot out the windows in the right corner, and you can hop through, and storm the clinic which is directly ahead and below you; extremely close by. Watch for a foe on the upper floor of this building, which is only accessible by outside steps on the southeast side of the structure. The upstairs is a temporary barracks; check there during nighttime raids for a number of foes you can quickly cull.
Northwest: Road Junction and Chapel
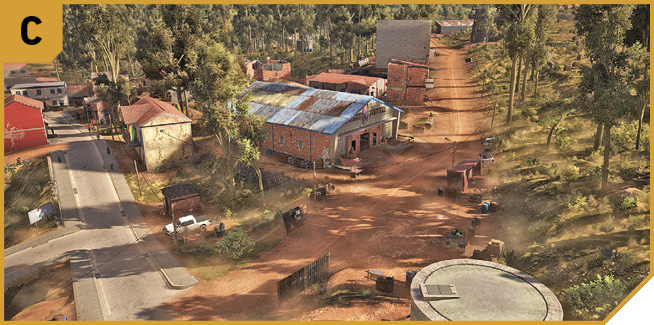
Consider this the northwestern limits of the area; you don’t need to investigate the town of Marcavi in a more northerly direction than this. The chapel just southeast of the road junction offers cover, has barred windows you can’t jump through, but can shoot out of (directly at the foes around the clinic), and there’s good cover for moving east, sweeping the immediate area for foes. Farther east is a blue building with an upper balcony and partly obscured views of the clinic. Watch for an armored foe in this general area.
North: The Red House
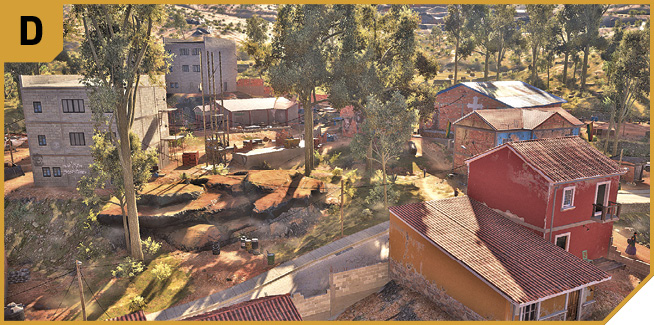
The deep red-colored house and lower roof extension, near the concrete block wall and rowhouses to the east, is a great sniping and recon spot. You can climb onto the low roof, or shoot from either floor of the interior of the house itself. There’s a direct view of the clinic (around 120 meters away), making it a great cover and support spot. Foes don’t usually swarm this area (at least, to begin with), so you’re usually able to easily wipe out those investigating you, if you make too much noise.
Northeast: Police Station and Building Site
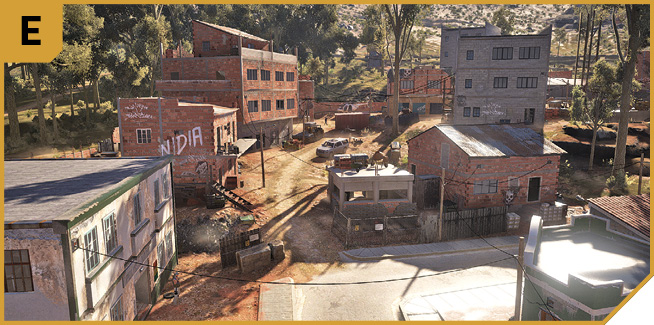
Watch for a small number of foes in this edge of the area, including one in the old police station. Two buildings south of the station, up the hill, is a four-story brick structure with a garage door at ground level, and interior stairs up to a balcony offering excellent ranged-fire opportunities at the majority of the enemies to the southwest, as well as the clinic. This is preferable to the buildings on either side, which can also offer cover and sniping potential, though they aren’t as high.
East: Building Site (Continued)
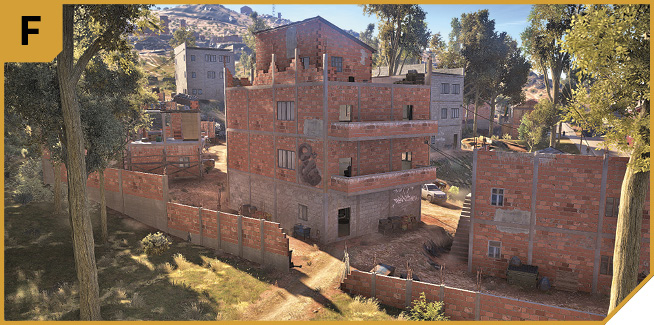
Note the hole in the perimeter wall that runs southeast to A at this point, behind the four-story brick structure mentioned earlier. Farther west is a three-story barracks (near a chopper), and a three-story grey concrete building just north of it. Both offer perfect views of the clinic, and you can shoot out from windows on the upper floors and clear the enemies in the vicinity, though many are on the street in and around both structures.
|
 Target: Dispensario (Clinic) and Three Doctors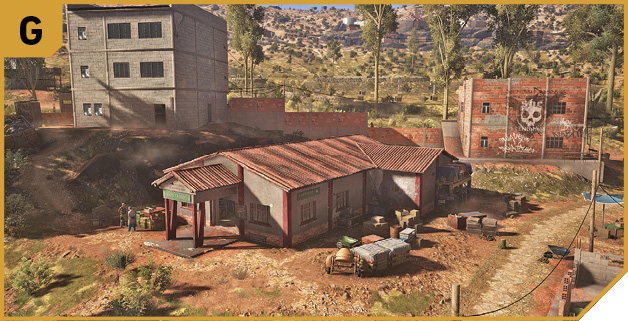
Marcavi (Clinic): Other Tactical Advice
 If you’re concentrating on neutralizing just the doctors, enter via B or C, and run across to the clinic so you enter it without anyone seeing you. Then execute the doctors, and leave up the exterior concrete steps and over the southwest brick wall near B.
Or, start with the foes outside the brick perimeter wall, beginning with the sniper and pillbox foe at A. From the pillbox, move either through the graveyard to C, or around the woods to E, and start picking off single foes outside the main cluster. Let the enemies come to you, and when you’ve thinned them out enough, point your team at the main areas where enemies are left, and assault the structures just west of the clinic, before finally taking down the doctors.
Grenades are usually okay to use after the first shots are fired, and the innocent population scatters. You could also land a helicopter on the roof of the flat tall buildings close to the clinic, or the roof of the clinic itself, and storm the place. Feel free to fly a drone with explosives into the clinic to take out one or two of the doctors at once.
 A more proficient way to remove the exterior enemies is to execute a pincer maneuver, with two Ghosts starting at A, B, or C, and two others beginning at D or E. Have a Ghost remain at D for long-range takedowns, while the other moves up the hill toward the buildings west of F. Meanwhile the Ghosts at A, B, or C neutralize the sniper, then take up positions in buildings adjacent to the clinic. Have one Ghost lob in a flashbang or smoke grenade, and either storm the place or wait for the doctors to stagger out, before completing the kills.