
Tom Clancy's Ghost Recon: Wildlands Guide Welcome to Bolivia Media Luna: El Comandante
El Comandante
Objectives
- Kill El Comandante
- Identify the body
LOCATIONS
- M.O.B. Condor
REWARDS
- + 1,000 XP
- +5 Skill Points
- Assault Rifle: El Comandante
Brief
Santa Blanca has learned of El Comandante’s treachery and is sending a force to take him out. We need to get to him first and ID him before Santa Blanca makes him—and his crimes—disappear. Get to El Comandante, kill him, and confirm his ID.
Command and Control
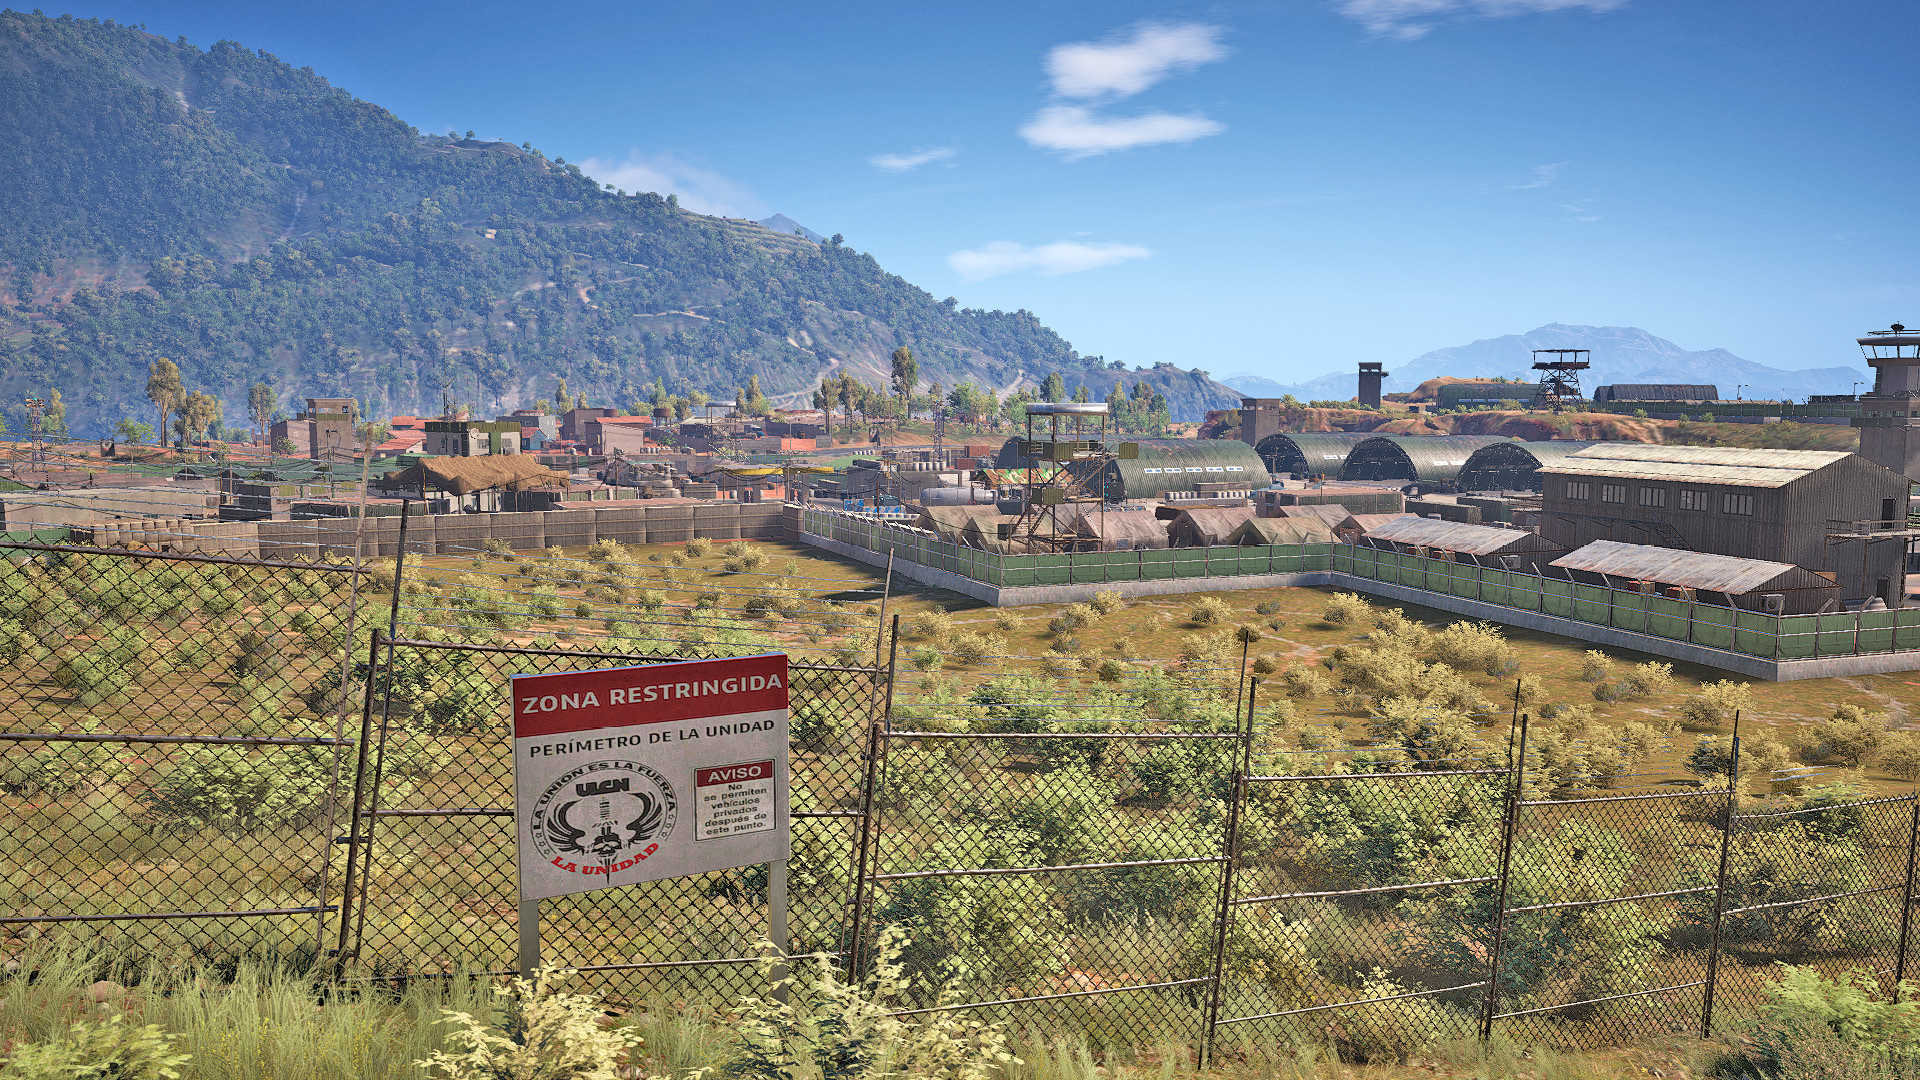
About a click south of Media Luna Alpha is the biggest Unidad base in the province, if not the country. You’re here to find El Comandante, kill him, and ID his corpse. Of course, you’re not the only ones here.
M.O.B. Condor: Recon
Northeast: Main Entrance

Expect a fierce firefight to be erupting as you drive along the main road bisecting the base and the trading village of Junin to the east. There’s little time for subtlety; you need to get into this base, and this is the closest point to the HQ building where El Comandante is. There are four ways in at this point. You can:
Drive in, using the main road that ends directly at the HQ building.
Rush on foot, stepping through the entrance, then the doorway on the right (north) side leading to a row of barracks tents and a small hospital building. This allows for a more tactical view of the HQ building, and the possibility of surrounding and storming it from all sides, as the only foes in this area (aside from at the HQ) are engaged in attacking the cartel or atop the sniper towers to the north.
Rush on foot, heading to the pile of tires before the entrance, and through a doorway, which also leads into the barracks area.
Rush on foot, or bike, or vehicle, and drive northward, between the wire outer fencing and metal walled fence of the base. This allows you to drive between the two perimeter walls in a counter-clockwise direction, all the way to D (and that’s the only reason to do it!).
East: Main Entrance
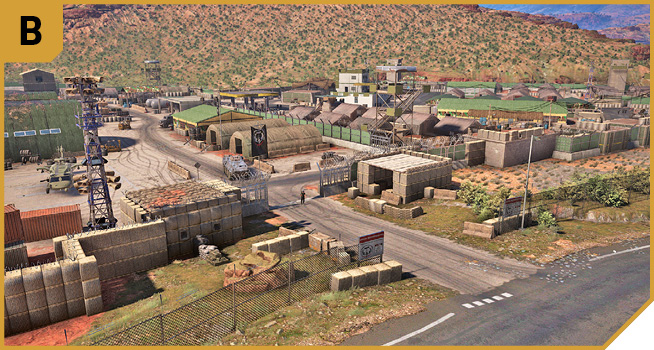
Just like at the northeast entrance, expect parked vehicles, cartel members engaging in a fierce firefight, and Unidad forces moving in to prevent the insertion.
However, this main gate has fewer infiltration possibilities than A; you can only head west through the open gates, or south between the two perimeter walls to reach E or D (the latter of which isn’t really recommended).
Once inside this gate, you’re on the north side of the hangars, with some of the finest Unidad vehicles to hijack, including an APC and gunship. The only problem with the helicopter is the SAM launchers (there are three of them), which can cause trouble when you’re airborne, but the weaponry can neutralize them at the expense of a quicker in-and-out operation.
M.O.B. Condor: Recon
TACMAP
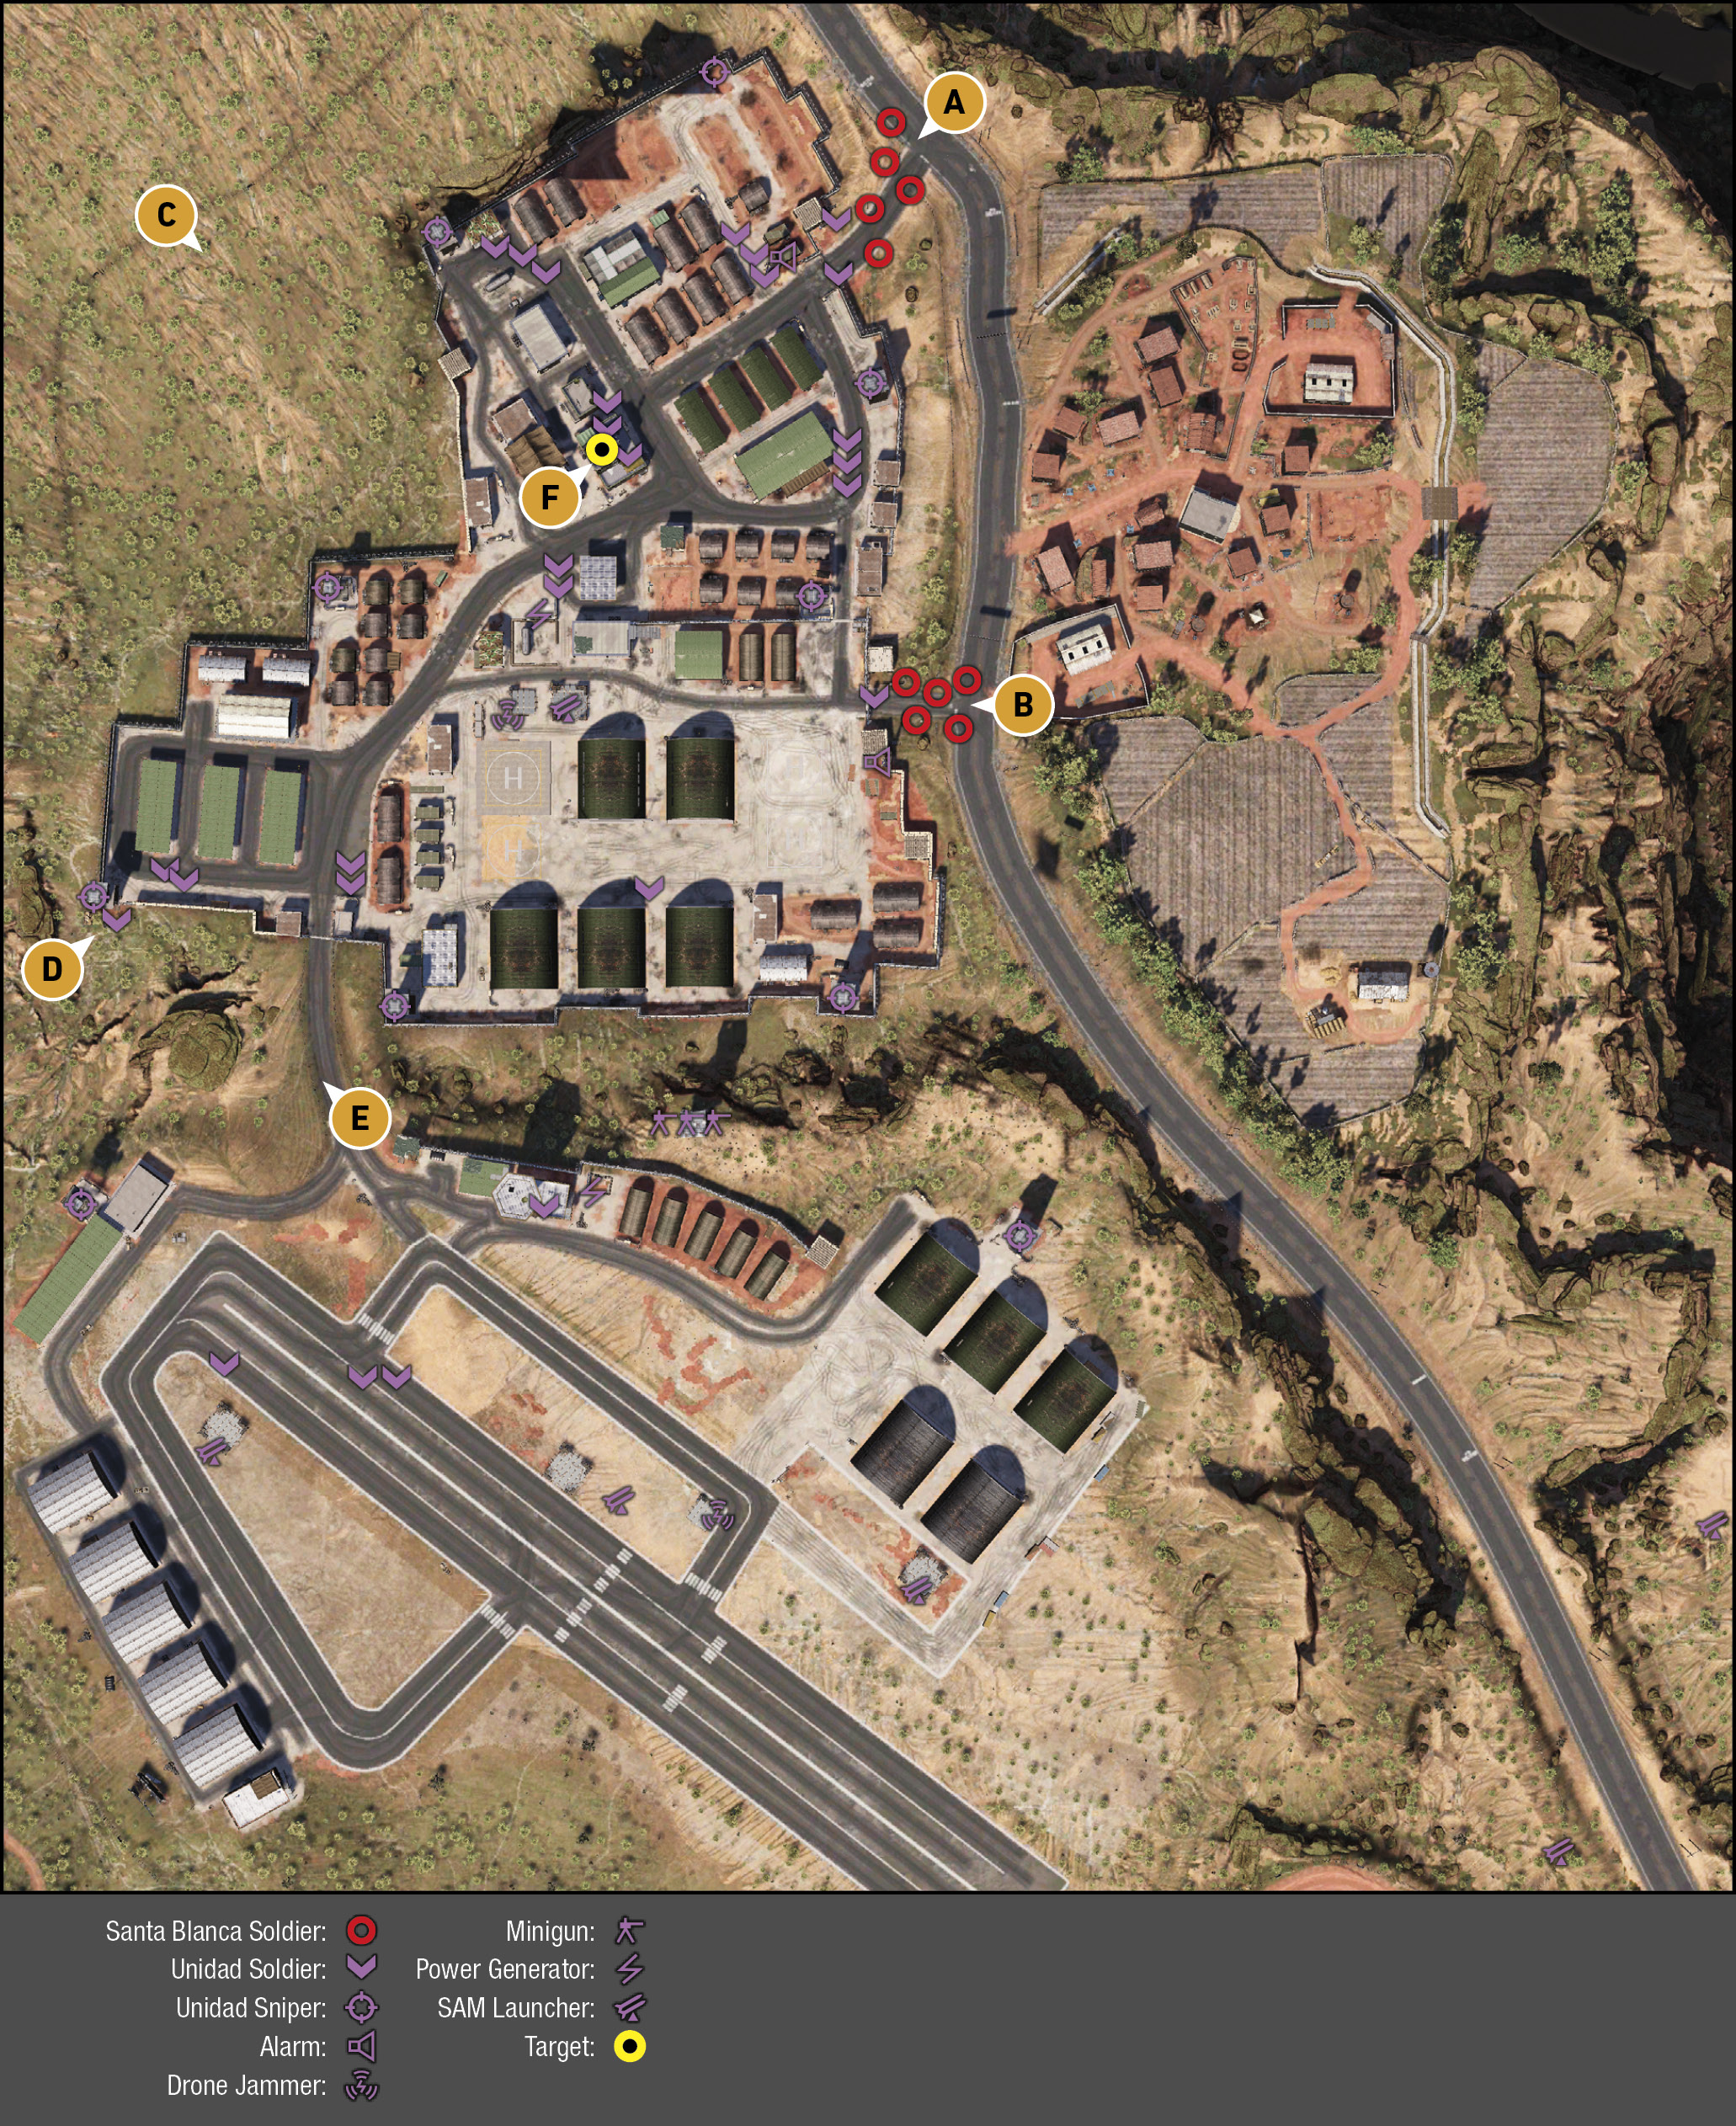
A massive mobile operations base, “Condor,” has a huge airfield to the south, a hangar with some interesting gunships to steal in the center, and a small city of barracks, assault courses, and other structures clustered in the northern area. However, completely surrounding the almost impenetrable chain-link fencing is an outer wire fence, effectively doubling the effort it takes to get in here (though the outer fence is destroyed if you run through it with a vehicle). An initial recon reveals your options are basically limited to brute force, a rush through the main entrances, or a helicopter landing and infiltration from just inside the fencing.
Northwest: Perimeter Fencing

This barbed-wire and chain-link fence runs the entire perimeter of the base, around the south side of the airport, and the only accessible areas are the main gates at A and B. You can’t climb it, but you can drive through it in a vehicle. However, as the inner perimeter wall is much sturdier, there are limited reasons why you should demolish this fence—foremost, to get to D or E.
The other reason to move to the hillside surrounding the base is to study the topography and learn exactly where the HQ building is in relation to the other structures.
Southwest: Infiltration Point

Head here on foot if you’ve moved between the two perimeter fences at some point, or used a vehicle to smash through the chain-link fence elsewhere. Though this is well away from the HQ building, it’s worth considering, as there are few foes (just watch for snipers atop the towers), and the doorway leads into the truck parking lot, where you can easily find a vehicle to speed through the base and park near the HQ building.
South: Airport Road
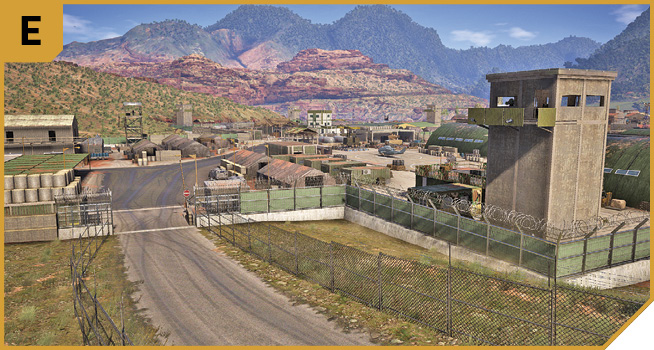
If you’ve driven through the chain-link fence, landed at the airport, and/or stolen one (or more) of the APCs parked at the north side of the airport, head through here, the only other accessible road into the base. Finding Unidad vehicles elsewhere that are well-armored, and then converging on the HQ building, allows you extra protection during the execution and identification of the target.
|
 Target: El Comandante (HQ Building)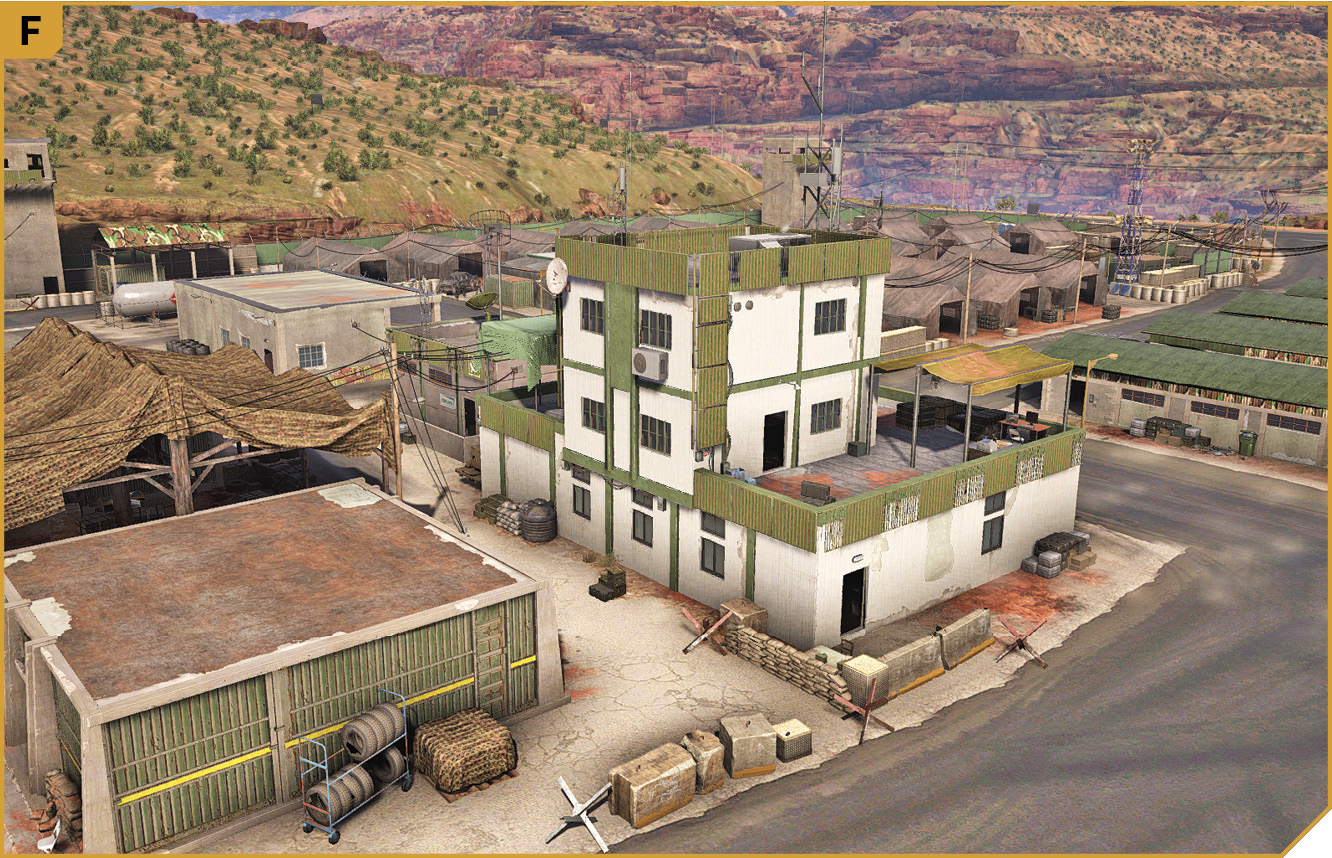
M.O.B. Condor: Tactical Advice
 Figuring out El Comandante’s location is quite a task in itself, but as this has been done, try the easiest method—brute-force insertion with a heavy vehicle. Drive an APC or military-style truck or SUV in through A, all the way to the HQ building. As you arrive, look at both entrances and see which has the most foes. Feel free to strafe the area with vehicular weapon fire. Then get out, lob in a flashbang, and storm the HQ building, staying inside and moving quickly from room to room until the target yields. Leave using the same vehicle.
Other options include approaching from a different direction by vehicle (B or E).
If you’re on foot, head through the doorway on the right (north) side of the entrance at A, dart through the barracks, around to the area north of the HQ building, then close in, storming the HQ with flashbangs. When the target is down, pick a nearby Unidad vehicle and escape in it.
Other options include approaching from a different direction on foot (from D).
The only other option is to land on a nearby flat-roofed building (either of the armories just southwest of the HQ building) by helicopter, storm the building, and climb back up to escape in it afterward.
Or parachute onto the balcony of the HQ building.
 With three friends, you have the additional option of approaching in a convoy, from the same or different directions. With this extra vehicular muscle, you can wipe out enemies, park in a defensive line, storm the HQ building from the north and south doorways at the same time, and leave little room for El Comandante to get the upper hand.