
Tom Clancy's Ghost Recon: Wildlands Guide Welcome to Bolivia Ocoro: El Emisario
Cooking with Coca

Objectives
- Destroy all ovens and mixers
LOCATIONS
- Coca Paste Factory
REWARDS
- + 350 XP
Brief
The cartel is operating a coca paste lab inside a converted fish processing plant in Ocoro. Destroying the lab’s ovens and mixers should disable it completely.
Light it up, then flee the factory
Head to the northern edge of Ocoro, near the border with P. N. De Agua Verde, and make sure you complete a thorough reconnoiter of the area. Though the factory seems to be initially reasonable to infiltrate, the sheer number of foes in the main forecourt just east of the factory itself makes stealth takedowns something of a novelty. But there are ways to get in and out without this turning into a bloodbath.
Coca Paste Factory: Recon

TACMAP
The majority of this factory is perched on a large rocky peninsula, lessening the number of infiltration points. The concentration of foes inside and around the factory makes a stroll down the factory road from the main entrance an almost impossible affair. Engage the enemy, and expect a cartel helicopter to appear as the combat takes a turn for the chaotic. Bring AA weaponry to this show, if the objective is taking longer than it needs to. Also plan on escape routes; having a friend in a chopper can help you all leave in one piece.
South Sniper Tower

One of your team should be able to easily remove a trio of cartel soldiers, including a sniper so your initial infiltration goes without a hitch. The rickety tower set up here also allows the same Ghost to cover others of the group, as the view from this tower allows shots to be fired all the way to the objective. This is a great location to tag any rooftop enemies inside the factory perimeter, too.
Factory Entrance (South)

You can make short work of the four foes at the entrance, and around the base of the large helipad building. Just watch your fire as there are workers about. It’s worth heading northeast to D at this point, or around the ground area below C to try and reach the western perimeter of the factory itself (I). Simply wandering north along the road gets you spotted and usually killed.
Low Rocks And Container Ramps

You can actually maneuver to the low rocks and set up a sniping spot here if you head in from the road to the south, along the outside of the concrete wall perimeter. You can cover a teammate as they move northwest to the factory, but you’re open to attacks if the base is alerted or a chopper arrives. Use the ramps to make your escape down the rocks to the water if need be.
Rail Yard (East)

You can silently remove the three patrolling guards at this yard and station by moving in from B, or the road to the east. Ridding yourself of these foes is recommended as they can add to the trouble when the main base becomes alerted. Plus, they can be killed quietly and easily.
Docks, Sniper Tower, And Chemical Tunnel

Approach from the west or south by boat, with one of your team sharpshooting the sniper and two dockside foes without alerting the foes at the main factory area. Then disembark, climb the hill heading east, and use the large chemical tunnel to move up and directly into the middle of the factory floor. Here, you can easily tag the mixers and ovens and quickly leave the way you came. Or just use this as a possible escape route; don’t overlook it!
North Infiltration: Conveyor Belt

If you’re not keen on a massive firefight, it’s a better plan to infiltrate over the large rusting pipe, up the boxes, to an L-shaped conveyor belt. Get to this point from C or G. Follow the conveyor belt through an opening into the upper gantry around the perimeter of the factory. Though there are gunmen inside, the height advantage allows you to detonate the objectives easily.
Northeast Infiltration: Railroad

There’s a gap in the corner of the perimeter at the end of the railroad bridge. Make the most of it by circling around to this point, before heading into the factory and starting a vicious firefight, or sneaking west to F, or into the factory without being seen.
Warehouse, Comms, And Armory

The majority of the enemies are located here, and a protracted and fierce battle erupts if you’re spotted by them. Plus, the incoming cartel helicopter can make life very difficult for you. Use the tall warehouse and climb to the roof, enabling you to snipe the enemy chopper pilot, and cover your comrades. Plus, this is a good evac point for a friendly Ghost to land their own chopper, as the warehouse makes good cover as you flee to the roof for extraction.
Down on the ground, fighting is fierce, and the comms and armory buildings are best avoided as you can be easily outflanked.
|
 Target: Coca Factory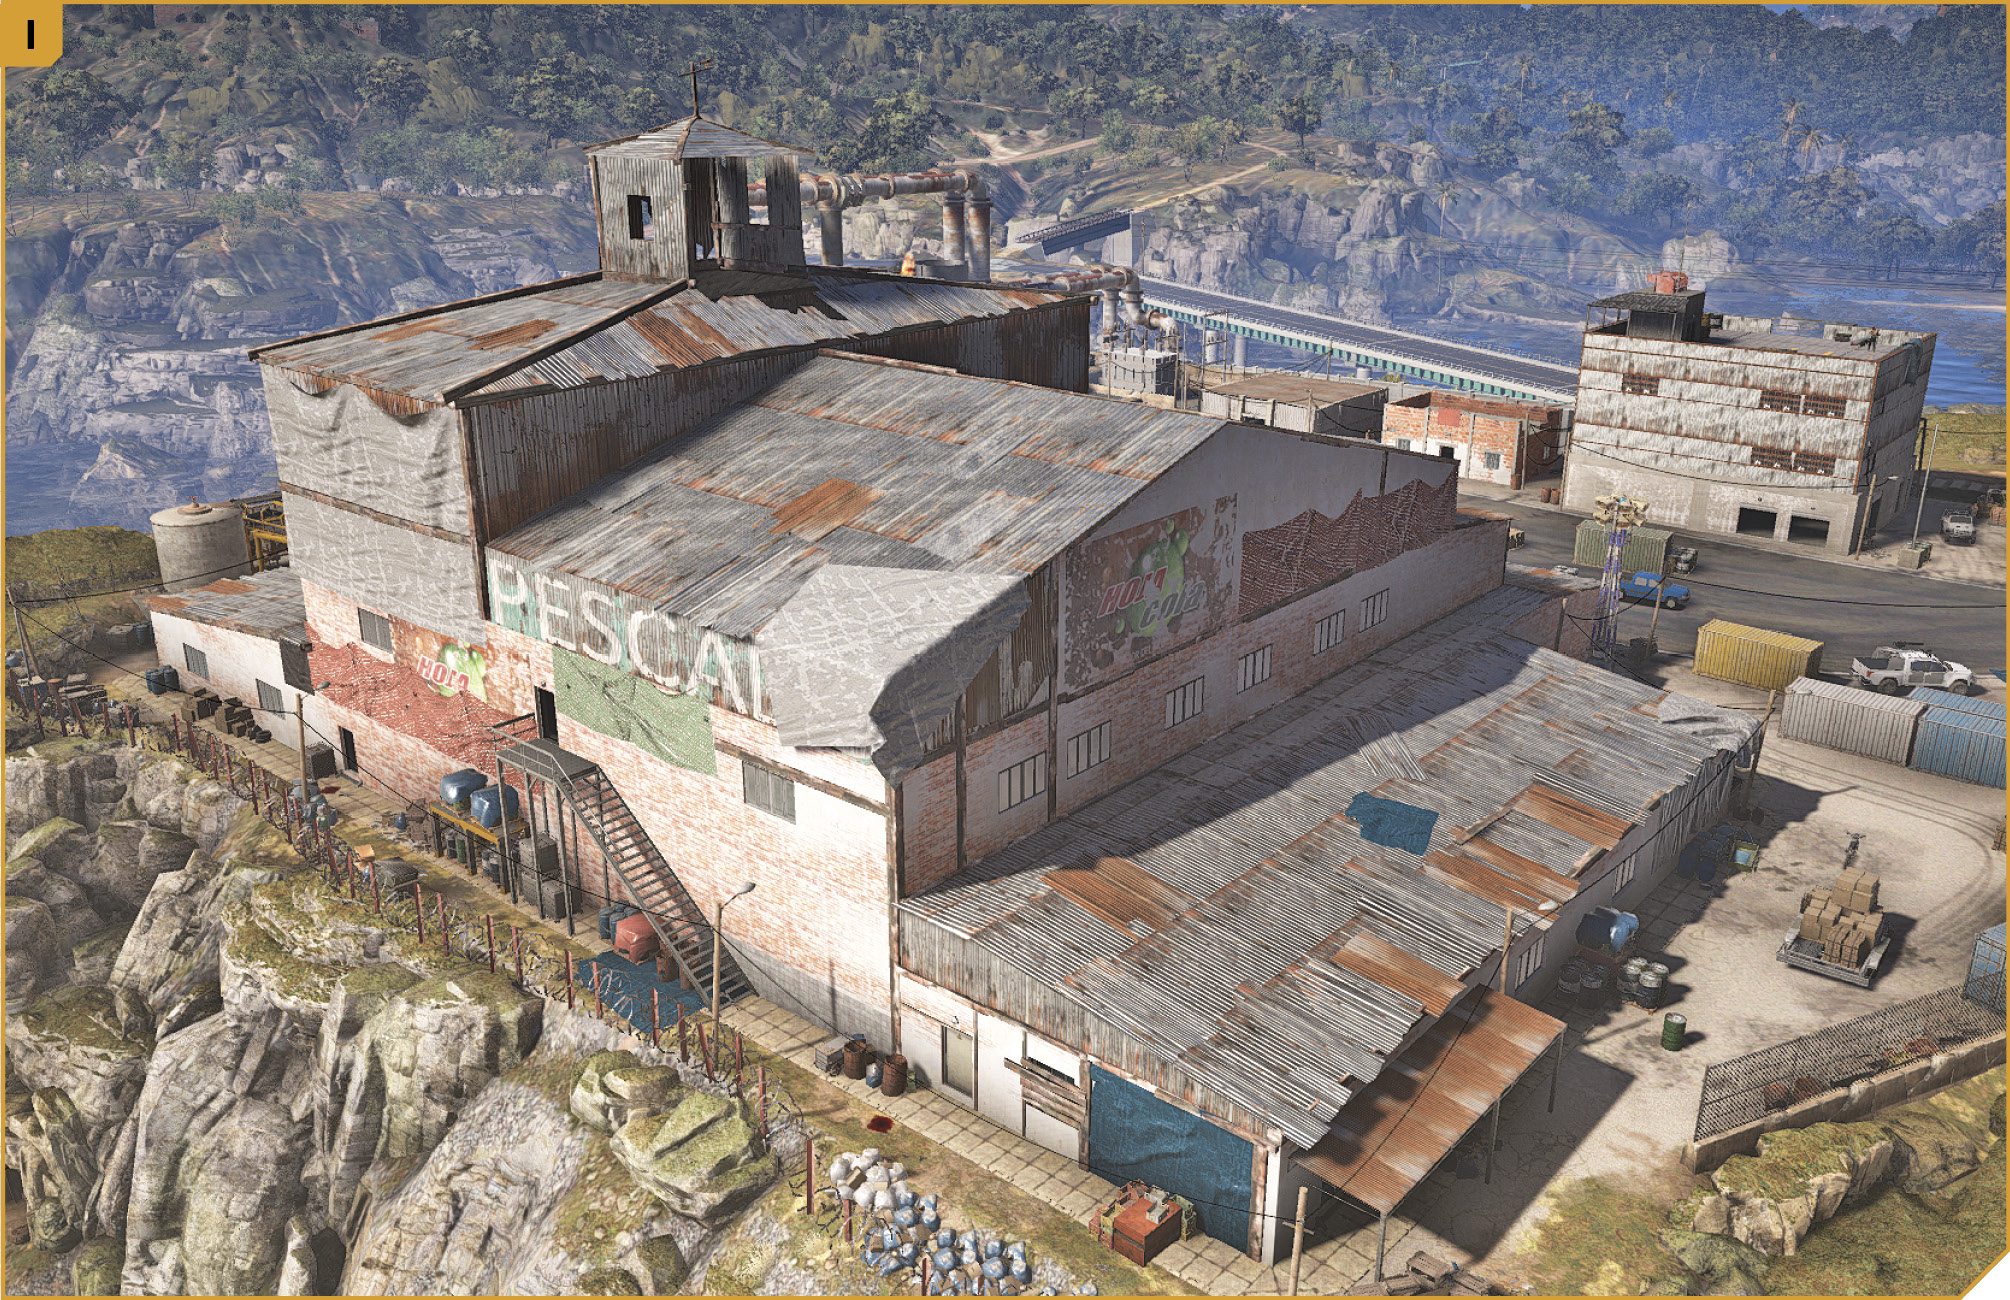


Coca Paste Factory: Tactical Advice
 If you’re able to tackle the foes from a boat at E, entering via the chemical tunnel under the factory is by far the safest plan. When you head up and into the factory, fix some C4, or lob grenades and shoot at the barrels before retreating the way you came.
Or, you can send your teammates into battle at H while you sneak in from B to C, and along the west side of the factory.
 Land a chopper on the factory roof. Split your team so that two approach via water at E, while another heads in around D to reach the helipad warehouse at H, take out the snipers at A as well as enemy choppers, and a fourth “insurance policy” Ghost uses the infiltration point at F. Feel free to swap one of the roles of your Ghosts to a helicopter pilot who can land on either helipad roof to pluck any Ghosts having trouble escaping.