
Tom Clancy's Ghost Recon: Wildlands Guide Welcome to Bolivia Inca Camina: La Cabra
The Drug Lord’s Ride
Objectives
- Locate the Peruvian drug lord’s car
- Steal the drug lord’s car
- Take the drug lord’s car to the delivery point
LOCATIONS
- Inca Camina Base
- Julpe Alto (Garage)
REWARDS
- + 1,000 XP
Brief
El Sueño is sending an expensive car as a gift to one of Peru’s drug lords for signing on with the cartel. The car is located at a heavily guarded freight yard. Enter the freight yard, steal the car, and hide it in a local garage.
Truckin’ In The Tundra
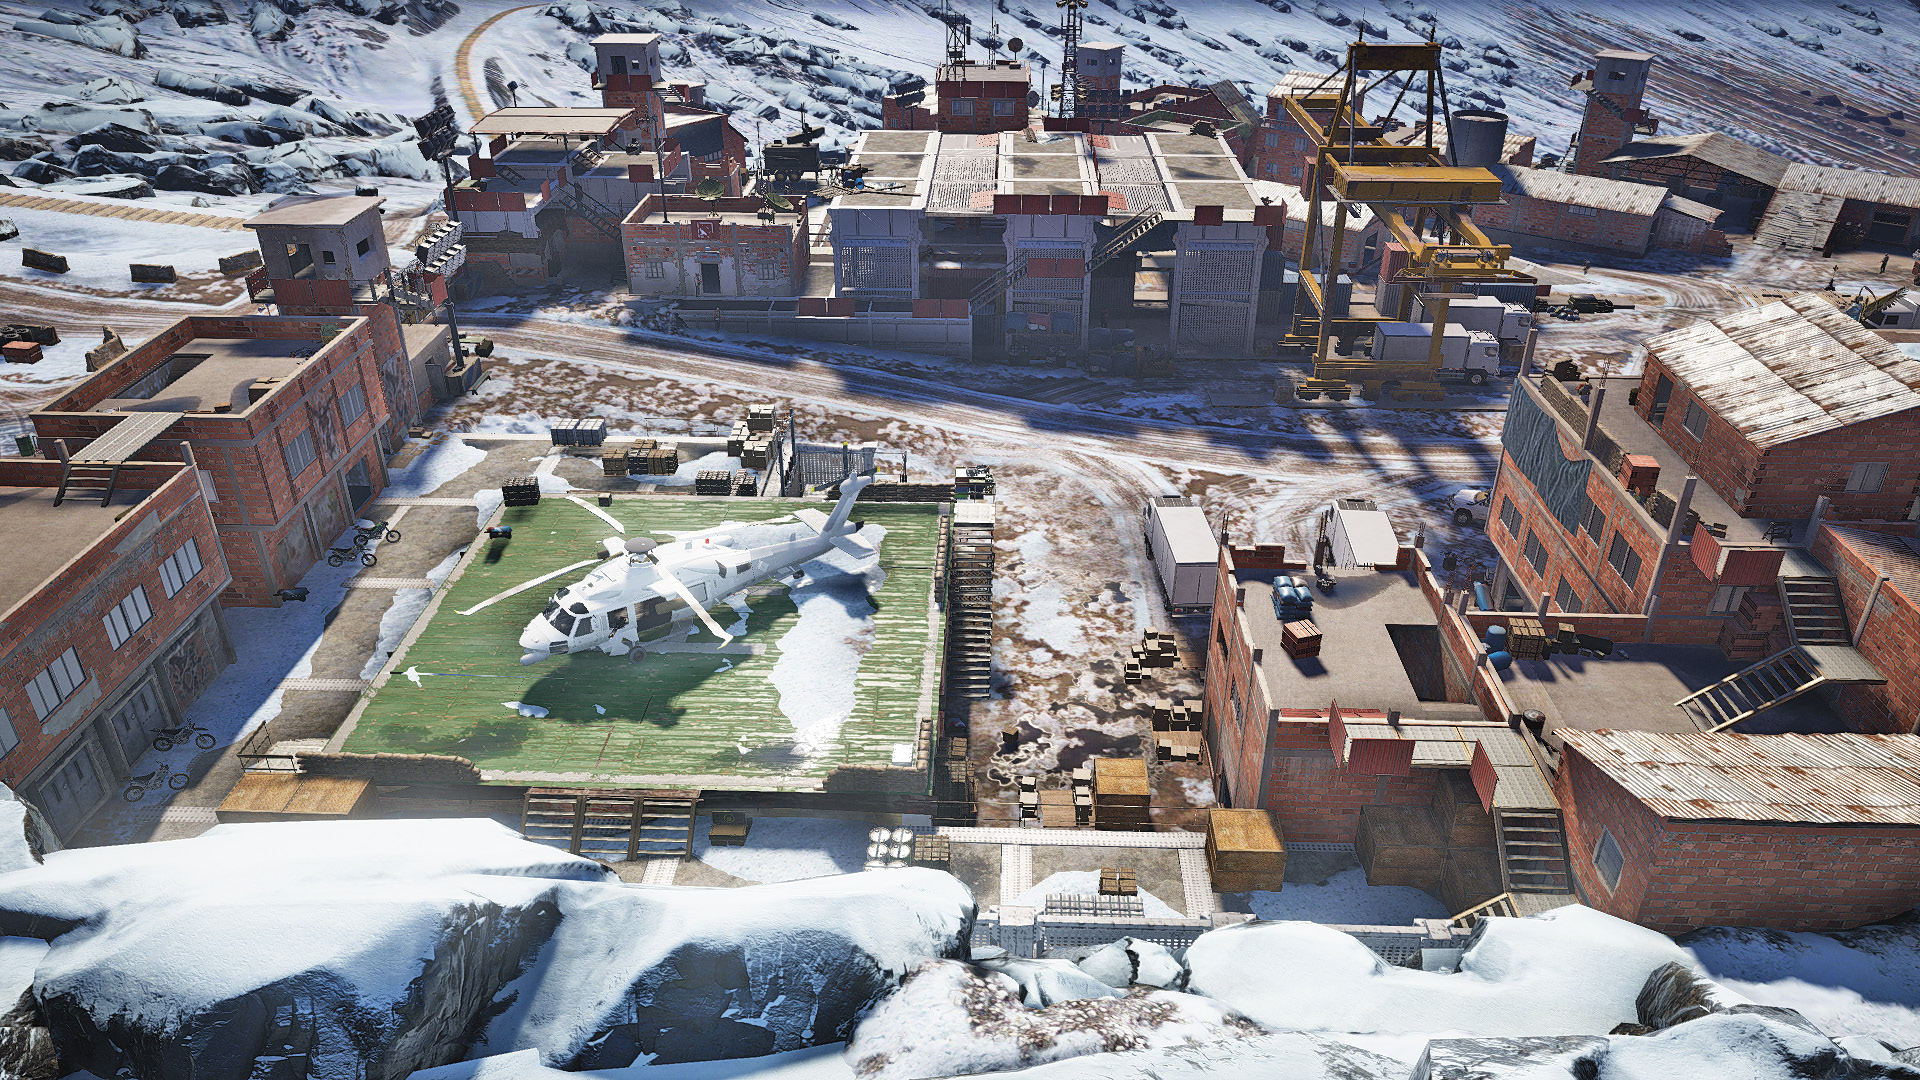
Across the mountain valley, 1.3 kilometers north of Inca Camina Alpha, is a mountain base you can actually see and study from your rally point. The place is crowded with enemies; there are around 40 within the walls (including a group of three and two who patrol outside a little ways to the southeast). With a drone jammer and a mortar, this place can be tricky to infiltrate. Fortunately, once you ascertain where the vehicle is, it becomes a whole lot easier.
Inca Camina Base: Recon
TACMAP
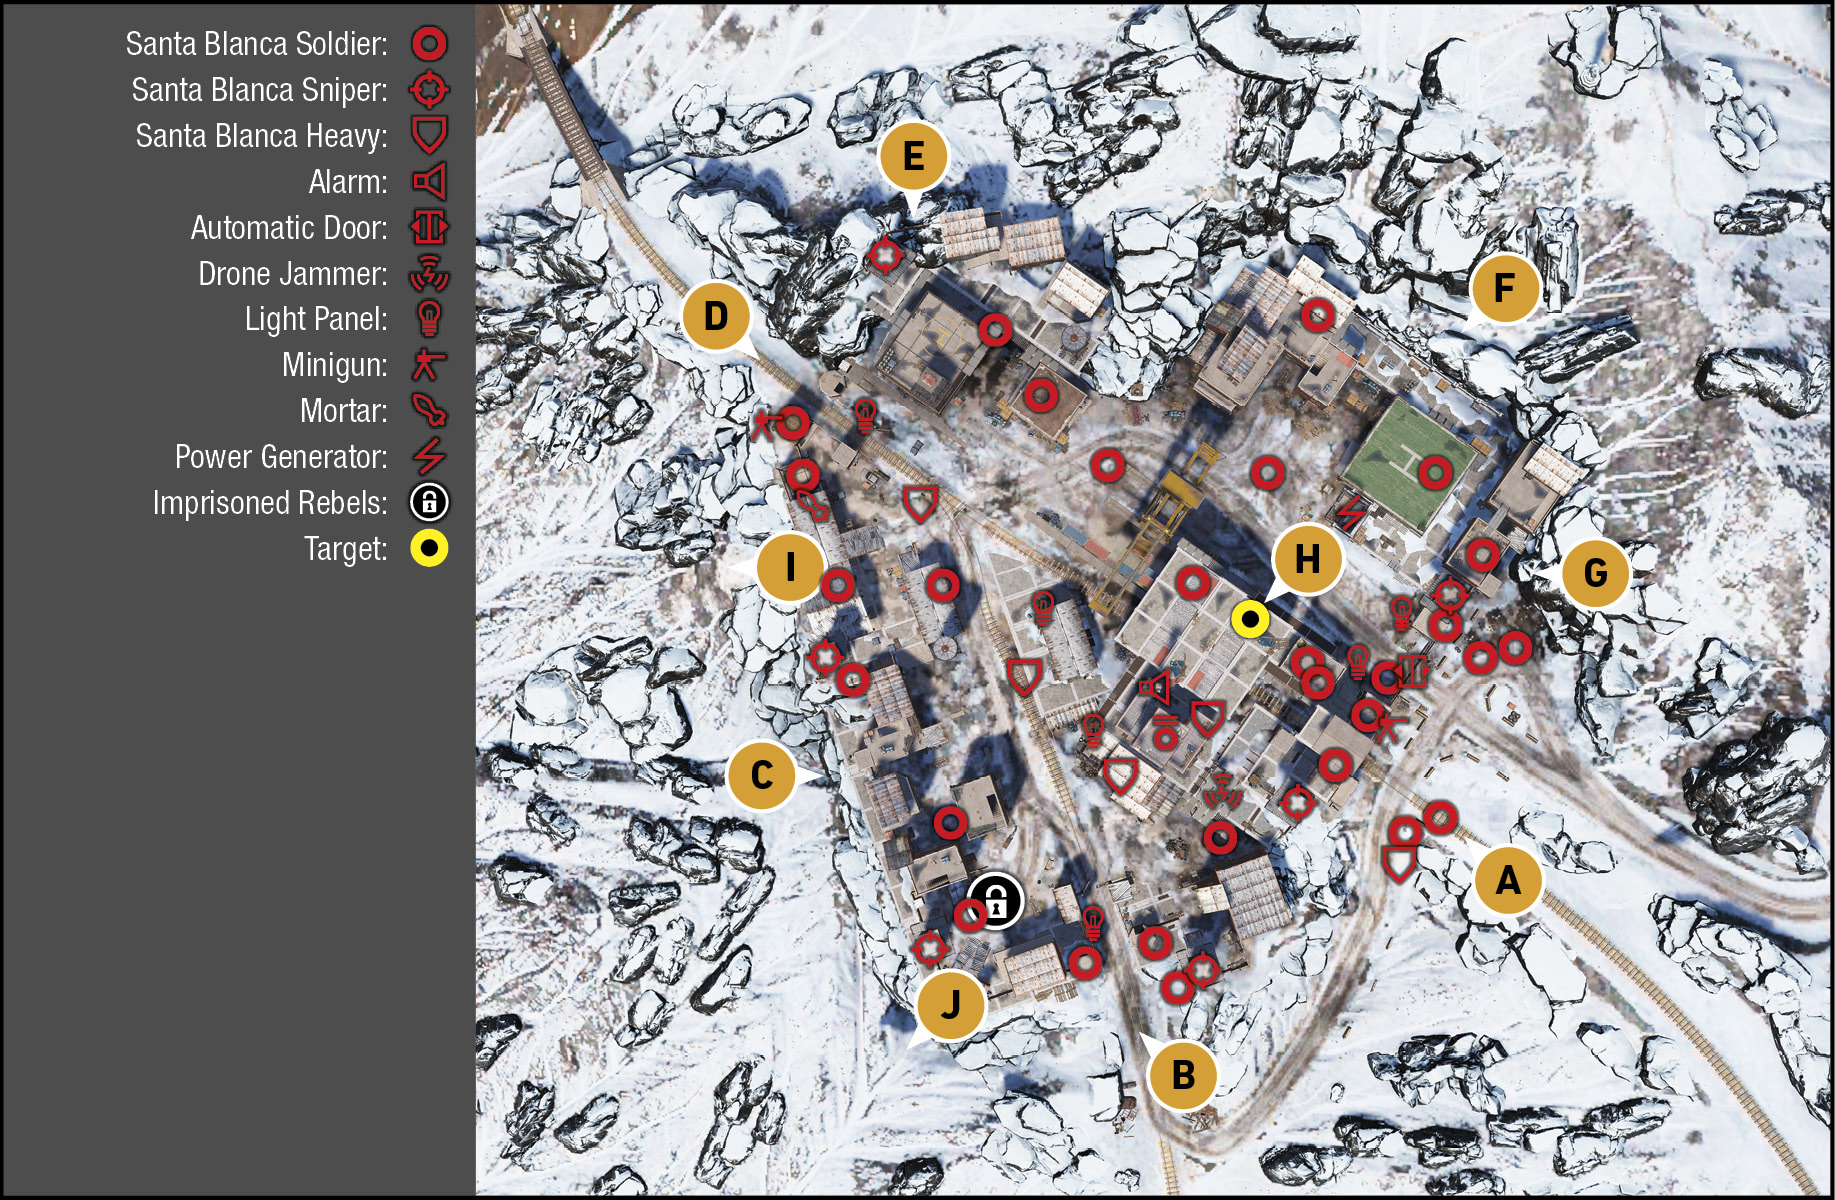
Segment this base into four main areas, as this can help you cope with removing enemies if you’re here to clear the entire base. There’s the western warehouse area, filled with brick buildings, storage sheds, and around a dozen foes. There’s the north warehouse with its helipad roof, the water tower, armory, and railroad entrance. Then there’s the main helipad and generator area, northeast of the main gate. Finally, there’s the main depot, a jumble of gantries, a comms center, and a container depot where the truck is hidden.
Main Gates And Jammer
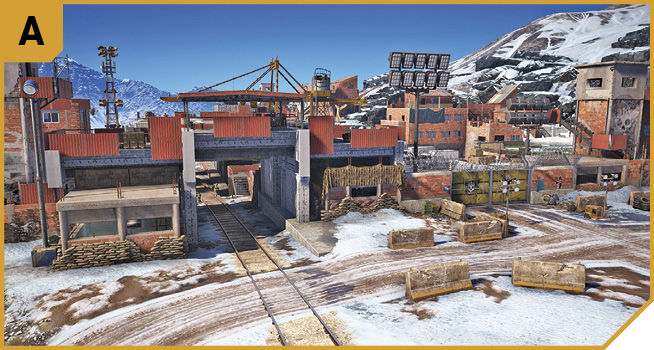
Though you’re likely to be cut to ribbons if you try heading through here on foot, the two main entrances (one a gate requiring a cartel vehicle to open, and the other an open railroad line) provide easy access into the base, without the uphill climb of entering at B. The railroad tracks are especially good as an infiltration, as the vehicle you need is parked to the right, just after the comms center. This effectively enables you to claim it in seconds—great if you drive in here using an armored vehicle, and swap it for the target truck.
For a more clandestine approach, head through the broken wall to the left (southwest) of the security hut and sniper tower; there’s a clear view of the jammer if you want to shut it down (not blow it up, as that defeats some of the point of the jammer when you send up a drone afterward).
Otherwise, this is a high-traffic area with patrols, few places to hide, and two snipers on each side of the main gate to worry about.
South Entrance (Raiilroad)
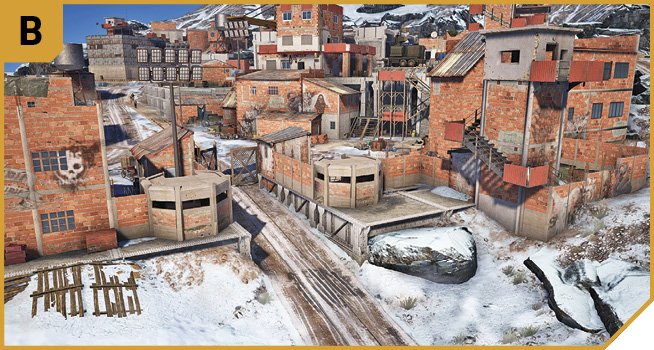
A second set of railroad tracks merges with the first close to the mortar, north of this entrance, which features a sniper tower, two pill boxes, and an uphill struggle. Note you can hop the wall to the right of the sniper tower, and the windows of the brick structure left of the south pill box can be smashed and vaulted through. If you plan on building to building combat, want to create a distraction, or need to rescue the rebels in the cage just inside the courtyard, then head through here, but be aware the area is challenging and cover is a constant necessity.
West Perimeter: Access Points
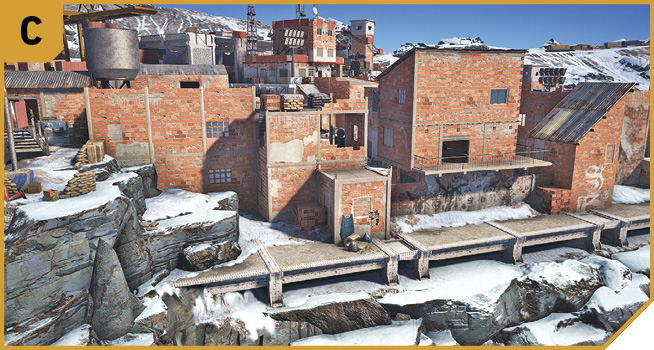
For a stealthy approach, pick one of these insertion points, along the otherwise-impenetrable barbed wire topped west wall. Climb the stack of bricks mid-way up, or the rocky outcrop near a second brick stack (which can also be climbed). Once inside the base you can neutralize snipers, head to the tops of buildings, or fight in the streets while your other teammates go for the vehicle. Or, if you’re clearing the base of all foes first, have two Ghosts mow down enemies with close combat weapons in the area west of the railroad track.
Northwest: Railroad Entrance
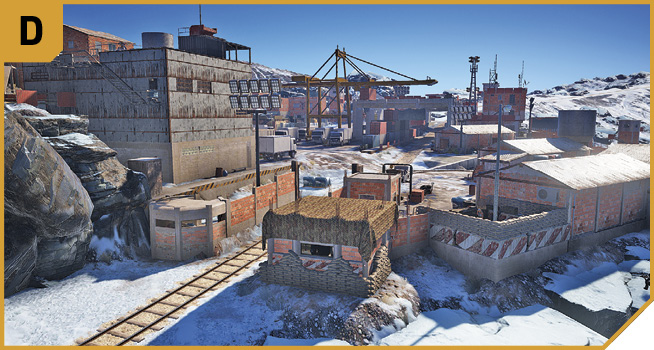
Both railroad tracks merge and head out of this entrance, which has a minigun nest you can easily overcome by climbing the lean-to of the brick building just south of the nest, on the west perimeter, then dropping down from the storage building roof (I) and attacking the foe from behind. This is also a good location to drive into the base using an armored vehicle, heading southeast into the main depot area where the target truck is.
Or, you can climb the pill box and metal steps, and skirt the north part of the base, heading to higher ground, and checking the vicinity for enemies to remove. Note the multi-level warehouse with the helipad on the roof, a possible escape route, or additional vehicle to use during the fight.
North: Rocky Outcrop
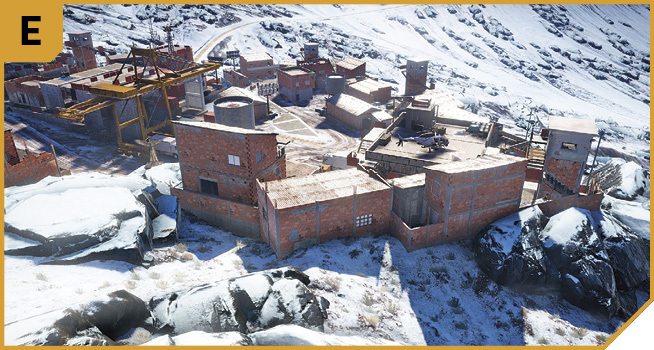
Below the religious statue is a scree and tundra slope with frozen rocks jutting out of it, some of which the base is embedded into. There’s a gap in the barbed wire here, allowing access to the north of the base and the multi-floor warehouse with the helipad. Before you enter the base, you have the luxury of sniping the snipers.
Farther along is the main outcrop, upon which you can descend, passing the “reaper” statue and onto the base ground, onto the area where the water tower is, or the metal rooftops heading toward F. This flexibility allows you to snipe from this vantage, duck behind the rocky cover, and keep an eye open for enemies flanking you. If you’re here just for the vehicle, sprint toward the crane with the trucks parked below it, and enter the depot area to reach the target vehicle.
Northeast: Religious Statue Rocks
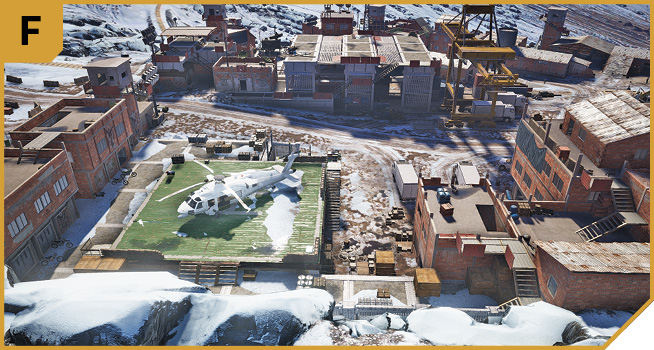
Directly below the religious statue, above the main helipad with the large helicopter on it, are rocks you can use to navigate down, onto the helipad, and the rooftops of the east wall to the sniper tower, or the interior side of the base. Remain here to defeat foes from afar, or head down here for a quick sprint to the target vehicle. Note the generator, adjacent to the main helipad, which is within explosives distance for a quick killing of the lights, during a nighttime infiltration.
East: Perimeter Breach
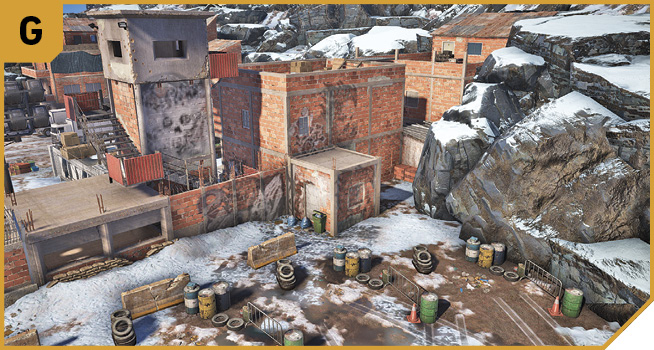
If you’re trying to sneak in from this direction, climb the bricks and lean-to roof near the rock wall, and head between the brick buildings into the helipad area.
|
 Target: The Drug Lord’s Ride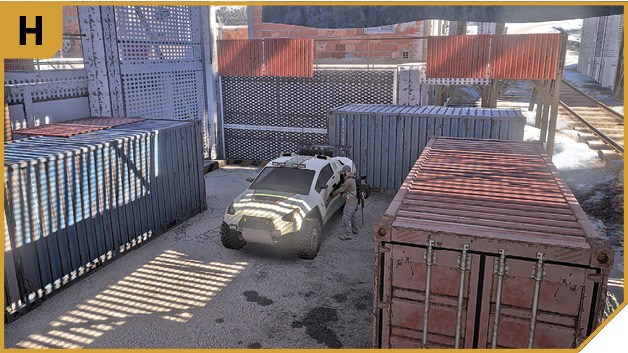
Escape Ramp: Northwest
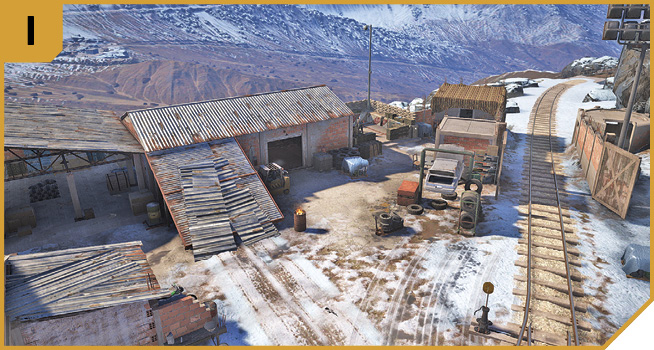
If you’re after an entertaining departure, try this ramp.
Escape Ramp: Southwest
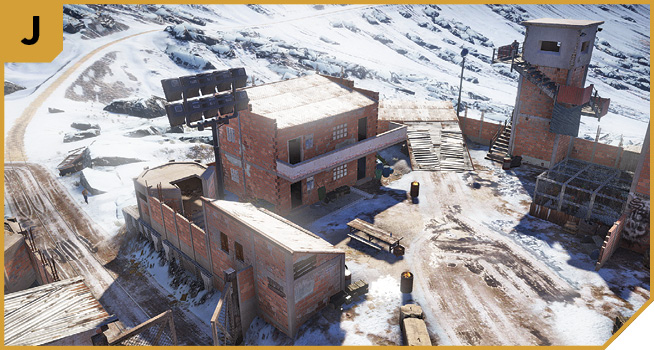
If you’ve driven here by mistake, as it’s a long way from the starting point where the vehicle is, don’t reverse and head out of B, but accelerate over the ramp at J and escape.
Buchon House (Libertad): Other Tactical Advice
 Though you have no exact knowledge of the truck, if you simply drive in via the railroad at A, park at the first container on your right, and then quickly sprint around that container, you can reach the target vehicle, and depart promptly, without raising a finger to shoot. Other options include driving in from the main gates at A (cartel vehicle only), B, D, or down the rocks between E and F. You can use a parked vehicle you may find, too.
If you want to defeat all the enemies first, this is a tall order, and we recommend you enter via D, E, or F as you have a distinct height advantage, and can clear enemies in the six sniper towers first (from range), then pill boxes, before heading in to remove the interior enemies. Stay on the higher ground and gantry areas to ensure you’re keeping the height advantage.
If you’re trying a distraction, blowing up a truck near E coaxes foes away from the truck itself. Or try parachuting onto the roof of the depot, just northeast of the HQ building, then dropping down to the walkway below at the comms center, then again to the vehicle.
 With teammates with higher brain functions, the biggest advantage is being able to coordinate a multi-angle takedown of the base’s inhabitants. Have one Ghost sneak in and kill the lights at the generator from F, while another removes the drone jammer silently. In the darkness, start removing foes from the higher ground to the lower ground; a third and fourth Ghost should have quietly tagged the six snipers (three on each side) and any foes at security huts and pill boxes, leaving only interior enemies. With no hope of enemy reinforcements, make slow and deliberate progress through the base.
Or you can just watch one of your teammates take a bike in through the railroad at A, and out another exit driving the truck. Disturbances at multiple locations also allow you to steal the truck more easily, and you can opt to park the truck, then return and help remove the foes your teammates are attacking, if they require assistance.
You can also steal the attack helicopter or the chopper on the multi-level warehouse roof near E, and follow the teammate driving the vehicle to ensure he makes it to the drop-off point in one piece.
Extraction To Julpe Alto (Garage)
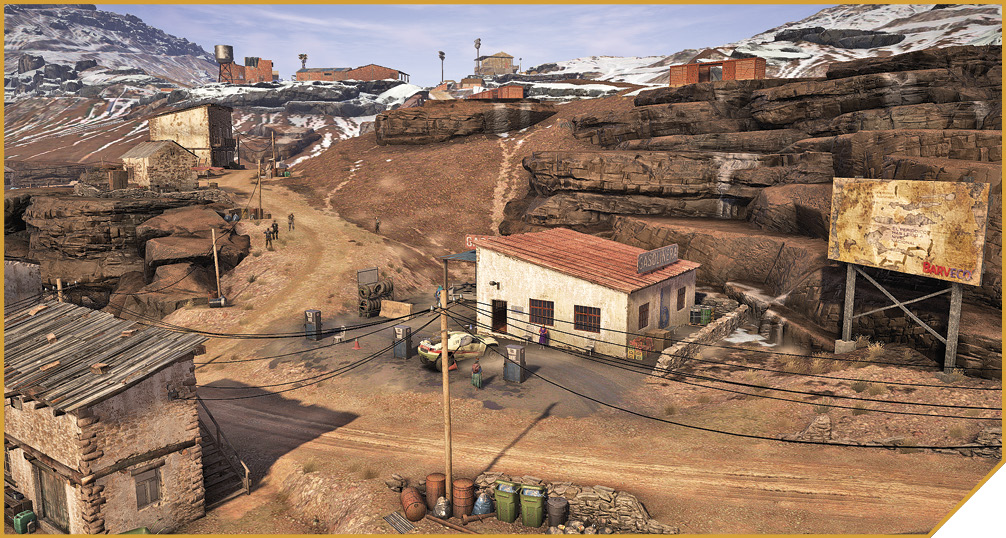
When you’ve left the base in the vehicle, it must be delivered to a garage in the village of Julpe Alto, just under two kilometers away, down the mountain in a roughly southeast direction. Feel free to keep to the GPS path, drive across the mountain tundra, or use the railroad (which also bisects Julpe Alto if you follow it southeast from the base; the upper tracks head out of A). The vehicle must be parked at the garage (and not driven into the gas pump so it explodes). As long as the vehicle is serviceable (that is, not burning), the mission is deemed successful, and concludes.