
Tom Clancy's Ghost Recon: Wildlands Guide Welcome to Bolivia Espiritu Santo: La Santera
La Santera

Objectives
- Free La Santera from the sicarios
- Extract La Santera to Espiritu Santo Bravo
REWARDS
- + 1,000 XP
- + 5 Skill Points
- Sniper Rifle: Lanza Sagrada
- Facewear: Skull Bandana
LOCATIONS
- Espiritu Santo Base
- Espiritu Santo Bravo
Brief
Tensions have boiled over between El Sueño and La Santera. Sueño has ordered his sicarios to publicly execute the high priestess. If we can get to La Santera and extract her it will undermine both Sueño and her cult at the same time.
A Test Of Faith
Only a click west of Espiritu Santo Alpha is a relatively large base, occupied with an abundance of heavy-weapons soldiers, mainly gathered to guard the cage where La Santera is being held. Obviously, freeing and leading her into a storm of minigun fire is inadvisable, so you’re here to find a vehicle, bring it as close to the target as possible, stow her inside, and drive to the rally point for Bowman to work her magic.
Espiritu Santo Base: Recon
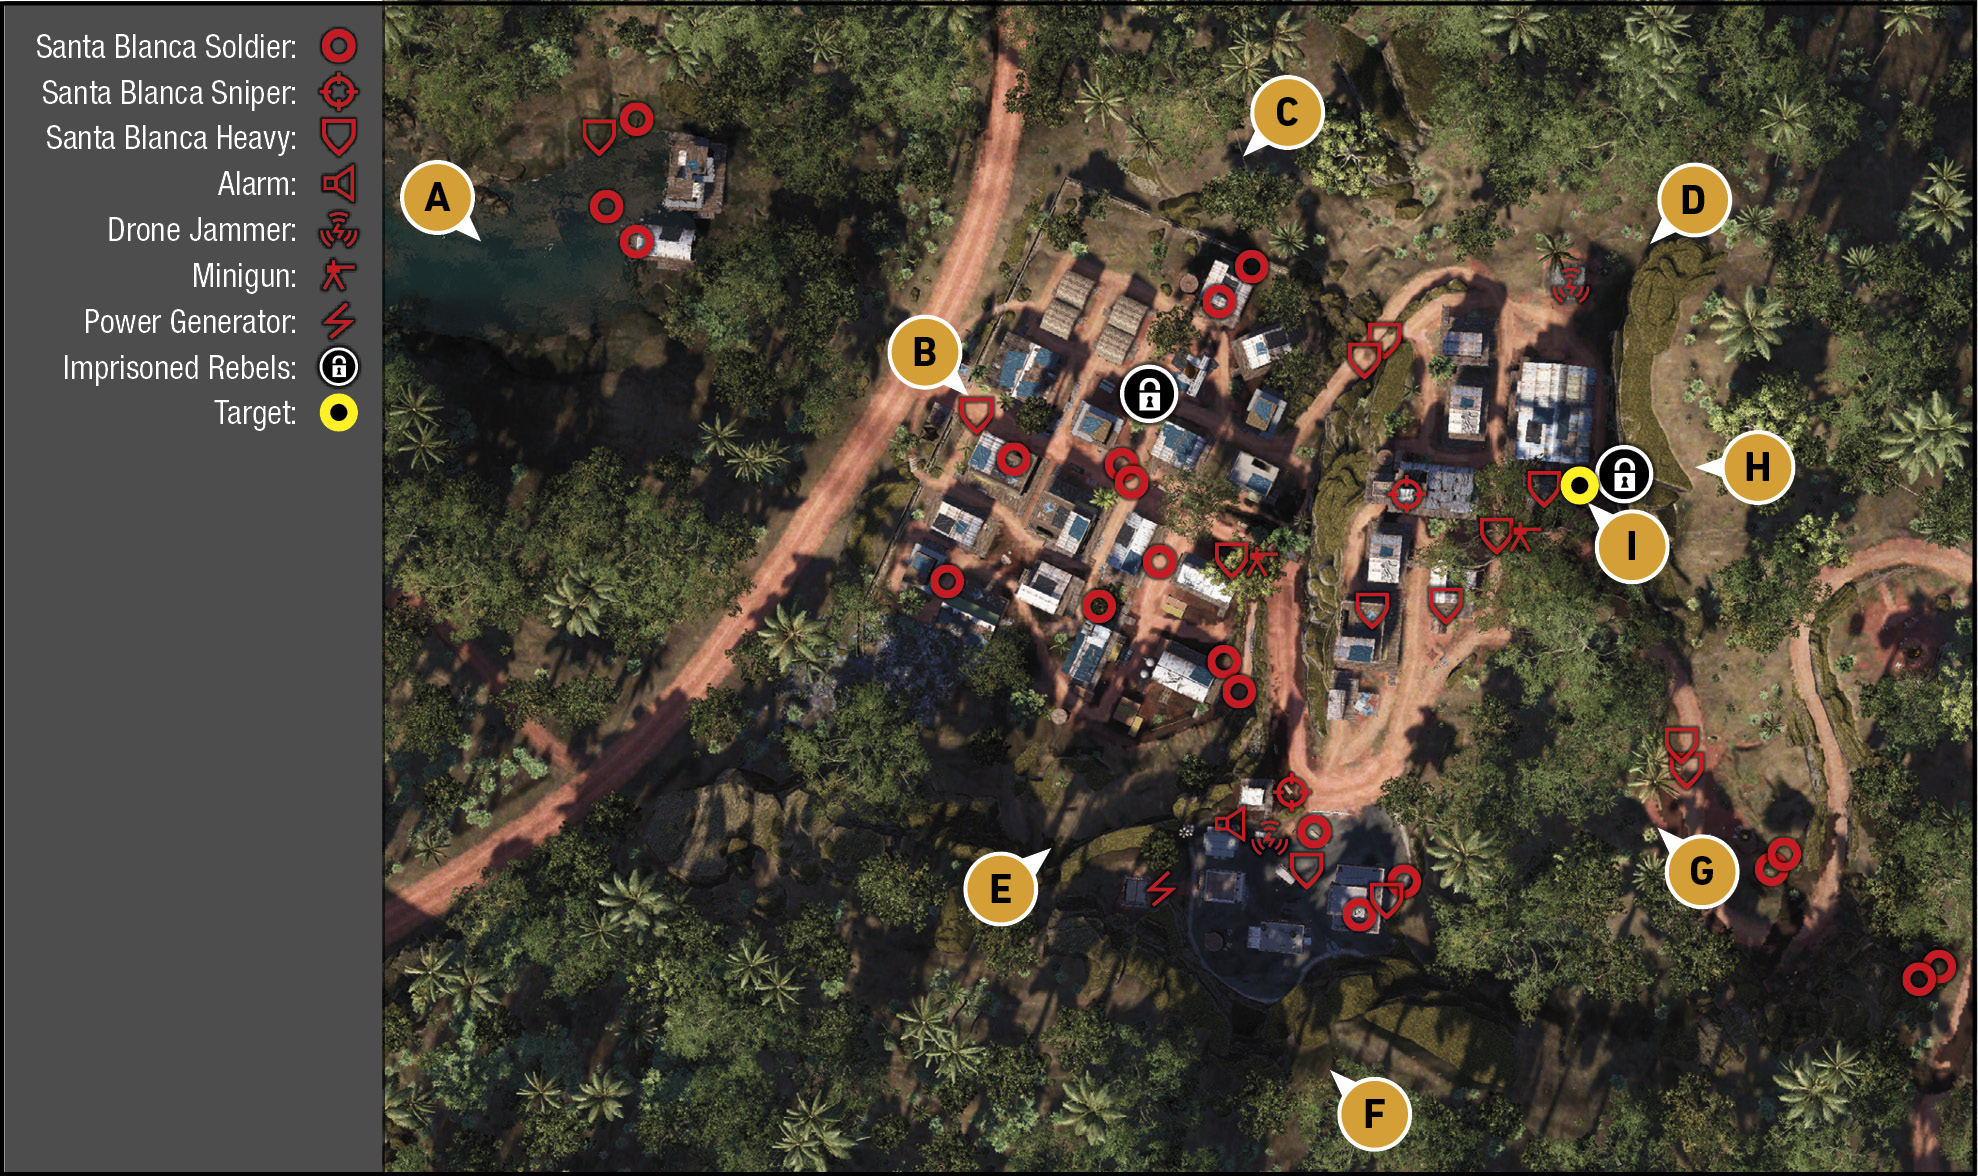
TACMAP
This hillside base has a main lower area where large gold carvings are undertaken, an HQ building where a cluster of installations are (to the southeast), and an upper area of wooden structures you can maneuver across or ascend to the top of, close to a cage and chapel building where your target is. Get a vehicle as close to her as possible, as you don’t want to drag La Santera through the jungle now, do you?
River Jetty
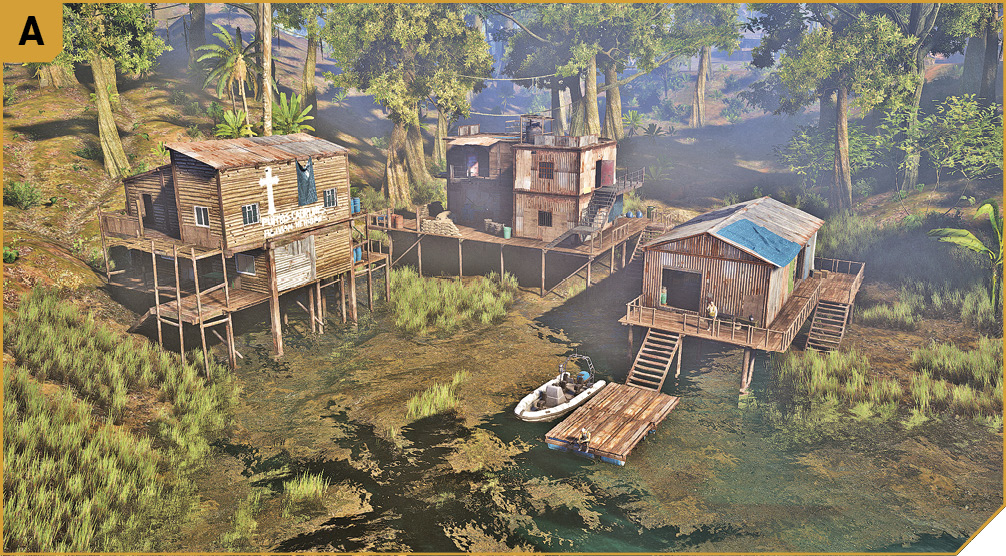
Just like the majority of the foes to the southeast of G, at the Santa Muerte Sanctuary you storm during Main Mission: The Advisor, these enemies are unlikely to pose a significant threat to you, but are close to the main base. Therefore, it’s recommended you either cull them before assaulting the main base, or avoid this area during extraction so you’re not facing additional foes.
Northwest: Main Base Entrance
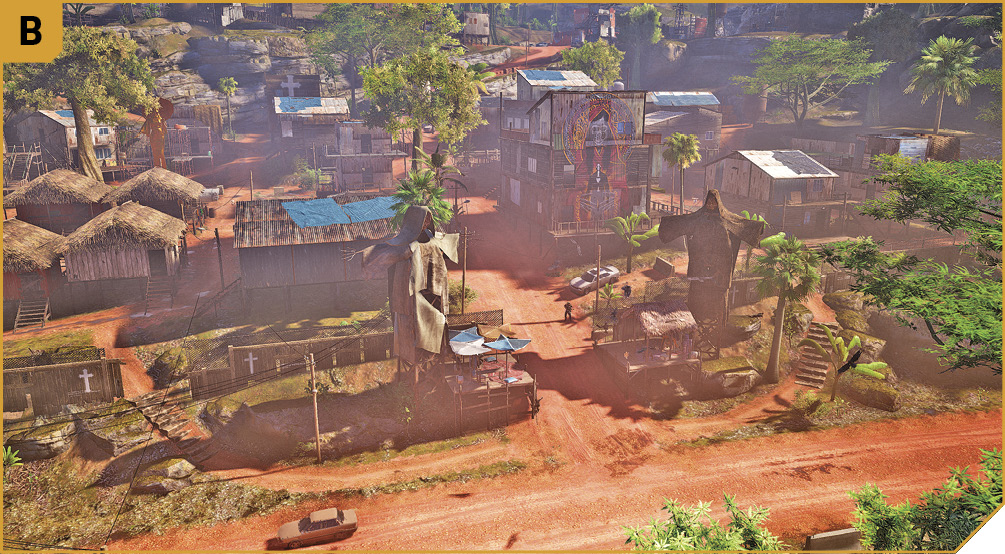
This has three main entrances: a central one big enough to drive up (and there’s a vehicle parked nearby, just inside the base, if you desperately need one during the extraction), along with steps to either side, each accessing the north and south areas of the lower base section. There are likely to be fewer foes on the north side, so this is a good clandestine route, whereas entering on the south sets you up for a firefight (though creeping around the perimeter is safer and easier to complete). If you’re wanting to drive up into the base, and don’t care who knows about it, the main road is the one to take. It’s also the recommended extraction route.
North: Base Perimeter
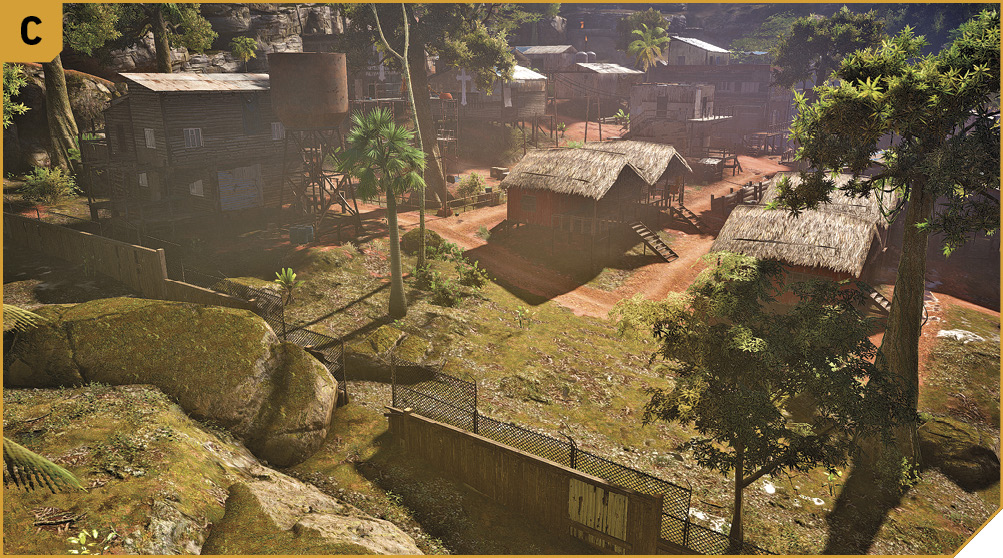
The barbed-wire fence perimeter here has a gap you can head through at this point, allowing for outflanking and crossfire opportunities, or a sneaking path along the northern side of the base. Farther to the east, between C and D, is a rocky mound of boulders you can also climb in or out of; use these as alternate methods of entering, or sniping from. Note the gold statue in this northern part of the lower base; there’s a cage nearby allowing you to free rebels, who can aid in the fight.
Northeast: Drone Jammer And Insertion Point
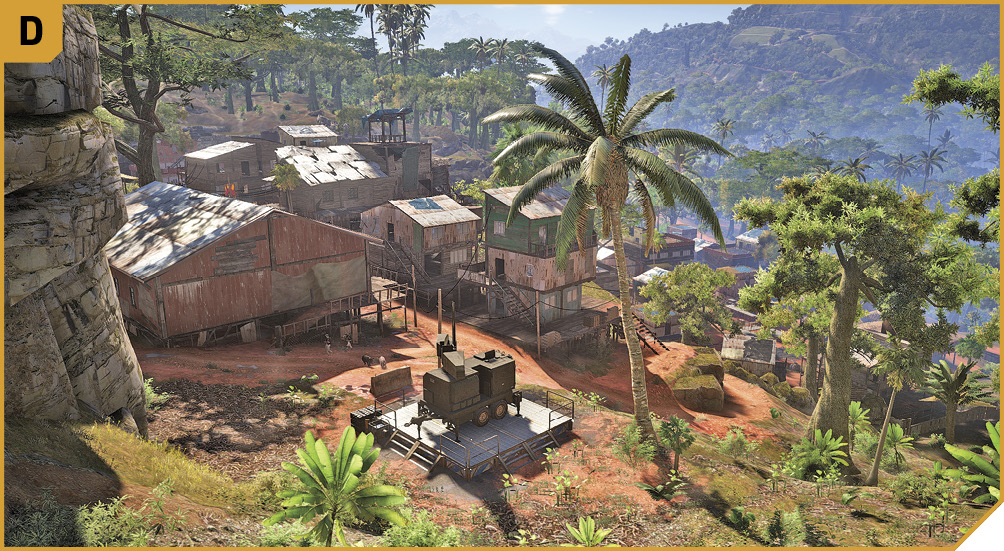
Don’t overlook the jammer here. Aside from occasional enemy patrols, this is reasonably free of foes, and you can quickly and effectively shut down one of the two jammers before moving to F to find the other. Otherwise, this is also a great location for infiltrating from; allowing easy access through the chapel to the target. The only problem is stowing La Santera into a vehicle, so you may wish to bring a vehicle here, park it close to the drone jammer, and silently take down the foes around I before dragging her back here and leaving.
Southwest: Base Perimeter And Rocks
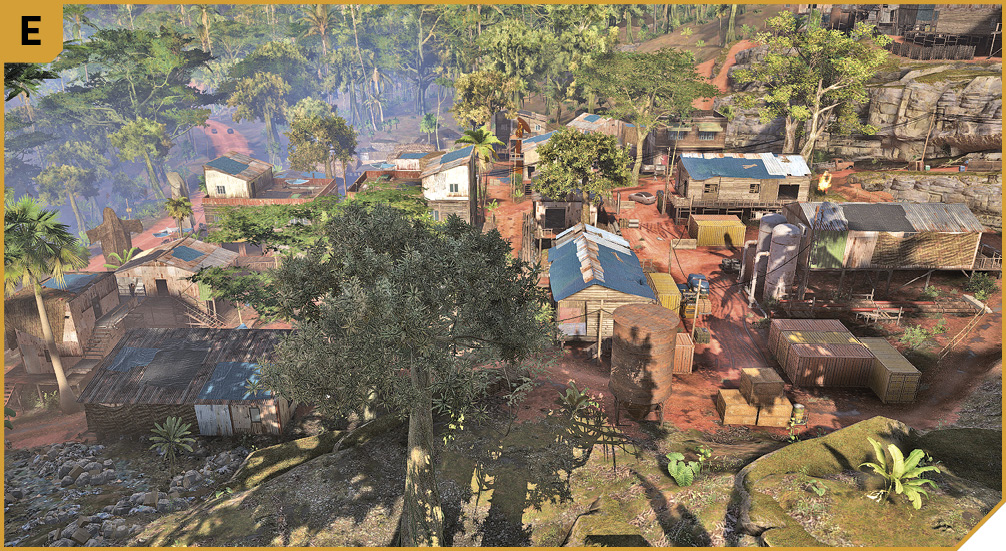
This lower slope allows easy infiltration into the lower south-side of the base, access to the generator and HQ area north of F, and sniping opportunities across the base, including the shooting out of the alarm pole panel and snipers on their towers. This is also a good spot for a group infiltration.
South: HQ Building And Installations
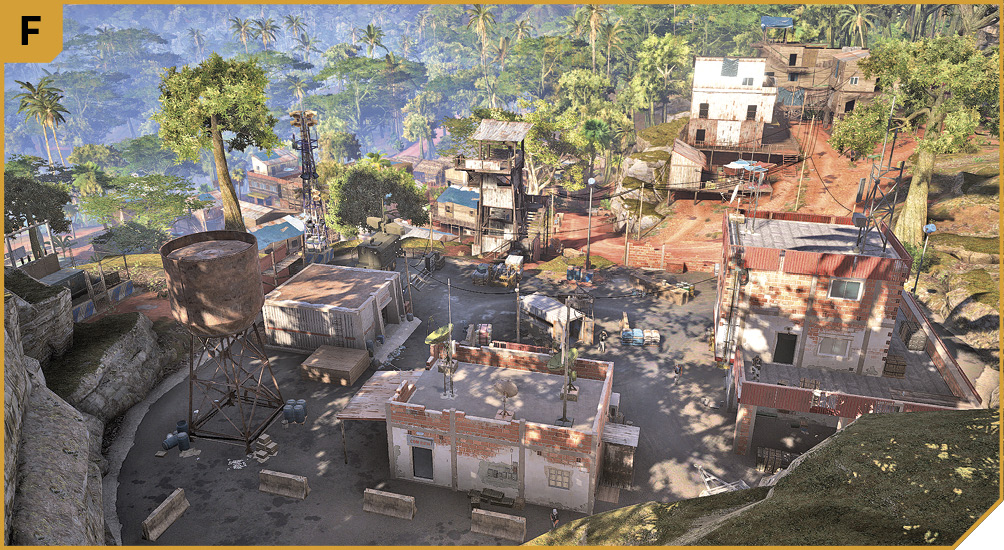
The optimal place to begin a group infiltration, you can quickly overpower the enemy here, and shut down most of their installations (the jammer, alarm, and generator are close to the HQ building here). Even more importantly, there are three vehicles parked here.
Southeast: Winding Trail
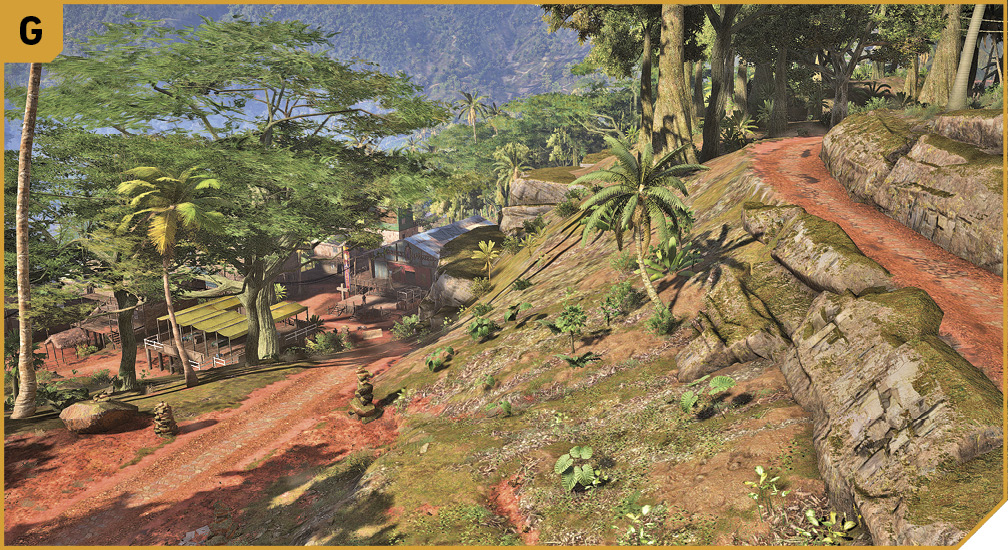
Watch for foes heading down here; there are at least three sets of two enemies (sometimes one is armored) to worry about, and they tend to descend down into the base, passing the target’s cage. Two Ghosts, or a stealth snipe of both enemies in quick succession, allow you to rid yourself of this duo before they realize they’re under attack. Otherwise, this area touches the Santa Muerte Sanctuary, with its own set of foes. So don’t encroach there; the only reason to use this is an alternate escape route.
East: Rock Outcrop
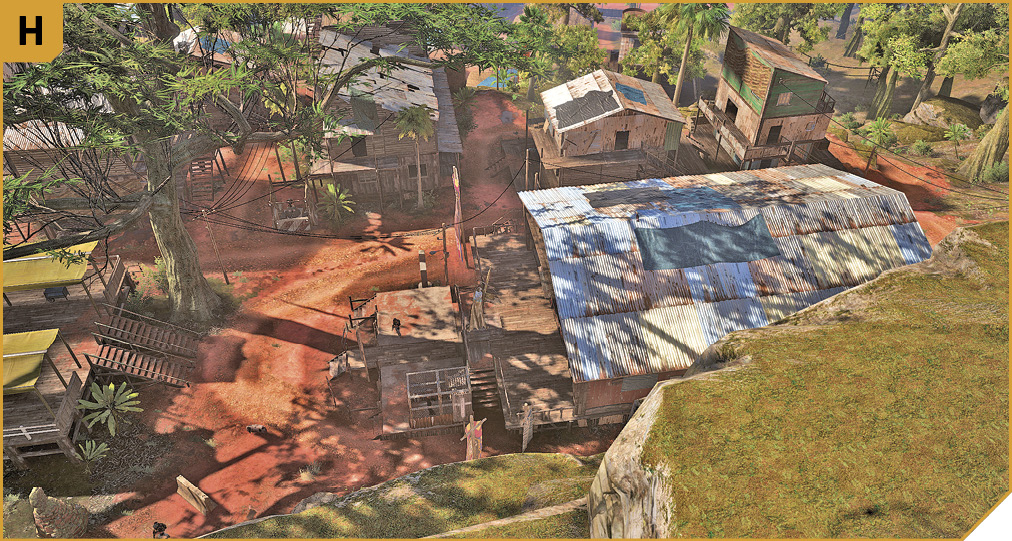
This offers great views of the three armored foes around the target, allowing you to silently tag and bag each of them without the rest of the base knowing about it. You can then unlock La Santera without worrying about too many other foes, though the patrols at D and G can be a problem. The sniper is obscured by the building he’s standing on from this angle, so ignore him unless you’re wanting to remove everyone. The only problem with entering from here is that you need to secure a vehicle, so try carefully driving here, and parking at D.
|
 Target: Santa Muerte Chapel And La Santera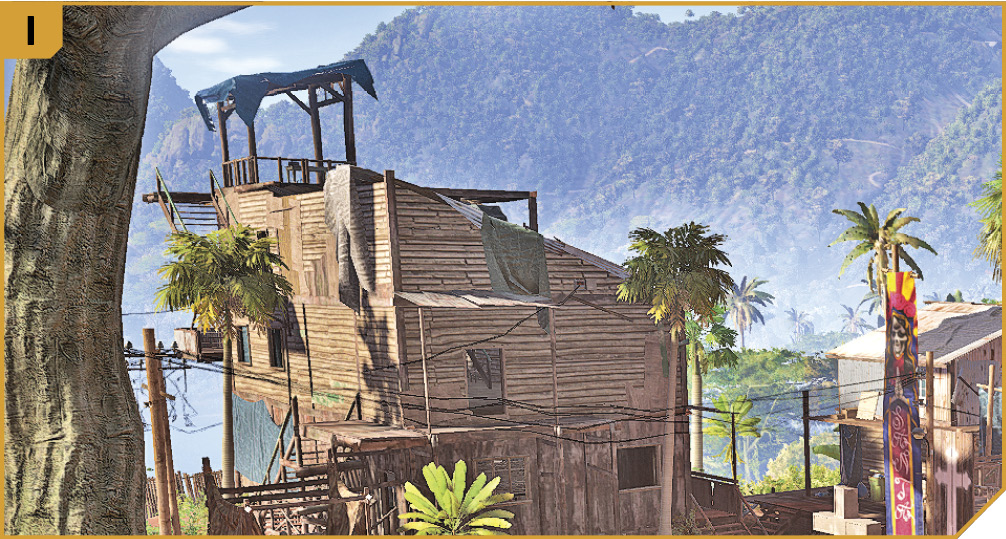
Espiritu Santo Base: Other Tactical Advice
 Think of the base as three separate locations. It’s not necessary to engage the enemy at the lower section (from B to the north-south wall in the middle of the base). It’s worth clearing the south HQ building area (F), and it’s pretty imperative that the upper section (I) has its armored enemies removed, to prevent La Santera from being killed as you drag her to a waiting vehicle. You need the best plan to get La Santera into a vehicle:
The easiest way to get a vehicle near La Santera is to kill the alarm panel at F, removing foes in and around the HQ building, and then taking one of the vehicles parked there; it’s just down the hill.
Or, you can drag La Santera to one of the vehicles, which is only recommended if the immediate area has been cleared. If enemies are present, this could present a challenge as you’re both easy targets.
A stealthy plan is to ignore the foes in the lower base, approach from H, silently sniping the sniper in the tower, the minigun nest foe, and others in the general area before creeping around to F (shooting or avoiding patrolling foes at G if you wish), and dropping enemies there (after tagging any you can see, like the sniper at F, from H). Then drive a vehicle up, open the cage, and bundle the target in.
Or, you can try an ultimate stealth plan by quietly driving up into the jungle north of C, parking near D, creeping through the church and removing the minigun foe and anyone close to the target silently, and dragging the target through the chapel, and into the waiting vehicle by the drone jammer.
There are two escape routes; up the winding trail (G) or down through the base to the main road (B). The latter is recommended.
Another option is to simply land a helicopter in an area wide enough (D or H are good choices), and order your team to attack the foes around I while you free La Santera, and bundle her into the chopper.
 Killing all installations in unison is an excellent plan; station two Ghosts on either side of the base (north and south), each with responsibilities of moving into the base and removing the nearest threats, starting with the snipers.
Or, you can drive straight up the main road entrance (B), into the base and around the curved road past the HQ building (F) to the target (I). Have one Ghost break the cage open while the driver turns the vehicle around, and the others expertly remove the armored foes nearby. Then depart the way you came.
Extraction To Espiritu Santo Bravo
La Santera’s faith is about to be tested, but yours should be fine if you’re worried about encountering any major problems between here and the Rally Point. Assuming your vehicle is in good shape, has teammates that can fire out of the sides, and you are moving directly to the RP, you can dump La Santera off, and conclude your time in this area.