
Tom Clancy's Ghost Recon: Wildlands Guide Welcome to Bolivia Caimanes: El Cerebro
The Prototype

Objectives
- Investigate El Cerebro’s secret project
- Destroy the prototype submarine
- Steal the prototype schematics
LOCATIONS
- Caimanes Base
REWARDS
- + 500 XP
Brief
We have intel on a warehouse in Caimanes where El Cerebro conducts his most advanced design work. Search the warehouse for intel and recover any files or schematics that are found.
Blast and Hack
The Caimanes Base you need to infiltrate is located on the river and close to a road junction, and its topography benefits defenders. Adding to your problems is a second objective (hacking a laptop) after detonating explosives on the hull of the prototype submarine, and additional forethought (as well as the removal of the SAM launcher and Drone Jammer) is the key to victory.
Caimanes Base: Recon
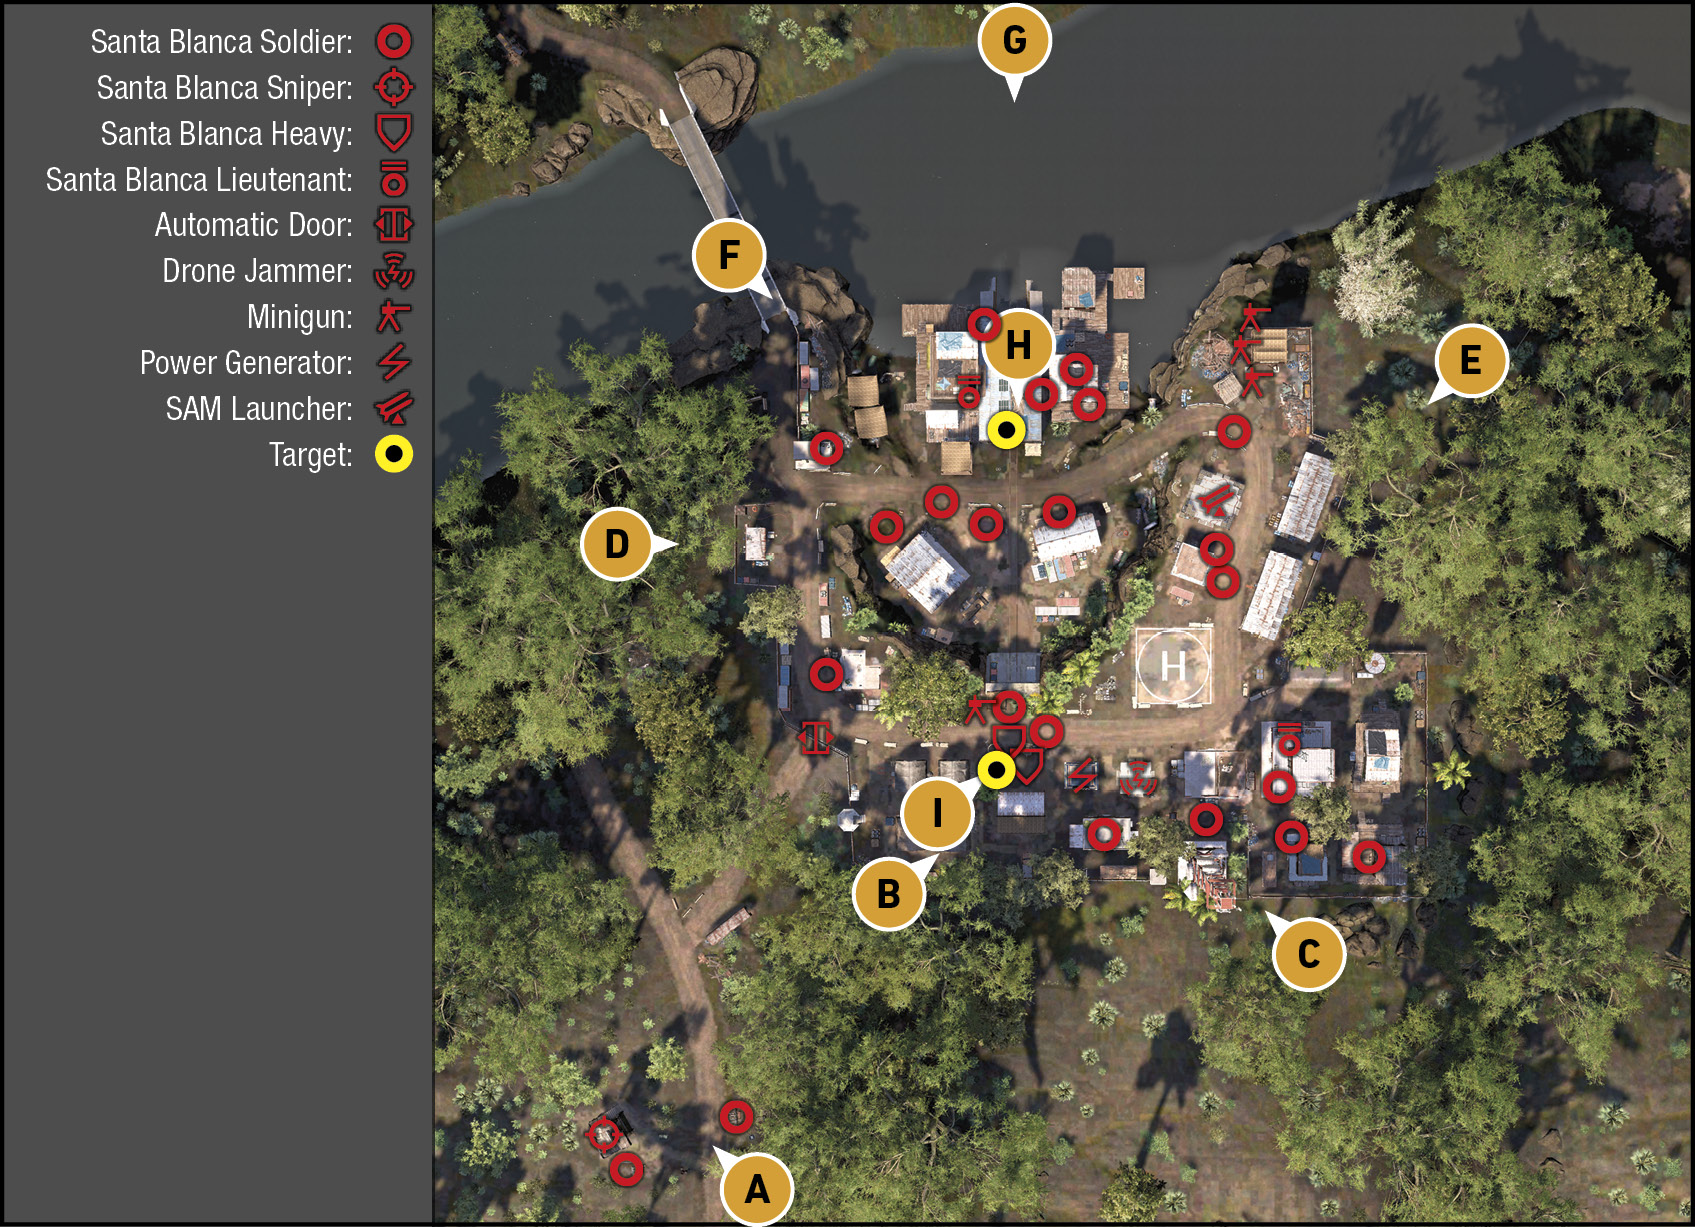
TACMAP
This is one of the more problematic and well-defended bases that you’ve encountered so far. With close to 30 foes to face (or avoid), bristling defenses, the ability to knock your chopper out of the sky with a SAM launch, and a secondary “tunnel” area where your ultimate objective lies (guarded by two heavily-armored enemies), a thorough recon is more important now than ever. Split the base into upper and lower areas so you’re more topographically aware, and figure out which bits of the place you can avoid.
Southwest Outskirts: Sniper Tower
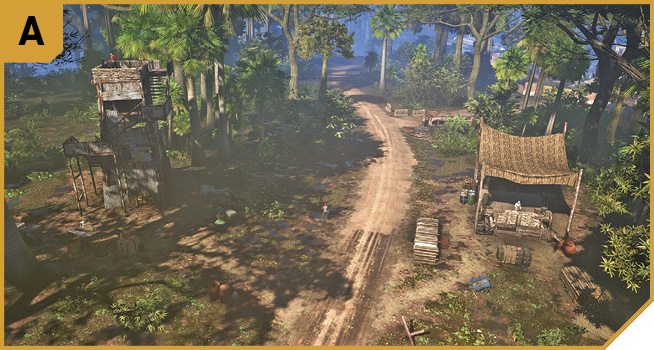
Technically not inside the combat area, but this checkpoint and sniper tower with its three foes can be problematic and an early warning for the rest of the base if you’re recklessly driving up the road from the south. Peel off before you get here, and attack the foes from either side of the jungle. The sniper tower is a little too far to provide adequate views of inside the base.
Southwest Perimeter And Barracks
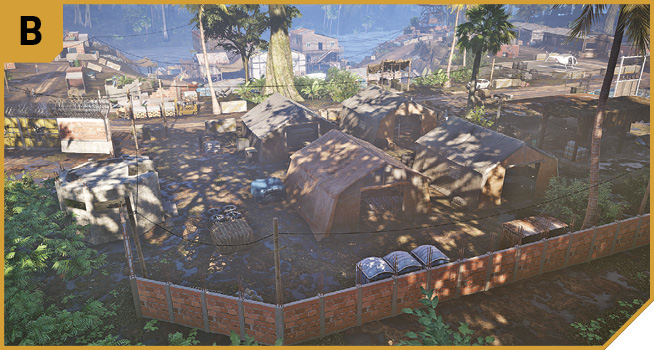
The brick wall topped with barbed-wire isn’t allowing access into the base from this direction. Note the main gates to the southwest, from a dirt road leading south to the sniper tower. The gates can be “opened” if you’re bringing in a vehicle (or using one to extract your team). However, it’s easier to just circumvent the gate by entering from C or D.
Inside the southwest area of the camp are the four main barracks tents, and a minigun nest pointing north to the first target (the submarine warehouse). It’s well worth clearing this area so you don’t have to contend with the minigunner later.
Finally, it’s extremely important to note the stairwell under the tarp and metal-roof shack between the barracks and the power generator. This is one of two entrances to the “tunnel” area (where the second objective is); the other is the tunnel mouth itself, directly under the minigun nest. Make sure you split your co-op team up so you can tackle both objectives in quick succession, if you wish.
Southeast Perimeter And Comms
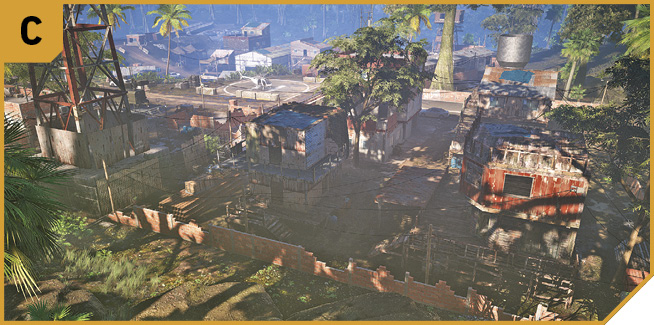
Three low-rise shacks, a main brick HQ building, and a drone jammer near the power generator make this area important enough to recon and overtake. Depending on the available Ghosts, you can have a sniper in the jungle slopes to the southeast, though there’s limited opportunities. A better plan is to climb over the ruined sections of brick perimeter wall, and start a building-to-building clearing. Don’t venture farther than the drone jammer until this section is neutralized. Note the captain in the brick HQ building.
From here, push west to clear the southwest part of the base, and also north to remove foes around E. Then consider the upper part of the base yours.
Northwest Perimeter And Road Junction
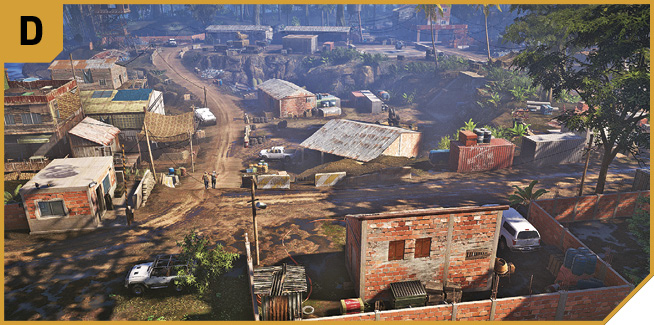
The base perimeter is pretty solid along its western wall from the gate to the southwest, all the way north to the gap where the road enters the base. Watch for a foe in the small brick security hut on the corner of the road junction, as he can easily raise the alarm. Tackle him, and a second foe patrolling the road to the south, before peering down into the lower north-central part of the base, where there’s a few more foes to kill accurately.
Note the large metal cargo containers on either side of the north-south road just inside the base at this point. Try climbing them for a better vantage, especially the stack just north of the southwest gate. Use this height to start sniping.
Northeast Perimeter, Helipad And Minigun Tower
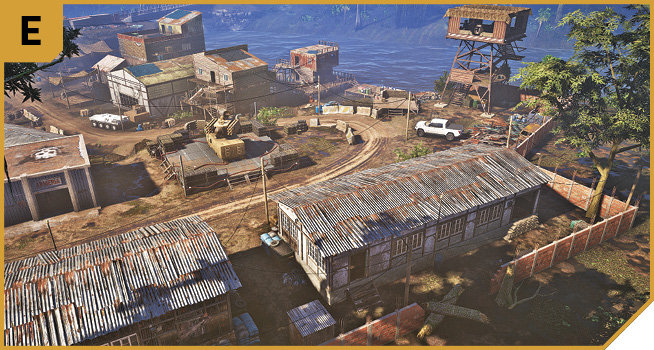
This is a preferable location to infiltrate from, as you can neutralize the SAM launcher from here, allowing airborne attacks and extractions without the threat of missile fire. The perimeter wall is porous near the two long canteen warehouses, and the minigun tower, though sporting three of these weapons, usually isn’t manned. The helipad is a good extraction point, and the upper ground (especially the minigun tower) offers great defensive positions.
Northwest Bridge
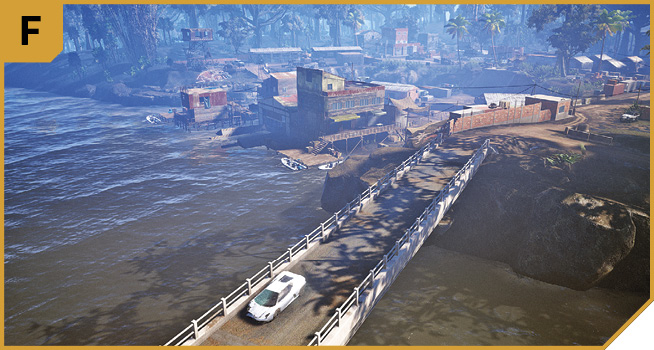
Don’t overlook the river bridge to the northwest of the camp; yomp over it or use a vehicle, and either infiltrate at D, or stop before the brick perimeter wall on your left, and stealthily creep down to the target warehouse (H) via the river docks, without encountering many foes at all. While this won’t help during the second objective, you can reach the sub with only one or two takedowns necessary.
North River and Jungle
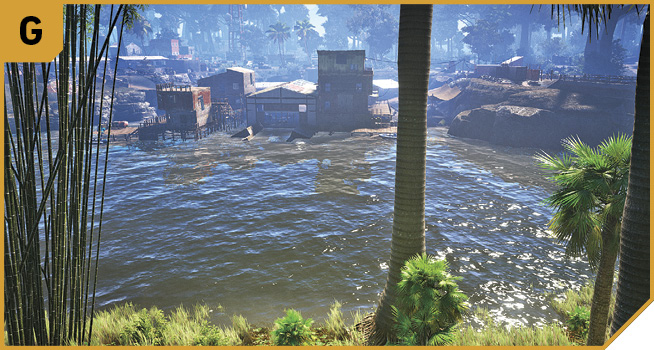
If you’re planning a boat trip, this isn’t the place to dock, as the enemies can easily see you coming. Moor further along the south bank of the river, or swim from the north bank to infiltrate H. Note the number of enemy boats you can steal for a quick river extraction afterward. The north bank of the river can be used to snipe from.
|
 Target: Submarine Warehouse and Outbuildings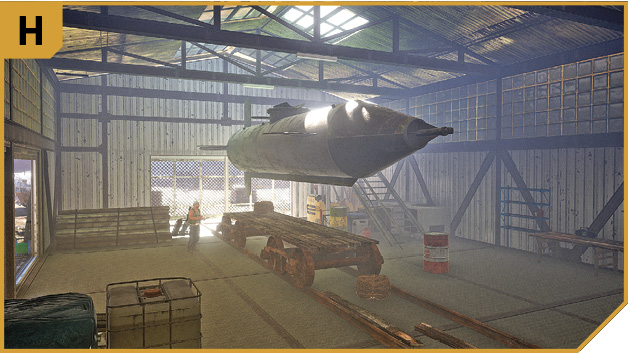
|
 Target: Tunnel And Laptop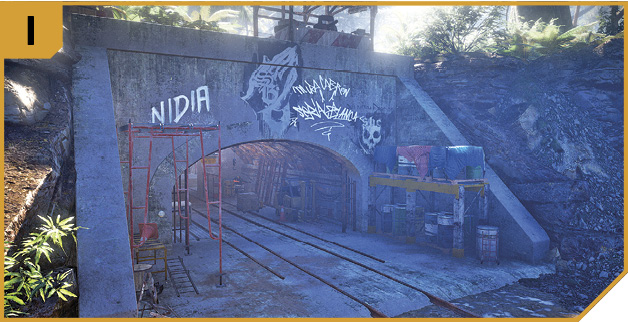
Caimanes Base: Other Tactical Advice
 This is a difficult mission, but it’s one you can manage on your own if you make the decision to thoroughly sweep the enemy base of foes first. Start at C, taking down enemies in the southeast, before moving to E, backtracking around to I and then D, leaving you only the foes in the main warehouse. Have your team head to and defend the warehouse while you plant the explosives, and if you’ve cleared most of the enemies, your trip into the tunnel to hack the laptop becomes a lot easier.
Another option is pure stealth; enter at C, moving to the upper stairwell down into the tunnel near the power generator, and quietly take out the armored foes inside the tunnel. Then use an explosive drone; flying it northward and into the warehouse to destroy the submarine. As you’re already inside the tunnel, you can quickly hack the laptop while your teammates defend you.
 Splitting into two teams is a reasonably good idea here, with each team responsible for clearing a section of the base. Have the first duo sweep in from C, removing foes by the nest, in the tunnel, and finally moving to E and providing covering fire from the minigun tower. Have one of this team remain inside the tunnel to instantly hack the laptop once the sub is destroyed.
The second duo should approach from D, F, or G, and start removing foes in the lower part of the camp. Start with enemies just south of the warehouse road, near the APC, then sweep the shacks on either side of the warehouse, and prime the explosives to complete the first objective.
With expert timing and competence, you can complete both objectives more or less in unison, before fleeing in the APC. As only a few foes are likely to be still alive (if any), extraction usually isn’t a problem.