
Super Smash Bros. Ultimate Guide Zero Suit Samus
Brawler Arsenal
Grounded Attacks
Neutral Attacks
Neutral Attacks
| Move | Damage | Note |
|---|---|---|
|
Neutral attack 1 |
1.5 |
Hold to repeat on whiff. |
|
Neutral attack 2 |
1.5 |
— |
|
Neutral attack 3 |
3 |
Knocks away. |
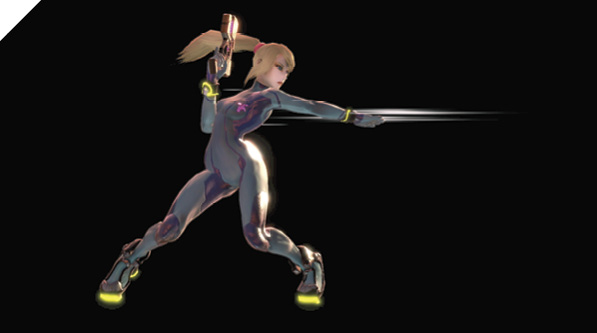
Zero Suit Samus delivers a lightning-fast chop, followed by a right swing, and ending with a straight elbow strike, knocking her victim away. She has the fastest jab in the game (it hits instantly, on the very first frame!). You can hold the attack button on whiff to repeatedly chop, useful as an edge-guarding tactic to deter certain ledge-recovery options.
Jabs aren’t generally used offensively, and Zero Suit Samus’s neutral attack is no different. It’s unsafe off of the second hit, and even more unsafe if the third hit is shielded. However, as the fastest jab in the game, you can almost always punish shielded attacks and deter and challenge enemy aggression. For instance, quick neutral attacks generally beat grab attempts, so if you can force the opponent to shield one of your smash or tilt attacks, more often than not, you can beat them to the punch with a neutral attack follow-up.
Dash Attack
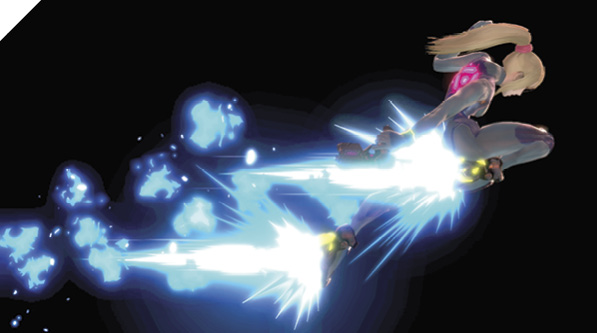
With the momentum of her speedy dash, Zero Suit Samus drives her knee into the enemy, launching them into the air. Although Zero Suit Samus’s dash speed and dash attack are incredibly quick, Samus’s dash attack leaves her extremely vulnerable when shielded. If your opponent responds to your approaching dash by putting up a shield, you can be punished quite easily.
However, it does have its uses. Like most dash attacks, it’s an excellent on-reaction whiff punisher, best launched at foes when they miss with a high-lag move (such as a smash attack).
Defensive Attacks
Tilts
| Move | Damage | Note |
|---|---|---|
|
Side tilt |
7 |
|
|
Up tilt |
5, 7 |
Launches directly above. |
|
Down tilt |
8 |
Launches up and away slightly. |
Side Tilt
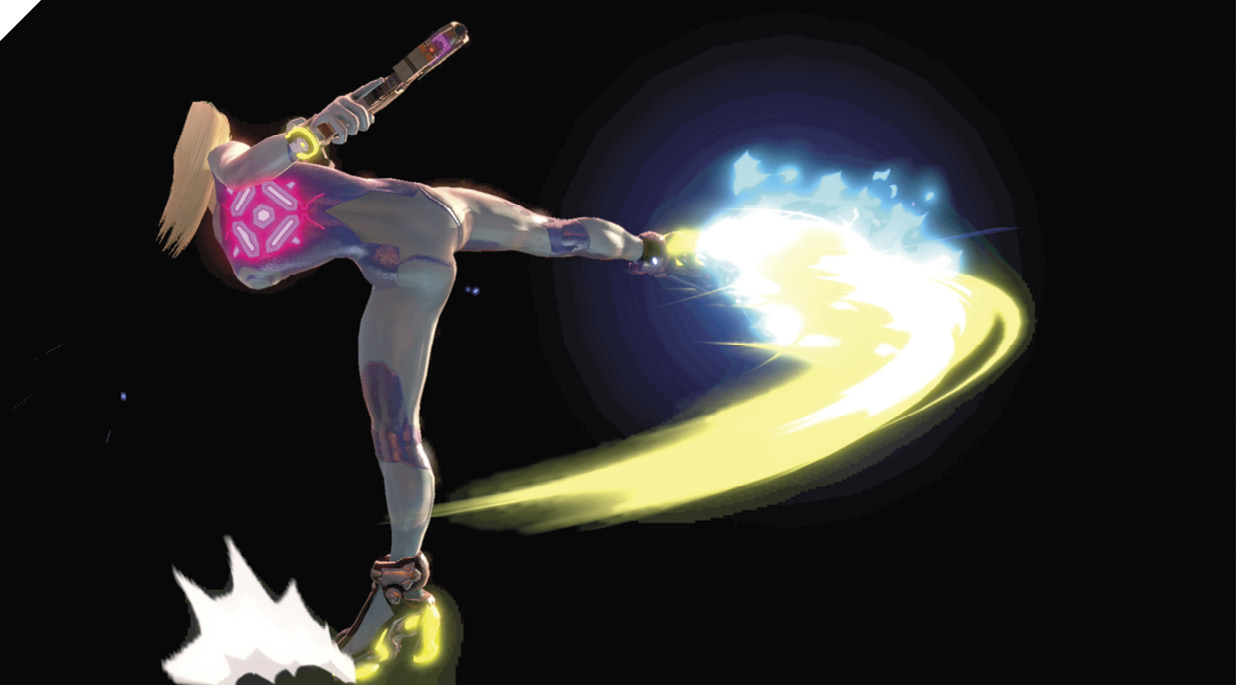
Zero Suit Samus delivers a staggering roundhouse kick to her opponent’s midsection. While side tilt covers a solid horizontal range, it should be used carefully, as Zero Suit Samus has much more effective and safer tools that fill the same role.
Its primary use is for checking enemy aggression. For instance, after the opponent shields one of your Paralyzer shots, you can stick out side tilt to stuff incoming retaliatory dashes.
Up Tilt
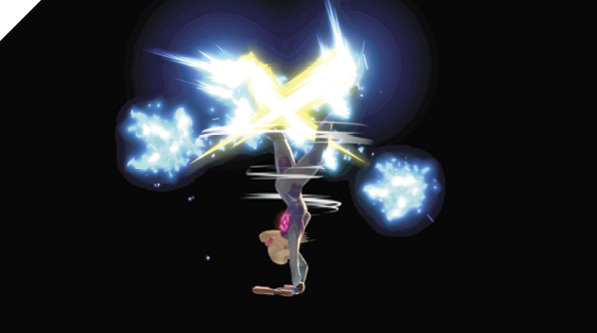
Zero Suit Samus quickly performs a handstand spin kick, striking nearby enemies from both her front and rear. This attack is exceptionally quick for an up tilt attack (faster than other fighters’ neutral attacks). As such, it’s an amazing out-of-shield buffer attack option for punishing shielded attacks with a potential combo. However, up tilt is considerably unsafe on block, so while it’s quick and decently sets up your offense on hit, you can be punished if you’re too predictable with your retaliation attempts.
Down Tilt
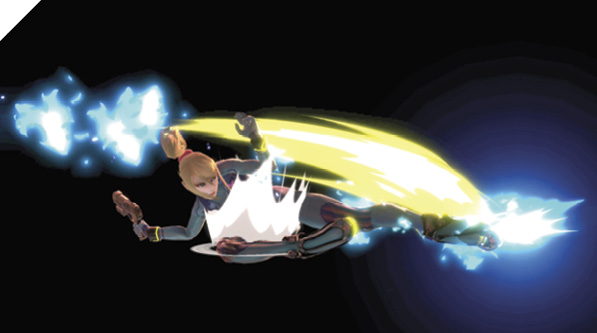
Zero Suit Samus sinks down low to the ground and sweeps her foe off their feet. Down tilt pops enemies up into the air on hit, allowing for tech setups and potential combo opportunities.
Down tilt has surprising reach, with a hitbox extending slightly past her neutral attack 2. If spaced correctly, it’s difficult to punish when shielded. Against most low-percentage foes (around 15%), you can get a guaranteed combo with a follow-up dashing hop forward air attack.
Smashes
| Move | Damage | Note |
|---|---|---|
|
5, 11 |
Knocks away. Can be angled up or down. |
|
|
Up smash |
4, 0.8x5, 3 |
Last hit launches directly above for potential follow-up. |
|
Down smash |
8 |
Causes stun effect. Max damage up close. |
Side Smash
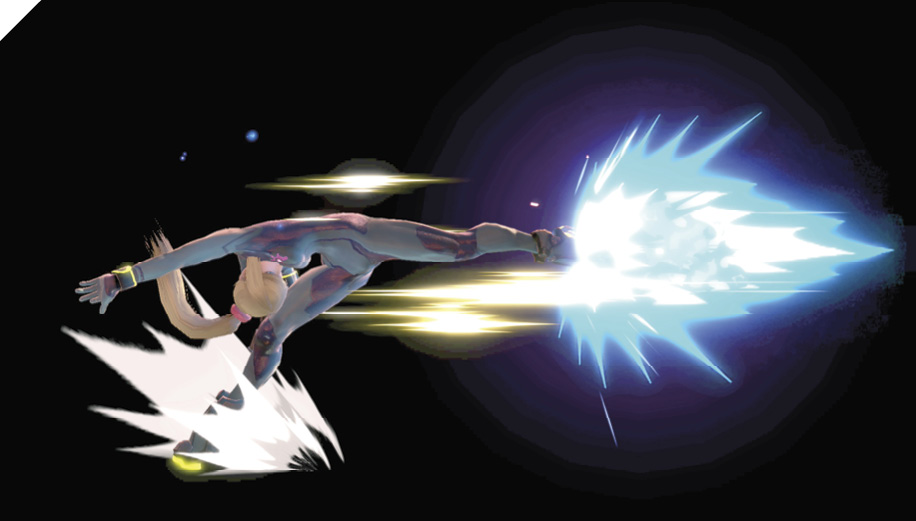
Zero Suit Samus executes a graceful double-roundhouse attack to the enemy’s midsection, sending them flying away. This attack can be angled up or down in order to slightly alter its effective hitbox. While Zero Suit Samus’s side smash leaves you vulnerable to reprisal, it has its uses as a combo finisher after certain hit-confirm attacks (mainly, after you successfully Paralyze an enemy with your Paralyzer shot or down smash). Otherwise, it’s highly recommended that you leave this attack out of your normal neutral-game arsenal, saving it only as a high-damage punish attack or if you make a hard read on an aggressive foe.
Up Smash
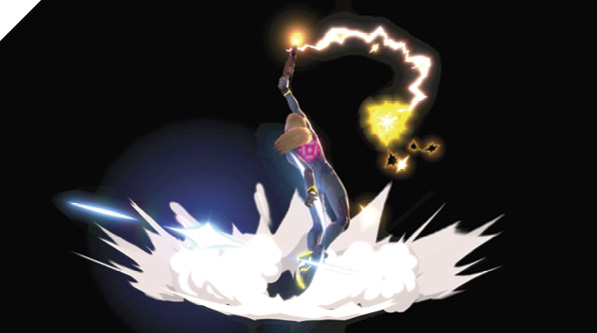
Zero Suit Samus attacks the space above her with a powerful whip attack. Up smash is a strong anti-air for challenging descending enemies, zoning them out. Since the whip doesn’t extend a vulnerable limb, you’re likely to beat out foes trying to get the drop on you as long as you’re accurate with your up smash timing.
You can usually get a guaranteed follow-up up air attack after launching the enemy with up smash, as the whip sends them directly above and slightly behind you at an angle.
Down Smash
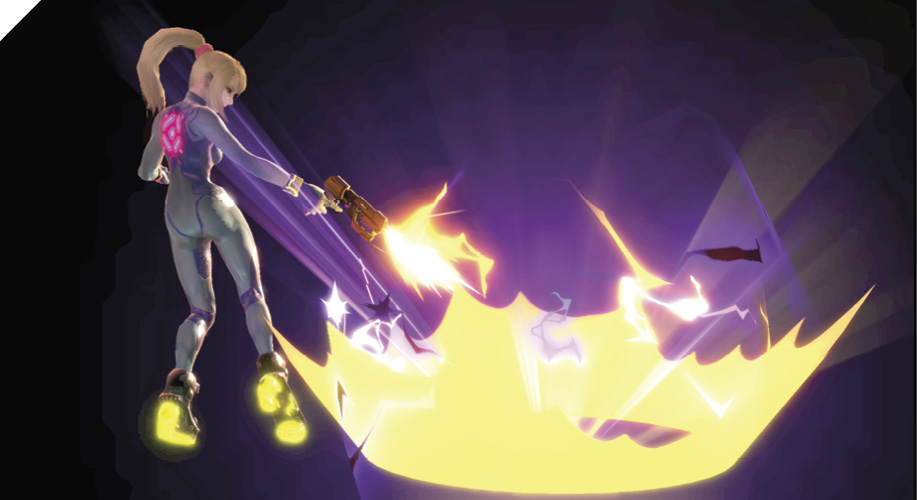
Zero Suit Samus fires her blaster at the ground in front of her, causing a sizable area-of-effect burst that stuns and knocks up foes caught in its blast radius. Down smash is an excellent setup for juggling and setting up combos. You can follow up down smash into forward smash as a kill combo, although it may be rare that you land it from the neutral game. However, down smash is a superb edge-guarding tool to threaten recovering foes or to punish them just as they grab the ledge.
Naturally, its drawback is that it can leave you susceptible to attacks if you miss with it. Try to make sure you at least force your foes to shield to limit your exposure. Mix up your offense between your faster safer attacks to train your enemies into a hesitant defensive posture, before committing to down smash attempts.
Grabs
| Move | Damage | Note |
|---|---|---|
|
1.3 |
— |
|
|
Front throw |
5 |
Forward throw. |
|
Back throw |
5 |
Backward throw. |
|
Up throw |
6 |
Launches up and away. |
|
Down throw |
5 |
Launches up and away, allowing for potential follow-up. |
Grabs
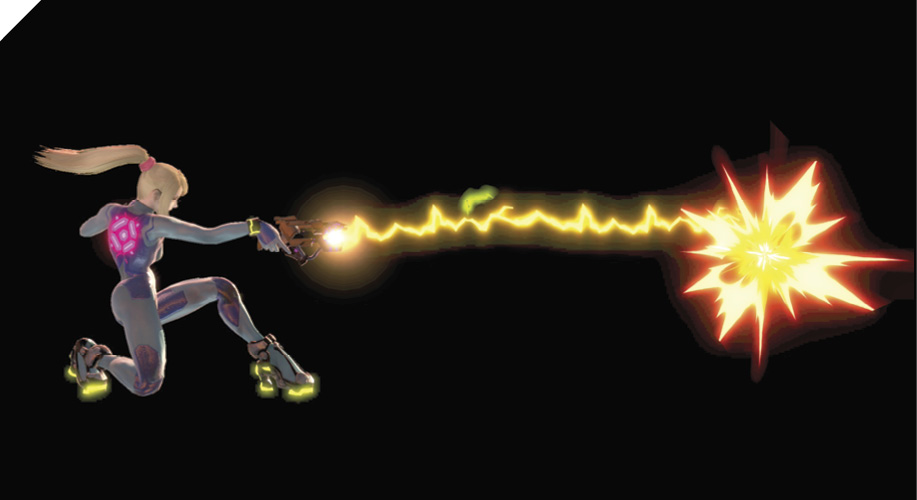
Zero Suit Samus’s grab is a ranged tether that’s unshieldable, but much slower to start than other fighters’ conventional point-blank grabs. Like most throw options from grab, her forward and back throws set up knockdown and tech situations, and her up throw is a launching flip kick that gives you a bit of juggle-trapping and mix-up potential.
Down throw provides the most in terms of damage since you can usually score a guaranteed up air attack follow-up against low-percentage foes (such as against Mario at 20%).
Although a ranged grab is a great tool to have in your arsenal, Zero Suit Samus’s ground grabs should be used sparingly, as there are usually safer and more effective attack sequences to use with her. Generally, you want to condition your opponent into defensive shielding habits before you commit to ground grabs.
Like regular Samus, Zero Suit Samus has an air grab attack (colloquially known as “zair”). And although it doesn’t transition into a grab-and-throw state, it’s an incredibly useful move. It’s a non-committal attack (doesn’t extend a vulnerable hurtbox), similar to a projectile. It’s particularly effective when used from jump into fast fall or simply off of a short hop. Its landing lag isn’t too bad either, so you’re unlikely to be punished for pestering enemies with these sequences.
Aerial Attacks
Aerials
| Move | Damage | Note |
|---|---|---|
|
8 |
Knocks up and away, low knockback. |
|
|
Forward air attack |
5, 7 |
First hit knocks up. Second hit knocks away. |
|
Back air attack |
12 |
Max damage with tip of attack. |
|
Up air attack |
6.5 |
Knocks up for potential follow-up. |
|
Down air attack |
5 |
Stall-then-fall attack. Meteor smash effect. |
Neutral Air Attack
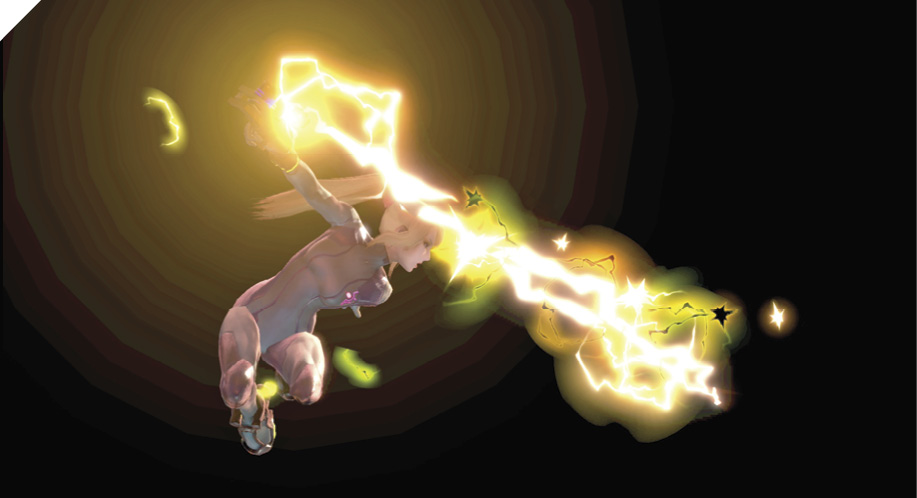
Zero Suit Samus cracks her electrified whip through the air, striking enemies in front and behind. This neutral air attack is one of her best spacing tools because of its effective range. It connects against small fighters during jump descent as long as your timing is accurate, with even the rear hitbox occasionally able to hit small-to-medium-sized fighters. It’s also (usually) safe on landing.
Neutral air attack is one of your staple combo-starters and poke attacks. Your effective distance revolves around your neutral air whip, and you want to keep the spacing in mind when attacking.
Note that the lag on neutral air attack is considerably high compared to your other air attacks, so you normally can’t do jump early neutral air into an additional descending attack.
Forward Air Attack
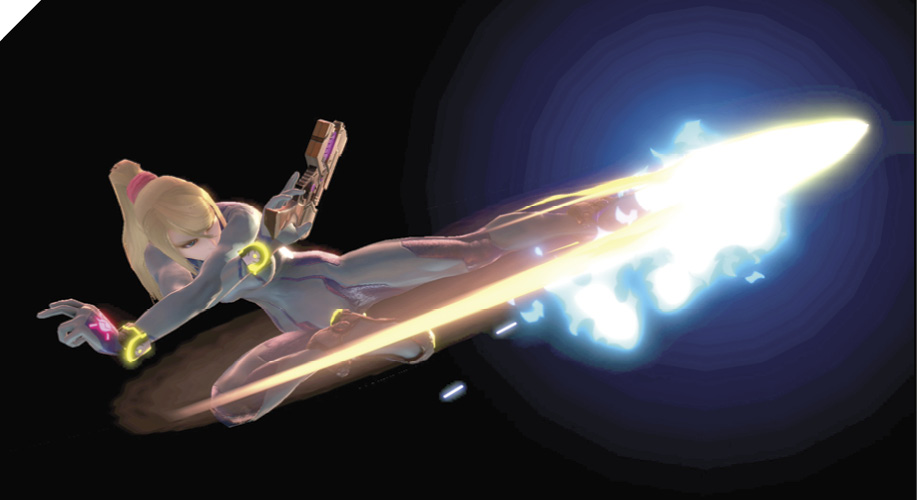
Zero Suit Samus delivers two quick horizontal kicks in succession, knocking foes away. This double-hit air attack excels at air-to-air horizontal skirmishes, particularly for edge-guarding and air-combo juggling chase-downs. Use this as a complementary attack with up air, especially after launch setups like down throw.
Back Air Attack
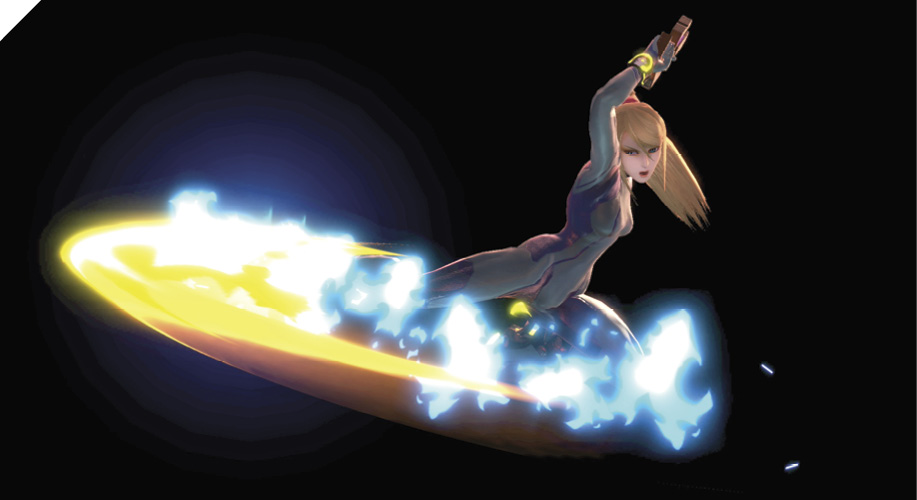
Zero Suit Samus quickly delivers an aerial rear-roundhouse kick. Back air attack is your main edge-guarding tool for keeping recovering opponents far from the ledge. It has low air lag time, so you can stick out back air and another air move. It’s also a decent and safe knockout tool, so you can opt to prioritize going for this attack while you chase down high-percentage enemies.
Up Air Attack
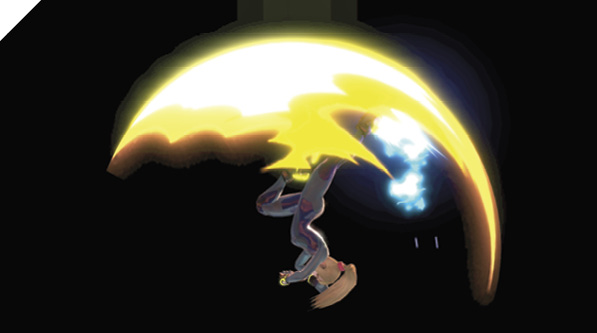
Zero Suit Samus delivers a somersault kick, taking down airborne enemies directly above. This is your air-control attack and your main juggling tool. Use this once you gain aerial positional advantage to keep your opponents guessing as you harass them aggressively with these somersault attacks and your other air attacks.
Down Air Attack
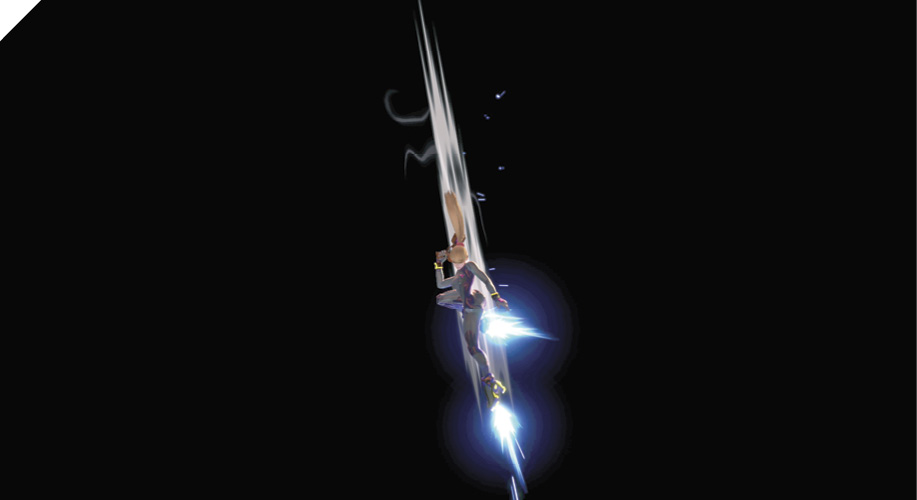
Zero Suit Samus commits to a powerful downward thrust, launching herself from any altitude down a specific trajectory until she makes contact with a platform. As a dive-bomb-type attack, you have no control over your trajectory once you commit. If you perform it off a ledge over a pit, you’re going to die, so be wary of your surroundings!
Additionally, the impact of Zero Suit Samus’s dive kick landing causes a small area-of-effect burst that deals damage to nearby enemies.
Special Moves
Special Moves
| Move | Damage | Note |
|---|---|---|
|
Neutral special |
4 (6 max) |
Charging increases range, damage, and stun duration. |
|
Side special |
1.2x4, 8 |
Launches up and away. Can grab ledges. |
|
Up special |
5, 1.3x5, 4 |
Launches up and away, high launching power. |
|
Down special |
Head Stomp: 8, Flip Cancel Kick: 14 |
Can be canceled into special kick (knocks back). Land on foe for stomp. |
Neutral Special: Paralyzer
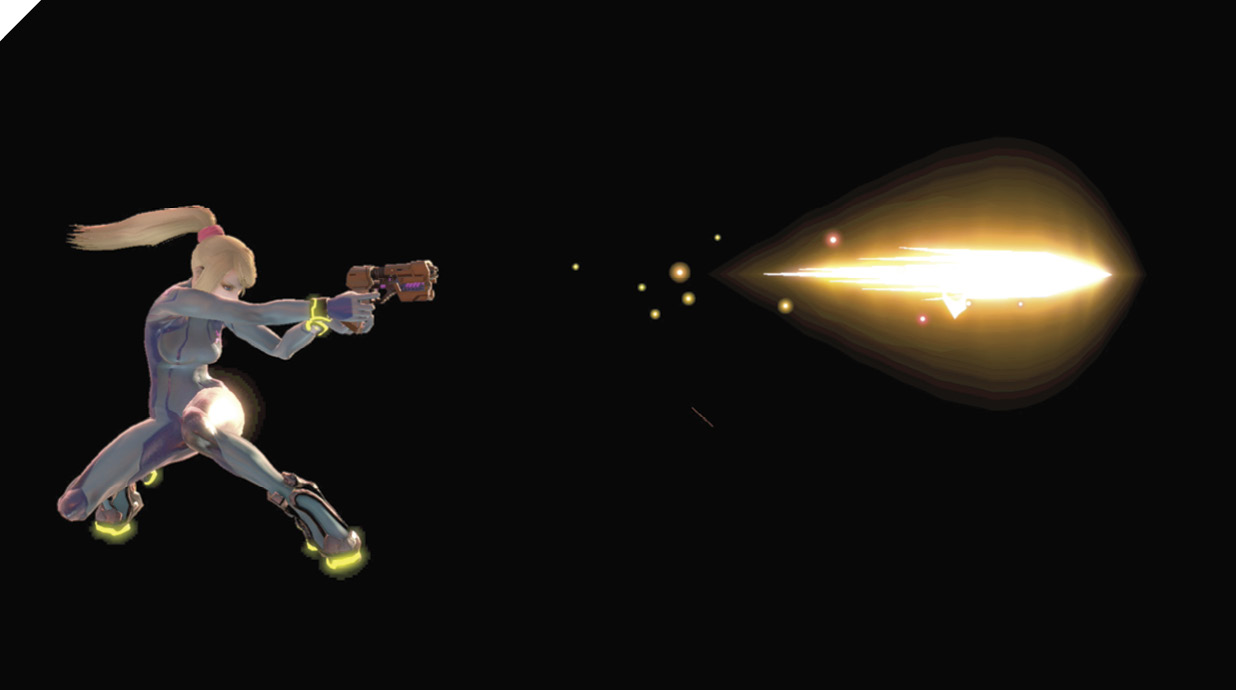
Zero Suit Samus fires an energy blast that stuns enemies. At max charge, the blast’s range, power, and stun are enhanced. Paralyzer is an incredibly powerful projectile attack that sets up combo opportunities. As its name implies, the attack Paralyzes and stuns foes in place for a certain duration (depending on how long you hold the charge upon execution). There are several possible follow-ups you can use when your Paralyzer shot connects, such as dash-in grab and dash-in Boost Kick combo.
You can special-reverse this attack, which is exceedingly useful in tight situations with your back turned to the enemy. This is executed by hitting Special and then immediately flicking the control stick in the opposite direction.
Side Special: Plasma Whip
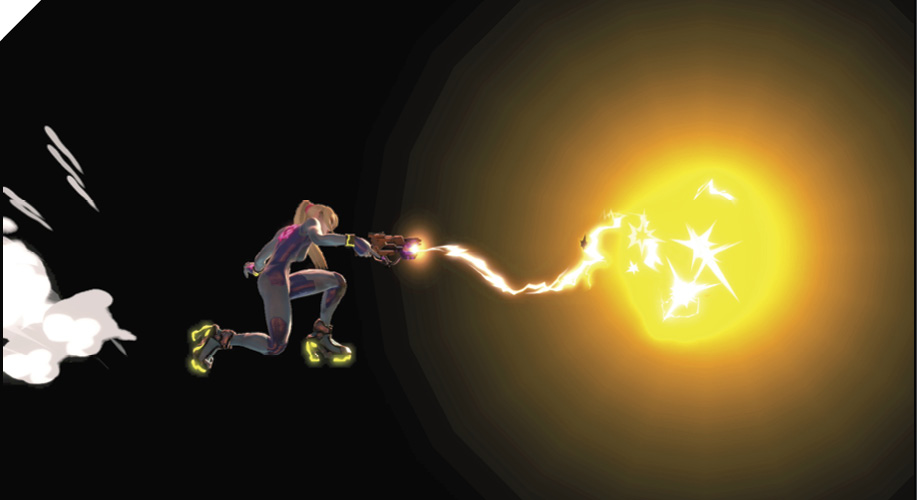
Zero Suit Samus snaps at her foe with her electrified energy whip. It can also be used to grab on to ledges. Although this attack deals a considerable amount of damage, it’s one of Zero Suit Samus’s slowest attacks and should be used scarcely. If you stick out Plasma Whip right before you land during a jump, you’re punished with extra landing lag. However, if you perform Plasma Whip early enough and your move animation completes while you’re still airborne, you’re met with much less landing lag.
Up Special: Boost Kick
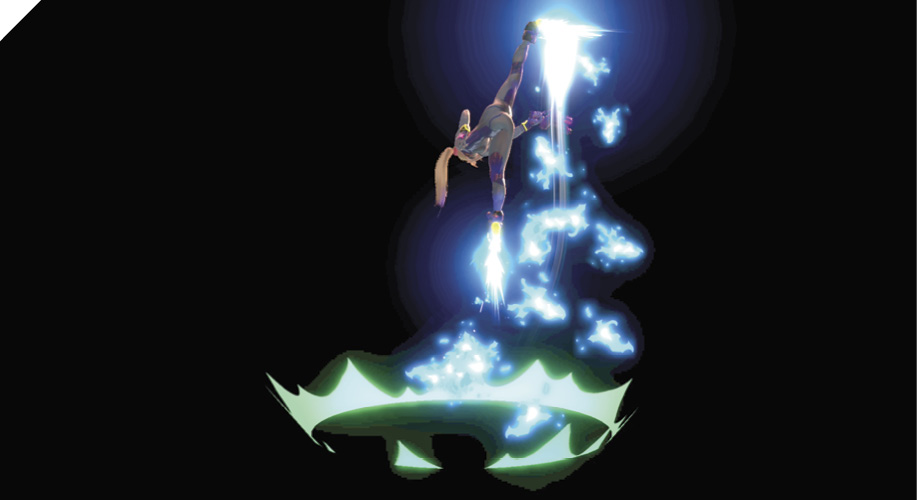
Zero Suit Samus launches herself into the air with a multi-hit strike, ending with a stylish spin kick that launches her victim. Along with your side smash, Boost Kick is one of your primary knockout moves for taking a stock from high-percentage foes. To set it up, either stun the enemy with a Paralyzer and then dash in and immediately Boost Kick, or pop them up with down smash into dash-in Boost Kick.
When chasing airborne enemies with Boost Kick, make sure to transition to fast fall on whiff to limit your vulnerability.
Boost Kick is also a decent out-of-shield attack. Immediately input up special for quick retaliation. Of course, as with most anti-air type specials, it can leave you vulnerable if you’re not careful.
Down Special: Flip Jump
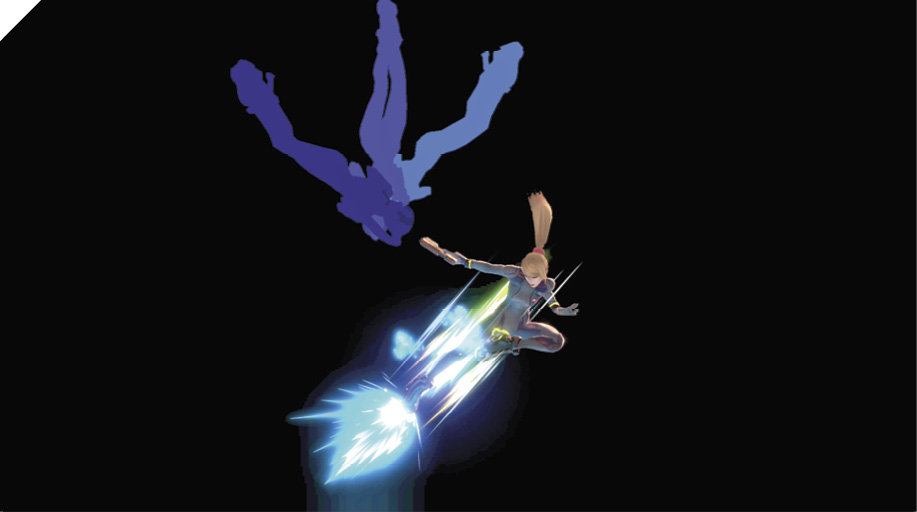
In an evasive maneuver, Zero Suit Samus flips through the air. If she successfully lands on a foe, she digs her heels in and buries them in the ground, leaving them vulnerable (if this hits an airborne enemy, they’re meteor smashed). Alternatively, she can transition from the flip into a high-damage heavy kick.
You can influence the distance covered with Flip Jump by tilting the stick forward or back. Although Zero Suit Samus always flips in the direction you’re facing, you can drastically alter trajectory by immediately hitting back after inputting down+Special (although it’s not technically a special-reverse—it behaves like a totally different flip).
Flip Jump’s versatility makes it an incredible mix-up tool. You can keep your opponents guessing as to where you’ll land and whether you’ll attack. Additionally, Flip Jump is intangible for a sizable duration during the first half of the flip.
While Flip Jump can be canceled with a transitional heavy stomp attack by pressing Attack or Special during the flip, it leaves you highly vulnerable, as the ending landing lag is severe.
Final Smash: Zero Laser
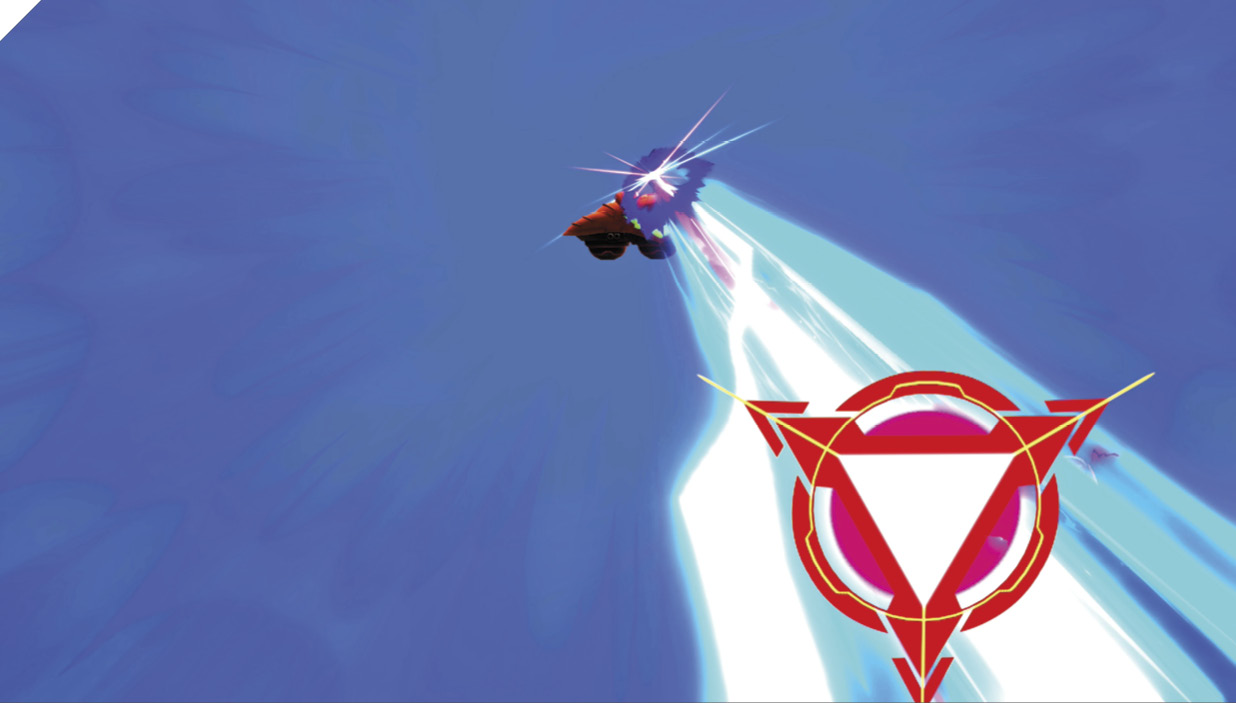
Zero Suit Samus rides her gunship and aims its laser cannon via a targeting reticle. When fired, the laser hits consecutively and deals massive damage. It finishes with one last energy blast that launches opponents.