
Super Smash Bros. Ultimate Guide R.O.B.
Brawler Arsenal
Grounded Attacks
Neutral Attacks
Neutral Attacks
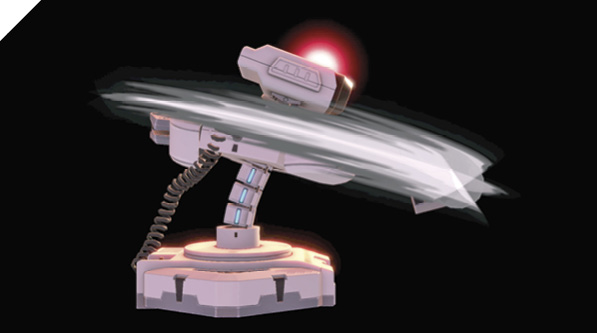
R.O.B. swings his robot arms in front of him for a simple two-hit punch attack, knocking back foes in range. Since R.O.B. is a more defensive, projectile-centric fighter, you don’t use his neutral attacks that often. They’re decent for fending off foes at point-blank range but don’t deal much damage, and they force you to commit to staying grounded briefly. As R.O.B., if you’re going to be grounded, you want to be either charging a Gyro or firing your laser.
R.O.B.’s throws are superb, so it’s recommended that you use shield grabs as your option right after blocking at attack, rather than neutral attacks.
Dash Attack
| Move | Damage | Note |
|---|---|---|
|
7 |
Launches up and away for a potential follow-up. |
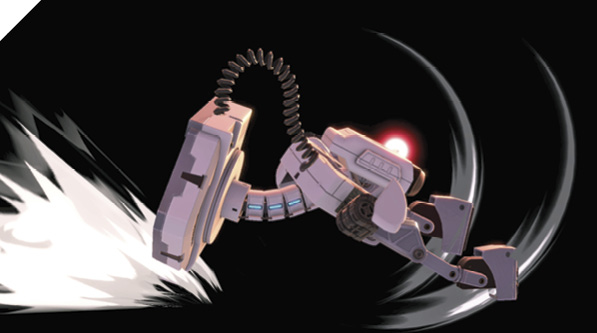
While dashing, R.O.B. slams his arms down into the ground, launching enemies up and away while allowing him to follow up with an attack. R.O.B.’s dashing attack is relatively fast, but punishable when shielded. He can’t pass through foes either, so you’re likely to eat a throw combo if you go for a dashing attack against a quick-witted opponent on the ground.
Although R.O.B. visually appears to swipe the air above him, the attack’s hit effect is narrow, only hitting out in front of R.O.B., so it’s not the most effective anti-air.
Defensive Attacks
Tilts
| Move | Damage | Note |
|---|---|---|
|
Side tilt |
10 |
Launches away. Deals more damage with tip. Can be angled up or down. |
|
Up tilt |
3, 5 |
Launches directly above for potential follow-up. |
|
Down tilt |
5 |
Can cause standing hitstun. Can link repeatedly. Can trip. At high percentages, knocks back. |
Side Tilt
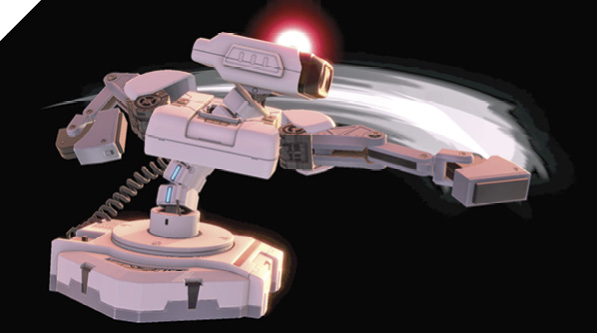
R.O.B. drives one of his arms forward with an extended horizontal attack that launches enemies away. It can be angled upward or downward. Side tilt is a decent ground-based poke for deflecting aggression against foes just beyond your neutral attack range. Since R.O.B. benefits most from staying airborne and using ground time to throw out projectiles, you should use this attack sparingly. Plus, his down tilt is generally a much safer and faster attack with less commitment time.
Up Tilt
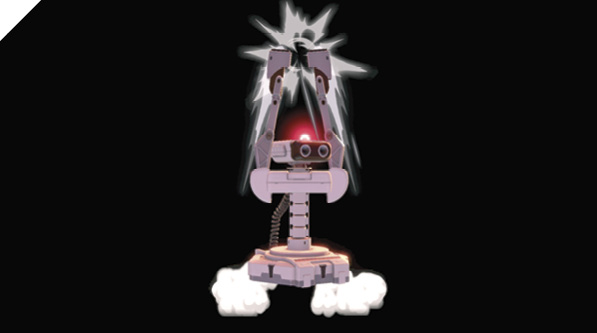
R.O.B. thrusts both arms over his head, launching enemies above him high into the air for a potential follow-up. This is your primary combo-extender off low-altitude knock-up attacks. It has narrow hit coverage, primarily extending directly above R.O.B.’s head, but has a minor horizontal hitbox that can nick enemies.
It’s a solid and quick anti-air you can throw out when you’re directly beneath a descending opponent or one who’s standing above you on a platform.
Down Tilt
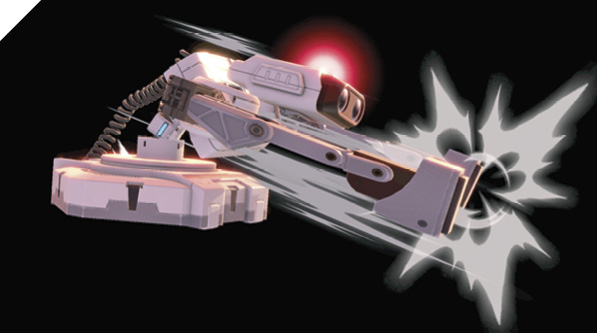
While leaning low to the ground, R.O.B. quickly stabs at the enemy’s feet, staggering them.
Down tilt has fast start-up and low lag. At low-to-mid-percentage range, repeated down tilts create enough advantage to combo into itself. Against certain fighters, you can chain up to a four-hit combo. Naturally, it makes a great defensive ground-based poke. While you shouldn’t dash around the stage fishing with down tilts (since you should be using your space to fire projectiles), you can use it to check enemy dashes or as a feint attack, potentially baiting your opponent into certain ledge recoveries.
Smashes
| Move | Damage | Note |
|---|---|---|
|
15 |
Launches away, high launch power. Deals max damage point-blank. Can be angled up or down. |
|
|
Up smash |
3, 14 |
Launches up and away at slight angle. |
|
Down smash |
3, 3.5, 5 |
Launches away. Double-sided attack. |
Side Smash
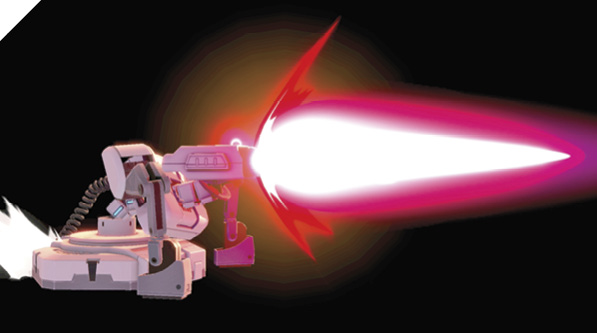
R.O.B. charges up and fires an energy beam from his eyes, blasting foes with high knockback power. The beam can be angled slightly upward or downward, at the enemy’s feet. R.O.B.’s side smash deals massive damage and boasts an impressive range, but is easily punishable. Its range is best used against ledge-recovering enemies. If you can read a ledge roll or ledge climb with a well-timed side smash, you can potentially finish off enemies at mid to high percentages.
Up Smash
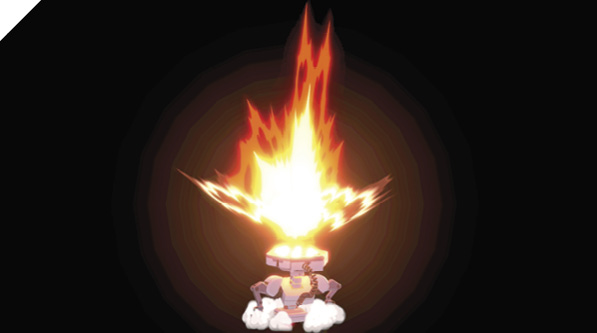
R.O.B. performs a handstand, then fires his thrusters directly above him. Foes caught in the burst are launched sky-high. R.O.B.’s handstand has a tiny hit effect at point-blank range. This hit pops up the enemy into the vertical thruster attack. But like most smash attacks, R.O.B. is severely vulnerable to high-damage punishes if it’s shielded.
Up smash is mainly used to finish off foes into the upper blast zone. The thruster hitbox makes it a solid anti-air if you can time it, but generally your up smash hits are based off predicting enemy movement (against overly aggressive foes, for instance).
Down Smash
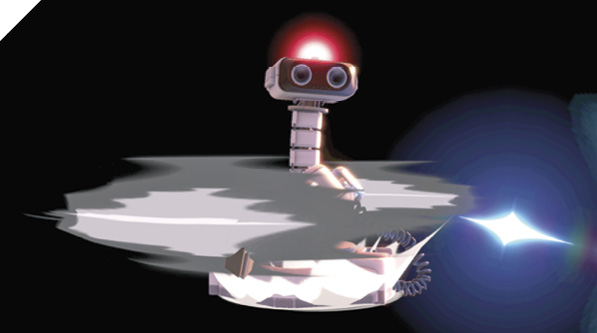
R.O.B. spins around at high speeds with his arms extended, striking nearby foes several times before launching them away. This is R.O.B.’s fastest-starting smash attack. It also has the bonus of hitting both sides, so you can use it as a defensive option right after blocking, retaliating against opponents who cross you up. It also boasts a solid range and damage, so while it’s not safe to throw out haphazardly, it can be worth the risk in many cases.
Grabs
| Move | Damage | Note |
|---|---|---|
|
1.3 |
— |
|
|
Front throw |
8 |
Forward throw. |
|
Back throw |
10 |
Backward throw. |
|
Up throw |
12 |
Launches up and away at slight angle for potential follow-up. |
|
Down throw |
5 |
Buries foe (they can shake out). |
Grabs
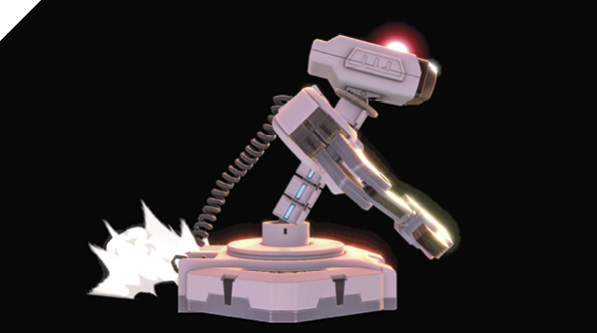
R.O.B.’s grab is swift, but with limited range. Many of his throws have unique properties that set up for more potential damage. R.O.B.’s front throw is unique compared to other front throws in that he can act almost immediately after tossing the enemy. You can potentially combo into a dashing short hop forward air attack if your opponent doesn’t shuffle away. Back throw is similar, allowing you to follow up with a dash attack against low-damage foes.
R.O.B.’s pile-driver up throw slams the enemy into the ground, bouncing them up for a potential follow-up forward air.
Down throw is a burying throw, planting the opponent into the ground before they’re launched into the sky. The opponent can shake out with control inputs, releasing them earlier, so sharp foes may be able to avoid your follow-up attacks altogether.
Aerial Attacks
Aerials
| Move | Damage | Note |
|---|---|---|
|
9.5 |
Launches up and away. Deals more damage with tip. |
|
|
Forward air attack |
7 |
Can cause standing hitstun. Knocks back. |
|
Back air attack |
12 |
Launches away, high launch power. Propels R.O.B. forward. Early hit deals more damage. |
|
Up air attack |
1.5x4, 4 |
Launches directly above. |
|
Down air attack |
12 |
Middle thruster can meteor smash. Propels R.O.B. up slightly. |
Neutral Air Attack
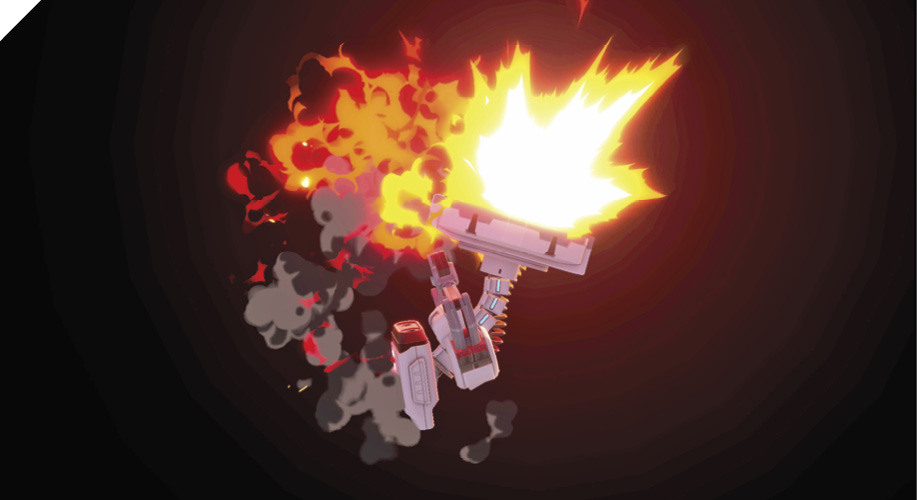
Airborne, R.O.B. fires his thrusters while delivering a somersault attack that incinerates enemies around him with the exhaust from his burners. Thanks to its low landing lag, R.O.B. can safely use neutral air attack to “box out” enemies (i.e., use his extended hitboxes to deter aggression). Retreating neutral air attack (short hop into neutral air attack, then immediately begin holding the opposite direction to back away) is an incredibly safe and powerful defensive maneuver you can use to punish aggressive foes dashing in on the ground. When used offensively, you can make neutral air attack even safer by crossing over the enemy and using its rear-thruster hitbox to put foes in shield-stun (while they’re facing the opposite direction).
Neutral air attack is an excellent and generally safe combo-initiator. You can score a guaranteed follow-up at almost any damage range as long as you hit with the tail end of the attack. If you hit with a retreating neutral air attack, you can go for a quick forward short hop forward air attack.
Against low-damage foes and at certain angles coming from a jump, you can hit neutral air attack canceled into fast fall, then immediately up tilt and finish with short hop up air, dealing almost 30%.
The main downside to defending and attacking with neutral air attack is its significant start-up time. You need a little space to initiate it (aiming with the first active frame is a bit like aiming a hopping side smash).
Forward Air Attack
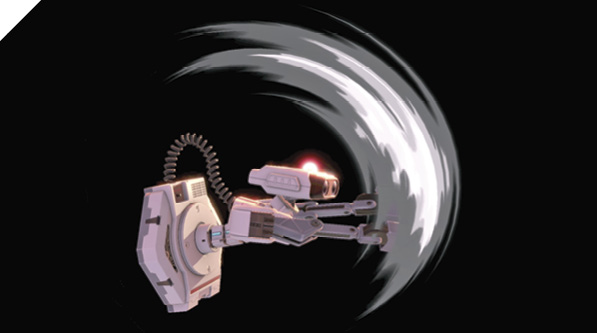
R.O.B. swiftly swings his arms forward in midair, smacking foes away with low knockback power. Forward air attack is a remarkably fast air-to-air and air-to-ground poke attack. It has incredibly low air lag and moderately low landing lag. If timed to hit deep (low altitude) during your hop, it’s safe to most out-of-shield options (although shield grabs will still get you).
Forward air should be used when you’re in a tight spot against an aggressive opponent, when neutral air would be too slow to start. For instance, short hop forward forward air into a retreating descent is a good way to deter dash-ins while leaving yourself relatively safe (although if you’re predictable, foes with fast ground dashes can wait for it and punish you).
At higher-damage values (roughly 60%), air-to-air forward air causes a pop-up effect long enough to combo into another forward air.
On grounded forward air hits, you generally can’t get a guaranteed follow-up, but you can dash in for a grab mix-up.
Back Air Attack
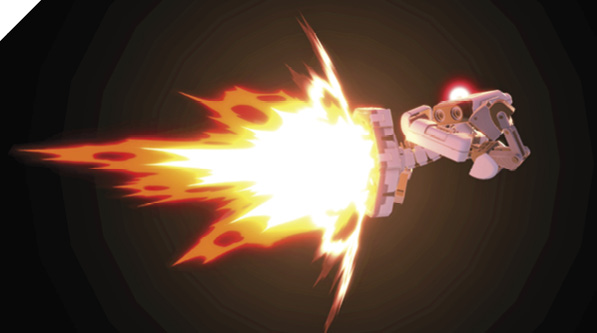
In midair, R.O.B. aims his Robo Burners behind him and fires them. His thrusters propel him forward while devastating foes hit by the blast. Back air attack is a high-damage attack that alters R.O.B.’s aerial trajectory, boosting him forward (usually away from the target you’re attacking).
Back air can be a difficult attack to use properly, especially if you aren’t used to its boost effect. Since you’re launched away from the hit effect, you don’t use this attack to extend combos. Its high knockback power makes it one of your most effective edge-guarding tools, though. Once you throw an enemy off the stage, put your back toward the ledge and use back air to blast recovering enemies away while boosting yourself inward to safety.
Up Air Attack
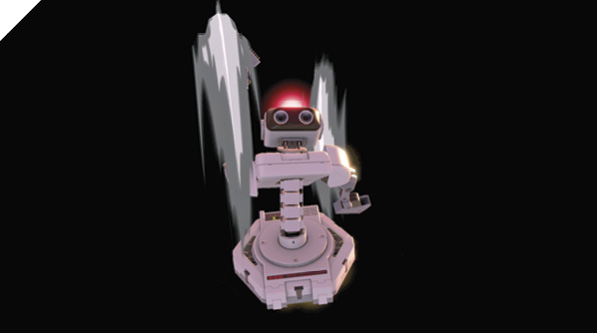
R.O.B. spins both arms vertically in an alternating rhythm, rapidly striking foes above him before sending them off with a double-armed launch. Up air attack is your juggle-trap tool and air-combo finisher. It starts up quickly and hits several times, but has a relatively strict hit effect, covering only the area directly above R.O.B.
Down Air Attack
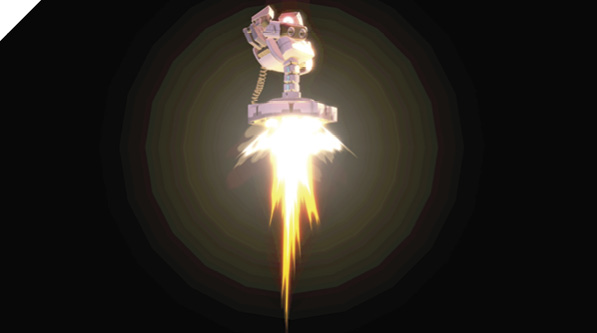
R.O.B. jumps above an enemy and activates his base thrusters, boosting his altitude slightly while meteor smashing foes beneath him. Down air attack has considerable air lag, but since it boosts you up into the air (behaving like a second double jump), you never have landing lag after landing from a down air.
Down air almost always causes a meteor smash if it hits. Use it against offstage foes to knock them into the lower blast zone while increasing your altitude slightly. Its hitbox is narrow, though, only covering the thruster area below R.O.B.’s base.
Special Moves
Specials
| Move | Damage | Note |
|---|---|---|
|
Neutral special |
Lv1: 7. Lv2: 7+4.5. Lv3: 7+15 |
Damage and effect vary with LED charge. Can be angled up or down. LED charge takes 15 seconds. |
|
Side special |
1.5x(5 to 10), 3 |
Launches up and away. Can reflect projectiles. Mashing Special increases number of hits. |
|
Up special |
— |
Drains burner gauge. Restores after six seconds. Doesn’t inflict helpless state. |
|
Down special |
4 + (4.5 to 6.7) |
Charging increases velocity, which determines damage. |
Neutral Special: Robo Beam
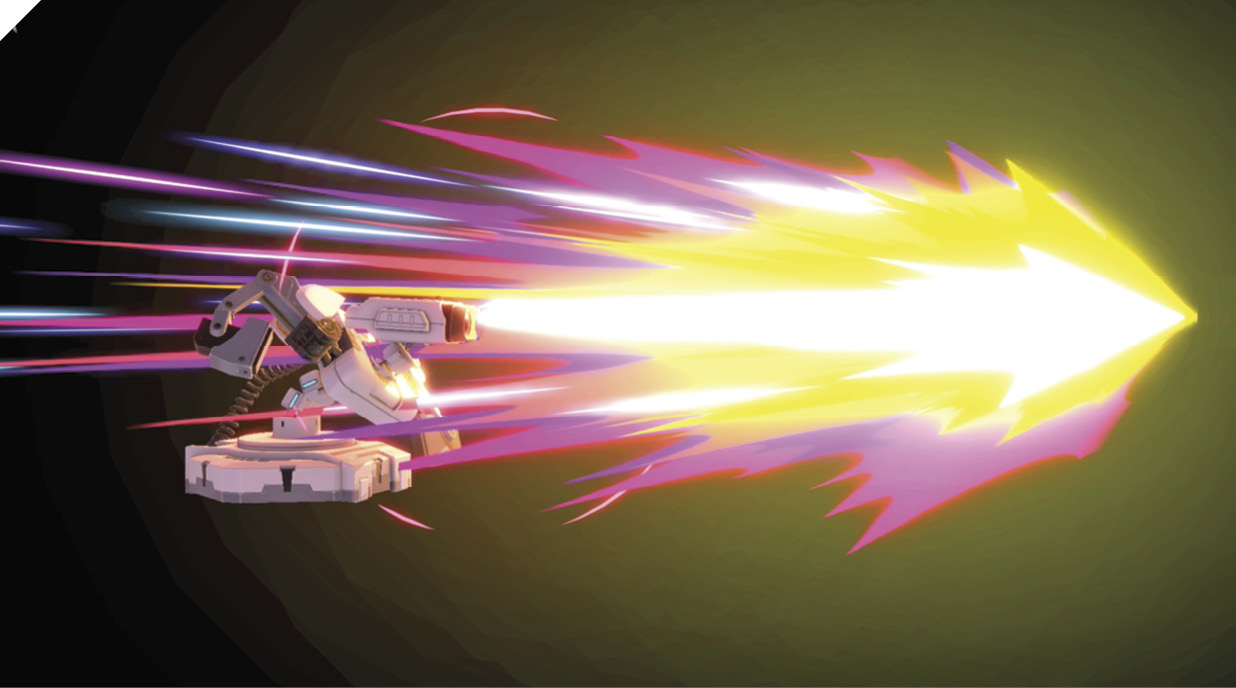
R.O.B. depletes all of his charge and fires a laser beam across the stage. If his charge is maxed out, he fires a Super Robo Beam that obliterates anything in its path. There are three distinct power levels to R.O.B.’s Robo Beam, determined by a behind-the-scenes counter that maxes out at 860 frames. When this counter is below 300, his Robo Beam is a short-range blast. Between 300 and 860 (max), the beam is upgraded and consists of a short-range blast along with a horizontal beam that deals a bit of damage. For the final form of the attack, at 860, the horizontal beam deals high damage with much more knockback and has a slightly larger hitbox. You can easily tell the charge level by the light on R.O.B.’s head: at level one, there is no red light; at level 2, the red light steadily blinks on and off; at level 3 the red light blinks rapidly and shines brighter.
Since Super Smash Bros. Ultimate runs at 60 frames per second, he maxes out his charge at just over 14 seconds (the counter begins immediately after firing Robo Beam). Level 2 beam has the most practical application, so the main timing you want to keep in mind covers zero charge to 300, which is five seconds. R.O.B. begins battle with a Level 2 charge (300 frames).
R.O.B. can aim the beam at an upward or downward angle. If you have at least a Level 2 charge, you can bounce the beam off the stage.
Every five seconds, you have access to an extremely powerful projectile. This is a threat your opponents can’t ignore, and they’re sure to keep track of your Level 2 beams as well. Mix up your beam timing and alternate between Robo Beam and Gyro to keep your enemies on their toes.
Side Special: Arm Rotor
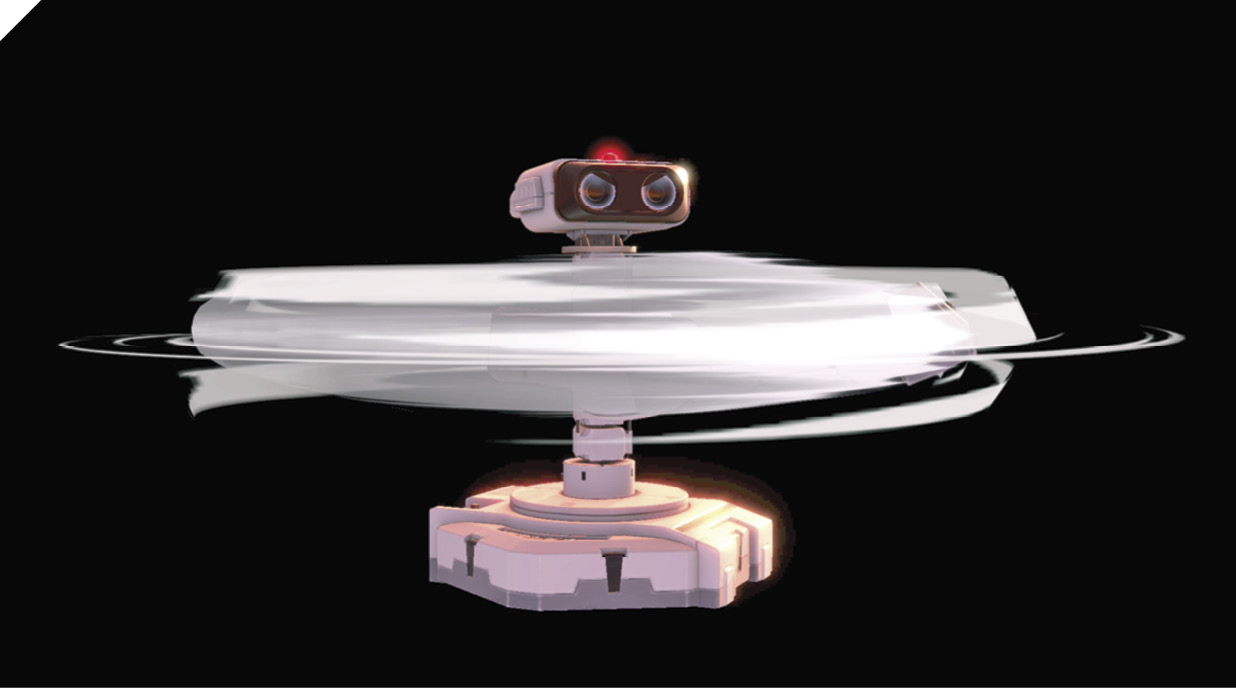
R.O.B. leaps forward with a grinding Arm Rotor attack, striking enemies several times, then completing the sequence with a robot uppercut punch that launches foes up and away.
The aerial version of Arm Rotor slightly propels you upward while allowing you to act when you’re actionable. You can use Arm Rotor as an offstage edge-guarding attack. For instance, at higher percentages, you can combo a jump forward air into Arm Rotor to knock foes even farther away from the ledge. From there, you can Robo Burner safely back to the ledge behind you. This tactic is particularly effective against foes with good offstage-recovery projectile strategies. If Mewtwo attempts to throw its Shadow Ball at you to cover its stage recovery, reflect them with Arm Rotor.
Arm Rotor has extreme end lag, so it’s incredibly risky to throw out excessively, especially if you’re grounded.
Up Special: Robo Burner
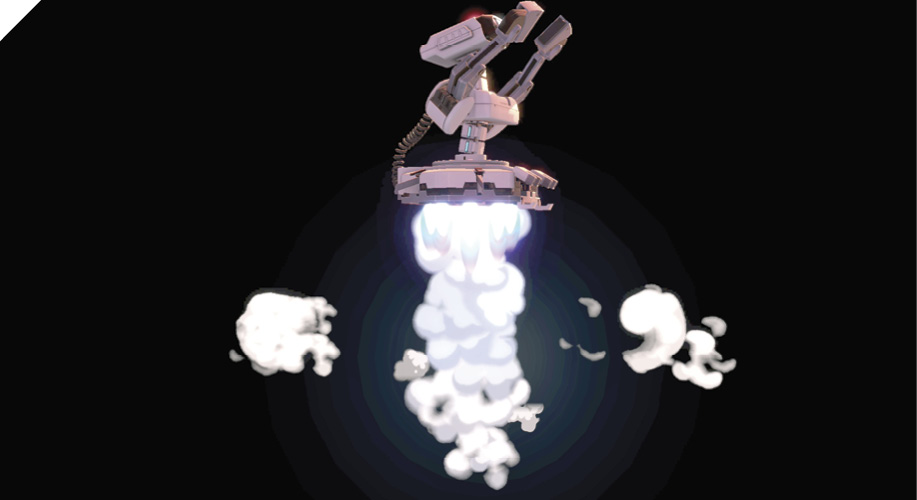
R.O.B. steadily activates blue thrusters that boost him into the air, allowing him to either fly high into the air or hover in place, as long as he has burner fuel to use. You can cancel and restart Robo Burner midflight. Tapping up+Special activates the burner and lifts you a set distance. Holding up+Special continuously drains fuel while further boosting your altitude. You can tap and hold Special (or the up direction) repeatedly to micromanage your altitude and fuel usage, so you can use your fuel judiciously in case you need it to recover out of the air.
Burner fuel replenishes while you’re grounded but not while you’re hanging off a ledge. Not only should you keep track of your Robo Beam charge, but also how long you’ve been touching the stage. Simply hopping into the air temporarily stops your fuel from replenishing. Fortunately, R.O.B. has a handy gauge indicator located down the side of his torso. When it’s blue, you’re at over two-thirds of max burner fuel gauge.
While Robo Burner is an amazing mobility tool, its fuel restriction means you have to spend time playing from the ground, which means mastering a defense-heavy ground game with Gyro and Robo Beam is vital to your success with R.O.B.
Down Special: Gyro
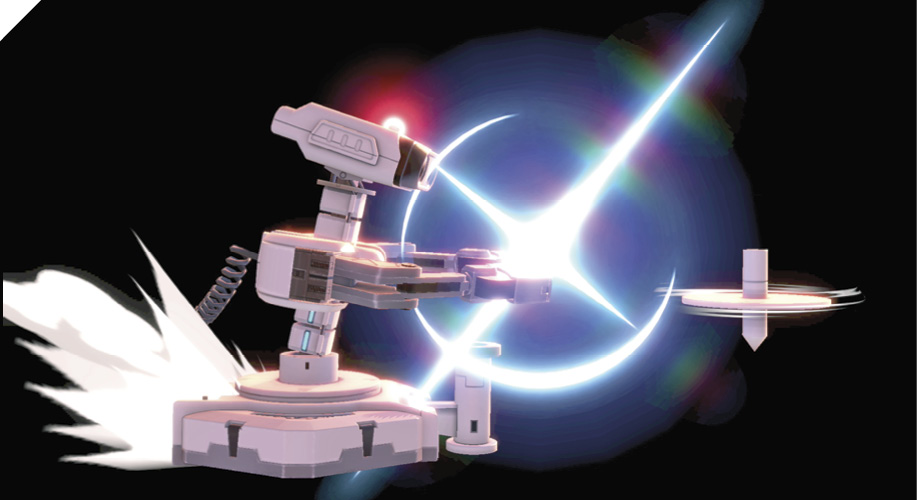
R.O.B. pulls out a top and begins revving up its RPM before releasing it in front of him, flying at his foe and knocking them away. The longer the top is revved up, the higher its velocity, which in turn increases its damage.
Gyro deals high damage on hit and can knock enemies down. When it’s shielded, the Gyro disappears immediately. This is important to remember, since it means you can immediately charge up and throw out another one.
When a Gyro is tossed without making contact with an enemy, it remains spinning on the ground with a persistent hit effect. You can use this as an effective edge-guarding tool by placing a Gyro right next to the ledge and covering almost every single ledge-recovery option. It’s important to note that the Gyro launches enemies it hits in the direction R.O.B. was facing when the Gyro was released. So, if you face inward (with your back to the ledge), you can drop the Gyro (with the Grab button while in the air) right on the ledge so that your ledge-recovering opponents who climb onto the ledge are launched toward you, allowing you to follow up with a combo.
There are advanced Gyro throw techniques you can apply to help you follow up your Gyro attacks. To quickly pick up Gyros on the ground, use the Attack button. To pick them up in the air without committing to an aerial attack, use the Grab button. Alternatively, you can short-hop and buffer-grab to quickly pick up a grounded item while jumping. To reduce lag off a dashing item throw, you can use a “squat-cancel” technique: while dashing, input Jump, then immediately input Attack (you have to input Attack quickly, within three frames). The advantage to this item throw is that it has much less lag than a dashing item throw (since you’re performing a normal item throw, just with the added dashing momentum). This allows for stronger follow-ups and combos.
With a Gyro in hand, you can mount powerful Gyro offensive sequences by jumping over the enemy and throwing the Gyro down with down+Grab, then going for a turnaround into grab mix-up as you land.
You can only have one Gyro on-screen at any given time, so Gyro timing is important, as you don’t want to be predictable with your Gyro throws. If you allow the enemy to pick it up, you lose access to a valuable tool (with your opponent having the advantage of being able to throw your weapon back at you).
Final Smash: Guided Robo Beam
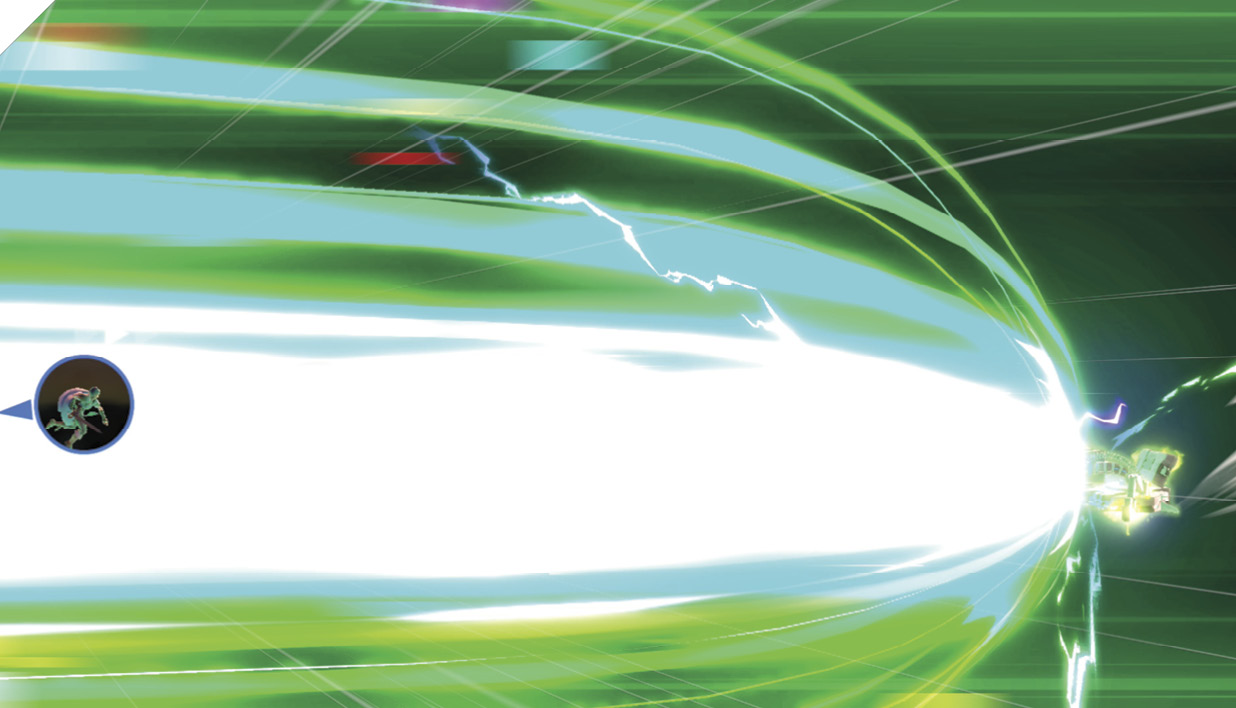
Automatically lock on to multiple opponents, then fire homing lasers at them. Finish the attack by shooting a giant beam that hits multiple targets. The angle of the beam can be adjusted up or down.