
Super Smash Bros. Ultimate Guide Fox
Brawler Arsenal
Grounded Attacks
Neutral Attack
Neutral Attacks
| Move | Damage | Note |
|---|---|---|
|
Neutral attack 1 |
1.8 |
Hold attack to repeat rapidly. |
|
Neutral attack 2 |
1 |
— |
|
Neutral attack 3 |
0.6xN, 2 |
Knocks away. Hold attack to loop. |
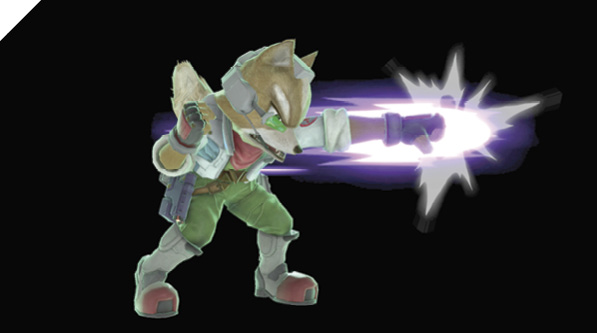
Fox performs an incredibly quick one-two punch combination followed by a flurry of lightning legs, finishing with a spinning heel kick that knocks enemies away. Fox’s jab starts up ludicrously fast, able to essentially punish any attack within range after it’s shielded.
Aside from being an excellent move to use after dropping shield at close range, it’s great for stuffing dashing attacks, especially if you stick out neutral attacks 1 and 2. Neutral attack 1 is safe on shields. While neutral attack 2 isn’t as safe as neutral attack 1, it’s still relatively safe against most jab attacks, only punishable on shield if the opponent has a lightning-fast jab.
If you’re sharp enough, you can hit-confirm your jabs into neutral attack 3 (lightning legs).
Dash Attack
| Move | Damage | Note |
|---|---|---|
|
6 |
Knocks foe directly above. |
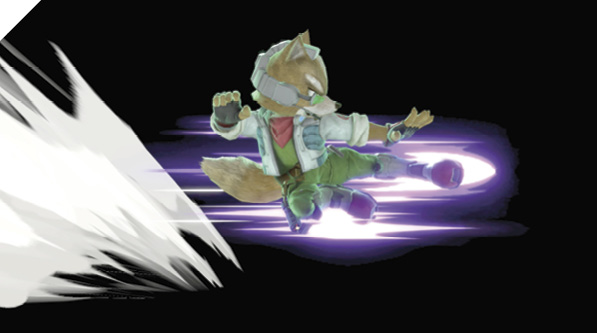
While dashing, Fox delivers a swift leaping kick that launches foes directly above him into the air. Dash attack is your primary whiff-punishing attack against your enemy’s missed attacks. It’s quick and relatively difficult to punish and leads into combos depending on how you connect with it. Thanks to Fox’s incredible ground movement speed, you can play an amazingly effective bait-and-punish style, dashing around the stage luring out misplaced attacks, then punishing them with your flying kick.
On hit, at around 25-30% damage, you can follow up dash attack into either neutral air attack or up tilt for a combo.
At very low percentages, you can generally combo with up tilt (easier if you hit with the tail end of the dash attack’s active window).
Defensive Attacks
Tilts
| Move | Damage | Note |
|---|---|---|
|
Side tilt |
6 |
Knocks away, low knockback. |
|
Up tilt |
6, 8 |
Launches up and slightly behind. Tip of leg early hit deals more damage. |
|
Down tilt |
8 |
Side Tilt
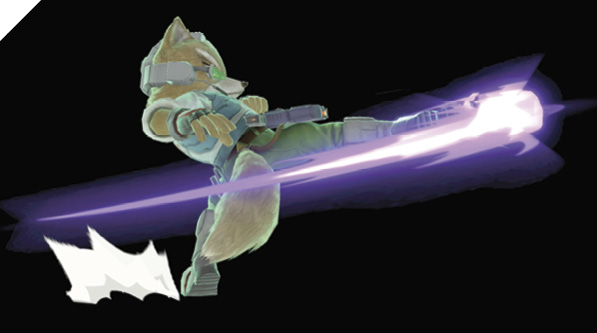
Fox does a swift far-reaching side kick in front of him. It can be angled upward or downward by tilting the control stick diagonally up or down for a little more damage. Fox’s side tilt is a conventional one. It starts up quickly, provides a bit of knockback on hit, and boasts solid horizontal range. It doesn’t start combos, but it’s good for whiff-punishing attacks from midrange. Generally, it’s recommended that you use side smash if you’re going for a deliberate punish attack.
Up Tilt
Fox performs a half-cartwheel kick attack, striking foes at his rear and those in the air above him.
Up tilt is one of your staple attacks and should be used often as a ground-based punish and ground-to-air anti-air, thanks to its speed and generous hitbox. Several up tilt attacks can be consecutively chained together in most cases, depending on enemy weight and percentage. For instance, against a 25% grounded Link, you can do up tilt four times, followed by a short hop forward air attack.
Up tilt’s versatility allows you to use it against grounded enemies while they’re both in front of and behind you. It’s safer if you attack with it while facing the enemy, with the tail end of the active hitbox hitting them. However, if you perform a turnaround up tilt (tilt the control stick up-back + Attack), the attack hits at its earliest active frame, making it an incredibly fast attack for punishing moves.
Down Tilt
Fox crouches down and sweeps the ground in front of him with his tail, which launches foes vertically into the air. Down tilt is an incredibly safe low attack with some combo-starting potential. When shielded, it’s only punishable by the fastest moves (like neutral attacks from Zero Suit Samus and Little Mac).
Against heavier fighters at 0%, it’s possible to land a three-hit combo starting with down tilt: down tilt into dash attack, followed by up tilt, then you can begin an air trap.
Down tilt is good for chipping away at enemy shields and deterring your opponent’s approach. If the enemy shields your down tilt, you can likely interrupt their retaliation with another down tilt or a jab.
Smashes
| Move | Damage | Note |
|---|---|---|
|
14 |
Launches away. |
|
|
Up smash |
16 |
Launches up and away at slight angle. |
|
Down smash |
14 |
Launches away, low knockback. |
Side Smash
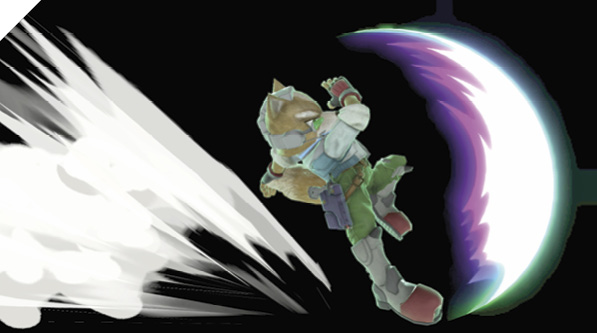
Fox pounces forward with a heavy axe kick that sends foes flying across the battlefield. Fox’s side smash is one of the better smash attacks in Super Smash Bros. Ultimate and can be used effectively in the neutral game, thanks to its relatively quick start-up speed and solid damage. It’s unsafe when shielded, so it’s not an attack you want to poke with, but it’s a solid whiff-punish attack against enemies within range.
Up Smash
Fox performs a reverse-somersault kick attack with both legs extended, which launches enemies high into the air. Fox’s up smash can be used as a finisher against high-percentage enemies. It deals a lot of damage and packs a lot of knockback, especially if you hit with the frontal hitbox (the first half of the somersault deals higher damage). While trapping the enemy in the air, you can bait out an air dodge and go for an up smash finisher, or you can use up smash if you make a good read on their descending attack, since it’s a solid anti-air move. Against agile foes and experienced players, Fox’s smash attacks may be difficult to incorporate into your game, as they leave you exposed if you miss with them.
Down Smash
Fox does the splits, kicking both legs out to his sides simultaneously. Down smash hits on both sides, but isn’t a particularly amazing attack in the neutral game. It’s best used right after blocking an enemy’s laggy attack into your back, or as a follow-up to one of your cross-up aerial attacks. Otherwise, it can be punished in most cases.
Grabs
| Move | Damage | Note |
|---|---|---|
|
1 |
— |
|
|
Front throw |
7 |
Forward throw. |
|
Back throw |
8 |
Backward throw with Blaster shots. |
|
Up throw |
8 |
Launches foe into potential juggle position. Blaster follow-up can be shuffled out of at higher percentages. |
|
Down throw |
7 |
Launches foe up and away for potential follow-up. |
Grabs
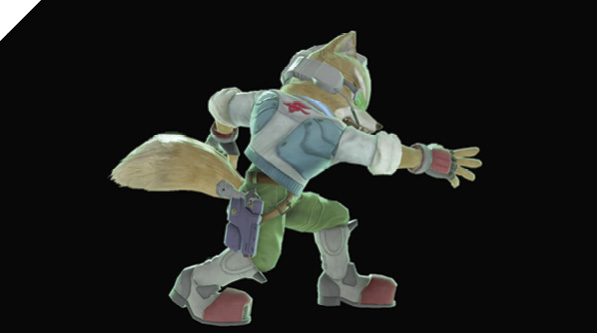
Fox reaches out and grabs a nearby foe in front of him. Fox’s down throw leads into combo opportunities against low-percentage enemies. Follow down throw into dashing short or jump forward air for a combo. For an advanced combo, you can fast fall the forward air before its final kick connects, leaving the opponent in a knockdown state where they’re forced to tech get-up or lie on the ground. If they miss their tech get-up, you can combo into side smash. If they tech get-up, you can punish them with a charged side smash. At higher percentages, you can go for a mix-up with a dashing reverse-rush back air attack. If they air-dodge the back air, you can fast fall and punish their air dodge with a fast fall into up tilt attack.
Aerial Attacks
Aerials
| Move | Damage | Note |
|---|---|---|
|
9 |
Causes standing hitstun against grounded foes until higher percentages. |
|
|
Forward air attack |
1.8, 1.3, 1.8, 2.8, 4.8 |
First four hits cause knockdown, forcing tech get-up if final hit doesn’t connect. |
|
Back air attack |
13 |
Knocks back. |
|
Up air attack |
5, 10 |
Launches directly above, slightly. |
|
Down air attack |
1.4x6, 3 |
Neutral Air Attack
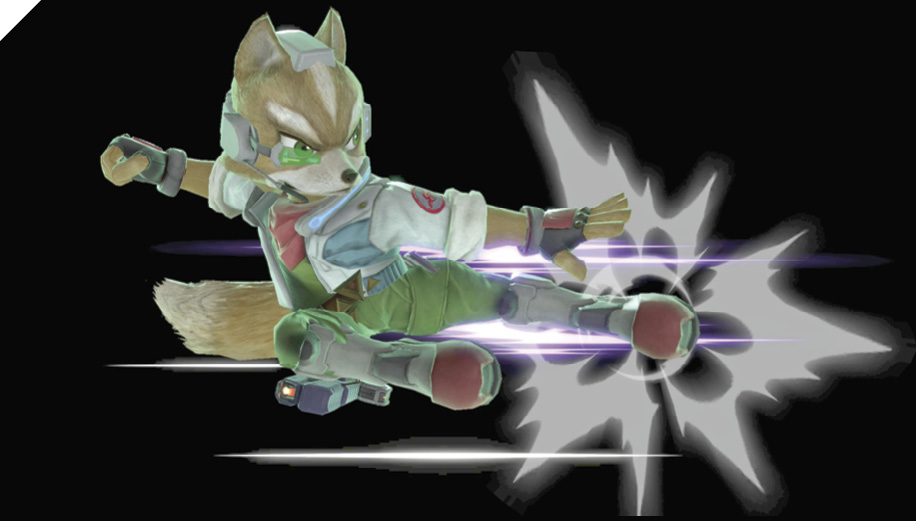
While airborne, Fox lets out a remarkably fast kick attack and leaves his legs extended for a short duration. Against grounded enemies around 10%, fast fall neutral air attack is a remarkable combo-starter. Follow up with your jab combo for a solid amount of damage on hit. Neutral air attack doesn’t start knocking enemies back until much higher percentages than attacks of the same class. For instance, against a grounded foe at 70%, you can do a fast fall neutral air attack that combos into down tilt, followed by a dashing hop into forward air attack. If timed correctly, this entire sequence is a guaranteed combo!
It’s important to note that neutral air attack can leave you at a disadvantage on hit against enemies with very low damage percentages, so in some cases, if you connect with neutral air attack against a 0% opponent with a fast jab, it’s likely they can beat out your follow-up jab with their own, even if you connect with your falling neutral air attack kick.
A solid attack sequence to “wall out” enemies is short hop neutral air attack (you can input Jump + Attack at the same time) into fast fall. This extends a hitbox for most of your jump duration that your foe has to respect.
Forward Air Attack
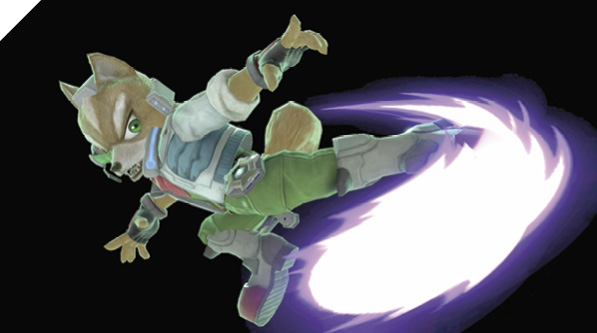
Fox executes a sequence of five spinning kicks, with the final spin kick launching enemies directly above him higher into the air. Forward air attack suffers severe landing lag if you land while the kick sequence is still active. You can mitigate this by executing the move early on in your jump. Using fast fall forward air isn’t recommended in the neutral game since it’s highly punishable on shield. It deals good damage, so it makes for a good combo extension or for meeting enemies in air-to-air combat.
The first four kicks in forward air cause a forced knockdown state. In other words, if you connect with any of the first four kicks and then fast fall without connecting with the final kick, you can make your foe drop to the ground where they’re forced to either tech get-up (which is punishable) or lie on the ground, in which case you can score a free hit (such as side smash) for added damage.
Back Air Attack
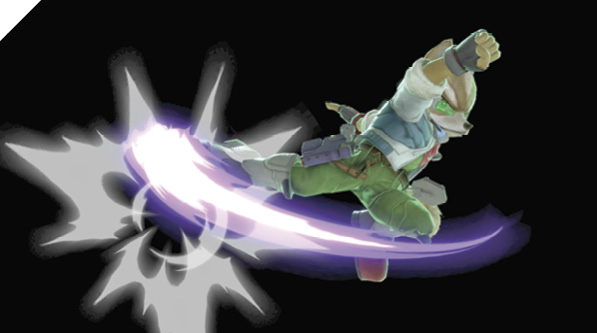
Fox delivers a mighty aerial donkey kick, knocking away opponents behind him. Like most back air attacks, Fox’s back air is a superb edge-guarding tool. It deals a high amount of damage and knockback and has almost zero landing lag when performed at the start of a short hop.
Up Air Attack
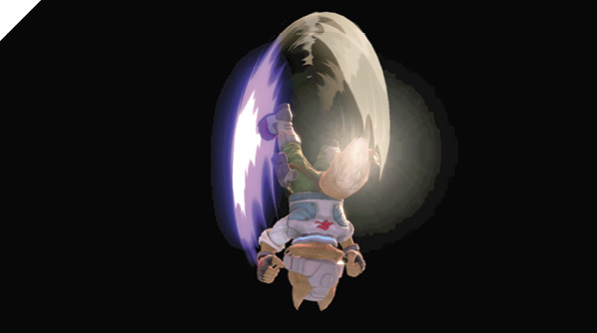
Fox performs a double-kick attack directly above him that knocks enemies up. This attack should strictly be used as anti-air. Its active window is short, considering it’s a two-hit attack, and its hitbox is narrow. It deals solid damage and has very little air and landing lag, allowing you to go for jump up air attack without leaving yourself too vulnerable upon landing.
Down Air Attack
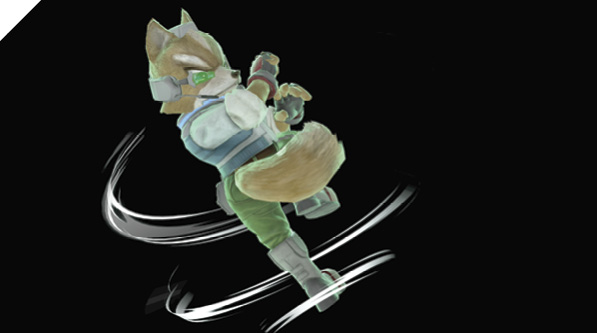
While airborne, Fox descends with a multi-hit drill kick attack. The last hit of the drill kick pops foes airborne. Down air attack has a highly punishing landing lag if you land before the final attack animation completes, so it’s recommended that you begin this attack early on in your hops.
If you can time your down air to connect with its final hit against a grounded foe, it pops up the enemy into the air with a considerable amount of hitstun—and at around 30% against most fighters, you can follow up with forward air for a combo (or back air if you end up behind them). Alternatively, you can go for a more advanced technique and perform a footstool follow-up into a fast fall neutral for an off-the-ground hit as the enemy is laid out on the stage.
While down air attack has a persistently active hitbox and is effective for air-to-ground assaults, its hitbox is narrow, making you vulnerable to attacks.
Special Moves
Special Moves
| Move | Damage | Note |
|---|---|---|
|
Neutral special |
Up close: 3, Midrange: 2, Tail end: 1.4 |
Damage falls off as projectile travels. |
|
Side special |
8 |
— |
|
Up special |
1.8x7, 16 |
— |
|
Down special |
Activation: 2, Reflected projectile: 1.4x |
Reflected projectile deals additional 40% damage. |
Neutral Special: Blaster
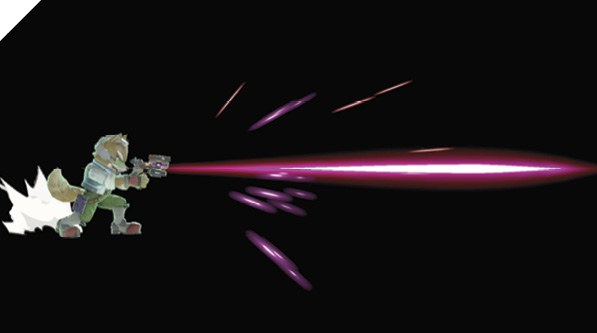
Fox shoots rapid-fire laser beams that deal damage but don’t knock opponents back (i.e., projectiles don’t cause hitstun). Fox’s Blaster shot is a unique projectile attack. The beams fire at high velocity but deal minor damage (the farther they travel, the less damage they do) and don’t cause foes hit by them to flinch. That is, enemies can run straight through them, and while they take some damage, they aren’t hindered in any way. You can rack up some damage with Blaster shots, but they basically can’t set anything up. It’s best used to pester offstage enemies, scoring some damage on them as they recover to a ledge.
Side Special: Fox Illusion
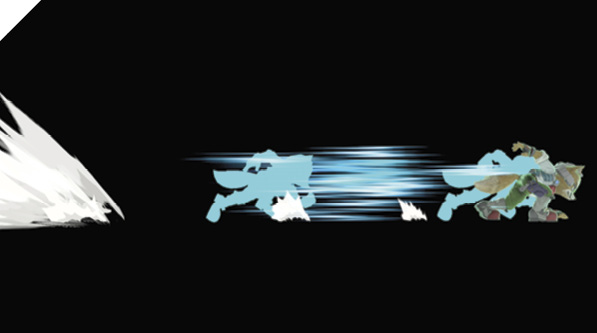
Fox dashes forward at supersonic speeds, damaging foes in the way, but leaving him incredibly vulnerable if they avoid or shield the attack. Hitting with the tail end of Fox Illusion can set up combo opportunities, but if your foe sniffs this out and shields it, you’re going to be punished heavily. Fox Illusion is best used as an airborne recovery tool since you have much better options in the neutral game for advancing on enemies.
If used toward a ledge, Fox stops at the ledge instead of flying off.
Up Special: Fire Fox
Fox engulfs himself in an inferno and then rockets into the sky. The rocket path can be altered by holding any direction on the control stick during Fox’s immolation period. Like Fox Illusion, Fire Fox is difficult to use as an offensive measure and is best left as a recovery tool in most cases. It starts up slowly and leaves you in a helpless falling state. If you direct the Fire Fox rocket from the air into the ground, you bounce off, exposing yourself to a potential punish.
In the neutral game, Fox’s natural ground and jumping movement is fast enough that you won’t need to use Fox Illusion or Fire Fox to get around.
Down Special: Reflector
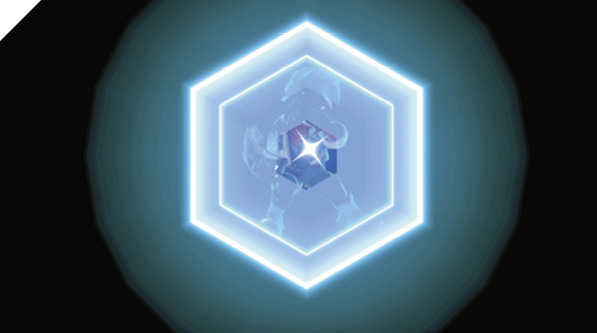
Fox activates a barrier that reflects incoming projectiles back at his attacker. Reflected projectiles deal 40% more damage. Naturally, Reflector shines against projectile-heavy fighters like Link and Samus and can totally negate certain fighters’ game plans if your reactions are sharp enough, forcing your opponents into changing their approach. Once you reflect a couple of projectiles, enemies are likely to stop throwing them at you, which in turn affords you more freedom to approach on the ground with your high-speed dashes.
One of Reflector’s most important properties is its fall speed reduction. You can use Reflector midair to slow down your fall speed dramatically, useful for mixing up your opponent and potentially baiting out an anti-air that would otherwise hit you.
Reflector damages nearby foes upon activation. The hitbox starts quickly, and is then active only briefly. You can use this as an edge-guarding tool to knock down opponents trying to ledge-climb or ledge-jump back onto the stage.
Final Smash: Team Star Fox
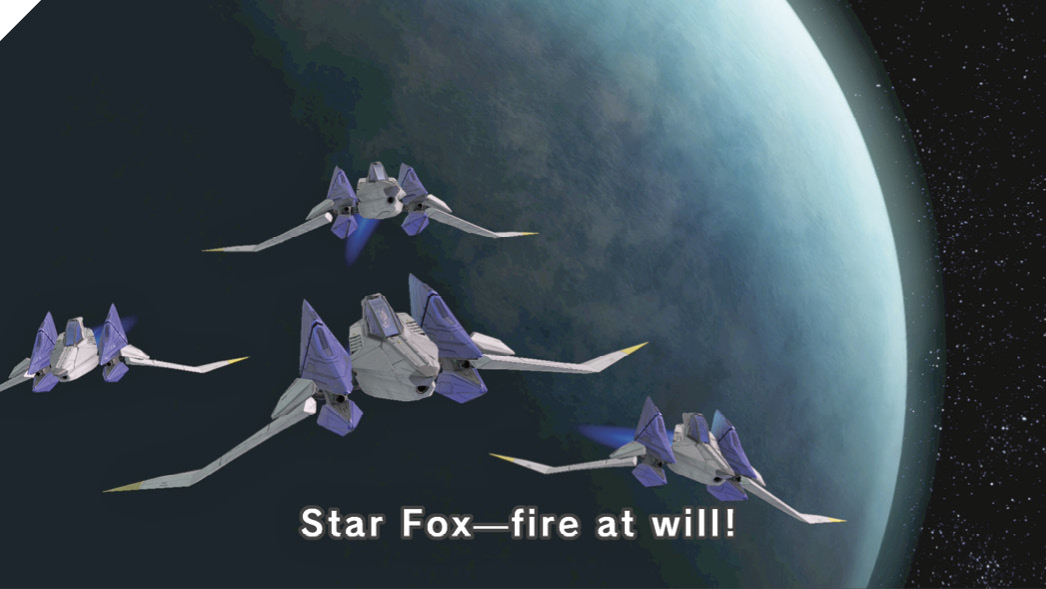
Fox uses a targeting reticle to lock on to any opponents right in front of him. If he acquires a target, the Star Fox team shows up and unleashes a formation attack.