
Super Smash Bros. Ultimate Guide Mario
Brawler Arsenal
Grounded Attacks
Neutral Attacks
Neutral Attacks
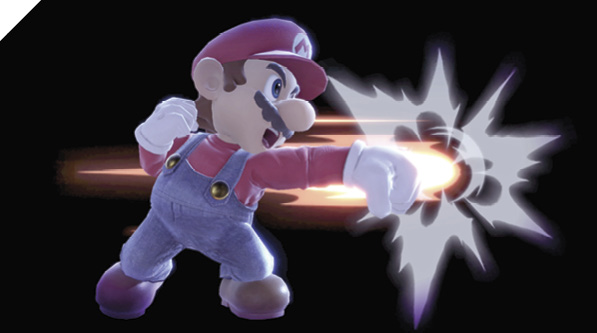
Mario’s neutral attack is a lightning-fast short-range jab, one of the fastest attacks in the whole game. Hold the Attack button (or press it repeatedly) for a three-hit combo, a one-two punch followed by a rising boot kick that knocks victims back. (If no one is nearby to strike, holding down the Attack button will result in a flurry of jabs, while tapping it repeatedly will perform the one-two punch into kick into thin air.)
This should be a staple of your poking-and-punishing game plan. Anytime you shield a laggy attack that leaves Mario close to his aggressor, hold down the Attack button for an easy and quick combo that punishes even the smallest disadvantage.
This combo can also be used aggressively, whether right after rushing at a target (letting the stick return to neutral before attacking out of a dash or run, to avoid getting an inadvertent dash attack), or dodge-rolling to their backs. None of the hits are totally safe from potential retaliation if shielded, but only the fastest attacks/grabs can snag Mario before he’s able to shield or dodge again. Vary rushing neutral attacks with dashing grab attempts and hopping air pokes to keep from being predictable (and therefore easily counterable).
Dash Attack
| Move | Damage | Note |
|---|---|---|
|
8 |
— |
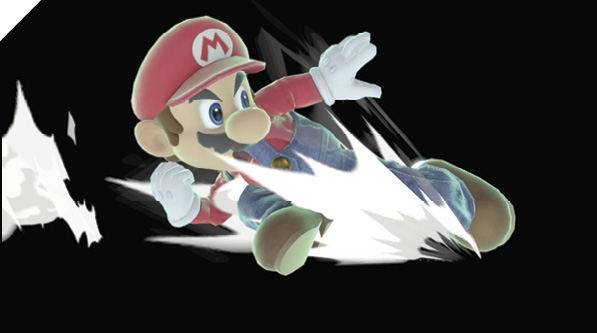
Mario crouches from a forward run or dash into a sliding kick. The kick’s slide distance and hitbox aren’t huge, but on contact the kick launches foes into potential juggle position.
Defensive Attacks
Tilts
| Move | Damage | Note |
|---|---|---|
|
Side tilt |
7 |
Can be angled up or down with diagonal input. |
|
Up tilt |
5.5 |
Pops foe up into potential juggle position. Tendency to whiff against floored fighters or point-blank crouching/short fighters. |
|
Down tilt |
7 |
— |
Side Tilt
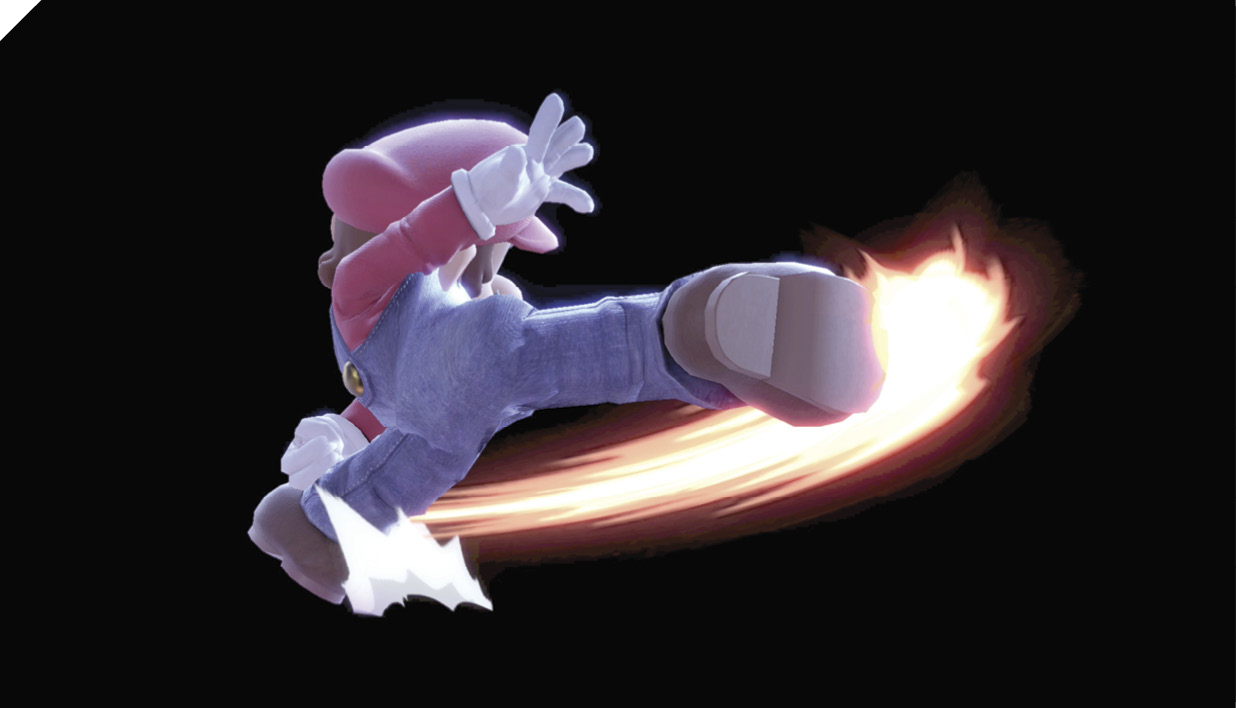
Mario wheels around with a mighty side kick. You can alter the kick so that it’s aimed higher toward the head or lower toward the shins by angling the stick slightly up or down when pressing Attack (but still mostly to the side, short of a 45-degree diagonal). The damage is the same for any angle, but a straight side tilt has the most range by a tiny margin, and barely beats out side smash for total ground reach.
Up close, opponents who block side tilt, then retaliate immediately with a fast attack or grab will punish Mario before he can shield or dodge. So poke with side tilt from the edge of its range, where the kick’s pushback will leave Mario safe from punishment, even if he’s technically at a small disadvantage when shielded.
Up Tilt
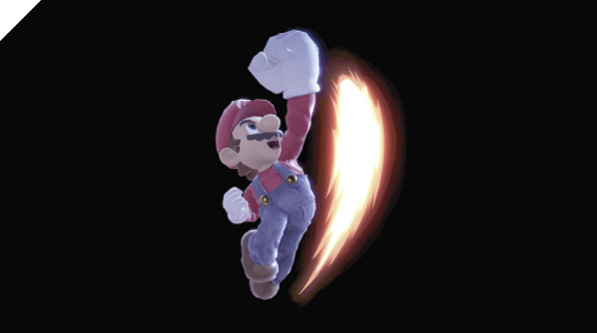
Mario swings upward with a punchy uppercut, spinning himself around in the process.
Mario’s shortest-range punch isn’t very effective against opponents on the ground, and may even whiff at point-blank range against short or crouching opponents. It’s also unsafe to fast attacks and grabs when shielded; a defender who blocks isn’t pushed back at all, and can grab Mario or hit him before he’s ready to act again. Against a slower brawler like Bowser or Donkey Kong this is less a concern, but most fighters can at least grab or neutral attack Mario right away.
That said, up tilt is an excellent move, great for poking ground-to-air at jumping targets. It’s also a good move for juggles. At medium-damage percentages, simply hitting an enemy up close with up tilt may allow you to juggle with several more right after (or to transition into juggling with Super Jump Punch, or short-hop down air attack). After grabbing a foe, then using up throw to fling them into the air, you might be able to score several up tilts in a row, keeping them aloft if they don’t successfully steer themselves away. Heavyweights fall too fast even to hitstun shuffle out of the juggle until Mario smacks them into higher-damage percentages! You can also pull off repeated up tilts if you bounce a foe into a low ceiling.
Down Tilt
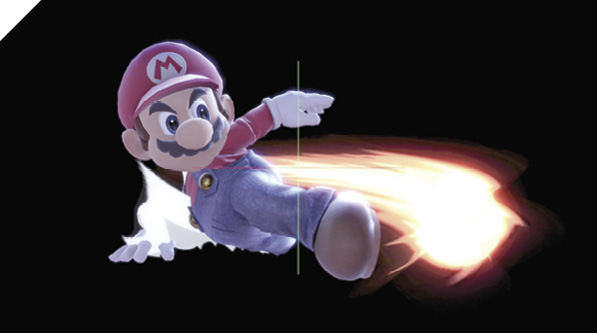
Mario crouches with a sweeping kick aimed to his front. With the low profile, this move can avoid attacks aimed higher.
In terms of reach, this low kick outranges neutral attacks, though it doesn’t reach as far as side smash or side tilt. If the defender successfully shields down tilt, they can retaliate with the fastest attacks and grabs to get Mario. Aim with the tip so that the pushback is enough to keep Mario safe at disadvantage. Hitting with just Mario’s foot does a little less damage than hitting with his leg, though.
Smashes
| Move | Damage | Note |
|---|---|---|
|
17.8-24.9 |
Can be angled up or down with directional input. |
|
|
Up smash |
14-19.6 |
Has more reach toward Mario’s back. |
|
Down smash |
10-14/12-16.8 |
Mario sweeps first in front, then behind. The hit behind is slightly stronger. |
Side Smash
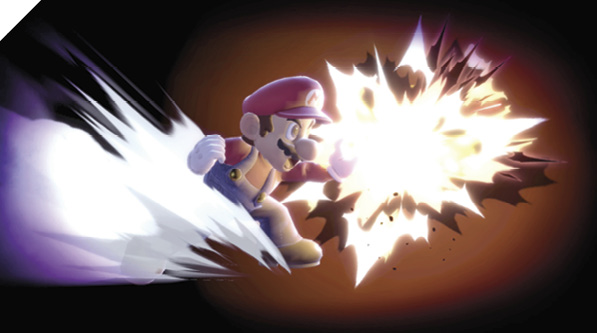
Mario rears back a little bit, then punches forward with a fiery close-range blast. This is his farthest-reaching smash, dealing full damage with the fire blast emanating from Mario’s hand. If this move strikes closer in, with Mario’s actual limb, it deals less damage and knockback (and is much less safe from a quick counterattack if blocked).
Tap the command for a quick flaming punch, or hold it to begin charging. While charging, aim up or down with the stick, and Mario aims the blast slightly up or down. It’s not a huge change in trajectory but can make a difference, like fine-tuning your aim at a target trying to float back to a stage edge.
Up Smash
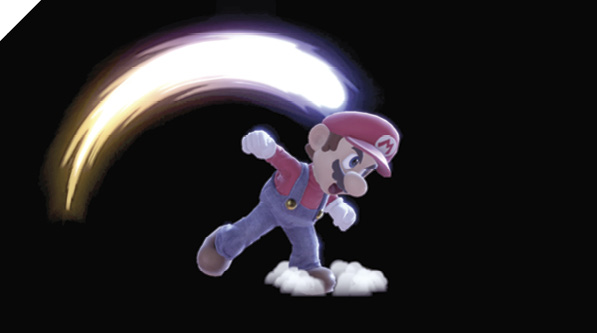
Mario leans way back, then whips his head forward in a chopping half-circle. Up smash couples with down smash to provide clear-out options, covering multiple angles. Up smash covers three vectors for Mario, striking first behind him, then above, and finally right in front as his forehead comes down. It can fulfill any role along that path, poking behind Mario, juggling or anti-airing airborne adversaries, and swatting in front.
While it swings through every direction but down, up smash actually has the most reach to Mario’s back when it starts, giving it a specialized use: dash or run toward the opponent, turn away, and immediately tap Up+Attack (or flick the c-stick up with it set to smash attacks). The product is a backturned up smash while sliding toward the target. As a potential happy accident, the attack’s travel from front to back with this technique might catch a crafty foe who tried to dodge past you.
Down Smash
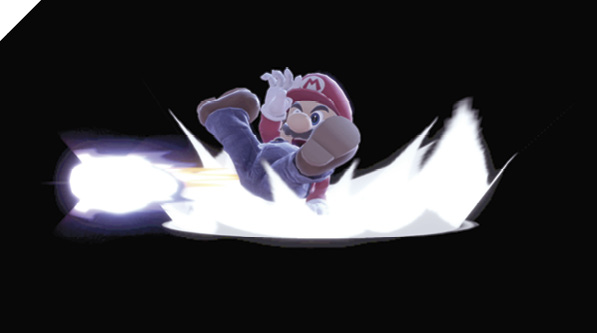
A more powerful variant to Mario’s down tilt kick, and a two-sided complement to the arching punch of up smash. Mario lies low and kicks hard first to the front, then behind. The first kick hits as fast as Mario’s tilt attacks, so it’s easily his fastest and most reliable smash attack. The backward-striking kick is slower (hitting to Mario’s backside in about the same time it takes for uncharged side smash or up smash to hit in front of him), and does slightly more damage. Against targets in front of Mario, down smash is much less safe compared to down tilt when blocked, because he still has the back kick animation to go through.
Down smash is a lower-profile swing to both sides than up smash, for when you’re feeling overwhelmed in party battle modes or just plain confused about which side a threat will emerge from. It has better reach in the direction Mario’s facing than up smash, too; it just lacks air cover. And in the example mentioned for up smash (canceling a run with a smash attack, in that case sliding while backturned), if you really think your opponent might dodge-roll through, down smash is more likely to cover both bases.
Grabs
| Move | Damage | Note |
|---|---|---|
|
1.3x1-5 |
Doing five grab attacks prevents follow-up throw. |
|
|
Up throw |
7 |
Throws victim into potential juggle position. |
|
Front throw |
8 |
Forward throw. |
|
Back throw |
11 |
Backward throw. |
|
Down throw |
5 |
Bounces victim off ground. |
Grabs
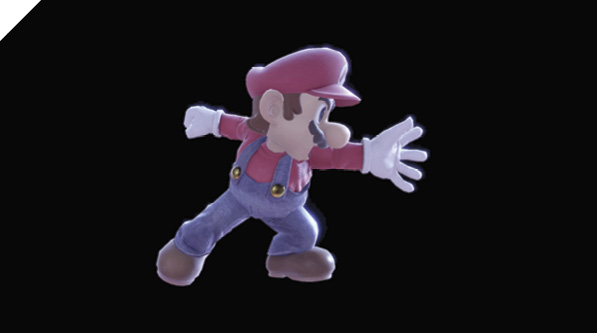
Mario’s grab snags the opponent quickly. Defensively, his grab is up there with holding neutral attack for an immediate counter. Offensively, dashing grabs make great counterpoints to side tilts and dash-in pokes. If grounded opponents seem to react to your aerial attacks by shielding, mix in empty jumping and fast-falling right before them, grabbing as soon as you land.
Of Mario’s throws, back throw deals the most direct damage, while throwing the victim the farthest. It can even hurt other combatants, if they’re nearby! Use it if Mario’s back is to a stage edge, tossing them off of it and giving you a chance to prevent their return.
Using down throw to bounce them off the ground is also good, especially at low-damage percentages, where it enables guaranteed combo follow-ups. Grab an opponent, bounce them off the ground with down throw, then immediately catch them off the small bounce with a full neutral attack combo or Super Jump Punch special move. Against heavily damaged adversaries, the bounce is too high for guaranteed combos, but you can still chase them and juggle if they make a poor tech/attack/dodge choice, or if they simply fail to recover.
But it’s up throw at low-damage percentages that has the most potential, since you can catch the floating foe with several up tilt juggles in a row as a follow-up. You can, of course, also chase and juggle victims at higher percentages, but they can avoid your follow-ups by steering away and dodging in midair as the launch height creeps up with more damage. The lower the starting damage, and the heavier the victim, the less they’ll be able to avoid the follow-up uppercut flurry.
Aerial Attacks
Aerials
| Move | Damage | Note |
|---|---|---|
|
8 |
— |
|
|
Forward air attack |
14 |
Meteor smash on sweet spot hit. |
|
Back air attack |
10.5 |
— |
|
Up air attack |
7 |
Small hitbox behind Mario, but not as effective as it appears. |
|
Down air attack |
1.4x5, 5.5 |
Hits on both sides. Causes recoverable knockdown if full move hits. |
Neutral Air Attack
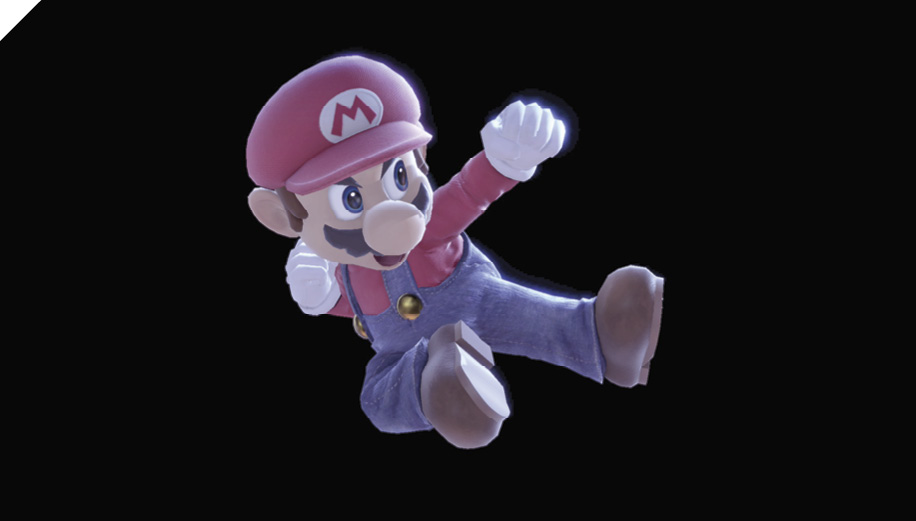
Mario juts one leg forward with a flying kick that stays active for days. Because Mario keeps his leg out so long, it’s ideal for hopping or jumping forward, kicking with neutral air attack at the apex, then fast-falling. This covers a long swath just before and below Mario, and he recovers quickly upon landing, just slightly slower than landing after doing nothing.
If you short-hop with neutral air attack, it might whiff over grounded brawlers. Manually short-hop and delay neutral air attack slightly (then fast-fall) to ensure it works as a low-altitude poke at ground level.
This trusty kick hits almost instantly (slightly slower than a grounded neutral attack), and deals more damage and more knockback with the initial thrust. The foot Mario keeps extended afterward deals less damage and won’t punt anyone into the sunset, but its use has more to do with space control and safety than swinging for fences.
Forward Air Attack
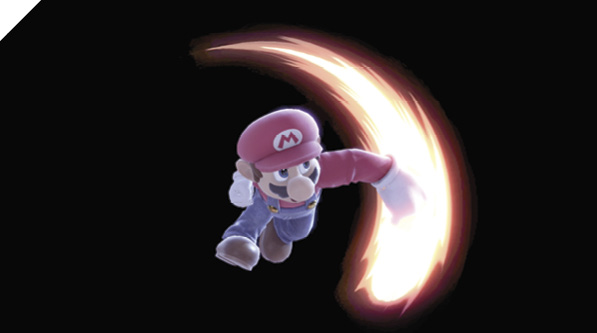
While moving forward in midair, Mario whirls forward with a walloping overhand punch.
Forward air attack sweeps over Mario a bit like up smash, but the sweet spot is the midpoint, not just over Mario and not at the end of the swing either. Strike with the right spot of the attack to spike the victim down in a meteor smash effect. They’ll be launched downward sharply, bouncing off the ground if it’s in the way. At a high-damage percentage, spiking someone off the stage with a perfect forward air might score a KO outright if they bounce out the top of the stage. And beyond a stage edge, spiking someone with forward air may KO them even at a low-damage percentage if it knocks them so low that their remaining recovery options fail them.
The catch is simply that spiking brawlers with forward air requires a lot of precision. You have to jump (or step off the stage) along the right arc, nudging Mario’s midair travel as needed along the way, while timing the swing of forward air to meet with another airborne opponent. Not to mention that out past a stage edge, you still need to double-jump and Super Jump Punch or directional dodge back, and this can get complicated if you’re in a battle mode with multiple foes.
Back Air Attack
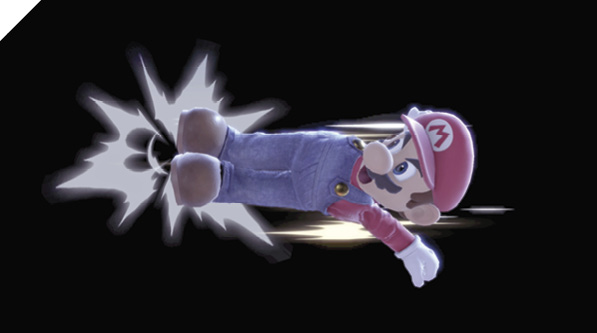
Mario puts his whole body into a flying sideways boot kick with both boots. Back air attack is more powerful than neutral air attack, though it doesn’t stay active nearly as long. It’s much easier to aim and hit with than forward air attack, though it doesn’t hit as hard.
Sometimes back air is obviously the way to go, like when Mario is launched high and floating down with his back to opponents. It kicks and recovers so quickly that it can be used repeatedly during lengthy airborne periods. With Mario’s back to targets, jumping with back air on the way up and again on the way down, pointed at them, is a decent stalling and space controlling tactic.
Like up smash, back air can be repurposed as a forward-moving attack via a couple tricks. The simpler one, from a standing start with Mario’s back to the enemy, is to jump, then immediately hold toward the foe on the stick (to Mario’s back). Think of it like you mean to press Jump+direction together, but you’re barely late with the direction press. This produces a backward jumping animation and momentum from a standing start, allowing the use of back air as a normal jump-in. This trick also works with short hops, so you can press Jump+Attack, then move the stick toward Mario’s back for an “instant” rising back air.
Another way is to run toward the enemy first, then tap away to pivot and slide, then cancel the slide with a backward jump toward the enemy. This requires much more takeoff space than simply jumping backward, and grants much more range. Use the Attack+Jump command for a short hop and Mario attacks on the way up, hitting standing targets. Fast fall used after such a rising kick is about returning to the ground ASAP, instead of slashing on the way down like fast-falling with neutral air attack.
Up Air Attack
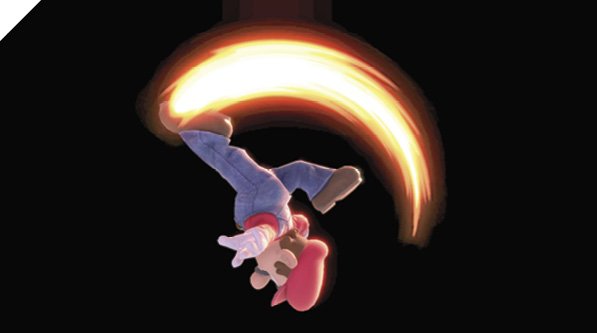
Mario spins backward with an airborne wheel kick that covers upward angles. There are often chances to leap up and swing with up air. Other fighters scampering on platforms or leaping above are prime targets. Popping someone up with up throw, a smash attack, or a forward air spike can give chances to juggle with up air. If enemy damage is high enough, it starts being a KO threat on hit, along with back air. It’s also great for going after fighters trying to make it back to a ledge from high offstage.
Down Air Attack
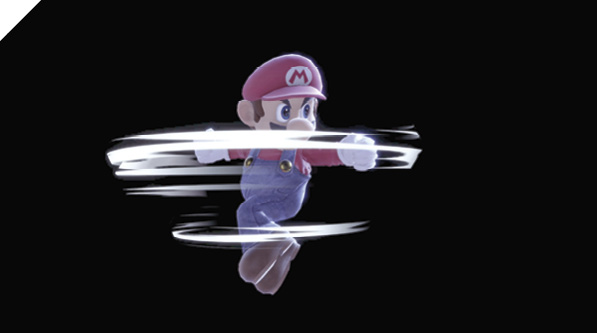
Mario whirls in a spinning lariat before popping into a clothesline swat to both sides. Mario’s spin can hit up to five times, before the finishing punch launches the victim away. Depending on Mario’s trajectory through the air, along with the target’s, they might fall out of the spin, causing the final blow to whiff. If the entire sequence hits, the final swat pops the enemy into a jugglable position before leaving them knocked down on the ground, though they can recover in midair before landing (or break their fall just before hitting the turf).
A signature move for Mario, down air adds to his multi-hit potential along with Super Jump Punch. As an aerial lariat, it hits a little higher than his lower-angled kicks, but is still fantastic air-to-air or air-to-ground if well-aimed. It works well for throwing different timing at opponents than other air attacks, and is great from aggressive low-altitude hops. Depending on where down air’s motion ends, there may be time to neutral air attack attack or dodge before landing. If blocked, the spin and pushback of the move tend to leave Mario relatively safe.
Special Moves
Specials
| Move | Damage | Note |
|---|---|---|
|
Neutral special |
5 close, 4 far |
Fireball does more damage closer in. |
|
Side special |
7 |
Turns victim around. Reflects projectiles. |
|
Up special |
5.0, 0.6x5, 3 |
Intangibility around initial launching hit. Controllable floating lag until landing. |
|
Down special |
0 |
Water cannon must first be charged. Charge can be canceled with intangible side roll. Once charged, activation unleashes a water stream with heavy pushback. |
Neutral Special: Fireball
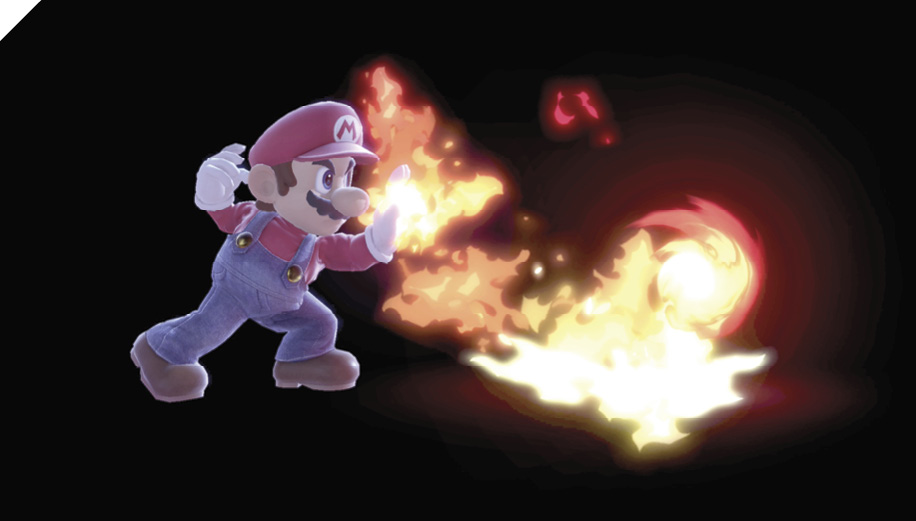
Mario’s neutral special is his classic fireball toss. After he releases it, the projectile travels forward for just over one second before dissipating. Released in midair, it travels diagonally down-forward until it hits a platform, then starts bouncing. Thrown on solid ground, a fireball bounces three times before vanishing. Mario can throw another fireball while one is already out, putting two on-screen at a time.
The fireball deals a little more damage during the first half of its travel. The damage is low in either case, but that’s fine for a low-commitment move you can safely pepper foes with from afar. Throw fireballs while stalling on the other side of a stage or when gliding down from high up, if no one is currently harassing you. Chase fireballs in to rush at targets with a little help, but watch out for reflection moves sending fireballs back at Mario.
Side Special: Cape
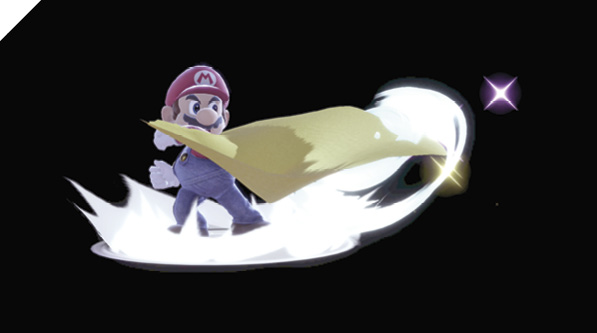
Mario whips out a cape and swings it before him.
Incoming projectiles and items can be reflected with a deft swipe of the cape. Any opponents hit by the cape takes a little damage while getting turned around and having their controls momentarily reversed! It’s not for launching them or interrupting and overpowering their attacks; it’s for redirection. In Super Smash Bros. Ultimate, it’s extremely important to keep track of the direction one’s fighter is facing, so Mario’s ability to mess with this can be a devious trick. Opponents spun around in the middle of the stage have to take the mental step of reorienting themselves, and might have their execution tricks thwarted (like someone trying to rush with short-hopping back airs or turning smashes) or game plan flowchart interrupted. For an extreme example, using a cape hit to turn a foe just before they use a Final Smash can cause the entire attack to whiff harmlessly in the wrong direction. When guarding a ledge against someone trying to recover from off the stage, a well-timed cape swing can flip their lunge for safety in the exact wrong direction.
If a cape swing is performed in midair, Mario’s falling momentum is halted briefly during the swing (with diminishing returns on this trick if you use the cape repeatedly during the same airborne period). This can be useful if you happen to be hanging out high above a stage and want to make your falling arc and timing less predictable. It also synergizes well with the edge-guarding example just mentioned: Mario can afford to step off the stage, fall toward the endangered opponent, swing the cape to mess with their recovery plans (while briefly slowing his own fall), before double-jumping/Super Jump Punching back to safety.
Up Special: Super Jump Punch
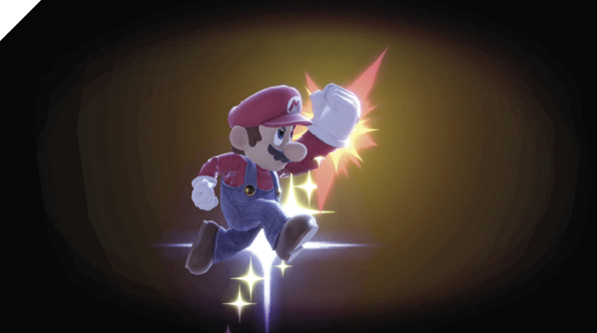
Sproing! Mario springs upward with the jumping punch he’s honed since time immemorial, ideal for busting brick blocks or knocking upstart challengers out of the way. Catch someone with the beginning of Super Jump Punch’s rise, and Mario carries them upward, scoring several hits as coins spew noisily out of the victim.
Like most up special moves, one of Super Jump Punch’s vital functions is a kind of triple jump, giving Mario another option to save himself when ejected off the side of a stage. When in danger of plummeting and losing a stock, double-jump toward the stage, then Super Jump Punch to the nearest ledge. If well-aimed, Mario grabs hold of safety automatically. If you’re high enough in the air and have some extra height to play with, you might be able to make this recovery trajectory less obvious by double-jumping, then directional air-dodging away from/through aggressors, then Super Jump Punching back to a ledge or platform as needed after the air dodge recovers.
Super Jump Punch hits quickly up close, faster than any of Mario’s tilt attacks and only a tiny bit slower than his neutral attack. It also has a period of intangibility starting for a few frames right after it hits but before Mario springs upward, so as long as Mario gets through the very beginning without getting interrupted, he’s briefly immune to harm while blasting off. At the top of Super Jump Punch’s travel, Mario drifts back to the ground. He can be steered back and forth to choose a landing spot, and fast fall is possible for speeding descent, but he’s unable to act again until landing (or until someone hits him out of the air, resetting his state).
Down Special: F.L.U.D.D.
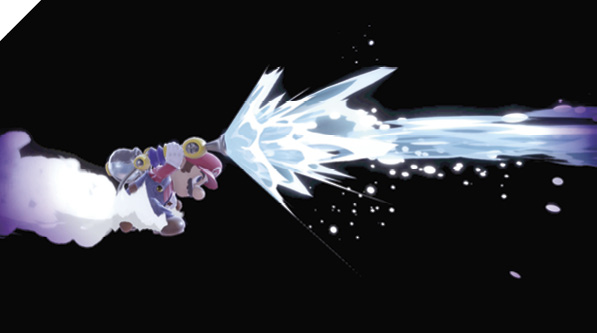
Mario’s water cannon must be charged before use to refill the water tank. This works like many fighters’ special moves, where a powerful maneuver requires charge time beforehand. If bogeys are inbound while Mario is charging F.L.U.D.D., tap left or right to dodge-roll out of the charging stance, potentially avoiding harm. Once F.L.U.D.D. is fully refilled, Mario naturally ceases charging. The next time you input down special after that, Mario discharges the pooled water, spraying it at high velocity for about a half-second. As the water gushes, input up or down to direct the spray. Once it’s discharged, F.L.U.D.D. must be refilled again before reuse.
F.L.U.D.D.’s water jet deals no damage but has a powerful pushback effect, which works against both items and fighters! Get in the habit of charging the water cannon early (either all at once if the coast is clear, or charging bit by bit, then dodging away from assailants), then wait for the prime opportunity to surprise the opposition. For the most embarrassing way to soak your challengers, punt them off the stage, then push them back over the abyss with F.L.U.D.D.’s stream as they struggle to return.
Final Smash: Mario Finale
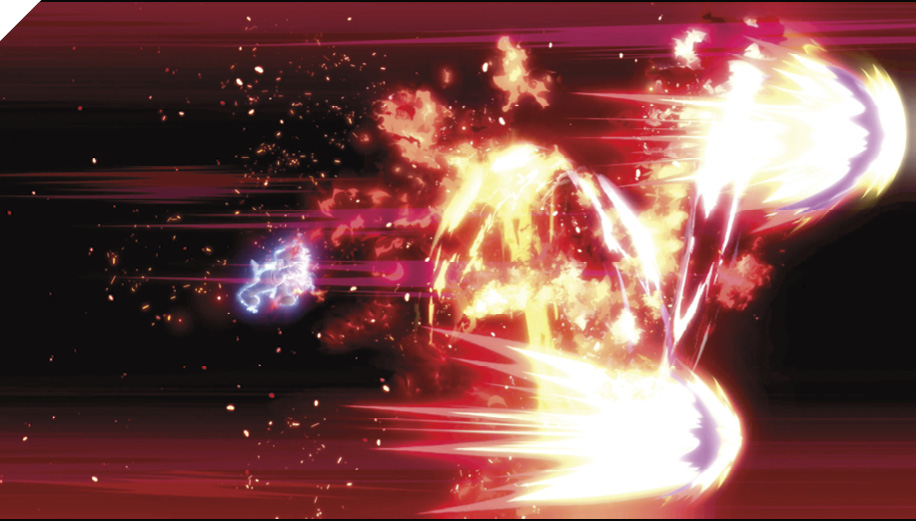
Imbued with the power of the Smash Ball, Mario is ready to unleash his most powerful attack with a neutral special move input. Upon activation, Mario fries almost one half of the screen (whichever direction he’s facing) with an enormous gout of swirling flames. Mario finale is capable of striking multiple targets over a dozen times each, possibly scoring several KOs at once.