
Super Smash Bros. Ultimate Guide Jigglypuff
Brawler Arsenal
Grounded Attacks
Neutral Attacks
Neutral Attacks
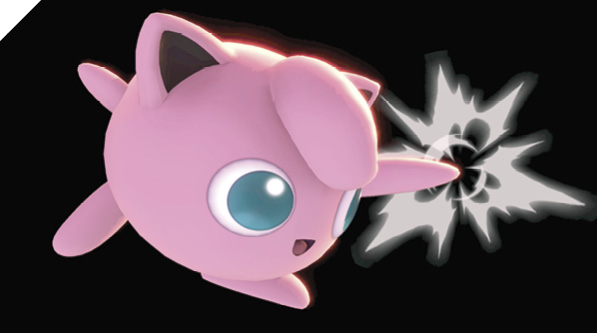
Jigglypuff pokes its little arms out for a one-two punch combo, knocking back enemies in range. Jigglypuff’s jabs are unremarkable. They aren’t particularly fast, and the second hit doesn’t set up anything meaningful when it hits. The main selling point for Jigglypuff’s neutral attack combo is that it’s safe when shielded, so you can use it to beat out overaggressive enemies within range.
However, most fast shield grabs can grab Jigglypuff’s shielded jabs before it can jump out, since Jigglypuff’s jab reach is identical or lower than most grab ranges.
Dash Attack
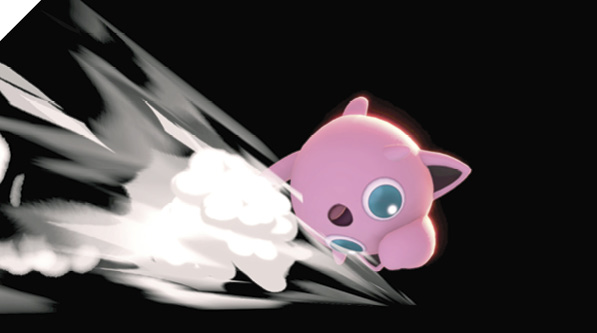
While dashing, Jigglypuff transfers its running momentum with a devastating headbutt that sends foes flying far away or slightly knocked back. The sweet-spot early timing of dash attack causes dramatically more launching power than hitting with its non-sweet-spot portion. Jigglypuff’s dash attack also has a pronounced “lingering” effect. That is, it has a modest active window, so with its dashing momentum, it has a better chance of ramming into aggressive foes. If you hit with the tail end of this attack, it causes much less knockback.
Defensive Attacks
Tilts
| Move | Damage | Note |
|---|---|---|
|
Side tilt |
10 |
Knocks back, low knockback. Can be angled up or down. |
|
Up tilt |
9 |
Launches directly above for potential follow-up. Early hit deals more damage. |
|
Down tilt |
10 |
Knocks away. |
Side Tilt
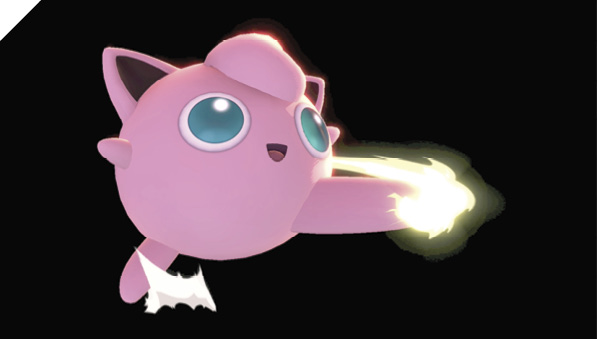
Jigglypuff performs a mighty roundhouse kick to the opponent’s midsection, knocking them back. Side tilt can be angled upward or downward using the control stick. The up-angled roundhouse version targets the opponent’s head, while the down-angled version hits even the smallest of crouchers.
Jigglypuff’s side tilt has a decent active window, making it effective for stopping aggressive foes on the ground. Its start-up is slightly longer than Jigglypuff’s neutral attack, but has slightly longer range. You can use side tilt to wall out an enemy after poking them with another attack that leaves you at an advantage, like down tilt.
Up Tilt
Jigglypuff delivers a rear high heel kick, attacking foes behind and above. On hit, it launches enemies into the air, allowing for a follow-up thanks to low end lag.
Like most of Jigglypuff’s attacks, up tilt is deceptively powerful, with an excellent hitbox-to-hurtbox ratio making it difficult to challenge with an aerial.
You can use up tilt to extend combos, punish opponents behind you, and as an anti-air against foes descending from directly above. Up tilt has high launching power, but if you connect with up tilt against a low-percentage grounded foe (with its rear hitbox), you can almost always combo into jump up air.
Down Tilt
Jigglypuff halves its size, transitioning into its squishy form, and unleashes an elongated kick attack, obliterating the enemy’s shins and knocking them back.
Jigglypuff’s low-profiling hurtbox is smaller than most fighters’ crouches, allowing it to sneak under and poke foes more effectively. Down tilt has a bit more start-up and end lag than side tilt, but boasts more range while making Jigglypuff more evasive. It’s a solid attack when spaced out, especially since it leaves you with advantage.
Smashes
| Move | Damage | Note |
|---|---|---|
|
16 |
Launches away. Early hit deals more damage. |
|
|
Up smash |
15 |
Launches directly above. Deals more damage at point-blank range. |
|
Down smash |
11 |
Knocks back. Double-sided attack. Legs intangible. |
Side Smash
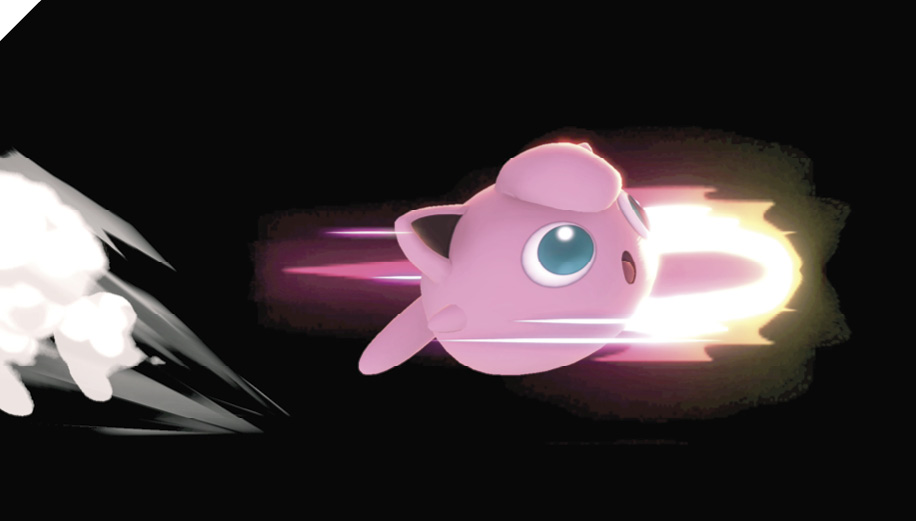
Jigglypuff winds up briefly, then lunges forward with a beastly leap kick, sending foes flying away. Although side smash is punishable when shielded, Jigglypuff extends a persistent hitbox while it’s leaping forward. At lower percentages, it doesn’t pack much of a punch, but above 100%, Jigglypuff’s smash attack can absolutely destroy a fighter, sending them off into a side blast zone if they’re caught off-guard.
Up Smash
Jigglypuff leans back, getting ready to headbutt, covering a wide arc that reaches in front of it. Foes struck by the overhead attack are launched directly up above, allowing you to transition into Jigglypuff’s juggle-trap game.
This is Jigglypuff’s most versatile smash attack. It’s a high-powered, anti-air that sets up for further damage thanks to its vertical launch trajectory. It can hit foes behind Jigglypuff and in front, so it can be used to clear out aggressive enemies if you make a good read. But it’s slow to start and punishable when shielded (not nearly as punishable as side smash, though).
Down Smash
Jigglypuff squishes low to the ground with a heavy double-sided leg attack that demolishes enemies behind and in front of it. Jigglypuff’s legs are intangible during the attack, and its launching power is multiplied significantly against foes at higher-damage percentages.
Down smash suffers from low range and high end lag, but allows you to extend a double-sided attack while minimizing your vulnerable hurtbox. Like up smash, you can use it to surprise high-damage enemies with a knockout into a side blast zone. Jigglypuff’s hitboxes during this attack cover and overlap its ears, so you can potentially swoop under aerial attacks and other mid-hitting moves while punishing the enemy’s attack.
Grabs
| Move | Damage | Note |
|---|---|---|
|
1.3 |
— |
|
|
Front throw |
10 |
Forward throw, high launch power. |
|
Back throw |
10 |
Backward throw. |
|
Up throw |
8 |
Launches directly above, high launch power. |
|
Down throw |
12 |
Launches up and away at slight angle. |
Grabs
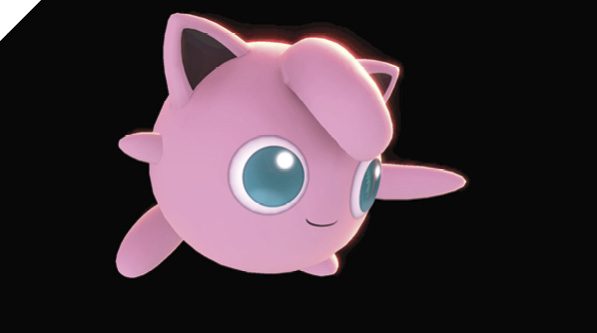
Jigglypuff’s grab is almost as fast and reaches almost as far as its neutral attack. Its front and back throws are effective for setting up its edge-guarding game, while front throw has slightly less end lag, allowing you to follow up earlier. Up throw has high launching power, even at low percentages, making it one of the best tools for setting up a high-altitude juggle-trap game, although you usually don’t get a guaranteed follow-up attack from it. Jigglypuff’s down throw launches the enemy high into the air at a slight angle. It’s Jigglypuff’s most damaging throw, but has much more end lag than up throw and launches the opponent away at an angle (whereas up throw launches them directly above).
Jigglypuff’s grab game has a glaring weakness due to its range. Jigglypuff has difficulty getting into point-blank range, so its low grab range exacerbates this weakness. Still, up throw, front throw, and back throw are powerful since they all set up Jigglypuff’s effective edge-guarding and juggle-trap game.
Aerial Attacks
Aerials
| Move | Damage | Note |
|---|---|---|
|
11 |
Knocks back. Early hit deals more damage. |
|
|
Forward air attack |
9 |
Knocks back. Early hit deals more damage. |
|
Back air attack |
13 |
Knocks up and away. |
|
Up air attack |
9 |
Knocks up for potential follow-up. |
|
Down air attack |
1.5x8, 2 |
First eight hits drag. Last hit launches up and away. |
Neutral Air Attack
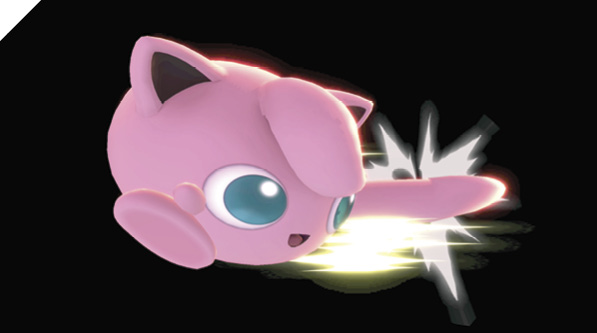
While floating through the air, Jigglypuff drives its foot forward, leaving it extended briefly. While the attack is extending, it deals much more damage and inflicts much more knockback power.
This is one of Jigglypuff’s staple attacks since its persistent hitbox can be used to “wall out” foes with fast fall techniques (similar to Mario’s neutral air attack). It has low landing lag, so it’s relatively safe, usually only punishable by quick shield grabs.
Neutral air attack is incredibly versatile. It’s good for blocking foes from recovering to ledges and punishing aggressive grounded foes, and it’s one of your best aerial attacks to defend yourself with in air-to-air situations, thanks to its pronounced hitbox that covers Jigglypuff’s vulnerable limb.
Short hop neutral air attack canceled into fast fall is generally your safest aggression-deterring attack sequence against grounded foes.
Forward Air Attack
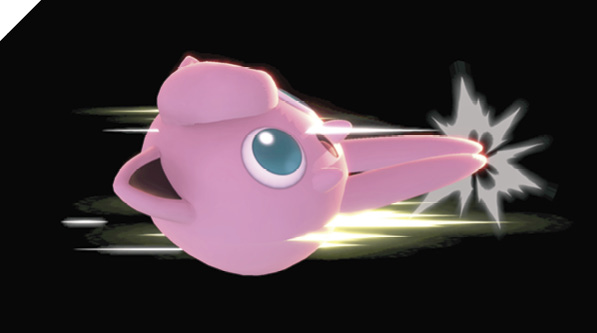
Jigglypuff delivers a midair dropkick that knocks foes away. Forward air starts slightly slower than neutral air attack, but extends a much bigger hit effect. Its landing lag is identical to neutral air attack, so it can be quite safe to use as a deep jumping attack against grounded foes.
You can jump into fast fall followed by forward air attack for a strong air-to-ground assault. When timed correctly, you can make it safe against everything but fast shield grabs. On hit, you can combo into a dash attack (against foes around 30%).
Naturally, forward air is a solid edge-guarding tool because of its decent horizontal range and knockback.
Back Air Attack
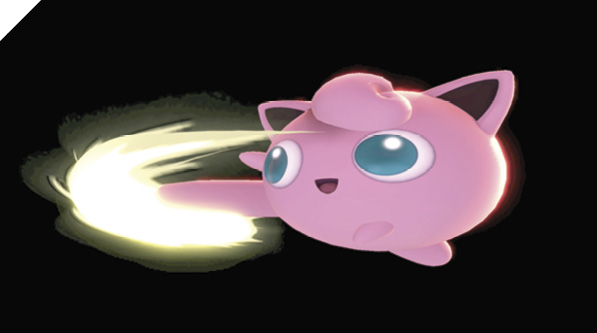
Jigglypuff spins around with a heavy rear roundhouse kick, knocking away foes behind it. It has high launching power when hit within point-blank range. Back air attack doesn’t have a high active-window hit effect, but has solid range and high KO potential against offstage foes. As an air-to-ground attack, it can be made relatively safe with good spacing and timing.
Up Air Attack
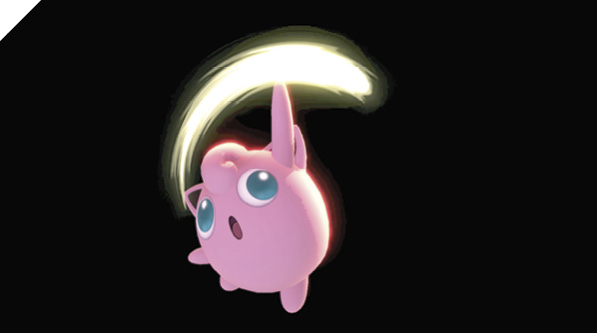
Jigglypuff waves its hand above, arcing from slightly behind to out in front. Enemies hit by it are popped up, giving you ample time to follow up with a guaranteed attack.
Up air is an essential part of Jigglypuff’s toolkit. It has low air lag and, in conjunction with Jigglypuff’s midair jumps, allows Jigglypuff to extend juggling combos since its pop-up effect is perfect for following up with additional aerial attacks.
A powerful technique to employ is jump up air, then repeatedly double-jump into immediate up air. You have five midair jumps, and you can up air after each one. This makes Jigglypuff super effective for juggle-trapping foes.
Down Air Attack
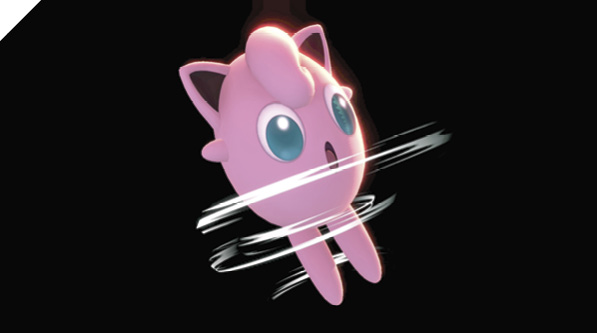
Jigglypuff performs a Fox-like drill kick attack aimed directly beneath it. The first eight hits of the attack can be used to drag foes around to set up potential grab mix-ups. For instance, if you catch a short-hopping foe out of the air with down air attack that’s canceled into fast fall, you can pull the enemy down with you to the ground where they’re forced into a standing state, giving you a chance to throw or hit them with an up tilt. Down air can be risky to throw out haphazardly since it has considerable air and landing lag.
Special Moves
Specials
| Move | Damage | Note |
|---|---|---|
|
Neutral special |
12 to 20 |
Charge to increase damage and distance. Can reverse direction. |
|
Side special |
11 |
Launches up and away at slight angle. |
|
Up special |
— |
Puts nearby foes to sleep. |
|
Down special |
20 + 38 over time |
Launches up, extremely high launch power. Causes bleeding damage. |
Neutral Special: Rollout
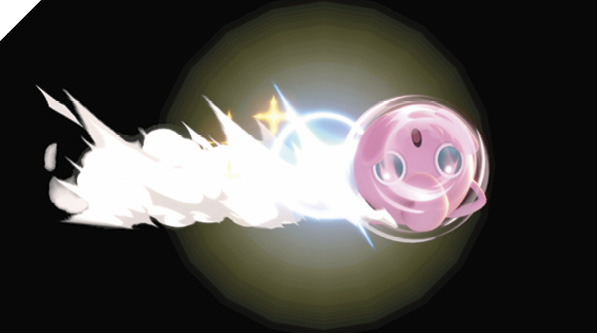
Jigglypuff charges up a rolling attack that can reach incredible speeds, similar to Sonic’s Spin Charge special. The longer Rollout is charged, the more damage it deals and the longer Jigglypuff rolls. Unlike Sonic’s Spin Charge, though, Jigglypuff bounces off the enemy when Rollout hits. Jigglypuff passes through the enemy if it’s shielded. You can reverse Jigglypuff’s rolling direction with control input (left/right). While turning, Jigglypuff can’t hit enemies, making it vulnerable briefly. The rolling hitbox reactivates after Jigglypuff gains momentum.
If Rollout isn’t charged sufficiently (e.g., if you tap the Special button), Jigglypuff just rolls forward slowly and helplessly. Aerial Rollout is best used after you gain sufficient altitude, either after you’re launched offstage or high into the air (or simply from climbing you’re your sextuple jump). If you gain enough charge while airborne, you can use it to roll back onstage.
Side Special: Pound
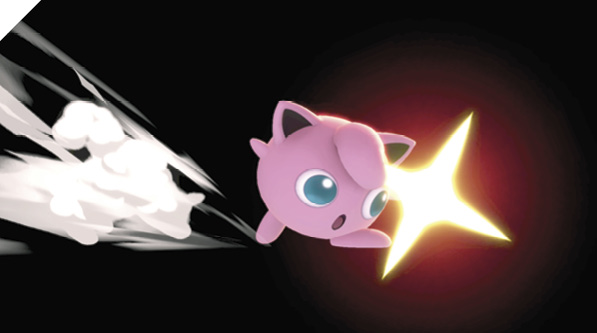
Jigglypuff winds up a forward-lunging punch that knocks foes up into the air. If Jigglypuff connects with the tail end of the attack as it lunges forward, the launch effect provides enough hitstun for you to follow up with a forward air attack against foes at low percentages.
Unlike most aerial special attacks, Pound can be used repeatedly to prolong Jigglypuff’s air time. It has relatively low air lag and suspends Jigglypuff’s descent each time you use it. Use this to frustrate foes trying to juggle you. You can mix up your air recovery against foes expecting this tactic and use Rollout to quickly land on the stage with an attack.
As a ground-based attack, Pound is unsafe when shielded and should be treated like a risky smash attack. But aerial Pound is great for aiming at foes standing on high platforms. You can hop into Pound, then follow it with up air attack for a potential juggle-trapping sequence.
Up Special: Sing
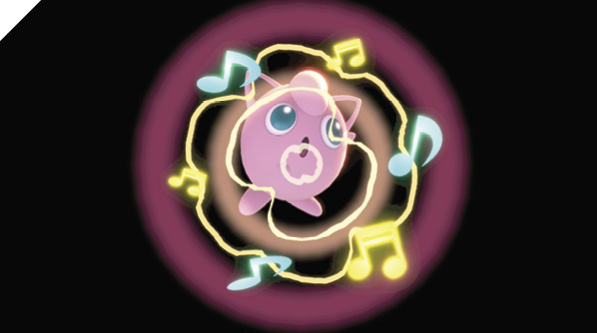
Jigglypuff sings a soothing song that causes nearby opponents to fall asleep, leaving them vulnerable. The attack starts up slowly with a large circular hitbox extending all around Jigglypuff, and the song pulses three times rhythmically (each time Jigglypuff sings a note).
The closer the opponent is, the longer they sleep. This is further compounded by how much damage they’ve taken. Jigglypuff’s signature song is primarily used to set up its Rest attack, potentially finishing off slumbering foes.
You can use Sing creatively in a variety of ways, such as for an anti-edge-guarding tool, leaping onto the stage while singing for a potential high-damage punish. Be careful not to sing yourself off the stage!
Down Special: Rest
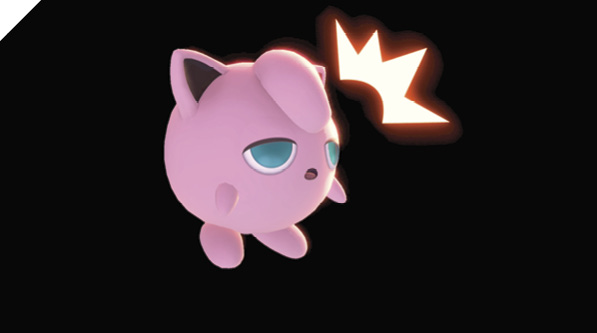
Jigglypuff takes a nap. But before the nap, Jigglypuff becomes a hidden power attack. Rest’s hit effect is incredibly small, contained within Jigglypuff’s body, so it’s extremely difficult to hit with. But hitting with it causes massive damage (and a stylish little cutscene animation!) with an extreme vertical launch effect, all while bleeding out the enemy, causing further pain.
Rest is straightforward: it’s a super-fast attack with a tiny active window that’s almost impossible to hit with. You can set it up with intelligent use of Sing. Or, if you’re skilled, you can use it to outright decimate aggressive foes with accurate timing and spacing. Of course, if you miss, you’re left napping for three whole second.
If you have rage (if Jigglypuff is around 100%), Rest can obliterate and knock out heavyweights like Bowser (as low as 75%).
Because of the new fighter-jostling system (it’s much more difficult for fighters to pass through each other), the hitbox hidden inside Jigglypuff’s body means hitting with Rest randomly against grounded foes is very difficult. You really have to set it up if you want to hit with it on a reliable basis.
You can combo into Rest with specific scenarios, such as late-hit forward air at certain percentages (around 50%) and against certain weight classes. These combos are advanced, and you need precise timing. Mastering Rest combos is crucial since they’re essentially one-hit KOs.
Final Smash: Puff Up
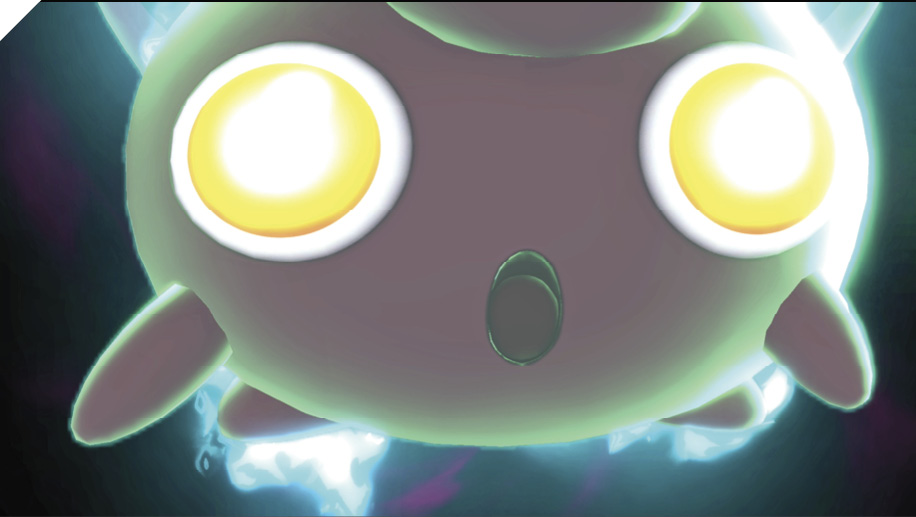
Jigglypuff puffs itself up until it takes over the majority of the stage, then it rapidly deflates, launching nearby opponents. It’s super effective on small stages.