
Super Smash Bros. Ultimate Guide Snake
Brawler Arsenal
Grounded Attacks
Neutral Attacks
Neutral Attacks
| Move | Damage | Note |
|---|---|---|
|
Neutral attack 1 |
2.5 |
Hold for continuous attacks. |
|
Neutral attack 2 |
2.5 |
— |
|
Neutral attack 3 |
6 |
Knocks foe away. |
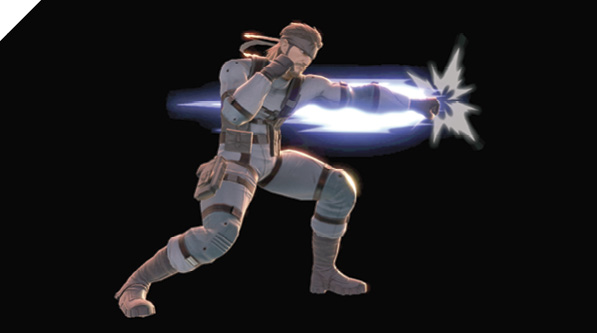
The master of CQC strikes with two quick jabs, before knocking defenders away with a big kick. The initial jab is quick, but not among the game’s fastest. This combo provides an easy way to retaliate to small openings, after shielding moderately laggy attacks, or just as foes emerge from dodge rolls.
Snake’s side tilt is barely slower and has an optional follow-up knee strike, so it can be treated as a buffed neutral attack combo.
Dash Attack
| Move | Damage | Note |
|---|---|---|
|
11 |
Arms intangible. Ends crouching. |
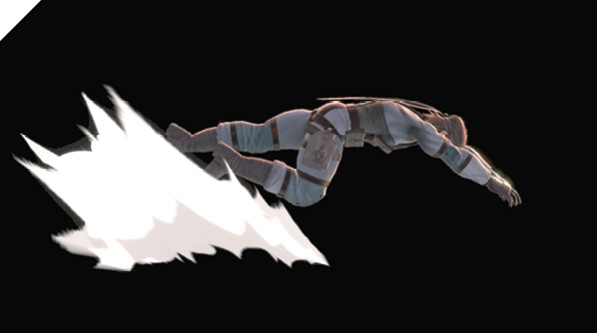
From a combat run, Snake dives forward with a shockingly fast dash attack. Hitting early in the attack launches foes forward, while hitting them as the attack ends flips them right over Snake’s shoulder. Snake lands in a full crouch, the same way he ends down tilt, which can mess up opponents’ attempts to counterattack if they shield it.
Defensive Attacks
Tilts
| Move | Damage | Note |
|---|---|---|
|
Side tilt 1 |
3 |
Input Attack for side tilt 2. |
|
Side tilt 2 |
12 |
Knocks foe away. |
|
Up tilt |
14.5 |
Knocks foe into potential juggle position. |
|
Down tilt |
12 |
Trips foe into potential juggle position. Ends crouching. |
Side Tilt
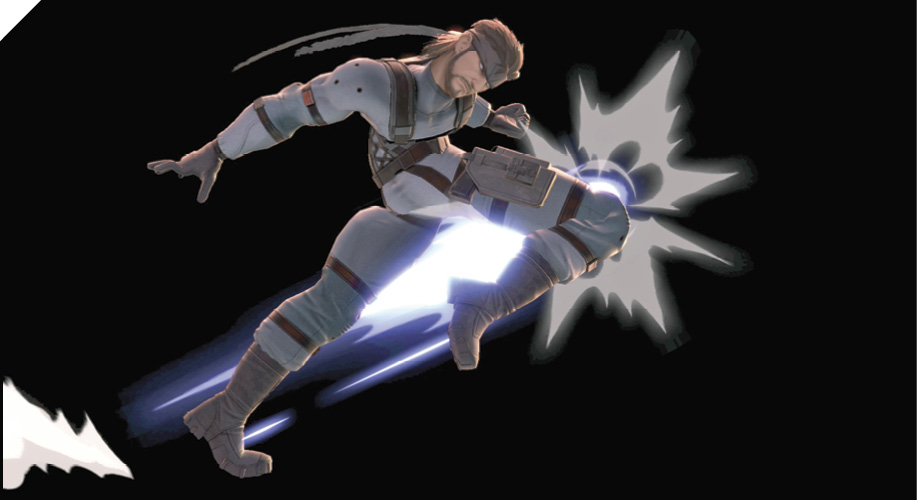
Snake thrusts with a fast knee. Another Attack input with the knee out leads into his follow-up, a heavy double hammer-fist. The knee is one of the fastest tilt attacks in the game, giving Snake another good out-of-shield punish option besides striking with neutral attacks. (Side tilt’s knee is slower than a neutral attack jab, but barely.)
Doing the whole thing, knee into fists, leaves Snake wide open if his foe shields it and retaliates immediately. At least it does decent shield damage, but it probably gets you into trouble. If an opponent blocks just the knee, then tries to attack too soon, before blocking the hammer-fist too, it’ll beat them to the punch. You can delay the hammer-fist for a surprising amount of time, perhaps baiting exactly this reaction. If you perform side tilt’s knee by itself, it’s technically vulnerable to immediate out-of-shield reactions. But if enemies are worried about whether you’ll do the hammer-fist follow-up early or late or not at all, looking to punish that as a sure thing, they’ll let you get away with knees. This gives Snake another reliable, rapid close-range poke besides neutral attack.
Try only to cancel into the hammer-fist follow-up late, either as a reaction to a solid knee hit, or to try to crack enemy defensive instincts as described. The hammer-fist hitting on its own, like if the knee whiffs, deals 12% base damage. But if the knee hits, the hammer-fist deals 11%.
Up Tilt
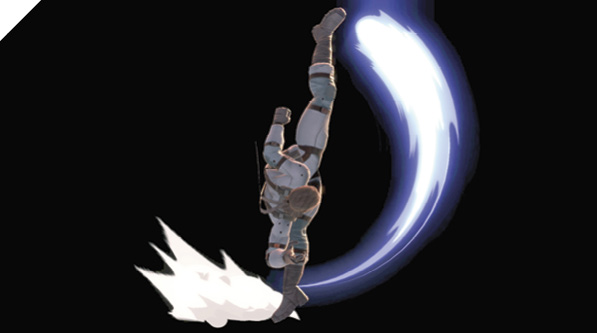
Snake uses his body mastery to arc an expert launching kick straight up. The first hit appears quickly in front as he raises his leg, popping up anyone at close range who isn’t shielding. His leg then fully rises, pointed straight up to shoot down anyone in low airspace. This is a fast, effective hit either up close on the ground or against airborne targets, good for anti-air and combos. The damage is extremely good too.
However, up tilt offers no backward coverage. If someone on the ground blocks it, Snake is left at a disadvantage, but is usually pushed far enough that if they drop their shield and jab or grab right away, it whiffs. Still, he loses initiative for the next attack exchange, so act accordingly.
Down Tilt
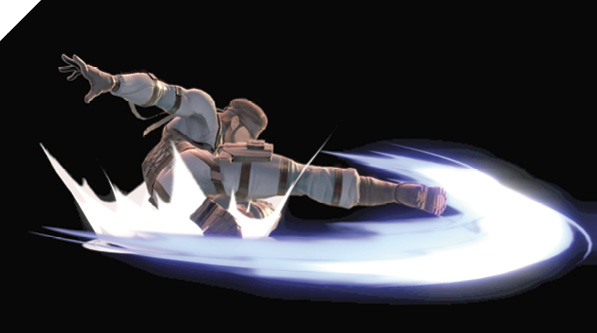
Snake strikes rapidly with a low-profile sweep kick. This hits with the same speed as up tilt but with much more reach. Anyone it hits is swept off their feet, into a juggle position. For example, an immediate up tilt can catch them, lofting them in position for a follow-up air hit. Against foes who shield down tilt and strike back, Snake’s at a punishable disadvantage. His prone position means that many fighters trying for immediate quick attacks will miss over his body, though.
Smashes
| Move | Damage | Note |
|---|---|---|
|
22-30.8 |
Fire attack. Knocks foe away. |
|
|
Up smash |
4, 14 |
Fire attack. Charging increases rocket hangtime. |
|
Down smash |
12 front, 14 back-16.8 front, 19.6 back |
Knocks foe away. |
Side Smash
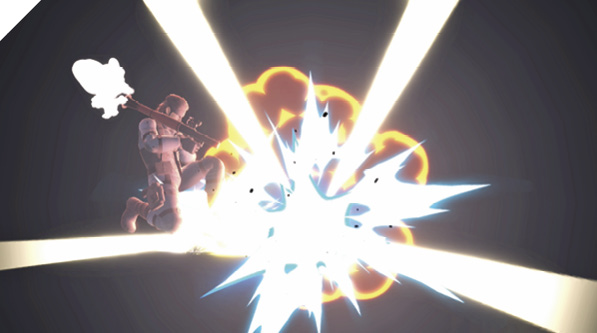
Snake busts out an RPG and launches a shell right at the ground in front of him, directing heavy damage in a big radius (that he somehow manages to avoid). This is one of the slowest smash attacks around, taking over half a second uncharged. But the damage, KO potential, and shield-shattering are undeniable. Most of the lag here is front-loaded; Snake is at a disadvantage if the rocket is shielded (if the enemy’s shield isn’t broken), but not much, and the enemy is probably pushed out of range by the explosion anyway.
If you have time to squeeze this off, it’s worth it. That can be a big “if,” though. If you’re able to get a rhythm of Hand Grenades and up smash mortars going, there will be time to load up a side smash in the midst, adding to the rain of explosions.
Another instance where this attack is great is when edge-guarding. Aside from being a great big circular hitbox you can place at a stage edge for all occasions, it can easily blast someone right off the ledge just as they get there…if you have enough lead time.
Up Smash
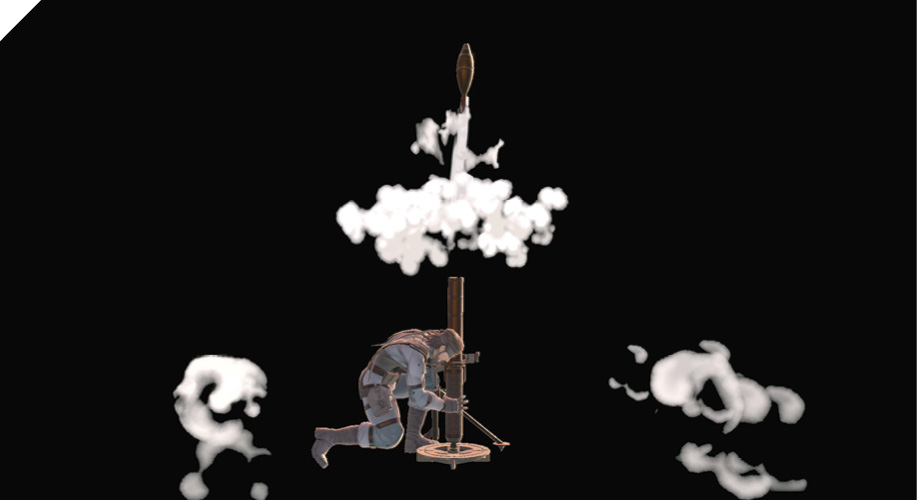
This unique smash attack is more like a secret special move. Snake starts out by laying a mortar launcher at his feet, with this setup producing a momentary launching hitbox. This physical mortar launcher hit isn’t as fast as up tilt, but hits about the same area in front. Then, over half a second after the move is initiated, the mortar flies up from the tube. If a foe is popped up by the launcher itself, the projectile detonates right away for a two-hit combo. If not, the dumb-fired explosive travels on a sharp arc up and then down directly in front of Snake. (Like side smash and Remote Missiles, this is one of his own explosives that won’t hurt him.) Enemies who chase after Snake after he uses up smash risk being interrupted by the explosive falling back down, one of the major benefits of deploying this kind of delayed attack.
Charging this smash attack doesn’t increase the damage. In fact, it doesn’t delay the initial mortar smack either. He just holds off on launching the mortar round. The longer the charge, the taller an arc the shell describes in its travel. Of course, this ruins any combo opportunity if you hit anyone with the mortar smack. But if using this as a special projectile, charging up a round so it flies higher means it takes that much longer to come down, making it a potential threat/combo-breaker against Snake’s foes for even longer.
An uncharged mortar round spends just over a second in the air before detonating at Snake’s feet, meaning an uncharged up smash drops an explosive just over 1.5 seconds after input. A fully charged up smash mortar round flies for 1.5 seconds (though of course has far more start-up, with needing to charge and all). The quickest way to drop two mortar rounds back-to-back is to fully charge and release up smash, then immediately follow with uncharged up smash. Snake will be free to act just before a couple mortars fall and explode about a half-second apart. This is great if you have time to set it up, which assumes no one is breathing down your neck, a situational thing. Like when on the fringe of a fight between others with time to set up, or setting up a particularly nasty edge-guarding salvo against someone about to drift back to the stage.
Down Smash
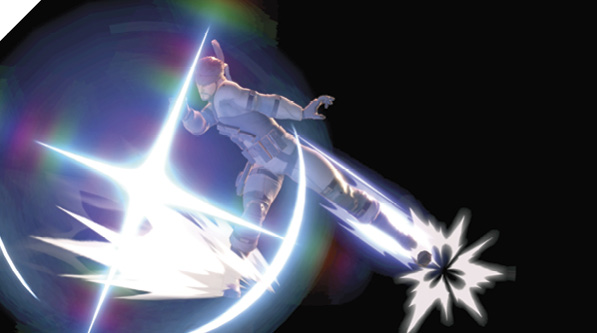
Snake aims a shin kick out in front, then sweeps it around to cover behind him. This is Snake’s main clear-out option when trapped in a big melee on the ground, or simply for running, pivoting, and sticking out a backward-aimed move. Up tilt and up smash also do this for many fighters, but not Snake. It hits decently fast and pushes victims back on both sides. If someone in front of Snake shields the front kick, he’s wide open to any kind of punishment. If someone behind him blocks the back kick, the situation is a little better. He’s still at a disadvantage, but not as bad, and opponents might be pushed far enough away to negate guaranteed reprisal.
Snake stands at full height for this attack, which is a disadvantage. Many of his moves give him some benefit by ending in awkward postures to punish, like his dash attack and down tilt. But this is wide open to anyone in the air, like short hoppers, and to any ground-level projectiles.
Grabs
| Move | Damage | Note |
|---|---|---|
|
1.3 |
— |
|
|
Front throw |
9 |
Bounces foe forward. |
|
Back throw |
9 |
Bounces foe backward. |
|
Up throw |
7, 4 |
|
|
Down throw |
9 |
Sleeper hold lays foe prone. |
Grabs
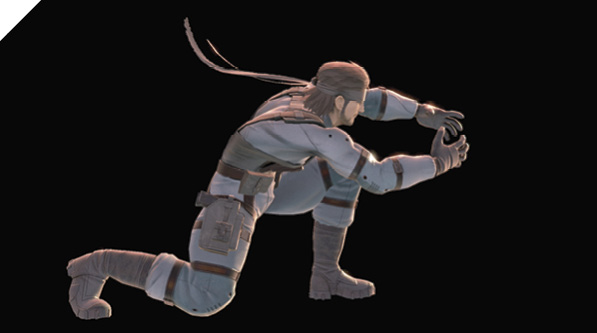
Snake is deliberate with his grappling game, grabbing with the speed of an average heavyweight. So his speed isn’t amazing, but the range is decent, farther than it looks from his hand positions.
His throw attacks are unconventional, with both his front and back throws bouncing victims off the floor for momentum, and the up throw bouncing them into an airborne juggle position the way most down throws do. Combo follow-ups after up throw’s backward bounce are possible; you just have to account for starting out backturned to them. Down throw is unique, with Snake dishing out a quick, non-lethal version of his sleeper hold, laying his foe out flat. You can hit victims off the ground immediately with something like side tilt or short-hopping down air, or use the opening to slap some C4 onto them.
Aerial Attacks
Aerials
| Move | Damage | Note |
|---|---|---|
|
3x3, 12 |
— |
|
|
Forward air attack |
15 |
Meteor smash. |
|
Back air attack |
16 |
— |
|
Up air attack |
14 |
Sweet-spot hit launches foe into potential juggle position. |
|
Down air attack |
4, 3x2, 10 |
Last hit knocks foe away. |
Neutral Air Attack
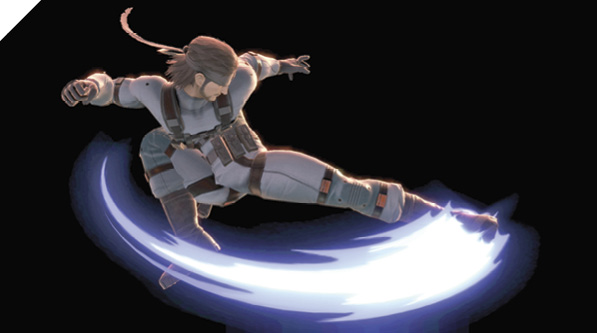
It’s like close-quarters combat in midair! Snake unleashes a quartet of jump kicks that take up his time for three-quarters of a second. Do neutral air attack right on takeoff, and the kicks cover the full duration of a jump or hop, making this easy to use as a wall of kicks on the ground, but beware there’s a bit of landing lag.
The first kick is a bit slow for a neutral air attack, but once he starts kicking, there are periodic hitboxes in front of him for a half-second. The final kick packs most of the punch; landing all four hits is huge damage for a single attack. If any of the attacks hit, they drag victims along, in better position to be hit by all the rest. It’s just a question of him having enough time to get out all the kicks before returning to earth.
Forward Air Attack
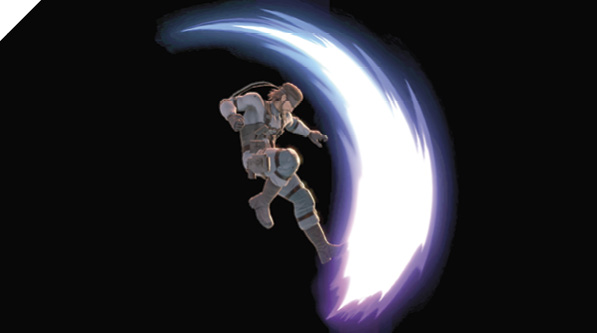
This hard-hitting air move takes a long time to hit, over a third of a second, before Snake brings down a midair axe kick. His leg starts out hitting up, before crashing down to a forward finale.
Even most smash attacks are noticeably faster to become a threat than Snake’s forward air attack. This can make it difficult to wield against literally hundreds of air moves that are quicker. When going after foes offstage, probably after stepping off a ledge from above them, you might have time to fall toward them while winding up forward air, which has a powerful meteor smash effect. Midstage, though, is tougher. This is where Snake’s layered explosive game comes in handy. Putting different kinds of timed threats in your way first, like up smash mortars, Hand Grenades, and C4 blocks, paves the way for striking midstage moving forward with forward air attack.
Back Air Attack
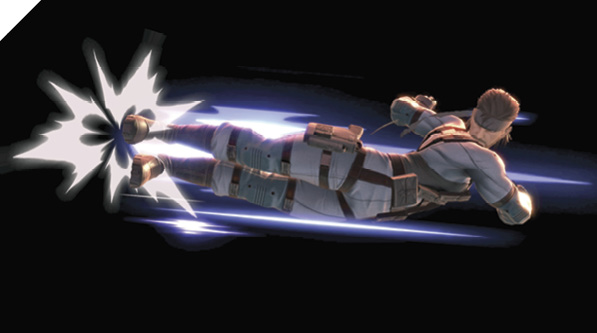
Snake sticks out a quick, strong kick behind him. For a kick of its kind, it stays out for a long time, almost a third of a second, so it’s lenient for aiming backward. It’s much quicker to hit than most of Snake’s other air moves. However, it’s not great for reverse rushing tactics or poking backturned near the ground, because it has a lot of landing lag, with Snake landing on his side. It’s best aimed air-to-air at double jump altitude, or when going for juggles on launched foes.
Up Air Attack
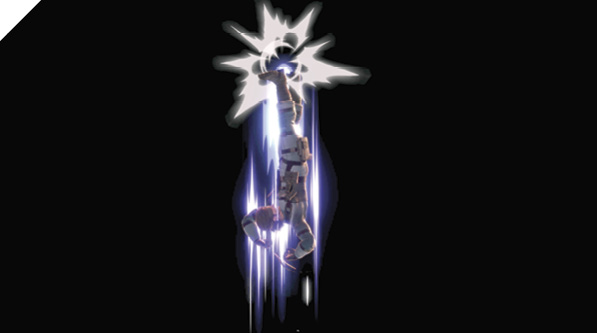
Snake flips to kick straight up with both legs, launching victims upward if successful. This is naturally great for aiming at foes straight above, but don’t expect lateral coverage. The landing lag is prohibitive, with Snake landing on his head before flipping over. But it has some use as a last-second jump-in at standing targets, or short hoppers under you in midair. If you can aim to hit with the early launching sweet spot of the move, just before touchdown, they’re launched and you can immediately jump and combo neutral air in front, or back air in back.
Down Air Attack
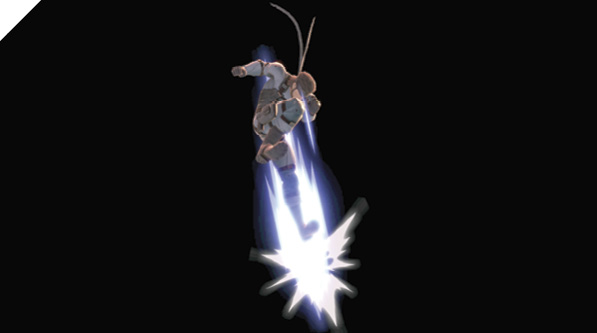
This is Snake’s fastest air attack by far, with him sticking a foot downward just as fast as he punches with neutral attack when standing. After the first jabbing kick straight down, he follows with three more, like a faster, downward-aimed version of neutral air attack.
Like neutral air, the final kick is strongest. The last kick strikes down with such force that it halts Snake’s descent for a moment, so it has some use for changing Snake’s jump trajectory.
With four kicks spaced out, this can work as a ground-game poke, short-hopping into an immediate down air attack that covers almost the jumpping period. The speed and active periods in midair make this an appealing move. But on block, Snake bounces off a bit, vulnerable to reprisal as he lands.
Special Moves
Specials
| Move | Damage | Note |
|---|---|---|
|
Neutral special |
~2, ~9 |
Fire attack. Two grenades can be active at once. Two-second timer until explosion. |
|
Side special |
14 |
Guide Nikita missile with control stick. |
|
Up special |
6 |
Movement special. Release by tapping down or using any air action (except double-jumping). Cypher becomes active upward hitbox after release. |
|
Down special |
17 |
Requires manual detonation. Can be attached to surfaces or foes. |
Neutral Special: Hand Grenade
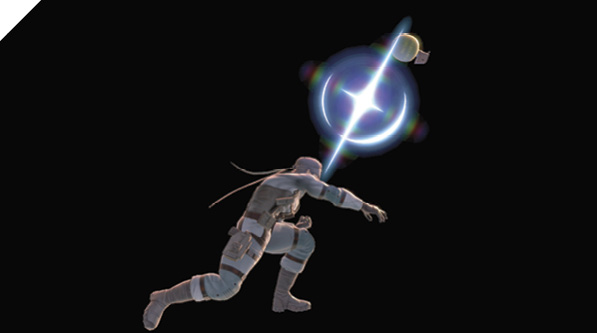
Tap neutral special, and Snake pops the pin on a grenade and gives it a toss. Hold down a neutral special input, and Snake pops the pin and holds it (the grenade, not the pin). Grenades have a two-second timer—they detonate whether they’re in Snake’s hand or not. Snake can walk and jump while holding a ticking grenade, though he can’t change the direction he faces. Make sure you’re looking in the correct direction before performing neutral special, or use the special-reversing trick (push the control stick in the direction you want to face instantly after the neutral special input).
Whenever you release the input and toss the grenade, holding forward or backward on the control stick affects the grenade’s arc. Leaving the stick in neutral produces a grenade toss about like you expect. Pushing the stick in the direction Snake faces results in a low, far-reaching baseball toss. Push the stick toward Snake for a high-arcing toss that drops the grenade right in front of him, kind of like up smash’s mortar rounds. You can also press the Shield button to drop a grenade in hand at Snake’s feet.
Up to two grenades can be active at a time. The grenades themselves hit opponents and deal damage as weak hits, around 2% damage depending on velocity (though they don’t make opponents flinch, so don’t count on grenade bounces to interrupt enemy moves). When they detonate, they deal around 9% damage to anyone nearby—including Snake!
Here’s where it gets interesting. Snake can catch or pick up his own grenades. As a change-up from afar, pop the pin, hold it, and tap Shield to drop the explosive at Snake’s feet, or start with an upward-arcing grenade toss right in front, then jump and tap the Grab button (or use a perfect press of Attack+Shield together) to catch the grenade in the air. Either way, now use a smash-style input with the Grab button for a fastball throw of the grenade straight ahead, which foes won’t expect. Retossing a grenade you’ve already armed with a smash-throw makes it travel faster than an initial baseball pitch.
The catch here: enemies can catch grenades too, or pick them up off the ground! It’s much harder for foes to catch midair grenades than for Snake, since he can jump to overlap a grenade in flight, making the grab timing easier. If an enemy’s catch timing isn’t perfect, the grenade bounces off them as a low-damage hit (then probably explodes; these timers aren’t very long!). But it’s possible, and if someone snatches Snake’s grenade from midair, they can send it right back with their own smash-throw.
Side Special: Remote Missile
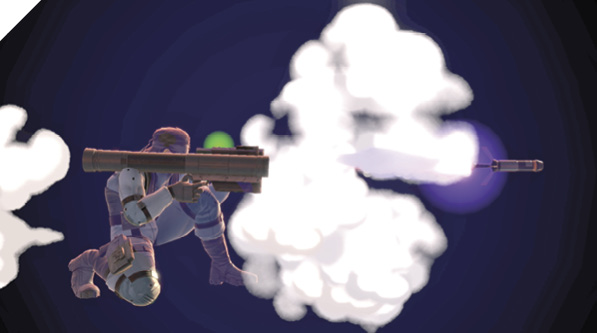
Snake busts out his trusty guided Nikita launcher, remotely piloting an agile missile all over the stage. This is one of the most finely controllable moves in the game, even more than Ness’s PK Thunder. You can basically steer Remote Missile anywhere. The missile flies faster in a straight line than when being nudged in one direction or another, so keep that in mind when chasing foes.
Remote Missile does only 7% damage right after being launched, but quickly goes up to 14% damage on hit once it’s flown for a moment. (The damage drops to 7% if a missile is ditched.) The missile lasts for 4.5 seconds of piloting time. If you’re still flying it by then, it sputters out of control and crashes (perhaps hurting someone, even unguided).
Snake is a sitting duck while piloting Remote Missile. To drop control prematurely if someone is rushing at Snake, you can fly the missile into a nearby surface, or tap the Shield button to ditch control and return to Snake. If you ditch control, or if Snake gets hit, the missile tumbles with inertia in the direction it’s pointed. There are times you can use this on purpose, like after using Cypher to fly high, then quickly launching a high-altitude Nikita and pointing it to fly along Snake’s path downward, so it can conceivably nail his attackers if they interfere.
Up Special: Cypher
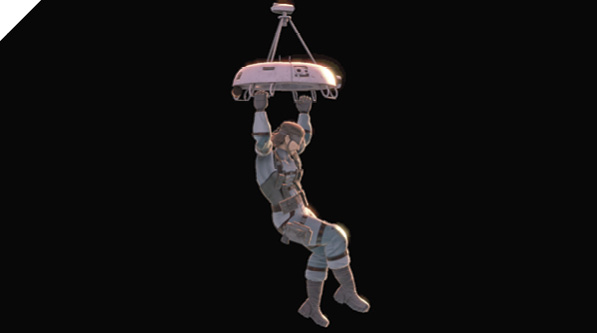
Snake hitches a ride upward on a Cypher drone. This is his main recovery move, since it gains a tremendous amount of altitude. Cypher can be steered left or right, and releases Snake when it can’t carry him any higher. It doesn’t leave him helpless when it’s over; after release, Snake can use any normal air actions except double-jumping or using up special again. You can drop off Cypher early on the way up by tapping down, or by performing an air action to cancel it. Cypher continues upward as a weak projectile hit as Snake floats down, but this hit is mostly incidental. Cypher is best thought of as a pure recovery tactic, like Villager’s and Isabelle’s Balloon Trip.
Aside from recovery, being able to act after flying high with Cypher gives Snake some novel ranged-harassment options. You can leap to great heights before dropping C4 or multiple Hand Grenades on slow, underhand arcs.
If Cypher is destroyed or Snake is struck while riding, he’s sent tumbling, but once his hitstun ends, he can resummons Cypher with another up special. You can use this on purpose, releasing Cypher, then dropping Hand Grenades or C4 and steering Snake into them fast, blowing him up and allowing another Cypher call. But this piles on lots of damage if abused, and might KO him!
Down Special: C4
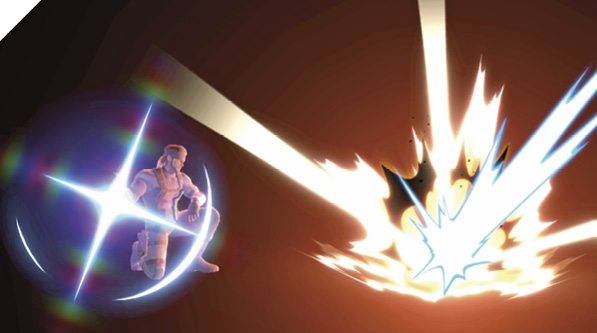
Classic Snake, setting up remotely detonated blocks of plastic explosive. He can set these on surfaces, platforms, or even people! Once C4 is in place, another down special input sets it off, dealing heavy damage. One caveat with this move is that the detonation itself is kind of high-commitment, occupying Snake for about a third of a second as he presses the detonator. You can’t just snap off detonations in a flash, or while occupied by other actions.
In the air, a block of C4 can be dropped as a bomb that, as far as opponents know, might go off anytime. On solid ground, it’s a mine, which foes have to worry Snake might detonate whenever he’s not actively eating hits himself. Set up on enemies, it’s a bizarre kind of mobile mine. Sure, the fighter with a C4 block on their shoulder knows they’re in trouble very soon, but not exactly when. Meanwhile, other fighters who might have been interested in fighting the combatant Snake just armed may suddenly find themselves skittish.
If you attempt C4 setup near someone on the ground, Snake takes a knee to affix it to them, but it’s unlikely people will cooperate with that. It’s a lot more likely that you can C4 someone right after down throw. Lay them flat, then immediately slap it on with down special. It’s possible to do something like this in midair too. Toss someone upward with up throw or up tilt (among other options), then jump right into their bodies in midair and use down special. The spacing and timing are like trying to footstool-jump someone—Snake needs to really be almost overlapping them.
If it isn’t manually detonated, a deployed C4 block explodes after 25 seconds. Even if you’re not finding time to detonate blocks of C4, it’s definitely worth finding the time to set them up constantly, always creating the uncertainty in enemies. Place C4 on stage ledges; you never know when that’ll suddenly come in handy.
Finally, C4 can be used as an unconventional recovery tool, keeping Snake in the air almost indefinitely. Use Cypher to gain lots of altitude, then drop a block of C4 and detonate it in the air near Snake. He’ll be flung upward, taking heavy damage, but he’ll be able to use Cypher again! Keep this in mind as a high-risk tactic for recovering back to the stage, or for achieving extra-high heights for dropping grenades on enemies.
Final Smash: Covering Fire
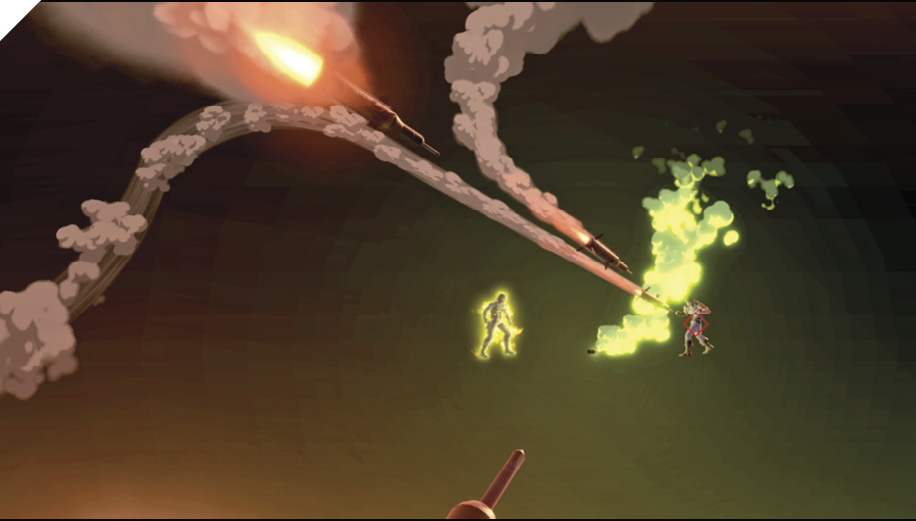
This Final Smash is like a screenwide version of Remote Missile, with Snake targeting anyone and everyone. Drag the reticle over as many challengers as possible to achieve lock-ons. A swarm of homing missiles shows up shortly, zeroing in on all locked targets. Like Remote Missile, this requires finding a safe place for a moment of Snake’s targeting time. But given a safe haven, he’s a threat anywhere.