
Super Smash Bros. Ultimate Guide Wario
Brawler Arsenal
Grounded Attacks
Neutral Attacks
Neutral Attacks
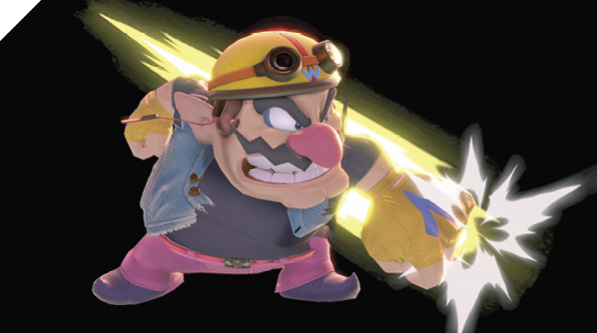
Wario swings with a sluggish jab into a much bigger follow-up punch. With Wario’s girth and the initial jab’s stubby range and slow speed, this isn’t the best sparring weapon. On the ground, down tilt and Corkscrew (up special) are both faster, and short-hopping neutral air attacks and forward air attacks are about as fast and play more into Wario’s strengths. Still, there’s always use for a jab to “check” foes on the ground and perhaps set them up for a grab or Chomp attempt, and the easy two-hit neutral attack combo is a decent reprisal when dropping shield to counterattack. On contact, the second punch launches the foe into the air, where you can pursue them for a potential juggle.
Dash Attack
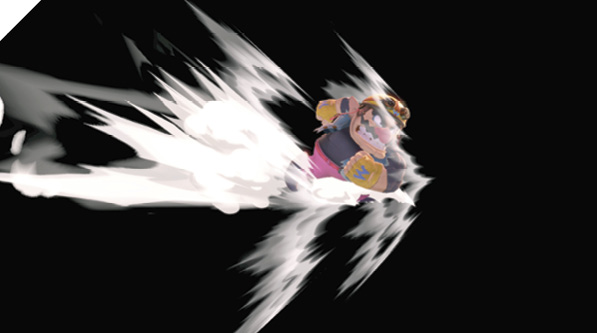
On the run, Wario throws his weight into a burly body check. Hitting as the dashing tackle begins does the most damage and tosses victims the farthest. Hitting with later active frames does less damage, but flips them into the air over Wario. Watch out for this kind of contact for the pressure and combo opportunities it creates.
Defensive Attacks
Tilts
| Move | Damage | Note |
|---|---|---|
|
Side tilt |
13 |
Max damage at palm. Can be aimed slightly up or down. |
|
Up tilt |
6 |
Knocks foes into potential juggle position. |
|
Down tilt |
4 |
Trips foes briefly. |
Side Tilt
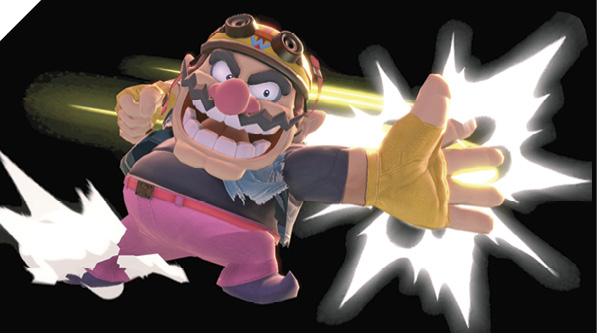
For Wario’s slowest tilt move, he swats with a giant slap, with better reach than neutrals and other tilts. This can be aimed slightly up or down. Damage and knockback are worse closer in, so aim with the palm. The downward-aimed side tilt in particular is important for swinging at foes right when they try to grab a ledge for safety. The hitbox is perfect for knocking them off a would-be safe perch just as they arrive, before their ledge-hanging intangibility kicks in.
Up Tilt
Wario slaps upward with both hands, launching victims on hit. This is quick for Wario, the same speed as a neutral attack jab. It’s great for slapping at airborne opponents, but it doesn’t offer the side coverage of many up tilts. It might hit point-blank enemies on either side, depending on their posture and everyone’s momentum and so on, but it also might not. For reliable double-sided protection, use down smash.
Down Tilt
Crouching down, Wario jabs at toes with a big flat hand. This is Wario’s fastest move, he shifts down a little while doing it, and the reach is decent. It’s a good “what now?” option for poking on the ground at nearby foes, before returning to Wario’s primary diet of short hops and Chomp attempts. It can trip low-percentage enemies for a moment, and combo into itself if used repeatedly at middle to high percentages.
Smashes
| Move | Damage | Note |
|---|---|---|
|
20-28 |
— |
|
|
Up smash |
17-23.8 |
Knocks foes into potential juggle position. |
|
Down smash |
13-18.2 |
Max damage at start. |
Side Smash
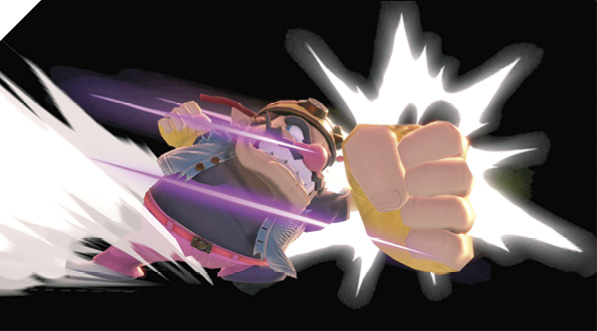
Wario leans back briefly before stepping forward and swinging a comically oversized first, striking backhanded. They’ll feel it when this hits, with great damage and knockback. The huge fist is mostly just a hitbox, intangible to any clashing enemy moves.
It’s strong, but the problem is that it’s relatively slow to hit, and leaves Wario wide open if you miss, or if targets spot-dodge or dodge-roll through it. Still, there are times to swing for the fences, and side smash has great KO potential as damage adds up (not to mention shield-breaking power if your opponent blocks). Against aggressive enemies, try running away, then side smashing back at them out of the dash.
Up Smash
His head swelling to proportions that match his ego, Wario swings rapidly above with a headbutt. His huge head is intangible just before and during the first active frames, giving this great priority against descending moves. It’s about as fast as side tilt, not one of Wario’s very fastest, but not getting painfully slow either. It launches victims straight up in a vulnerable position if they don’t shield or dodge.
It also covers three angles, though you don’t have margin for error on up smash aim because it’s active so briefly. You’ve got one frame of backward-leaning coverage, one frame aimed up, and one frame covering directly in front of Wario. Most up tilts/smashes have much more generous hitting periods, so swing carefully.
Down Smash
Wario falls down and spins like a top on his back, wobbling quickly between front-leaning and back-leaning hits. As he spins three times, his damage (and the size of the hitbox around his body) starts out big and diminishes bit by bit each spin.
This requires a lot less timing precision for something that hits both sides than up smash, and hits faster too. Contact with foes on either side blasts them away far and low, buying Wario breathing room.
Grabs
| Move | Damage | Note |
|---|---|---|
|
1.6 |
— |
|
|
Front throw |
4, 8 |
Forward throw. |
|
Back throw |
7 |
Backward throw. |
|
Up throw |
4x2 |
Pops foe into potential juggle position. |
|
Down throw |
4, 7 |
Bounces foe behind Wario. |
Grabs
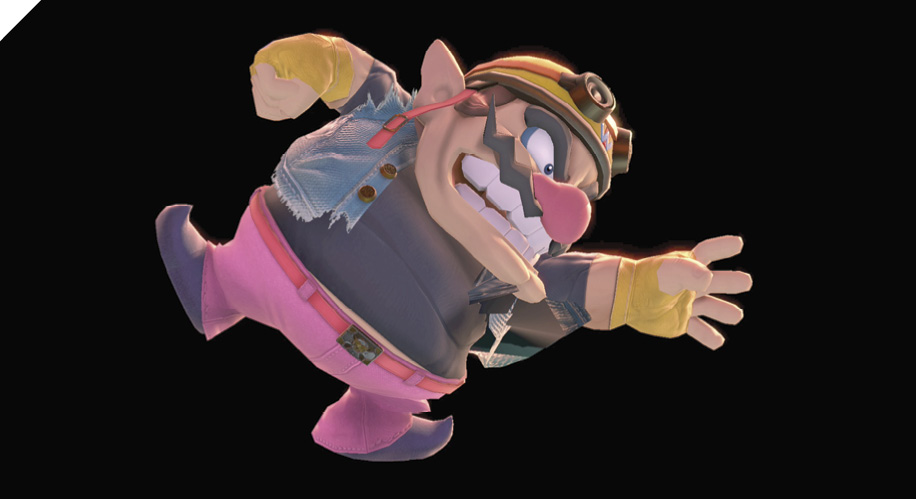
Wario’s grab is standard-issue for a heavyweight, and matches the speed of his neutral attack. This isn’t too bad, considering how agile he is in the air. Not to mention that his neutral special, Chomp, complements his hopping rushdown and grab games, adding literal teeth. It’s the same speed as a regular grab with a tiny bit more reach, it has an active throw hitbox for over twice as long, and it can be used in midair. On the other hand, it’s much riskier to whiff Chomp than a normal grab.
When going for normal grabs, front throw can also hit other enemies in close, if they’re in the way. Back throw spins the enemy for momentum before the throw, which clears out any number of fighters on both sides! Up throw knocks them upward with a double-fisted punch, leading to combo opportunities right away above. And back throw bounces them behind Wario, not in position for a juggle hit but ripe for you to pursue with a dash attack or hopping move as they try to tech.
Aerial Attacks
Aerials
| Move | Damage | Note |
|---|---|---|
|
6 |
Falls with launching belly after spin. |
|
|
Forward air attack |
7 |
— |
|
Back air attack |
12 |
— |
|
Up air attack |
13 |
Launches foes upward. |
|
Down air attack |
1.3x6, 4 |
Last hit knocks away. |
Neutral Air Attack
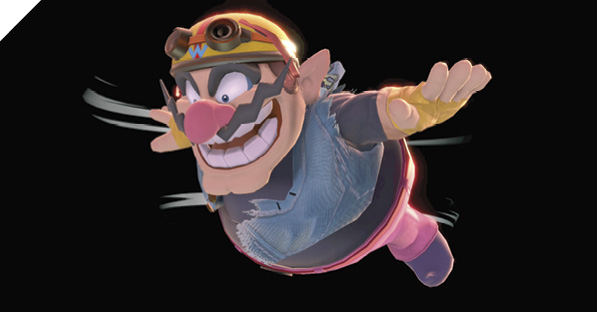
Neutral air attack is essentially two attacks. It begins as a fast two-sided clear-out, with Wario’s arms outstretched. This is good for going up against other airborne foes, or for jumping in on enemies on the ground.
Once Wario stops spinning and hitting with his arms, he falls with a belly flop. The belly-flop portion lasts a third of a second, a huge length of time for an air attack to be active. You can double-jump and neutral air attack, then fast-fall to the ground with an active hitbox all the way down. If the belly flop hits, it launches victims up into the air.
Forward Air Attack
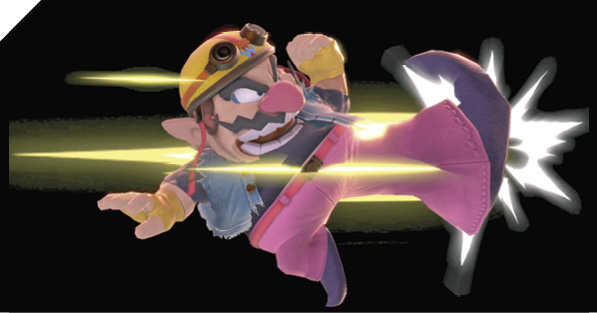
Wario juts a big foot out right in front for an agile dropkick. This hits fast, with decent damage and a generous active period. Though not quite like neutral air, it’s enough for sticking out above foes before dragging it down on them with fast fall. This is one of Wario’s most important pokes, whether short-hopping or pursuing helpless or recovering targets.
Knockback on this attack is low, which means you can go right into quick ground moves after using forward air last-moment on a standing target. Like neutral air, this has very little landing lag, making it great for moving from air to ground-based offense.
Back Air Attack
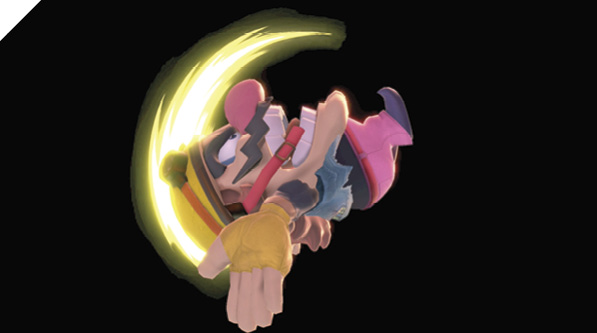
This backward-leaning surprise headbutt hits with the crown of Wario’s huge head. The damage and knockback are high, and it covers a small arc from up-back to down-back. The lag on landing is bad, since Wario thuds on his side. It’s okay for smacking grounded enemies if your back’s to them in midair for whatever reason, but try to land at max range from them and don’t expect follow-ups. Back air attack is mainly for aiming at jumpers behind midair Wario.
Up Air Attack
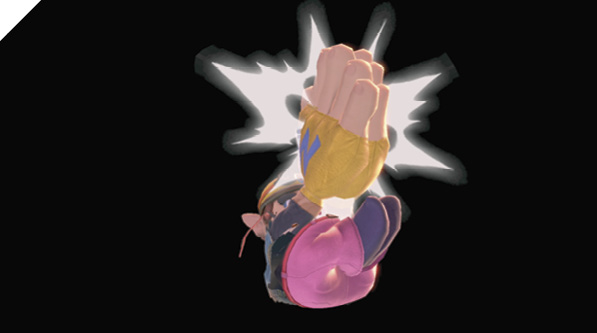
Wario attacks upward with an oversized clap, just where the hands meet. It might look like it, but it doesn’t cover along Wario’s palms until they meet. Like up smash on the ground, up air attack doesn’t have a long active period, so you need to aim it well to keep foes bouncing off Wario’s hands.
Up air attack has lots of air lag after use, so you’ll likely drift all the way back to the ground afterward, unable to double-jump for combos and second tries. The hitbox on the clap, being high above Wario, also doesn’t make this suited to jump-in use on standing enemies.
Down Air Attack
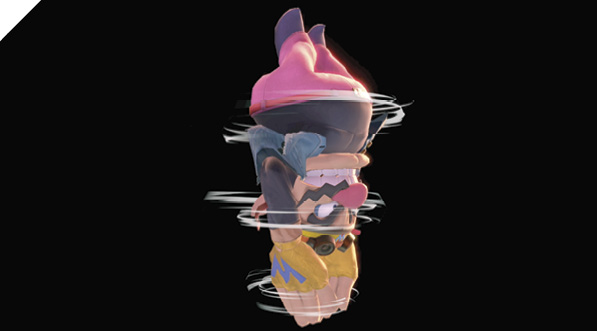
Spinning upside down like a drill, Wario lands a multi-hitting downward combo in one attack. This packs a lot of hits into a short period of time, active for as long as forward air. This means it’s relatively easy to get most or all of the hits, compared to similar blender multi-hits. Wario can be steered a bit while he spins. The final hit is harder than the rest and sends victims soaring up into the air.
If used low to the ground, down air attack has bad landing lag on touchdown, with Wario momentarily planted headfirst in the floor. It’s good aiming below air-to-air, and can pick up juggle combos depending on how tumbling enemies are reacting. It’s even easy to aim and score multi-hit combos when used during short hops. It’s just vulnerable to being shielded or dodged and leaves Wario wide open.
Special Moves
Specials
| Move | Damage | Note |
|---|---|---|
|
Neutral special |
2.6x3+, 5 |
Mash for more bites. 0.6% damage replenished per foe bite. 1% replenished for eating most items. Food boosted with Chomp. |
|
Side special |
Varies |
See table. |
|
Up special |
5, 1x4, 4 |
Hold left or right immediately after input for diagonal travel. |
|
Down special |
Varies |
See table. |
| Wario Bike Damage | |
|---|---|
|
Bike State |
Base Damage |
|
Driving (faster for more damage) |
0.6-11.2 |
|
Gliding (air hit) |
3.9-7.5 |
|
Turning skid (tap backward) |
7, longer pivot skid at higher speed |
|
Rising wheelie (tap up) |
8.3, launches |
|
Popped wheelie |
5 |
|
Wheelie drop (hold down to drop faster) |
13 |
|
Driverless bike slowing (ditched bike) |
3.5 |
|
Lateral bike toss |
~10, ~13 with smash-style input |
|
Vertical bike toss |
~14, ~18 with smash-style input |
Wario Waft Damage
| Charge Time | Damage |
|---|---|
|
0-14s |
0 |
|
15s |
12 |
|
30s |
13 |
|
45s |
14 |
|
1m |
21 |
|
1m15s |
24 |
|
1m30s |
26 |
|
1m45s |
28 |
|
2m |
27 early, 20 late |
Neutral Special: Chomp
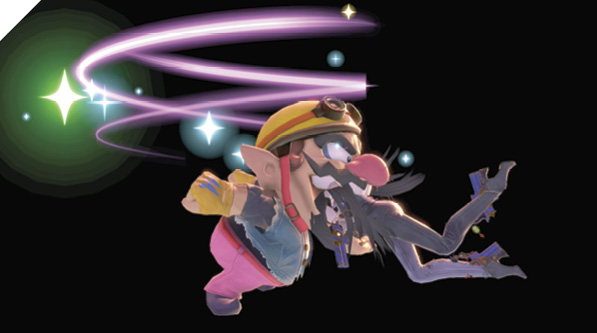
Wario opens his maw wide, looking to feed his gluttonous appetite. If enemies are trapped by Wario’s bite, maximize the chewing by mashing on the Attack or Special buttons (the max possible number of bites is eight, dealing 25.8% damage to the chewee while refilling 4.8% of Wario’s damage!). Chomp, like normal grabs, cannot be shielded. After a few bites, foes escape naturally, taking heavy damage while Wario regains some health. Chomp can also be used to eat items and motorcycle parts, removing them from the field while granting some health to Wario. Chomping down food items instead of picking them up normally also enhances their heal amounts!
Chomp starts being active with the same speed as his regular grab attempts, heavyweight-grade, but it stays active for over twice as long. This is a huge active period for a grab special, which allows Chomp to be used as a predictive move or “meaty” attack, starting it so foes are sucked in with later frames of the move. This applies in situations like using Chomp to snag people right after their sidestep or dodge-roll evasion moves have ended, or as they climb up from a handhold. It also enables Chomp to be used almost like some long-lasting air attacks: jump above an enemy, fast-fall at the apex, then immediately perform Chomp while descending. (You can’t fast-fall during special moves, so you have to fast-fall first and then perform instant Chomp. Take care to let the control stick return to neutral after fast-falling so you don’t inadvertently produce a fast-falling Wario Waft, wasting Waft’s fragrant charge.)
Special-reversing is important when aiming Chomp. If there’s a chance to gobble up someone behind you (usually when falling toward someone lower while backturned), input neutral special, then instantly tap toward Wario’s back. Properly done, Wario flips before Chomping toward them.
Side Special: Wario Bike
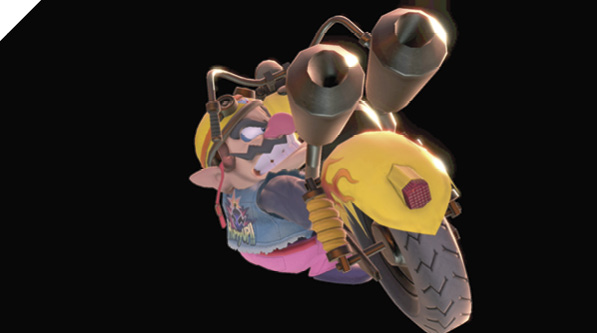
During side special, Wario mounts his gnarly chopper and bears down on anyone in front of him. Wario doesn’t mount the bike quickly; getting going on the bike is like using a sluggish smash attack. Once it’s going, you have tons of options with one of the game’s most variable specials. Whenever the bike eventually is destroyed onstage or ditched off of it, it takes five seconds before Wario can reuse this special, summoning another rumbling hog.
On the ground, holding forward accelerates to max ramming speed. Leave the control stick neutral, and Wario lumbers forward on his bike at idling speed, hitting for much less damage. The bike’s actual hitting area is around the engine and headlight (not the front tire).
If starting Wario Bike in midair, he whips out the chopper and mounts it, then glides to the ground. Hold back to tilt the front wheel up, or forward to angle the front wheel down toward the ground. A bike gliding toward the ground also has a hitbox toward the front around the engine.
Tapping backward sends Wario into a skidding turn, creating a brief hitbox behind the bike as it skids backward before Wario speeds off in the other direction. The faster the bike is going before a skidding turn, the longer the turn skids backward, and the longer the skidding hitbox behind the bike persists. With good timing, it’s possible to create a short combo with Wario Bike by plowing into someone and immediately turning. The forward-driving hit can combo into the skidding turnaround hit! This is also possible after a last-second falling aerial Wario Bike hit before landing, skidding immediately on the ground for a second hit.
While driving forward, tap up to pop a Wario wheelie. The front tire issues a launching hit on the way up. Wario pumps his fist twice with the front wheel fully popped, then brings the front tire crashing back down for another launching hit. Then he keeps speeding forward as normal. After popping a wheelie, hold down if you want to end it early. Wario slams the front wheel down after one fist pump instead of two. Otherwise, you’re committed to the wheelie (whether for one Wario fist pump or two), and can’t bail off the bike until it’s over.
Aside from when Wario’s showing off with a wheelie, the bike can be ditched anytime with any Attack/Special/Jump button input. Wario leaps off the bike as it begins to slow. This is a normal jump, allowing air moves, a double jump, and air dodges. While the bike slows to a stop, it can still hit enemies for slightly reduced damage. The faster you’re going when you bail, the longer the bike persists as a projectile on the ground. Once it runs out of momentum, it falls over.
A ditched bike that drives off a cliff plunges offstage, starting the five-second bike-restocking timer. If it slows on firm ground, it totters to its side, becoming a heavy throwable, destructible item. Like with other throwable items, using a smash-style flick input results in a faster, farther-traveling, higher-damage bike toss. The bike can also be destroyed if it takes enough damage, starting the restock timer. (The quickest ways to destroy it on purpose are with a single uncharged side smash, or two short-hopping back air attacks.) A bike explosion isn’t an attack, so it doesn’t hurt enemies. Wario can gobble up the flying parts for health with Chomp, though!
Offensively, Wario Bike makes a powerful ground-control tool and pseudo-projectile. Mount up, accelerate toward your prey, then dismount at full speed, sending the bike careening forward. At lower percentages, ditch as the bike approaches stage edges, so it slides into the abyss afterward, “recharging” itself for Wario’s use automatically. As damage builds up, both on Wario and opponents, ditching the bike a little early leaves it on the stage, where it becomes a potential throwing weapon for Wario (and his opponents…), not to mention a tasty, health-regenerating snack if you scarf down the bike (whole or shattered into parts—Wario isn’t picky). In the unlikely event that no one destroys a ditched bike or tosses it offstage, it’ll vanish after 30 seconds.
Wario Bike is useful as a creative recovery option, gliding back to safe ground with a bike that can be ditched early in midair for what’s functionally a triple jump, or ditched late after landing to send a projectile sliding across the stage. It can help for edge-guarding, by speeding at the edge and turning just before it, so the sliding pivot hit connects with anyone grabbing the ledge or hopping over it. For alternative edge-guarding, ditch the bike early, onstage, then pick it up and either throw it sideways off the stage at someone drifting back, or throw it straight up while standing at a ledge so it serves as a powerful projectile on the way down, right at the stage edge.
Up Special: Corkscrew
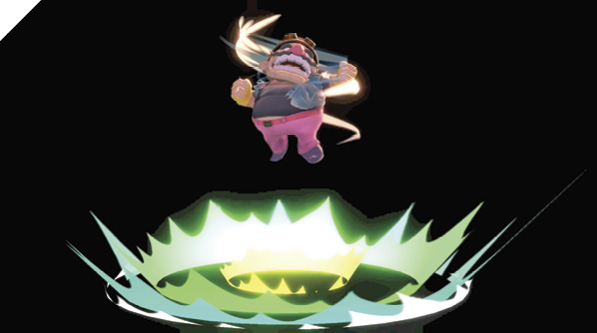
Wario blasts himself upward with a launching hit directly in front at the beginning, then multiple blender hits on the way up. After the attack ends, Wario drifts down, helpless until landing. Tap left or right immediately after inputting up special to make Wario take a diagonal trajectory instead of flying straight up, great when using Corkscrew for offstage recovery back to a safe ledge. Corkscrew’s travel distance isn’t amazing, and it’s predictable for enemies, so put double jumps and airborne Wario Bike to good use as well to make recovery plays less obvious.
Wario lacks quick attacks in general, with his fastest normal moves being down tilt, neutral air attack, and forward air attack. Corkscrew belongs on that list of his fastest moves, faster than his neutral attack or grabs, giving him a good out-of-shield reversal option after blocking a foe’s laggy move, or a short-notice option to deal meaningful damage to someone who’s left themselves open up close (like helplessly drifting after their own up special, or dizzy after being shield-broken, and so on).
Down Special: Wario Waft
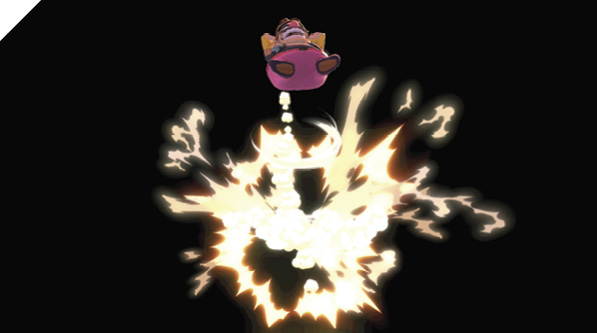
All that Chomping and gloating adds up to some fiendish indigestion and gas. Over time, as Wario fights, he builds up nauseating pressure in his gut. Wario Waft charges, um, automatically, just by Wario’s dietary habits and gut bacteria doing their thing. You don’t have to do anything but avoid using down special. The longer you go between Wario Waft releases, the more pressure piles up. The more you charge Wario Waft, the higher the damage when it’s finally used. Longer charge times also result in faster fart releases.
Wario Waft doesn’t stop charging for anything, not until the match ends; even losing a Wario stock doesn’t reset his gut’s progress. This guarantees that you’ll get a chance to use more powerful Wario Wafts no matter what, given enough time.
Between zero and 15 seconds of charge, Wario Waft is fairly slow to release, about like an average side smash, and deals no damage. It temporarily stuns anyone close enough to Wario to get a whiff.
Between 15 and 59 seconds of charge, Wario Waft’s activation is faster, just a hair slower than his neutral attack jab.
Between 60 and 119 seconds of charge, Wario Waft’s activation speed is very fast. Only Wario’s down tilt hits marginally quicker. Power and knockback between one to two minutes of charge are very high, making Wario Waft a potent instant KO move on opponents with high damage (80%+) built up.
With over two minutes of held gas, Wario flashes and begins glowing to indicate a full charge. Fully pressurized Wario Waft becomes a different attack entirely. The release speed slows a bit—not as fast as farting with a charge between one and two minutes, but not as slow as a charge between 15 seconds and one minute, either. The initial tooting hitbox is much bigger around Wario, launching him upward rapidly—fully-charged Wario Waft catapults him upward higher than double-jumping! He doesn’t lag after he stops rising, so you can perform other actions. It’s possible to Wario Waft way up, then double-jump, pull out aerial Wario Bike, and ditch it for a pseudo-triple jump, gaining unmatchable hangtime for a heavyweight, while still having the option to use air moves or Corkscrew if needed. Wario Waft at two-plus minutes is basically a super version of a typical up special recovery move.
In general, you should save Wario Wafts for at least one minute at a time, gaining access to a potential KO move for anyone who slips up near Wario. Try to get a sense for the timing and pace of matches, so you know when a killfart is ready for deployment. If you happen to sit on Wario Waft until Wario glows, adjust your plans to account for the one-time-use super-move you’ve stocked.
Final Smash: Wario-Man
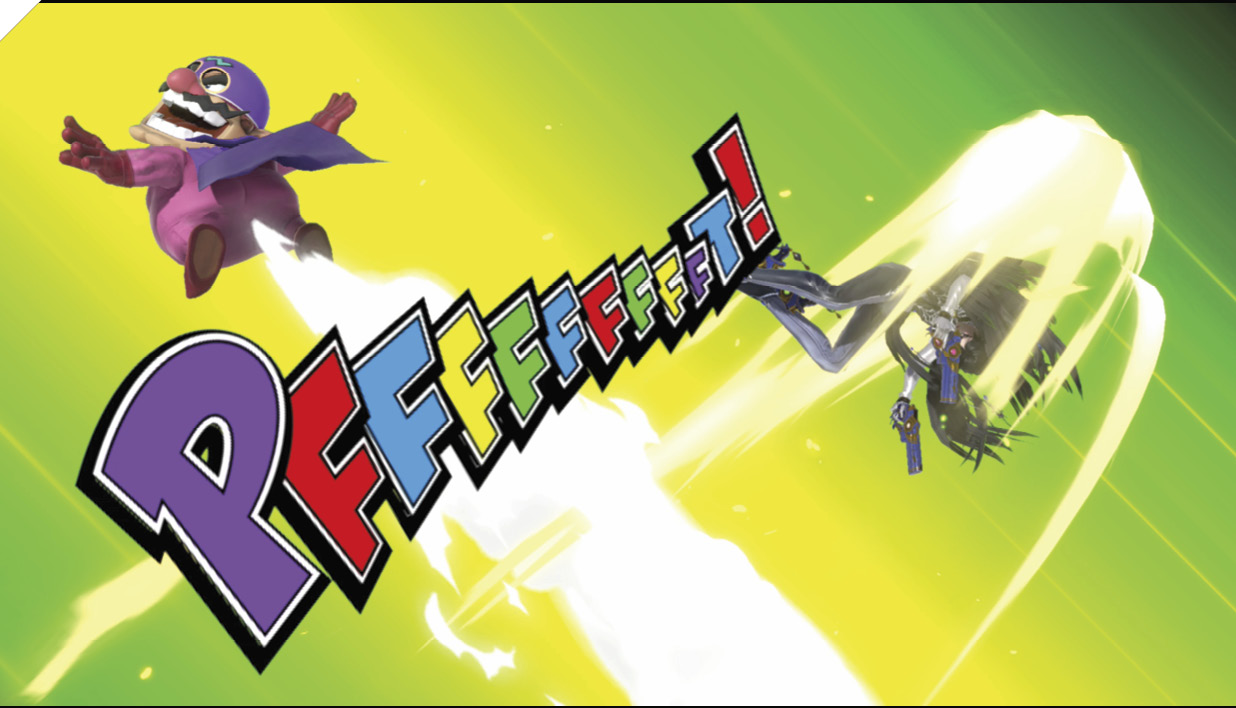
Prepare yourself for the most aromatic Final Smash in Super Smash Bros. Ultimate. Wario starts by rushing horizontally, so line up desired targets even with him for cutting loose. If he hits anyone on his initial dash, he transitions into a superhero montage of heroic Warios smacking the victim from every direction, before the lead Wario finishes them off with the mother of all farts.