
Super Smash Bros. Ultimate Guide Diddy Kong
Brawler Arsenal
Grounded Attacks
Neutral Attacks
Neutral Attacks
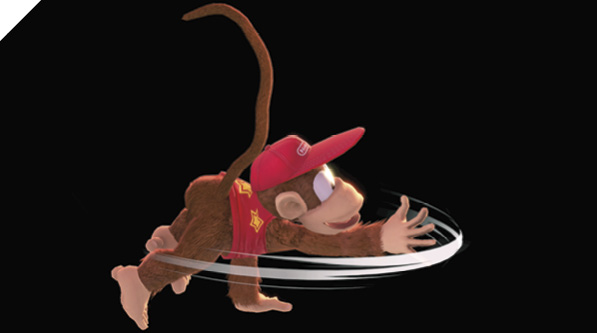
Diddy Kong reaches out and slaps a nearby enemy twice, then delivers a spinning roundhouse that knocks them away. Neutral attacks 1 and 2 are both quick to start and safe when shielded (against everything but instant shield-grab reprisals). You should almost always transition from the first jab slap to the second, since the second is slightly safer.
The main drawback to these safe jabs is range. You won’t generally be using neutral attack too often, as Diddy Kong’s most effective in the air and while dashing around going for grabs and shield grabs.
Dash Attack
| Move | Damage | Note |
|---|---|---|
|
2, 2, 3 |
Launches up and away at very slight angle for potential follow-up. |
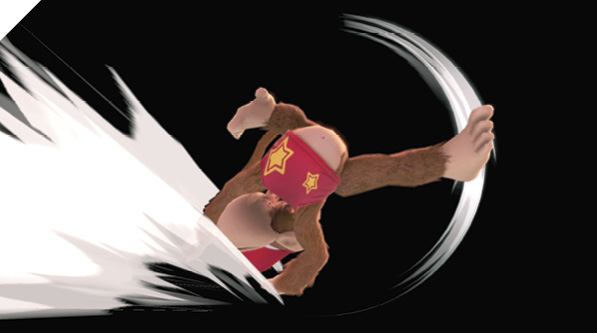
While dashing, Diddy Kong uses his momentum to tumble forward with a three-hit cartwheel attack that launches foes into the sky, allowing him to follow up with an aerial attack. Against low-percentage middleweight foes (around 30%), dash attack launches the enemy into a high launch state, allowing you to combo with a guaranteed forward air attack or up air attack (potentially into another double jump up air).
Like most dashing attacks, it leaves you exposed on whiff, but is relatively safe against foes who attack right away after blocking.
You shouldn’t use it too often, but dashing attack makes for a great midrange whiff-punish and chase-down tool that leads into a lot of damage (or a potential knockout juggle against high-damage-percentage enemies).
Defensive Attacks
Tilts
| Move | Damage | Note |
|---|---|---|
|
Side tilt |
10 |
Launches away. |
|
Up tilt |
6 |
Knocks directly above for potential follow-up. |
|
Down tilt |
5.5 |
Knocks back slightly. |
Side Tilt
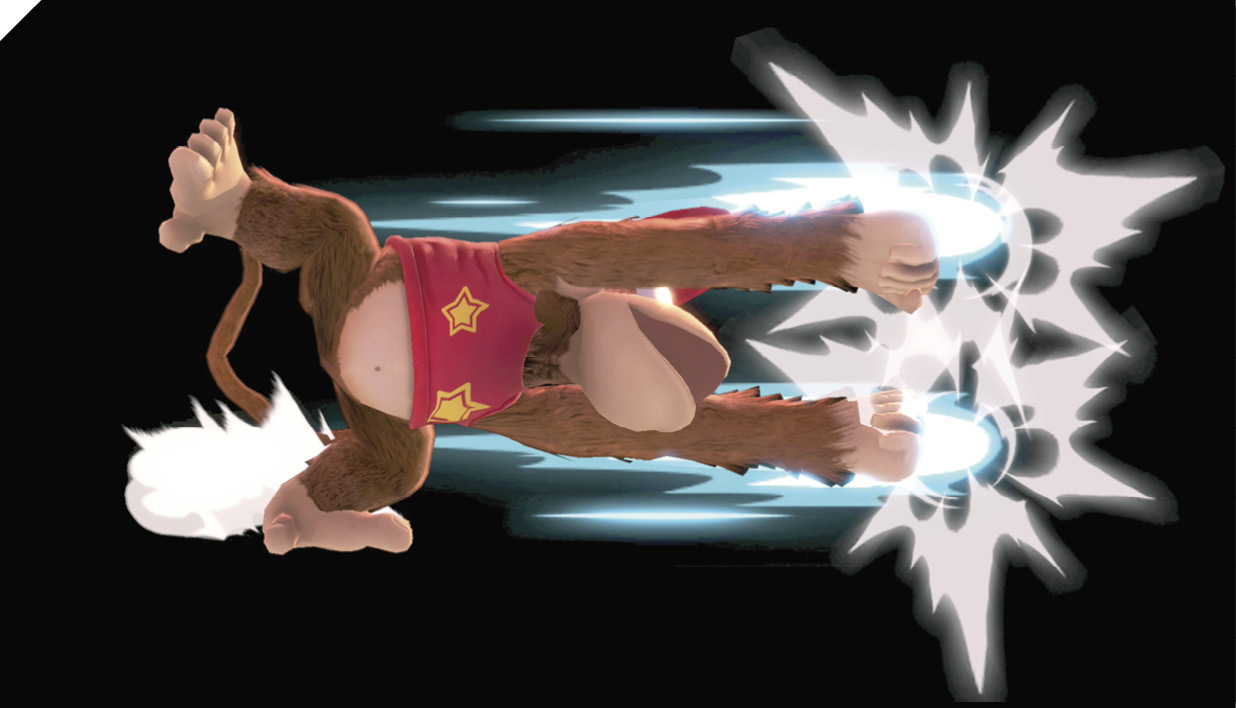
Diddy Kong puts all his weight onto one leg while delivering a high-powered double-fist thrust straight in front of him. Side tilt extends a strong hitbox-to-hurtbox ratio, considering Diddy Kong uses his own fists for the attack. It’s a great approach-deterring move, allowing you to surprise-attack your pursuers. For instance, while you’re maneuvering with ground dashes and your foe decides to chase you, you can dash away, stop, and immediately side tilt the opposite direction, potentially blasting your pursuer away.
This attack has relatively high end lag, so it can be punished in most cases, especially if it’s not spaced.
Up Tilt
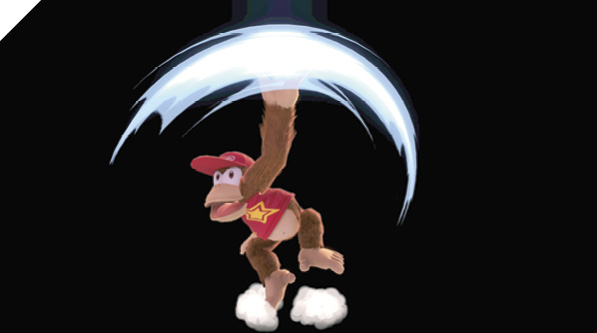
Diddy Kong performs an upward slap attack with an effective arc covering the entire area above him. The attack hits front first, then ends up behind, knocking up foes for a potential follow-up attack. Diddy Kong’s up tilt inflicts a surprising amount of shield stun. It’s punishable by most fighters’ neutral attacks if they block, but can be safe against slower attacks, especially if spaced out.
Against low-damage foes, you can almost always follow up with forward air or up air off of an up tilt hit. At higher percentages, up tilt becomes a high-powered launch, setting up Diddy Kong’s strong juggle-trap knockout game.
Down Tilt
Diddy Kong delivers a prone low attack, targeting the enemy’s feet with his hands. Not only does down tilt start rather quickly, but it leaves you at a positive actionable advantage when it’s shielded, enough so that you can jump out of slower shield grabs (like Greninja’s).
This low attack is superb for poking at shields and harassing ledge-hanging foes, potentially baiting out mistimed ledge recoveries. You can follow up shielded down tilt into another. At max range, you can mix up between following down tilt with side tilt or a dashing grab. If you think the opponent will go aggressive after shielding your low poke, side tilt stops them. If you sense passivity, you can go for the throat with dashing grab or Monkey Flip grab.
Smashes
| Move | Damage | Note |
|---|---|---|
|
5, 11 |
Launches up and away. |
|
|
Up smash |
2.5, 2.5, 6 |
Launches directly above. |
|
Down smash |
12 |
Launches away. |
Side Smash
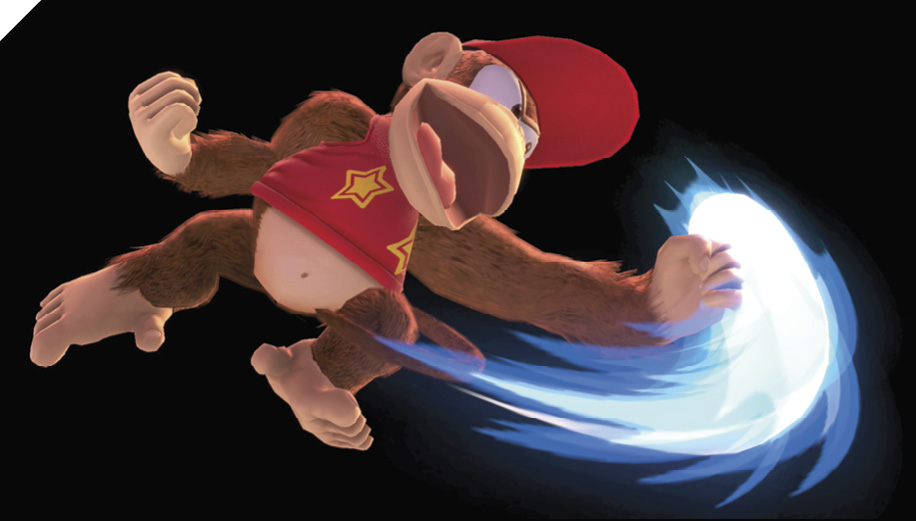
Diddy Kong performs a mighty upward leaping slap, followed by a powerful airborne backfist. The two-hit sequence launches enemies up and away. After the initial slap, Diddy Kong goes slightly airborne, avoiding low attacks.
When both attacks are shielded, side smash is punishable by most defensive retorts. If you condition your opponent into shield-grabbing your attacks (with dash-in jab, for instance), you can potentially go for a mix-up dash-in side smash to punish their trigger-happy shield grab if they input Grab after the first hit of your side smash. This results in your second attack beating out their grab animation.
Up Smash
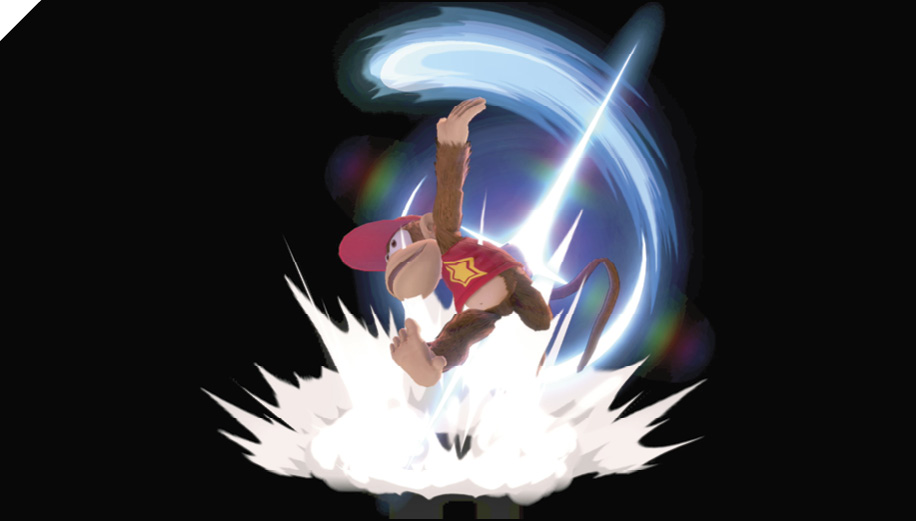
Diddy Kong shows off his acrobatic skills with a three-hit sequence. He begins with an upward palm strike, transitions into an anti-air cartwheel kick, then finishes with a vertical uppercut punch, launching foes directly above him. This is your fastest smash attack, and it is bananas. Its start-up is faster than most fighters’ tilt attacks; hits front, behind, and above; and it launches. It’s extremely unsafe when shielded, leaving you as vulnerable as if you had simply whiffed the attack in front of your opponent. Nevertheless, it’s an incredibly powerful attack that acts as an anti-air, a high-damage get-off-me option, and a dash-punisher attack (if you make a hard read on your opponent’s aggression).
On hit, it puts the enemy in a prime position for you to follow up with an up air juggle-trap game.
Down Smash
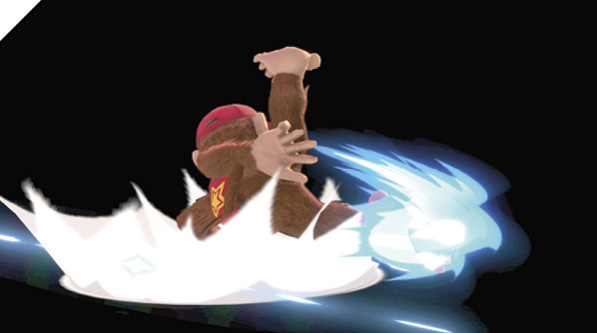
Diddy Kong performs a break-dancing kick called a nickel, sweeping foes in front of him before striking enemies behind. Foes hit by the stylish dance move are launched away.
Diddy Kong’s vulnerability is minimized while he performs this attack, as he slinks low to the ground. However, it has an extremely high amount of end lag as he recovers with a small bounce.
Down smash is best saved for hectic free-for-all and team battles (i.e., when you need to defend yourself against multiple foes). Otherwise, if you’re going to take a risk with a predictive KO smash attack, up smash is usually a better option thanks to its faster speed.
Grabs
| Move | Damage | Note |
|---|---|---|
|
1 |
— |
|
|
Front throw |
9 |
Forward throw, high knockback. |
|
Back throw |
12 |
Backward throw. |
|
Up throw |
5 |
Launches directly above for potential follow-up. |
|
Down throw |
7 |
Launches up and behind at slight angle for potential follow-up. |
Grabs
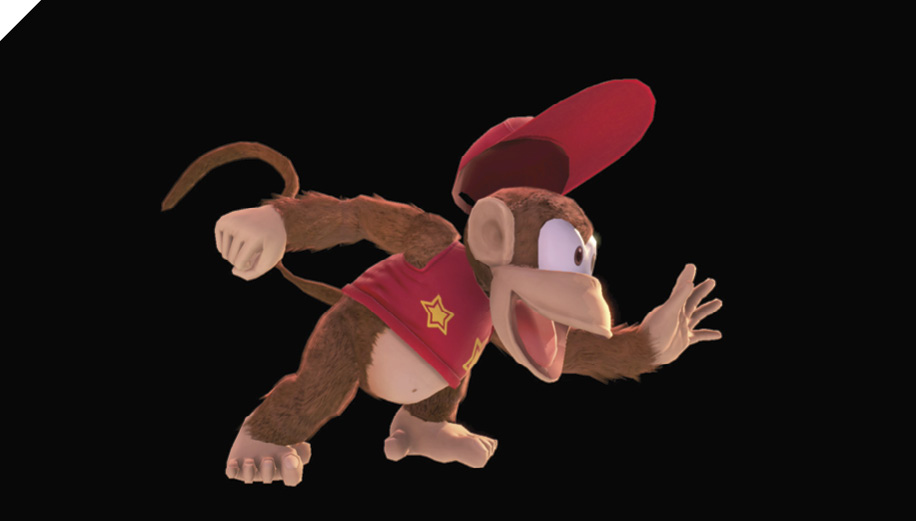
Diddy Kong’s grab speed and grab range make the move a serviceable one if you consider his above-average ground speed. The throws he can follow up with make his grab game incredibly strong.
His back throw is standard, used when your back is facing a blast zone to throw an enemy offstage. His front throw, while conventional in most ways, has a remarkably early actionable time, allowing Diddy Kong to immediately chase after the thrown enemy for a potential offensive mix-up. Alternatively, you can use the time and space from a front throw to generate a Banana Peel setup.
Up throw has high launching power, so even low-percentage foes are thrown high into the air. You can almost always score a guaranteed jump, double jump, up air attack, as long as you can follow the opponent’s shuffling direction.
Down throw allows for follow-up attacks as well, although foes may be able to shuffle out of the up air follow-up.
Diddy Kong’s grab game is an essential part of his toolkit. You earn many grabs from punishing aggressive foes, leading into your powerful up throw into up air juggle-trap game.
Aerial Attacks
Aerials
| Move | Damage | Note |
|---|---|---|
|
6 |
Knocks up for potential follow-up. |
|
|
Forward air attack |
10 |
Knocks back, low knockback power. Can cause standing hitstun against grounded. More damage early hit. |
|
Back air attack |
9 |
Knocks back. |
|
Up air attack |
6 |
Launches up for potential follow-up. |
|
Down air attack |
13 |
Tip causes meteor smash. |
Neutral Air Attack
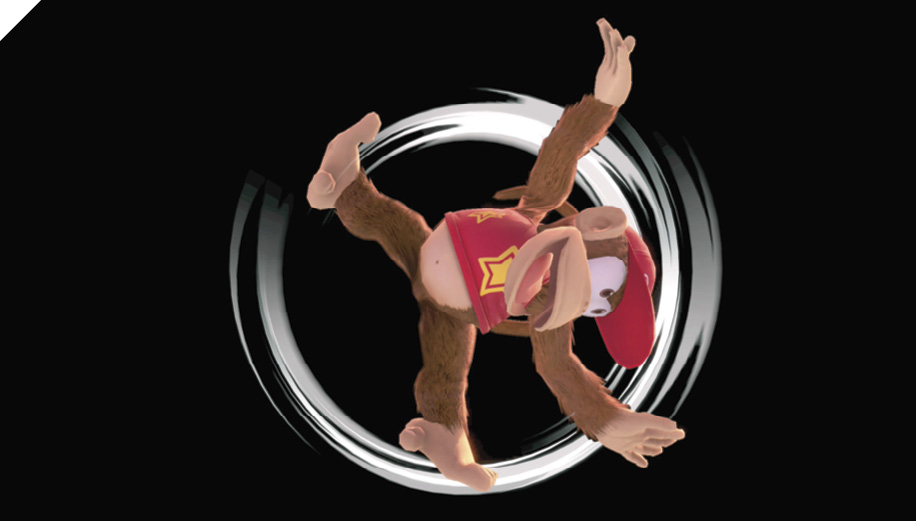
While soaring through the air, Diddy Kong performs an aerial cartwheel, with each one of his four limbs striking foes as he spins. If you hit a grounded opponent with neutral air attack, they’re popped into the air enough for a potential follow-up combo.
Diddy Kong’s cartwheeling neutral air attack remains active for a good amount of time, long enough to hit grounded enemies with a jump, apex-height neutral air attack canceled into fast fall. Its landing lag isn’t too bad either, although if you land in front of a shielding enemy, they can shield-grab you.
The main drawback to neutral air attack is its vulnerability midflight. As Diddy Kong exposes his limbs, they can be beat out with anti-airs and other high-priority attacks.
On a grounded hit against low-percentage foes, you can usually follow up with an up tilt into up air combo.
Forward Air Attack
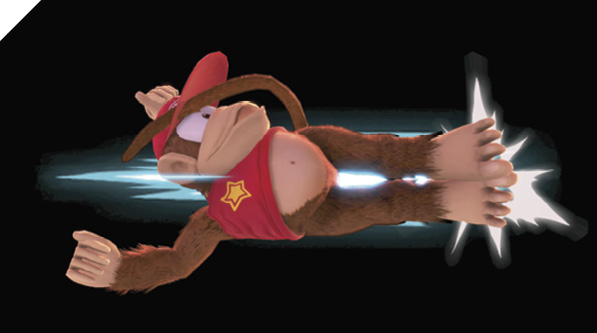
In midair, Diddy Kong extends a high-powered dropkick that knocks away enemies it connects with. Forward air attack is one of your staple aerial attacks. Although it’s a linear attack, it’s highly versatile thanks to its extended hitbox range, as well as its persistence. You can use it as a high-priority air-to-air for offstage knockouts and edge-guarding, or as an air-to-ground maneuver to “wall out” advancing foes.
It has much higher landing lag than neutral air attack, so space it out if you’re using it at low altitudes.
While it has relatively high air lag, you can safely jump forward air and cancel into fast fall to mitigate your vulnerability.
Back Air Attack
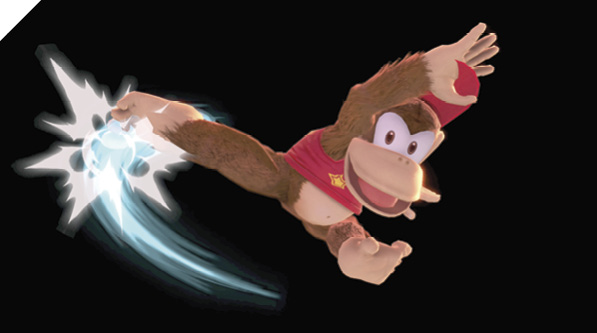
Diddy Kong thrusts his foot out behind him with a fast aerial donkey kick. Back air attack has extremely low air lag and moderately low landing lag and makes Diddy Kong’s edge-guarding game amazingly effective.
While its active window isn’t as pronounced as a forward air attack, its speed and low lag make up for it, allowing you to become actionable after your air-to-air attempts against airborne foes.
Against grounded enemies, you need to time it a bit later than you would forward air, but it hits low enough to be used off a low-altitude hop.
Up Air Attack
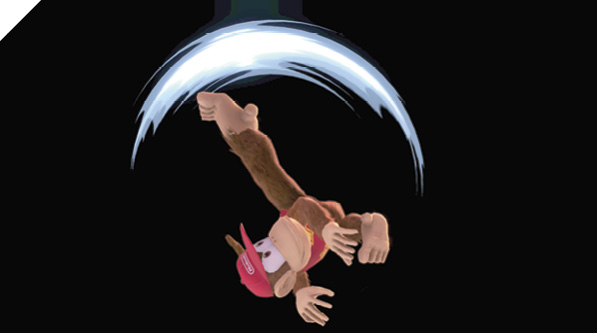
Diddy Kong performs a vertical kick while midair, covering a wide arc above him and knocking up airborne opponents for a potential follow-up. The tail end of the attack can hit foes behind Diddy Kong and has a hitbox low enough to hit most grounded fighters.
This is your primary juggling tool. The tip of the attack (Diddy Kong’s foot) doesn’t extend a hurtbox, so it can beat out weak down air attacks.
It has decently low air lag, so you can go for multiple up air attacks in a single hop, or jump up air into double jump up air (useful for extending guaranteed combos).
If you cross over a grounded foe, you can hit them with the tail end of up air if you time it to come out at low altitude. On hit, you can almost always follow up with a chasing forward air attack.
Down Air Attack
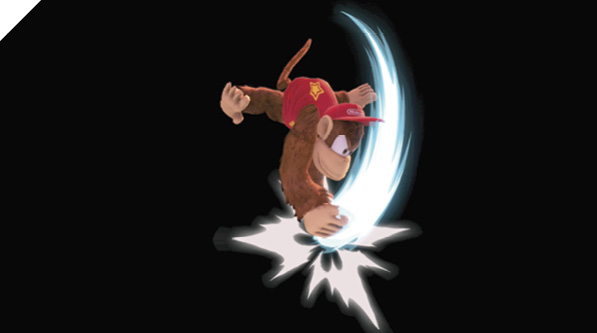
Diddy Kong comes down on the enemy with a heavy double-fisted hammerblow, potentially dunking airborne foes and causing them to plummet offstage. While down air attack doesn’t have many practical uses, it’s your main meteor smash attack for spiking foes recovering near the ledge. If you happen to smash a grounded foe with it, you can usually follow up with an up air attack combo.
It’s primarily used either to spike a recovering target’s fingers just as they try to grab a ledge for safety, or to punish certain gap-closing, air-recovery moves aimed toward the ledge.
Its air lag is low enough for you to jump offstage and attempt a dunk, then double-jump back onstage.
Special Moves
Specials
| Move | Damage | Note |
|---|---|---|
|
Neutral special |
Peanut: 2 + (1.4 to 13), Backfire: 23 |
|
|
Side special |
Kick: 10 to 14, Grab attack: 1xN, Grab leap: 8, Grab slash: 10 |
Grab-escapable. |
|
Up special |
Midflight: 10, Explosion: 18 |
Can alter flight trajectory. |
|
Down special |
Airborne: 4-5 |
Banana damage varies with velocity. Causes forced tech get-up. |
Neutral Special: Peanut Popgun
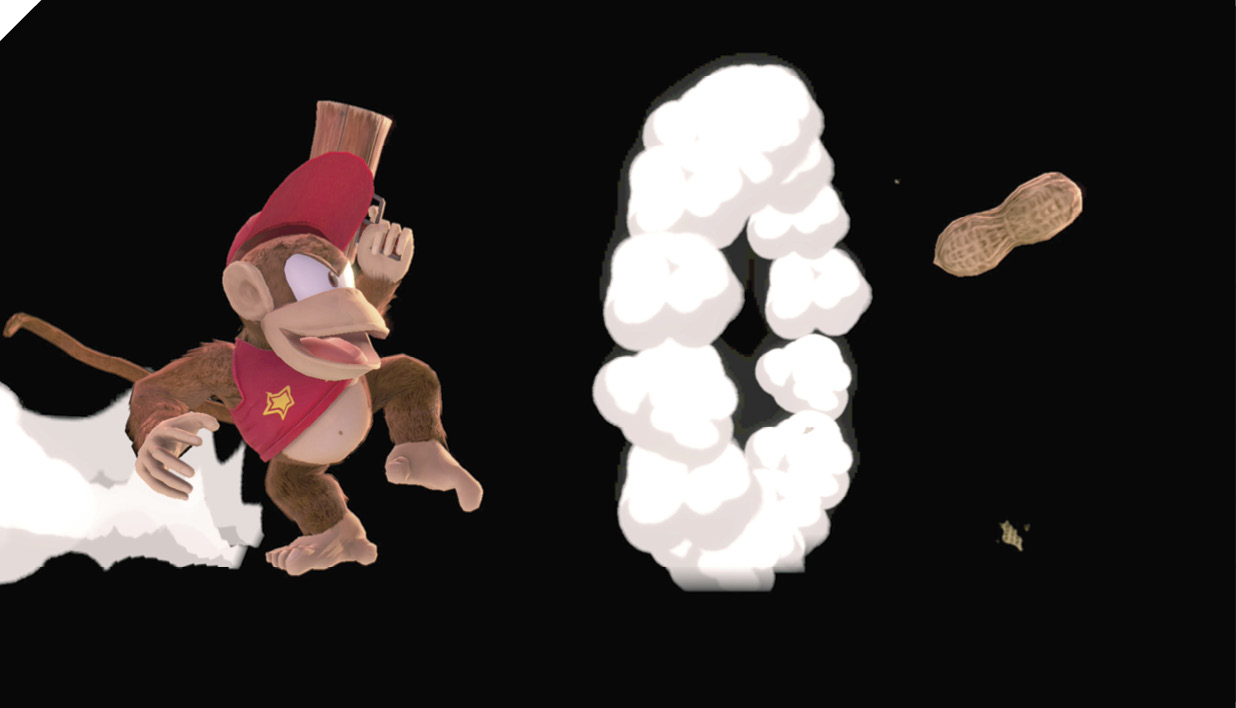
Diddy Kong draws his wooden firearm, the Peanut Popgun and fires a giant peanut at the enemy. Charging increases velocity (peanut damage is heavily influenced by velocity); since peanuts are greatly affected by gravity, the gun’s launching power dramatically extends its travel distance.
While low-powered peanut shots deal meager damage, they can be used to harass foes at a distance. Popgun is best used if you’re in a strong advantage state or if you’re winning by a large margin. Otherwise, it can cause you to lose ground since committing to firing your gun can leave you open to attacks or allow your opponents time to mount an offense.
You can cancel the charge by Shielding, but only during the early part of the move. However, your committed in the later part, which can leave you vulnerable.
Charging up your Peanut Popgun to its maximum overheats it, causing a close-range high-damage explosion (only damaging the opponent, even though it looks like it damages Diddy). You generally won’t hit smart players with this blast.
Side Special: Monkey Flip
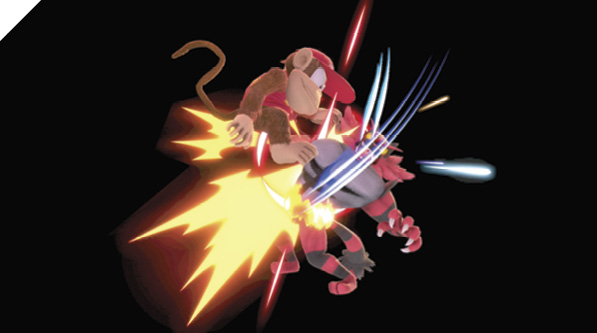
Diddy Kong leaps forward with a gap-closing jump, mounting the first enemy he makes contact with. He begins clawing at his ensnared victim as soon as he mounts them. From here, he can follow up with a springboarding stomp attack or a slash attack that sends the enemy flying away. Monkey Flip can be canceled with a flying kick attack immediately upon leading into the air. During the ascent of Monkey Flip’s jump, Diddy grabs standing and jumping foes, but also grabs foes low to the ground as he descends.
The kick attack follow-up can pass through foes, making it difficult to punish when shielded. If you hit with the tail end of the kick, it’s almost impossible to punish with an out-of-shield attack (although it’s likely to be shield-grabbed in this situation).
Monkey Flip is a powerful move. It forces the enemy into 50/50 situations whenever you’re in range to grab them. It’s essentially a forward-launching, gap-closing, persistent, unshieldable command throw that can be canceled into a flying kick attack.
Its weakness is in its end lag. Opponents expecting it can jump over your lunge and punish you if you’re too predictable with it. Mix up your approach with forward air and down tilt, then when your opponent isn’t expecting it, go for Monkey Flip.
Up Special: Rocketbarrel Boost
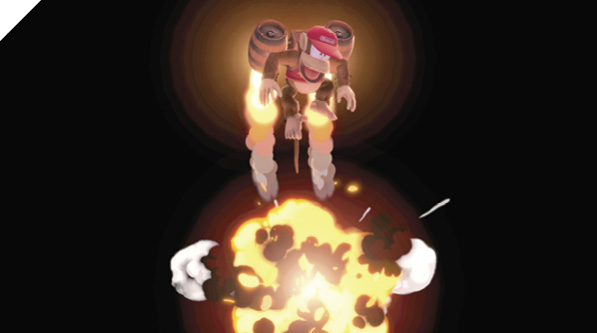
Diddy dons a jetpack consisting of two fuel-filled barrels that launch him soaring through the air, wildly. Diddy Kong’s trajectory is heavily influenced by control input. If Diddy launches headfirst onto a stage or platform, the barrels explode upon impact, blasting away nearby foes. This can potentially be used to attack edge-guarding foes if they don’t react properly. If it’s shielded, it can be heavily punished since Diddy is left flopping around from the impact.
Rocketbarrel Boost leaves you in a helpless falling state if it ends while you’re airborne, and if Diddy is hit midflight, the barrels are knocked off him and fly off on their own while Diddy falls.
Up special is one of two aerial-recovery moves you can use to get back onto a stage. You can use its modifiable trajectory to manipulate your pathing, so it can be rather unpredictable for your opponents to punish. With experience, you can control the rocketbarrel arc to evade enemy attacks while safely grabbing a ledge.
Down Special: Banana Peel
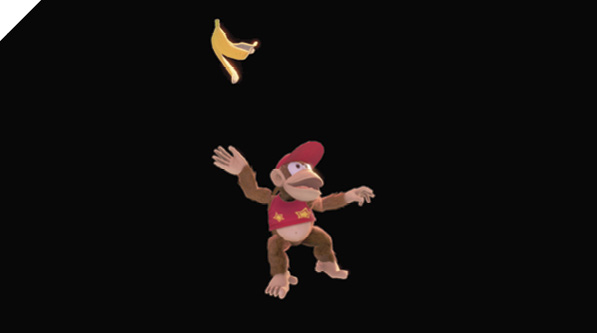
Diddy Kong cavalierly throws a Banana Peel behind him. Enemies struck by it or stepping on it slip and fall, leaving them exposed to attacks. Tripped-up foes eventually recover into a tech get-up state if they aren’t attacked (while standing, they’re briefly intangible, but can be hit afterward).
Banana Peels are interactable items anyone can pick up. Banana Peel can’t trip up Diddy Kong until an enemy picks it up. Once an enemy grabs the peel, it becomes dangerous to Diddy, even if it’s sitting on the ground.
Banana Peel is a central tool in your arsenal, and as such, much of your gameplay should revolve around it. It may seem harmless, but its on-screen presence makes it a persistent threat since foes caught by it are left stunned, allowing you to score big damage.
It’s not just the slip-and-fall effect that makes it dangerous, but since it’s an interactable item, it gives Diddy a high-advantage projectile throw that he can use to mount “free” offense. In other words, if he’s holding a Banana Peel, he can throw out a low-lag, unpunishable projectile that either hits or forces the enemy to move or put up their shield.
Mastering the art of the Banana Peel is crucial to playing Diddy Kong at a high level, which means you also have to learn how to generate space to pull out Banana Peels (the move has a considerable start-up time). Generally, you want to toss out peels after launch-away effects, such as off a front throw, back throw, and forward air attacks.
Banana Peel is an incredible edge-guarding tool. If you throw an enemy off a ledge, your best follow-up is usually to set up a Banana Peel near the ledge. Alternatively, you can toss one up and catch it with your Grab button in midair, then save it, threatening the enemy with a quick projectile.
Like most items, you can throw picked-up Banana Peels in any direction. To efficiently pick them up (without committing to an attack animation), use the Attack button while grounded. While airborne, use the Grab button. To seamlessly hop into a Banana Peel pickup, input Jump into immediate air grab, which allows you to hop and pick up the item without extending an aerial attack.
Final Smash: Hyper Rocketbarrel
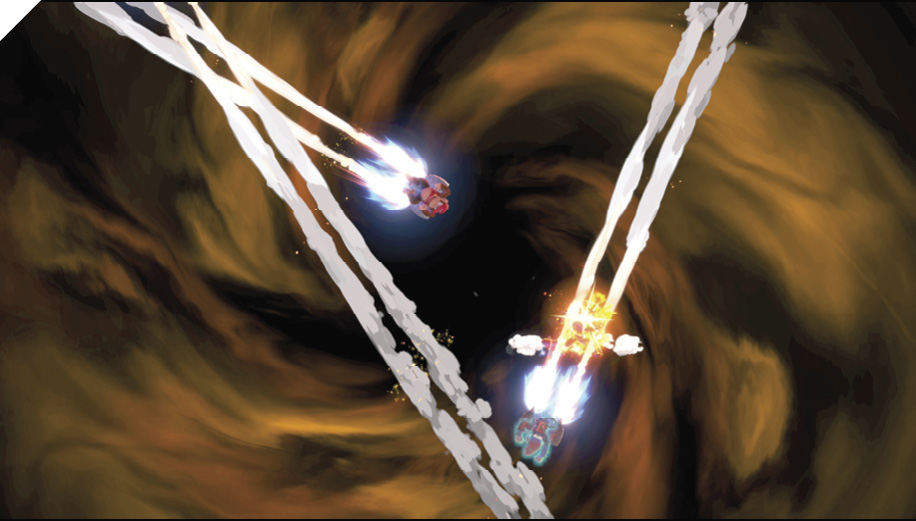
Diddy Kong multiplies himself and flies around the stage. He sometimes targets an opponent and charges at them. At the end of the attack, Diddy Kong charges at the opponent he’s damaged most to launch them.