
Super Smash Bros. Ultimate Guide King K. Rool
Brawler Arsenal
Grounded Attacks
Neutral Attacks
Neutral Attacks
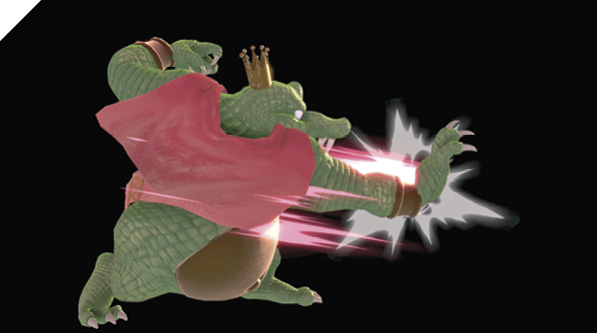
The Kremling king has decent speed for his neutral attack combo, especially considering its damage, and his burliness elsewhere. You can’t call it a fast opening jab, but it could be worse. He starts with a short-range palm strike, follows with a farther-reaching claw swipe, and finishes with a hefty kick to knock defenders away. Since King K. Rool’s up special doesn’t work as a quick, strong reversal, you’ll likely rely on neutral attacks more than usual when dropping shield to counterattack.
Dash Attack
| Move | Damage | Note |
|---|---|---|
|
15 |
Belly super armor. |
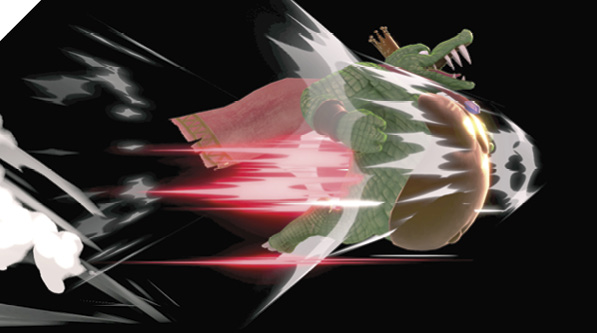
The king rushes forward with his belly out, dealing anyone in the way a heavy hit. The initial belly jut does more damage, but the flop after can hit as well. His belly has super armor during both parts of the attack. Afterward, K. Rool has quite a bit of lag getting up, so be careful using this.
Defensive Attacks
Tilts
| Move | Damage | Note |
|---|---|---|
|
Side tilt |
13 |
Belly super armor. Can be aimed up or down slightly. |
|
Up tilt |
11.5 |
Arm intangible. |
|
Down tilt |
13 |
Plants foes up close. Launches foes from max range. |
Side Tilt
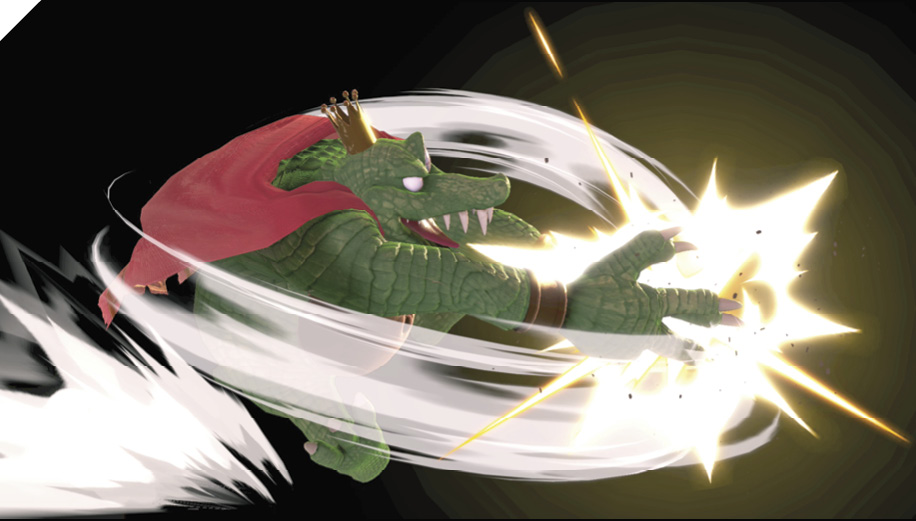
The king reaches way back with both hands, belly out. During this windup, the belly has super armor, dampening the blow of anything it blocks. Then K. Rool slaps his hands together for the attack. Damage is highest where the hands clap; closer in, it’s a little lower. The clap can be aimed a bit diagonally up or down with a slightly off-center side tilt input. The speed for a single-sided poke attack is sluggish, but the armored belly at the beginning helps it plow through many things.
Up Tilt
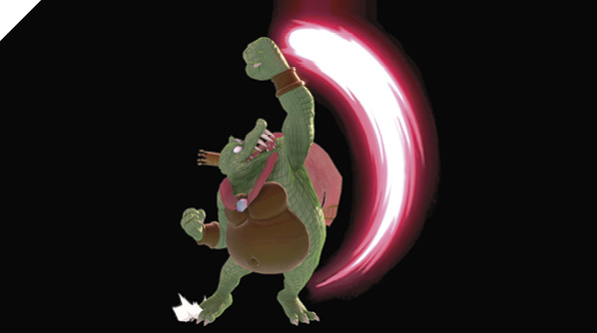
While most of King K. Rool’s moves are somewhat slow, up tilt joins his neutral attack as surprisingly quick. It starts out punching directly in front of the king before proceeding into a hopping uppercut straight up. It doesn’t cover all upward angles, but the close-range and anti-air coverage in front are great. One of King K. Rool’s most reliable staple attacks.
Down Tilt
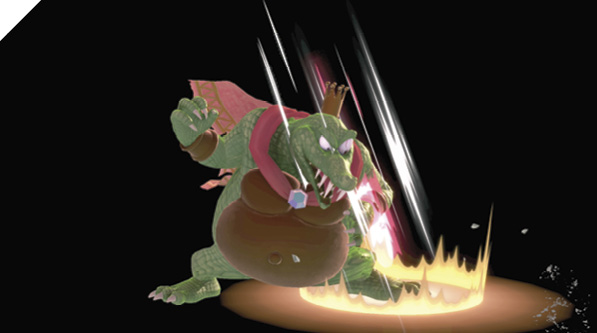
King K. Rool raises a leg and stomps fiercely, slamming a big area in front of him with the impact. This attack has a shockingly big hitbox stretching ahead from his shoulder and foot. It even extends slightly down into the ground, perhaps hitting at the underside of soft platforms as enemies leap up from underneath.
The large hit area is the impact tremor from his foot stomp, which does a little less damage than the foot, while launching victims into the air. If they get hit by the king’s foot, they’ll be planted in the dirt like a rail spike, stuck briefly and totally open to more attacks from K. Rool! It’s his slowest tilt attack, but potentially has the biggest payoff.
Smashes
| Move | Damage | Note |
|---|---|---|
|
19-26.6 |
Can be aimed up or down slightly. |
|
|
Up smash |
15-21 |
Belly super armor. |
|
Down smash |
18-25.2 |
Belly super armor. |
Side Smash
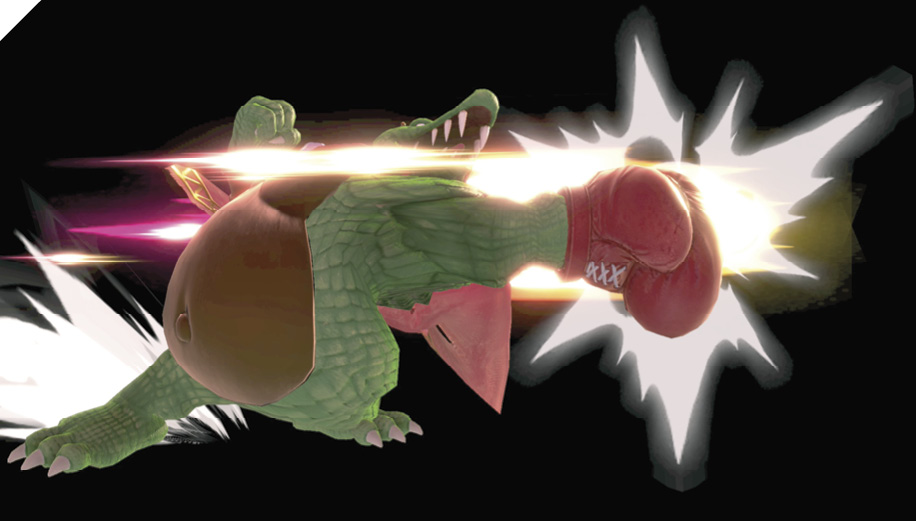
The king must have fearsome physical power to stand as a constant nemesis against the Kong family. Few places is this better demonstrated than the boxing-glove punch deployed during side smash. It’s an extremely strong punch, and can be slightly aimed up or down. On a solid hit, sparring partners are sent into a brief backward tumble. This attack pretty much just has brute force going for it, since it lacks the belly armor or intangibility of many moves.
Up Smash
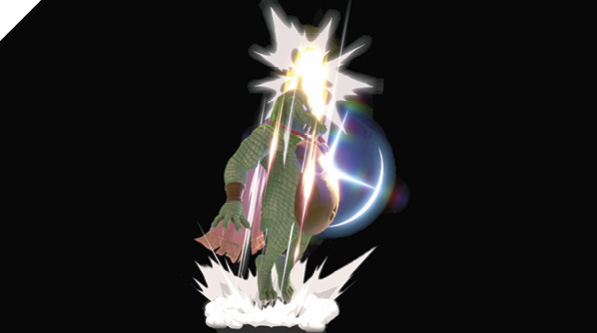
This quirky alligator flop starts out with a headbutt straight up, very fast for a smash attack; only marginally slower than up tilt, if uncharged. This initial hitbox is aimed upward, but the king’s belly is already armored on the way up. After the initial lunge, King K. Rool flops forward, with belly still armored and a small hitbox around his head that can drag down close-range airborne foes. Upon belly-flop landing, there’s another hit from the impact. This means up smash has a serious lateral hitbox, but it’s late in the move. Beware missing with this attack, since there’s serious lag after the belly flop.
Down Smash
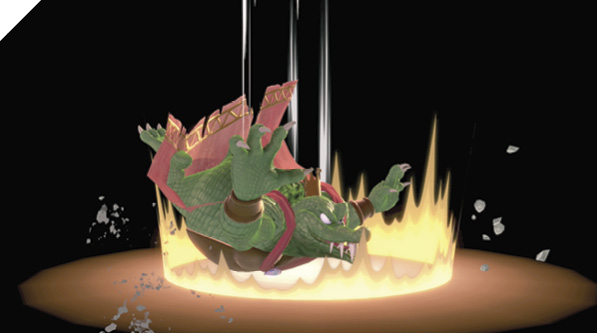
Down smash is almost a built-in smash version of a short hop attack. King K. Rool springs up with a short jump and splays his limbs, preparing to fall with all his weight. His belly is armored on the way down, though it’s not an active attack until he lands. The initial, most damaging hitbox surrounds the king, and is shortly followed by a huge (but much weaker) impact area that can clear out an entire soft platform.
This belly flop is fairly slow to hit, but the downward-aimed armored belly leads to interesting applications. For example, when standing on a small-to-medium-sized soft platform, with enemies underneath anxious to jump and up air attack into your feet (or whatever they want to do), you can read their intent and down smash to meet them with an armored belly and an extremely generous impact zone.
Grabs
| Move | Damage | Note |
|---|---|---|
|
1.6 |
— |
|
|
Front throw |
10 |
Bounces foe forward off ground. |
|
Back throw |
11 |
Backward throw. |
|
Up throw |
16 |
Puts foe into potential juggle position. |
|
Down throw |
5 |
Plants foe in ground. |
Grabs
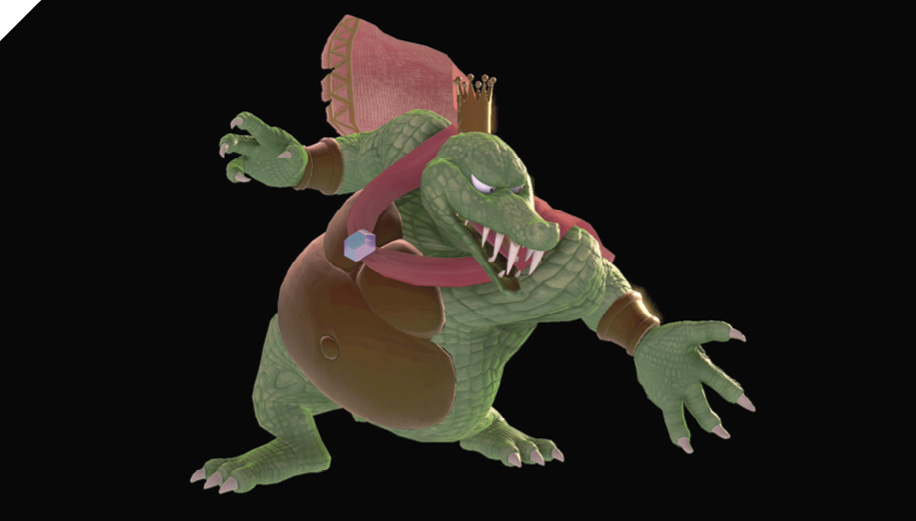
The king’s grab isn’t noteworthy speed-wise, taking twice as long to grab as his neutral attack takes to hit. But he has good potential once someone is in his clutches.
In party battles against several foes, the front throw hits anyone else in front as it bounces the victim off the turf. For raw distance and KO potential at high-damage percentages, back throw is best, as is often the case.
Up and down throw are where it gets interesting. Up throw deals exceptional damage, and virtually guarantees you can juggle with something else right after. Down throw deals underwhelming throw damage, but plants foes in the ground like a close-range down tilt, guaranteeing you can tack on something else that’s juicy.
Aerial Attacks
Aerials
| Move | Damage | Note |
|---|---|---|
|
12 |
Belly super armor. |
|
|
Forward air attack |
14 |
— |
|
Back air attack |
19 |
— |
|
Up air attack |
14 |
Small hop during attack. Head intangible. Belly super armor. |
|
Down air attack |
9 |
Belly super armor. |
Neutral Air Attack
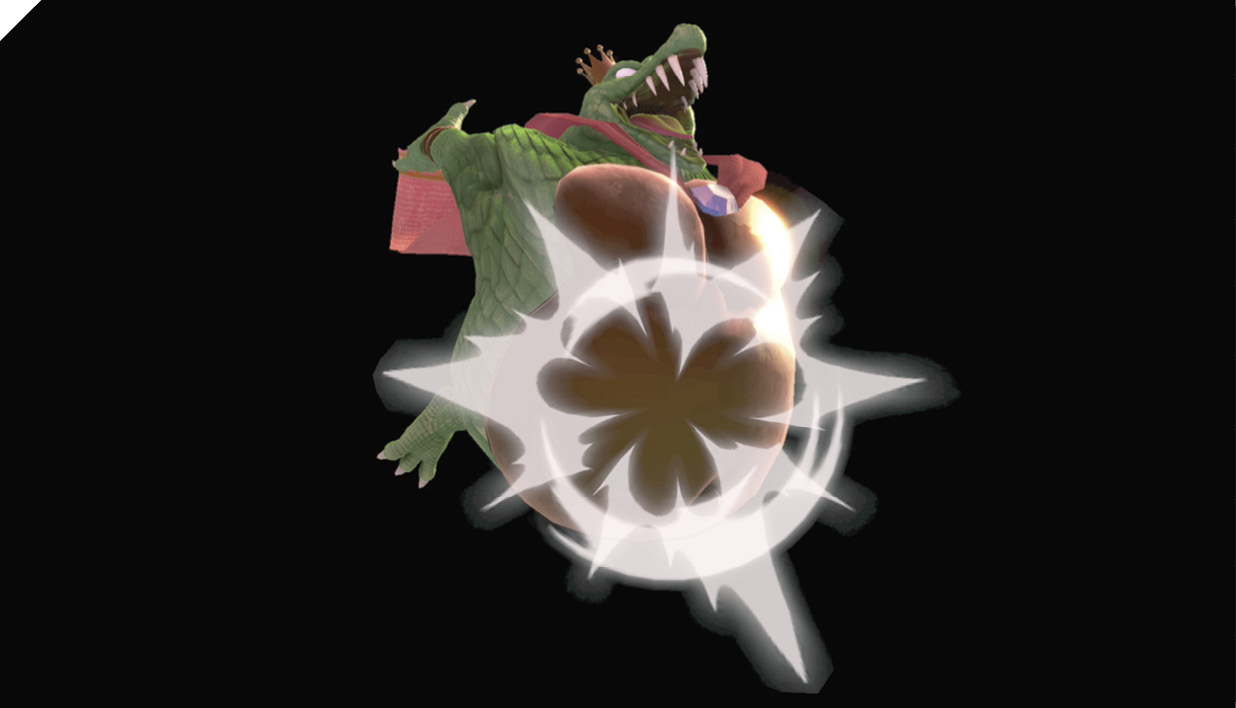
With this useful all-purpose air move, the king juts his swollen belly out as much as possible, like a flying battering ram. The king is basically a big cannonball. It deals the most damage right when it starts, and a bit less after it’s extended for a few frames. As a long-lasting, partially armored attack, it’s good whether going air-to-air or jumping at people on the ground, like while fast-falling. The angle is also decent for attacking out of tumbling states, to out-prioritize enemies trying to (for example) leap up and juggle K. Rool with up airs.
Forward Air Attack
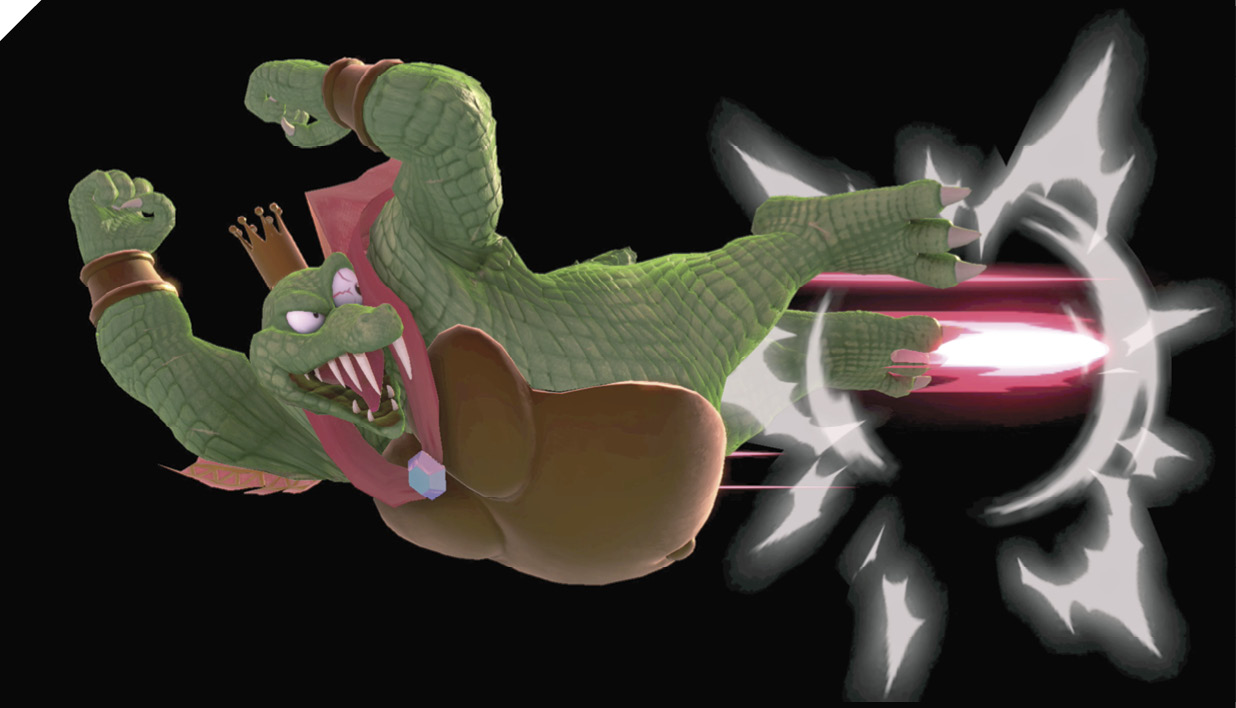
King K. Rool kicks forward with both legs all the way out, adding quite a bit of reach. This might look like a Mario-style dropkick, but it’s way slower and laggier than that. In general, the king’s air attacks take a lot more aerial commitment, so he can’t jump and double-jump while jutting out a dropkick-like move three or four times to control space and threaten.
Back Air Attack
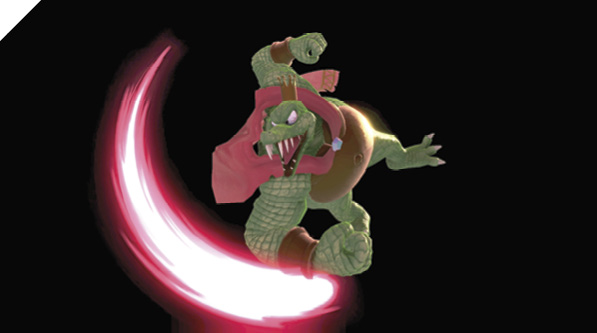
The king swings with a mighty hook overhead, dealing heavy damage and knockback on direct fist hits, and can even meteor opponents. The hit area begins aimed 45 degrees up-forward and curves to 45 degrees down-forward. Straight up and down aren’t covered, but the coverage and damage are great in a small wedge just behind.
Slow to hit but beefy, back air attack isn’t well-suited to reactionary use against nimble aerial attacks coming up from behind. (On the other hand, it’s great for short-hopping backward at defensive grounded enemies.) Like with up tilt and up smash, K. Rool lacks coverage to his back in many situations. Part of using him involves being aware of who’s sneaking around behind, and avoiding getting forced into jousting with your back to them.
Up Air Attack
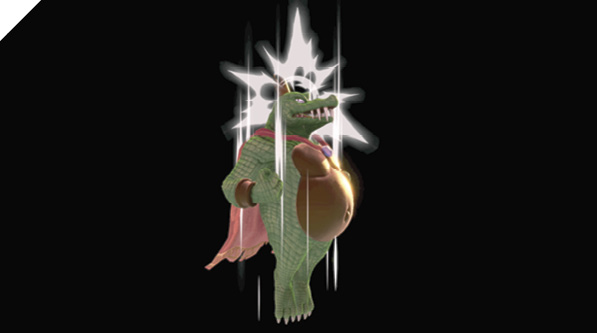
One of K. Rool’s fastest air attacks (tied with neutral air attack) features him in another upward dive, headbutting straight up like up smash. Like with up smash, the king’s belly is armored, blocking threats in front. Using this attack gives a little upward lift, almost like a triple jump. The lag after this move is lengthy, lasting most or all of the way back to the ground, so it can’t be used frivolously.
Down Air Attack
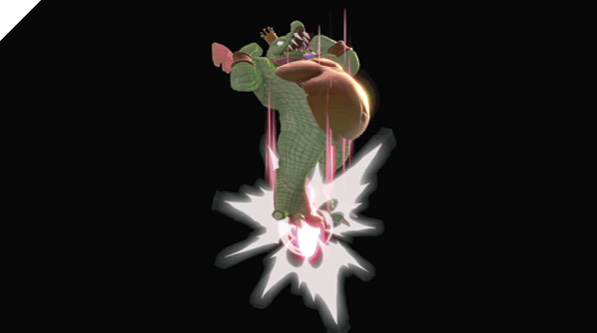
King K. Rool kicks straight down, again with an armored belly protecting his front side. This has the expected use of aiming at adversaries just below, though with a sluggish start and brief kicking period it can be hard to aim. It works well in manual short hops, performing the kick a bit later than with a built-in short hop’s timing. As a bonus, the belly is well-aimed to protect the king when short-hopping. Like Back Air, it can meteor opponents.
Special Moves
Specials
| Move | Damage | Note |
|---|---|---|
|
Neutral special |
13 |
|
|
Side special |
8 on throw, 6 on return |
Must be caught or picked up before reuse. |
|
Up special |
3x6 |
Can be steered left or right. Lag until landing. |
|
Down special |
Incoming attack x1.5 |
Body intangible. Belly invincible. |
Neutral Special: Blunderbuss
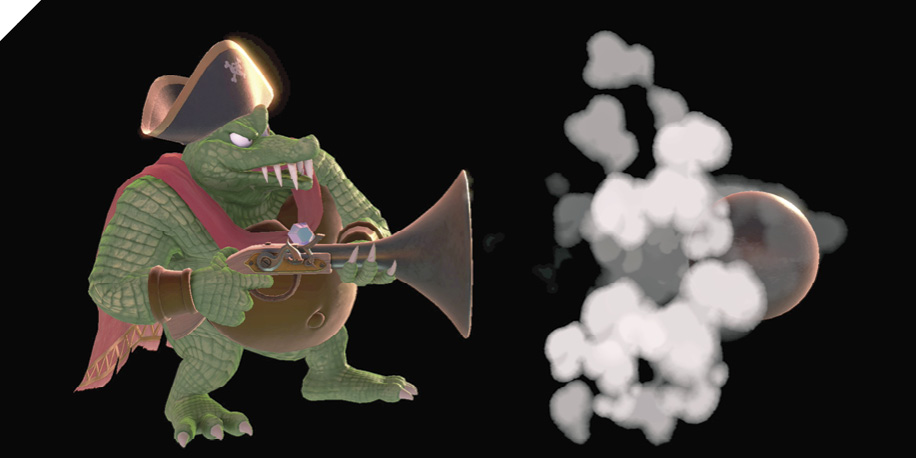
The Kremling king gets fully into character for this move, slapping on a pirate’s hat as he launches a cannonball from an all-purpose, old-school scattergun. Depending on how you use this special, it can work like several different specials.
With space between you and enemies, you can treat Blunderbuss shots as strong projectiles. Cannonballs hit hard, and after they bounce off a foe, they can hit other targets on the rebound for less damage. Fired cannonballs persist for a second after rebounding and coming to a rest, then disappear. Only one can be on-screen at a time, so after you send a cannonball the enemy’s way, follow it up with Crownerang to fill extra airspace, or shift gears and chase the cannonball in.
When using cannonballs near enemies, the Blunderbuss’s secondary function comes into play. When a cannonball is already on-screen, holding neutral special engages the scattergun’s amazing suction feature. If the cannonball is close enough after bouncing off a target’s noggin, it’ll get reloaded and fired from the gun! This bonus shot is aimed up-forward by default, but you can manually aim it up-back or straight up. It’s fired faster and more powerfully than the initial shot.
It isn’t just cannonballs that the Blunderbuss launches. With a cannonball already on-screen, use neutral special facing a foe. If you’re close enough, they’ll be sucked in, and you can quickly chose which direction to launch them! Enemies sucked in and launched take a base amount of 12 damage; if an enemy is fired into another enemy, the new victim takes 18 base damage. This is kind of like Kirby, if Kirby used a makeshift shotgun. Whenever a cannonball is already in play, neutral special essentially becomes a special-move throw with scary reach, available ground or air.
Finally, as a neutral special projectile/suction attack, and with King K. Rool having poor coverage to his back on short notice, this is a prime move for the side-switching trick when starting most specials. Tap the Special button, then instantly tap the control stick toward K. Rool’s back. For most specials, unless this trick just doesn’t work, the grace period is three frames.
Side Special: Crownerang
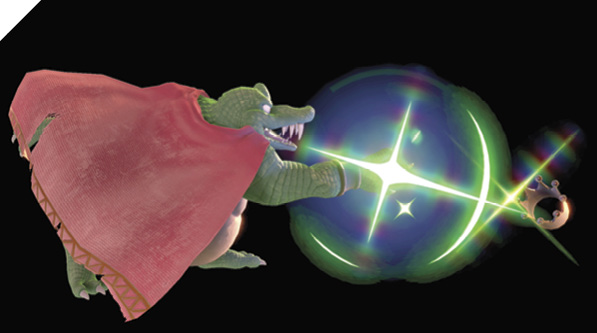
Give the king’s head a rest and fling the Kremling crown forward with a side special input. The crown returns after traveling about two-thirds the length of a cannonball’s path. It deals more damage on the outgoing trip and a bit less on the way back. It’s a threat the whole way, plowing through several fighters if they’re in the path.
When it comes close enough to the king on the way back, he automatically puts it back on. If you’re not doing anything, this animation occupies the king for a second in a crown-catching lag. Avoid this by doing basically anything just as he’s about to catch the crown—for example, a neutral attack or sidestep dodge skips the crown-catching animation.
If King K. Rool can’t make the rendezvous with the flying crown for some reason, it continues on its path until it lands on the ground. To throw it again, he has to go get it. If the crown sails into a pit, it reappears several seconds later at King K. Rool’s feet, but he has to go without it until it does.
A projectile that stays on-screen for a while and reverses directions always enables creative uses. You can simply throw it straight toward enemies, using it as a supplement to Blunderbuss cannonballs; these powerful ranged features are some of what separates King K. Rool from other heavyweights, after all. Closer in—within the range of the Crownerang’s flight path—it can be treated as a bullying cut-through move just outside melee ranges, temporarily asserting control of horizontal real estate.
There are craftier applications too. Offensively, you can jump and throw it past enemies over their heads, then go in for attacks knowing the crown will cover you on the return path, maybe even scoring a combo. Defensively, the crown can almost be treated like the lateral version of throwing an item straight up in the air so that it functions as both a shield and attack when it falls back down. Throw the crown away from enemies, then jump over its return flight.
Up Special: Propellerpack
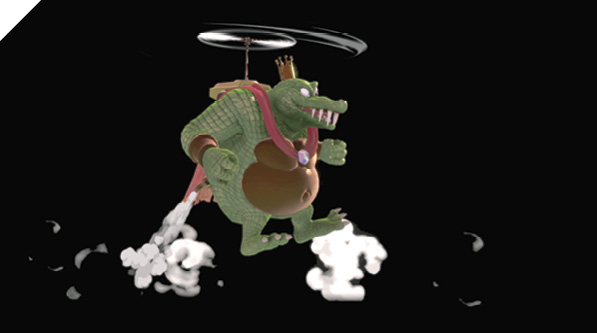
The king uses his gizmo expertise to zoom upward quickly with a one-reptile helicopter. The vertical travel is incredible, and the king can be steered left and right during ascent and descent. He drifts downward gently afterward unless you tap down to fast-fall. Propellerpack is tailor-made for rapidly climbing a multitiered stage or recovering from getting tossed out over thin air. It’s more awkward when it comes to attack use. Unlike most up specials, this doesn’t work as a close-range attack or reversal, because the hitbox is just around the little propeller above the king’s pack. It can work well as a multi-hit juggle move against someone who’s already at decent height, but it won’t put them there. When using Propellerpack as a combo extender, be sure to steer into foes to maximize potential hits.
Down Special: Gut Check
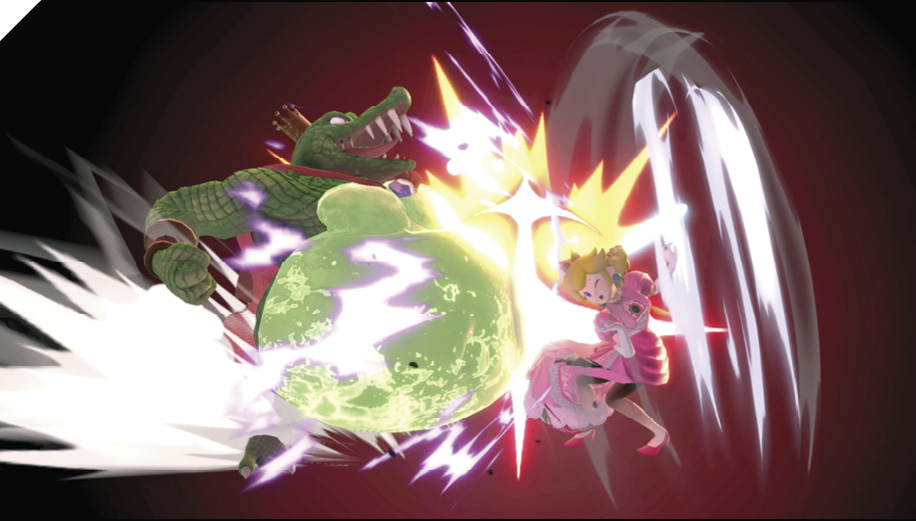
Of all the moves King K. Rool augments with his impenetrable belly, this is the most potent. Input down special to make the king enter a belly-jutting pose. Only the first few frames of this pose are vulnerable, then the king goes briefly fully intangible as his belly flashes and becomes invulnerable. Anything that hits the belly during this invulnerable period is reflected with its damage amped up! Enemy projectiles are sent back both faster and more damaging. If an opponent physically attacks the invulnerable belly during Gut Check, they’ll eat about 1.5 times their attack’s base damage. After countering an attack, quickly flick the left control stick to the opposite direction the King is facing and he turns around and releases his counter attack in the new direction.
This is risky but rewarding, with the intangibility not instant, but quick enough to squeeze out in tight spots. At the very least, keep it in mind for converting hostile shots to your side. (Also, go up against a friend in a King K. Rool mirror match and see how many times you can Gut Check a Blunderbuss cannonball between the two of you.)
Final Smash: Blast-O-Matic
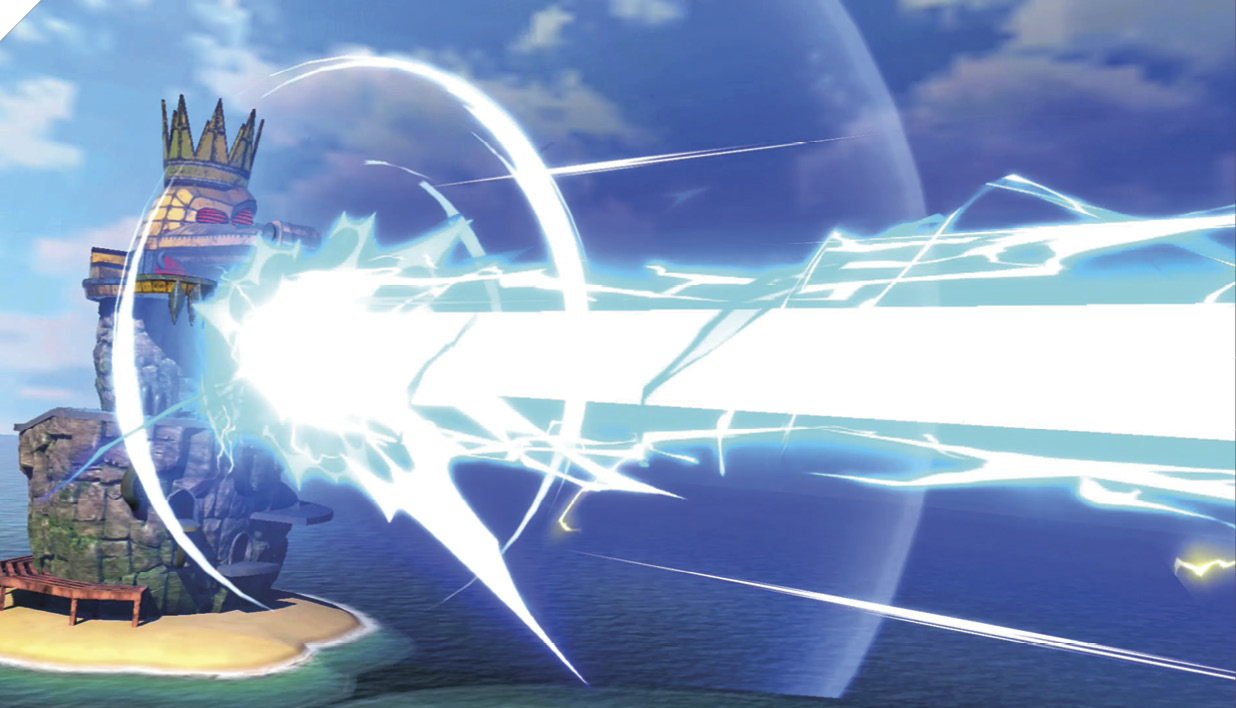
Smack down a Smash Ball and gather the energy inside for access to the king’s most powerful attack. On activation, K. Rool lunges straight ahead laterally about a cannonball’s travel distance, marking anyone struck along that path. They eat some collateral damage from the enmity displaced by K. Rool toward the Kongs in the ensuing cinematic.