
Super Smash Bros. Ultimate Guide Sonic
Brawler Arsenal
Grounded Attacks
Neutral Attacks
Neutral Attacks
| Move | Damage | Note |
|---|---|---|
|
Neutral attack 1 |
2 |
Hold to loop jabs on whiff. |
|
Neutral attack 2 |
1.5 |
— |
|
Neutral attack 3 |
4 |
Knocks away. |
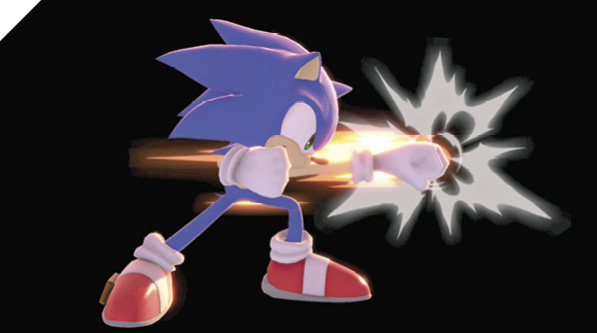
Sonic performs a quick one-two punch sequence, followed by a thrusting side kick that launches enemies away. Sonic’s jab combo is generally best used interchangeably with side tilt and down tilt to defend against aggressive foes. If you hit with a full jab combo, you can mix up your opponent with a follow-up Spin Dash, Spin Charge, or dashing grab.
Dash Attack
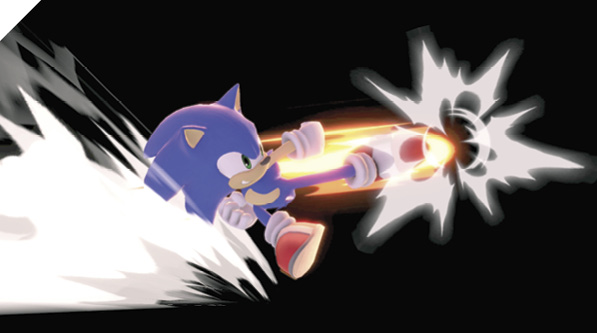
While running at supersonic speed, Sonic drives his momentum into the enemy with a high-powered flying kick. Like most dash attacks, Sonic’s leaves him exposed if it’s shielded, making it punishable. This vulnerability can be mitigated if you pass through the enemy, although it requires executing the dash attack within point-blank range, which in itself makes it risky.
If you hit with the tail end of the persistent hit effect, you can follow up with a dashing jump forward air attack combo, although the timing can be strict. Dash attack can be used to punish whiffed attacks from midrange or to chase down retreating airborne opponents.
Defensive Attacks
Tilts
| Move | Damage | Note |
|---|---|---|
|
Side tilt |
4, 7 |
Knocks up and away. Can be angled up or down. |
|
Up tilt |
2, 6 |
Launches up and away at slight angle for potential follow-up. |
|
Down tilt |
6 |
Knocks up and away at slight angle for potential follow-up. |
Side Tilt
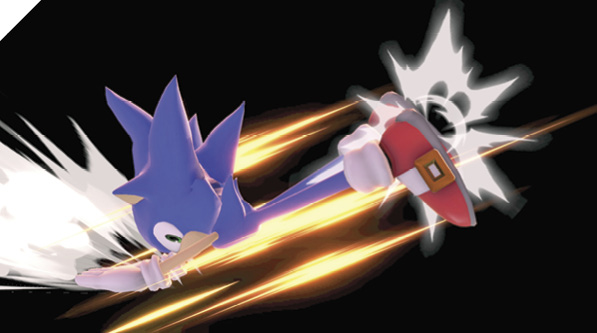
Sonic stands on his hands and extends a horizontal double-heel kick in front of him that hits twice, with the second hit launching foes away. Side tilt is a solid defensive option for punishing attacks outside your neutral attack range. During the attack, Sonic shrinks his hurtbox size, mitigating his vulnerability while extending a pronounced hitbox of his own. It’s relatively unsafe when shielded, so it’s best used from a distance or as a turnaround attack against a pursuer.
Side tilt makes for a great edge-guarding attack. You can react to certain ledge-recovery options with side tilt to punish foes for rolling into you or ledge-jumping.
Up Tilt
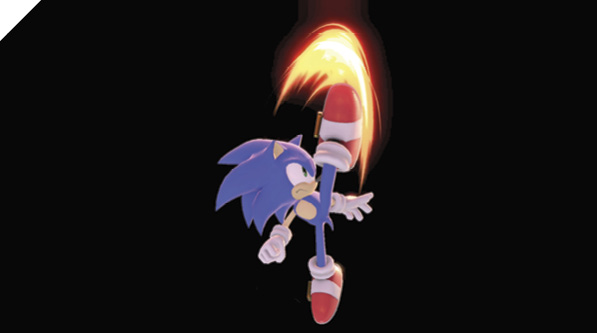
Sonic performs a two-hit spinning roundhouse combo, similar to Captain Falcon’s up smash, that launches the opponent up into the air for a potential follow-up juggle. Up tilt should only be used to pressure enemies standing on a platform above you or as an anti-air against descending enemies. It’s highly punishable when shielded and leaves you exposed for a long time if you whiff it.
Down Tilt
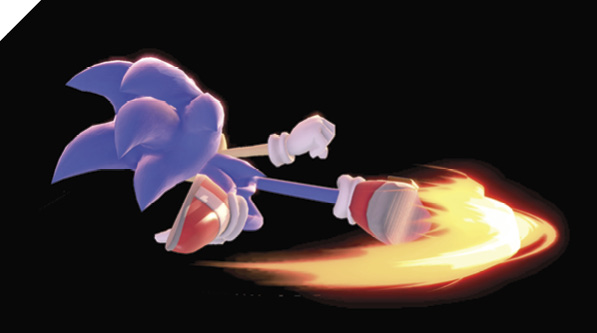
Sonic delivers a crouching leg sweep that knocks enemies up into the air. At very low percentages (0-10%), you can combo down tilt into an up-angled side tilt. Against most fighters around 30%, you can follow up with either a dash attack (into a juggle mix-up) or a short hop forward air attack.
Down tilt is a great poking tool that’s relatively safe when shielded, especially if it’s spaced at maximum range. It can also be used to punish a recovering opponent’s ledge-grabbing vulnerability window if timed accurately.
Smashes
| Move | Damage | Note |
|---|---|---|
|
14 |
Launches away. Can be angled up or down. |
|
|
Up smash |
5, 1x6, 3 |
Launches up, high launch power. Slight intangibility during rising hit. |
|
Down smash |
12 |
Launches away. Double-sided attack. |
Side Smash
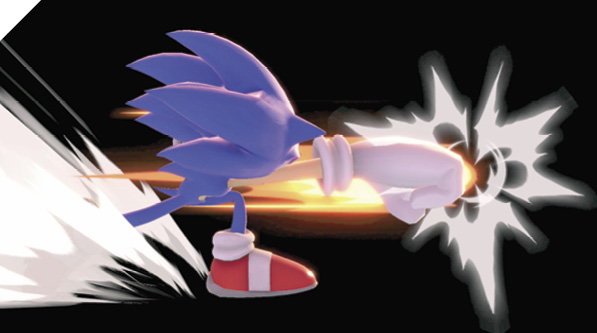
Sonic leans back, winds up his arm, then unleashes a haymaker, driving his enlarged fist through the enemy. While it’s not completely safe when shielded, side smash becomes safer when it’s at least slightly charged up. You can use it as a turnaround attack to punish opponents chasing you.
Down-angled side smash is an incredibly effective ledge-recovery punisher due to its hitbox size and duration.
Up Smash
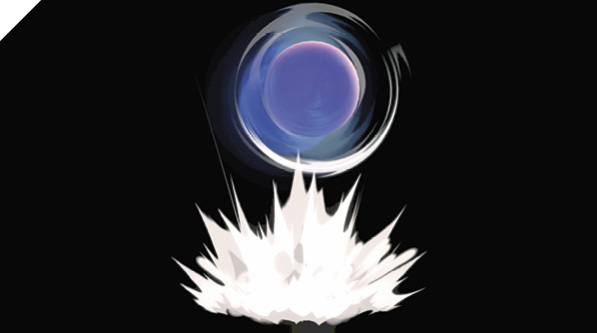
After a brief standing pose, Sonic leaps up into a levitating ball attack. As he leaps, he knocks foes into the air, where he transitions into a five-hit spinning ball combo. The final hit launches foes upward. While up smash starts with some intangibility, it’s punishable when shielded.
Down Smash
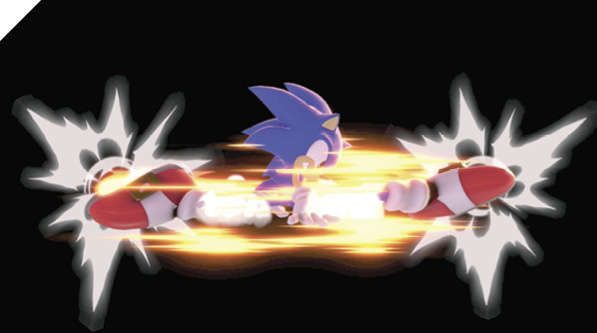
Sonic pounces up, then performs the splits, launching his legs out to his sides, clearing out the area of enemies. Like most clear-out smash attacks, Sonic’s down smash is extremely unsafe to throw out carelessly. It’s best used either to hit a ledge roll or as a counterattack after blocking if your attacker is behind you.
Grabs
| Move | Damage | Note |
|---|---|---|
|
1.3 |
— |
|
|
Front throw |
7 |
Forward throw. |
|
Back throw |
7 |
Backward throw. |
|
Up throw |
6 |
Launches directly above for potential follow-up. |
|
Down throw |
8 |
Knocks away. Forces tech get-up knockdown. |
Grabs
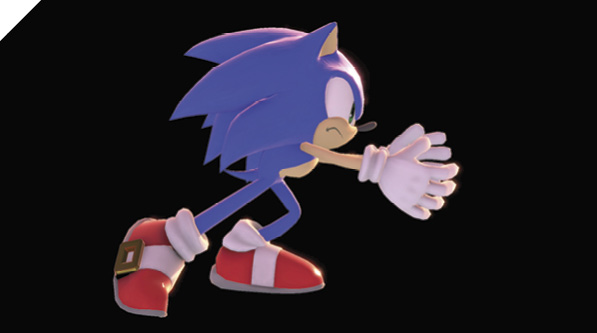
Sonic’s grab reaches as far as his neutral attack. It starts up a tad slower than the fastest grabs, but since he’s the fastest fighter in the game in terms of ground speed, he has little trouble getting into his grab range. His front and back throws are conventional throw attacks designed to KO foes near the side blast zones and to set up an offstage edge-guarding game.
Up throw leads into the most potential damage and a juggle-trapping game as Sonic impales his victim with his spines, launching them directly above him. Depending on enemy damage count, you can chase your opponent’s shuffling with a jump into up air after you spike them with up throw.
Sonic’s down throw is a unique one: he plants the ensnared foe into the ground, then grinds on them while he’s in his ball form. Releasing them forces a tech get-up knockdown situation (the opponent can’t act while airborne, but can tech). Sonic doesn’t recover from his down throw animation early enough to capitalize on the opponent’s tech get-up vulnerability window.
Aerial Attacks
Aerials
| Move | Damage | Note |
|---|---|---|
|
12 |
Knocks up. Damage falls off, dropping to 5 during later hit. |
|
|
Forward air attack |
0.8x5, 3 |
First five hits drag. Last hit launches away. |
|
Back air attack |
14 |
Launches away. Early hit deals more damage. |
|
Up air attack |
3, 8 |
Knocks directly above for potential follow-up. |
|
Down air attack |
8 |
Launches up and away. Early active causes meteor smash and more damage. |
Neutral Air Attack
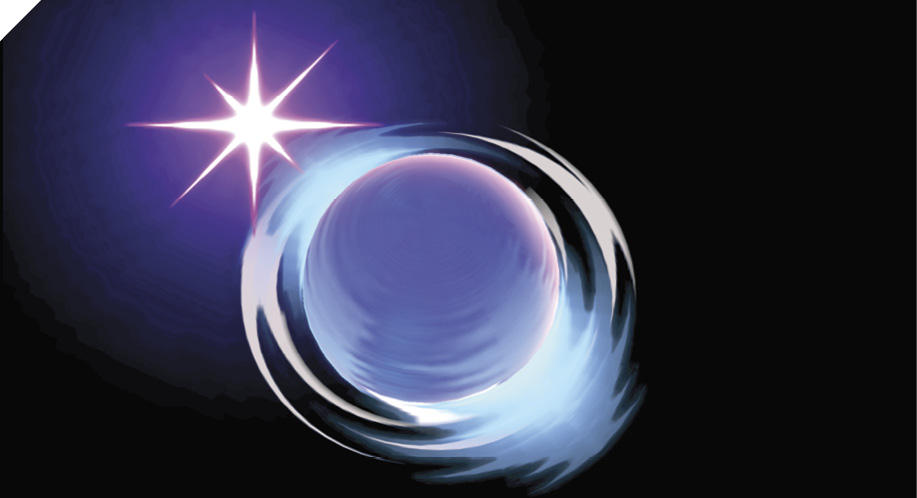
While airborne, Sonic transitions into ball form for a persistent long-lasting spin attack. It deals much more damage the earlier in hits in the attack. This versatile attack boasts relatively low landing lag and an excellent long-lasting hit effect as Sonic soars through the air, spinning and knocking up anyone he touches.
Forward Air Attack
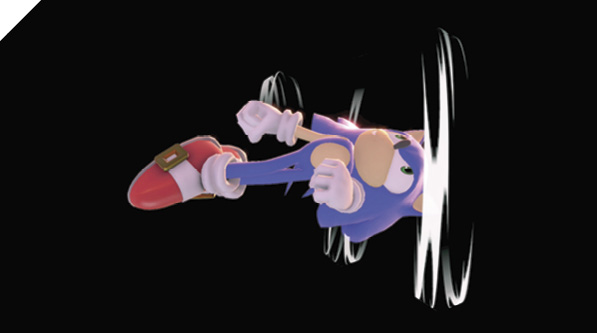
Sonic dives through the air like a spiraling missile, driving his head through the enemy. Forward air attack hits up to six times, with the final hit knocking foes away. Forward air is primarily used in combos after certain launching attacks, such as off of down tilt, down air, or neutral air. It’s punishable when shielded and has significant landing lag, so it should be left out of your air-to-ground neutral game.
Back Air Attack
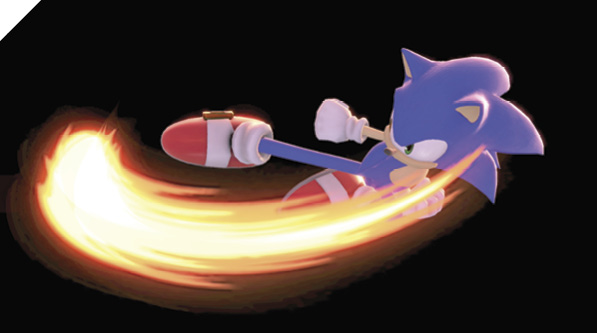
In midair, Sonic thrusts his leg behind him with a forceful rear kick, launching enemies away. While it has a slow start speed, Sonic’s back air attack deals the most damage out of his aerial attacks, making it a superb edge-guarding finisher attack. It has significant air and landing lag, so you can’t throw out two in a single jump, but if you attack with it early enough in a hop, you can finish its animation in time to at least eliminate its landing lag.
You can short-hop back air, then before you hit the ground, double-jump into another back air attack. This sequence can be used to attack short-hop-happy foes as you meet them in the air with your persistent extended kick.
Up Air Attack
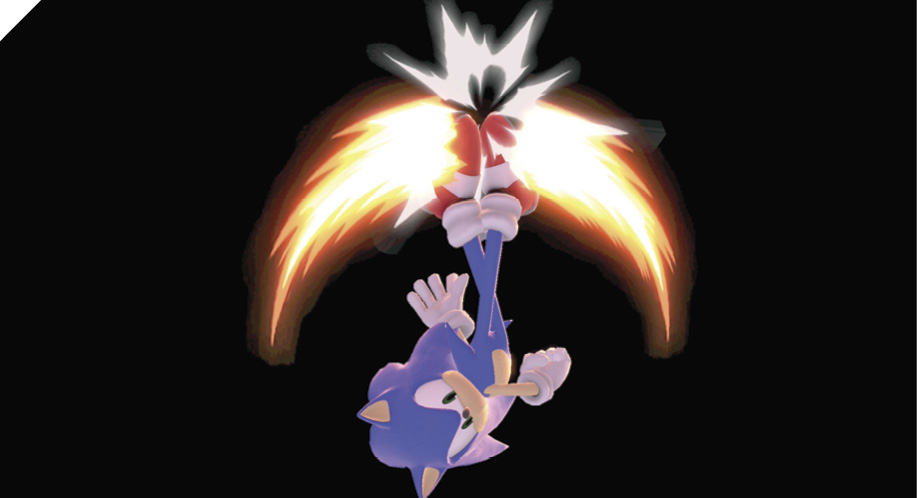
While airborne, Sonic executes a double-sided kick attack by driving his legs to his sides, then claps his legs together for a vertical launching attack that pops enemies upward. Up air attack is your best normal attack. It starts up quickly, hits both sides, and can be used in a vast array of situations.
As an option immediately after dropping shield, it hits both sides and can potentially punish aggressive foes by launching them into a juggle mix-up state.
Short hop up air into fast fall cancel is a remarkably powerful sequence used to deter grounded and short-hopping enemies. Use the Jump+up attack sequence to immediately short-hop up air, then tap down to fast-fall-cancel it for maximum effect.
Offensively, you can use short hop into delayed fast-fall-canceled up air to descend with the second (leg-clap attack portion) to hit on the way down. On hit, it launches the opponent up for a guaranteed combo, and if shielded, it puts foes into a long enough shield-stun to where you’re unpunishable (in fact, you have an advantage, so you can follow up with a jab).
Down Air Attack
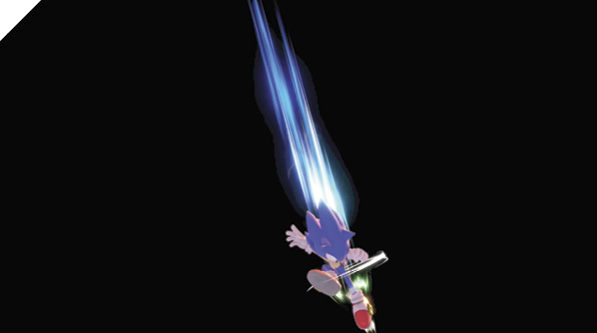
Sonic briefly halts all of his air momentum before barreling down from the sky with a downthrusting dive kick. The kick deals more damage and can dunk enemies early on during Sonic’s descent. The latter portion of the attack knocks foes up and away.
Down air attack can be used to spike enemies off the stage near a ledge, but can be a bit risky, though you can recover with a double jump into Spring Jump after your down air lag ends off-screen. Generally, down air should rarely be used unless you can make a hard read on your opponent’s air recovery.
Special Moves
Specials
| Move | Damage | Note |
|---|---|---|
|
Neutral special |
7 to 20 |
Launches up and away. Charging increases damage. |
|
Side special |
Brief intangibility. Cancelable into air attacks. |
|
|
Up special |
4 (airborne spring) |
Brief intangibility. Spring persists for up to two additional jumps. |
|
Down special |
Hold down direction and mash Special to charge. Damage varies. Attack to hop in place, Special to hop forward. Can drift left/right before hop. |
Neutral Special: Homing Attack
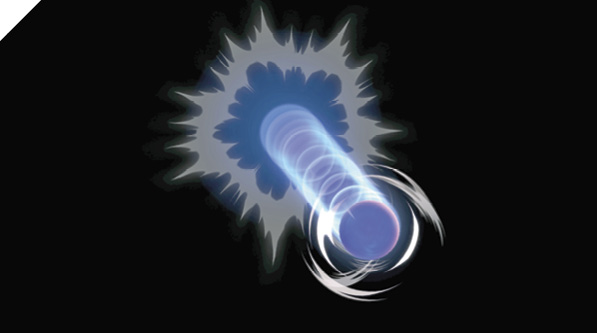
Sonic transitions into ball form, leaps into the air and musters speed and power, then unleashes a homing spin attack at the closest enemy fighter. Press Special once to activate and charge Homing Attack, then press Special again to release it. Charging increases damage and knockback.
Homing Attack has a lock-on and homing effect, but it can risky to throw out haphazardly. You should use it only if you’ve confused your opponent enough with Spin Dash and Spin Charge. If Homing Attack is shielded, you bounce off in a vulnerable state for a while. Homing Attack can completely whiff in certain situations. For instance, if an enemy is intangible during the attack’s lock-on period (right after charge release), Homing Attack launches you down-forward. This can lead to a self-destruct if you’re facing away from the stage!
Side Special: Spin Dash
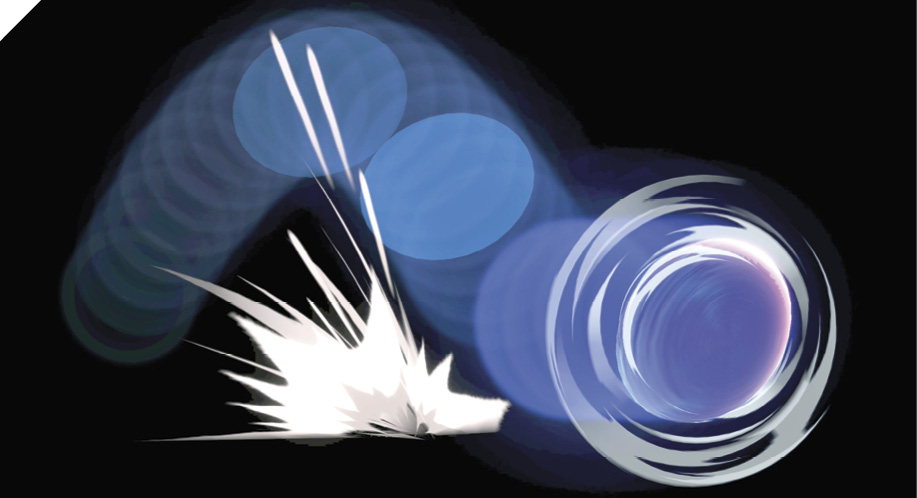
Sonic revs up in ball form and quickly hops forward with a spin attack, landing with a high-velocity spin that he uses to smash into the enemy.
The longer Special is held down, the faster Sonic’s velocity and damage as he spins forward (his max charge speed is indicated by a bright yellow glow). During charge, you can jump to evade certain attacks, such as incoming projectiles.
Once Spin Dash is charged enough to where Sonic is engulfed in a yellow glow, he no longer performs the initial hop. Instead, he rolls forward speedily, smashing into grounded foes unless you manually input an attack to cancel into Spin Dash Roll Attack (a special up-forward angled attack/jump).
While Sonic spins on the ground during Spin Dash, you can turn around up to two times. This can be used to punish shielding enemies. For instance, after you pass through your shielding foe with Spin Dash, they may be eager to drop their shield to punish you. If you turn around mid-roll, you can punish them instead since they’ve dropped their shield. It’s important to note that while Sonic is turning, he doesn’t extend a hitbox for a brief period.
Another way to use Spin Dash safely is by spinning into the shielding opponents, then canceling into Spin Dash Roll Attack and immediately dropping an aerial Spring Jump on them. If timed correctly, you keep the enemy pre-occupied (or even hit them) with your Spring Jump projectile.
From Spin Dash Roll Attack, you can perform any aerial move, including air dodge, special moves, double jump, etc.
Spin Dash has a brief intangibility window during the upward arc of the initial hop. This makes it exceptional against aggressive foes or those who challenge you from the air with an attack.
There are a couple of ways to combo from Spin Dash’s mini hop. After you hit with the mini hop, you can immediately cancel into a double jump, which then can be immediately canceled into neutral or up air (basically, mash on Attack as soon as your mini hop hits). Or you can wait until you land from the mini hop before canceling into Spin Dash Roll Attack.
You can also combo from the grounded spin attack (after the mini hop). After you roll past the enemy, cancel Spin Dash into Spin Dash Roll Attack, and immediately cancel into back air or neutral air attack (depending on enemy positioning).
Since there are so many options and attack sequences you can deploy from Spin Dash, it’s one of the more difficult special moves in the game to master. But that also makes it one of the best.
When used midair, Spin Dash boosts Sonic up a bit with the initial spinning mini hop, and it doesn’t leave you in a helpless falling state, so you can full-hop, Spin Dash, then double-jump-cancel out of your Spin Dash, then Spring Jump from there. If you double-jump, then Spin Dash, you don’t have a double jump to use to cancel out of your Spin Dash, so even though you’re in a Spin Dash animation, you’re essentially helpless if you’re offstage.
Up Special: Spring Jump
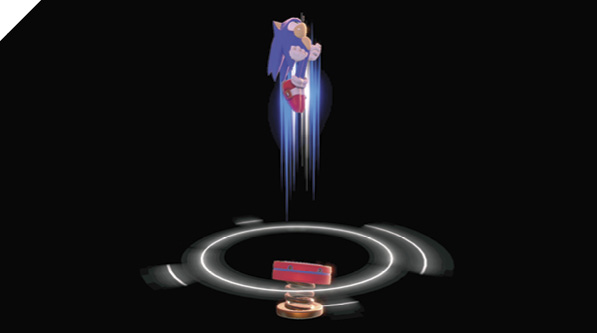
Sonic deploys a reusable red spring beneath him that propels him high into the air. If Sonic deploys the spring while he’s airborne, it drops beneath him, dealing damage to enemies it lands on.
Grounded Spring Jump and air Spring Jump have distinct differences. If you use Spring Jump while grounded, you leave a jump spring that you can continue bouncing off. But like Mega Man’s Rush dog, anyone can use it, including your foes. If you land on a deployed spring, your double jump is restored.
If you deploy the spring while airborne, it becomes a falling projectile instead. Aerial Spring Jump is incredibly useful for throwing out an obstacle for ledge-recovering foes to deal with. While edge-guarding (or during your own recovery), you can drop springs on unsuspecting foes to hinder their recoveries.
You can place a Spring Jump spring beneath a descending foe to launch them into the air, forcing them into a potentially awkward position. For instance, on Battlefield after KO’ing an opponent and they’re returning to the stage, you can plant a spring on the center platform, and as the returning player falls in their normally invulnerable state, they can unintentionally bounce off the spring and into the air.
Sonic is intangible near the beginning of Spring Jump, making it a relatively safe recovery tool.
Down Special: Spin Charge
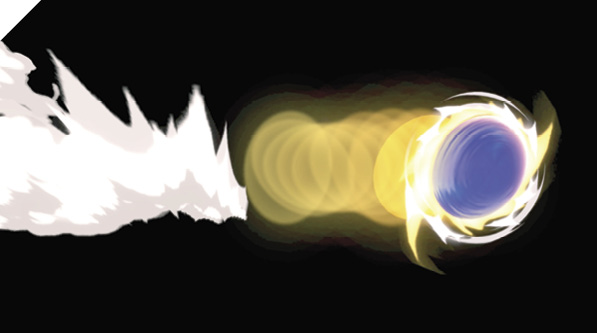
Sonic performs his iconic Spin Charge. After gathering enough power, he bursts forward, plowing through foes. Spin Charge behaves differently from most charge attacks in Super Smash Bros. Ultimate. Sonic’s iconic Spin Charge is executed similarly to how it’s done in the Sonic the Hedgehog games. You have to keep the down direction pressed while mashing the Special button to charge it—the faster your inputs, the faster you charge it up (when Sonic glows yellow, he’s at max). It’s important to note that you can “lose” charge if you slow down your inputs (Sonic’s yellow glow can change back to blue). To optimize your charge time, mash as fast as you can, then release the down direction.
During and after charge release, you control Spin Charge in a variety of ways. You can cancel the charge by pressing the Attack or Jump button, causing Sonic to hop straight up with a low-damage aerial attack/jump (it behaves like a normal hop, cancelable into any of his air moves).
If you release the down direction during charge, Sonic rolls forward until he hits an enemy. You can change roll direction by using left or right on the control stick. You can cancel the rolling attack with a jumping roll by pressing Attack, Jump, or Special. From this jumping rolling attack, you can perform any air move as if you hopped normally (including double jump and aerial specials).
Spin Charge can be difficult for your enemies to deal with, thanks to its unpredictability and the amount of iterations you can follow up with. You can use it to condition and scare enemies into reacting a certain way by spinning up and “canceling” (start Spin Charge, but don’t mash). Or you can charge it up, spin at the opponent, then reverse your direction, then reverse your direction again to attack them during their confusion.
While Spin Dash is an effective neutral-game tool, Spin Charge is more for mounting an offense due to its high amount of hits and damage. It also reaches max speed much earlier than Spin Dash, thanks to its mash-charging mechanic. Note that Sonic stops his Spin Charge if all of its hits connect (shielded or otherwise), while Spin Dash continues to pass through foes. You can manipulate this property by turning mid-hit as your Spin Charge grinds into the enemy. For instance, after the very first Spin Charge hit is shielded, turn the opposite direction—this causes Sonic to stop hitting, since he’s turning, and acts as a sort of mix-up as you make your way back around to hit the opponent a few more times.
When used in the air, Spin Charge doesn’t leave you in a helpless state, so you can act almost immediately with another aerial move if you haven’t used it yet (e.g., you can jump, Spin Charge release, then double-jump).
Final Smash: Super Sonic
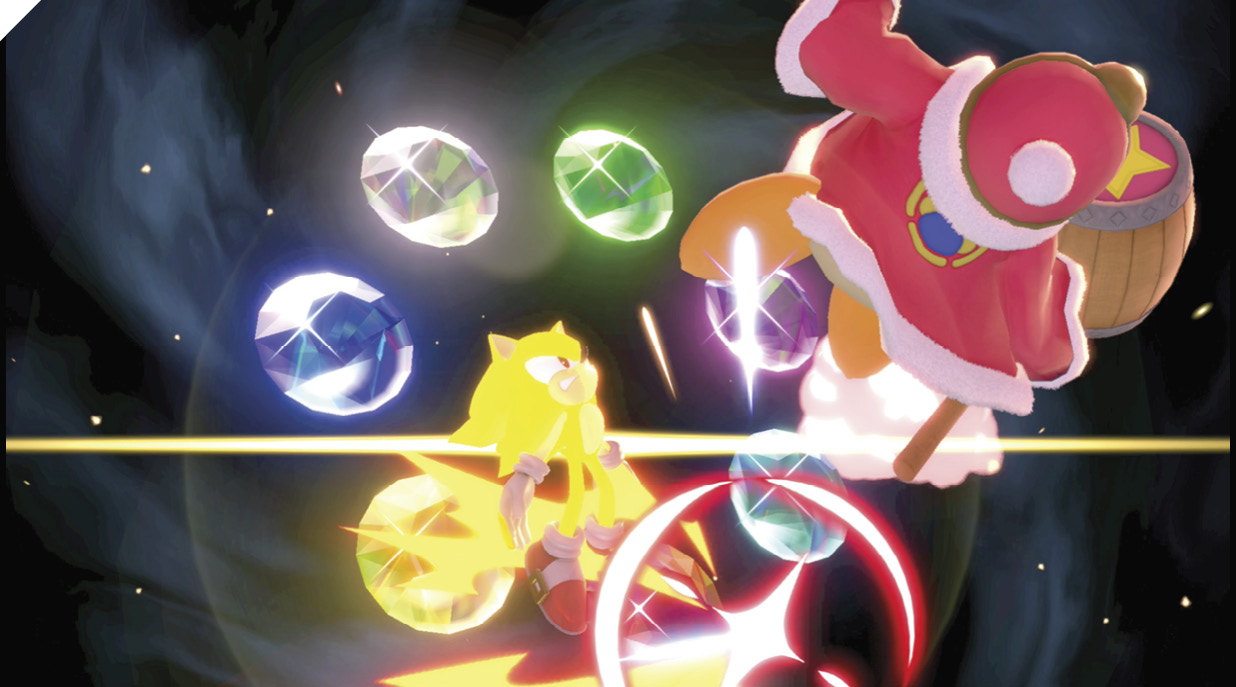
Sonic uses the Chaos Emeralds to turn into Super Sonic, then dashes left and right, crossing through the stage at supersonic speed. You can adjust the angle at which Sonic moves through the air slightly up or down.